 2
2
Kinesis Gaming TKO Tournament Keyboard Review
Disassembly »Closer Examination


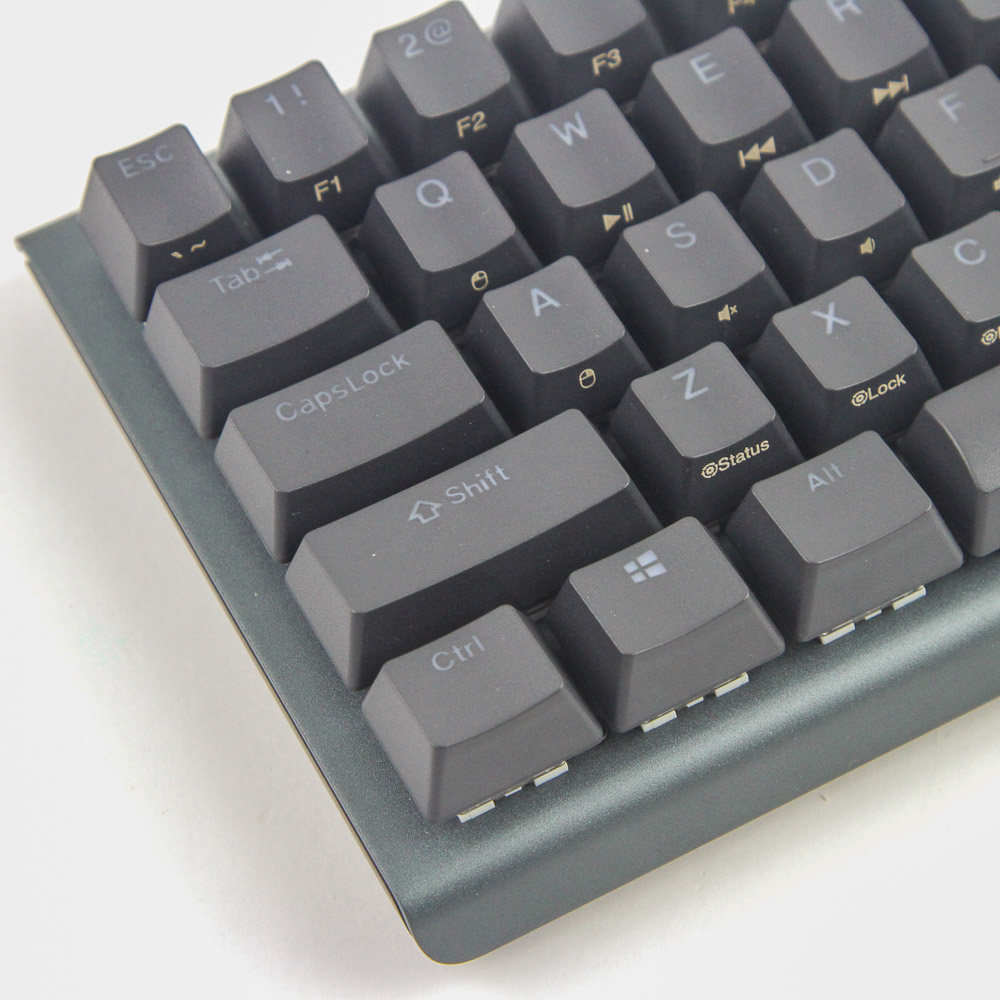
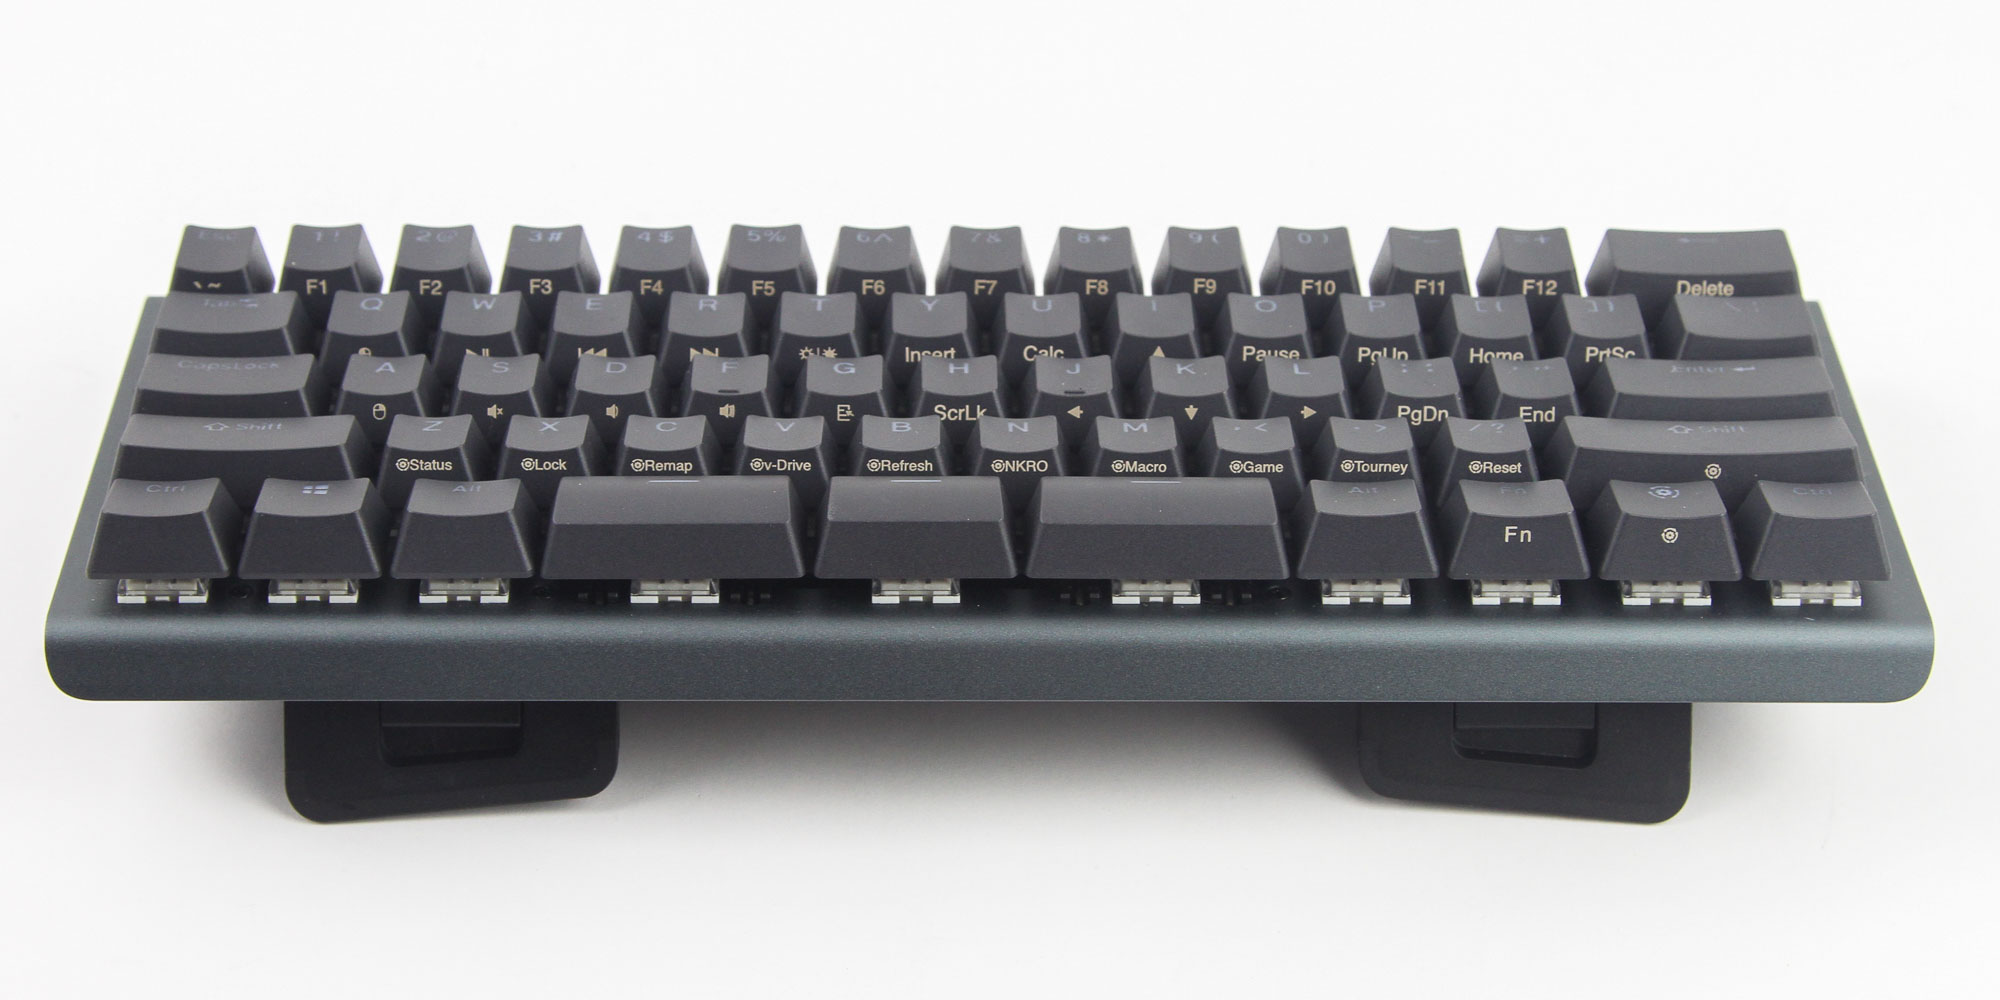
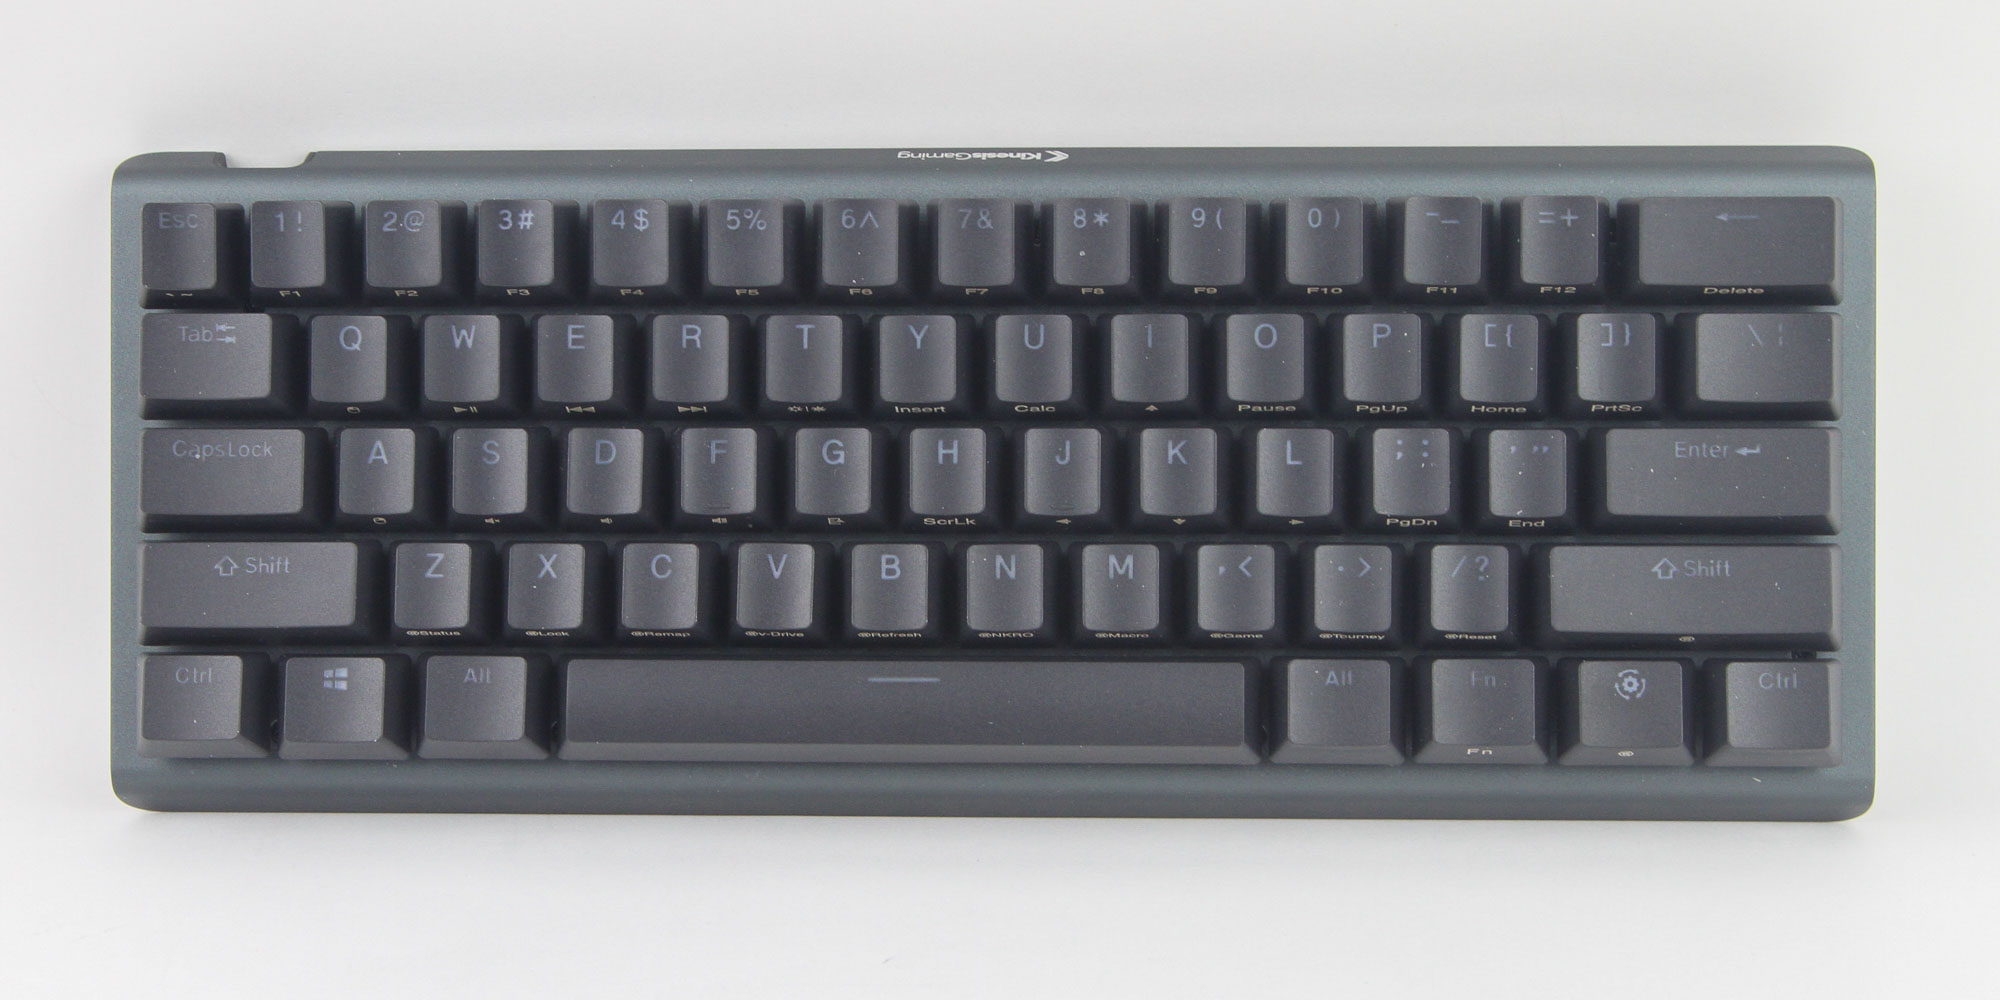
I was not ready for how small and light the Kinesis Gaming TKO is even though I knew it is a 60% form factor keyboard. Look at that small thing! There are next to no bezels, with the top and bottom bezels bending downwards to further improve portability. There is a metal (likely aluminium) frame up top to go along with floating keycaps and a single plastic panel bottom, which results in a keyboard that weighs just over 0.5 Kg. Aesthetics are on point too with a lustrous dark green (what Kinesis calls Space Gray) finish to the frame in contrast to the black keycaps and white legends. The only branding visible in use is the Kinesis Gaming logo facing your audience if indeed used for gaming online or in front of a crowd.
Given the 60% form factor in use here, there are fewer dedicated keys compared to a typical full-size keyboard. Indeed, even the Kinesis Gaming Freestyle Edge has more keys, and that is more typical for split keyboards. The TKO effectively has the alphanumeric section of a keyboard, losing the Fn row, arrow key column, and numpad. Within the allocated space, Kinesis Gaming went with an Esc key by default as well as what they refer to as the Hyperspace, with three keys where a full-size space bar would generally be. The rest of the keyboard functionality comes in the form of layers, which is why we have secondary and tertiary legends all throughout the keycaps, with some front-facing legends that are more keyboard-specific as well. It adds in functions you would otherwise miss out on and suddenly means you have more pre-programmed functions than on a typical 104-key US ANSI keyboard.
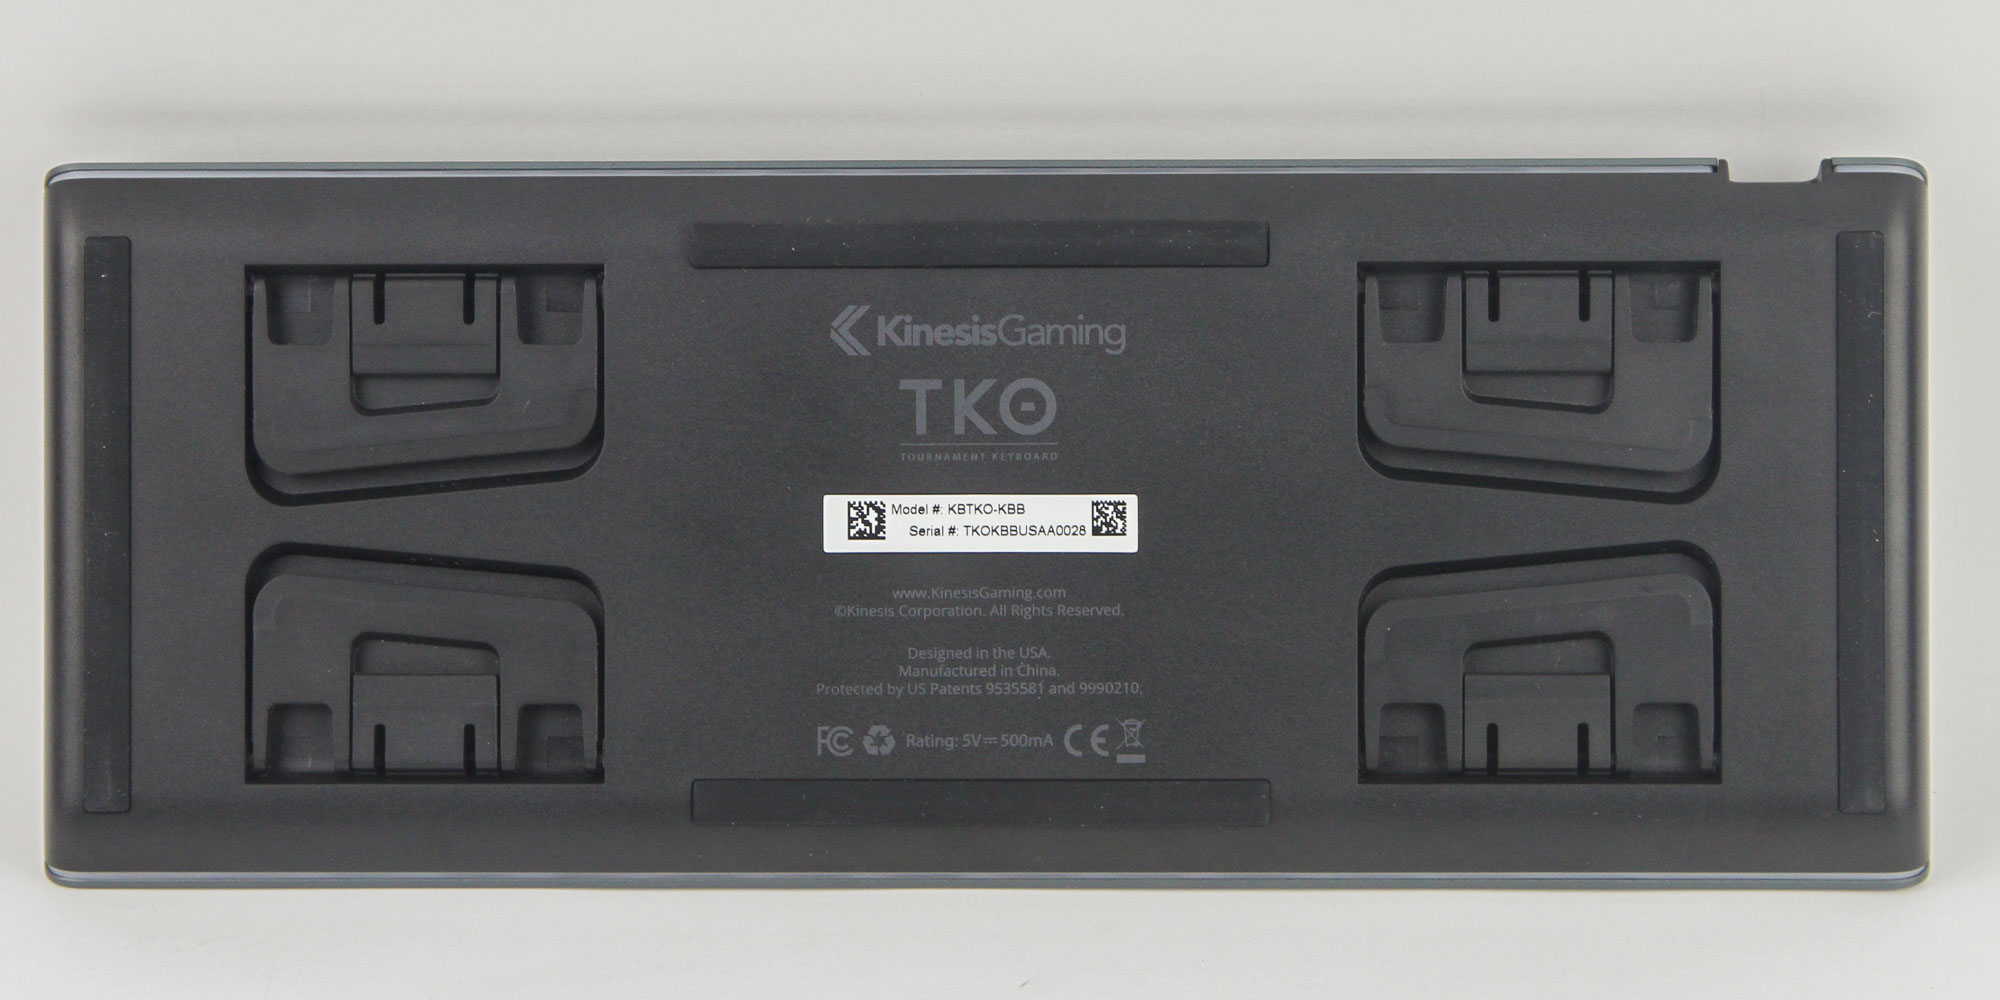
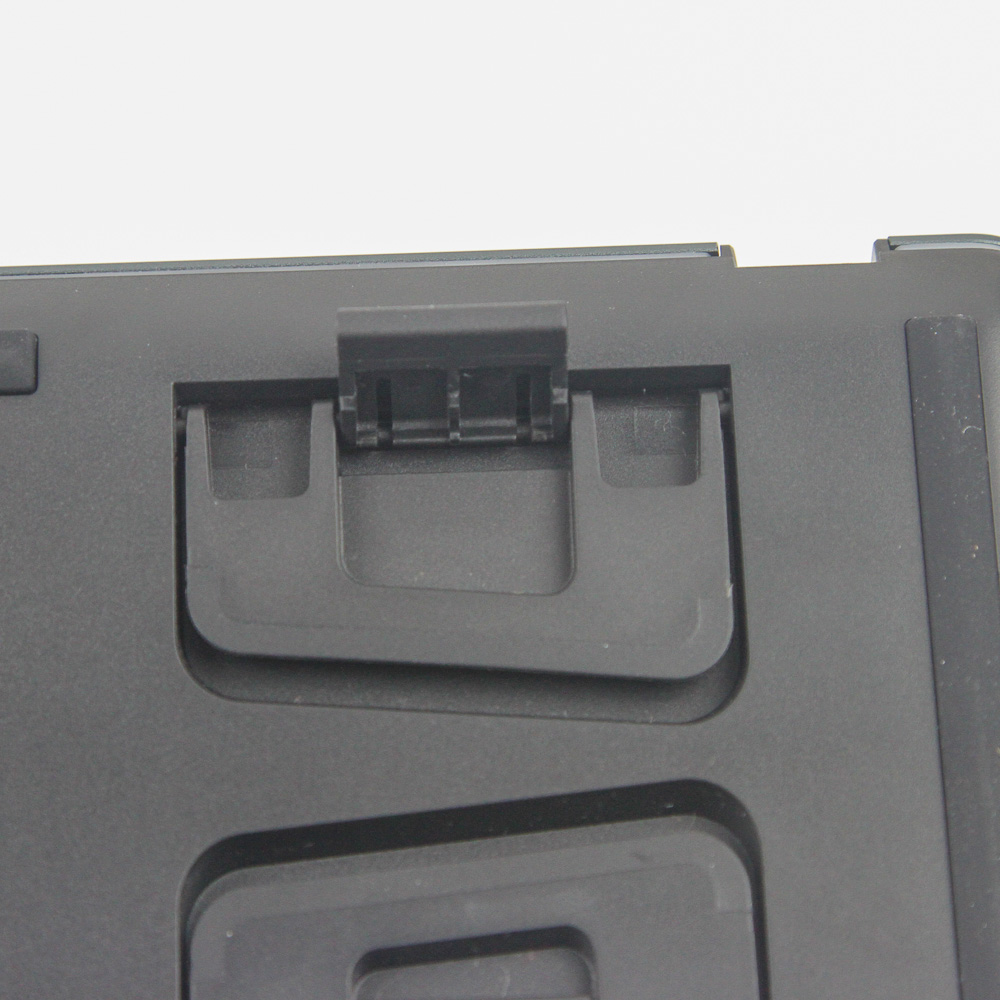
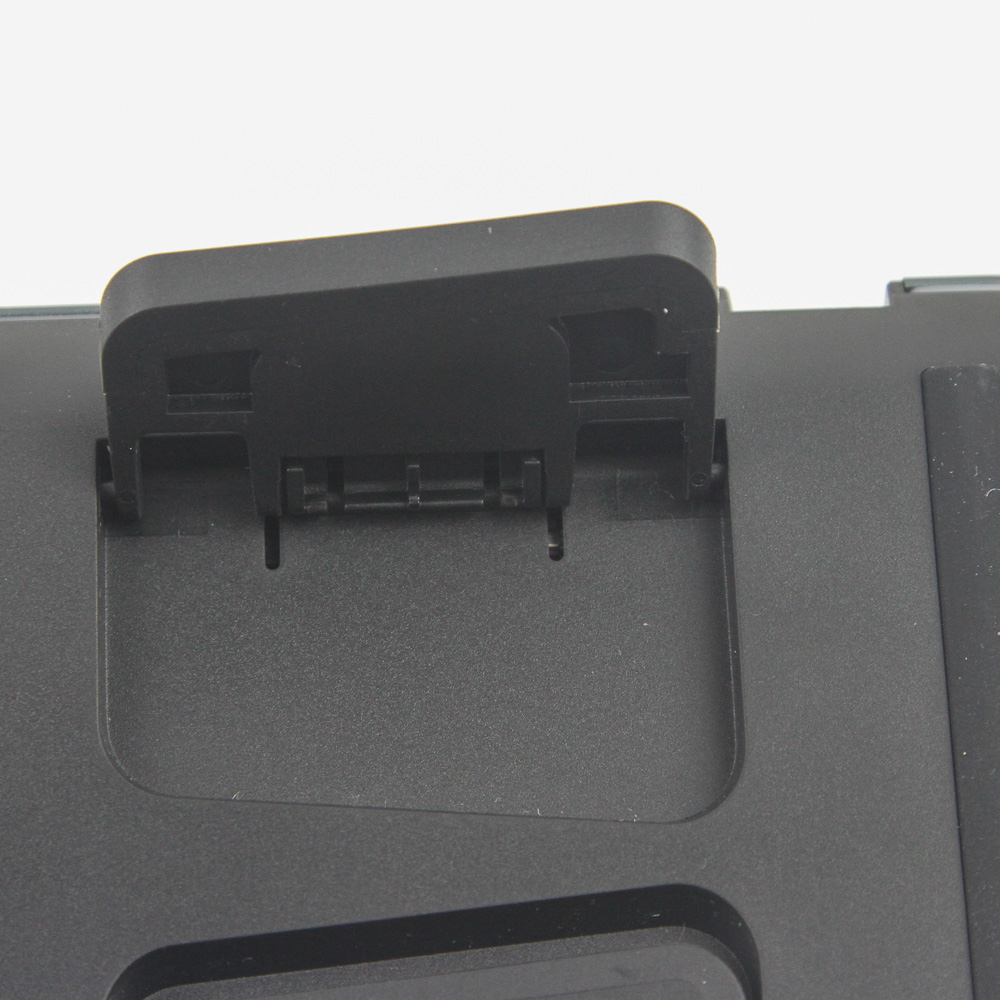
Flipping the keyboard around, we see one of the defining features of the TKO in the four sets of keyboard feet at each corner, each of which allows for two optional elevations. These feet have rubber pads at the bottom, which prevents scratching the feet as well. There are also four long rubber pads along each side for further protection and friction against the resting surface. In the middle, we see the company logo and product name in addition to the certification information that is typically present here.

The option to have four sets of feet, including a set of large, substantial feet, allows for more ergonomic options than ever before. Kinesis Gaming goes so far as to call the TKO the world's first non-split ergonomic keyboard that offers tenting wherein you elevate both feet on the same column (right side for when you are mostly using this keyboard with your left hand, for example) in addition to the positive and negative tilting seen above. These permutations tackle pronation and extension-related fatigue and injury—definitely a first in such a keyboard from my experience. Kinesis developed purely as an ergonomic HID company, so it is nice to see the Kinesis Gaming division adopt the same mindset.
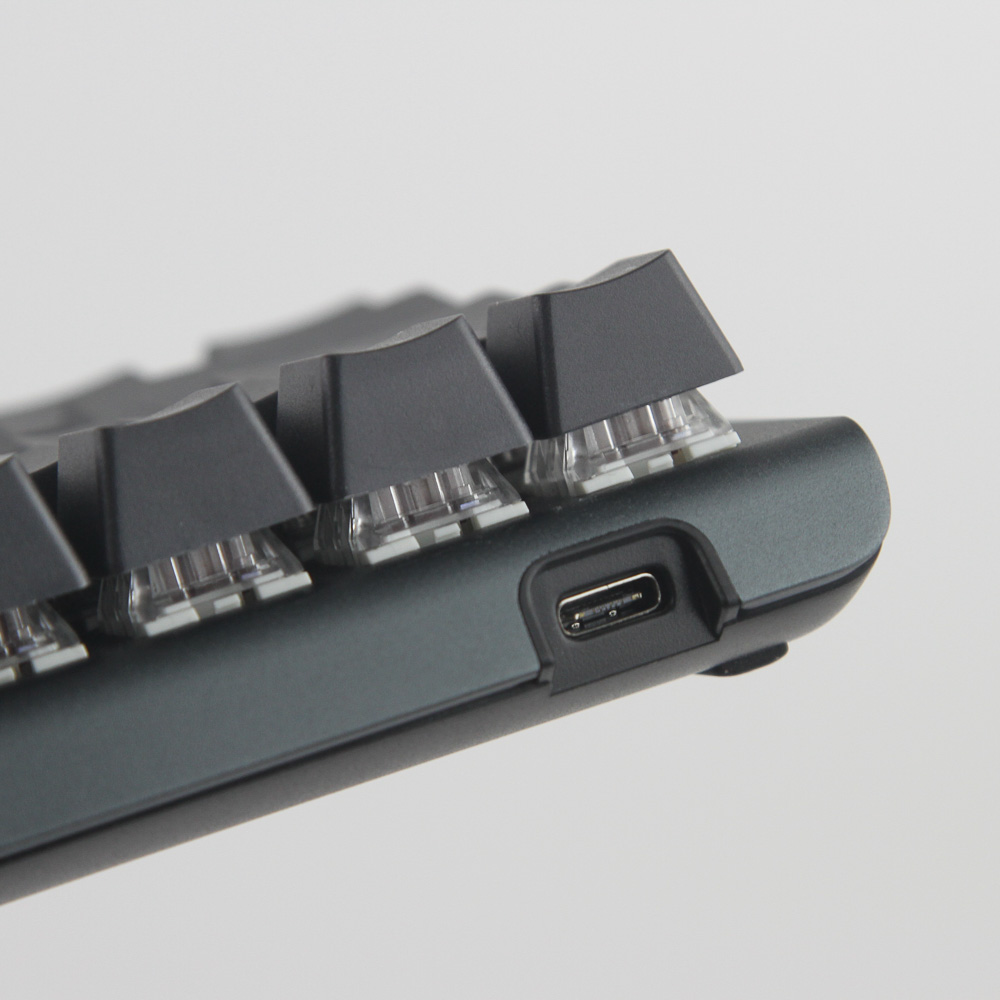
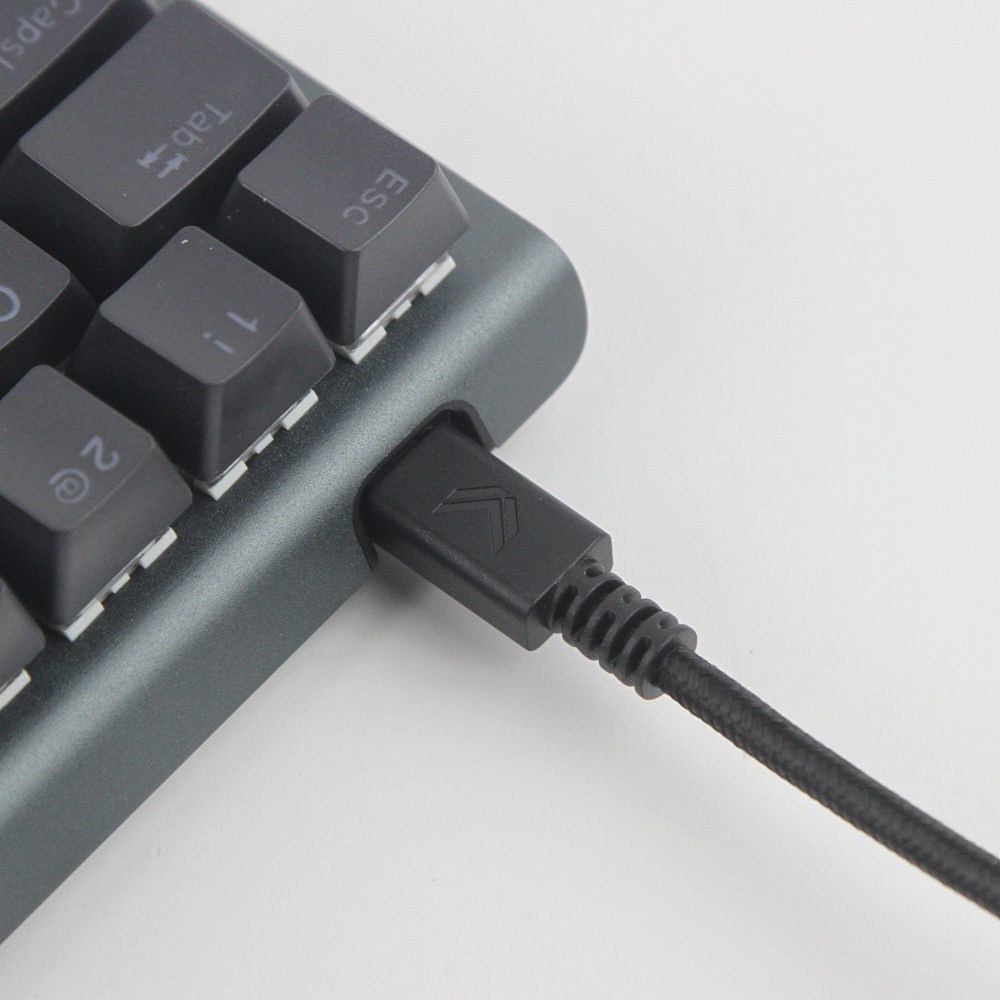
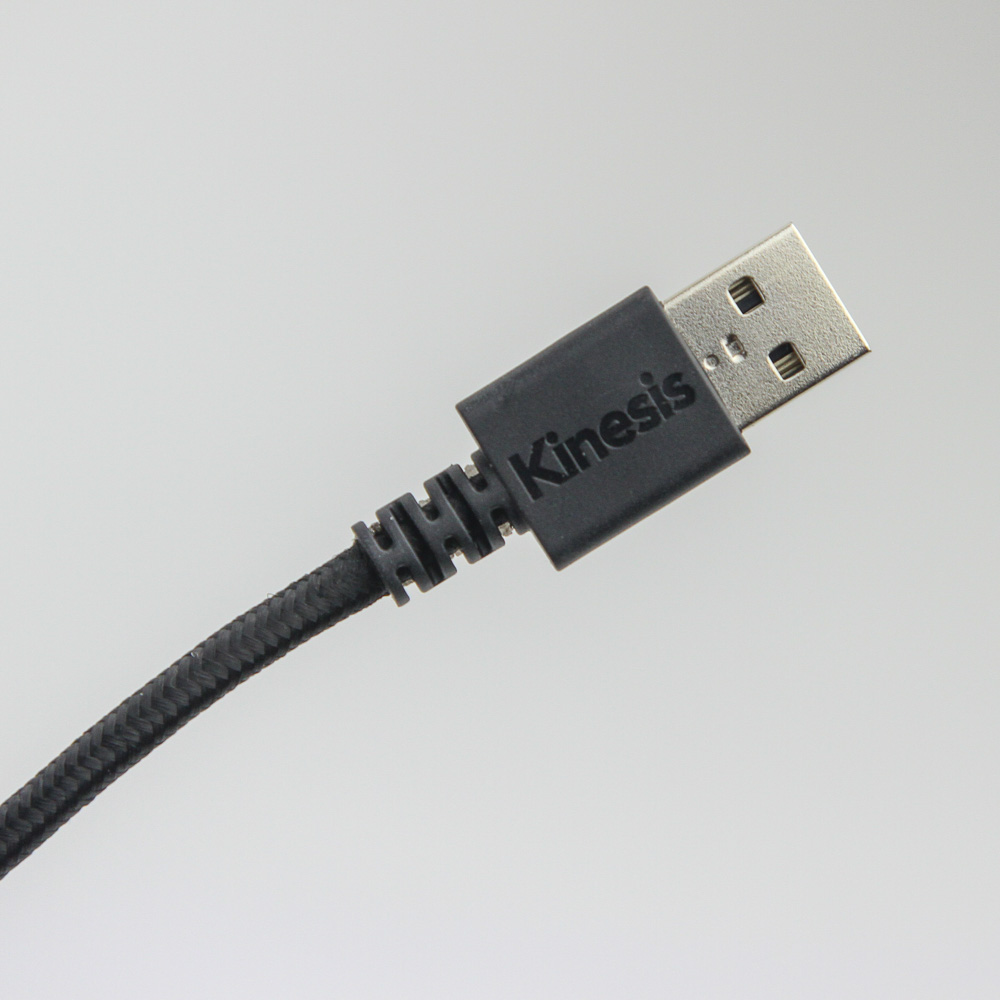
There is a cutout in the frame at the top-left corner when viewing it in regular use, which houses the USB Type-C port the detachable cable plugs into. This means the cable faces away from the mouse for right-handed users, which is no doubt the majority of customers, and you need a spare full-size USB Type A port on your PC for this. USB 2.0 will suffice for power and data alike, although there is no lack of USB 3.2 Gen 1 (USB 3.0) ports these days on a typical motherboard or laptop. The cable is sturdy with fittings around the connectors to prevent strain-related injuries.
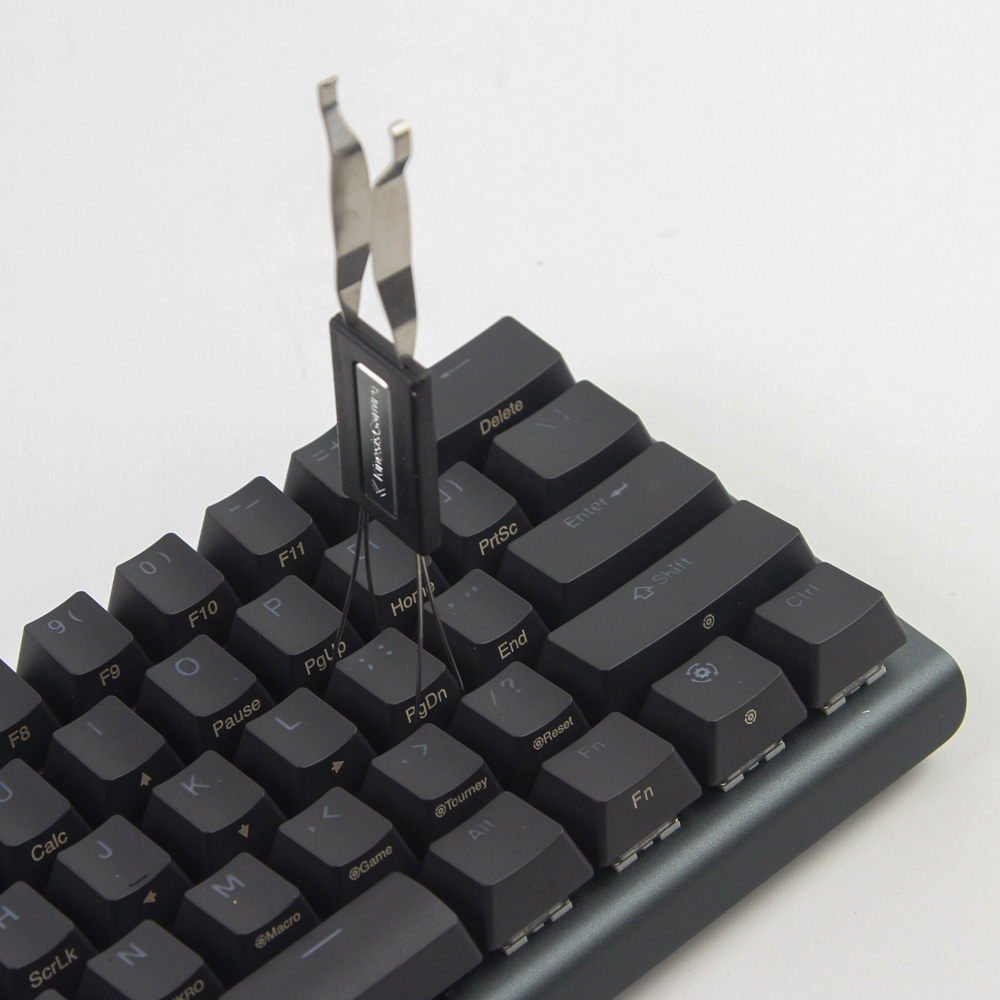
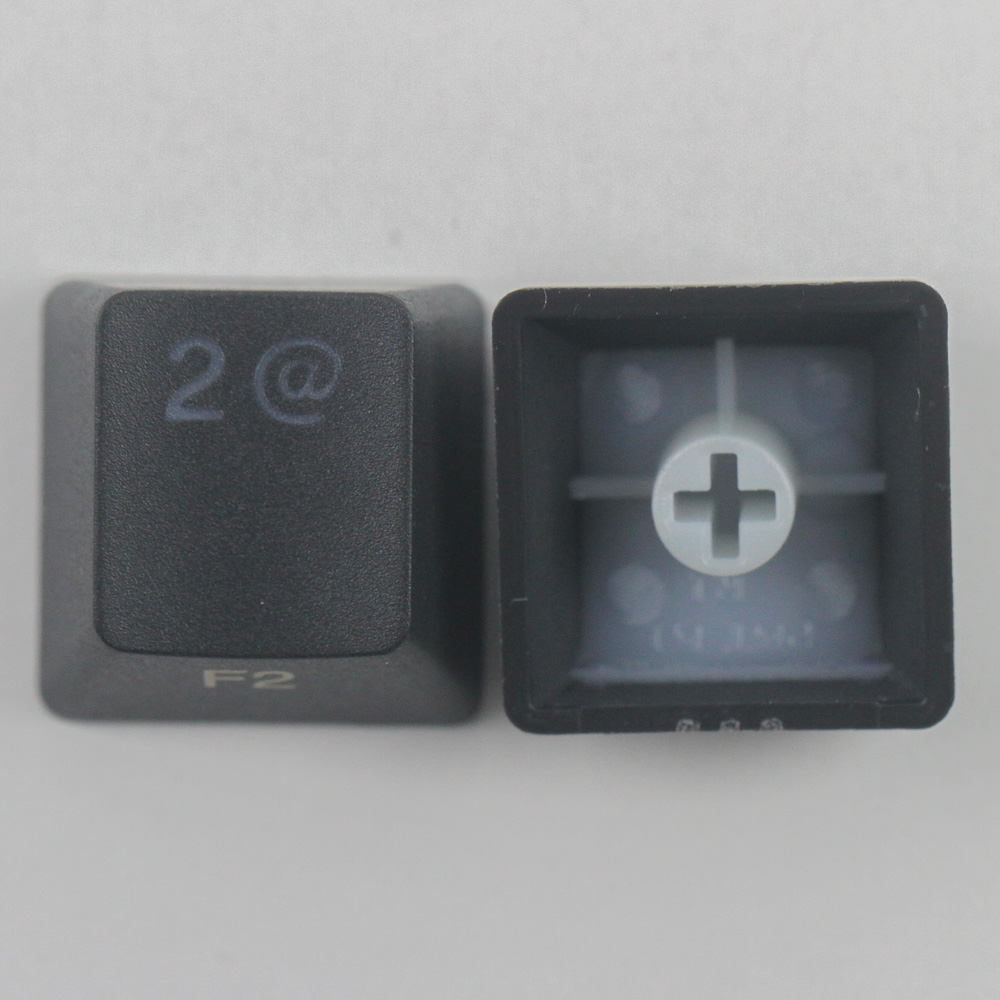
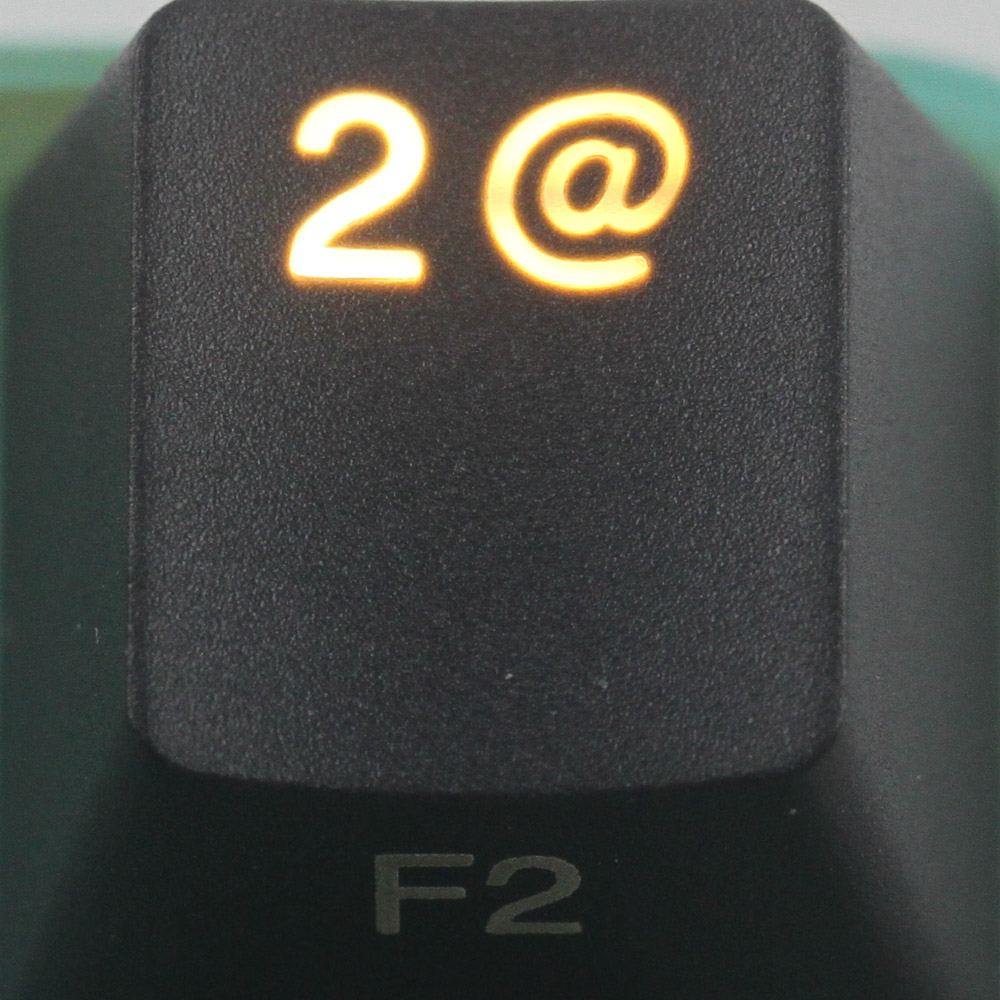
For the keycaps, Kinesis Gaming is using the OEM profile with the usual sculpted and contoured keycap rows, though there are of course only five rows on this 60% keyboard compared to the usual six. This reduces the learning curve if switching to the TKO from a full-size or TKL mechanical keyboard, which goes a long way in the adoption of smaller form factor keyboards. The included keycap puller is also very easy to use and allows for a better look at the stock keycaps. These, as with the replacement keycaps we saw before, are made out of thick PBT plastic (average wall thickness 1.34 mm) with backlighting compatible doubleshot injected legends on top, and what appear to be laser engraved front legends that are unfortunately not only opaque but will also wear out sooner than the other keycap legends but also don't necessitate touching in practice either.
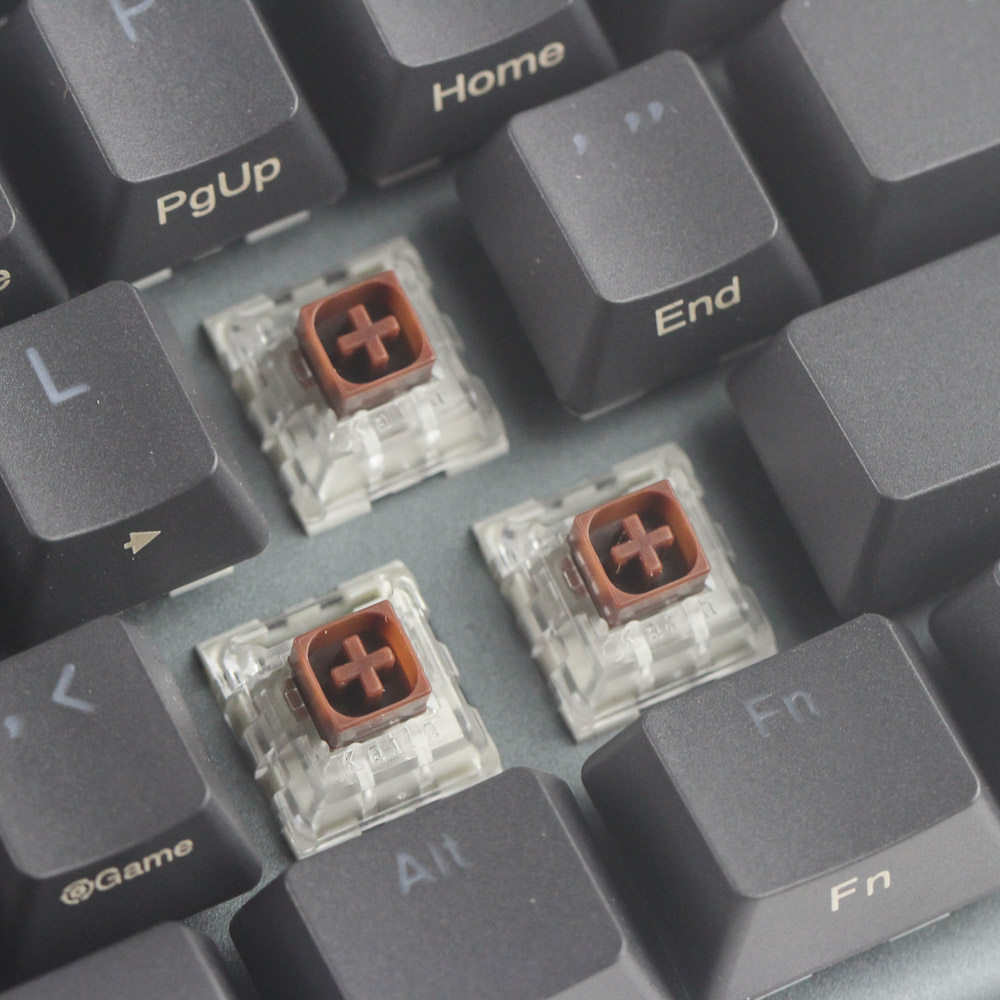
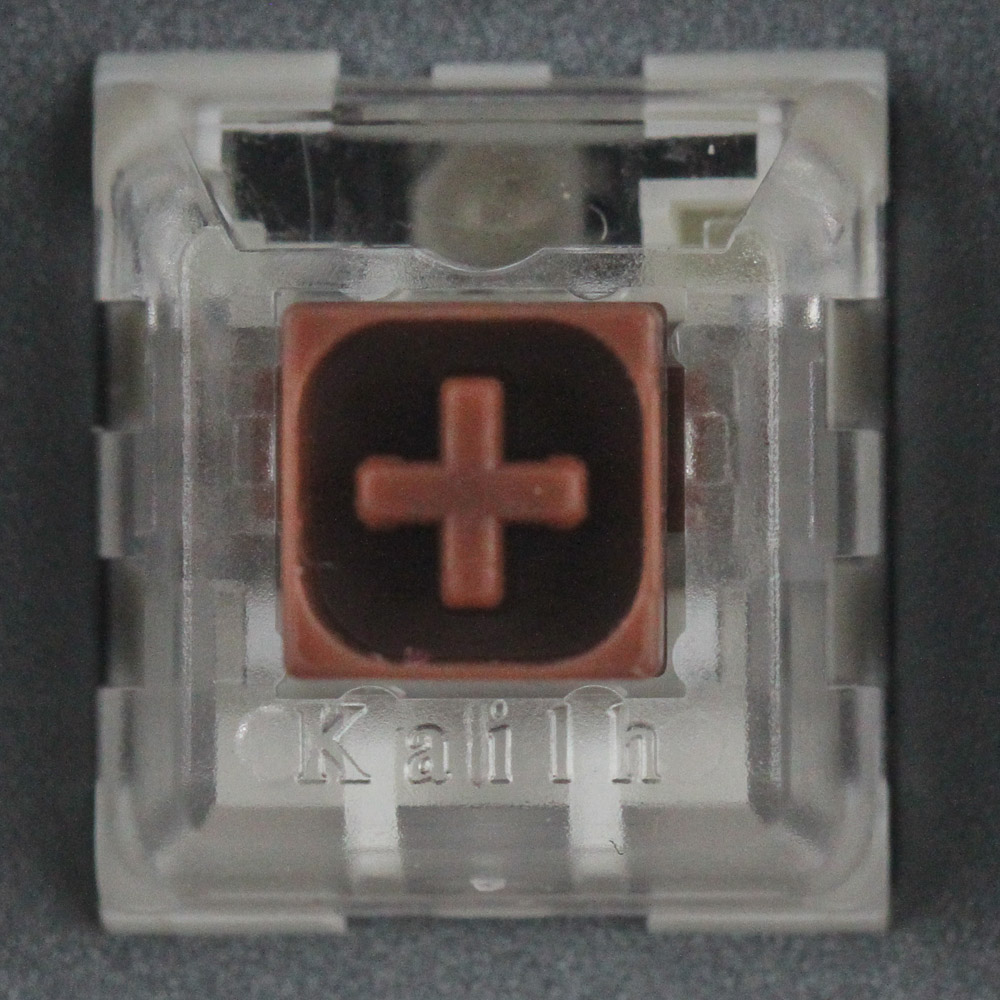
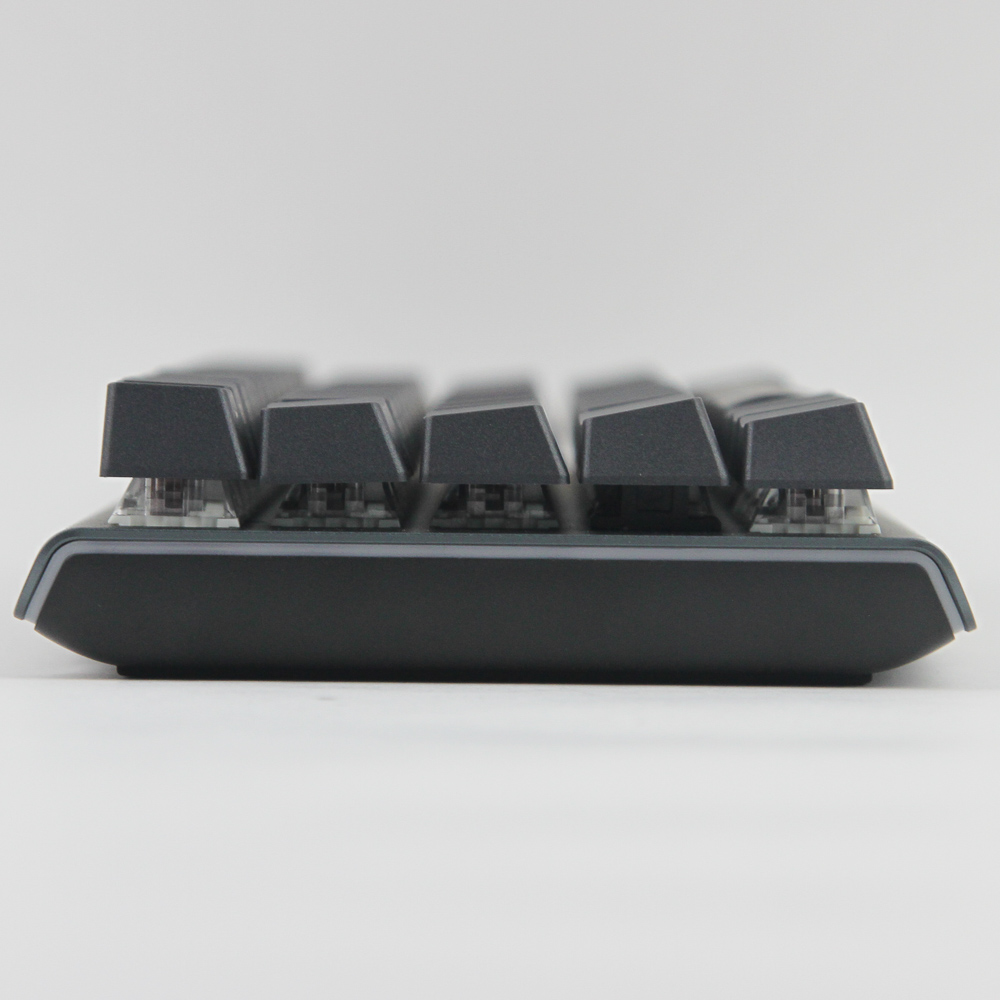
There are three switch options for the Kinesis Gaming TKO, with feedback options of linear (Kailh BOX Red), tactile (BOX Brown), and tactile and clicky (BOX White) to choose from. My sample has the BOX Brown switches with walls around the stem for some dust and spill resistance to the switch and the box inside we will take a look at on the next page. I am a big fan of the Kailh BOX design, and there are so many versions of these, including vendor-specific options, that I dare say there is a better Kailh BOX switch than the closest Cherry MX switch all other things being equal. The larger keycaps use Cherry-style stabilizers which, with the default keycaps, are just fine given the shorter keycaps everywhere.
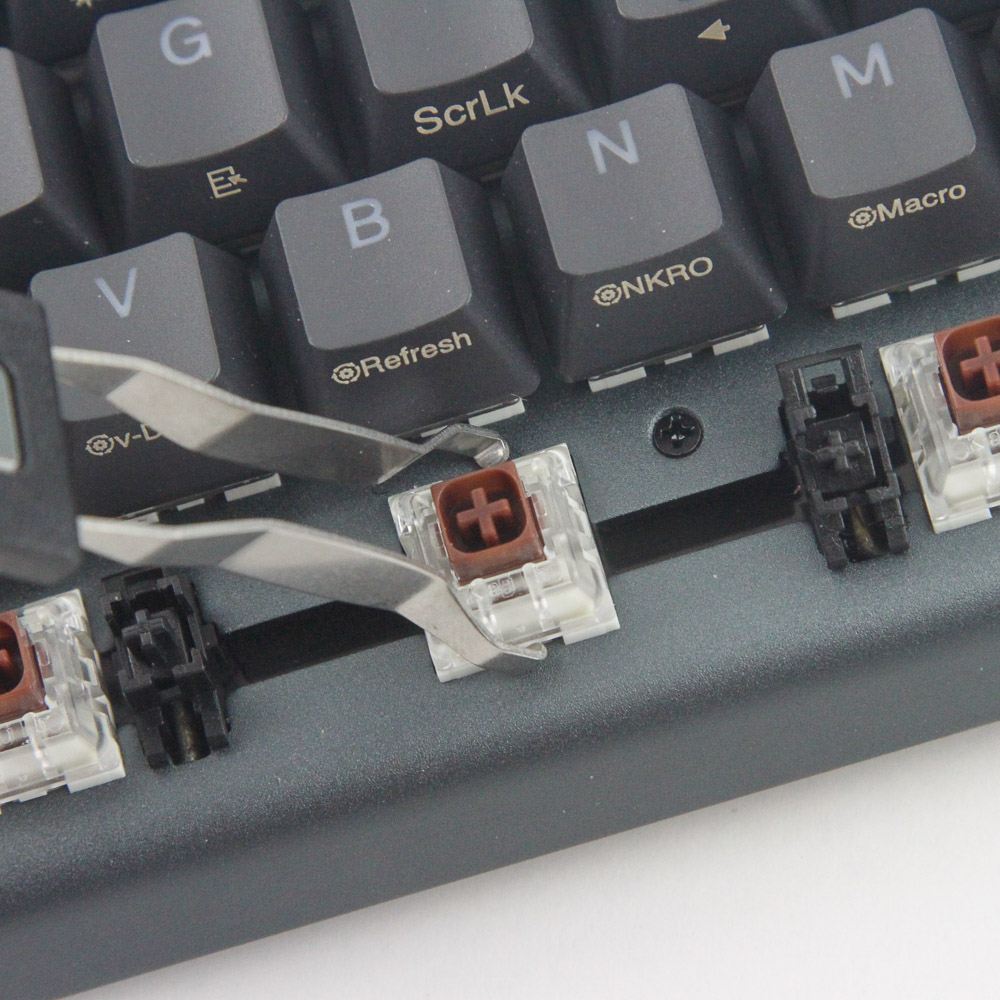
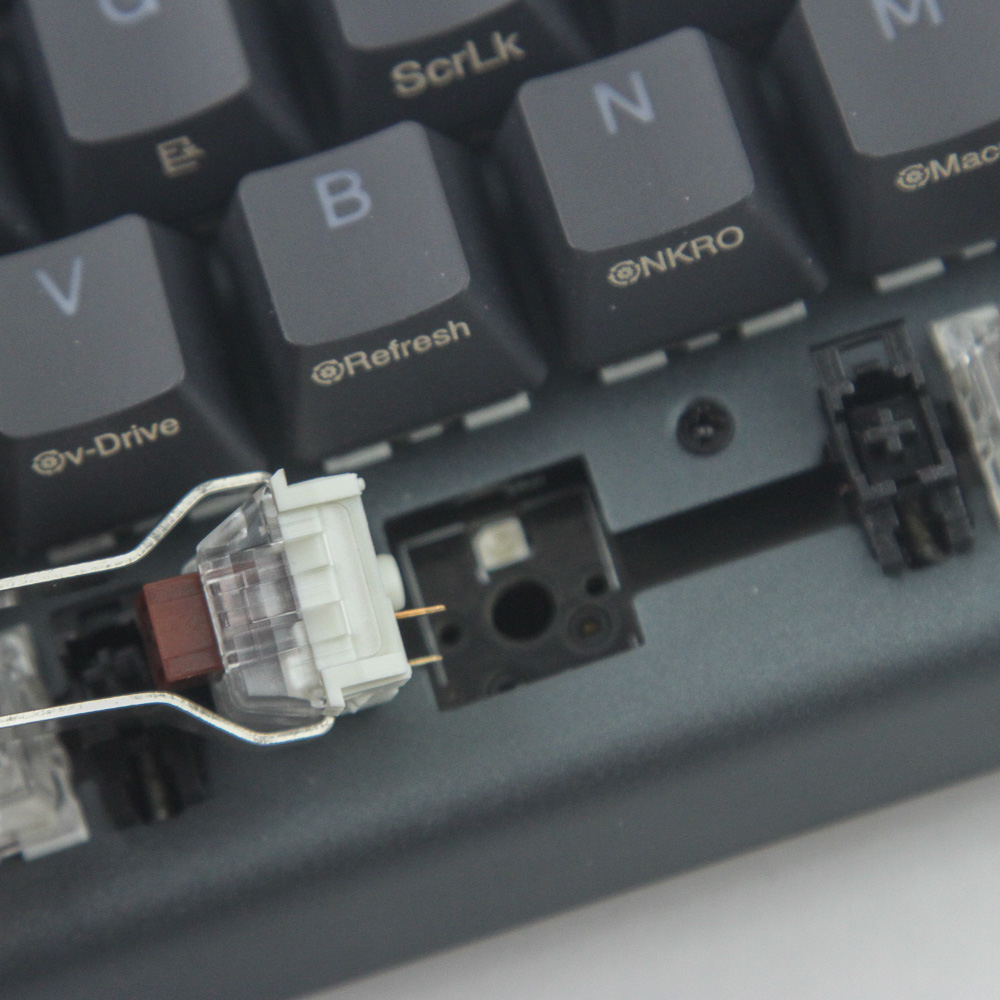
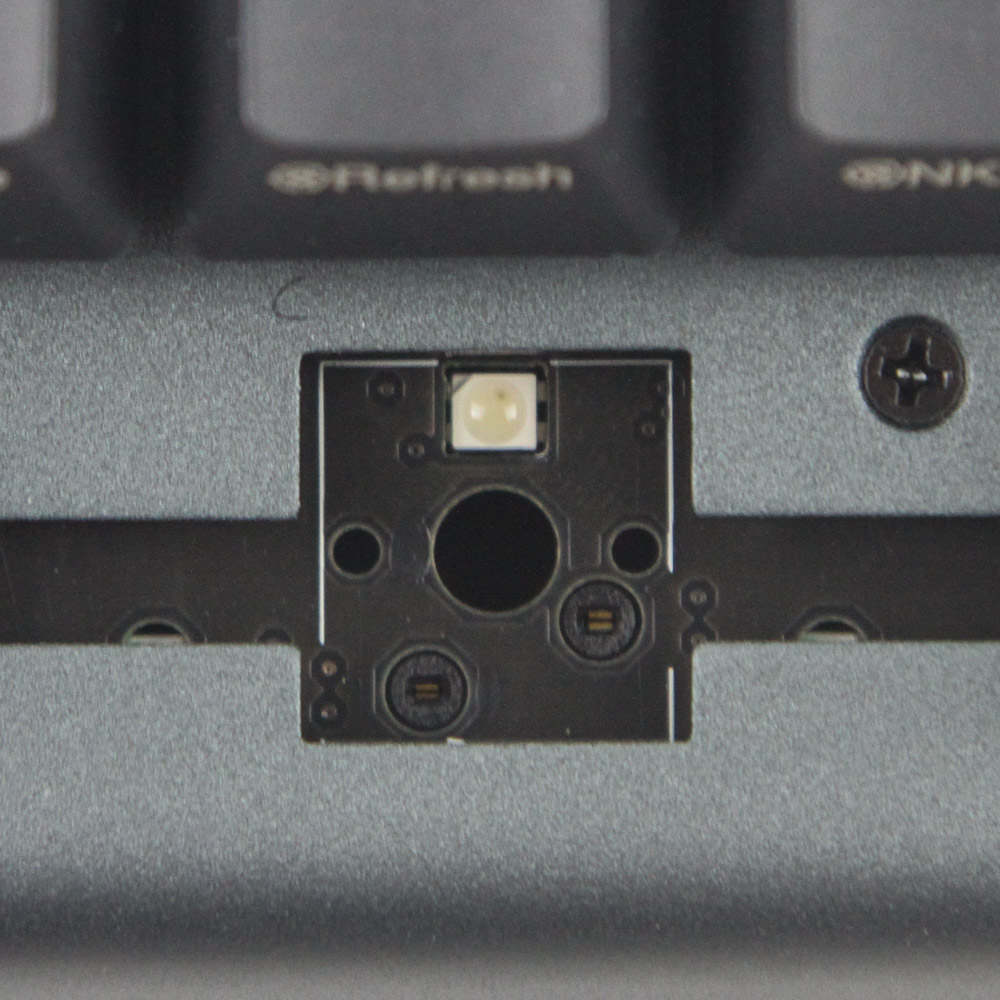
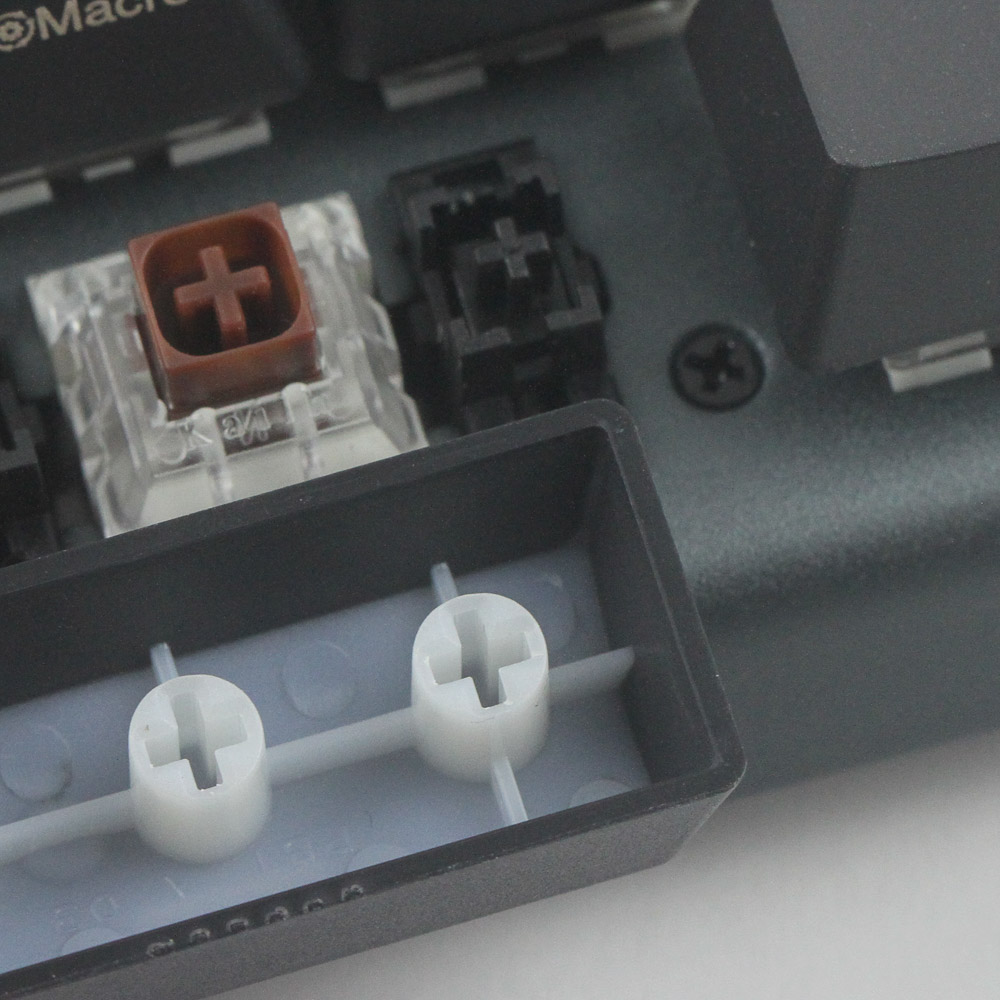
The included switch puller also works just fine here, with the notches fitting into the grooves of the switch to be pulled out of the Kailh hot-swap switch socket. We see two contact pads that the switch fits into, and the associated RGB LED underneath shining through the spacing in the switch housing. This is why we have the keycap legends biased towards the top for better and more uniform lighting. The hot-swap feature also means you can customize the individual keys to your desire, say by having linear switches on WASD, for example. The sockets are compatible with most MX-style switches from the usual suspects (Cherry, Kailh, Gateron, etc.) using the same two-point contacts.
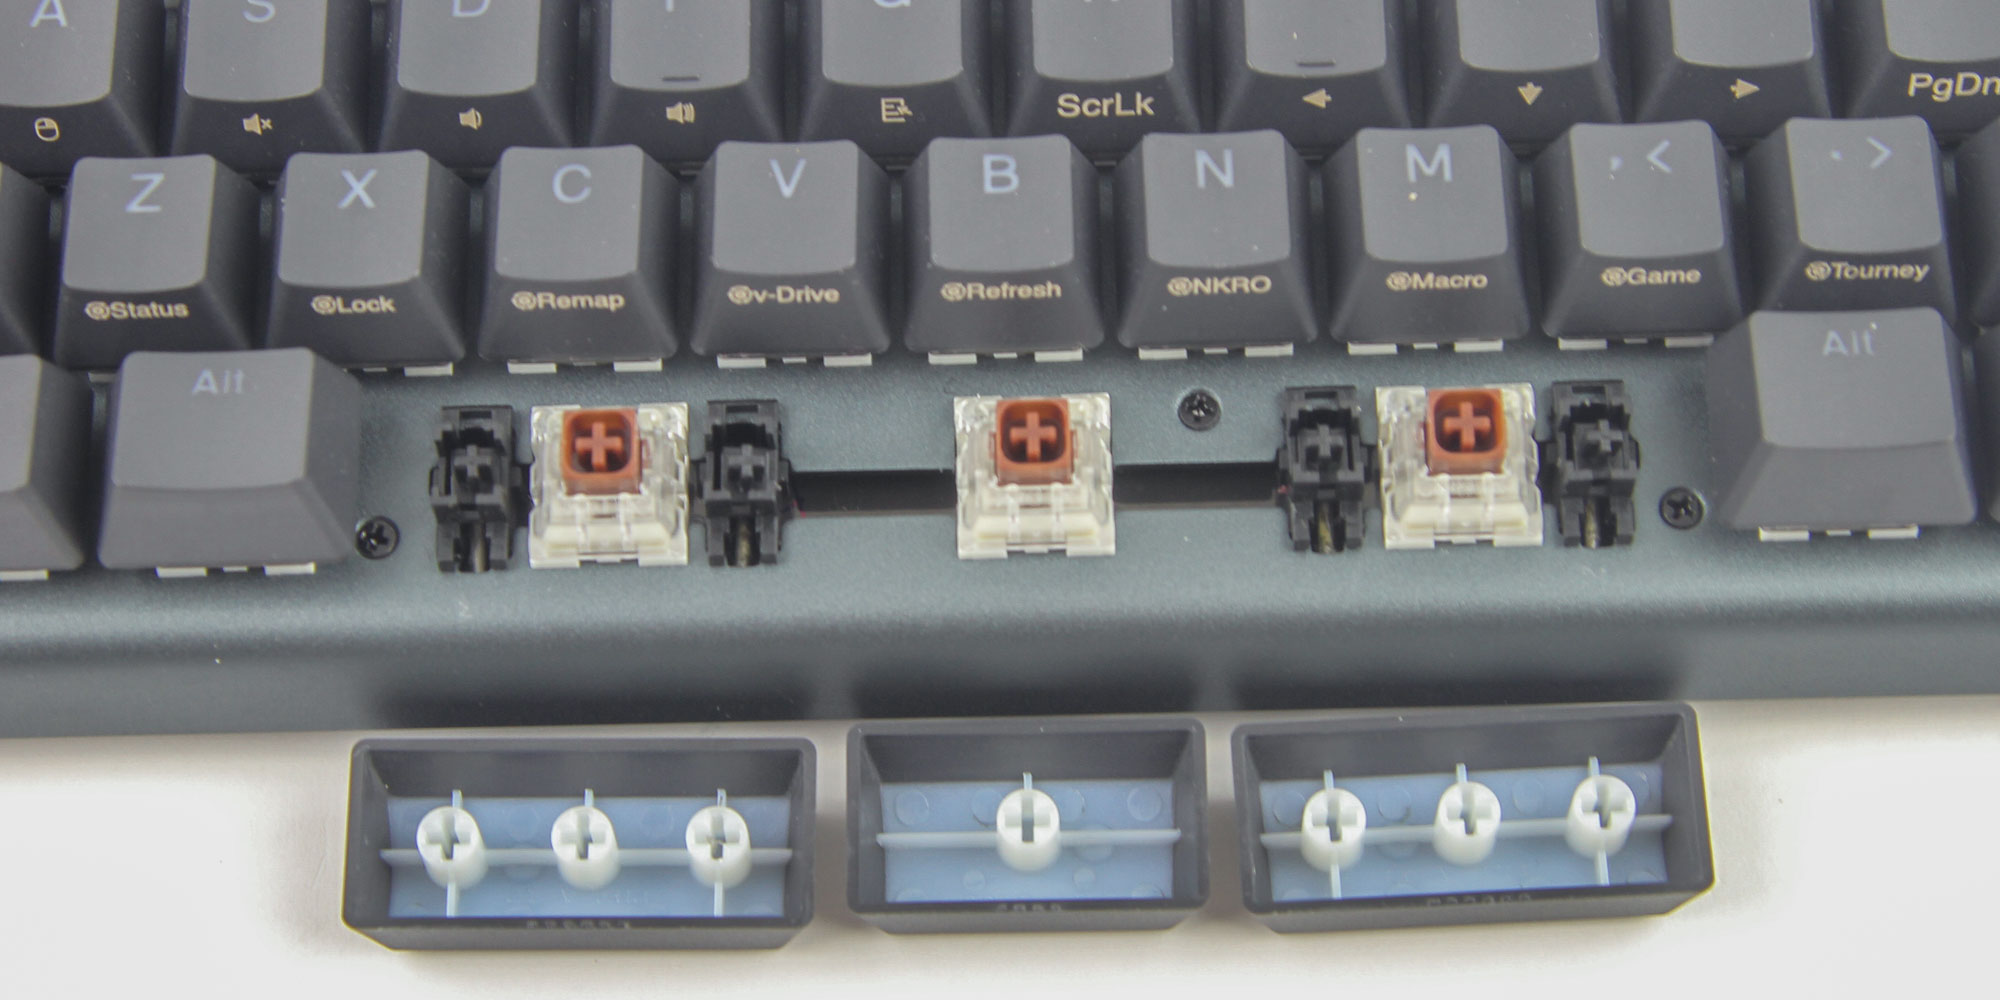

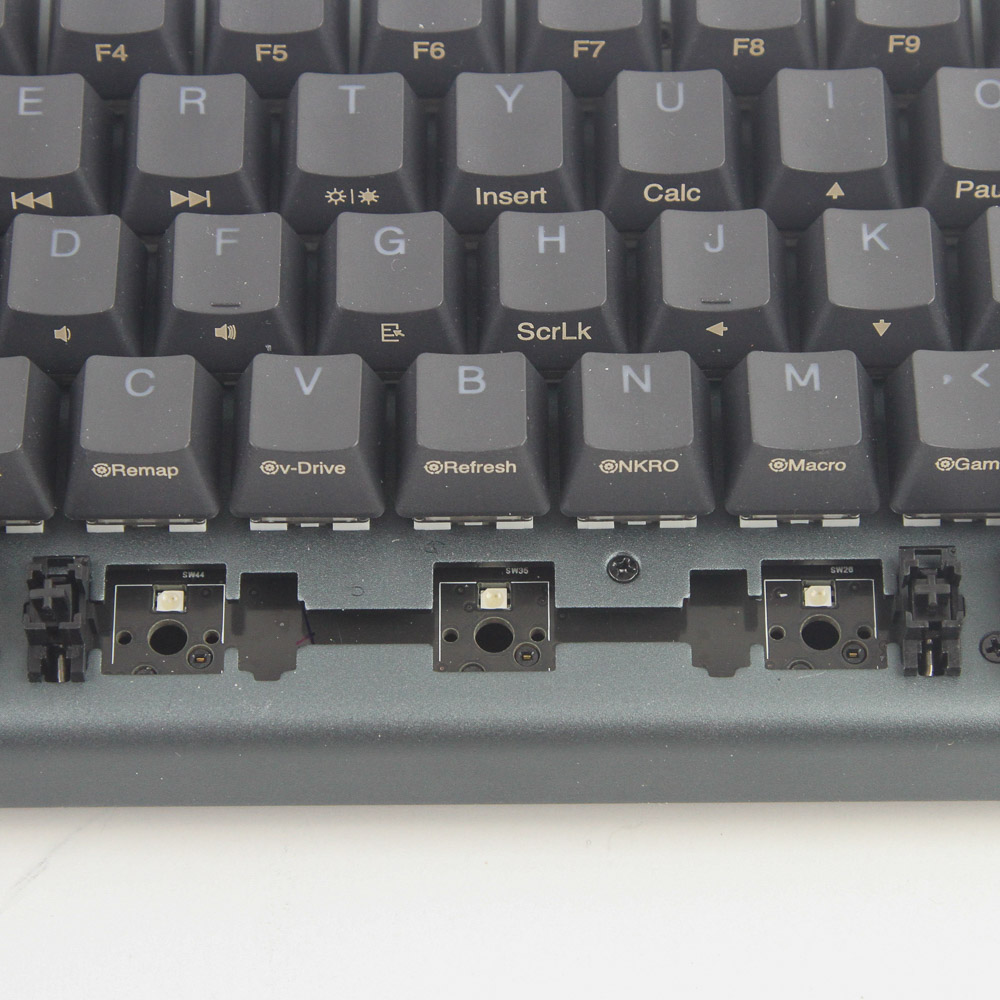
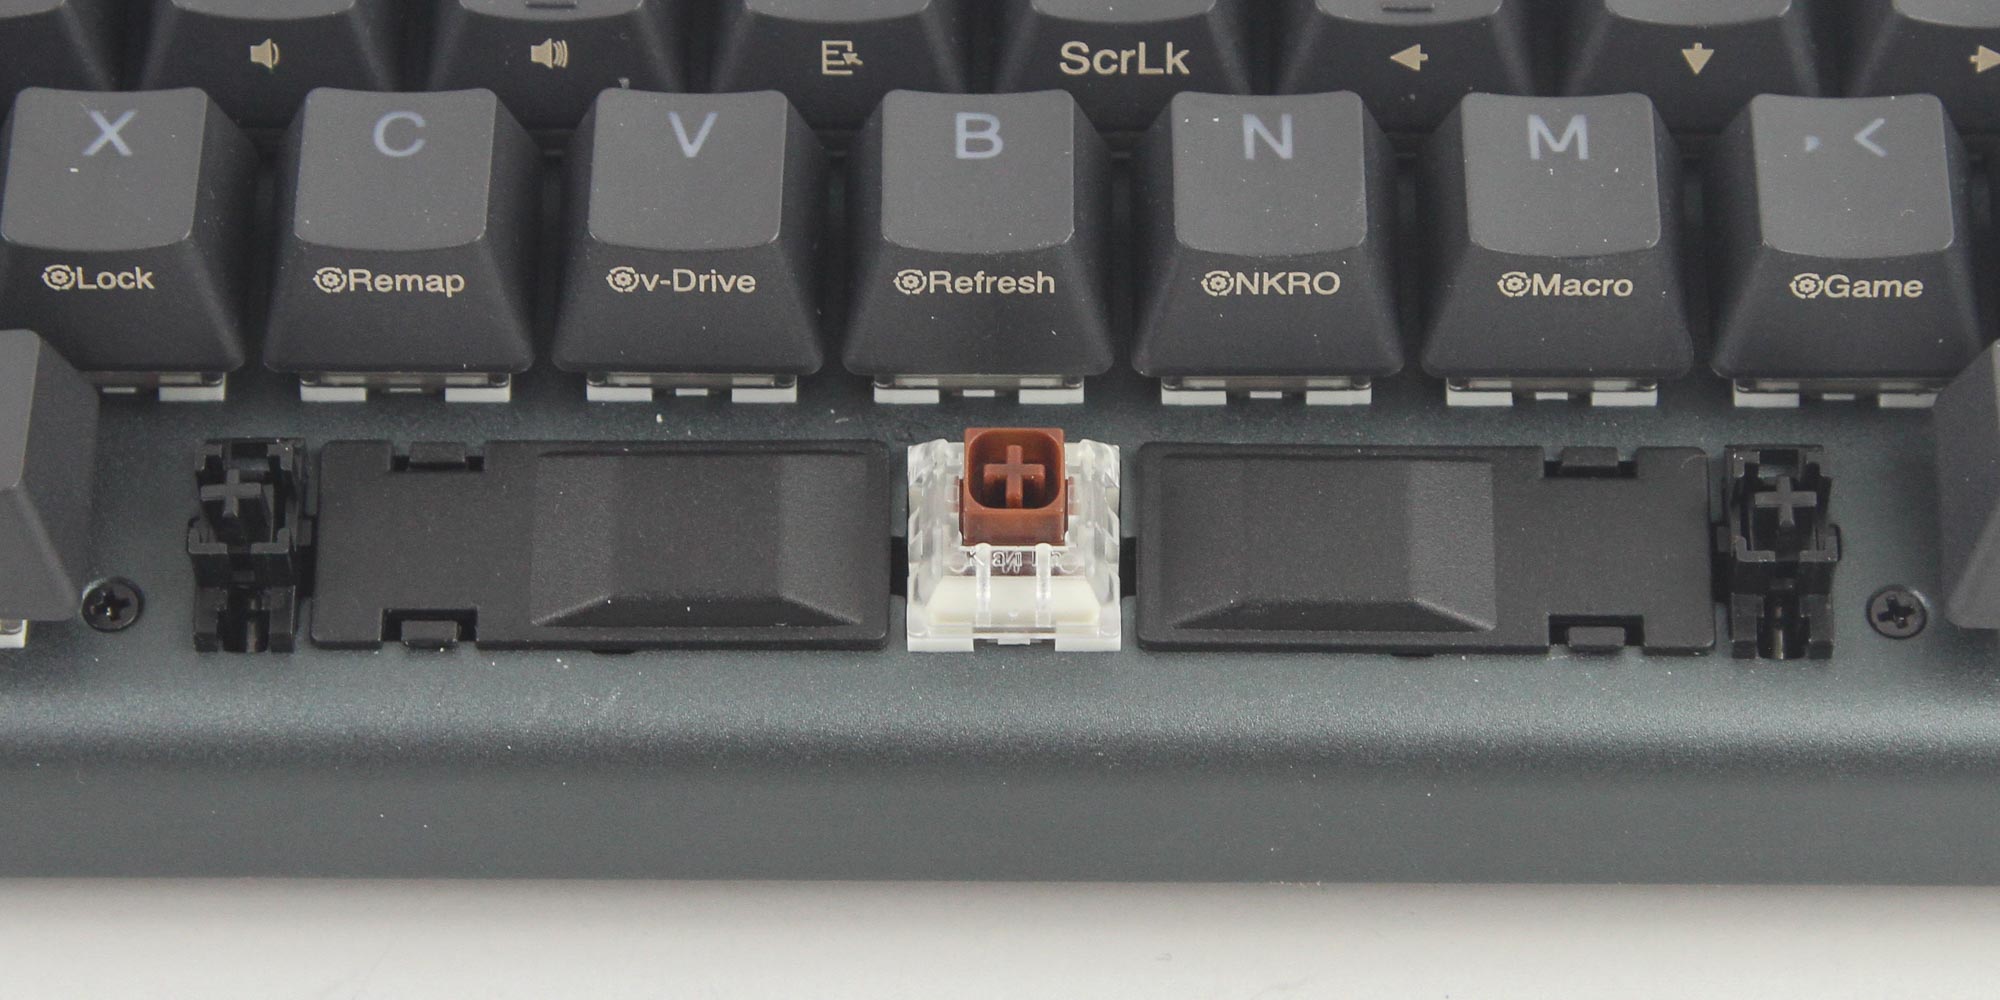
Remember the full-size space bar key and the switch covers from before? Those come in handy should you want to replace the triple key Hyperspace configuration, which begins with the removal of the keycaps and switches, lifting the two stabilizers from the top and pivoting out the stem through the gap, fitting in the single larger stabilizer the same way in addition to the lone switch in the middle and the switch covers on the sides, and then placing the space bar keycap itself. You do need to remove the stabilizer from the keycap to do so, but the instructions provided by Kinesis Gaming in the manual are detailed and make it easy to understand even in the absence of any photos. But they also do one better by providing tutorial videos on their YouTube channel.
Jun 30th, 2025 17:55 CDT
change timezone
Latest GPU Drivers
New Forum Posts
- Do you use Linux? (663)
- Can you guess Which game it is? (194)
- Help me choose the right PSU , Cooler Master vs Seasonic (53)
- HOW TO ADD NVMe M.2 SSD SUPPORT TO OLD MOTHERBOARDS WITH AWARD-Phoenix LEGACY SUPPORT? (2)
- Whats a fair asking price - MSI 4070 Super (4)
- HTPC Power Consumption Discussion, Upgrade vs Migration (18)
- RX 9000 series GPU Owners Club (1103)
- Will you buy a RTX 5090? (579)
- Rare GPUs / Unreleased GPUs (2111)
- Steam Deck Owners Clubhouse (530)
Popular Reviews
- Sapphire Radeon RX 9070 XT Nitro+ Review - Beating NVIDIA
- ASUS ROG Crosshair X870E Extreme Review
- Sapphire Radeon RX 9060 XT Pulse OC 16 GB Review - Samsung Memory Tested
- Lexar NQ780 4 TB Review
- AVerMedia CamStream 4K Review
- ASRock Phantom Gaming Z890 Riptide Wi-Fi Review
- AMD Ryzen 7 9800X3D Review - The Best Gaming Processor
- Upcoming Hardware Launches 2025 (Updated May 2025)
- Intel Core Ultra 7 265K Review
- NVIDIA GeForce RTX 5060 8 GB Review
TPU on YouTube
Controversial News Posts
- Intel's Core Ultra 7 265K and 265KF CPUs Dip Below $250 (288)
- NVIDIA Grabs Market Share, AMD Loses Ground, and Intel Disappears in Latest dGPU Update (204)
- Some Intel Nova Lake CPUs Rumored to Challenge AMD's 3D V-Cache in Desktop Gaming (140)
- Microsoft Partners with AMD for Next-gen Xbox Hardware (105)
- NVIDIA Launches GeForce RTX 5050 for Desktops and Laptops, Starts at $249 (104)
- Intel "Nova Lake‑S" Series: Seven SKUs, Up to 52 Cores and 150 W TDP (100)
- NVIDIA GeForce RTX 5080 SUPER Could Feature 24 GB Memory, Increased Power Limits (89)
- Reviewers Bemused by Restrictive Sampling of RX 9060 XT 8 GB Cards (88)