 11
11
Lian Li PC-90B 'The Hammer' Review
Assembly & Finished Looks »A Closer Look - Inside

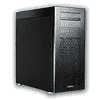
You can easily gain access to the interior of the case by removing the pair of thumb screws holding each side panel in place. Once open, the inner design manages to impress. As the interior need to be kept free of any parts, all the hard drives are to be installed on these inner side panels. You may fit up to twelve drives on here - 6x 3.5 inch ones and 6x 2.5 inch variants. Turning the case around, there are two openings in the mainboard tray to give access to the CPU cooler backplates of a dual socket board.
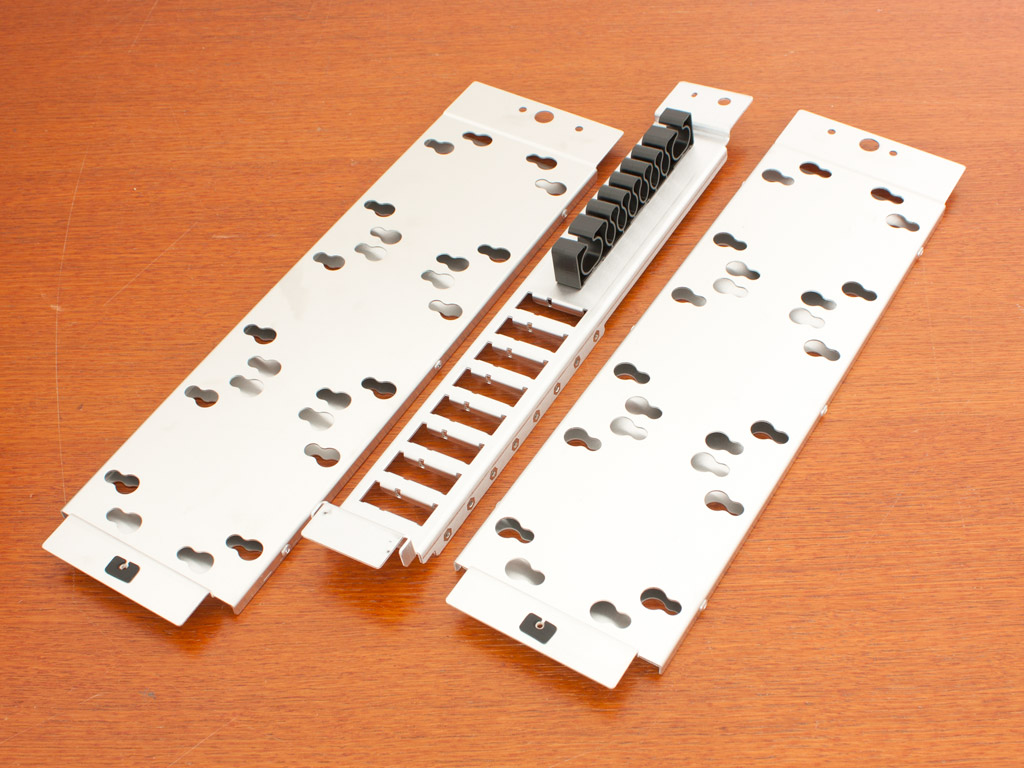
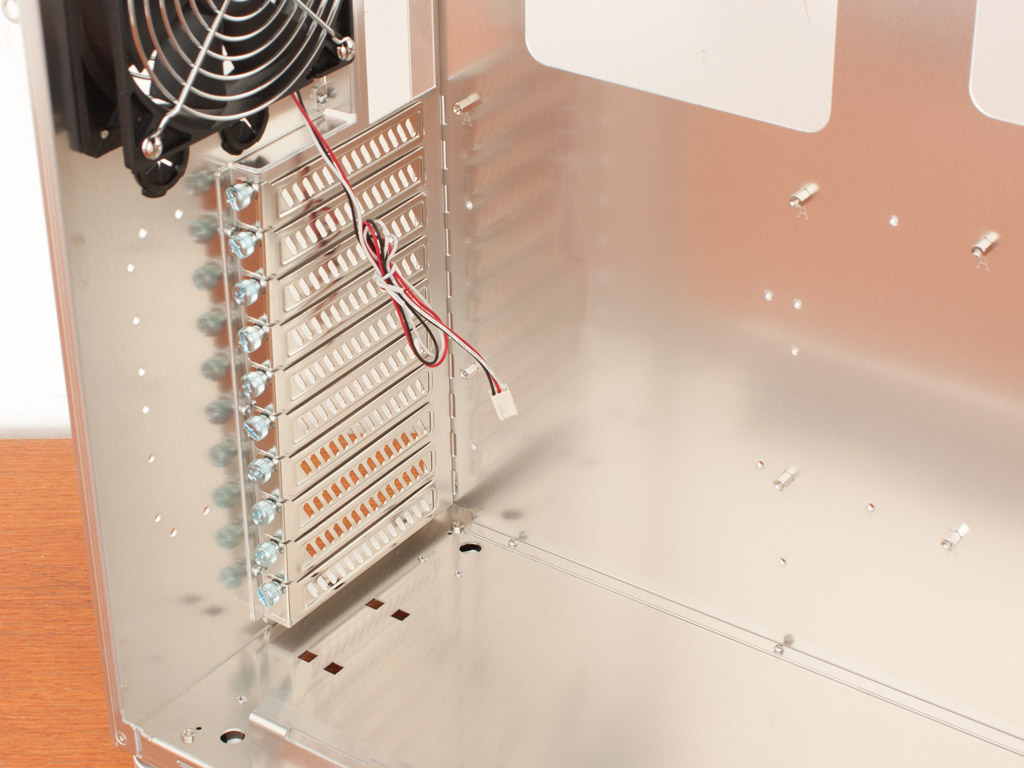
These hard drive plates as I will simply call them are quite elaborate. Made up of three parts and a purely cosmetic cover, you will need to invest quite some time into proper cabling, as this chassis is by no means your everyday enclosure. Each of these parts is held in place by thumb screws and can easily be removed from the case. All major areas are lined with rubber spacers, so that any vibration is not passed on to the rest of the chassis.
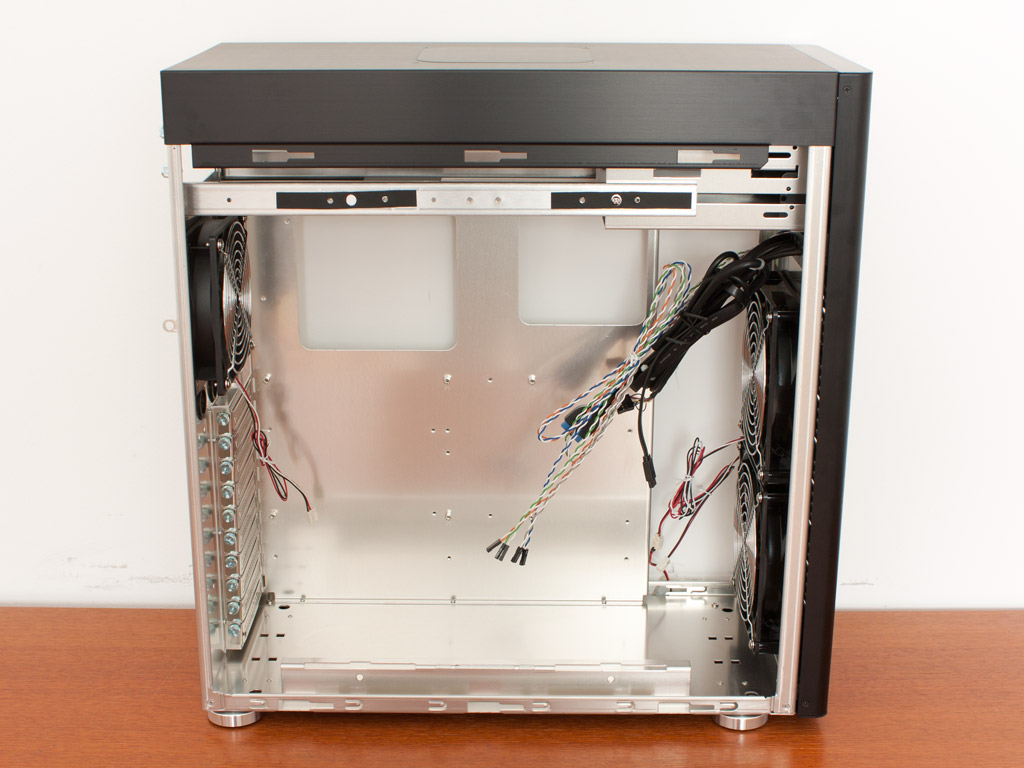
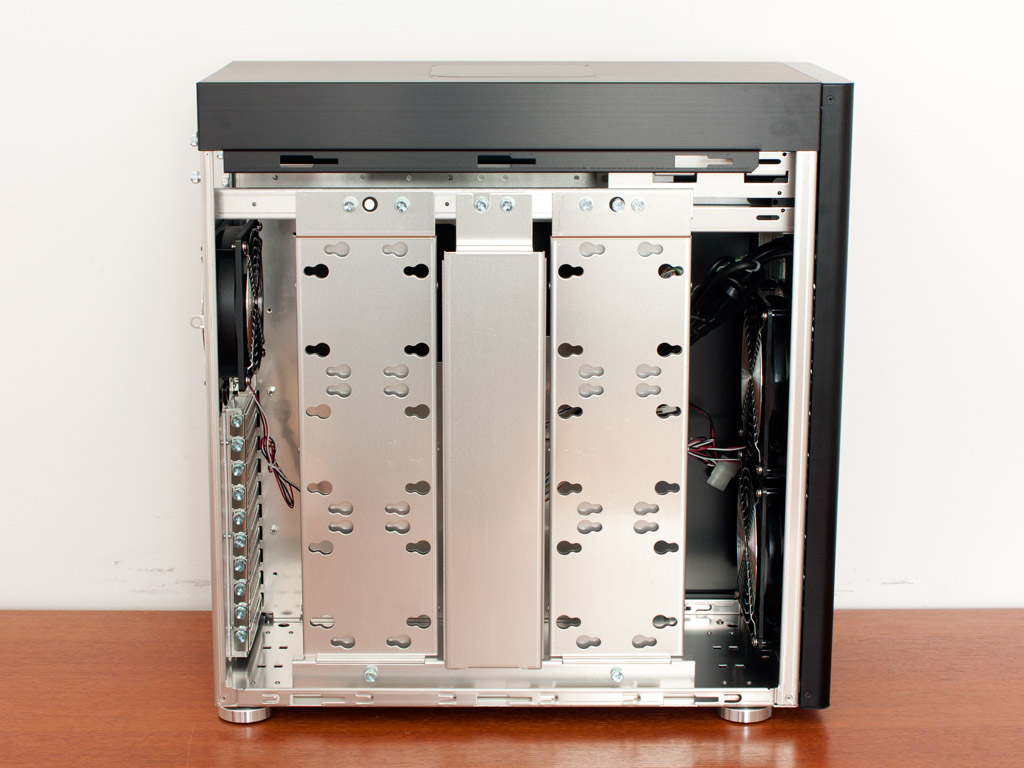
Once these parts are removed, it becomes obvious how simple the interior has become due to the fact that the hard drives are no longer part of the equation. The two fans will push air across the entire board and components with no drives in the way.
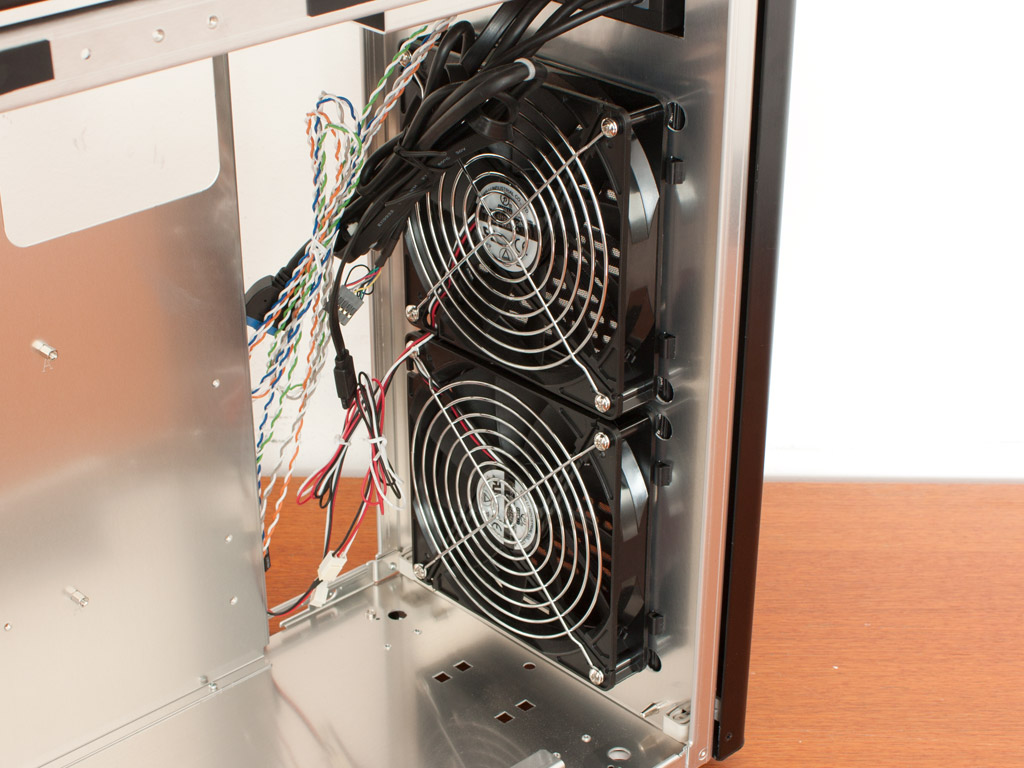
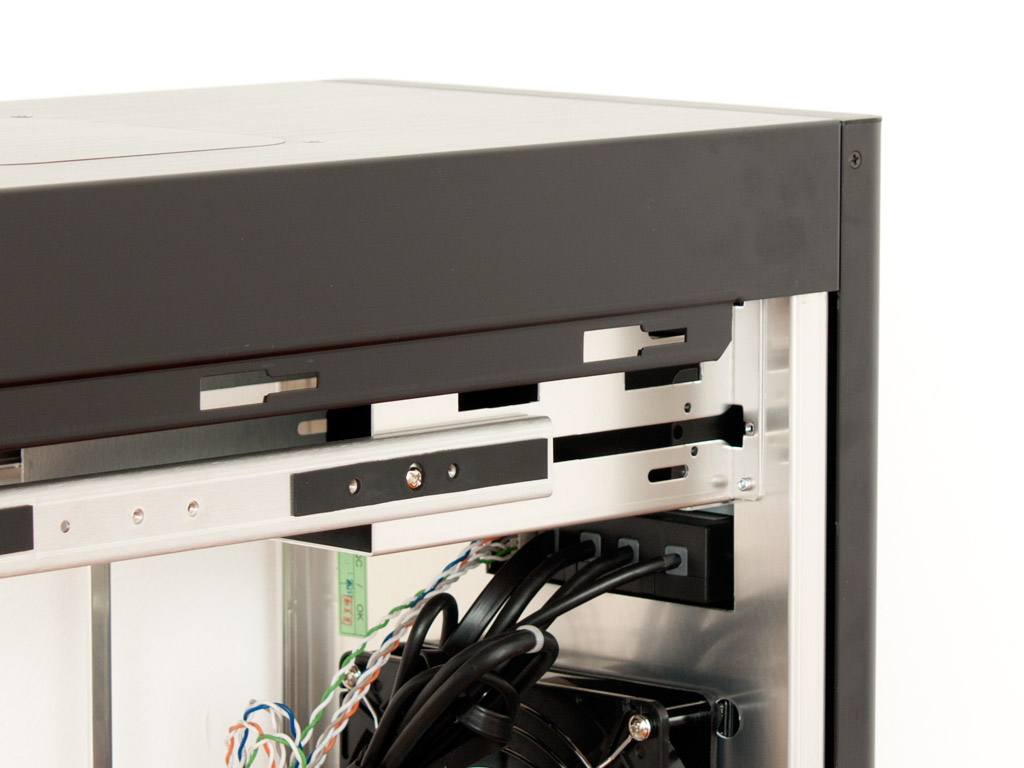
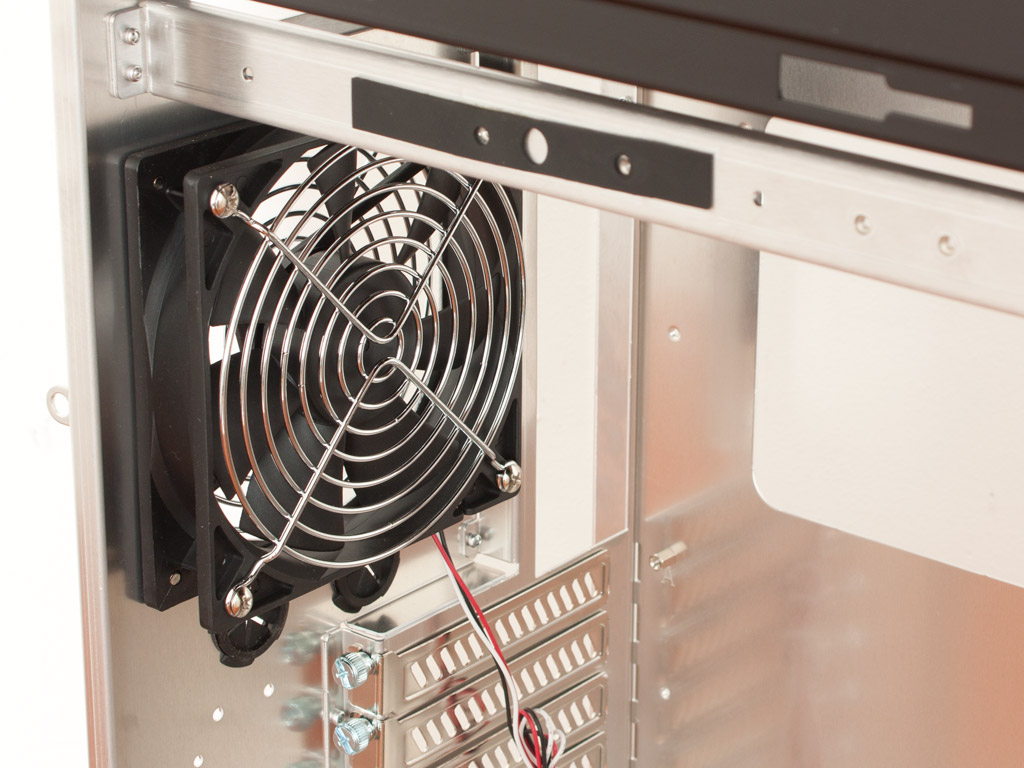
Both of these fans are of the 140 mm variety and each come with 3-pin connectors attached to a Molex adapter. Metal guards keep your fingers safe when fooling around in a running system. The two 5.25 inch bays are partial in the top cover of the case, so Lian Li had to find a different approach to install such devices here as we will see later on.

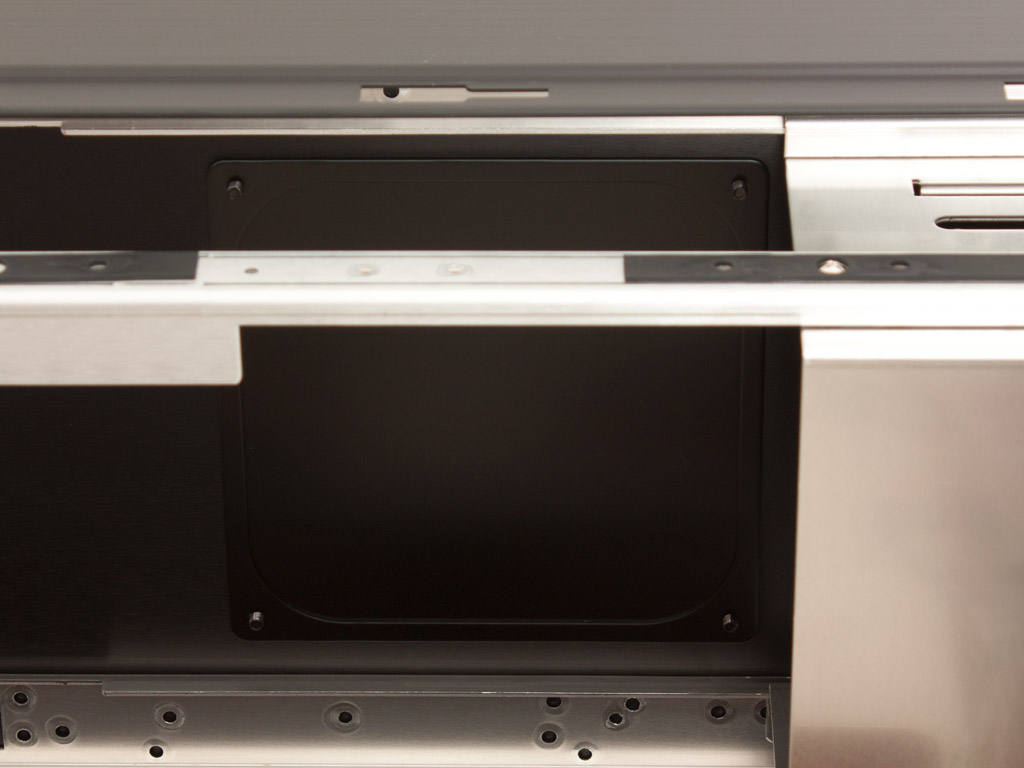
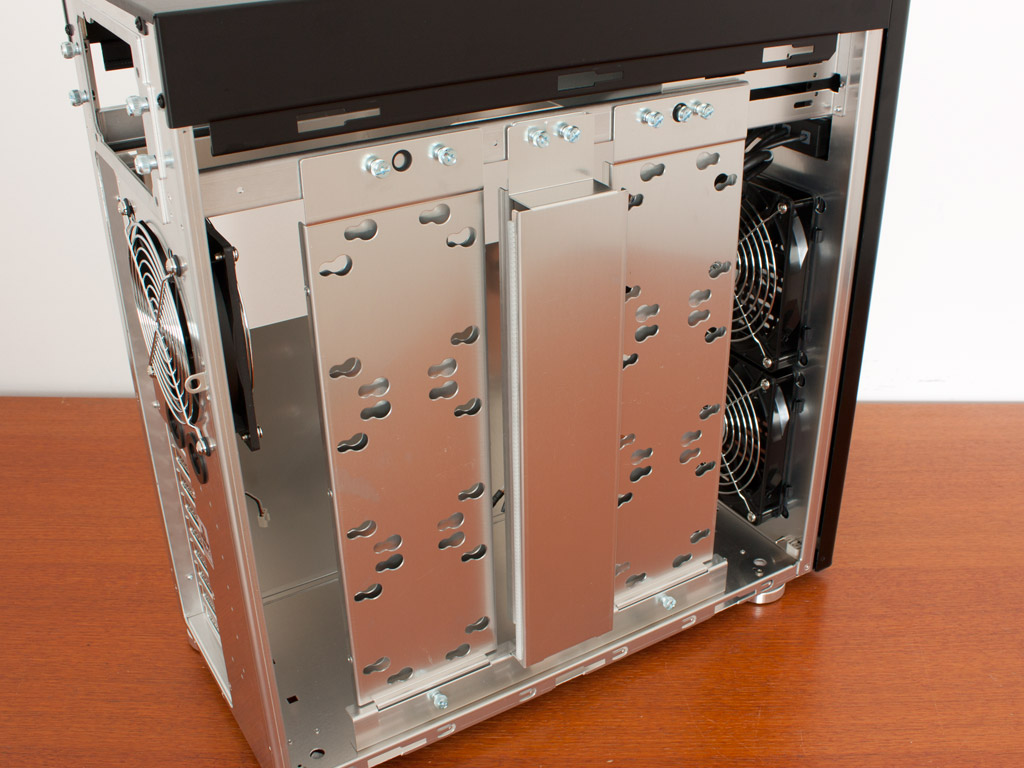
Each of the ten motherboard expansion slots is protected by separate covers, while thumb screws hold these in place. Above that is the third and last fan - a 120 mm unit pulling air out of the back of the chassis. You may install an additional 140 mm unit in the ceiling, but Lian Li has covered it with an Aluminum plate until you choose to fill this spot.
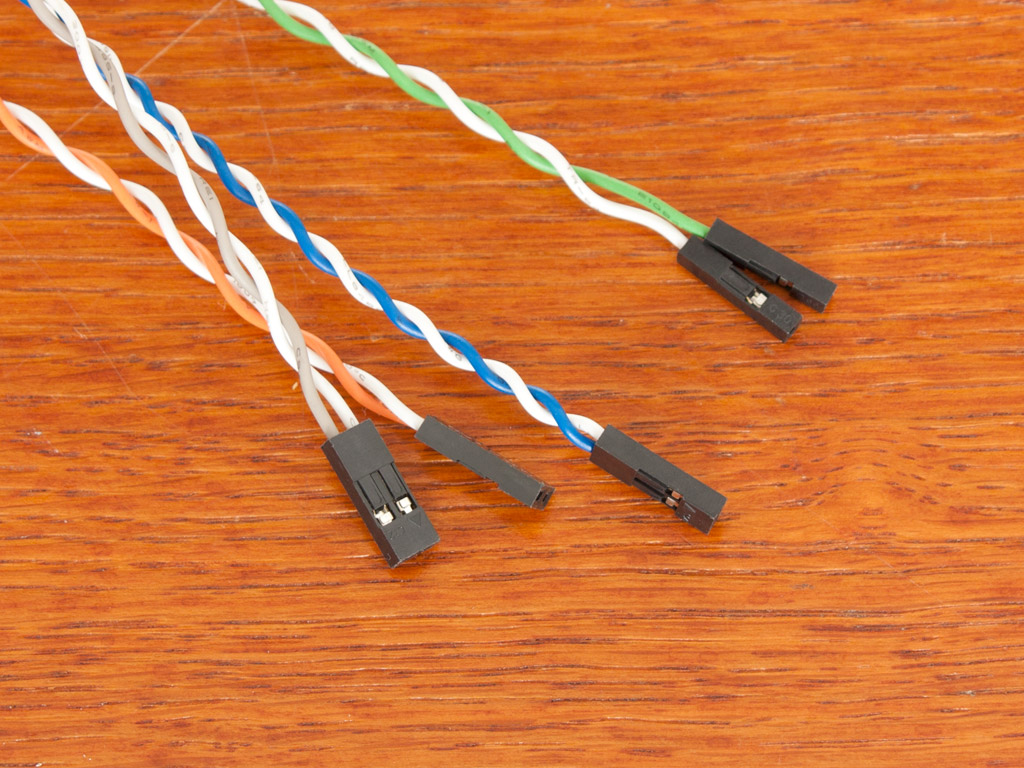
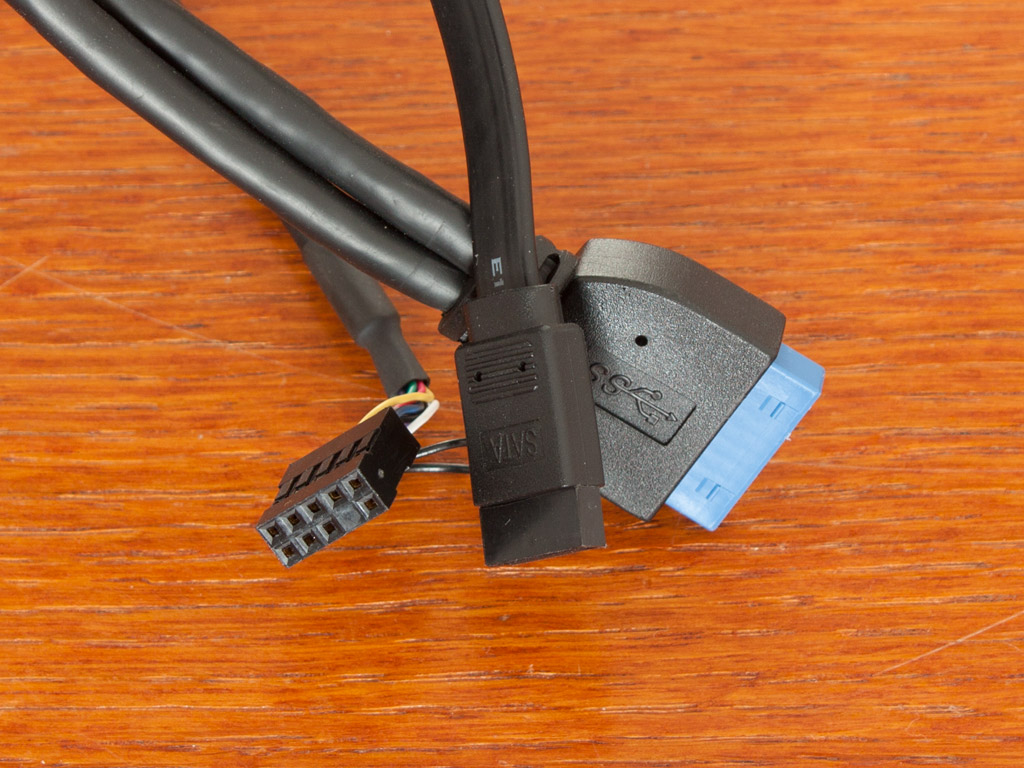
Before we dive into the assembly process, let us take a quick look at the cables. These are of the standard variety with colored cables and the usual I/O cables along with the internal 20-pin USB 3.0 connector.
Mar 10th, 2025 16:34 EDT
change timezone
Latest GPU Drivers
New Forum Posts
- Maxsun RX580 graphics card crashes (26)
- DLSS as antialiasing? (20)
- Fix for Vram frequency always at maximum (0)
- Please I need help with the poor performance that my PC is giving me (28)
- Company of Heroes 3 (5)
- The TPU Darkroom - Digital SLR and Photography Club (4071)
- A Final Fantasy IX Reminiscence - My love letter and homage to one of the best stories ever told (72)
- Gaming PC instabiliity (20)
- Msi 5090 DOA? (27)
- 3D Printer Club (447)
Popular Reviews
- Sapphire Radeon RX 9070 XT Nitro+ Review - Beating NVIDIA
- XFX Radeon RX 9070 XT Mercury OC Magnetic Air Review
- ASUS Radeon RX 9070 TUF OC Review
- MSI MAG B850 Tomahawk Max Wi-Fi Review
- NVIDIA GeForce RTX 5080 Founders Edition Review
- NVIDIA GeForce RTX 5070 Founders Edition Review
- Corsair Vengeance RGB CUDIMM DDR5-8800 48 GB CL42 Review
- AMD Ryzen 7 9800X3D Review - The Best Gaming Processor
- ASUS GeForce RTX 5070 Ti TUF OC Review
- MSI GeForce RTX 5070 Ti Gaming Trio OC+ Review
Controversial News Posts
- NVIDIA GeForce RTX 50 Cards Spotted with Missing ROPs, NVIDIA Confirms the Issue, Multiple Vendors Affected (513)
- AMD Plans Aggressive Price Competition with Radeon RX 9000 Series (277)
- AMD Radeon RX 9070 and 9070 XT Listed On Amazon - One Buyer Snags a Unit (261)
- AMD RDNA 4 and Radeon RX 9070 Series Unveiled: $549 & $599 (260)
- AMD Mentions Sub-$700 Pricing for Radeon RX 9070 GPU Series, Looks Like NV Minus $50 Again (248)
- NVIDIA Investigates GeForce RTX 50 Series "Blackwell" Black Screen and BSOD Issues (244)
- AMD Radeon RX 9070 and 9070 XT Official Performance Metrics Leaked, +42% 4K Performance Over Radeon RX 7900 GRE (195)
- AMD Radeon RX 9070-series Pricing Leaks Courtesy of MicroCenter (158)