 12
12
Lian Li PC-V2120 Review
Value & Conclusion »Assembly
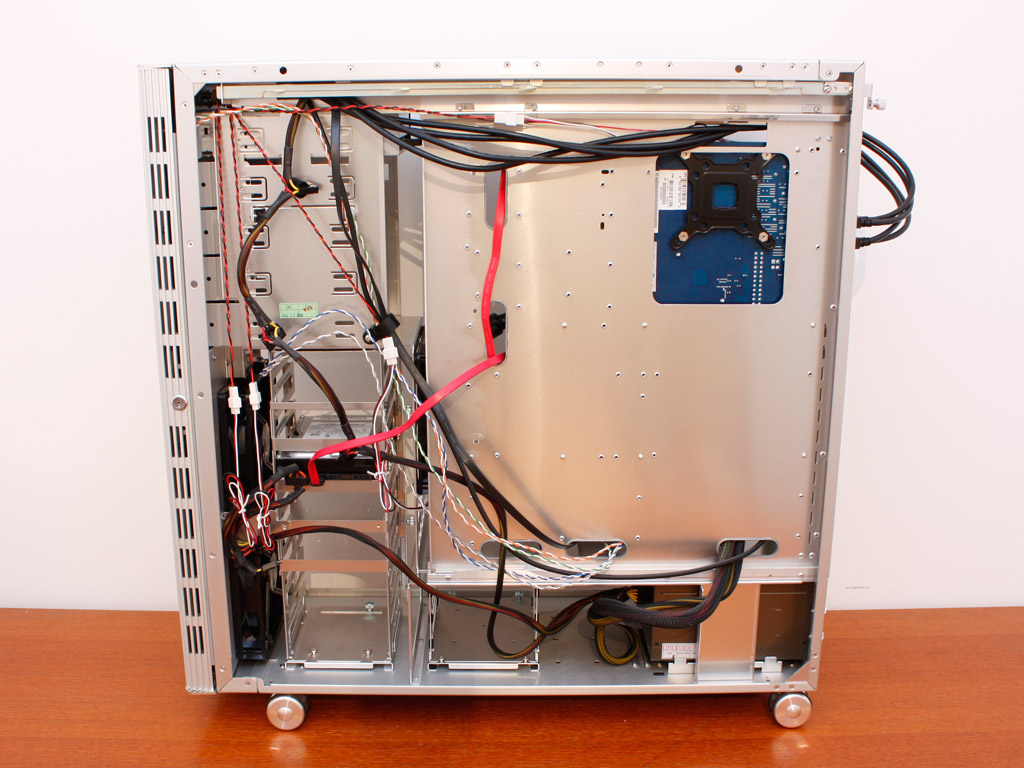
Assembly is nice and easy, thanks to the mainboard tray. As you can see, there are endless holes for motherboard spacers, so no matter if you use an ATX, XL-ATX or HPTX board, all will fit.
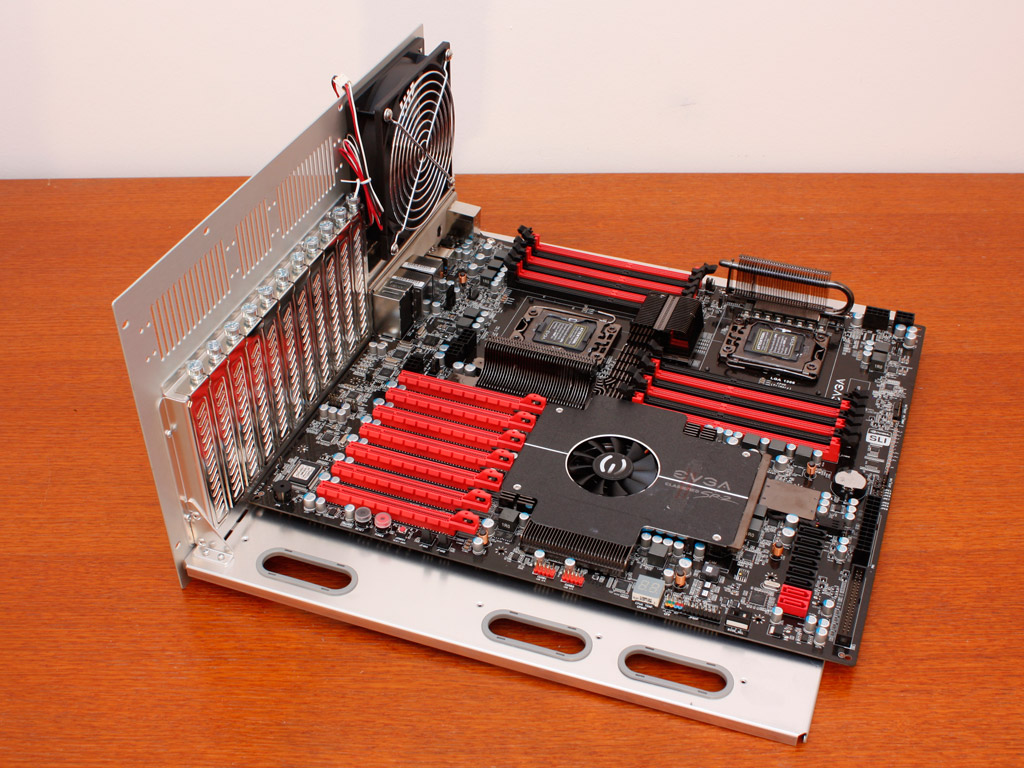


Let me branch off real quick before continuing, as I borrowed an EVGA SR2 board just for this review. You can see it fits in terms of height, but extends a tad bit over the right edge of the tray. This means that you will have to remove one 140 mm fan to fit this mainboard. Considering the overall size I was a bit surprised that one has to compromise in a sense to truly fit the board, but luckily this fan is not a necessity and other HPTX cases do not have it anyways.


A normal mainboard will obviously fit nicely as well. Using such a unit, allows the use of the cable routing holes to the right of the board as well. The CPU cooler fits perfectly fine as well, even if you install a 140 mm fan on it, so at this point it is safe to say that most coolers have enough space within the V2120.
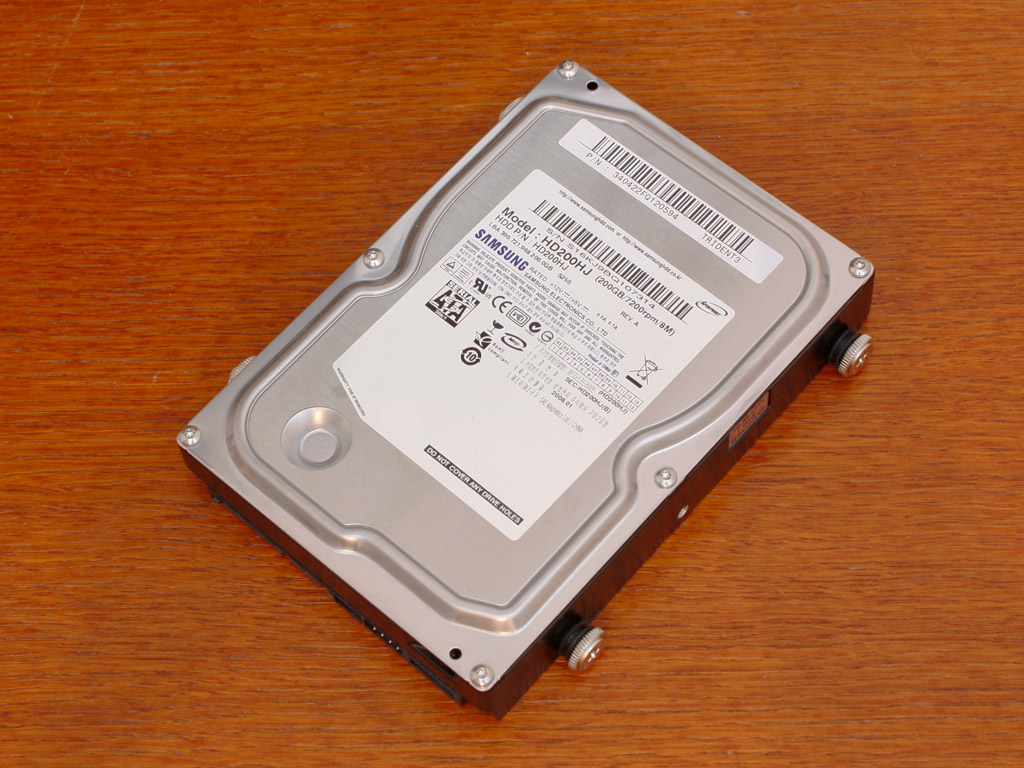
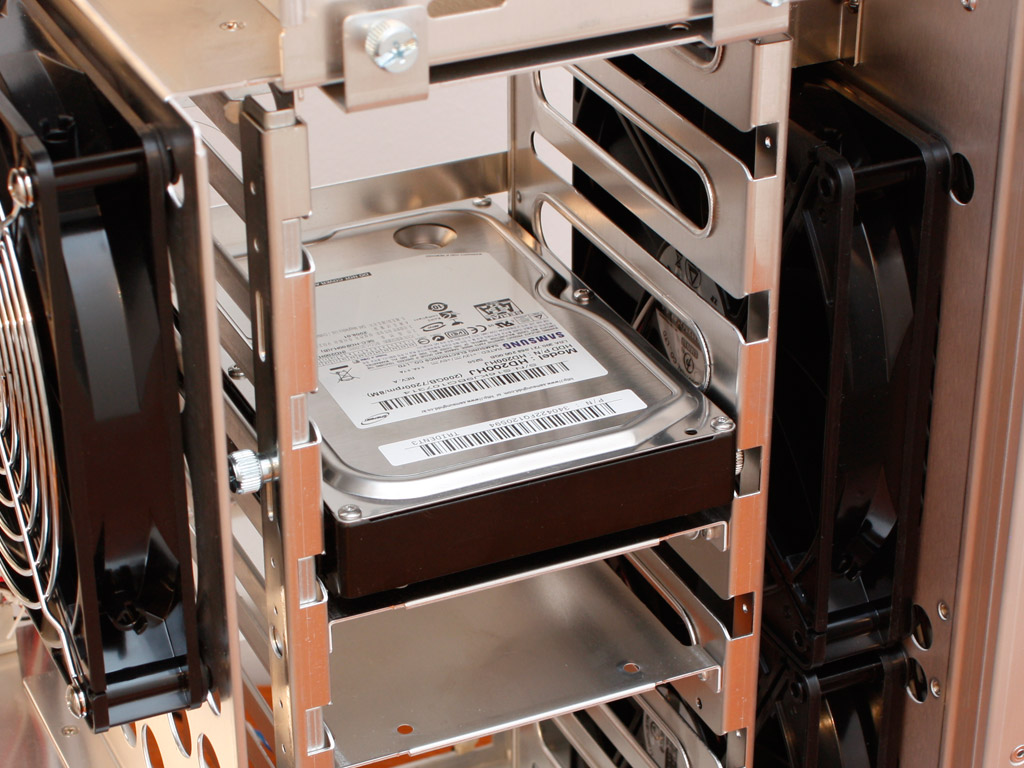

Installing 3.5 inch hard drives within the chassis requires the use of a screw driver to prepare them, but in the end each configuration is the same - a rubber ring for every screw. Just place the screws with the rubber rings on the drives and slide them into place. A locking bar then holds the drives in place.
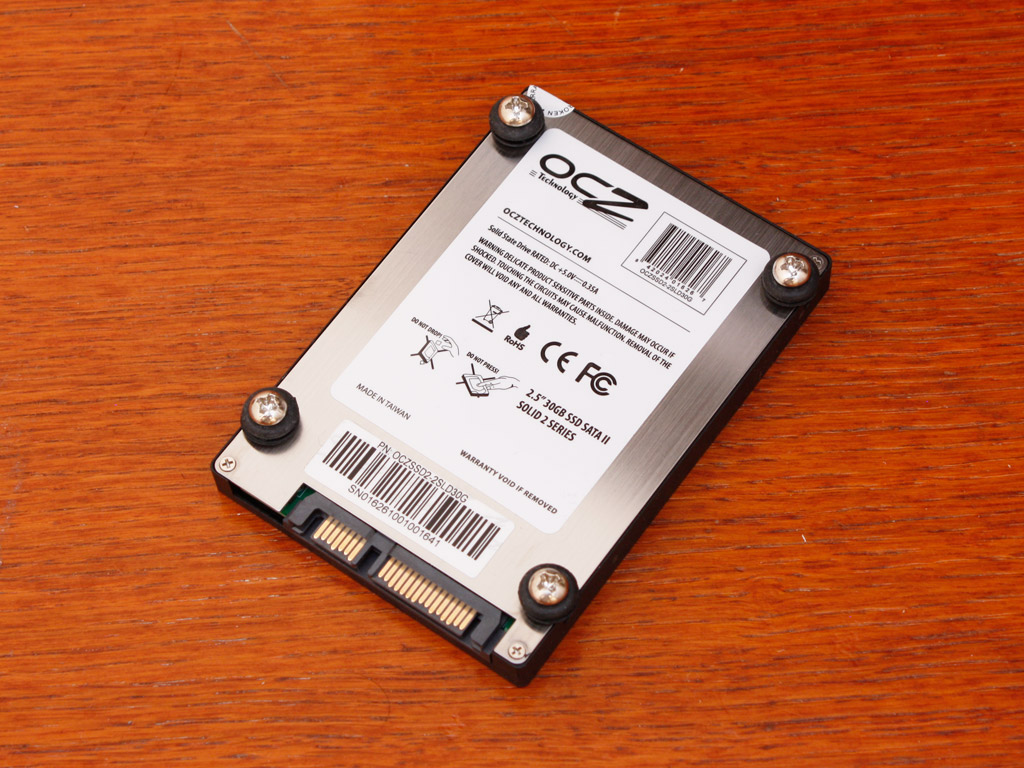
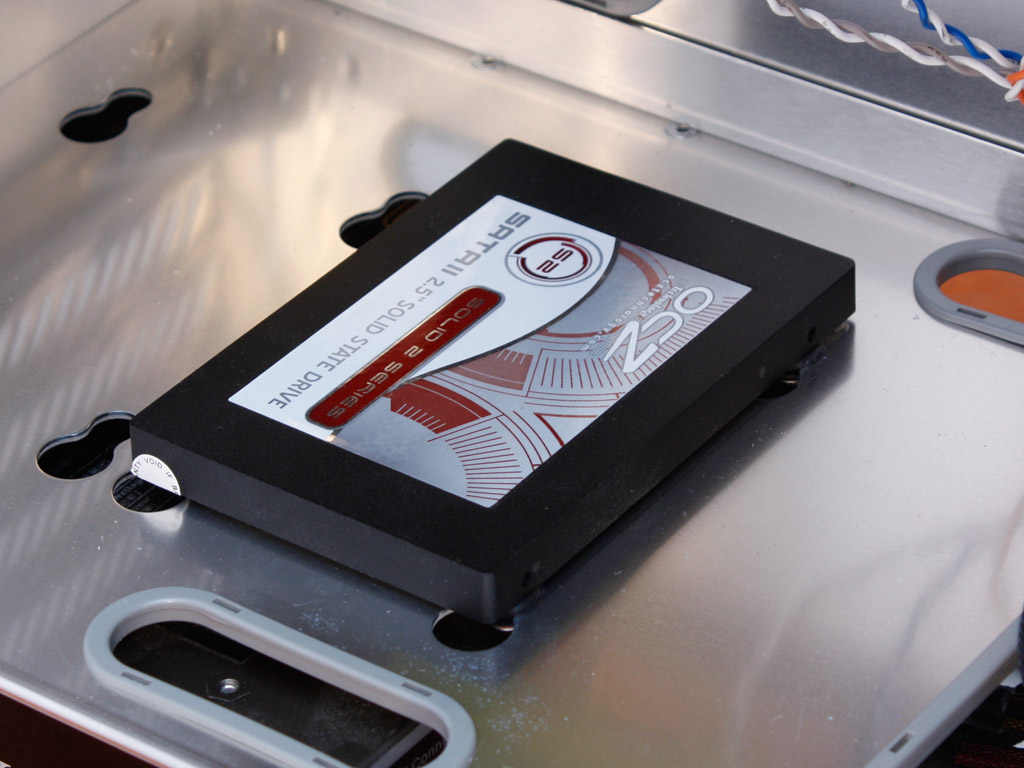
Placing the 2.5 inch drives into their designated areas follows the same principle, but they cannot be locked into place, as they are just pushed into position. While this is fine, a simple rubberized screw on the short edge would easily stop them from ever popping out by mistake. I am surprised why Lian Li did not think of such a simple solution, as the rest of the chassis is extremely well designed.


Optical drive installation is screwless as well. Just slide the drive into place and then lock it down with the available mechanism. It holds things in place quite well, but you may use traditional screws if you are still worried.
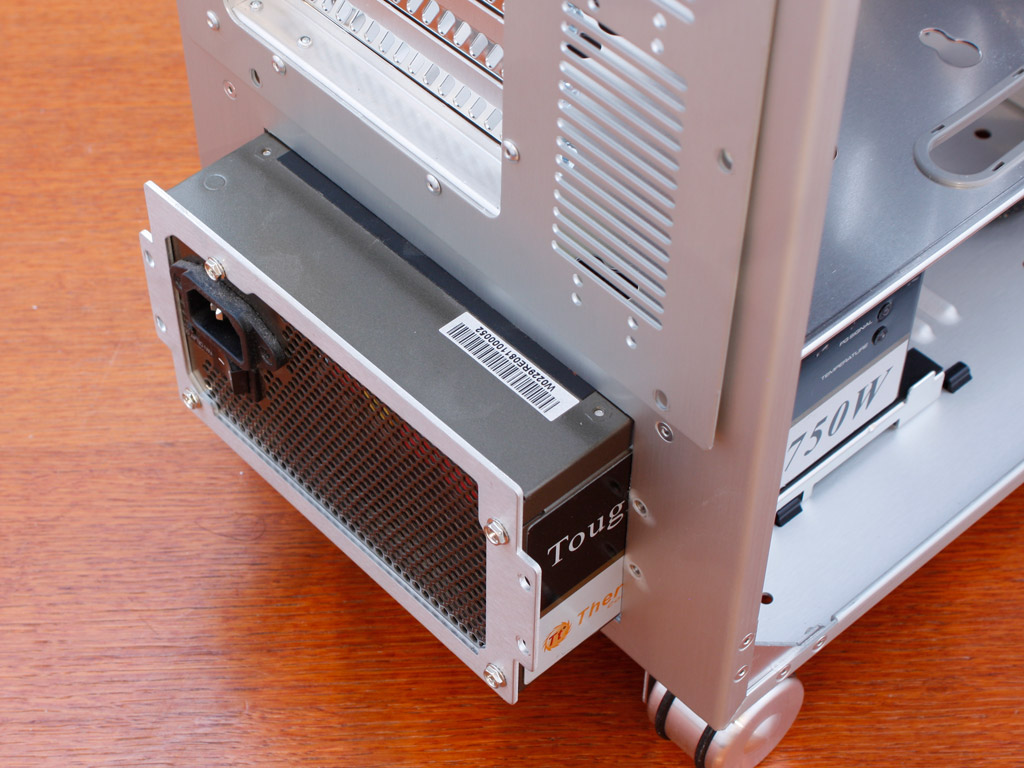

Next the PSU installation can either be done by sliding in the back after putting the frame on and sliding it in. This mechanism is required to allow for large units to be put into place without having to remove the hard drive cage for example. In my case, I could have just placed the PSU within the chassis and screwed it down.

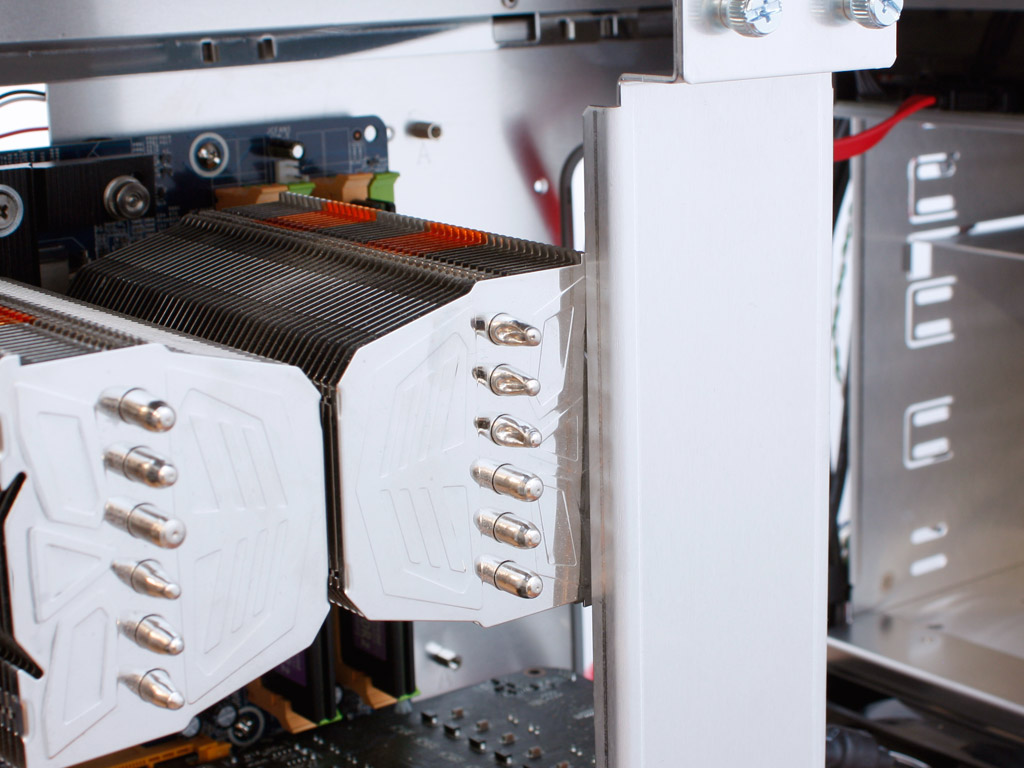
We have covered the expansion slot support beam before and it still works just as well today as it did before. While we have used the simple horizontal plastic piece, Lian Li now also included vertical pieces to apply even pressure to those flat surfaces of modern dual slot graphic cards - a wise addition. We did notice one fairly important issue though. The Prolimatech Super Mega may be one of the largest CPU coolers out there, but a 140 mm fan will still extend beyond the cooler itself. The same goes for the likes of Thermalright Archon or Silver Arrow. This means that you will have to remove the support beam completely if you are using such coolers. Reshaping it would give the user about half an inch more room to play with. While the loss of the beam is a bit disappointing, luckily such a feature is not strictly necessary.
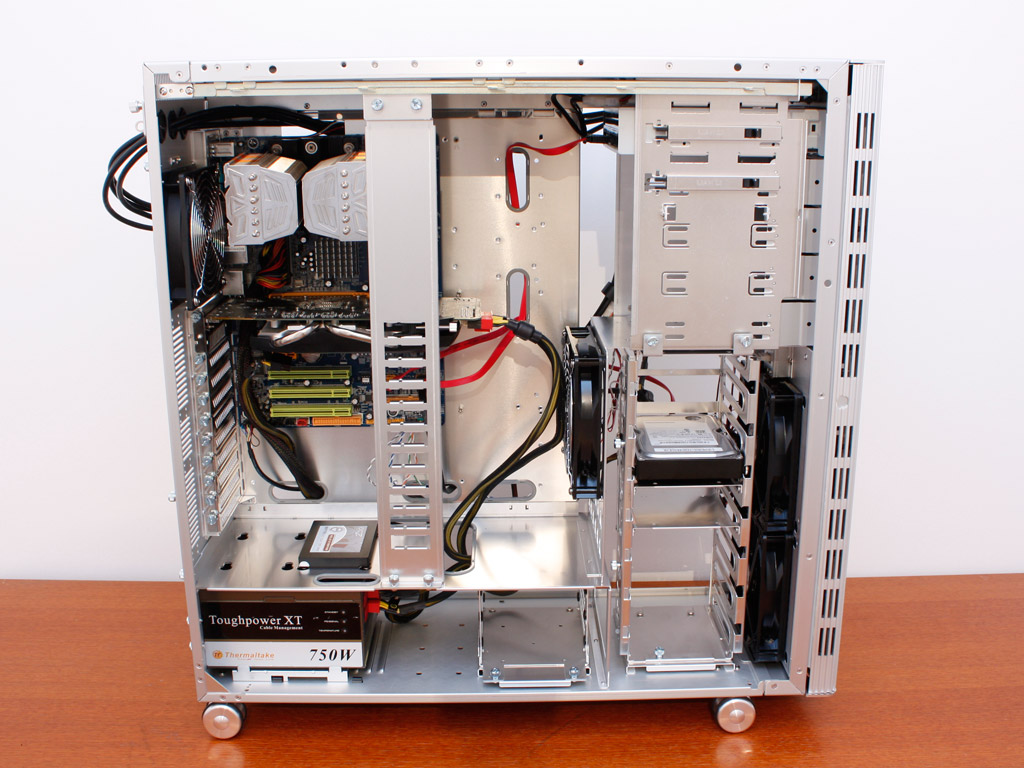

Once everything is installed, the Lian Li PC-V2120 still looks empty. This goes to show that the chassis is just way too big for the normal user, but also attests that you should have plenty of room for multi CPU configurations. For the standard parts of our case reviews, this chassis is clearly overkill.
Finished Looks
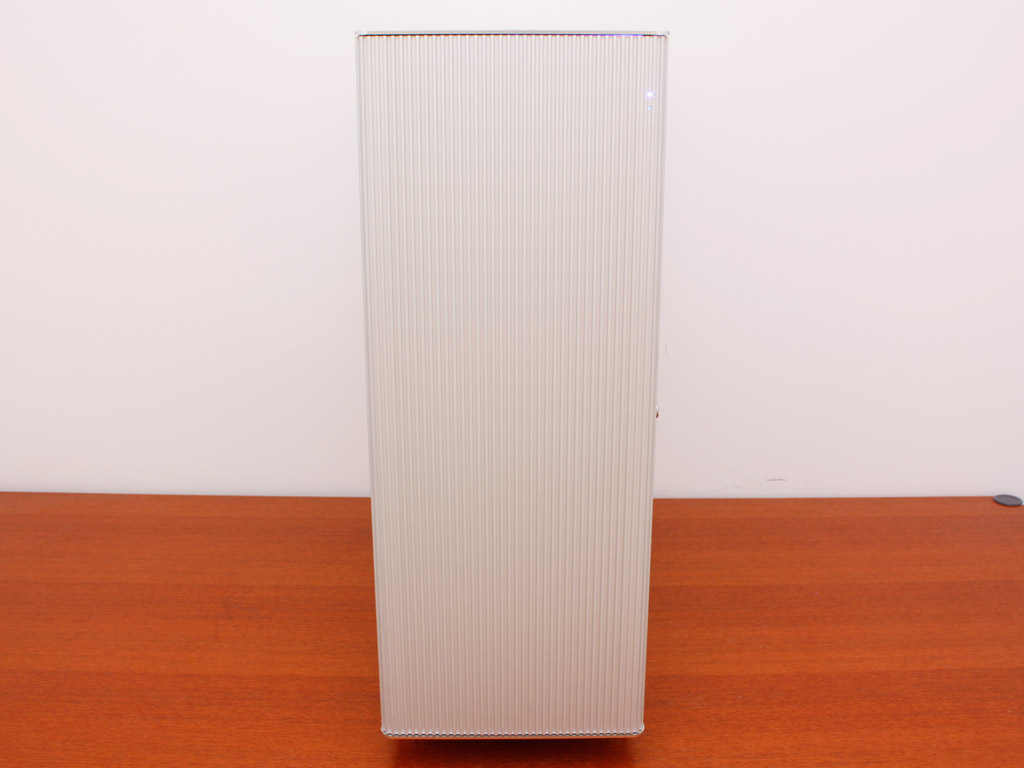
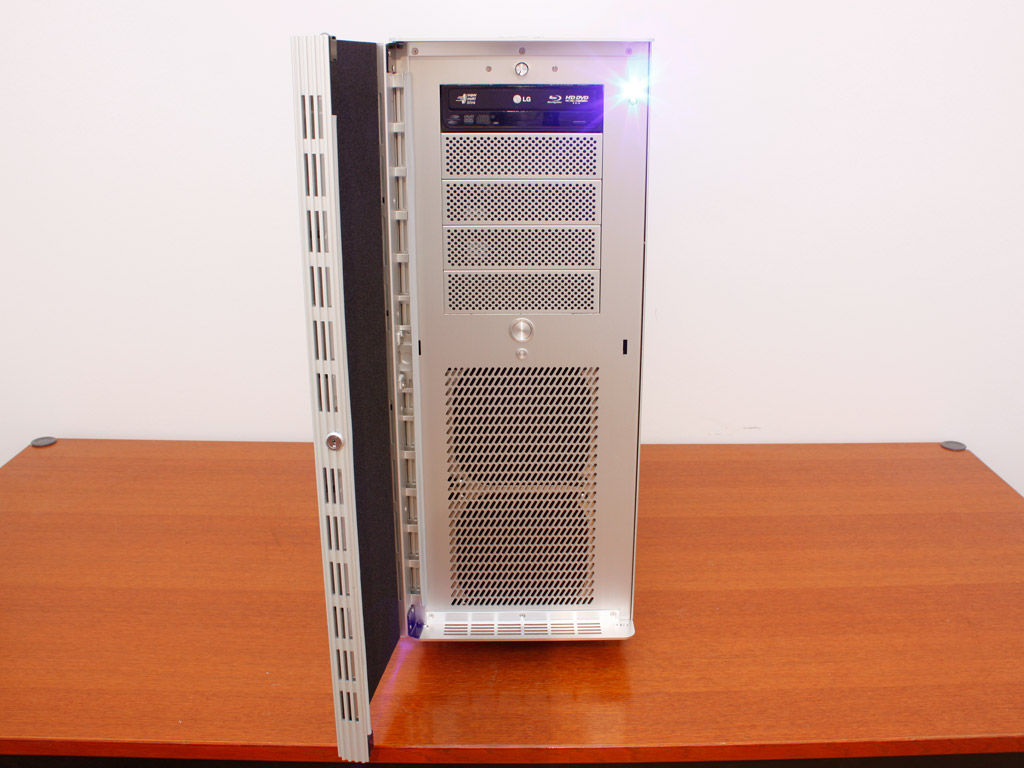
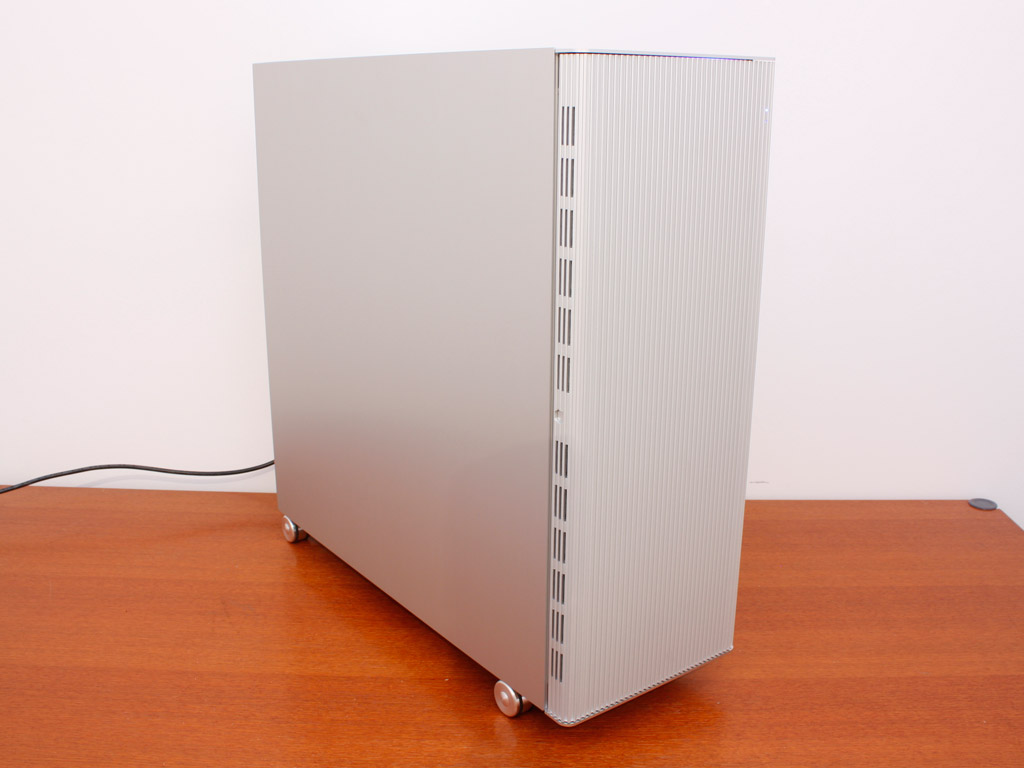
Once the side panels have been put in place, nothing hints at what is inside the chassis. The fans are very quiet at lowest setting while creating a clean "whooshing" sound at full throttle. Lian Li has done an excellent job once again with the choice of cooling units within the case. The power LED is blue and rather bright, but this is a necessity so that you can see it through the little opening in the front door. Overall the system looks and feels much like a power house and workstation - no matter what puny hardware is working away inside.

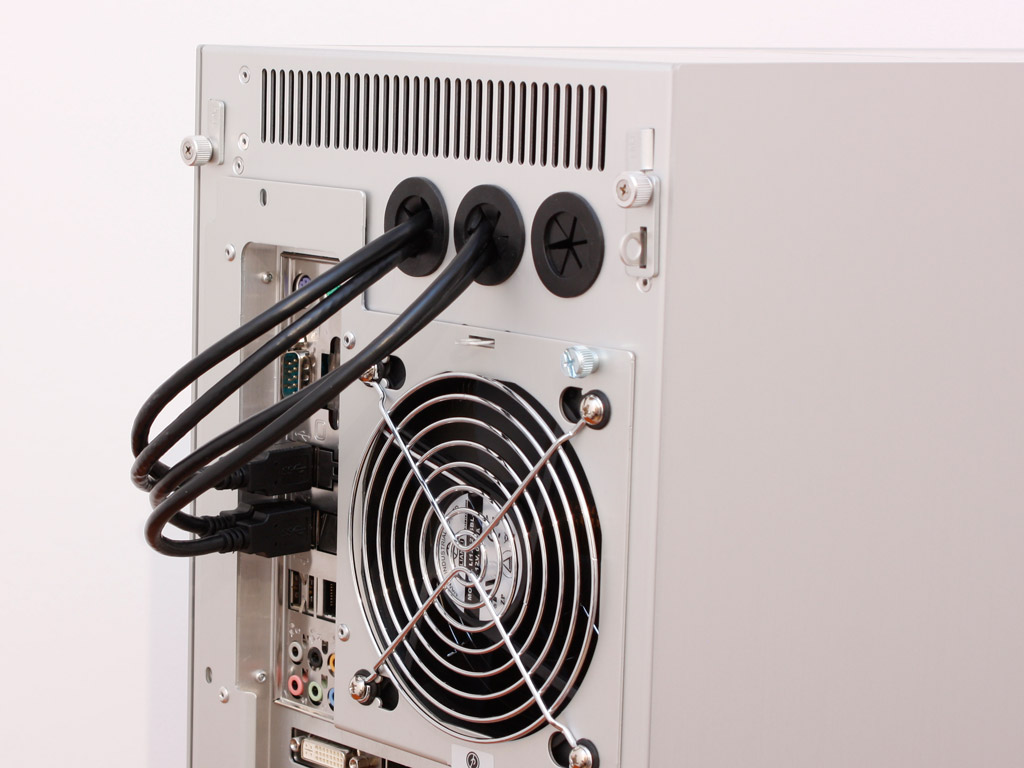
As you can see I routed all four USB 3.0 cables out the back. Considering the fact that NEC currently only offers controllers with two plugs (an IC for four connectors is on the way) and Lian Li actually included an adapter to install two of them internally, this was just a little mistake on my part. I totally did not think about the possibility to connect them internally during the assembly process itself, but even so, the four cables can be hidden well enough within the chassis, so that they should not really get in the way of things. You may just have a hard time reaching the Ethernet ports, while the ports above and below should not be obstructed.
Jul 10th, 2025 02:46 CDT
change timezone
Latest GPU Drivers
New Forum Posts
- Do you still use Antivirus software on your latest hardware? (75)
- Screen burn-in (21)
- TPU's Nostalgic Hardware Club (20493)
- 3DMARK "LEGENDARY" (326)
- Post Your TIMESPY, PCMARK10 & FIRESTRIKE SCORES! (2019) (321)
- 5070ti overclock...what are your settings? (47)
- 'NVIDIA App' not usable offline? (1)
- G-Sync Not Working in Borderless / Window Mode - Windows 11 (5)
- [GPU-Z Test Build] New Kernel Driver, Everyone: Please Test (78)
- Friend's monitor randomly loses signal (3)
Popular Reviews
- NZXT N9 X870E Review
- NVIDIA GeForce RTX 5050 8 GB Review
- Fractal Design Epoch RGB TG Review
- Corsair FRAME 5000D RS Review
- Fractal Design Scape Review - Debut Done Right
- AMD Ryzen 7 9800X3D Review - The Best Gaming Processor
- Sapphire Radeon RX 9060 XT Pulse OC 16 GB Review - An Excellent Choice
- Upcoming Hardware Launches 2025 (Updated May 2025)
- Sapphire Radeon RX 9070 XT Nitro+ Review - Beating NVIDIA
- PowerColor ALPHYN AM10 Review
TPU on YouTube
Controversial News Posts
- Intel's Core Ultra 7 265K and 265KF CPUs Dip Below $250 (288)
- Some Intel Nova Lake CPUs Rumored to Challenge AMD's 3D V-Cache in Desktop Gaming (140)
- NVIDIA Launches GeForce RTX 5050 for Desktops and Laptops, Starts at $249 (117)
- AMD Radeon RX 9070 XT Gains 9% Performance at 1440p with Latest Driver, Beats RTX 5070 Ti (116)
- NVIDIA GeForce RTX 5080 SUPER Could Feature 24 GB Memory, Increased Power Limits (115)
- Microsoft Partners with AMD for Next-gen Xbox Hardware (105)
- Intel "Nova Lake‑S" Series: Seven SKUs, Up to 52 Cores and 150 W TDP (100)
- NVIDIA DLSS Transformer Cuts VRAM Usage by 20% (97)