 1
1
Mionix Avior Pro Gaming Mouse Review
Sensor & Performance »Build Quality
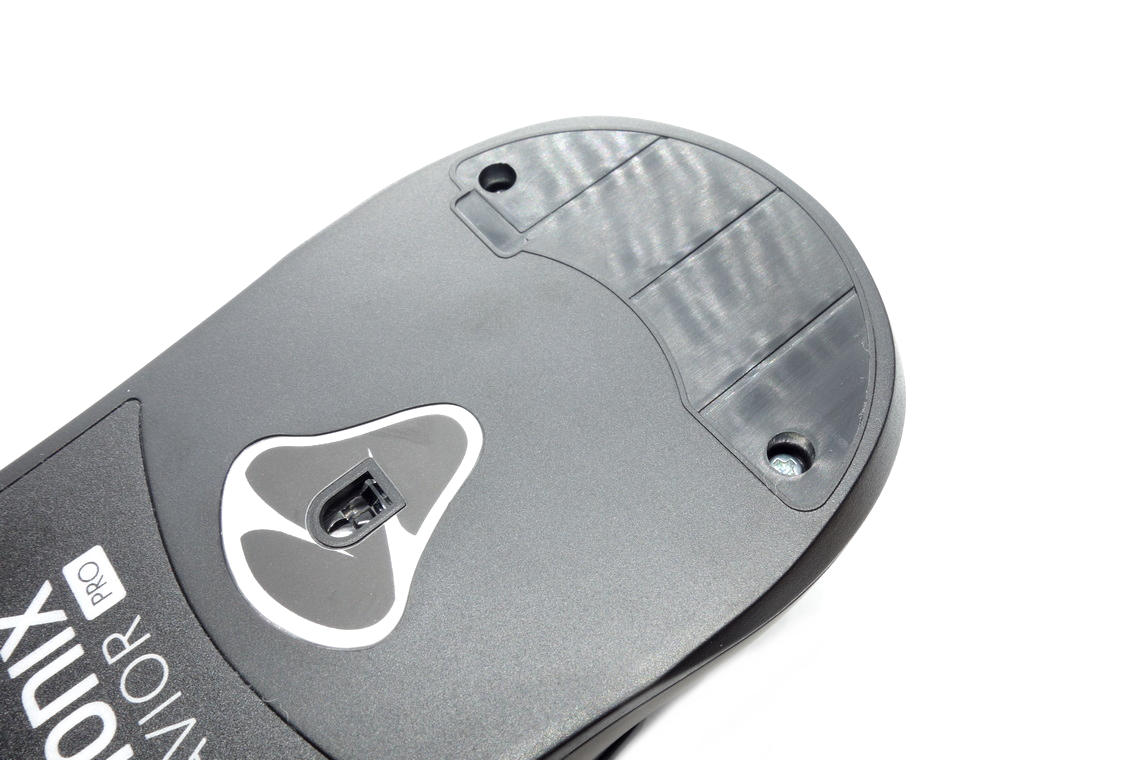
Overall build quality is very solid. There is no rattle when shaking the mouse. When applying lateral pressure, no creaking or flexing of the shell can be observed. Activating the side buttons by squeezing the sides is impossible. Lastly, no accidental clicks occur when slamming down the mouse.Buttons

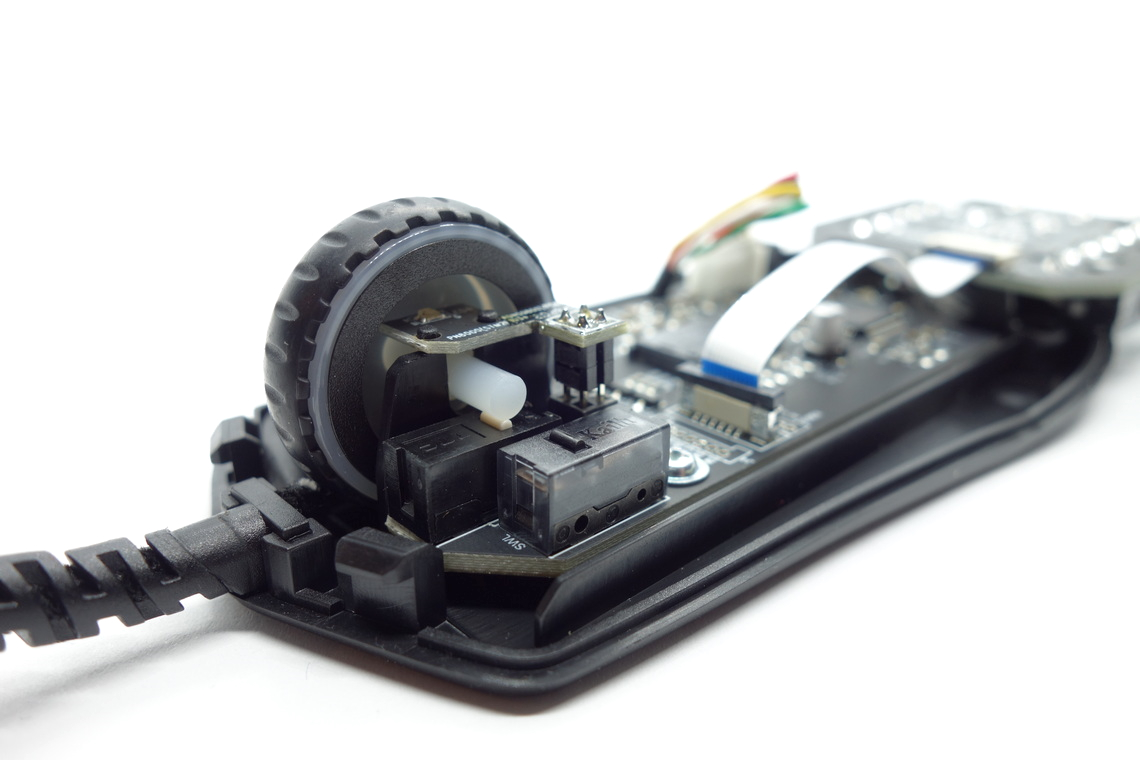
Main buttons on the Avior Pro are very good. There is a decent amount of post-travel on either button, but pre-travel is pleasingly low on both. The switches themselves provide a clearly defined and snappy response. The buttons can still be actuated quite far back on the mouse, though the shell imparts a high degree of rigidity in that case. Button stiffness is medium. A pair of Kailh GM 8.0 (80 M) switches is used.


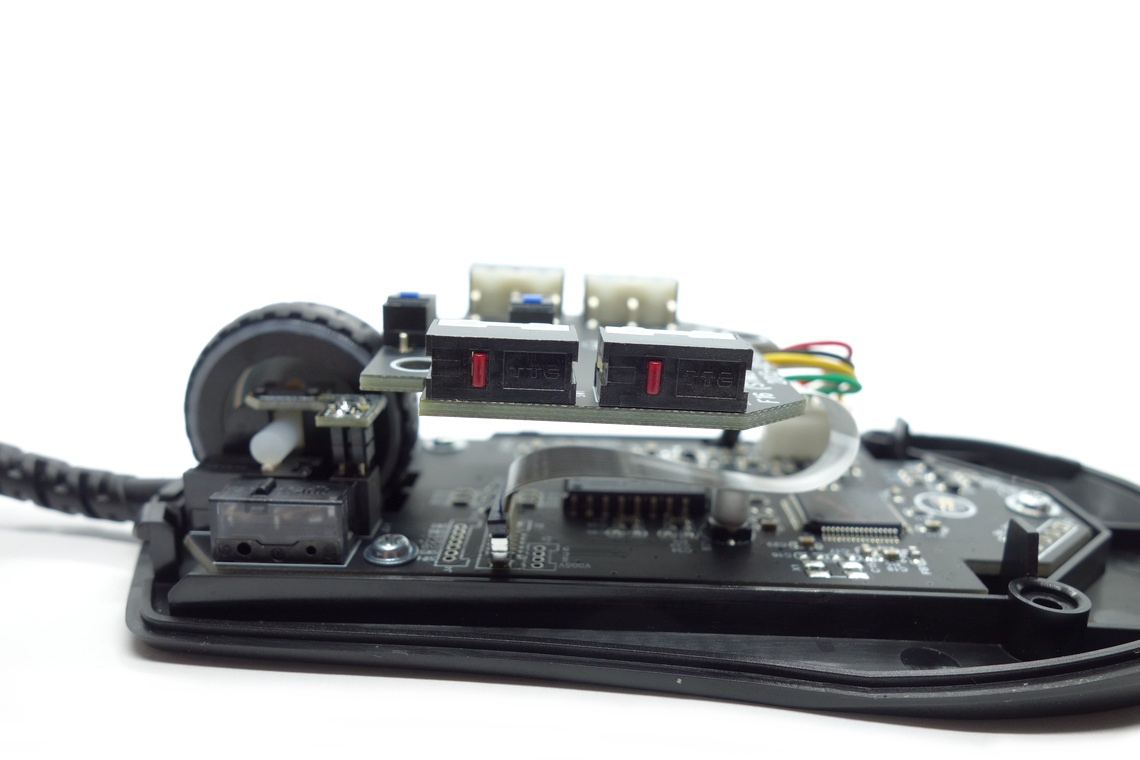
Side buttons are good. On the left side, the back button has minimal post-travel, while the forward button has low post-travel, and both have some pre-travel. On the right side, the reverse is true, and the back button has more post-travel, while pre-travel is similar once again. Button response is equally snappy and pleasing on both. Button placement is good as actuation is possible very easily by rolling one's thumb across. A pair of TTC switches (red plunger) each is used here.
At the top of the mouse are two buttons for cycling up and down through the set CPI steps, which work just fine. Two TTC switches (old logo, blue plunger) are used for these.
Scroll Wheel
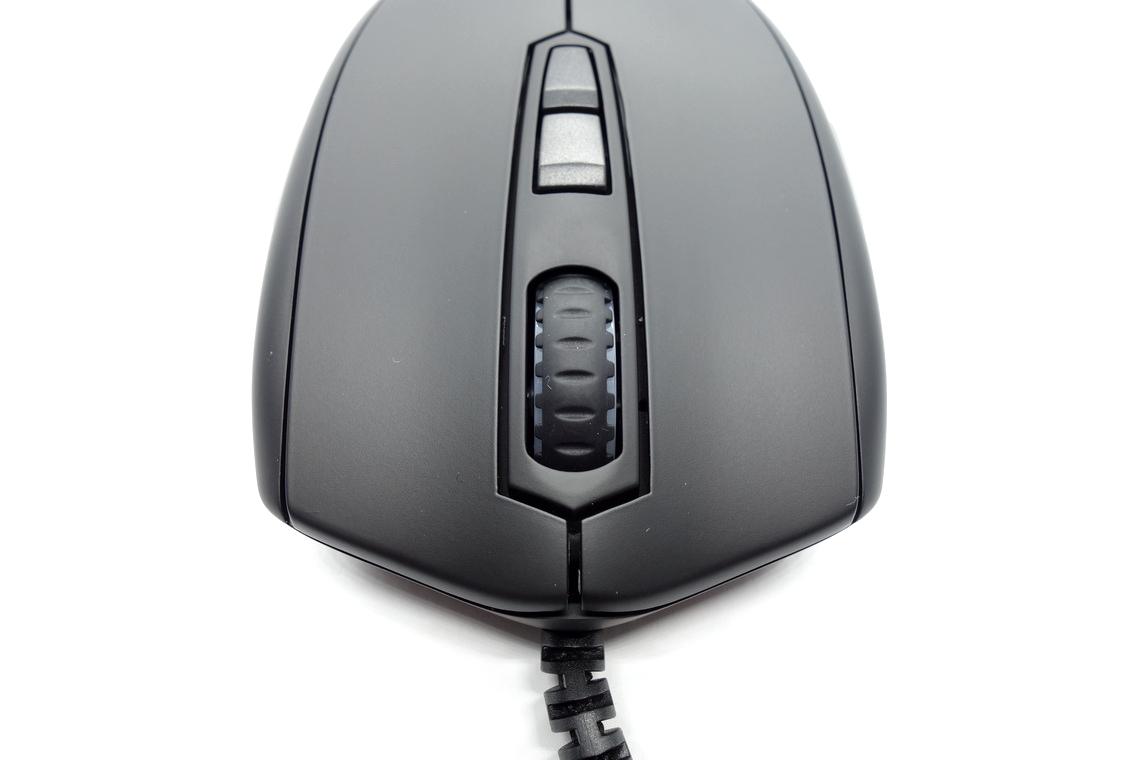
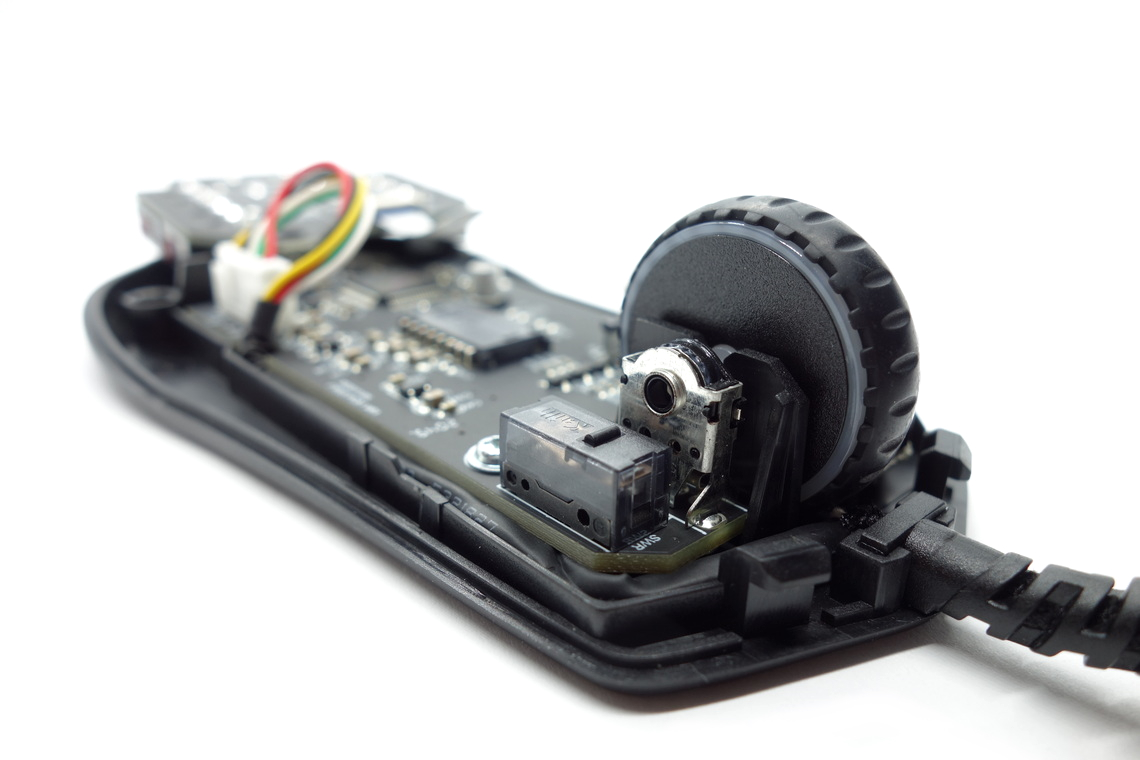
The scroll wheel is good. Scrolling in either direction is quite noisy, but tactility is decent, providing clearly discernible steps, although scrolling is a bit too light for my liking. Most notably, compared to other wheel designs, this one sits quite a bit lower, so that it barely sticks out. The encoder comes from ALPS (black core) and has a height of 9 mm. The middle (scroll wheel) click requires low force for actuation. Yet another TTC switch (white plunger) is used for this one.
Coating
The Avior Pro has a smooth matte surface all over. It doesn't attract fingerprints, dirt, or the likes too much. It is easy to clean, and there are barely any signs of wear left after doing so. All in all, very good materials.Button Sound Test
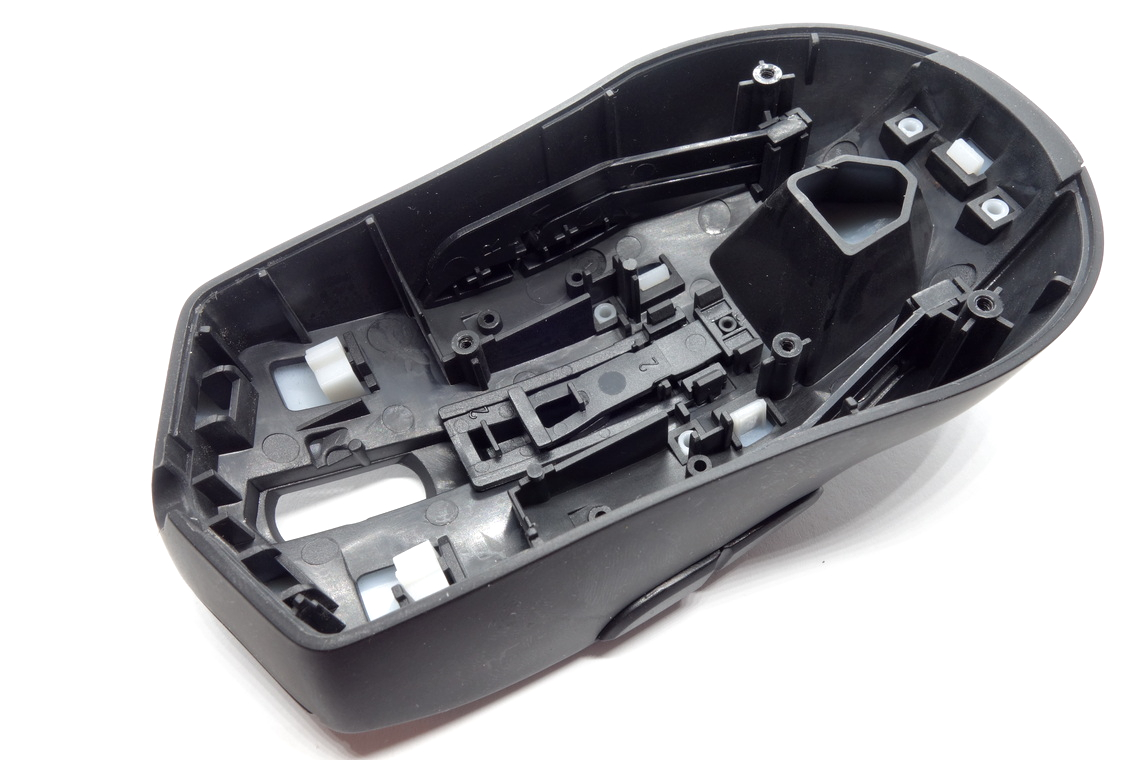
Disassembly
Disassembling the Avior Pro is very easy. Just remove the rear skate and the screws beneath it, and pop the top and bottom shell apart. While the internal design isn't as inefficient as on the Naos Pro, saving weight clearly was no concern on this one either. The top and side buttons sit on their own PCB screwed into the top shell and are connected through a ribbon cable. An auxiliary PCB for illumination purposes can be found next to the scroll wheel. All PCBs are incredibly thick, and the main PCB in particular has a decent amount of unused space. Production date for the main PCB is the 49th week of 2020. Three screws are used to secure the main PCB to the bottom shell. The MCU is an STM32L072RBT6, whose datasheet can be found here.
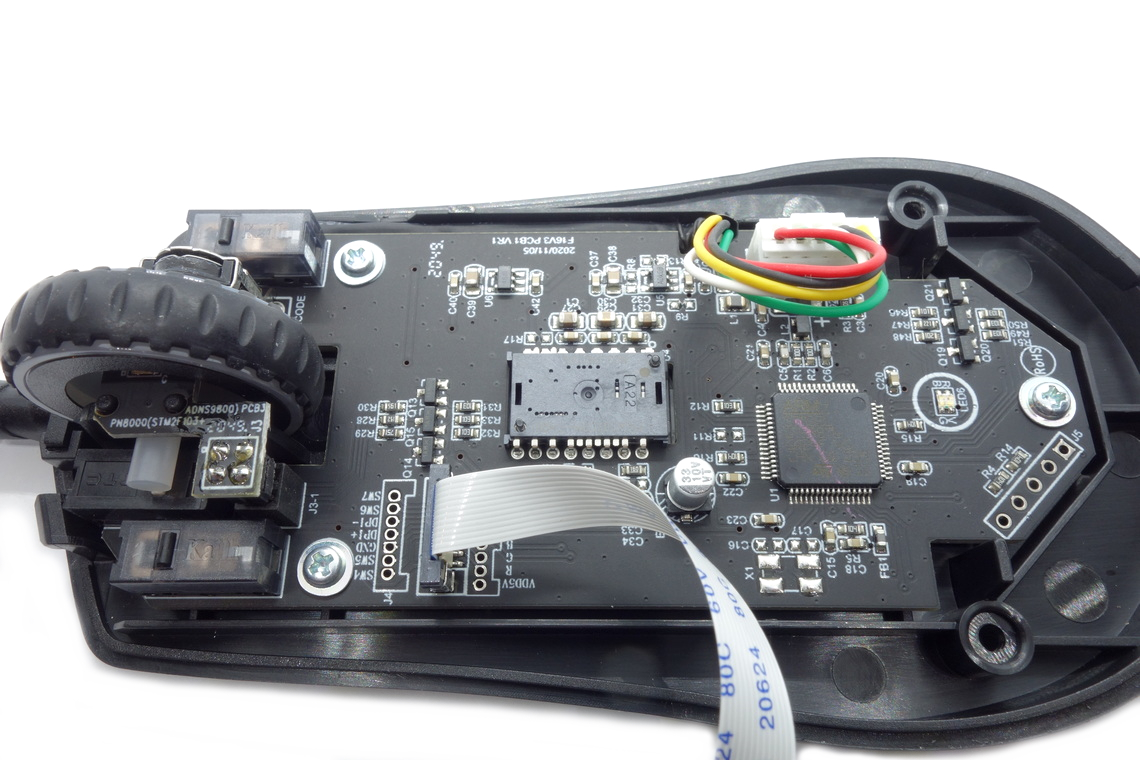
As for the soldering and general quality of the PCB, I'm unable to find any noteworthy flaws.
Mar 10th, 2025 16:41 EDT
change timezone
Latest GPU Drivers
New Forum Posts
- DLSS as antialiasing? (21)
- Maxsun RX580 graphics card crashes (27)
- Fix for Vram frequency always at maximum (0)
- Please I need help with the poor performance that my PC is giving me (28)
- Company of Heroes 3 (5)
- The TPU Darkroom - Digital SLR and Photography Club (4071)
- A Final Fantasy IX Reminiscence - My love letter and homage to one of the best stories ever told (72)
- Gaming PC instabiliity (20)
- Msi 5090 DOA? (27)
- 3D Printer Club (447)
Popular Reviews
- Sapphire Radeon RX 9070 XT Nitro+ Review - Beating NVIDIA
- XFX Radeon RX 9070 XT Mercury OC Magnetic Air Review
- ASUS Radeon RX 9070 TUF OC Review
- MSI MAG B850 Tomahawk Max Wi-Fi Review
- NVIDIA GeForce RTX 5080 Founders Edition Review
- NVIDIA GeForce RTX 5070 Founders Edition Review
- Corsair Vengeance RGB CUDIMM DDR5-8800 48 GB CL42 Review
- AMD Ryzen 7 9800X3D Review - The Best Gaming Processor
- ASUS GeForce RTX 5070 Ti TUF OC Review
- MSI GeForce RTX 5070 Ti Gaming Trio OC+ Review
Controversial News Posts
- NVIDIA GeForce RTX 50 Cards Spotted with Missing ROPs, NVIDIA Confirms the Issue, Multiple Vendors Affected (513)
- AMD Plans Aggressive Price Competition with Radeon RX 9000 Series (277)
- AMD Radeon RX 9070 and 9070 XT Listed On Amazon - One Buyer Snags a Unit (261)
- AMD RDNA 4 and Radeon RX 9070 Series Unveiled: $549 & $599 (260)
- AMD Mentions Sub-$700 Pricing for Radeon RX 9070 GPU Series, Looks Like NV Minus $50 Again (248)
- NVIDIA Investigates GeForce RTX 50 Series "Blackwell" Black Screen and BSOD Issues (244)
- AMD Radeon RX 9070 and 9070 XT Official Performance Metrics Leaked, +42% 4K Performance Over Radeon RX 7900 GRE (195)
- AMD Radeon RX 9070-series Pricing Leaks Courtesy of MicroCenter (158)