 14
14
MonsterLabo The First Review - Making a Passive Gaming Rig Possible
Active & Passive Cooling »Test System
| System Parts for Case Reviews | |
|---|---|
| Processor: | Intel Core i5-9600K |
| Motherboards: | ATX: MSI Z390 GAMING EDGE AC MATX: Z370M GAMING EDGE AC Mini-ITX: MSI Z370I GAMING EDGE AC Provided by: MSI |
| Graphics Card: | EVGA GeForce RTX 2060 Super SC Ultra Provided by: EVGA |
| Memory: | 16 GB XPG GAMMIX D30 DDR4 2666 MHz CL16-18-18 1.20 V 16 GB XPG SPECTRIX D60G DDR4 3000 MHz CL16-18-18 1.35 V Provided by: ADATA |
| HDD: | Western Digital 320 GB 7200 RPM |
| SSD: | ITX: ADATA SX6000 Pro M.2 256 GB mATX: ADATA GAMMIX S11 Pro M.2 256 GB ATX: ADATA SPECTRIX S40G M.2 256 GB ADATA XPG SX850 256 GB ADATA Ultimate SU630 240 GB ADATA Ultimate SU750 256 GB Provided by: ADATA |
| Power Supply: | Fractal Design ION+ 750W 80 Plus Platinum Provided by: Fractal Design |
| Cooling: | be quiet! Dark Rock 4 be quiet! Dark Rock Slim be quiet! Shadow Rock LP Provided by: be quiet! |
Assembly
Before you dive into the assembly process, remove a corner piece for all the required access to the CPU and GPU mounting blocks.
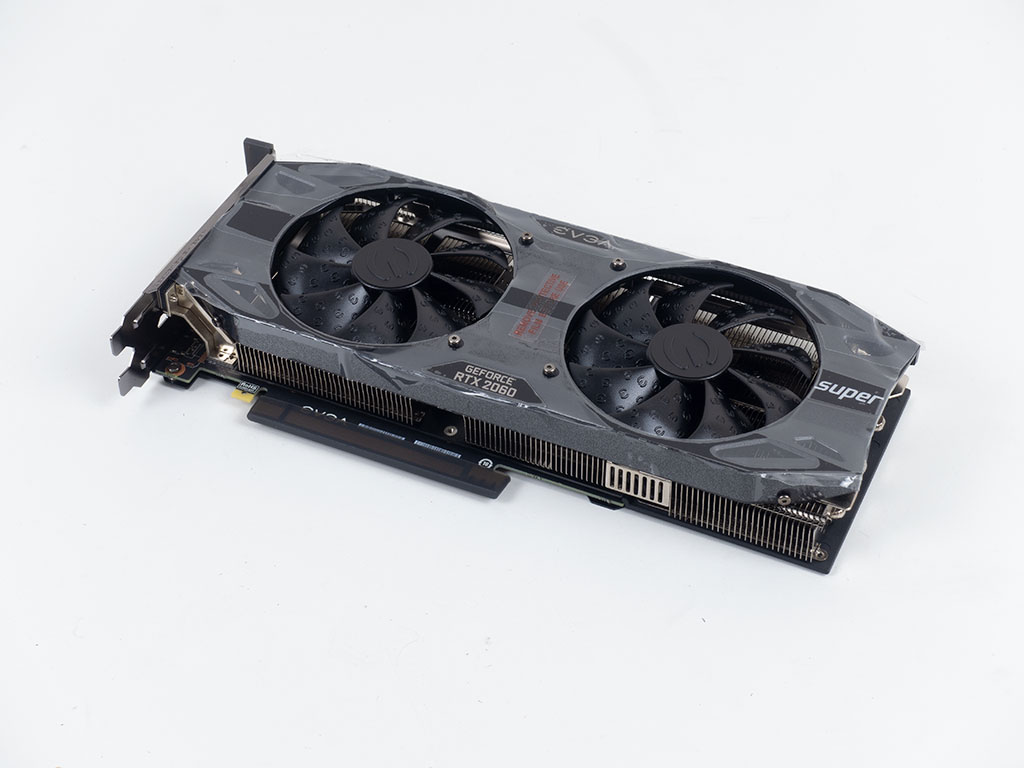
EVGA was kind enough to provide us with their EVGA GeForce RTX 2060 Super SC Ultra, which is officially on the MonsterLabo curated compatibility list for The First. We reviewed the graphics card in the past and know it dials in nicely at around a 180-watt thermal envelope, which makes it the perfect card for this review.
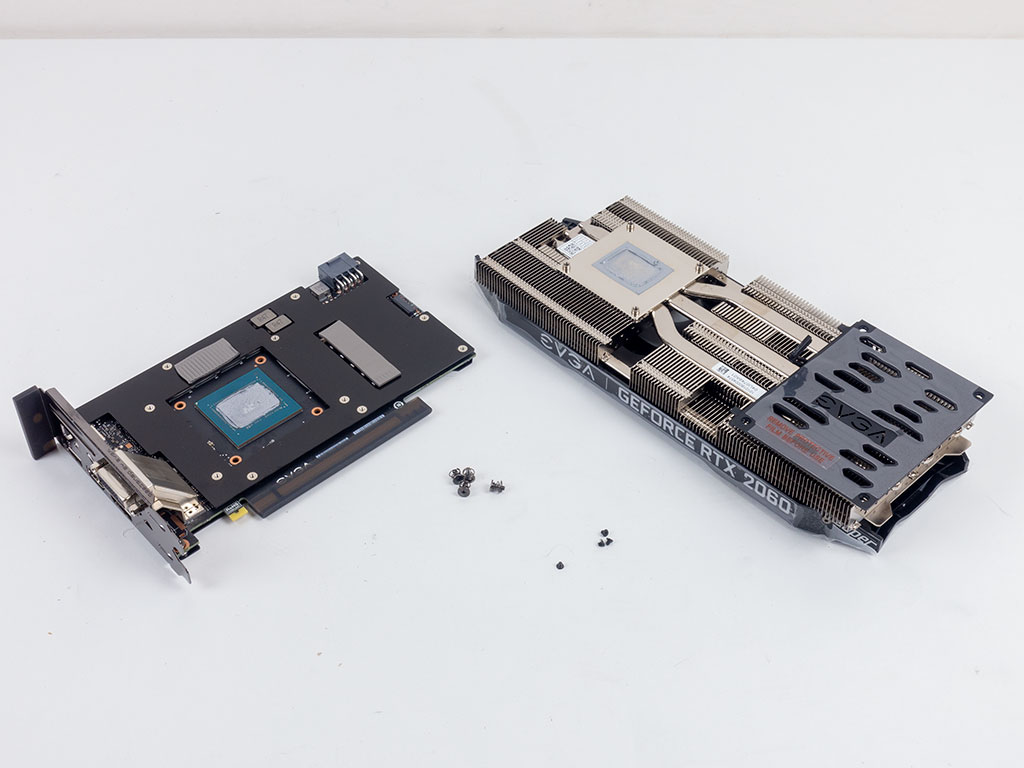

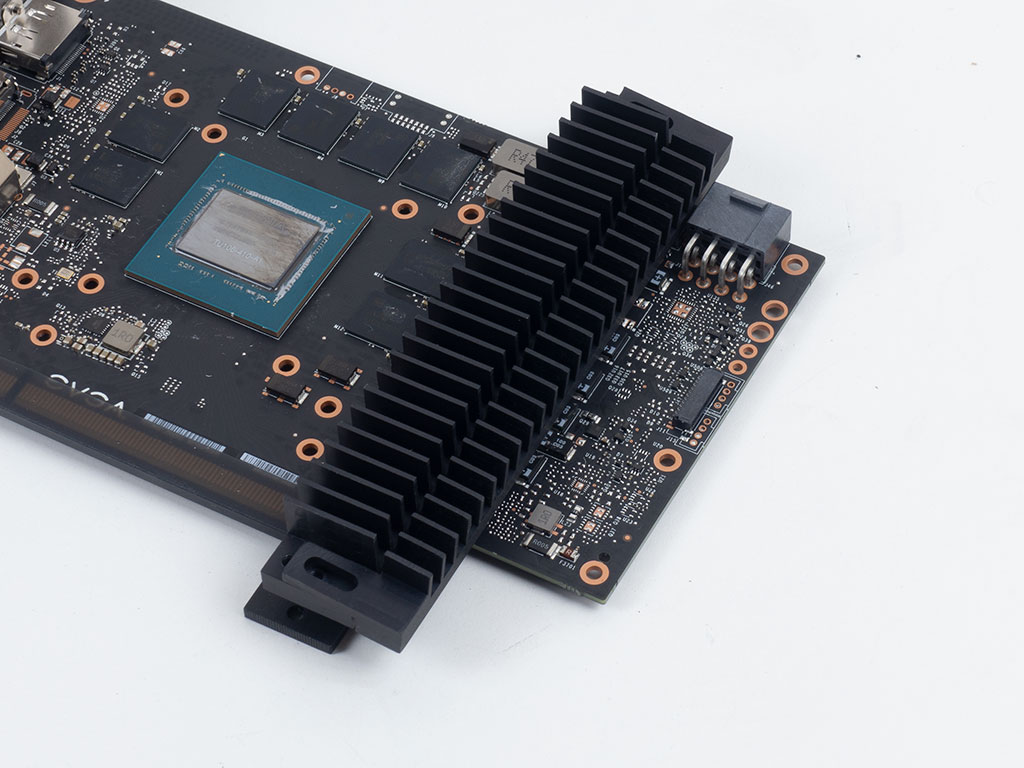
If it was not obvious up to this point: You will have to disassemble your GPU to fit it inside The First. Naturally, the large heatsink was the first to be removed. This will most likely void your warranty with most brands, so proper advanced planning for compatibility and care is required. With all the parts and heat transfer pads removed, the card got a proper cleaning, and even though the provided VRM heatsink was never intended for this card, we sought to show how it would potentially fit on your card. You basically sandwich it and screw things down with the provided mounting elements and thermal pads.
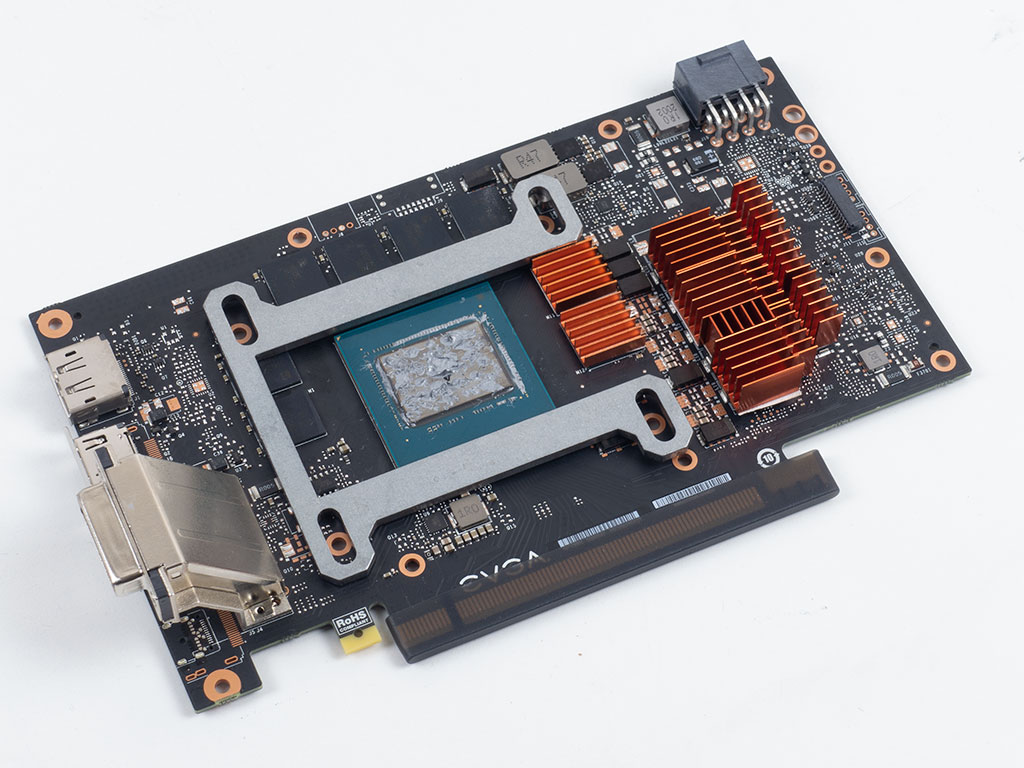

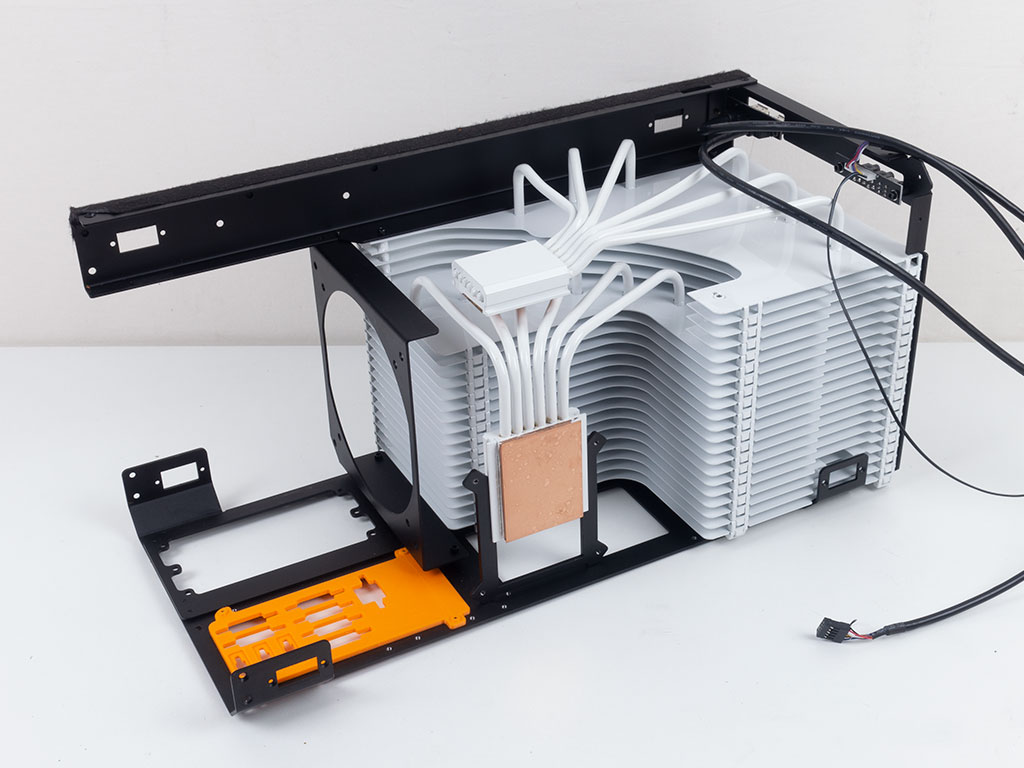
However, for our EVGA GPU, we initially just did a test fit, then removed the I/O cover plate and tested the right GPU-mounting bracket on the GPU and appropriate cooling block. With that confirmed, we planted a whole bunch of the provided, adhesive-equipped heatsinks on all the elements that would be underneath the heatpipes. Make sure you use the right height, or you won't be able slide in your GPU properly.

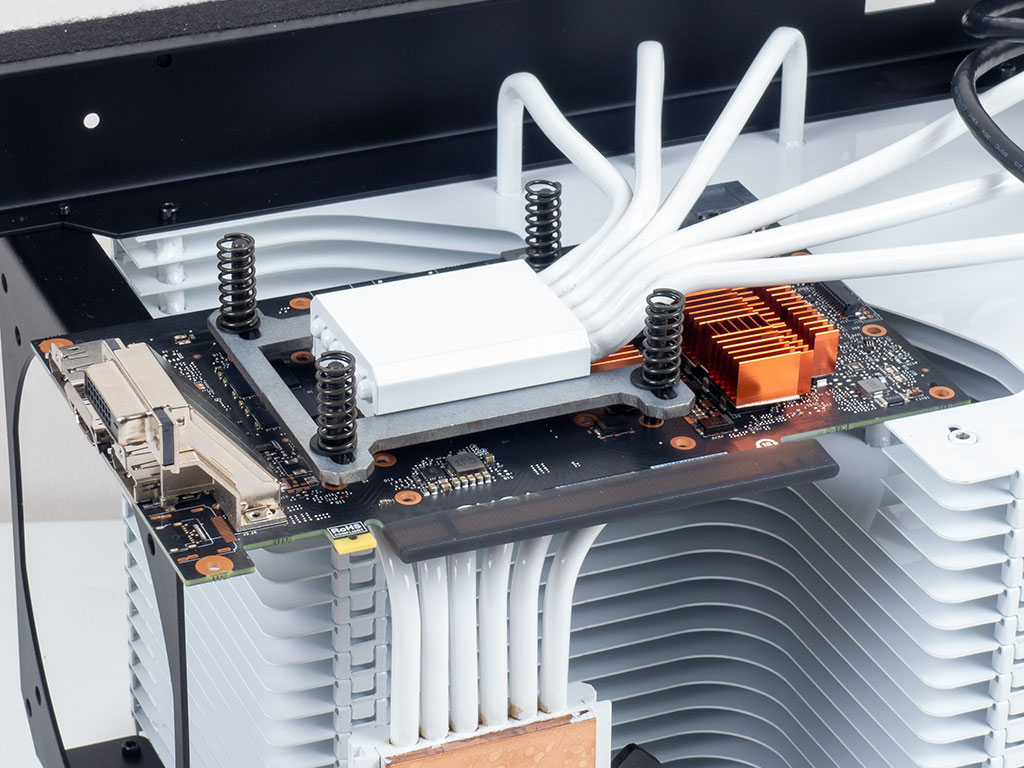
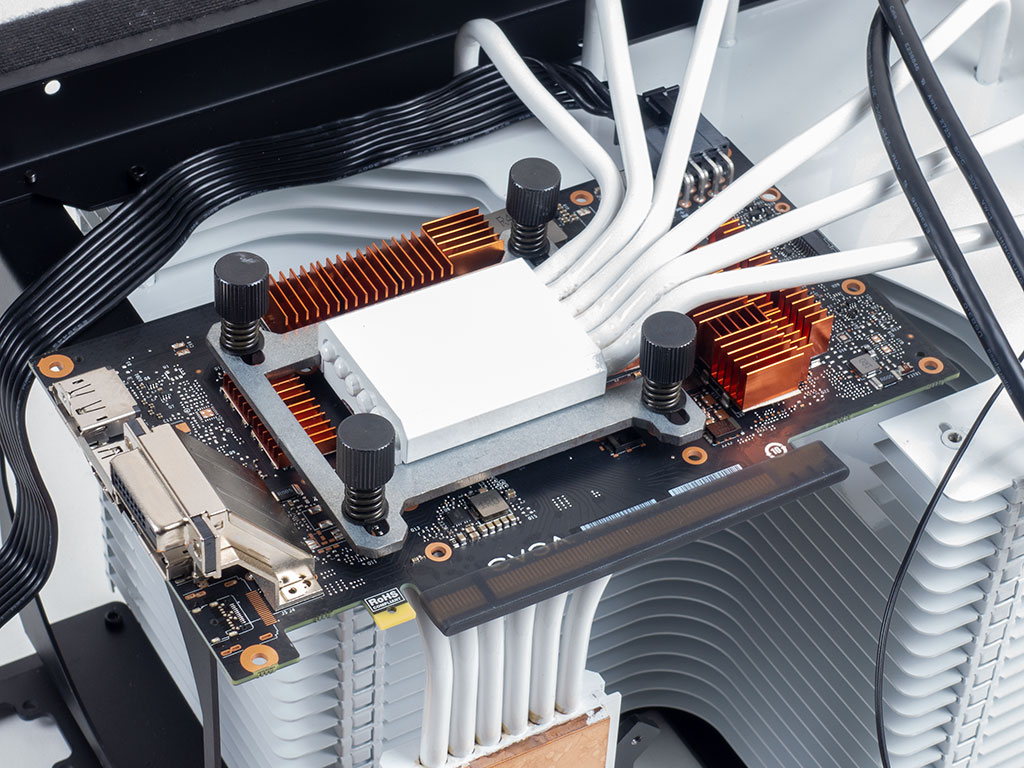
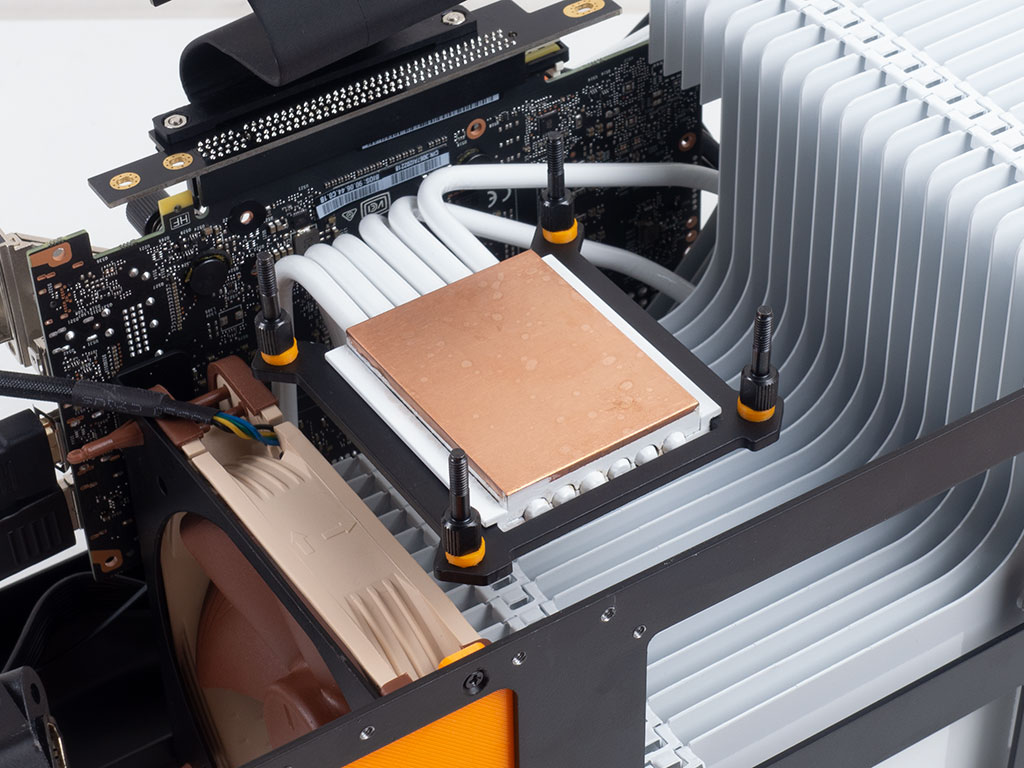
Then, we placed the four mounting screws with rubber rings on the underside, before sliding the GPU into place with the Noctua thermal paste applied. Once aligned well, put the long pins through the mounting brackets and the supplied springs which are then compressed with thick thumb screws to add pressure. Make sure everything is even. The GPU also has to nicely touch the block before applying the remaining golden-brown heatsinks. You should also really have a fully modular SFX PSU as it allows you to connect the lead to the GPU at this point as well. Overall, this assembly is alright all things considered, with the biggest unknown the usually undocumented disassembly process of whichever GPU you are using. That said, you certainly need to be a seasoned system builder and extremely careful regardless.


With the graphics card in place, you may connect the PCIe ribbon cable. Make sure you bend it into place properly to have one less thing to worry about before your motherboard. As we also got the Noctua AF14 fan, this was a good moment to place it into its tray while ensuring the direction of airflow is upward.
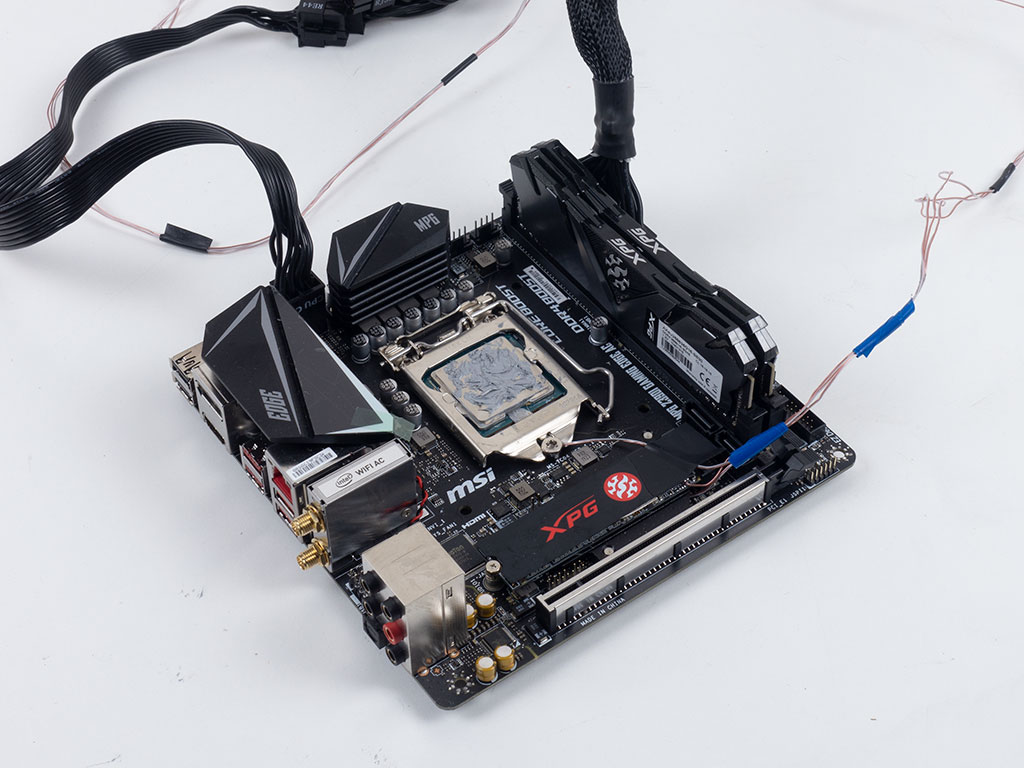
A similar assembly process is employed with the motherboard, as you are encouraged to connect all power cables and prep the mounting frame inside the case with the right screws and washers.
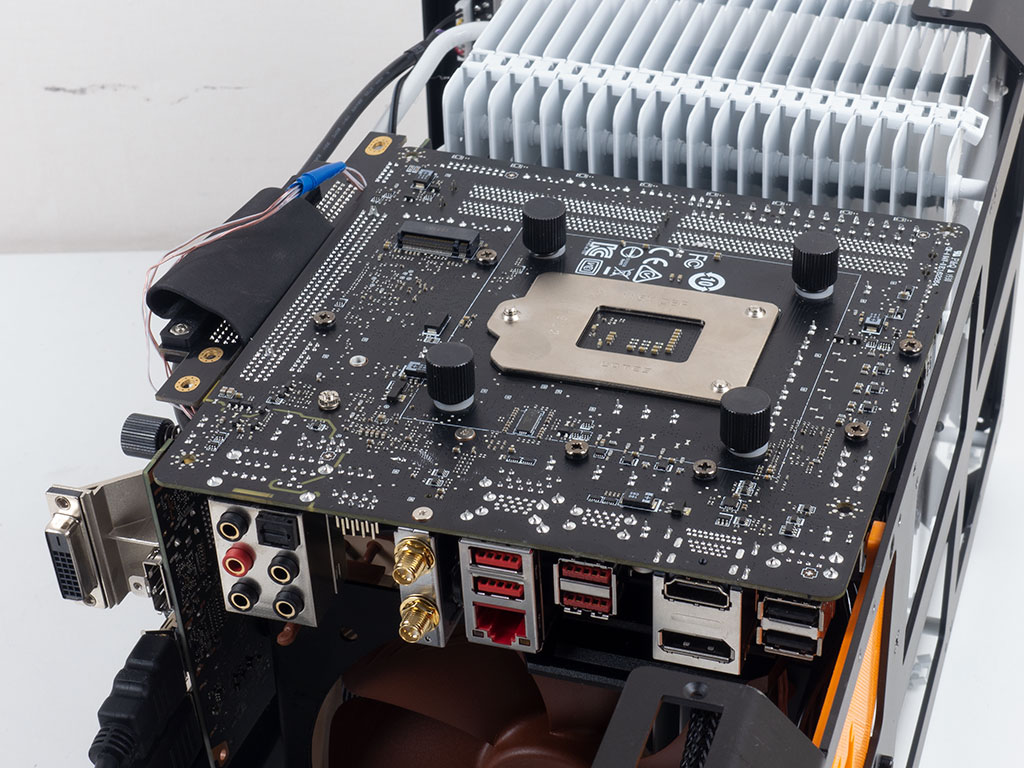
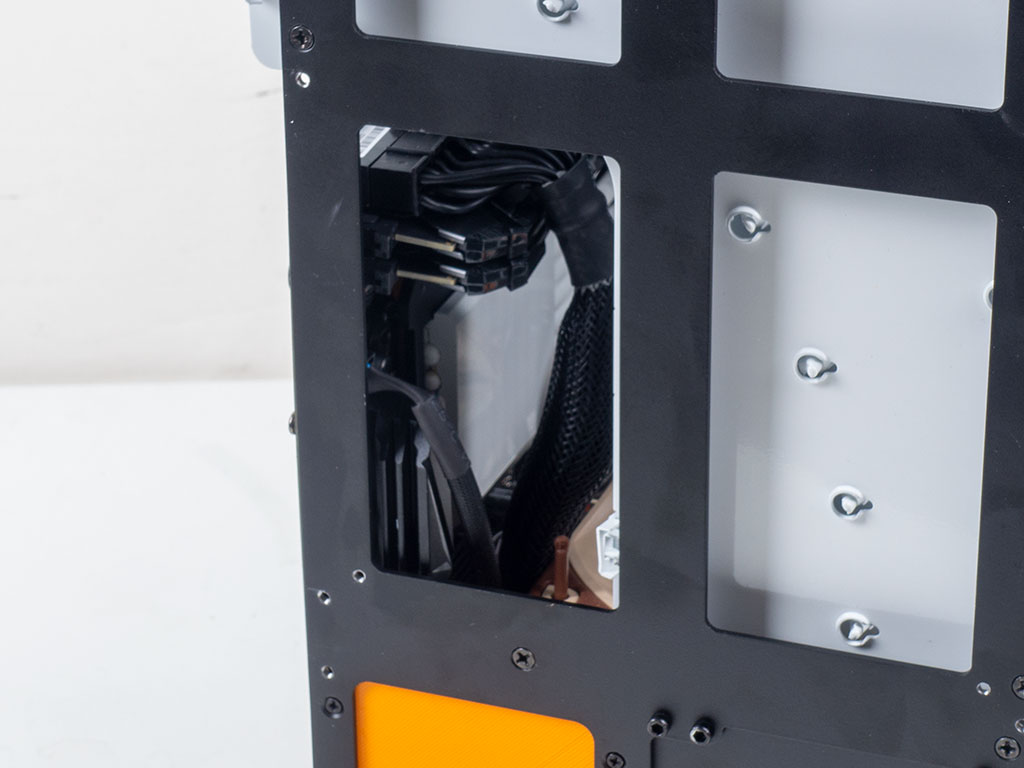
Once in place, gently lower the motherboard in place while ensuring all the external cables, like I/O, case, and fan, are attached and the CPU sits flush on the block before using additional spacers, springs, and thumb screws to tighten things up. Thanks to the opening, we were able to ensure a good and level fit and have direct access to the fan cable, which means we can test the case passively as well.

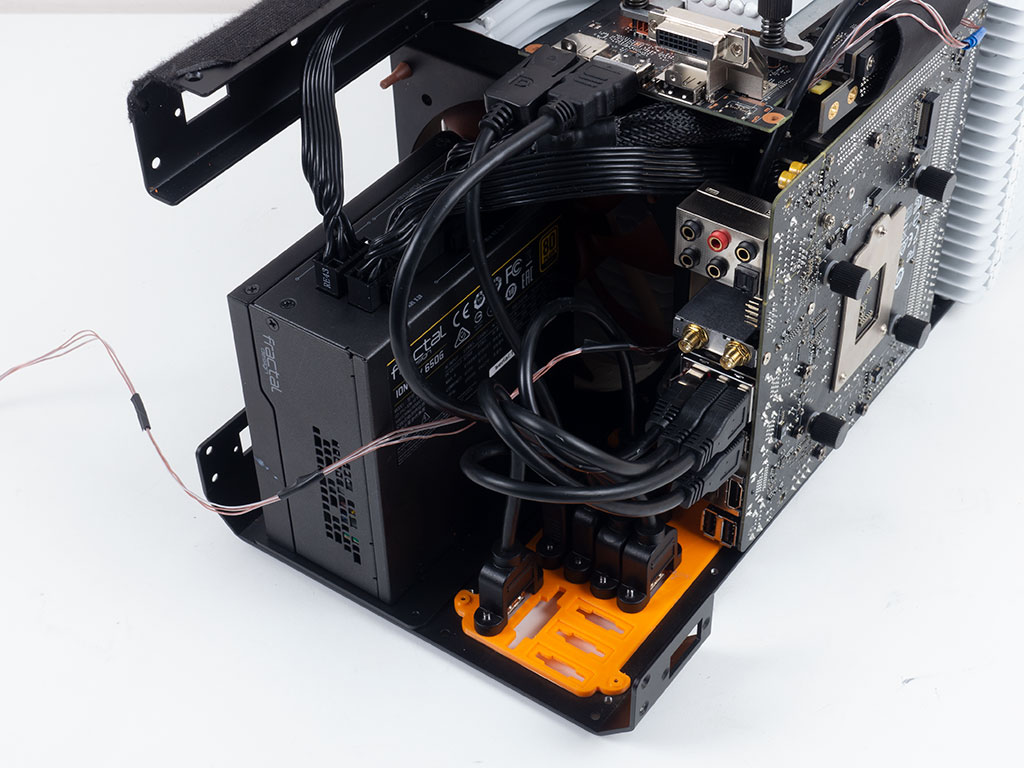
With the parts in place, adding the PSU is pretty straightforward as it is held in place by screws. You should really use an SFX or SFX-L PSU, as an ATX one means you will have to sacrifice your air-cooling tray. Lastly, you may plug all the various cables into the GPU and motherboard ports and screw them down onto the I/O plate.
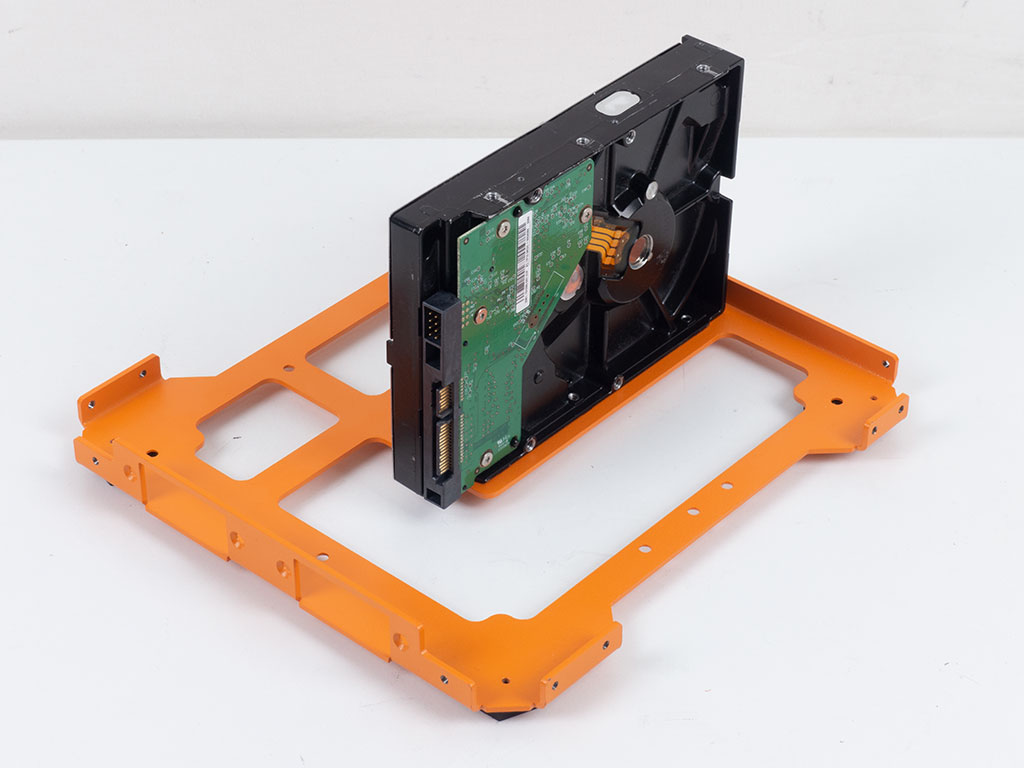
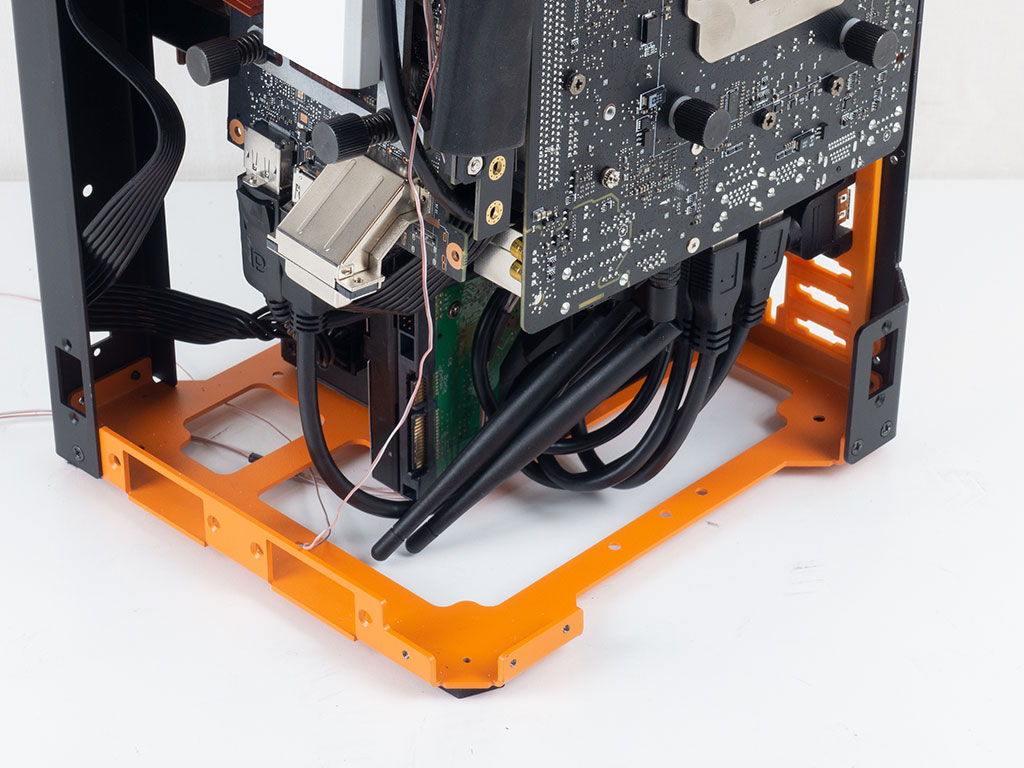
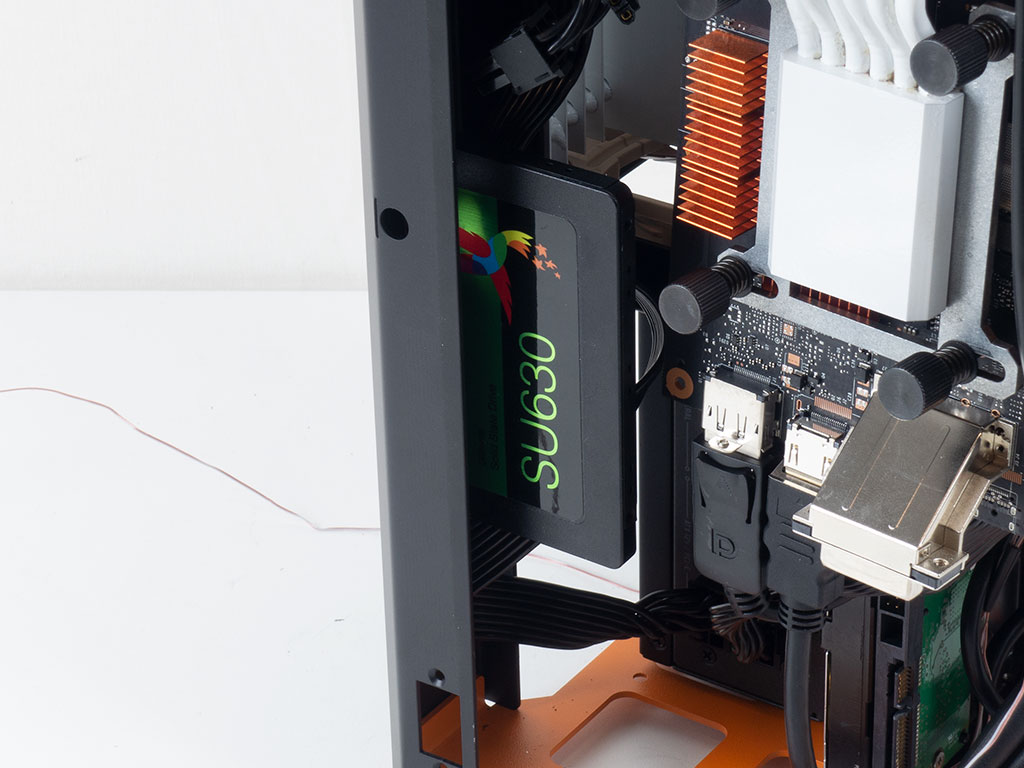
To add further storage besides NVMe drives, you may screw a 3.5" drive to the base of the chassis, which then sits between the PSU and I/O plate with the connectors nicely visible. For 2.5" drives, you have two sets of mounting holes on the structural beam next to the GPU. Remember, if you plan to add any additional storage elements, you have to make sure to pre-route the SATA cables during motherboard assembly!

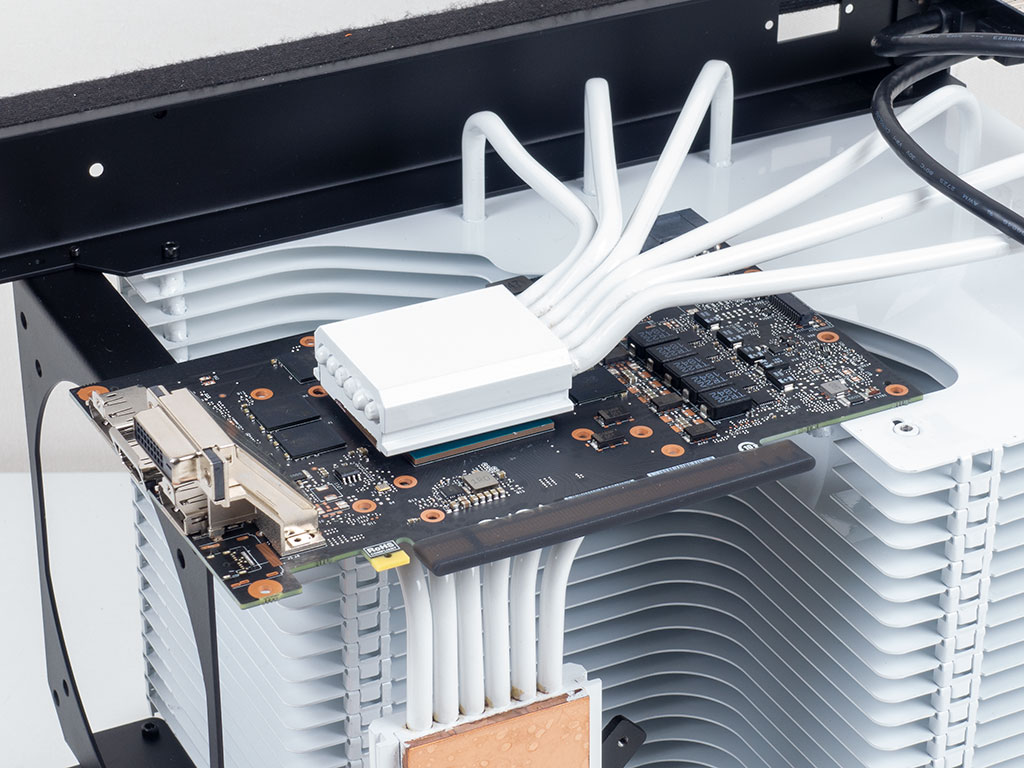
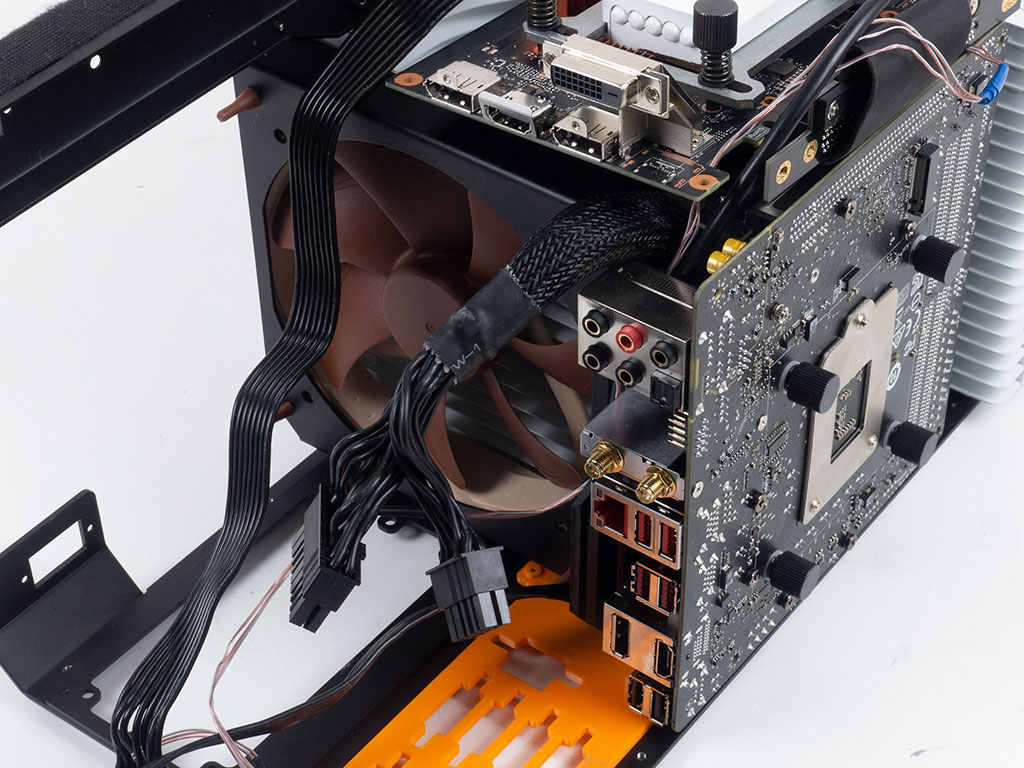
With all the elements installed, you can clearly see that the GPU is tilted a bit with the MonsterLabo The First filled. This is because the heatpipes had to be bent a bit for the GPU PCB not to touch any metal elements of the heatsink and case. On top of that, there is a bit of manufacturing tolerance. In other words, the block was a wee bit tilted to start with.
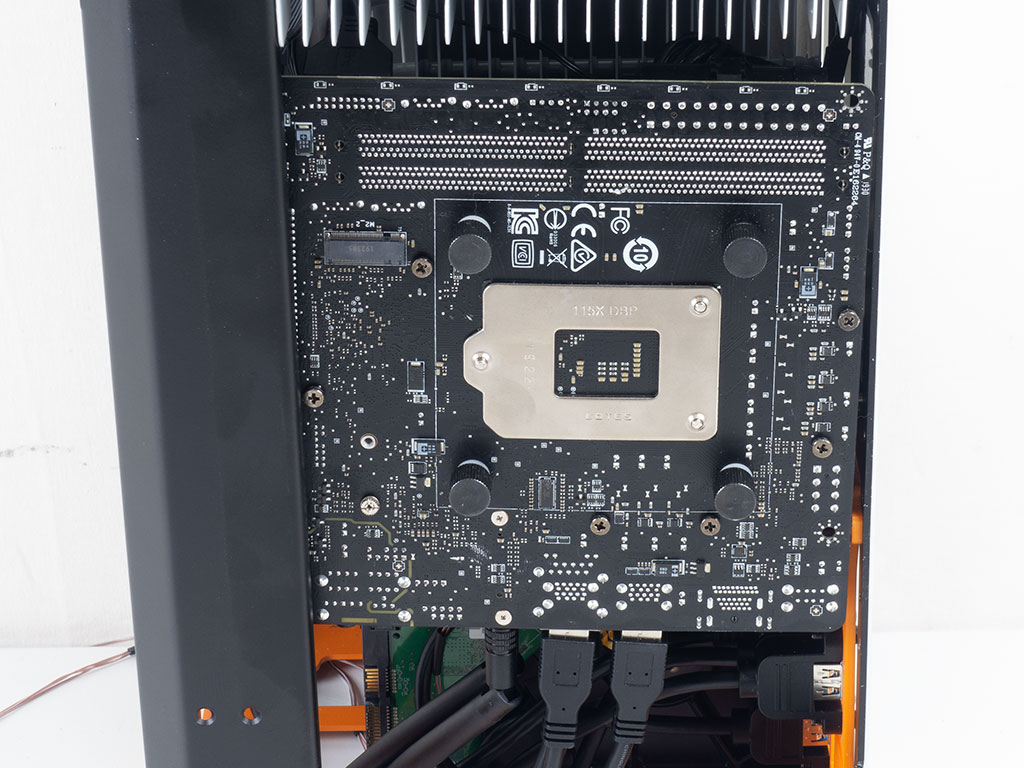
The right side, which holds the motherboard, shows a similar result, but this was mostly my fault as I was bending the whole assembly slightly to get the right-facing edge of the board away from the black frame element.
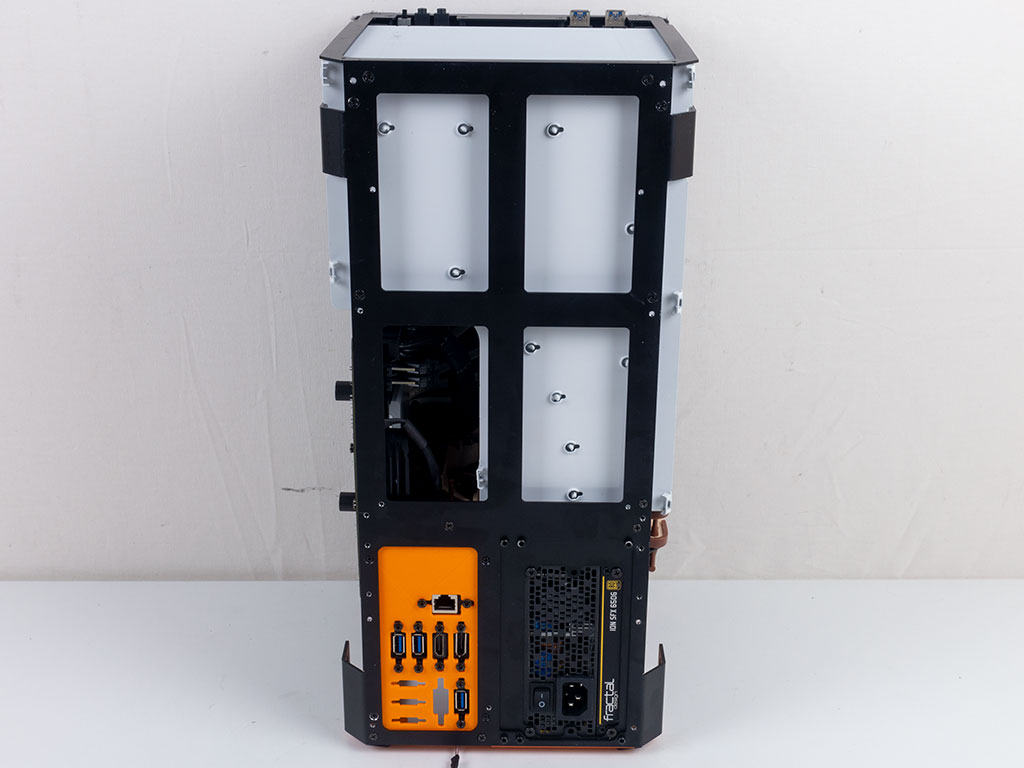
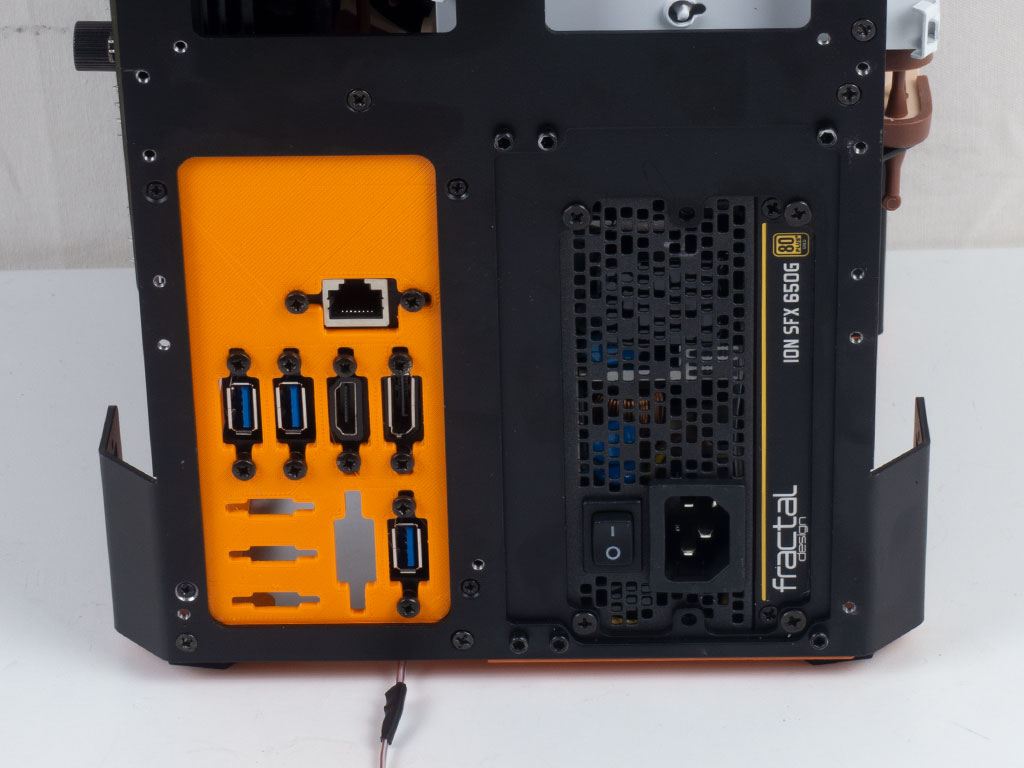
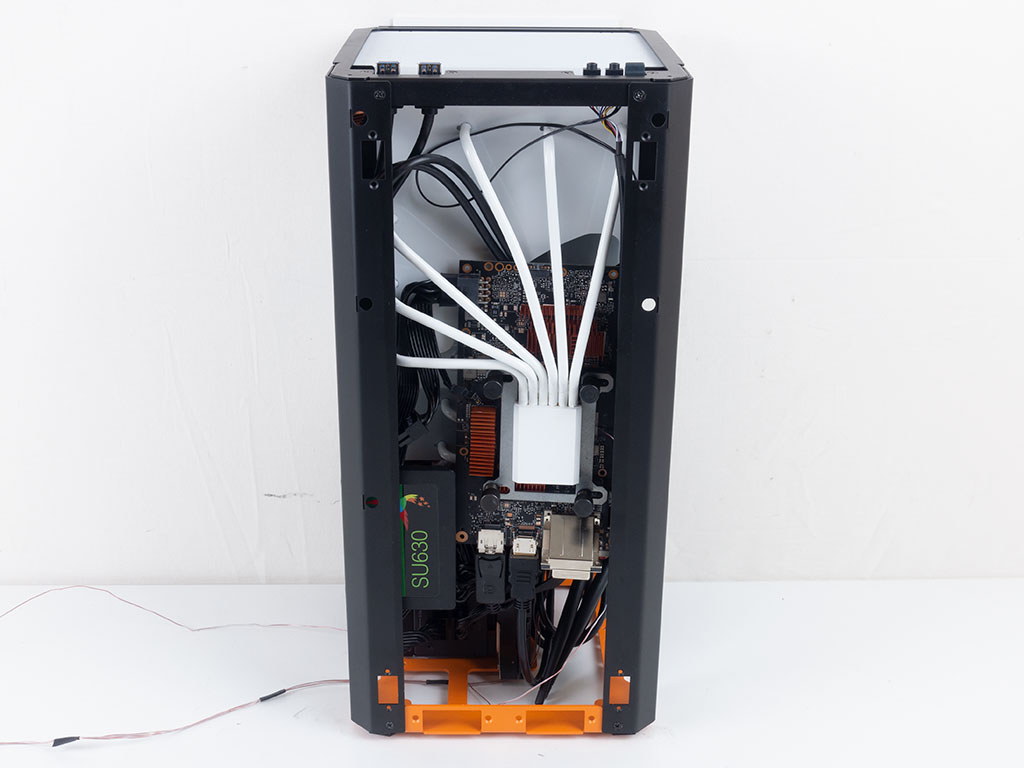
In the rear, you can clearly see the PSU on one side and the 3D-printed orange panel with all the individually screwed-in I/O ports on the other. You will have to buy quite a few extra cables to utilize every possible port, and the backplate probably won't provide enough space for it all, but most users will be well served with two display, an Ethernet port, and lots of USB connectors.
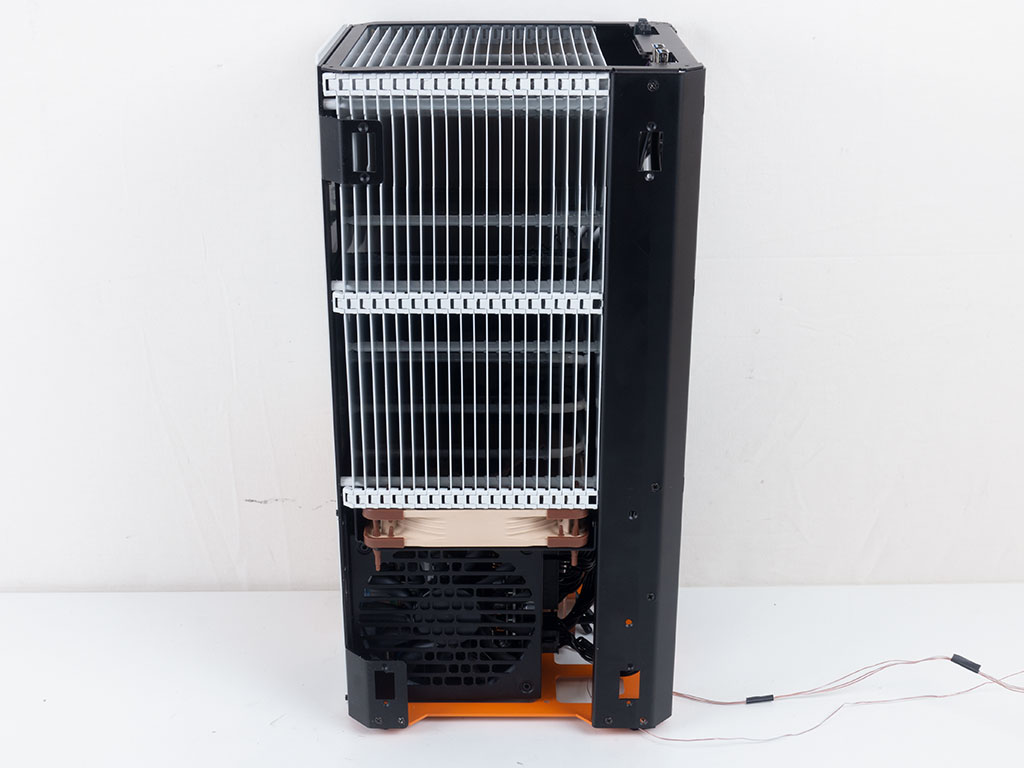

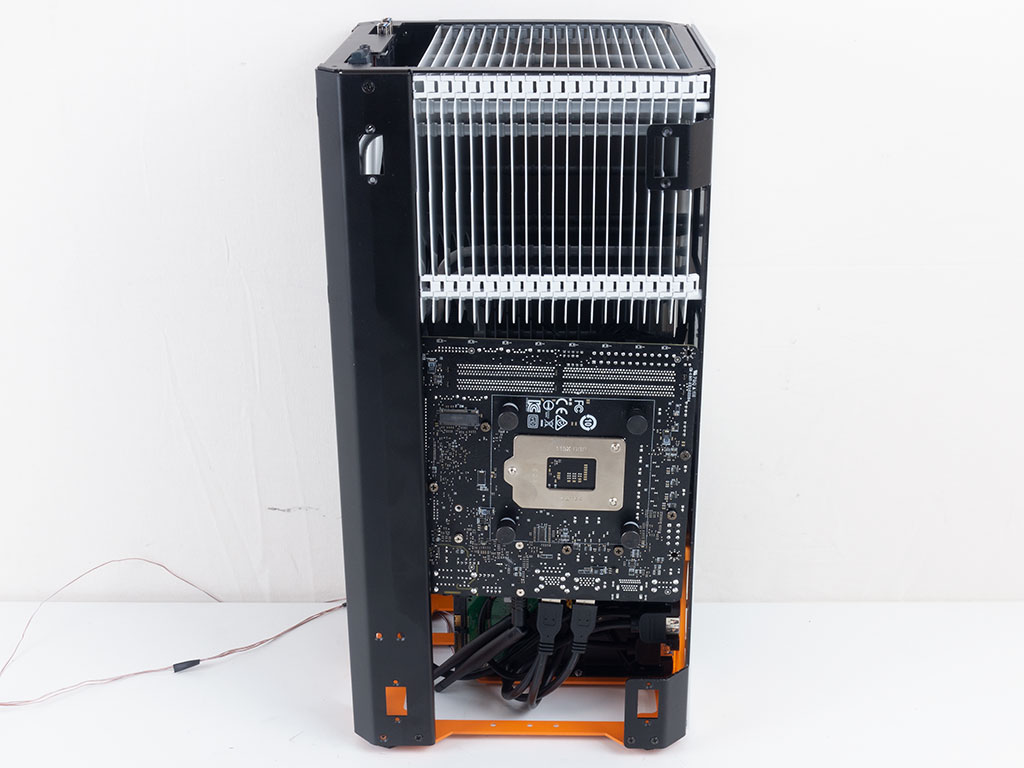
On the right side of the chassis, you can clearly see where the Noctua fan sits right underneath the heatsink, as well as the Fractal Design SFX-L PSU with its outward-facing fan, just because the ATX 24-pin cable plug on the internal modular side is then as close to the motherboard as possible.
Finished Looks
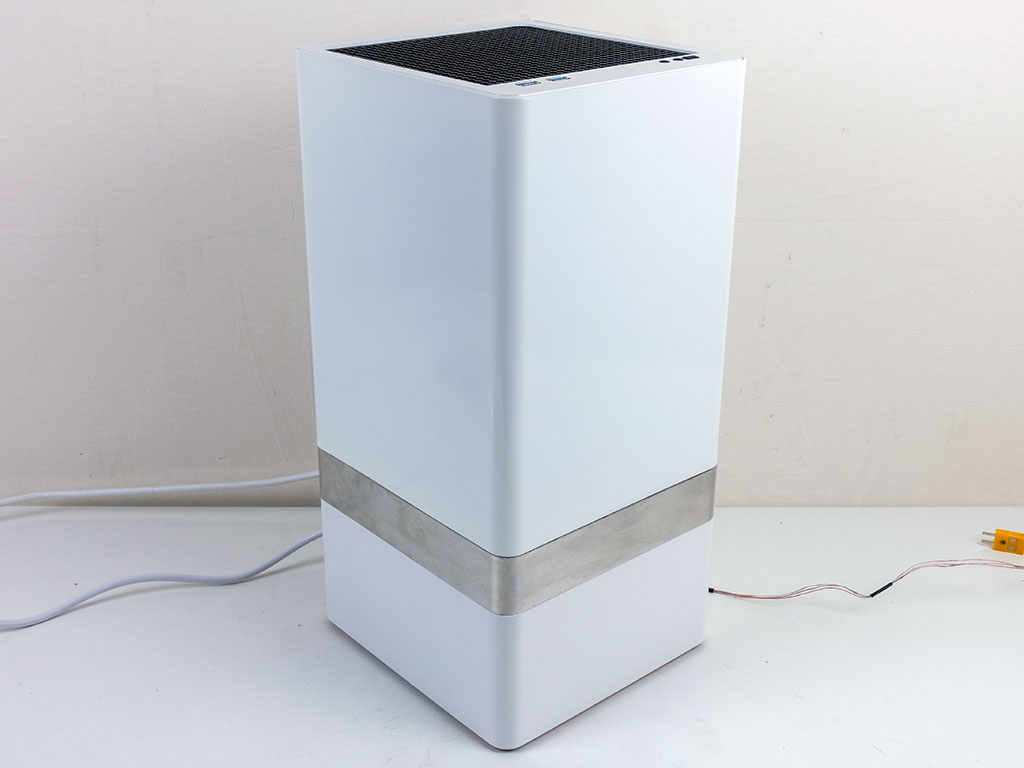
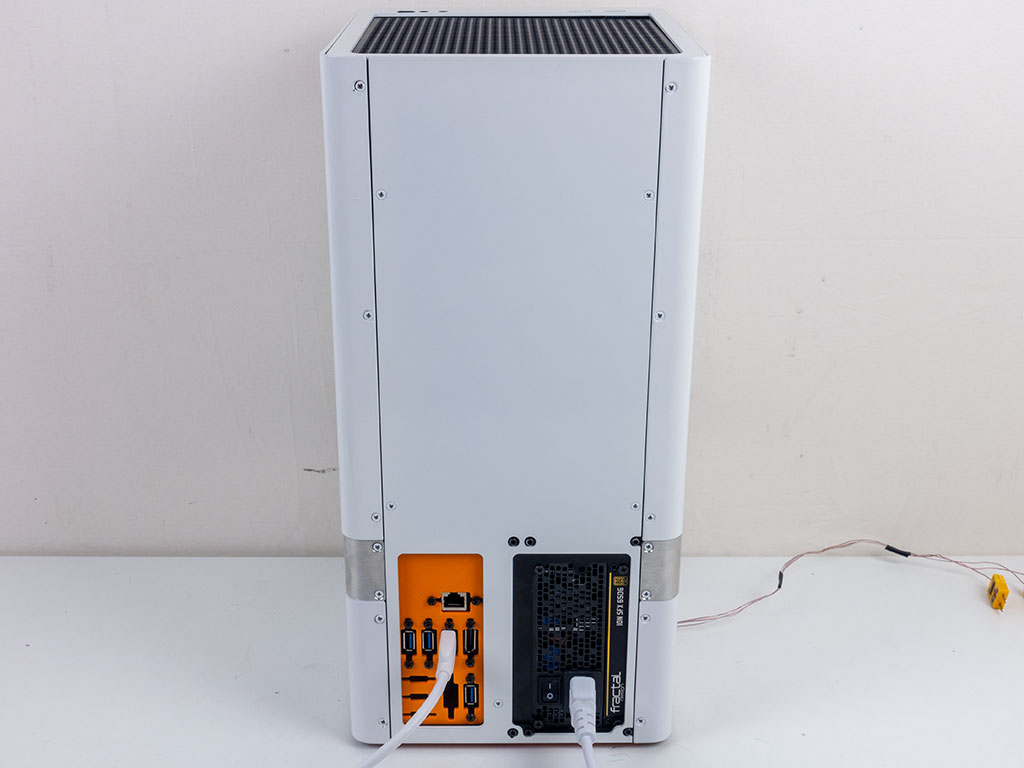
Once the system has been turned on, there is really not much to say: The actively cooled idle setup is essentially inaudible unless you put your ear to the system, and due to the lack of any power or activity LEDs, you will have to stare at your monitor for a sign of life. In the rear, the bottom connectors and PSU placement are great for keeping things nice and clean.
Jul 13th, 2025 04:49 CDT
change timezone
Latest GPU Drivers
New Forum Posts
- No offense, here are some things that bother me about your understanding of fans. (74)
- Archival HDD constantly starting up for no reason (2)
- The Filthy, Rotten, Nasty, Helpdesk-Nightmare picture clubhouse (2723)
- Is RX 9070 VRAM temperature regular value or hotspot? (403)
- Best motherboards for XP gaming (121)
- Screen burn-in (35)
- Help with updating firmware on a AOC Agon Pro OLED monitor, says I need Install Tool (9)
- NVIDIA RTX PRO 6000 Workstation Runs Much Hotter Than 5090 FE (23)
- New ToS of Take Two and 2K (13)
- Is there a WIFI chip I should get? (2)
Popular Reviews
- Fractal Design Epoch RGB TG Review
- Lexar NM1090 Pro 4 TB Review
- Corsair FRAME 5000D RS Review
- Our Visit to the Hunter Super Computer
- NVIDIA GeForce RTX 5050 8 GB Review
- NZXT N9 X870E Review
- Sapphire Radeon RX 9060 XT Pulse OC 16 GB Review - An Excellent Choice
- AMD Ryzen 7 9800X3D Review - The Best Gaming Processor
- Upcoming Hardware Launches 2025 (Updated May 2025)
- Chieftec Iceberg 360 Review
TPU on YouTube
Controversial News Posts
- Intel's Core Ultra 7 265K and 265KF CPUs Dip Below $250 (288)
- Some Intel Nova Lake CPUs Rumored to Challenge AMD's 3D V-Cache in Desktop Gaming (140)
- AMD Radeon RX 9070 XT Gains 9% Performance at 1440p with Latest Driver, Beats RTX 5070 Ti (131)
- NVIDIA Launches GeForce RTX 5050 for Desktops and Laptops, Starts at $249 (120)
- NVIDIA GeForce RTX 5080 SUPER Could Feature 24 GB Memory, Increased Power Limits (115)
- Microsoft Partners with AMD for Next-gen Xbox Hardware (105)
- Intel "Nova Lake‑S" Series: Seven SKUs, Up to 52 Cores and 150 W TDP (100)
- NVIDIA DLSS Transformer Cuts VRAM Usage by 20% (97)