 10
10
Nanoxia Deep Silence 8 Pro Review - Heavy, Functional, and Silent
Temperature & Noise Testing »Test System
| System Parts for Case Reviews | |
|---|---|
| Processor: | Intel Core i5-9600K |
| Motherboards: | ATX: MSI Z390 GAMING EDGE AC MATX: Z370M GAMING EDGE AC Mini-ITX: MSI Z370I GAMING EDGE AC Provided by: MSI |
| Graphics Card: | ATX/mATX: Palit GeForce RTX 2080 Gaming Pro OC ITX: EVGA GTX 1650 SC Ultra Black 4 GB |
| Memory: | 16 GB XPG GAMMIX D30 DDR4 2666 MHz CL16-18-18 1.20 V 16 GB XPG SPECTRIX D60G DDR4 3000 MHz CL16-18-18 1.35 V Provided by: ADATA |
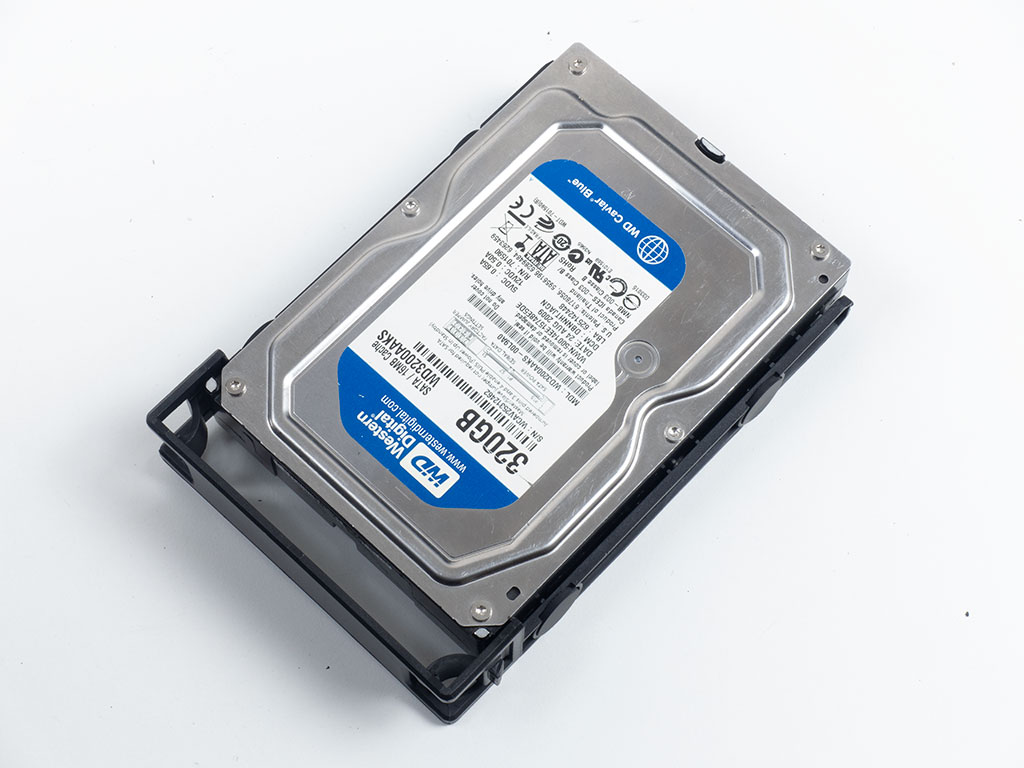
| HDD: | Western Digital 320 GB 7200 RPM |
| SSD: | ITX: ADATA SX6000 Pro M.2 256 GB mATX: ADATA GAMMIX S11 Pro M.2 256 GB ATX: ADATA SPECTRIX S40G M.2 256 GB ADATA XPG SX850 256 GB ADATA Ultimate SU630 240 GB ADATA Ultimate SU750 256 GB Provided by: ADATA |
| Power Supply: | Fractal Design ION+ 750W 80 Plus Platinum |
| Cooling: | be quiet! Dark Rock 4 be quiet! Dark Rock Slim be quiet! Shadow Rock LP Provided by: be quiet! |
Assembly
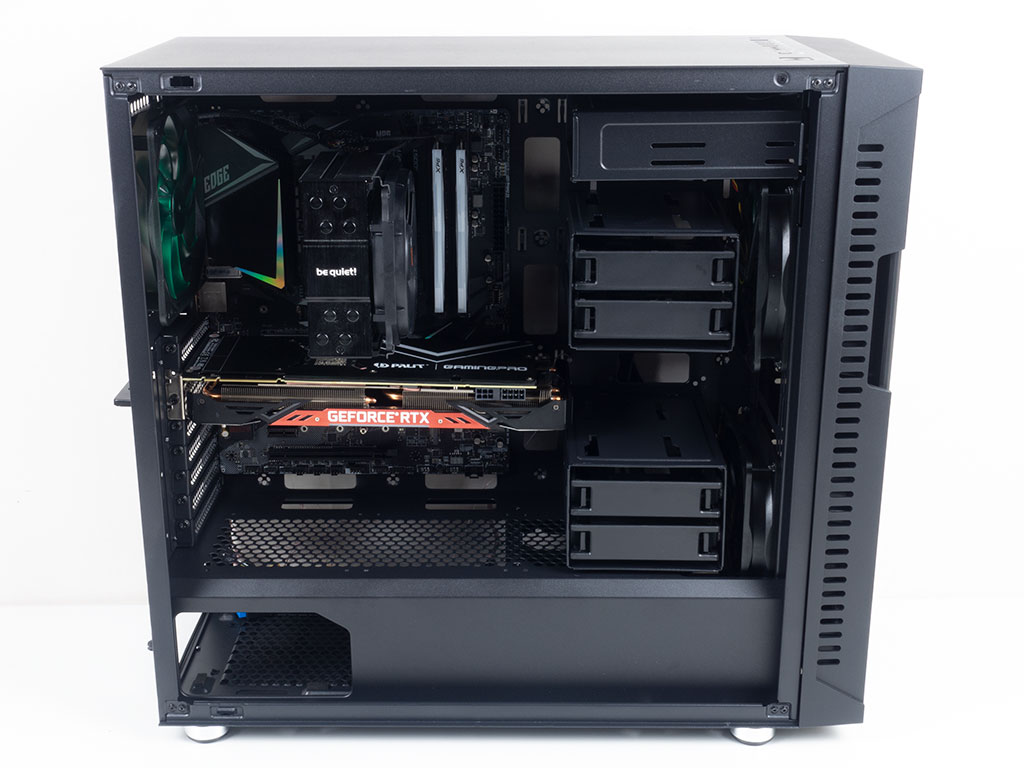
Installing the motherboard is done by traditional means, and as you can see, the GPU we use for all our ATX case reviews is just a tad too long to fit with the center 3.5" cage in place, which instantly takes two drives out of the picture. This is rather unfortunate since performance users will likely use a long GPU. The Palit GPU clocks in at just under 30 cm, with plenty of modern high-end GPUs cracking that barrier and going beyond. Thus, it would have been nice if Nanoxia would have made the chassis just a tad deeper.
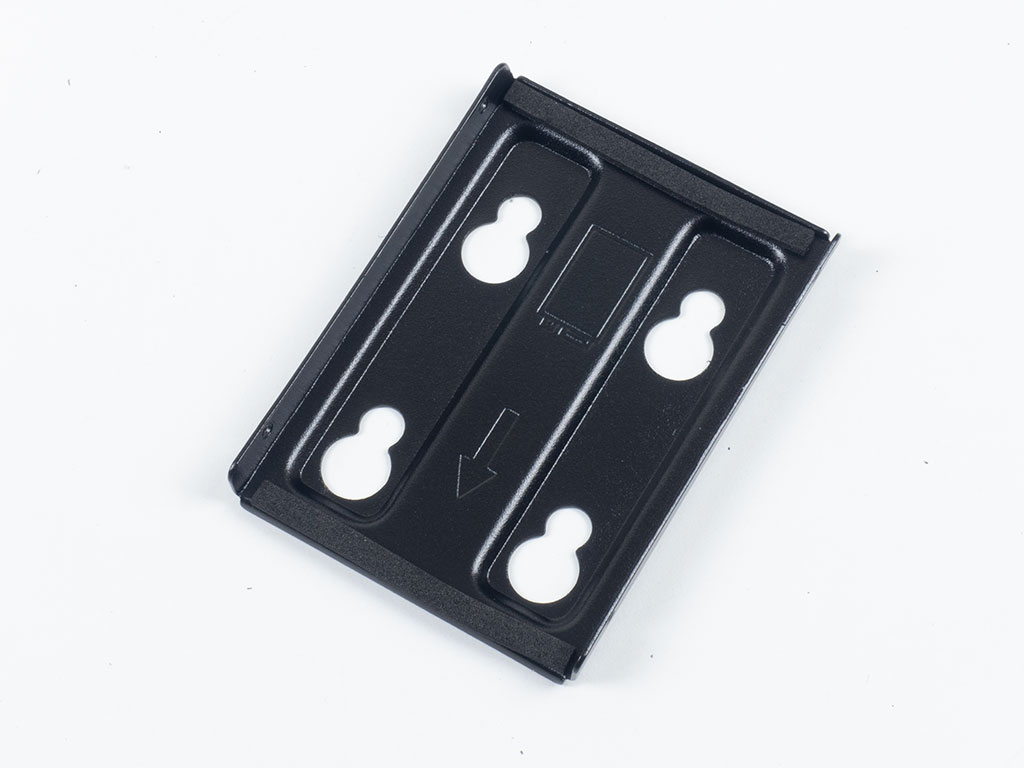
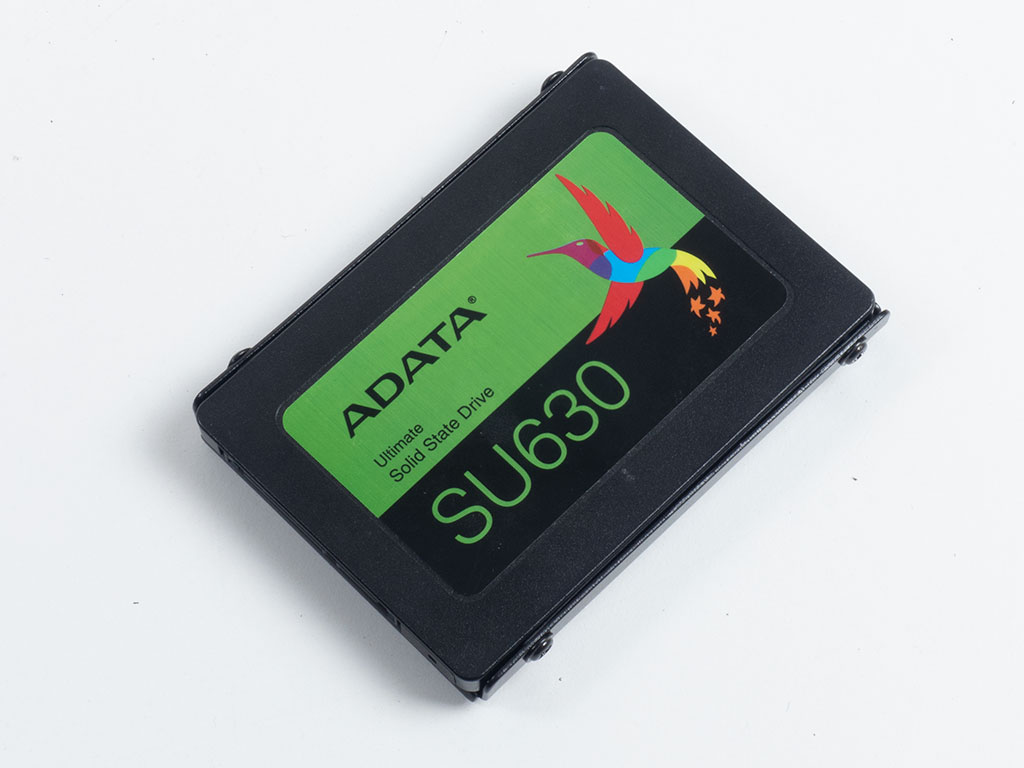
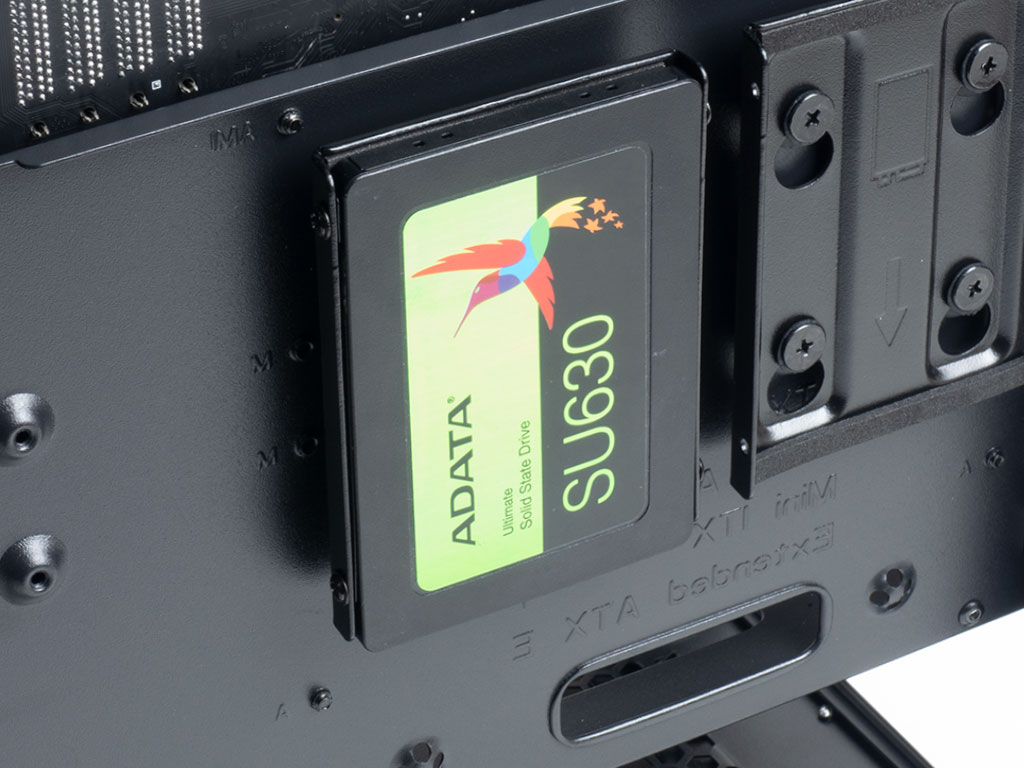
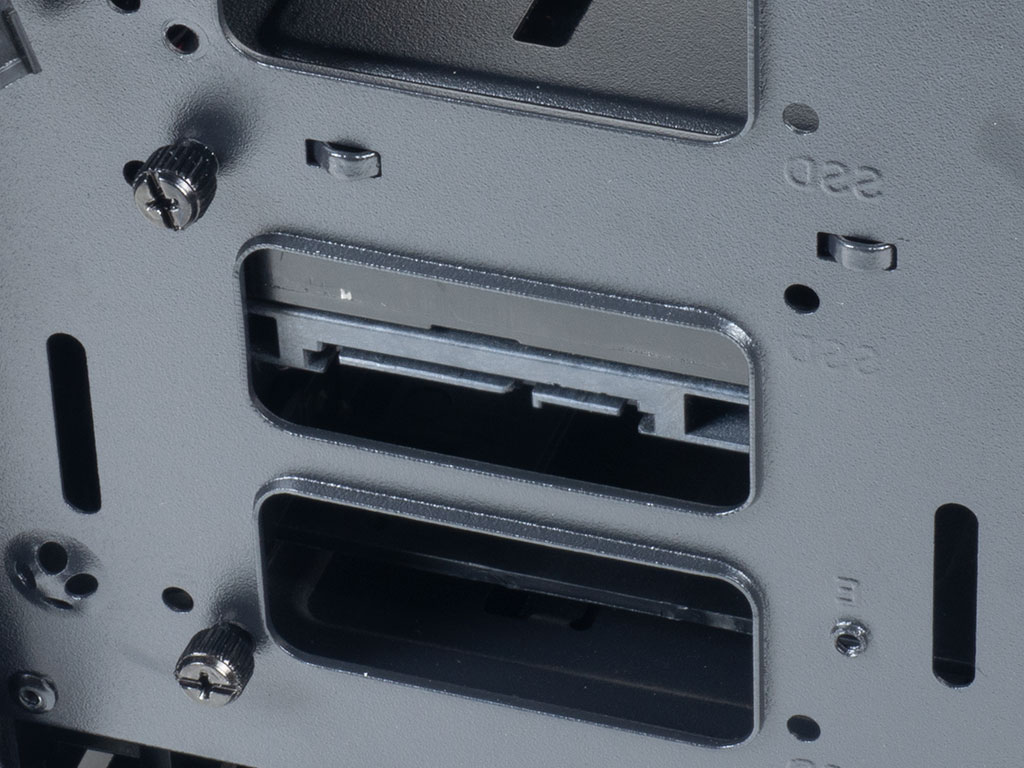
Adding an SSD is easily done by screwing the drive to one of the trays and putting it back in place. That said, you may alternatively install such a storage device in any of the 3.5" bays.

As you can see, the plastic 3.5" trays also offer mounting holes for the 2.5" drives, but adding larger units requires no screws or tools because of the plastic pins.
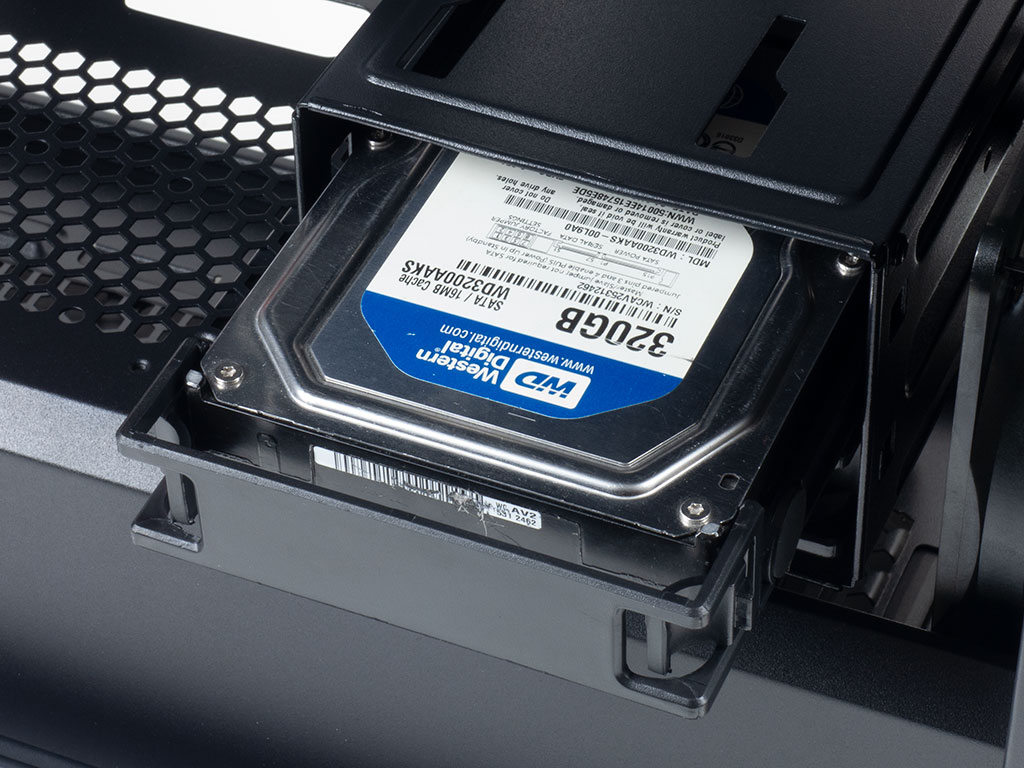
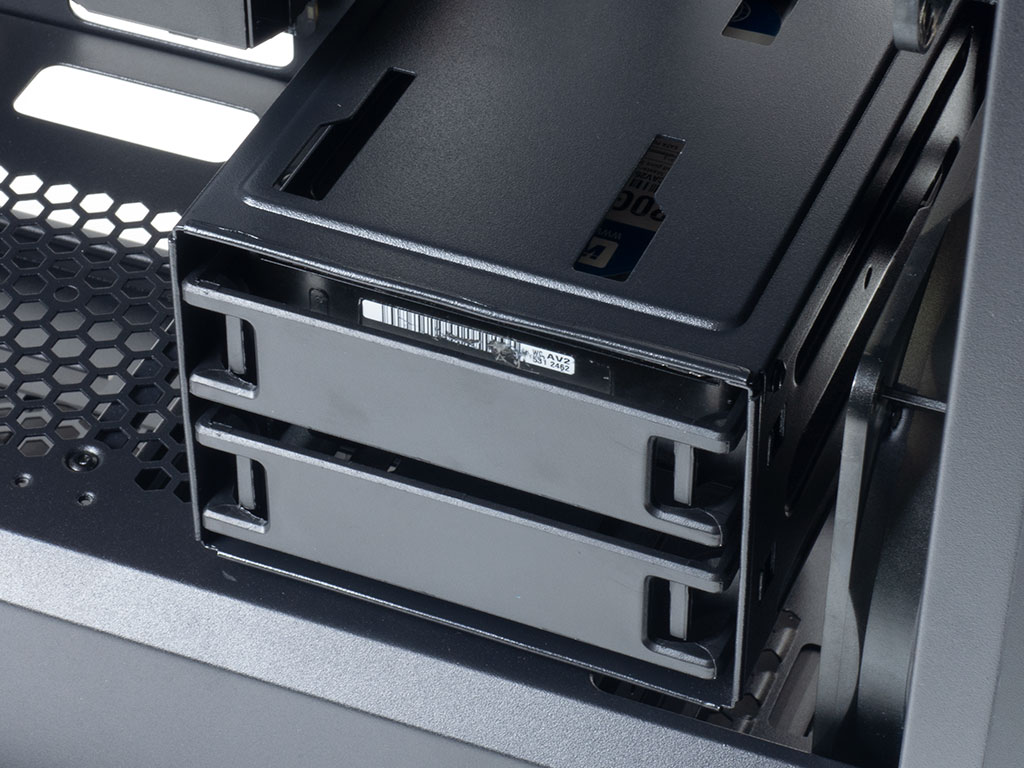
Once filled, simply slide it into the cage of your choice until the whole thing snaps into place. The SATA port can easily be accessed from the opposite site as each drive has its own opening.
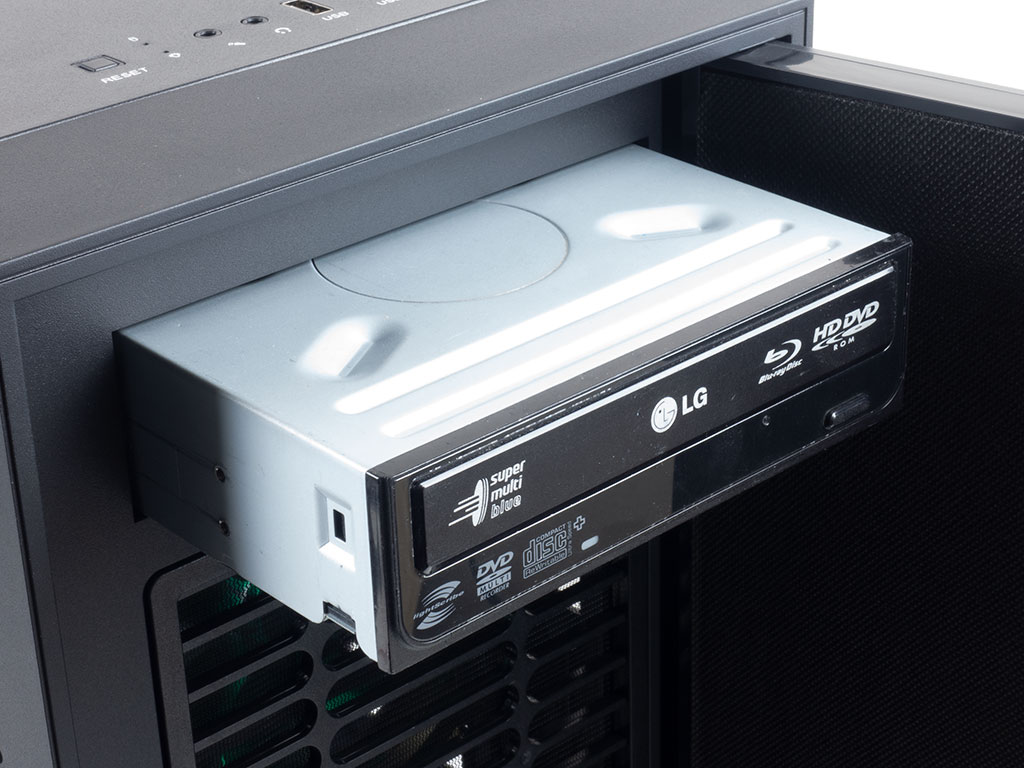
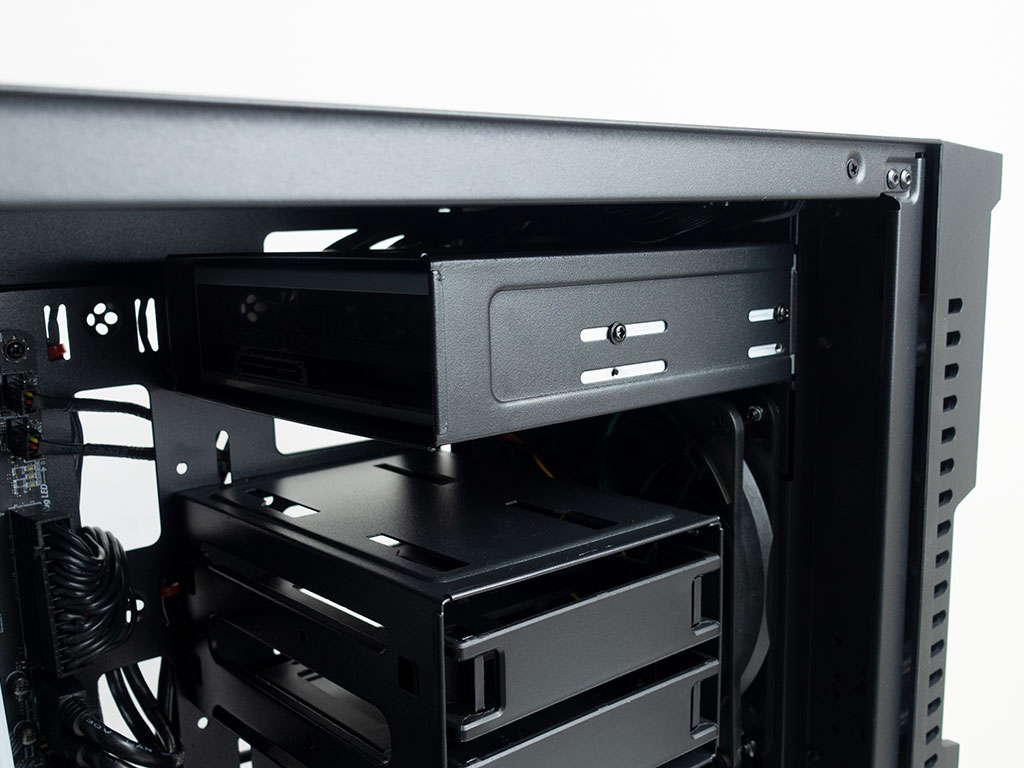
Installing an optical drive first requires you to take off the removable cover, before breaking out the metal piece of the frame for the 5.25 bay. Once clear, simply slide the unit in and screw it down. Even though our drive is fairly old and thus longer than some, there is plenty of room to spare.
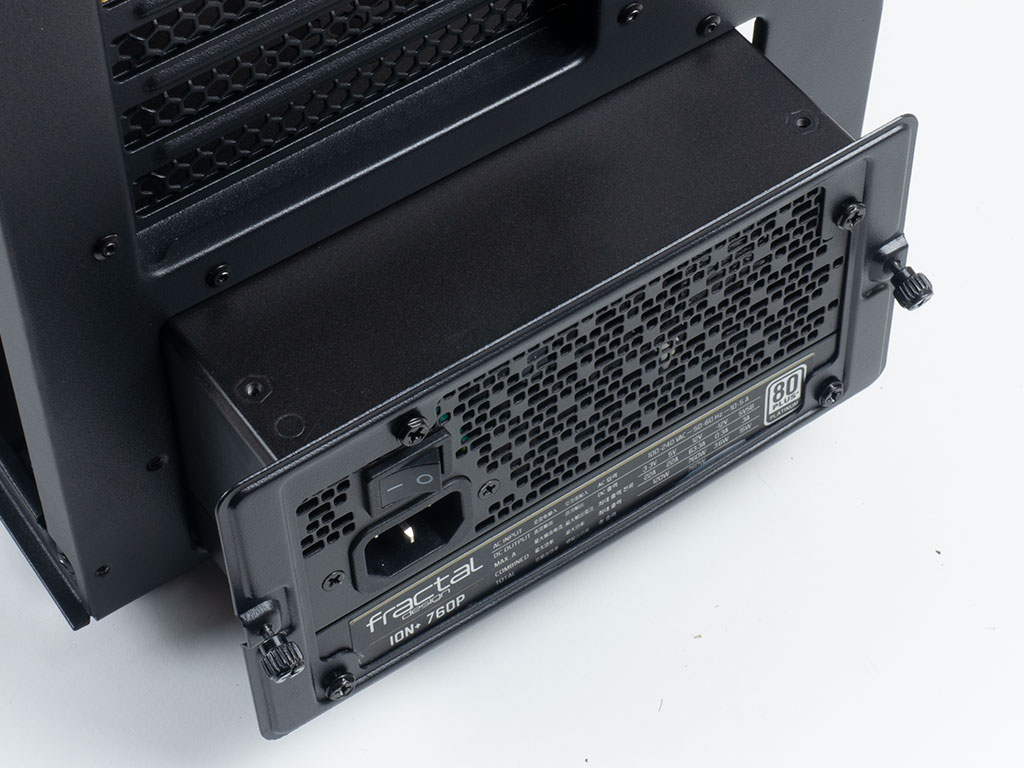
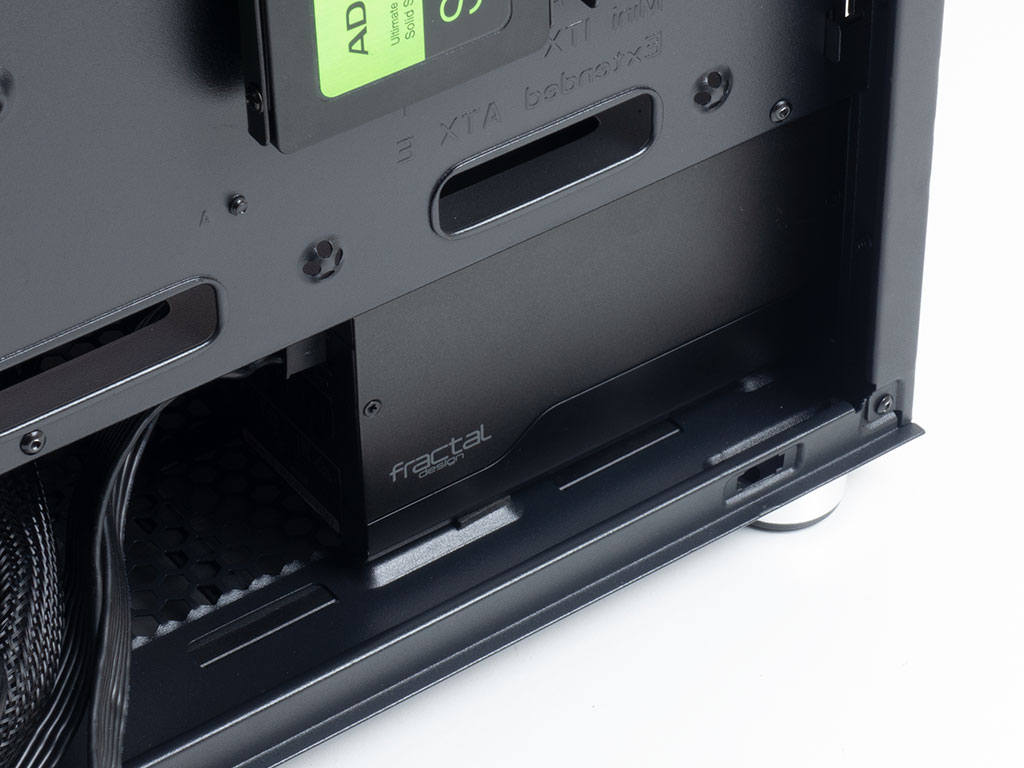
Talking about room: the same goes for the PSU. It, once installed through the rear, sits nicely on the foam pads with plenty of space to spare.
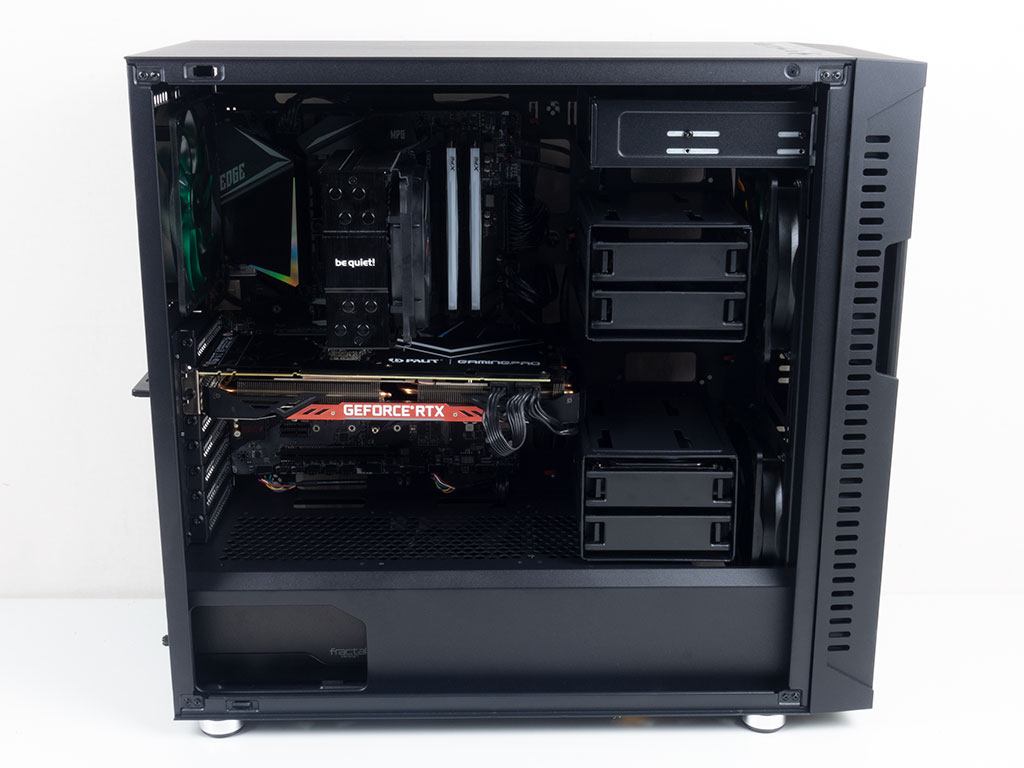
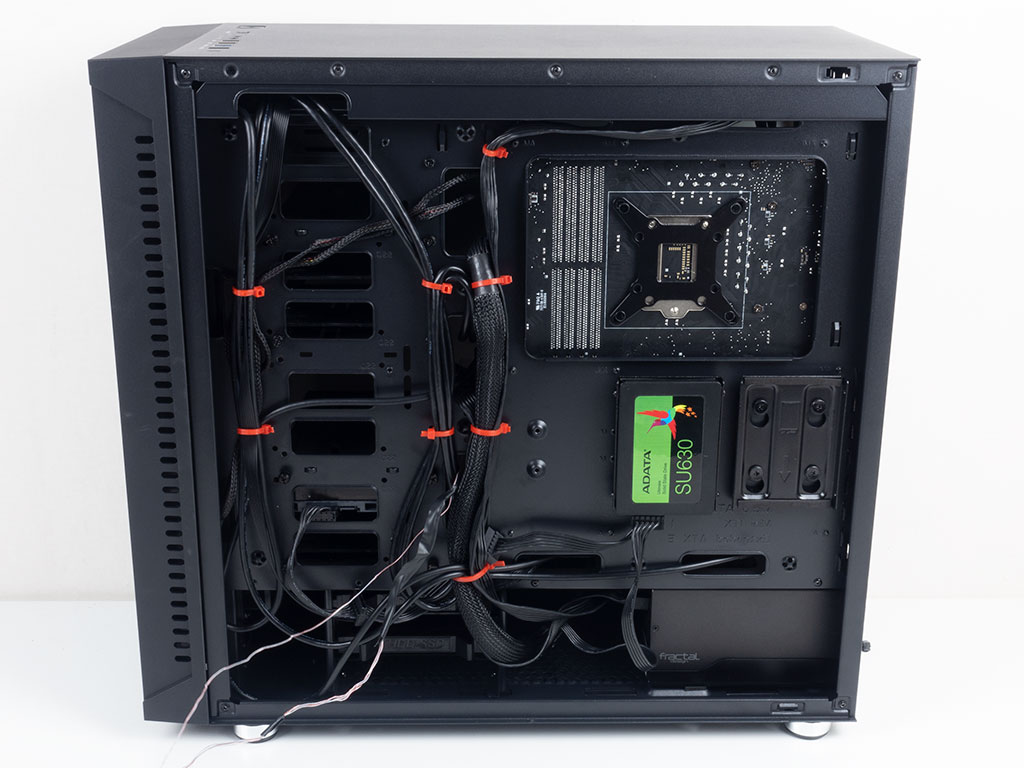
With everything installed, I would not consider the interior of the Nanoxia Deep Silence 8 Pro beautiful, but it is clean and functional. Because of well-placed hooks for zip ties, all the leads are held in place firmly and orderly after creatively routing excessively long cables along the way.
Finished Looks
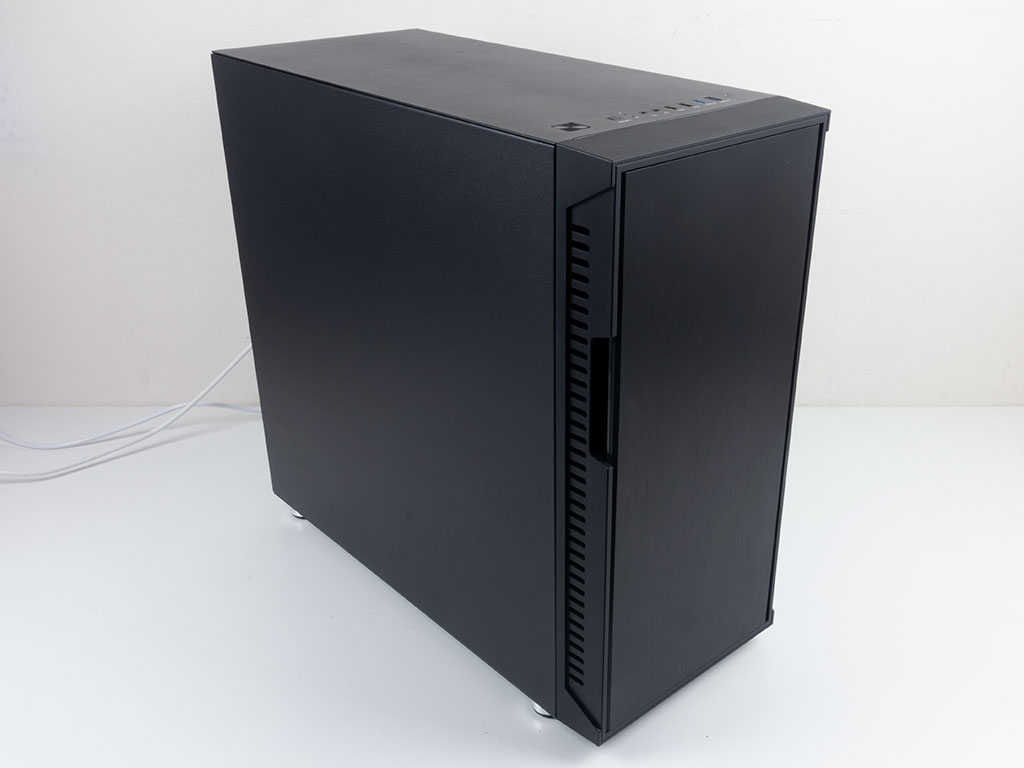
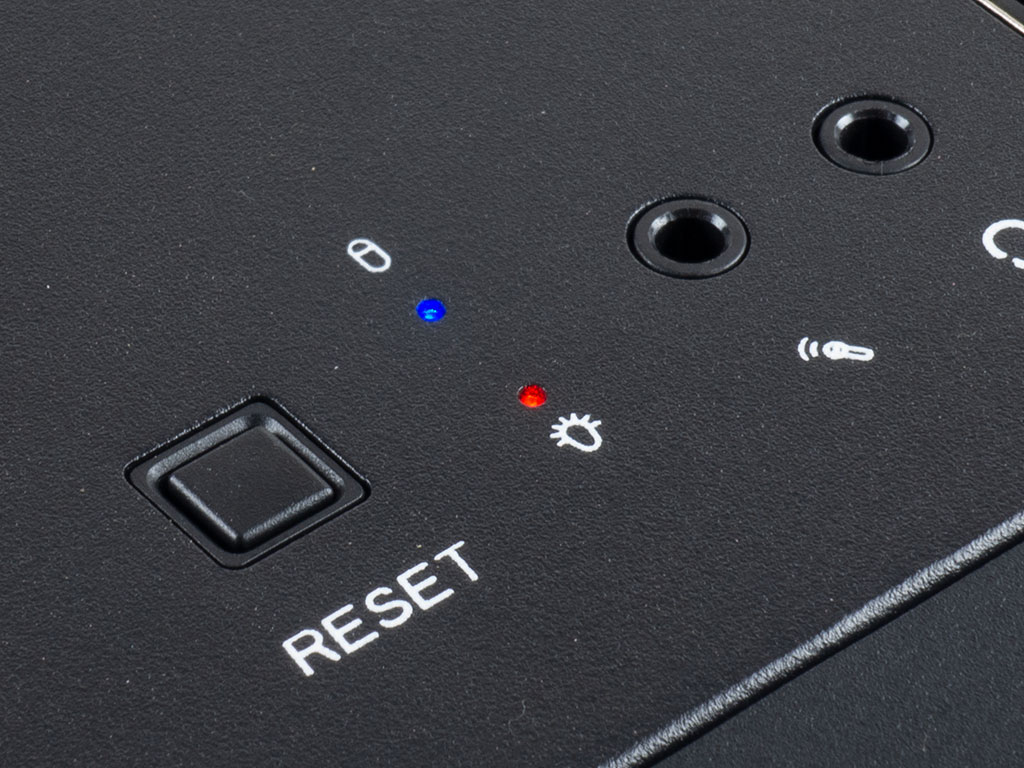
Once turned on, only the two top-mounted HDD activity and power LEDs—blue and red respectively—show you that the system is up and running.
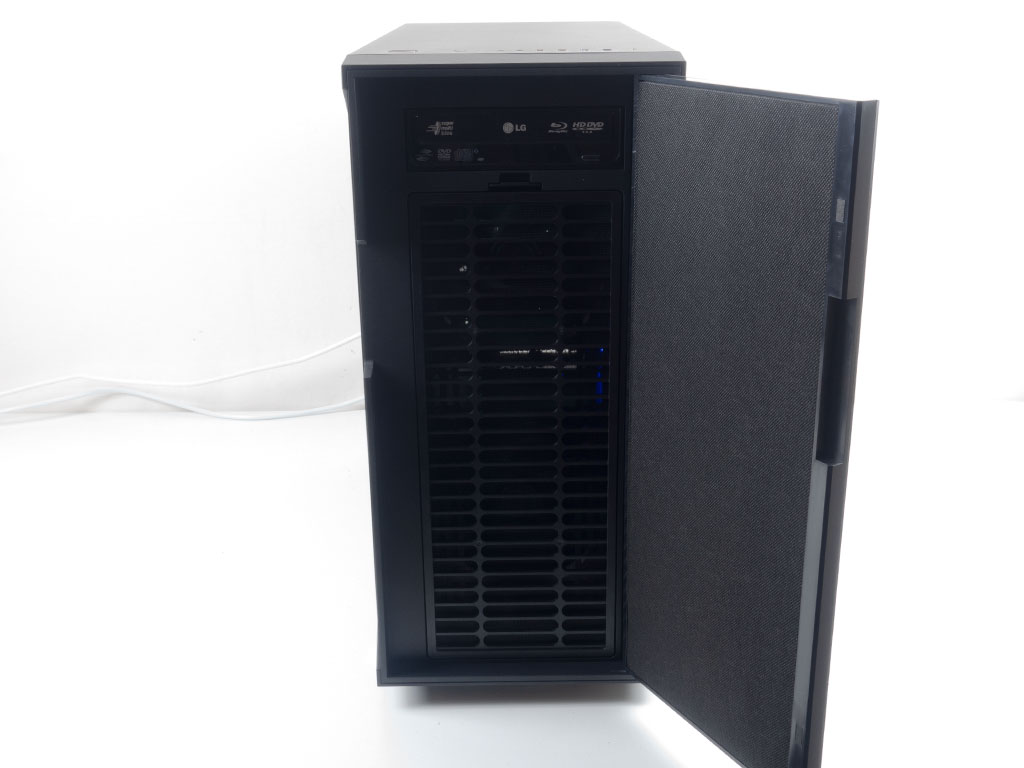
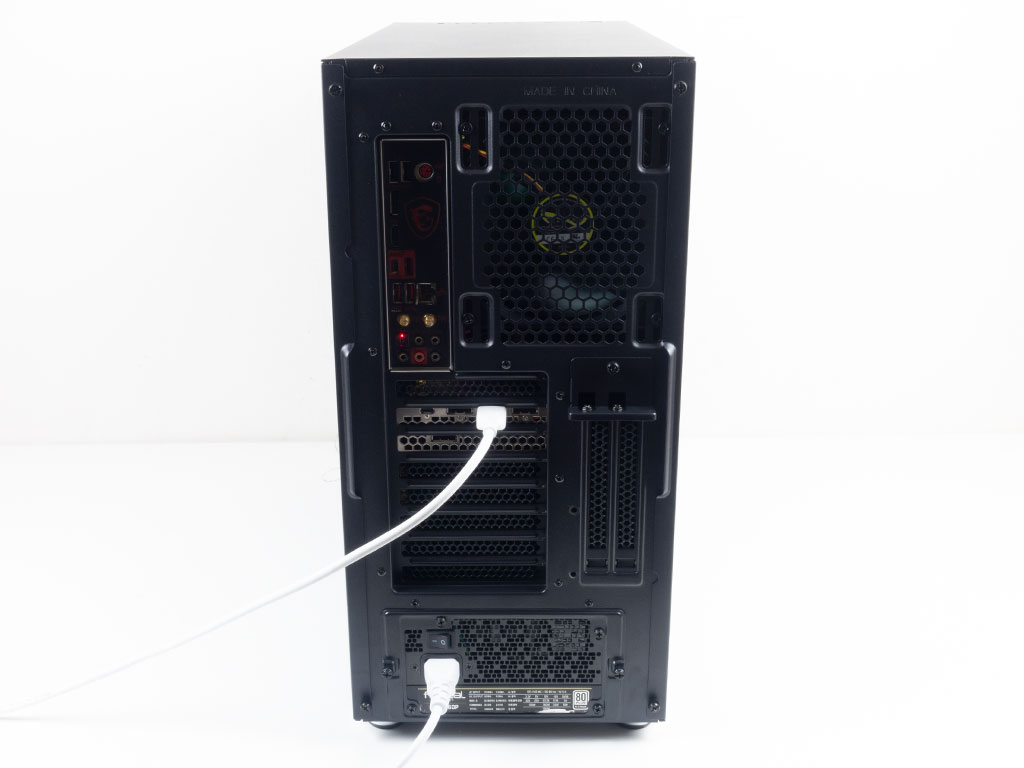
Once you flip open the door, you can see the optical drive in the very top, as well as the slight glow from the RGB LED-equipped hardware within. In the rear, everything is where you would expect it in a modern mid-tower ATX chassis.
Dec 29th, 2024 09:51 EST
change timezone
Latest GPU Drivers
New Forum Posts
- Upgrade advice please (41)
- Next Gen GPU's will be even more expensive (518)
- Lowering idle power on Zen 4? (88)
- Game of the year 2024 (57)
- pci-e 3 to 4 any diff (8)
- Non-Broadcom AX Wi-Fi routers (7)
- What are you playing? (22475)
- KFA2 GeForce GTX 980 Ti OC Black Edition 6 Go disassembled (6)
- What DLSS/FSR Upscaling Mode do you use? (57)
- Post your cooling. (165)
Popular Reviews
- Zotac Zone Review - Amazing Screen and Great Gaming Performance
- GPU Test System Update for 2025
- Quick Look: Cooler Master MasterFrame 600
- Arbiter Studio AKITSU Review
- Arrow Lake Retested with Latest 24H2 Updates and 0x114 Microcode
- KiiBOOM Loop75 Wireless Mechanical Keyboard Review
- Intel Arc B580 Review - Excellent Value
- AMD Ryzen 7 9800X3D Review - The Best Gaming Processor
- Upcoming Hardware Launches 2024 (Updated Nov 2024)
- EIZO FlexScan EV3240X Review - It Means Business
Controversial News Posts
- Intel CEO Pat Gelsinger Retires, Company Appoints two Interim co-CEOs (217)
- AMD Radeon RX 8800 XT RDNA 4 Enters Mass-production This Month: Rumor (215)
- AMD Radeon RX 9070 XT Alleged Benchmark Leaks, Underwhelming Performance (199)
- 32 GB NVIDIA RTX 5090 To Lead the Charge As 5060 Ti Gets 16 GB Upgrade and 5060 Still Stuck With Last-Gen VRAM Spec (173)
- NVIDIA GeForce RTX 5070 Ti Leak Tips More VRAM, Cores, and Power Draw (160)
- NVIDIA GeForce RTX 5070 and RTX 5070 Ti Final Specifications Seemingly Confirmed (143)
- AMD Radeon RX 9070 XT Boosts up to 3.10 GHz, Board Power Can Reach up to 330W (132)
- AMD Radeon RX 8800 XT Reportedly Features 220 W TDP, RDNA 4 Efficiency (123)