 8
8
Nox Xtreme Coolbay CX Review
Assembly & Finished Looks »A Closer Look - Inside
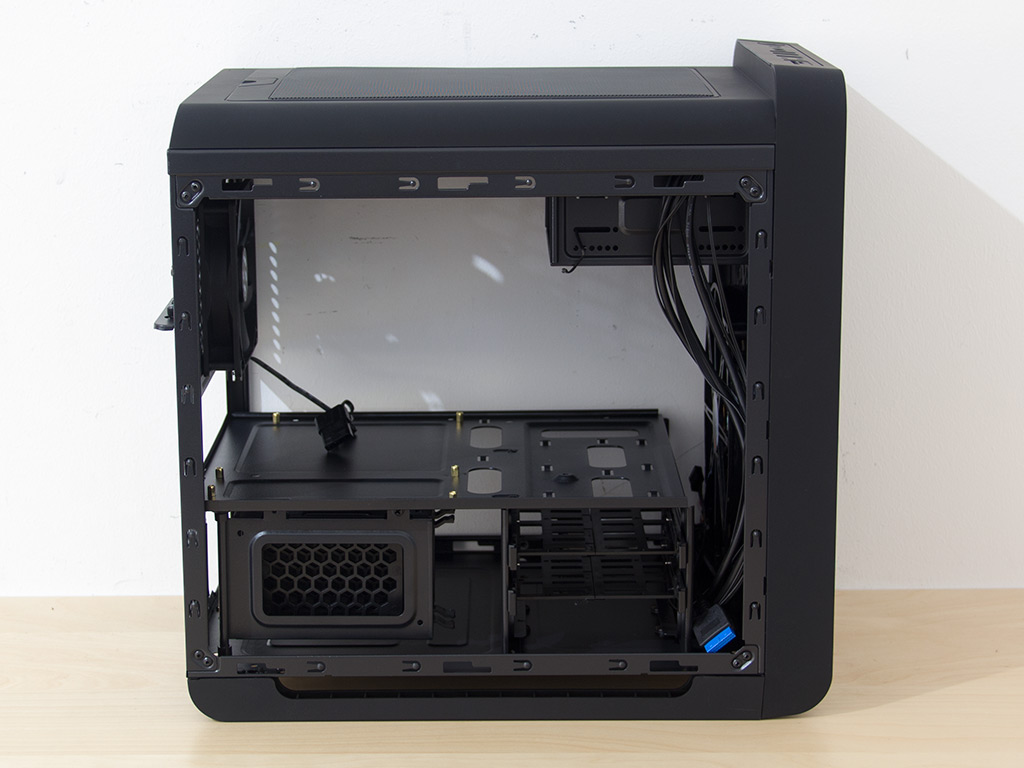
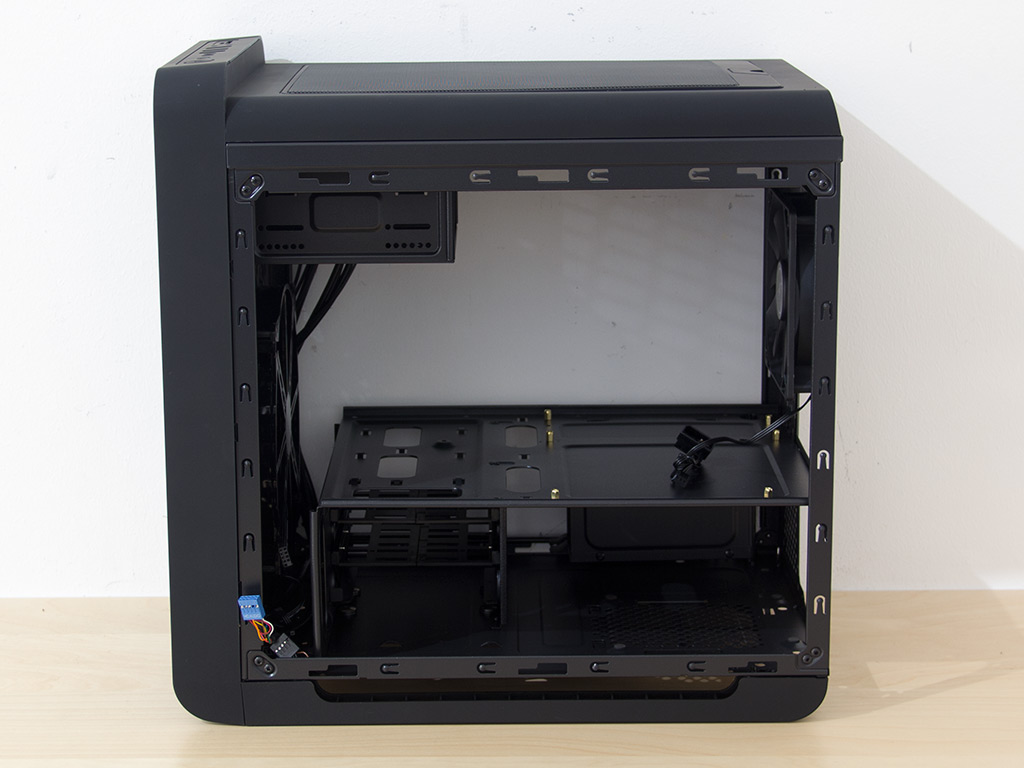
To gain access to the interior of the Coolbay CX, simply remove the thumbscrews holding each panel in place. The interior is arranged in a simple manner, with the motherboard tray sitting on top of the HDD and PSU bays.
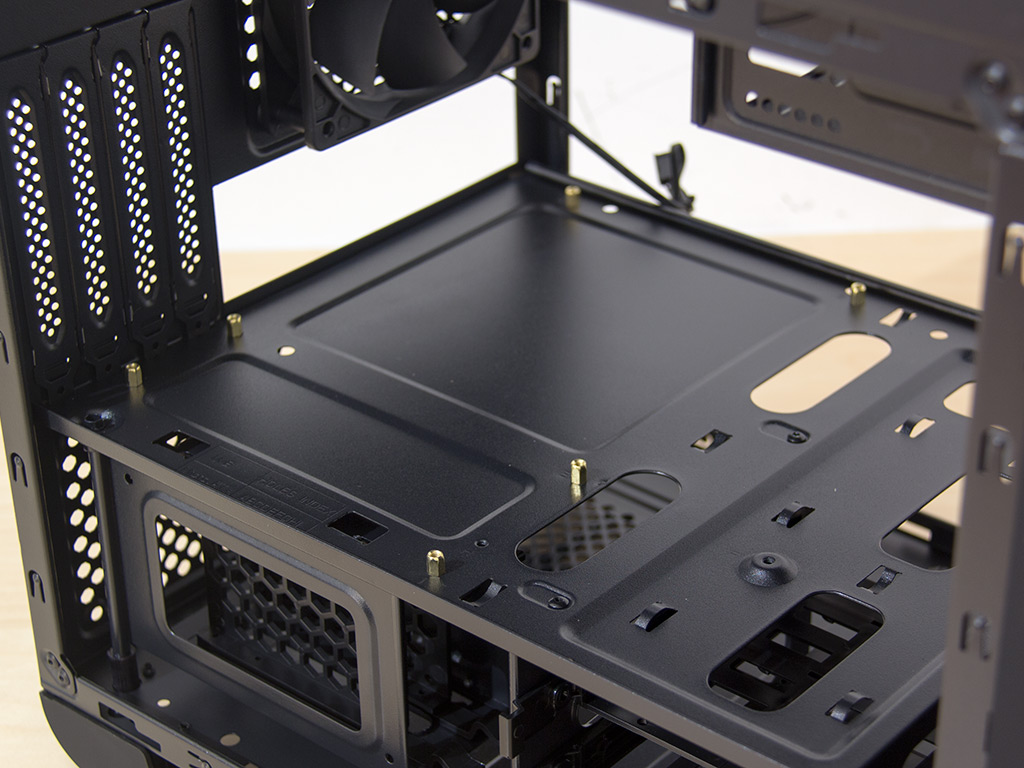

This tray allows for the installation of either a mATX or ITX motherboard, and NOX Xtreme added a few hooks for zip ties around the edge of where the board would be to help with cable management. You will find a 120mm exhaust fan in the rear, which is pretty standard fare.
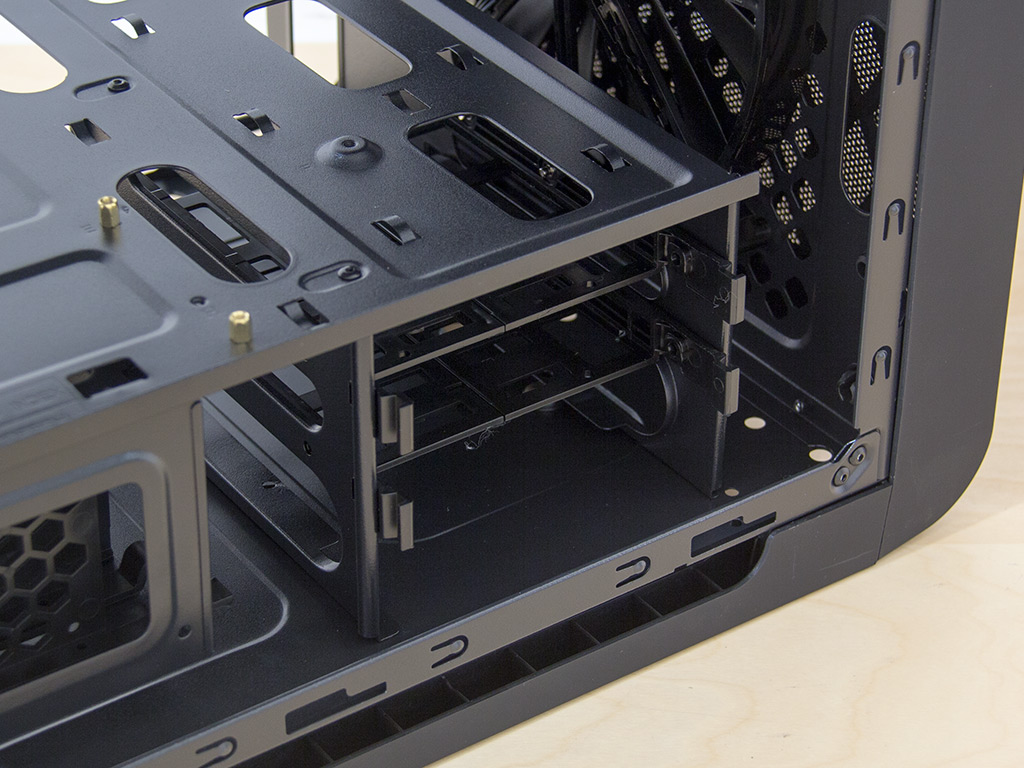
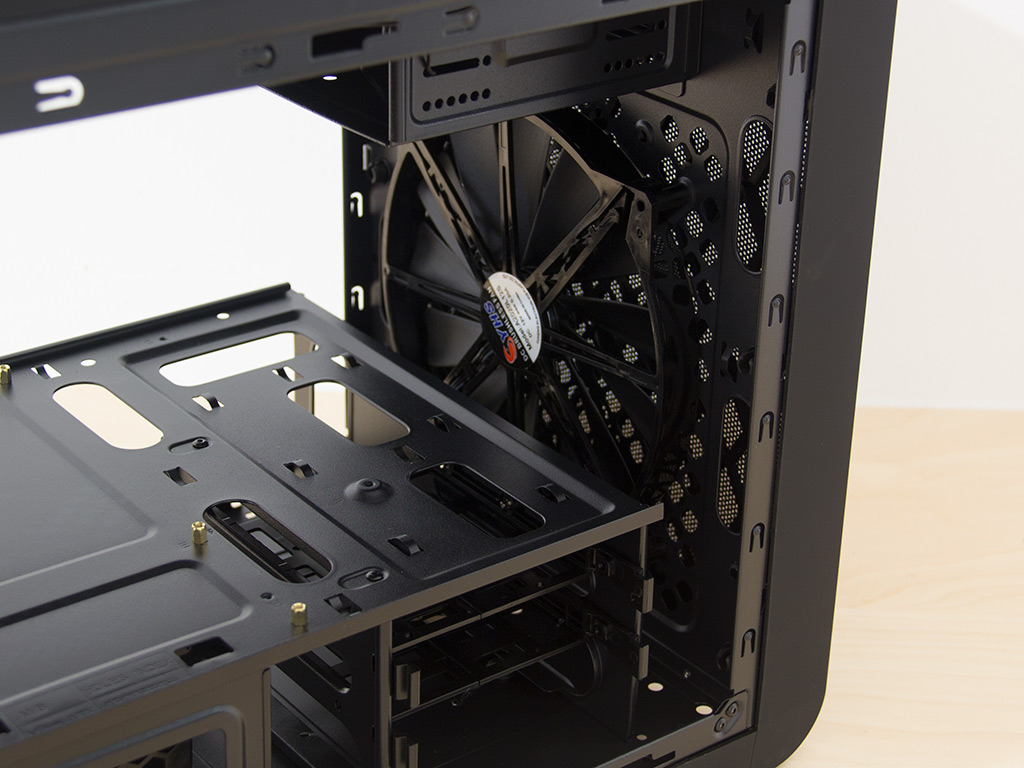
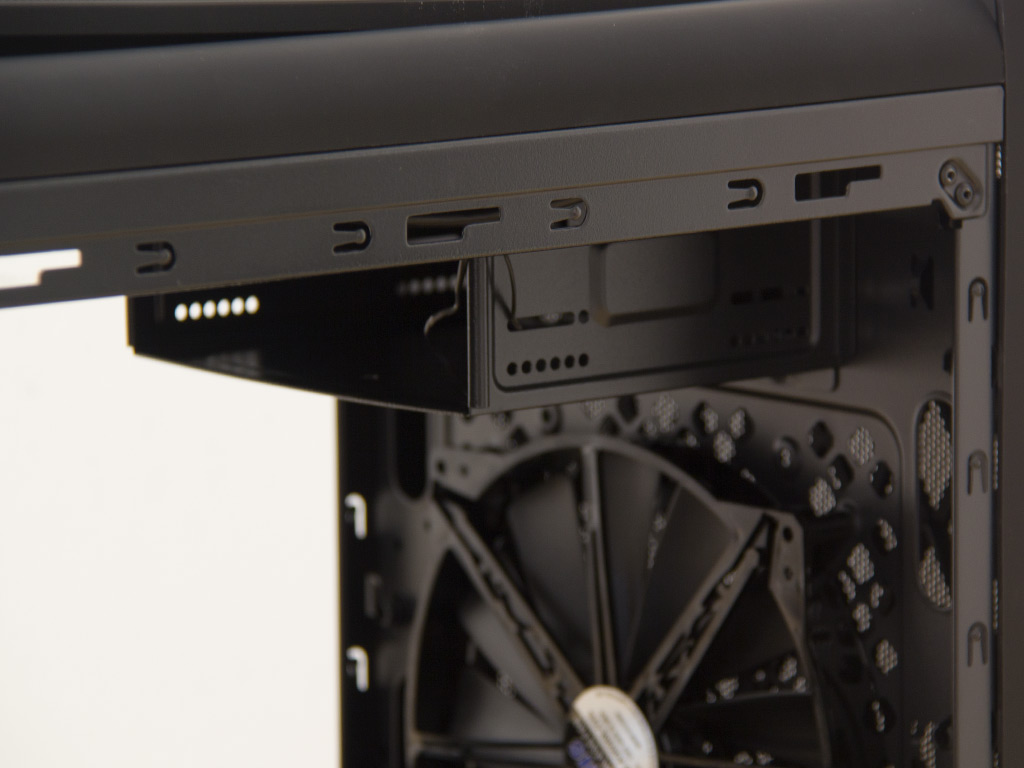
On the bottom of the front is a 3.5" hard-drive cage with two individual trays onto which you may also install 2.5'' drives. A 200mm fan set to push large amounts of fresh air through the front cover out of metal mesh and across the entire system has been placed into the front. In the very top is the 5.25" drive bay. It may be removed if you have no need for it.
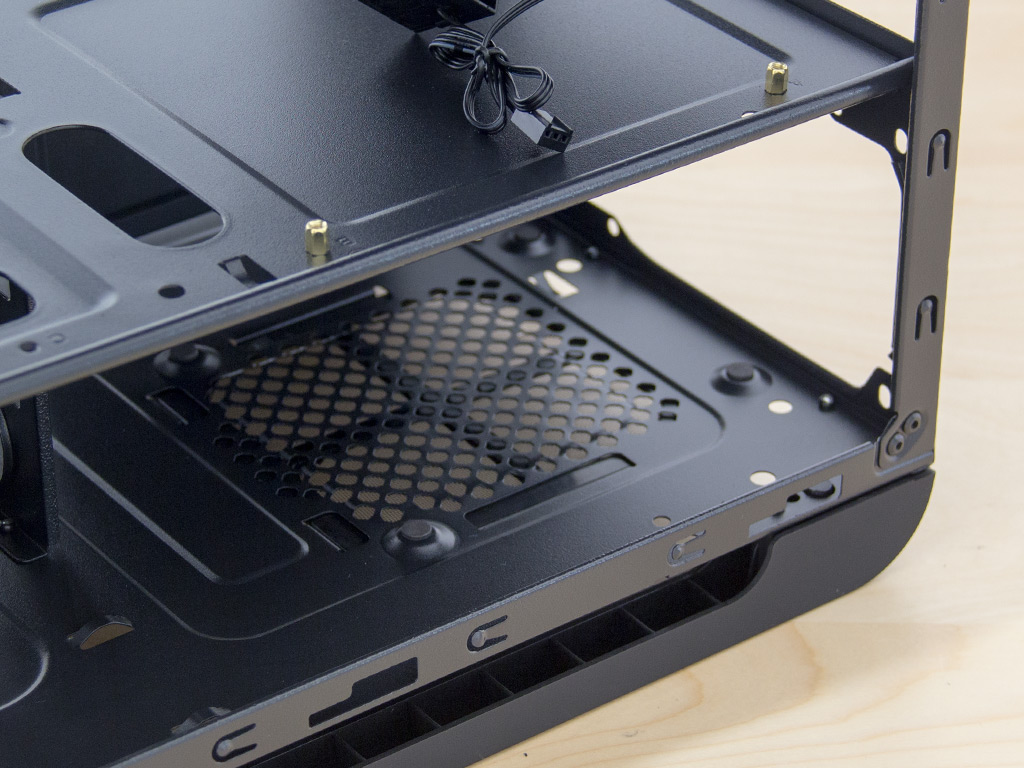
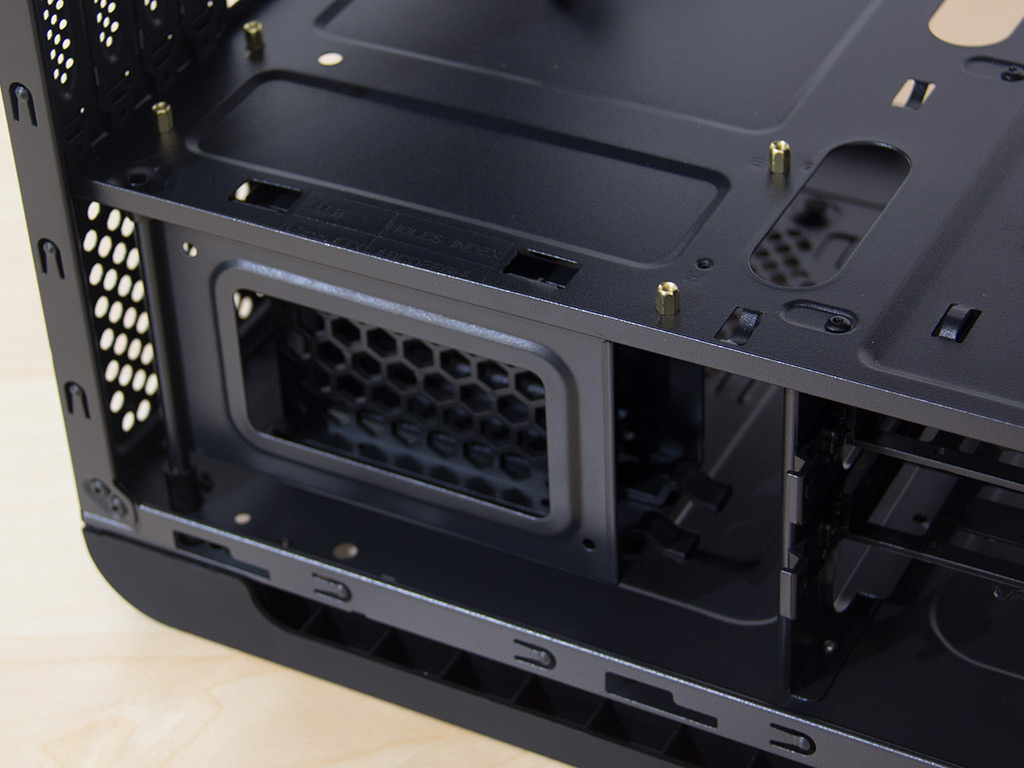

Take a closer look at the other elements below the motherboard tray and you will find a PSU bay and a swinging SSD cage, which makes fitting drives to its trays out of plastic a breeze. You may place two such drives into the cage.
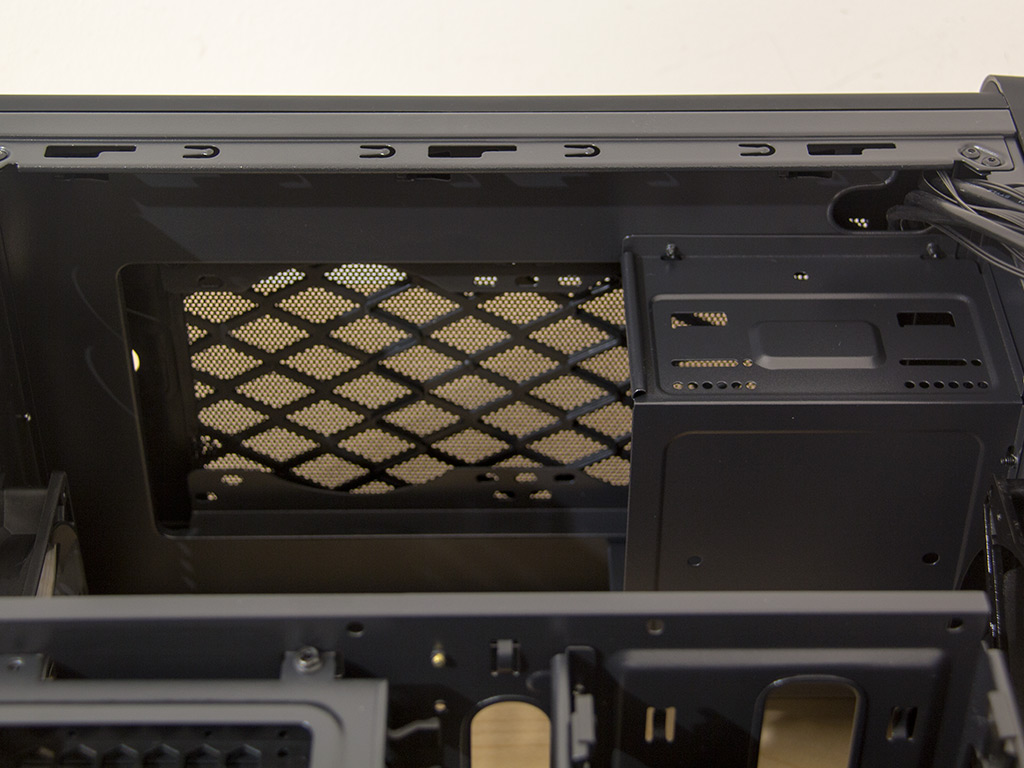
You may install up to a 240 mm radiator here, and it can be rather thick. Installing such a liquid-cooling setup here will get in the way of your ODD drive bay, though, unless you opt for a 120mm unit instead.
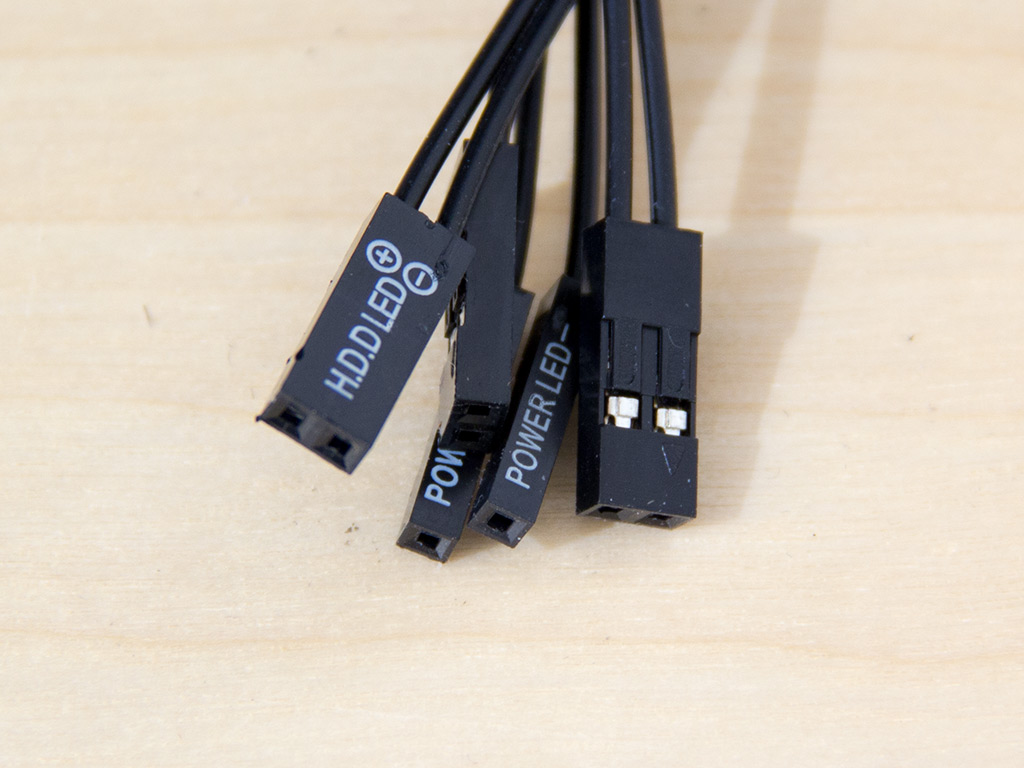
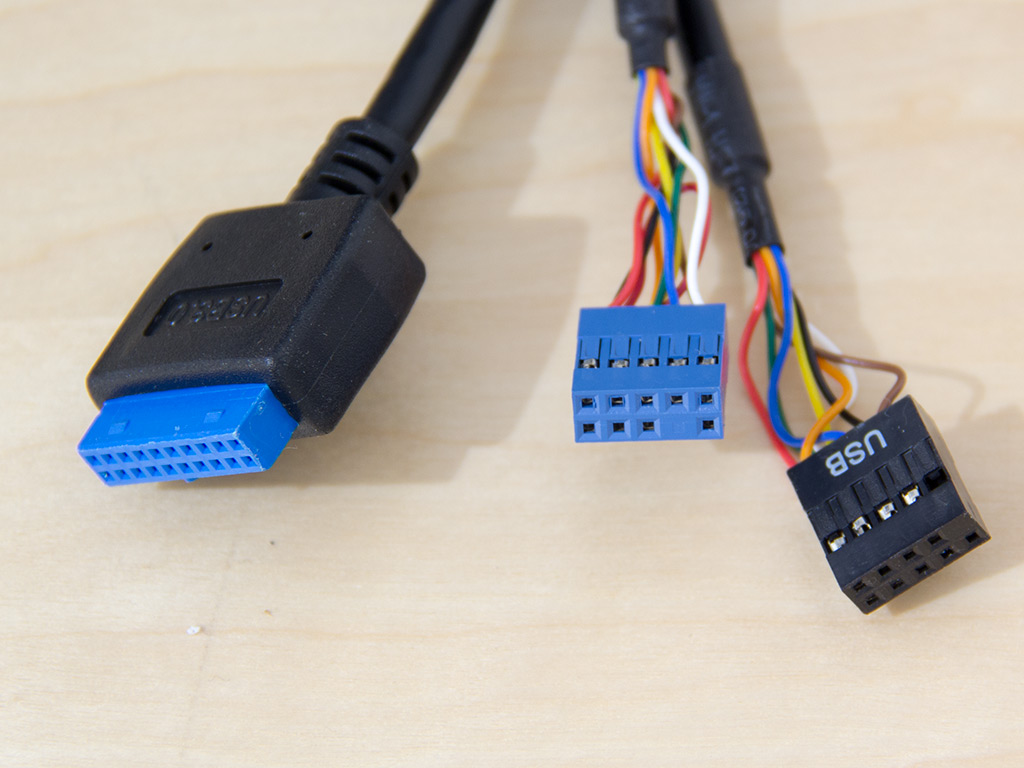

All the cables inside the Coolbay CX are of the default variety and come with black sleeving. The card reader is plugged into a USB 2.0 header, but occupies both rows even though only one is required.
Mar 10th, 2025 16:11 EDT
change timezone
Latest GPU Drivers
New Forum Posts
- Please I need help with the poor performance that my PC is giving me (28)
- Company of Heroes 3 (5)
- The TPU Darkroom - Digital SLR and Photography Club (4071)
- Maxsun RX580 graphics card crashes (24)
- A Final Fantasy IX Reminiscence - My love letter and homage to one of the best stories ever told (72)
- Gaming PC instabiliity (20)
- Msi 5090 DOA? (27)
- 3D Printer Club (447)
- Microprose: Falcon 5.0 - Well under development- yeay (1)
- €2000 Austrian gaming build (4)
Popular Reviews
- Sapphire Radeon RX 9070 XT Nitro+ Review - Beating NVIDIA
- XFX Radeon RX 9070 XT Mercury OC Magnetic Air Review
- ASUS Radeon RX 9070 TUF OC Review
- MSI MAG B850 Tomahawk Max Wi-Fi Review
- NVIDIA GeForce RTX 5080 Founders Edition Review
- NVIDIA GeForce RTX 5070 Founders Edition Review
- Corsair Vengeance RGB CUDIMM DDR5-8800 48 GB CL42 Review
- AMD Ryzen 7 9800X3D Review - The Best Gaming Processor
- ASUS GeForce RTX 5070 Ti TUF OC Review
- MSI GeForce RTX 5070 Ti Gaming Trio OC+ Review
Controversial News Posts
- NVIDIA GeForce RTX 50 Cards Spotted with Missing ROPs, NVIDIA Confirms the Issue, Multiple Vendors Affected (513)
- AMD Plans Aggressive Price Competition with Radeon RX 9000 Series (277)
- AMD Radeon RX 9070 and 9070 XT Listed On Amazon - One Buyer Snags a Unit (261)
- AMD RDNA 4 and Radeon RX 9070 Series Unveiled: $549 & $599 (260)
- AMD Mentions Sub-$700 Pricing for Radeon RX 9070 GPU Series, Looks Like NV Minus $50 Again (248)
- NVIDIA Investigates GeForce RTX 50 Series "Blackwell" Black Screen and BSOD Issues (244)
- AMD Radeon RX 9070 and 9070 XT Official Performance Metrics Leaked, +42% 4K Performance Over Radeon RX 7900 GRE (195)
- AMD Radeon RX 9070-series Pricing Leaks Courtesy of MicroCenter (158)