 8
8
NZXT H5 Flow RGB (2024) Review
Thermal Stress Test »Assembly
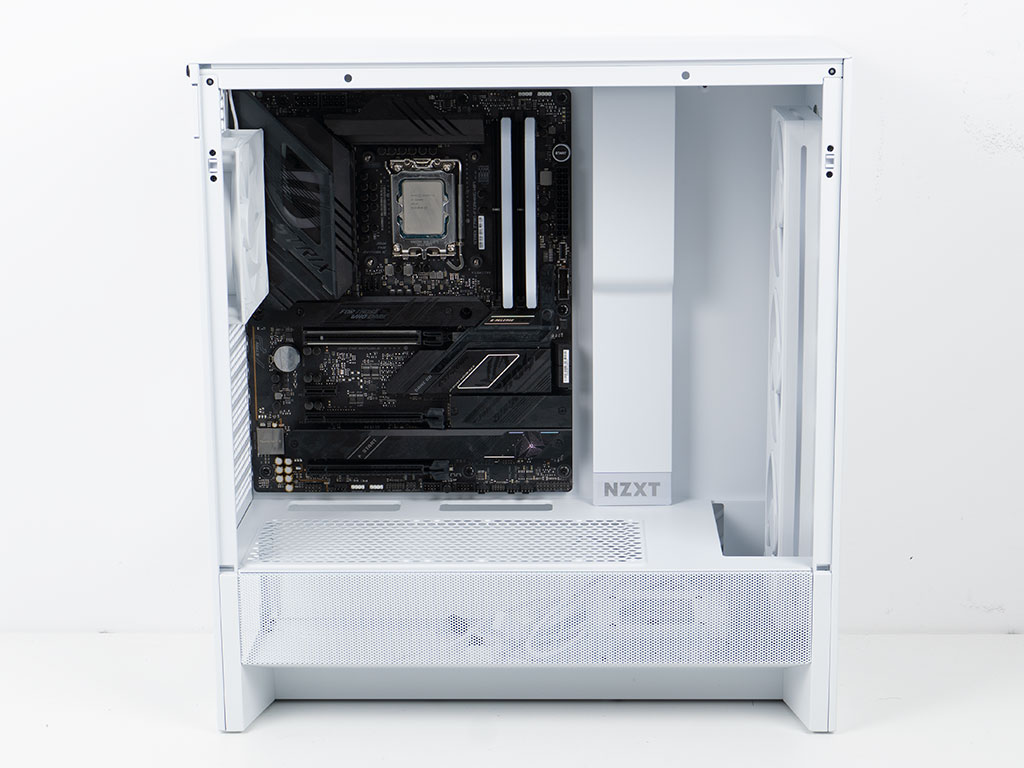
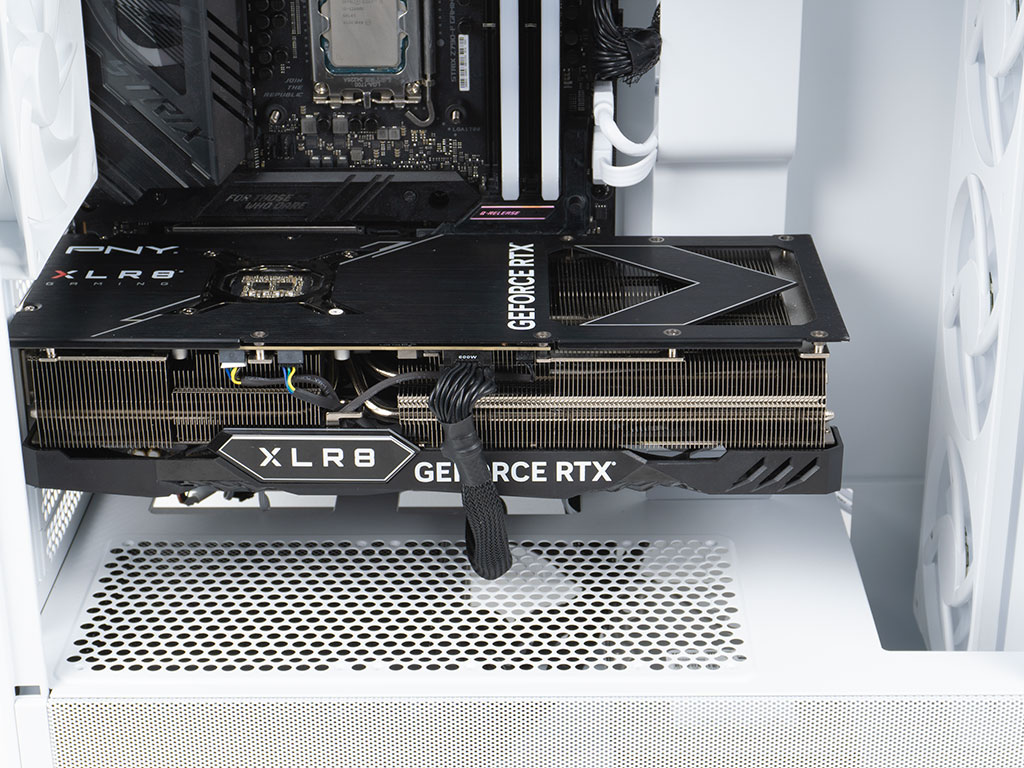
Installing the motherboard it becomes apparent that NZXT has kept the size of the H5 Flow RGB as compact as possible, there is very little room at the top edge of the board. With a GPU clearance of 410 mm, you will have no issues installing even the biggest units inside the case.
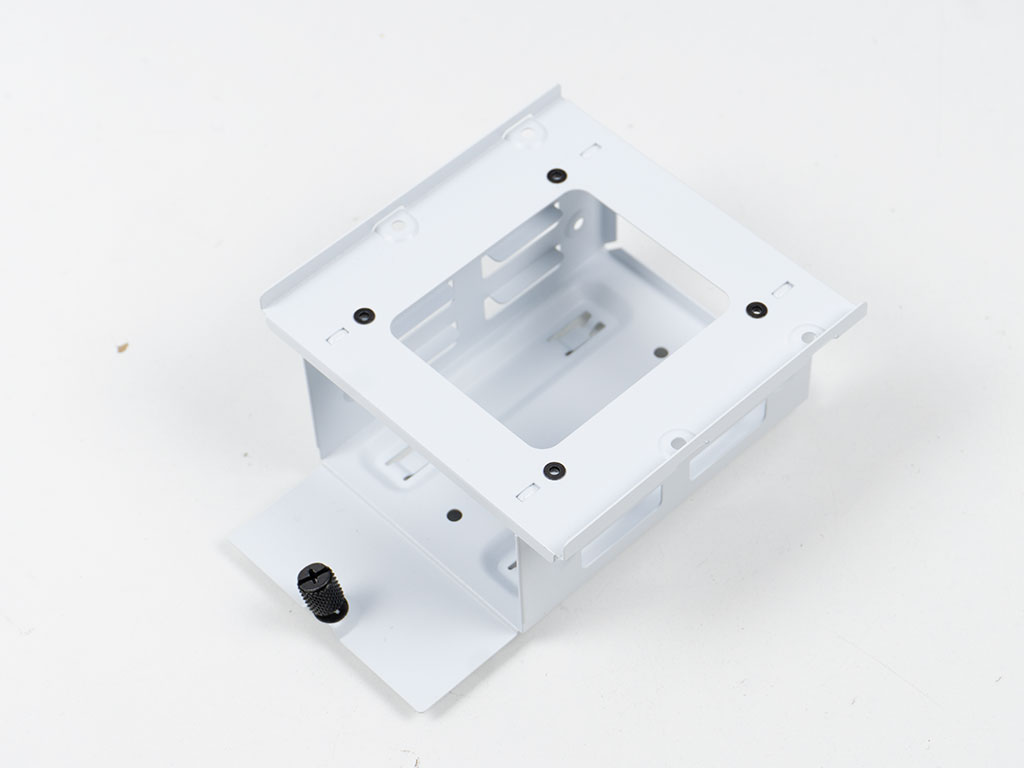
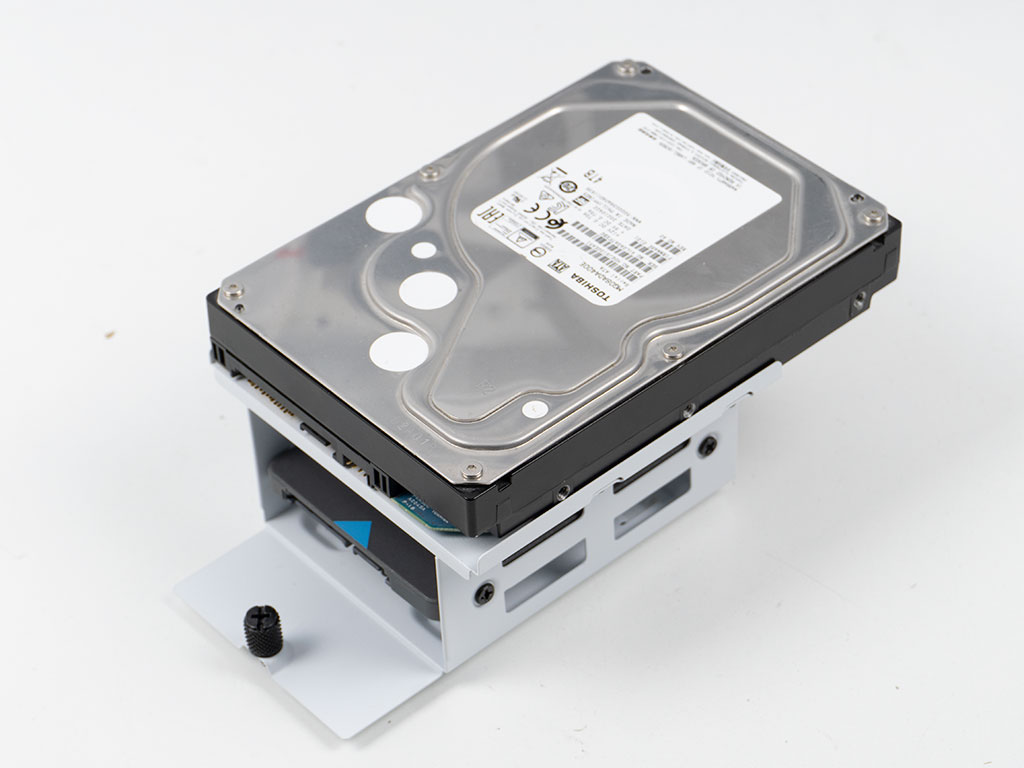
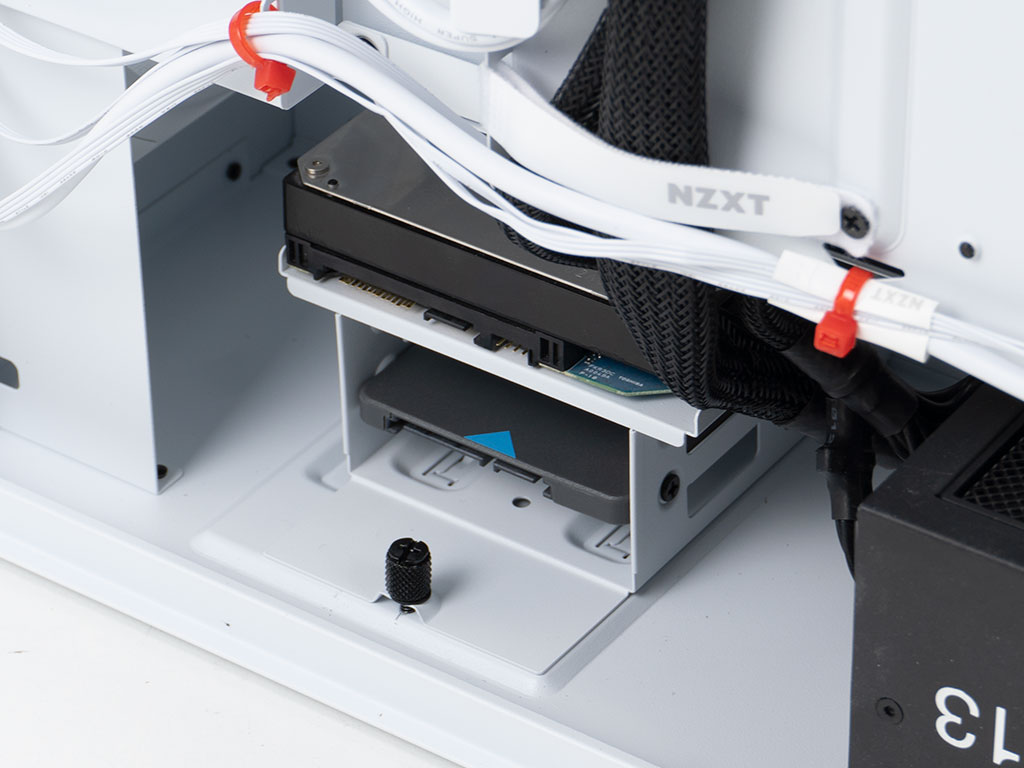
The HDD cage looks quite unique, as it aims to make the most of the smaller space at the very bottom of the enclosure. In other words, the 3.5" drive is at the very top as that is where there is enough depth to fit such a unit. This results in a design that focuses on two 2.5" drives and a singular 3.5" on the top. A thumb screw at the center is used to secure it in place on the floor of the case. If NZXT had designed the unit with the thumb screw on the left side, so it would not obstruct the 2.5" bays, the H5 Flow RGB could likely hold up to four 2.5" drives in that same space & height alongside that one larger drive. That said, the mix of three drives will likely be more than enough for most users, as most setups primarily utilize M.2 NVMe drives these days.
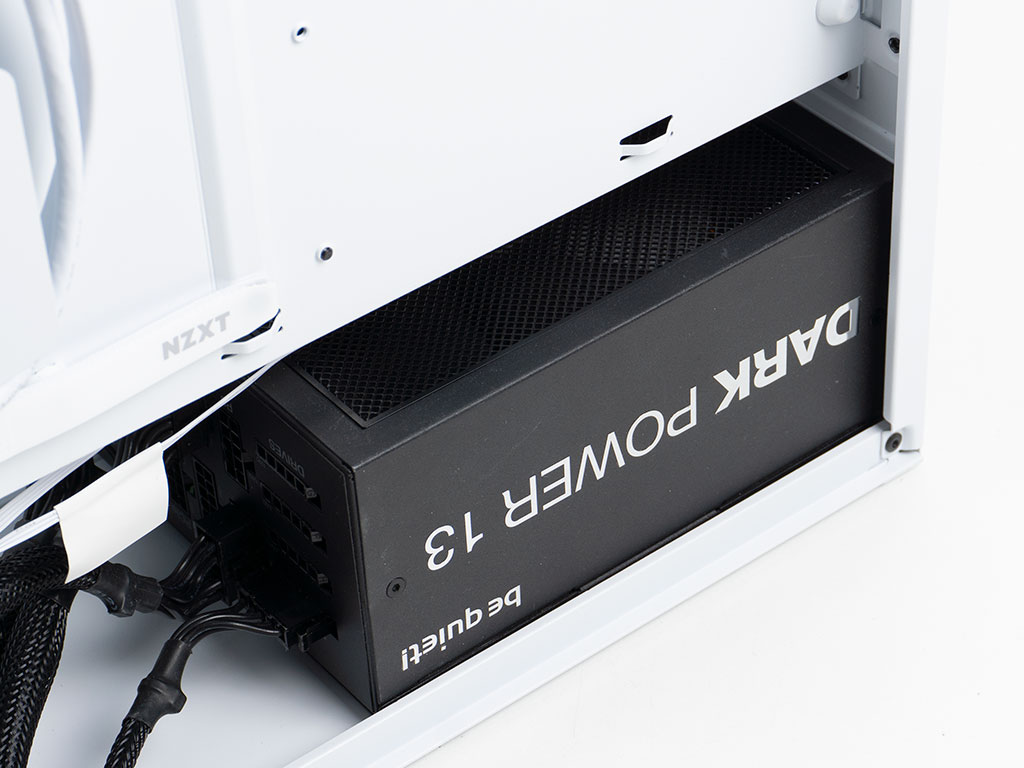
The PSU addition is straight forward by securing the upside-down unit with four screws. NZXT mentions a maximum length of 200 mm, being mindful that this is what the casing of the power supply should be, so that the connectors still have room with the HDD cage placed in the spot that allows for thick liquid cooling to be installed. As such our 175 mm long power supply has tons of room to breathe.
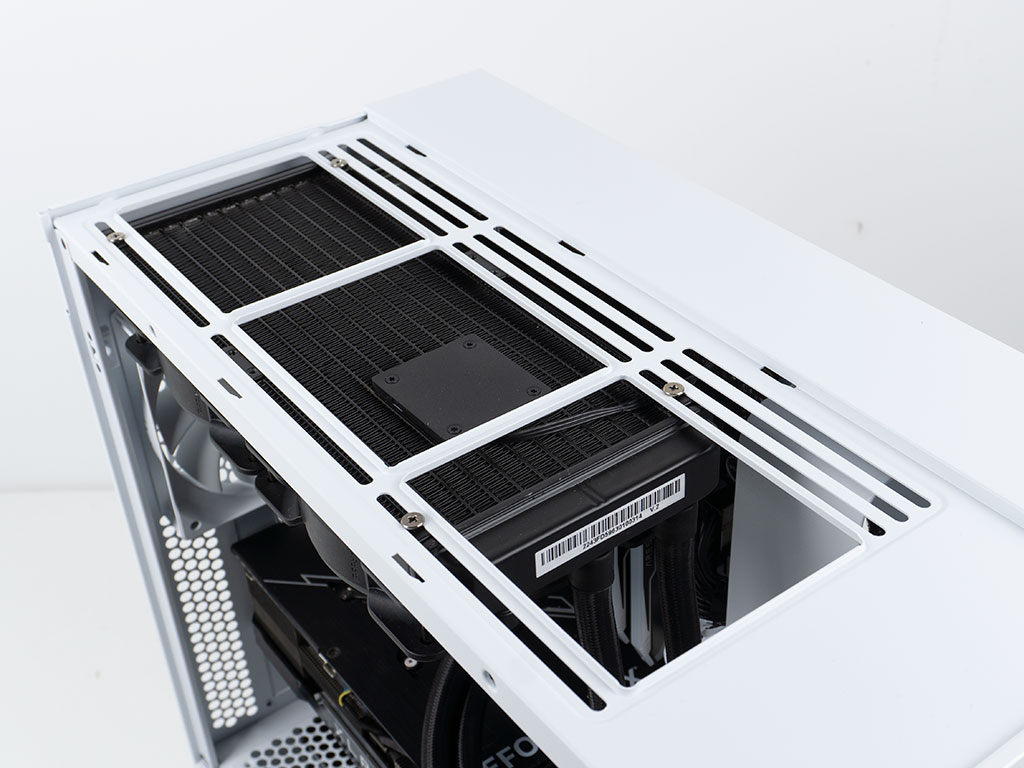
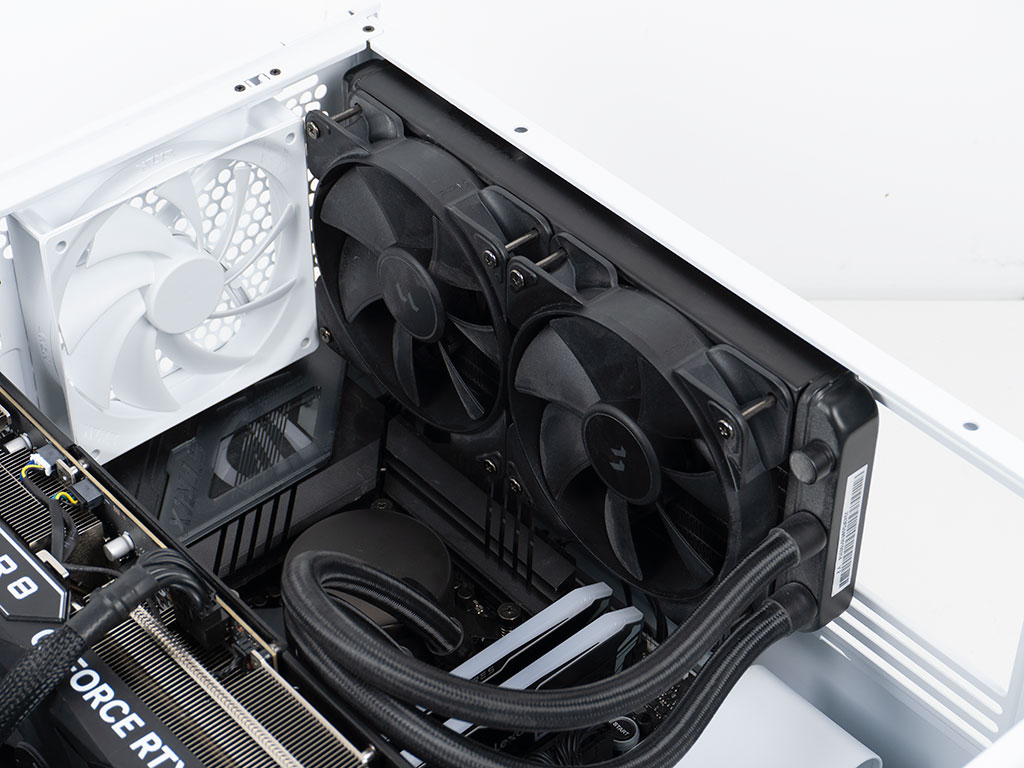
Installing the 240 mm unit (after trying a 360 and 280 mm unit) is done by securing the radiator to the ceiling. The 280 mm doesn't fit this build, as the Lexar memory is not low profile. However, if you look closely, with the rear fan as low as possible, the AIO fan barely does not clear it. If NZXT allowed for the rear fan to be shimmied lower and modified the cutout in the ceiling to be a bit more flexible at the front end, the odds drastically improve when trying to fit a 360 mm AIO with the tubing facing the front of the case. Alternatively, or additionally, if the case was a few millimeters taller, that would allow for 280 mm units to clear tall memory. The reason for all this detail is simple: other mid-tower cases routinely allow for 360 mm units in the ceiling while retaining the pre-installed RGB fans in the front these days.
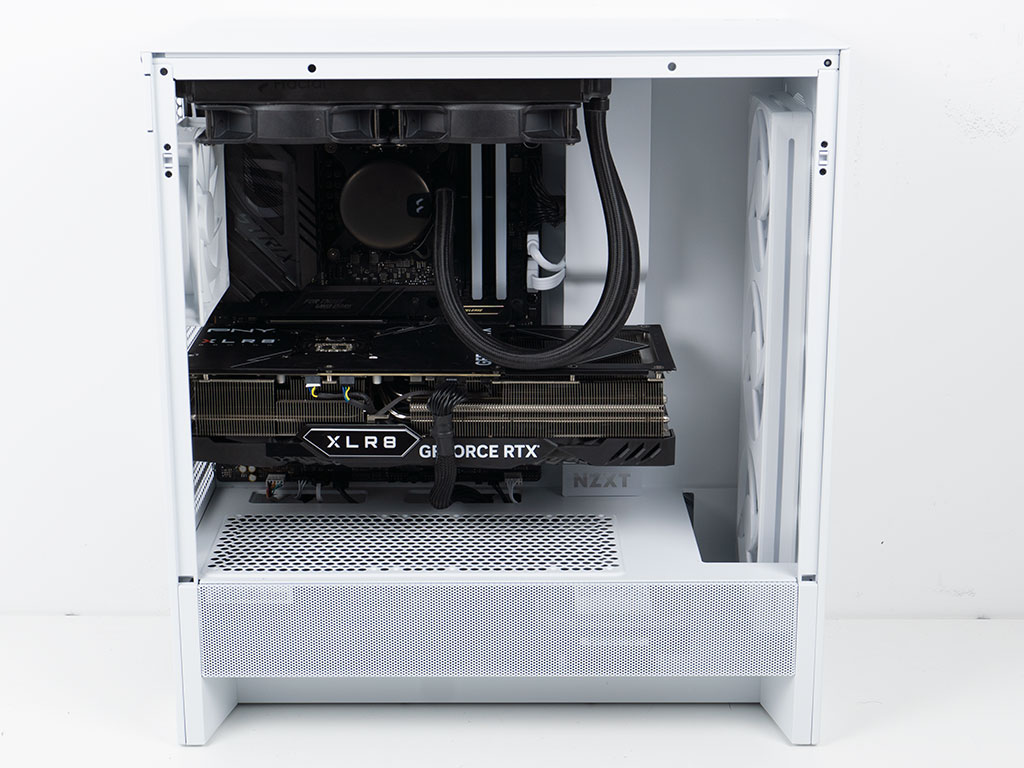
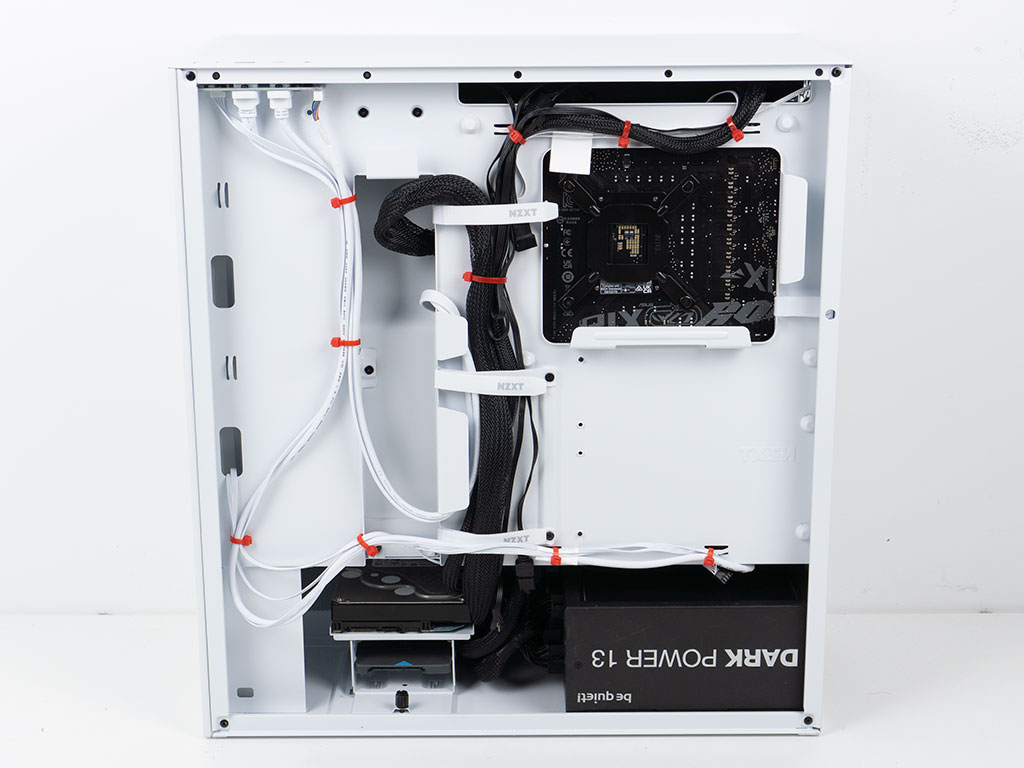
With everything installed, the cable cover on the right edge of the board does an excellent job in minimizing exposure to any wiring, while the top edge is hidden by the AIO. The most visual noise is seen at the bottom edge of the board, which is simply more apparent due to this being the white variant of the H5 Flow RGB, as such a black version will hide this better. In the rear, there are multiple ways to cable manage things and while you could easily bunch up the white case cables alongside the PSU wiring using the Velcro strips thanks to the folded edges around the cable opening, it is also possible to keep things separate and achieve a very clean result. Remember, this is a setup with essentially seven fans and a pump and there are barely any cables to mess with - that is pretty cool.
Finished Looks
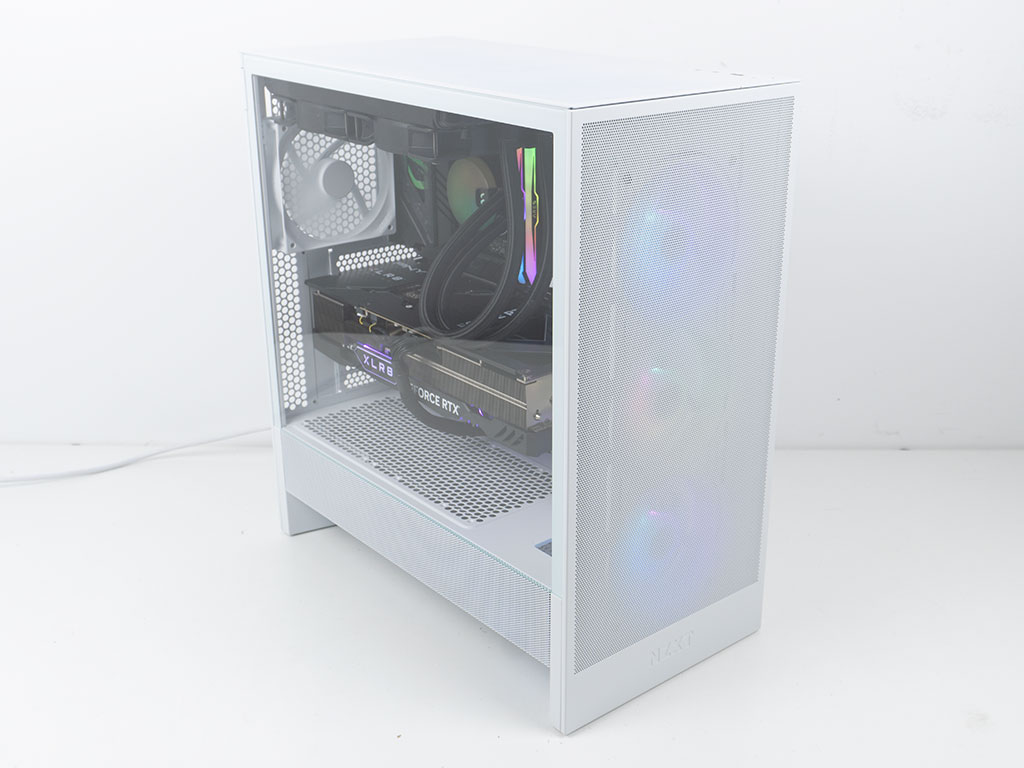
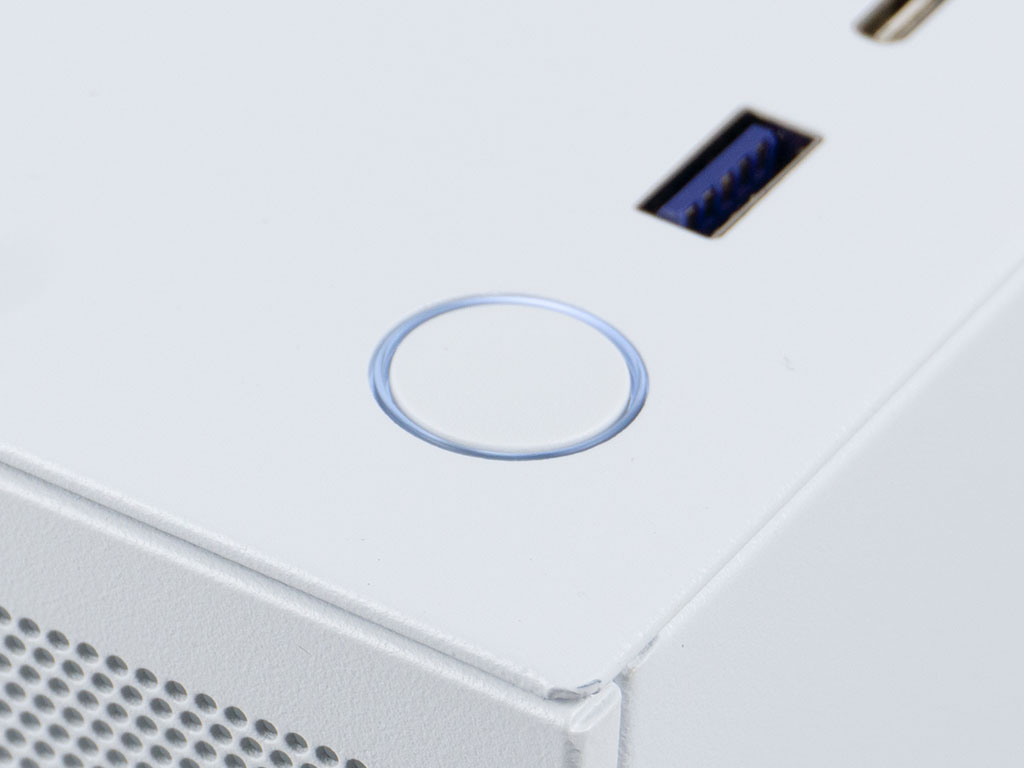
With the system turned on, the RGB elements at the center of the F360 frame can be seen glowing through the mesh front and the power button lights up white - something that has remained constant across all NZXT cases for a very long time.
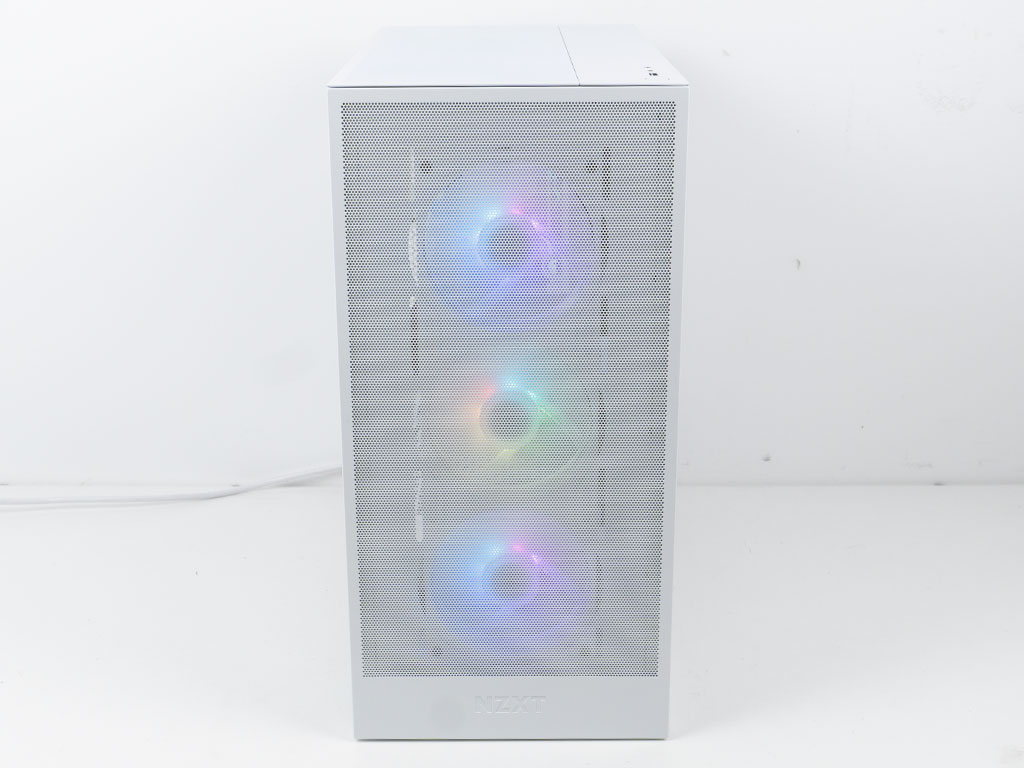
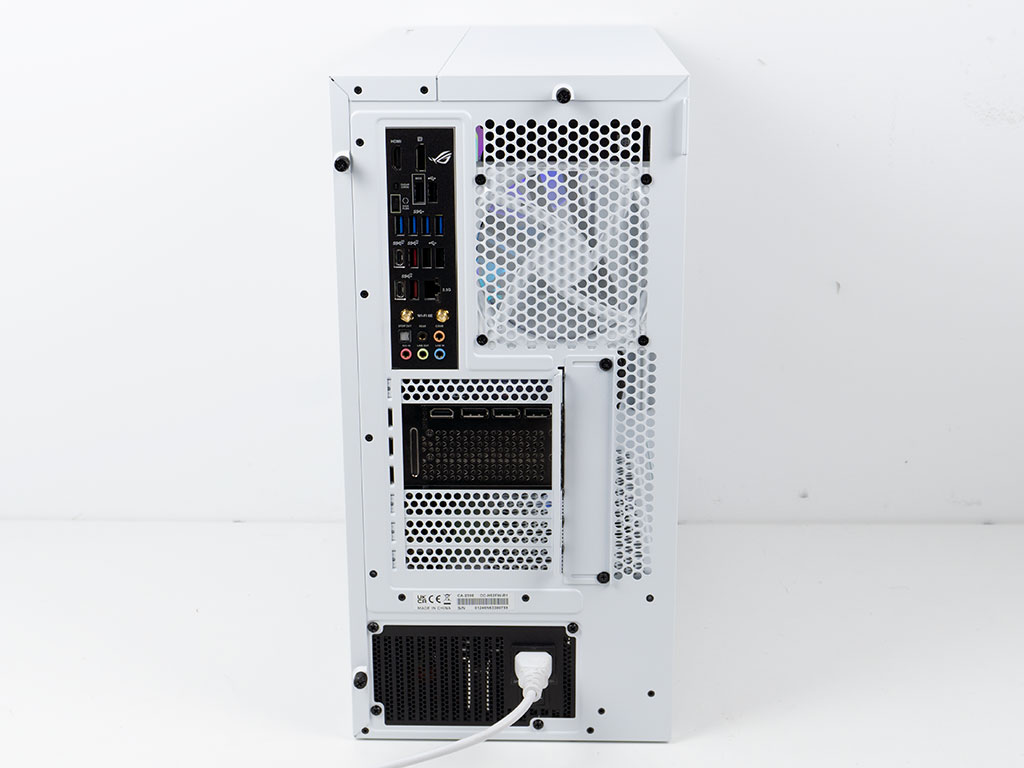
In the front, you can see the three fans embedded in the frame nicely thanks to the singular layer of steel without any additional barriers. In the rear, everything is where you would expect to see it, with the slight deviation of the PSU power port due to the flipped installation method.

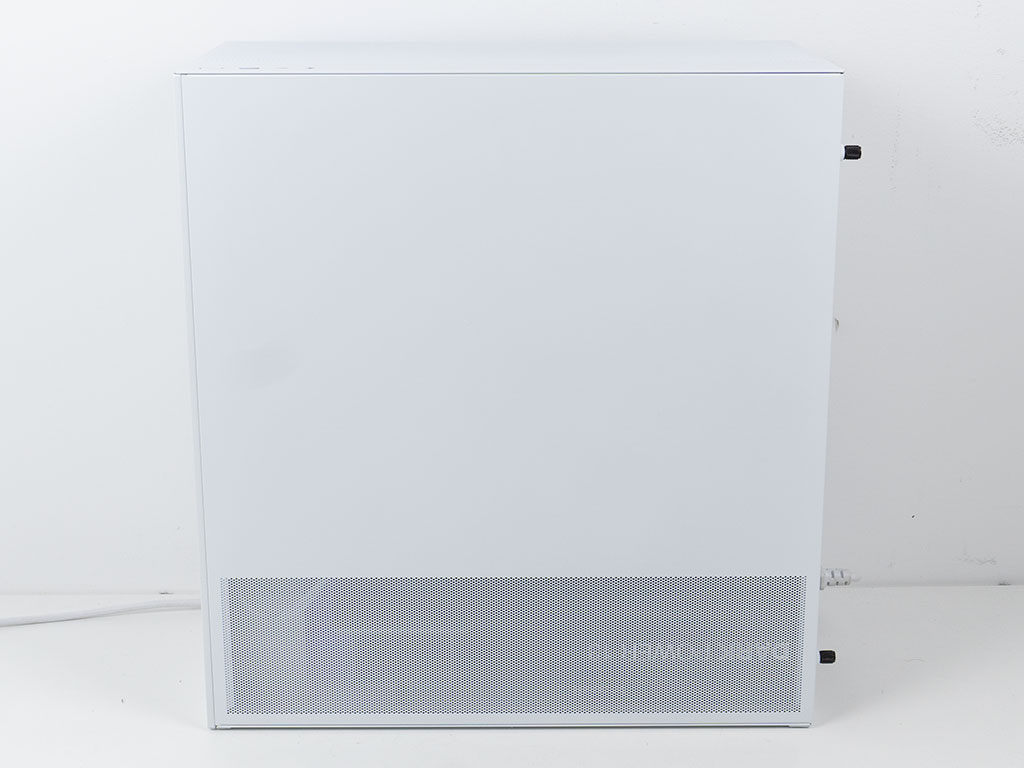
Again, the clear, untinted side panel makes it look like there is virtually nothing between you and the internal components. That in turn means, you can see everything as if the panel was not in place. It will be interesting to see if NZXT is planning to provide a BTF compatible variant of the case in the future. On the other side, the vent at the bottom also allows for visibility of components on the floor of the interior. All this means is that air will also be able to pulled in from these areas, which should be useful if you opt to go for a fan on top of the shroud for example.
Jul 5th, 2025 23:09 CDT
change timezone
Latest GPU Drivers
New Forum Posts
- Help Watercooling my PC (8)
- Will you buy a RTX 5090? (627)
- RX 9000 series GPU Owners Club (1128)
- 9800x3d temps (3)
- Last game you purchased? (862)
- TPU's Rosetta Milestones and Daily Pie Thread (2375)
- What are you playing? (23897)
- Folding Pie and Milestones!! (9607)
- Do you game on a handheld console? (98)
- TPU's Nostalgic Hardware Club (20486)
Popular Reviews
- NVIDIA GeForce RTX 5050 8 GB Review
- Fractal Design Scape Review - Debut Done Right
- Crucial T710 2 TB Review - Record-Breaking Gen 5
- ASUS ROG Crosshair X870E Extreme Review
- Sapphire Radeon RX 9060 XT Pulse OC 16 GB Review - An Excellent Choice
- PowerColor ALPHYN AM10 Review
- Upcoming Hardware Launches 2025 (Updated May 2025)
- AMD Ryzen 7 9800X3D Review - The Best Gaming Processor
- Sapphire Radeon RX 9070 XT Nitro+ Review - Beating NVIDIA
- NVIDIA GeForce RTX 5060 8 GB Review
TPU on YouTube
Controversial News Posts
- Intel's Core Ultra 7 265K and 265KF CPUs Dip Below $250 (288)
- NVIDIA Grabs Market Share, AMD Loses Ground, and Intel Disappears in Latest dGPU Update (212)
- Some Intel Nova Lake CPUs Rumored to Challenge AMD's 3D V-Cache in Desktop Gaming (140)
- NVIDIA GeForce RTX 5080 SUPER Could Feature 24 GB Memory, Increased Power Limits (115)
- Microsoft Partners with AMD for Next-gen Xbox Hardware (105)
- NVIDIA Launches GeForce RTX 5050 for Desktops and Laptops, Starts at $249 (105)
- AMD Radeon RX 9070 XT Gains 9% Performance at 1440p with Latest Driver, Beats RTX 5070 Ti (102)
- Intel "Nova Lake‑S" Series: Seven SKUs, Up to 52 Cores and 150 W TDP (100)