 11
11
NZXT H700i Review
Value & Conclusion »Test System
| System Parts for Case Reviews | |
|---|---|
| Processor: | Intel Core i7‑8700K |
| Motherboards: | ATX: MSI Z390‑A PRO MATX: Z370M GAMING PRO CARBON Mini-ITX: MSI Z370i GAMING PRO CARBON Provided by: MSI |
| Graphics Card: | Long: ZOTAC GAMING GeForce RTX 2060 Twin Fan 6G GDDR6 Short: HIS Radeon 5350 HD |
| Memory: | Corsair Vengeance LPX 32 GB (2X16GB) DDR4 2666 MHzC16 1.2 V Provided by: Corsair |
| HDD: | Western Digital 320 GB 7200 RPM |
| SSD: | Crucial 500 GB SSD WD Black PCIe Gen3 x4 NVMe M.2 2280 500 GB |
| Power Supply: | EVGA SuperNOVA 650 GQ 650 W 80 PLUS Provided by: EVGA |
| Cooling: | be quiet! Dark Rock 4 be quiet! Pure Slim be quiet! Shadow Rock 2 be quiet! Shadow Rock LP Provided by: be quiet! |
Assembly

Adding a motherboard is done by traditional means, with screws and spacers. Thankfully, NZXT has pre-installed the latter, so you simply put the board in place and screw it down. There is a little extra space above and below, which is a good for attaching any connectors along the motherboard's edges. This is especially true for the CPU power plug, which is traditionally in the top-left corner and can easily be reached by popping of the top of the chassis, and the H700i can hold a CPU cooler of up to 185 mm in height, which is a solid 20 mm more than the H500 series, so you can essentially go all out if you like.
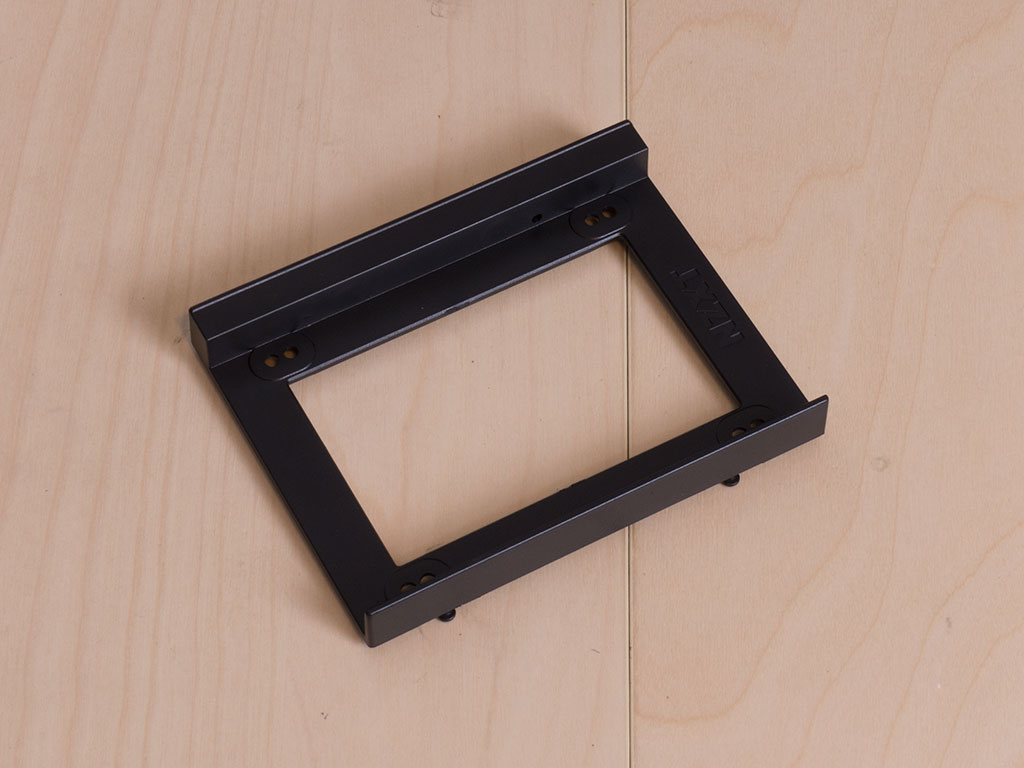
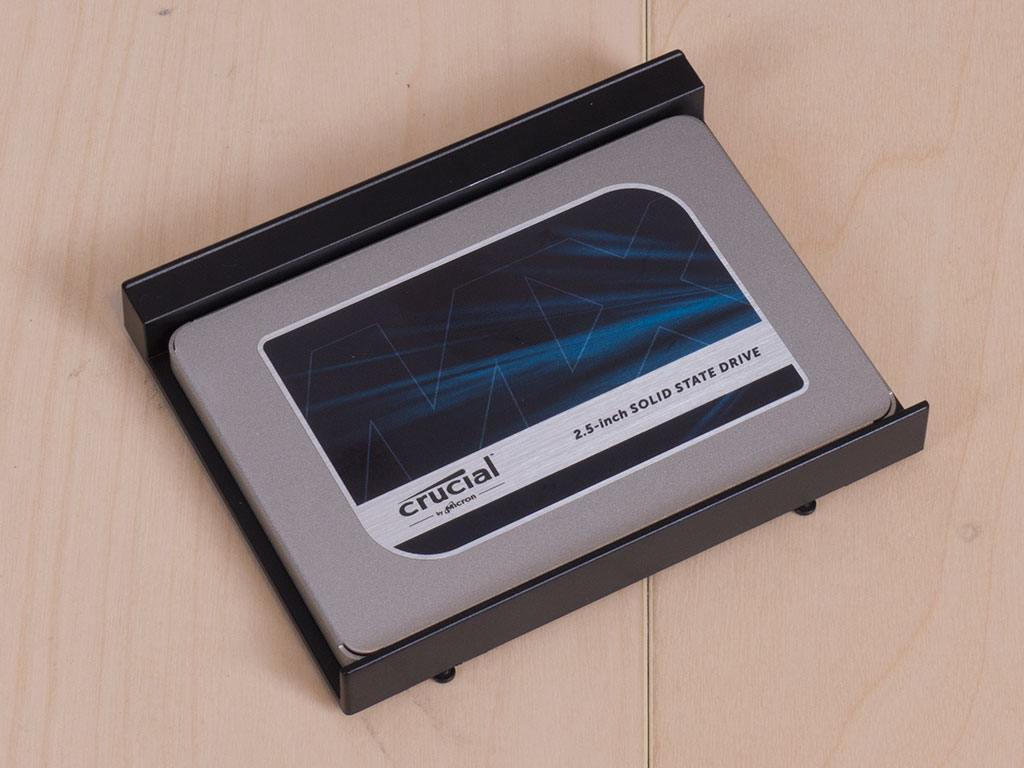
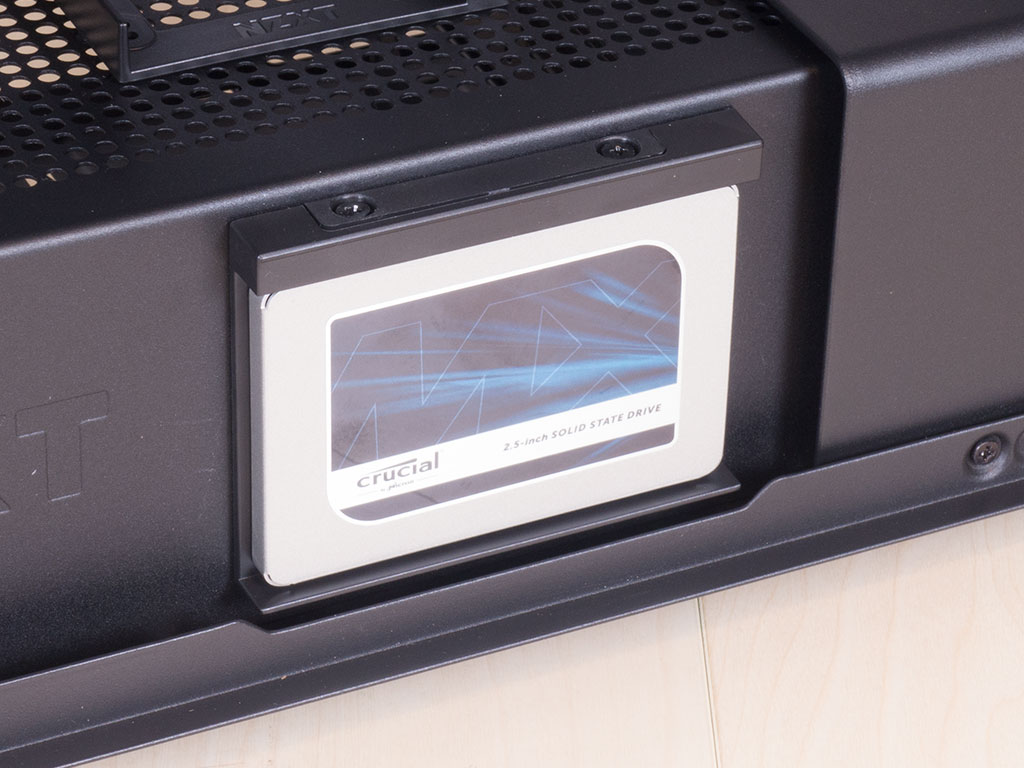
Adding an SSD is quite easy due to the spring-loaded trays. Simply squeeze down on one side to pop them off the chassis panel, fill it with a drive using screws, and pop it back into the case—either on the shroud or the backside of the motherboard tray.
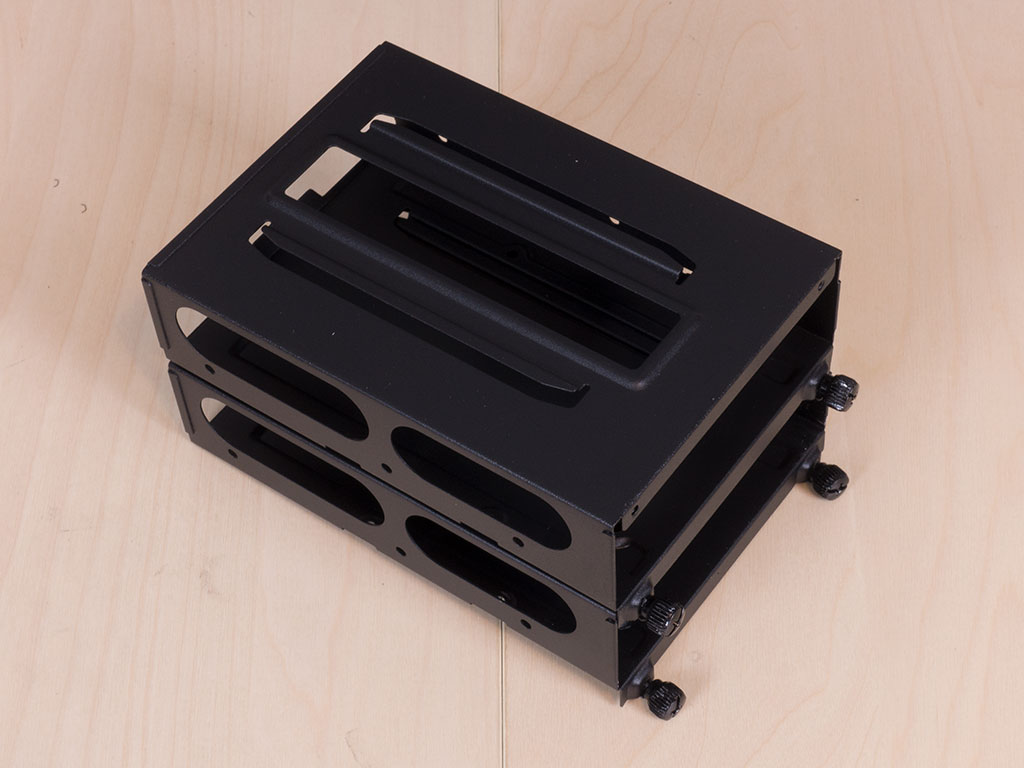
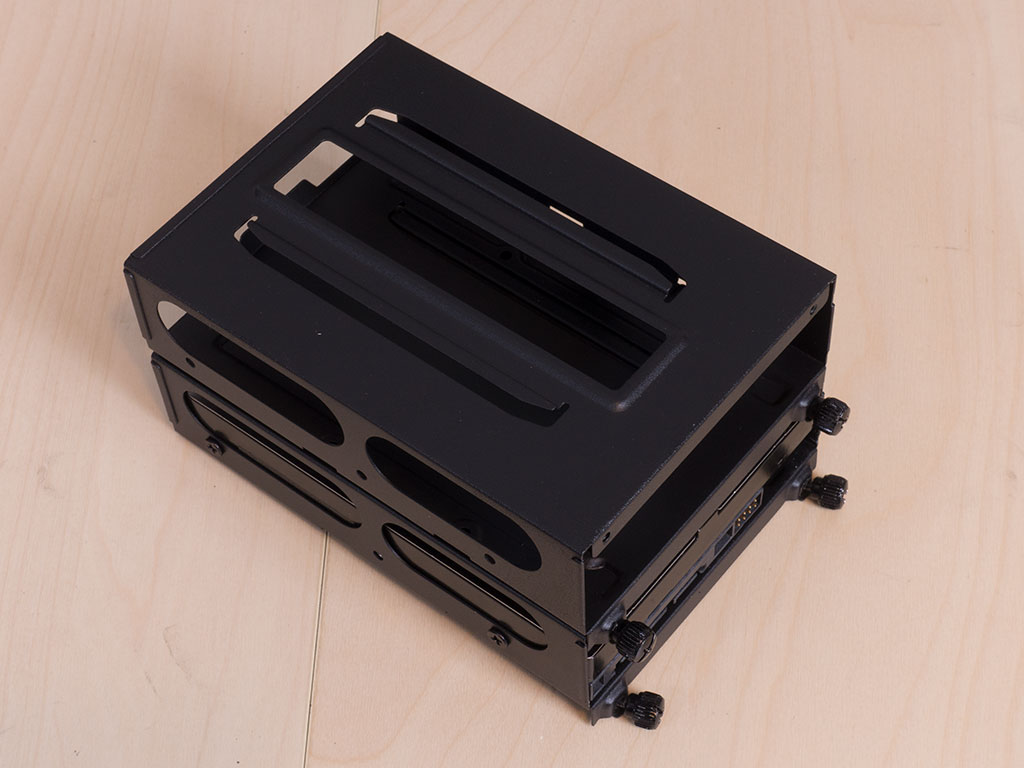
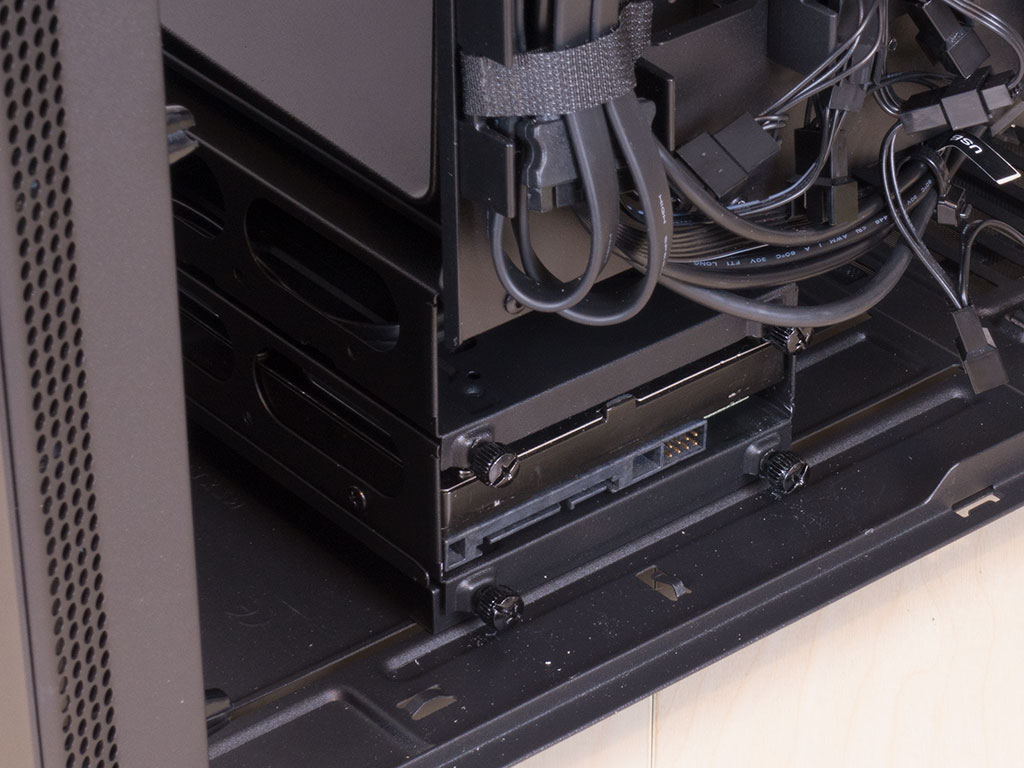
Adding 3.5" drives means you will have to pull the cage out of the chassis and screw the storage unit down with included screws. Once in place, simply put it back and use the thumb screws to ensure the filled contraption stays in place securely.
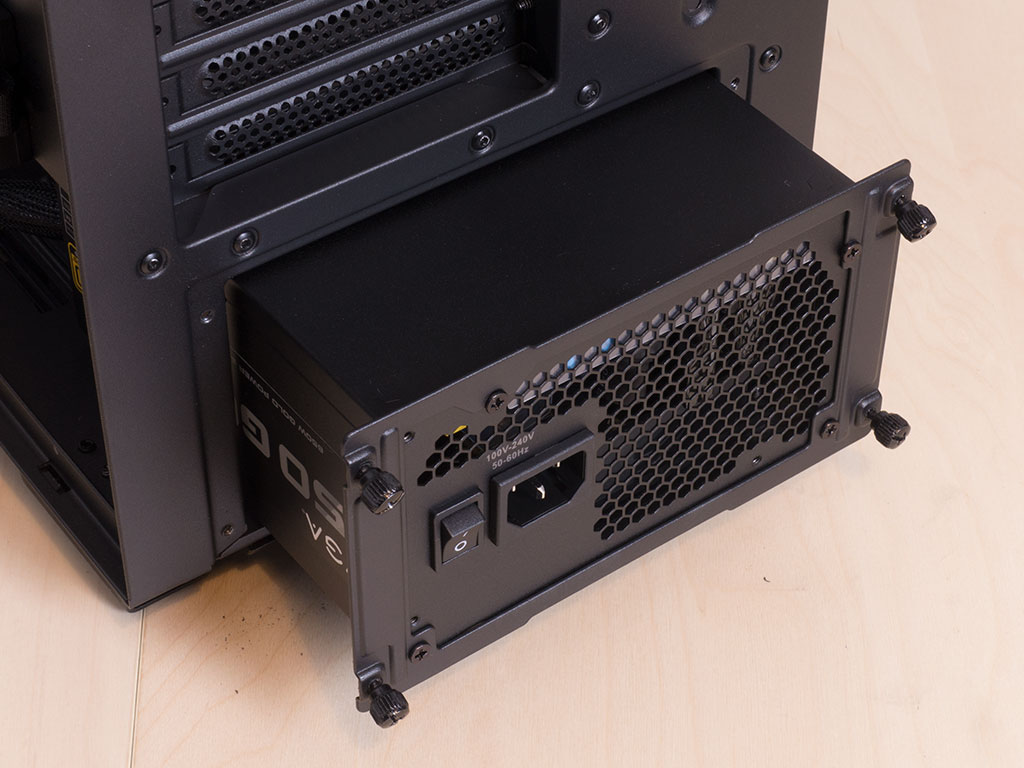
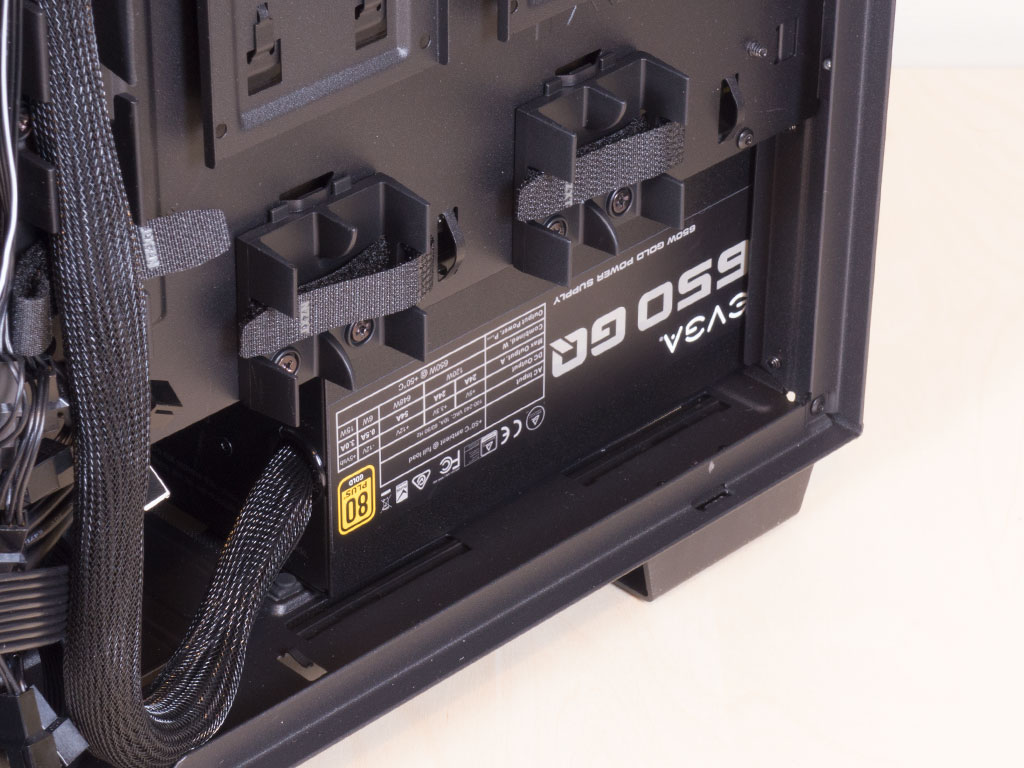
Inserting the power supply is pretty straightforward as you first get to place the frame on the PSU before sliding it right into the back of the H700i. NZXT does not mention a compatibility limit, and there is plenty of room, so even long units should easily fit.


Once everything is assembled, the NZXT H700i makes a very clean impression due to the metal cover within the case. Even the backside is tidy because of the cable trenches and plenty of mounting possibilities for cable ties in combination with the excellent wiring of existing leads out of the box.
Finished Looks
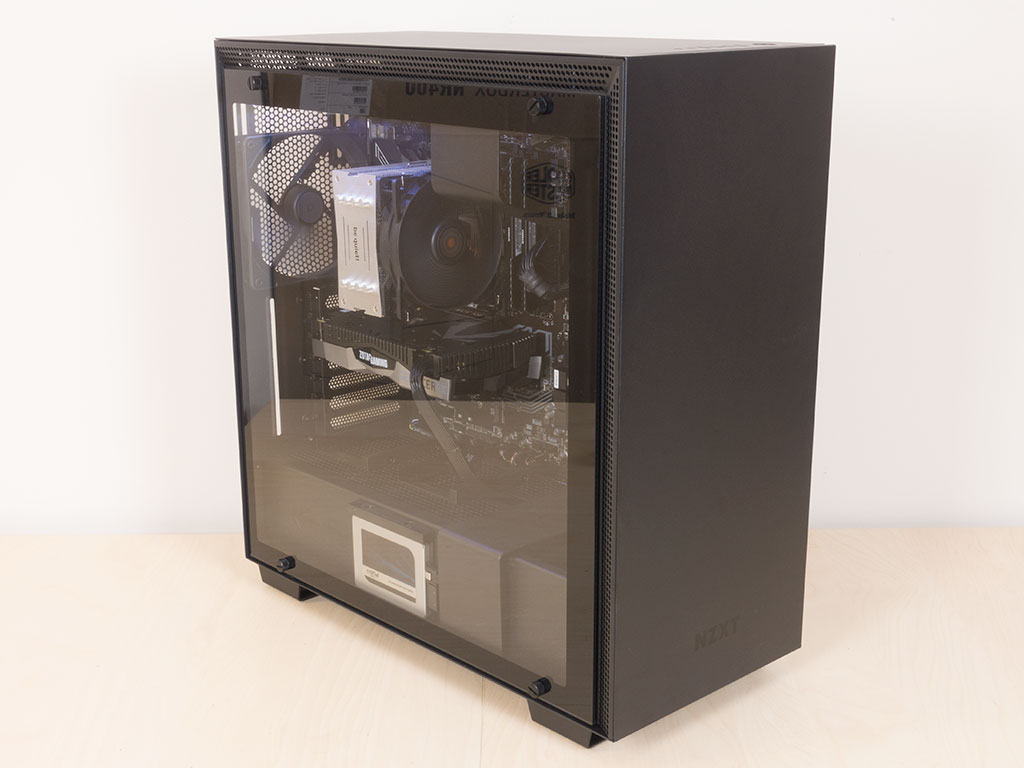
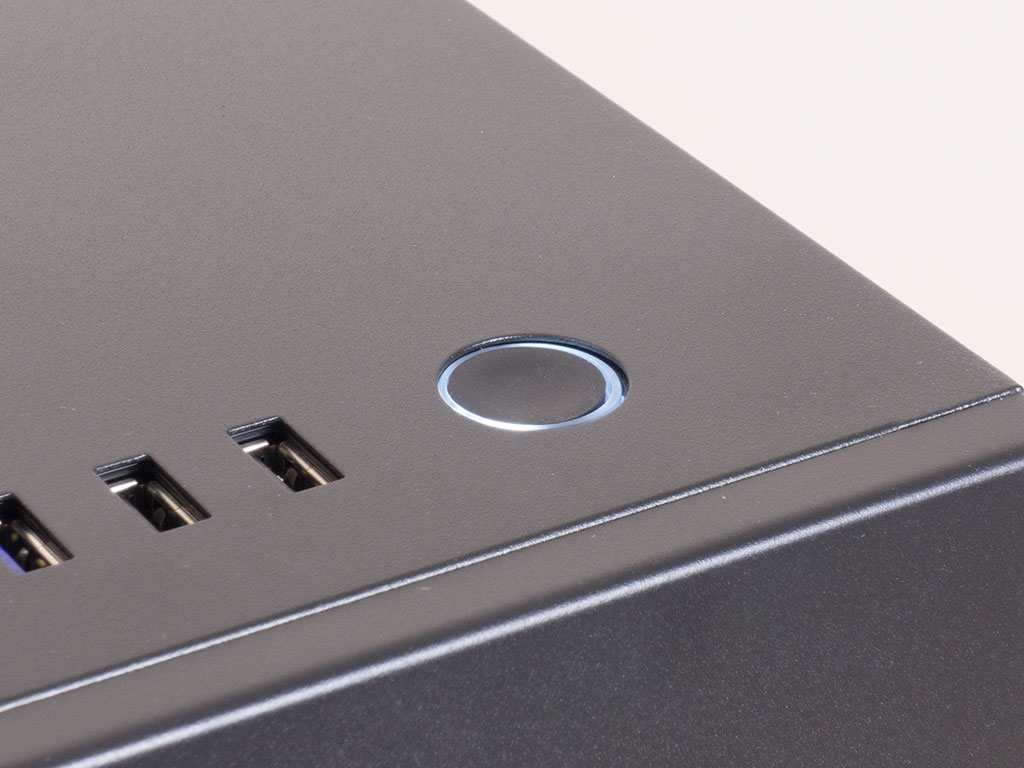
With everything back in place, you can clearly see all the components inside the system because of the clear window. The power button lights up white when it is turned on, and you are naturally able to adjust the RGB LED strips inside the case with NZXT's own CAM software.
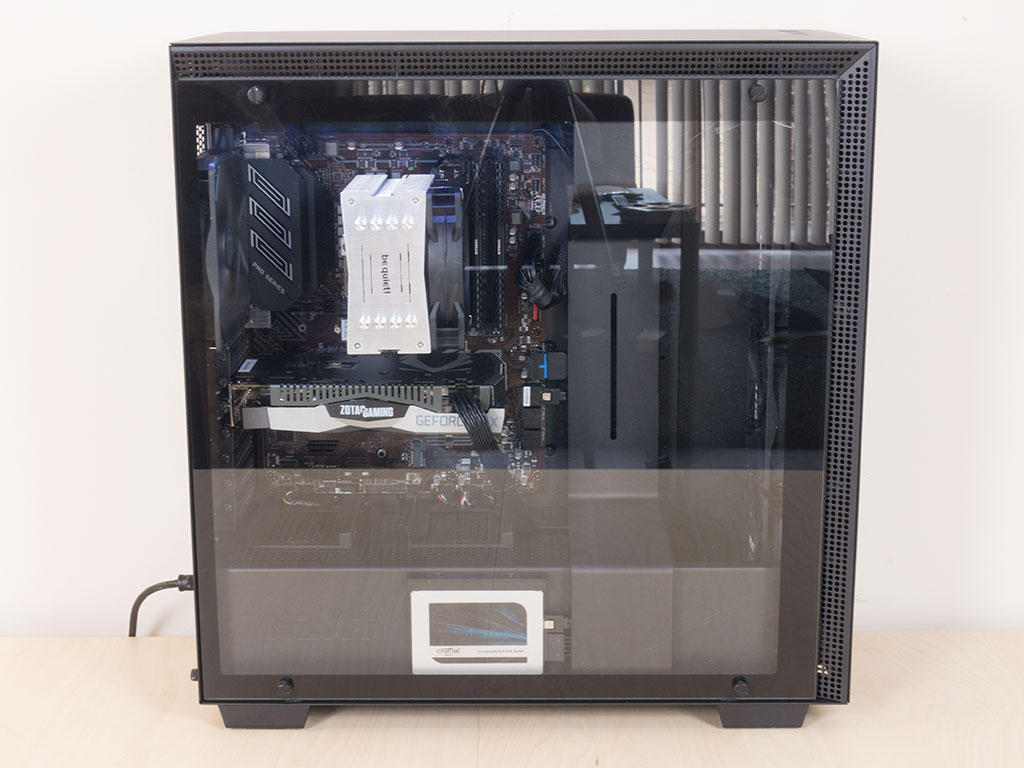
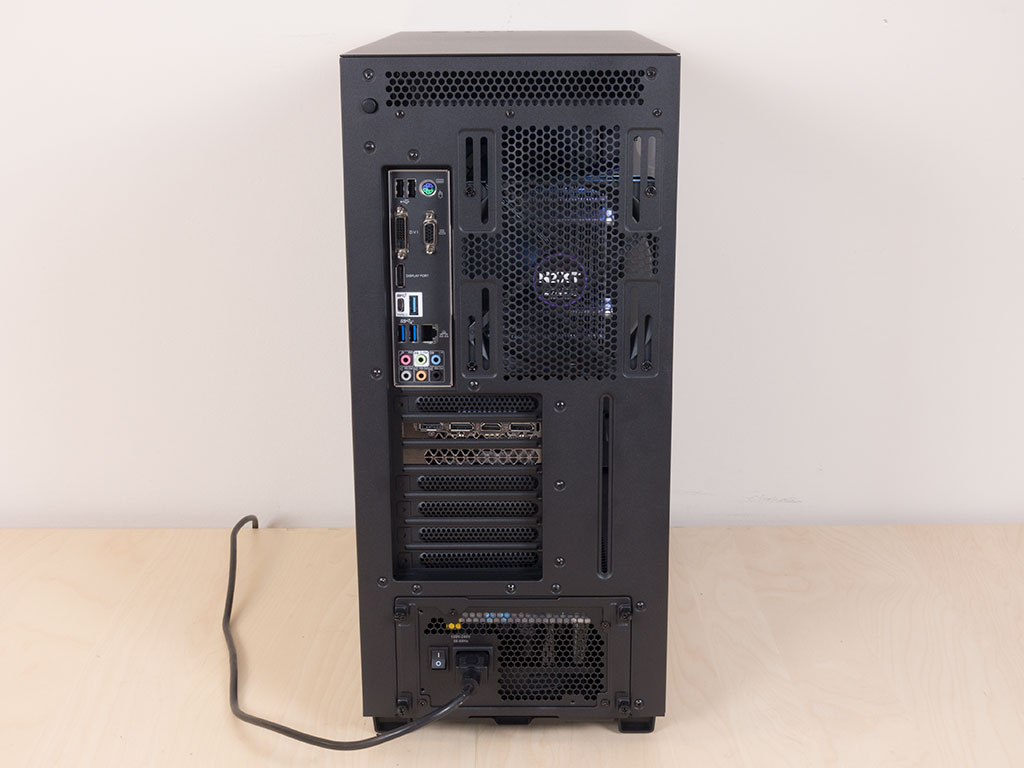
I especially like the placement of that one SSD to show it off to curious and maybe even envious onlookers. In the rear, things are a bit more traditional, and you will find everything where you would expect it to be in a modern mid-tower chassis.
Apr 8th, 2025 05:28 EDT
change timezone
Latest GPU Drivers
New Forum Posts
- is it worth using ssd with usb2? (13)
- Is RX 9070 VRAM temperature regular value or hotspot? (330)
- RX 9000 series GPU Owners Club (238)
- 5070 cards available below £550 in in the UK (76)
- 9070XT or 7900XT or 7900XTX (130)
- The easiest way to connect the BOOTSEL test metal terminal and the GND terminal.... (2)
- gpu heirarchy/performance/benchmarks- whos lying? (67)
- Sapphire NITRO+ RX 5700 XT BE original BIOS request (11)
- No idea how many watts this USB-C port will supply? (10)
- The coffee and tea drinkers club. (250)
Popular Reviews
- The Last Of Us Part 2 Performance Benchmark Review - 30 GPUs Compared
- UPERFECT UStation Delta Max Review - Two Screens In One
- PowerColor Radeon RX 9070 Hellhound Review
- ASUS Prime X870-P Wi-Fi Review
- Upcoming Hardware Launches 2025 (Updated Apr 2025)
- MCHOSE L7 Pro Review
- Sapphire Radeon RX 9070 XT Pulse Review
- Corsair RM750x Shift 750 W Review
- Sapphire Radeon RX 9070 XT Nitro+ Review - Beating NVIDIA
- DDR5 CUDIMM Explained & Benched - The New Memory Standard
Controversial News Posts
- NVIDIA GeForce RTX 5060 Ti 16 GB SKU Likely Launching at $499, According to Supply Chain Leak (161)
- MSI Doesn't Plan Radeon RX 9000 Series GPUs, Skips AMD RDNA 4 Generation Entirely (146)
- Microsoft Introduces Copilot for Gaming (124)
- AMD Radeon RX 9070 XT Reportedly Outperforms RTX 5080 Through Undervolting (119)
- NVIDIA Reportedly Prepares GeForce RTX 5060 and RTX 5060 Ti Unveil Tomorrow (115)
- Over 200,000 Sold Radeon RX 9070 and RX 9070 XT GPUs? AMD Says No Number was Given (100)
- NVIDIA GeForce RTX 5050, RTX 5060, and RTX 5060 Ti Specifications Leak (97)
- Nintendo Switch 2 Launches June 5 at $449.99 with New Hardware and Games (92)