 1
1
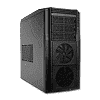
NZXT Tempest 410 Review
Value & Conclusion »Assembly
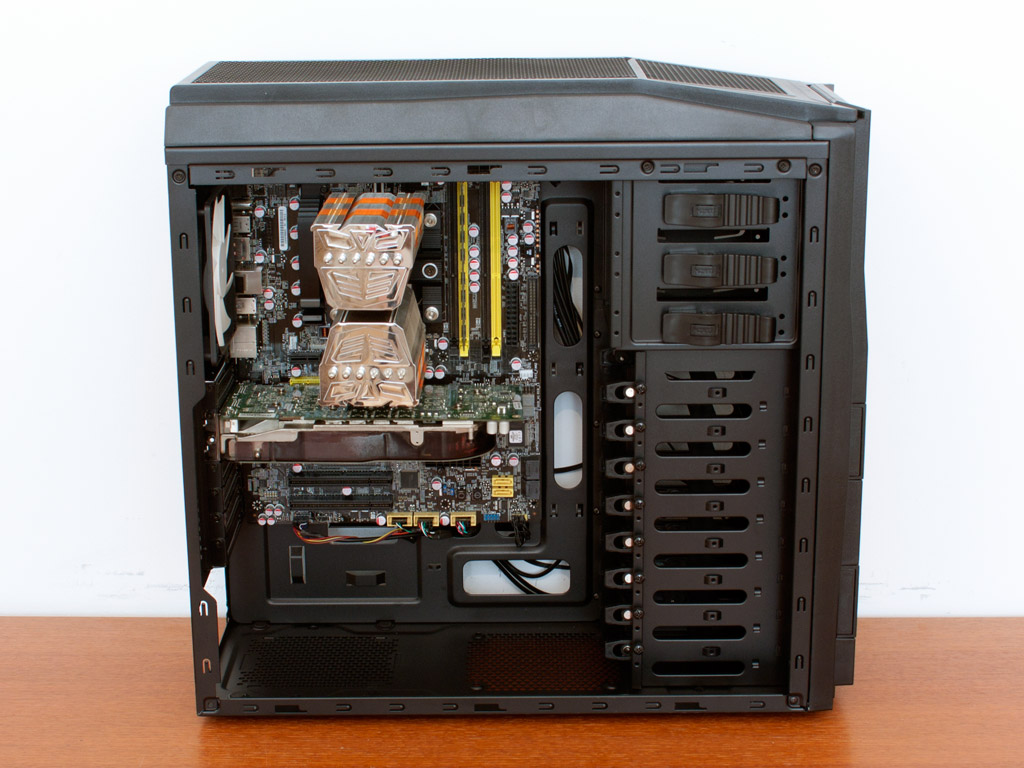
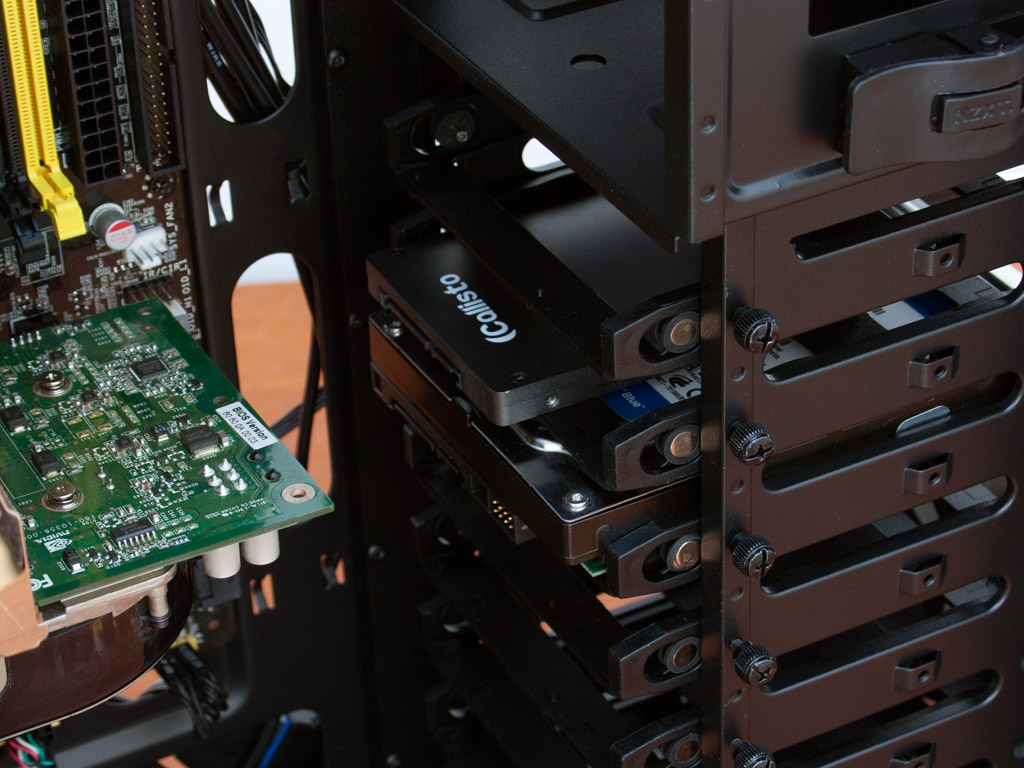
Installing the mainboard is done by the traditional use of mainboard spacers and screws. As you can see an ATX board will fit just fine, but things are pretty tight all around. Large graphics cards will fit, but you will have to sacrifice a HDD bay in the process, as we have seen in the H2. NZXT has opted not to include the rubber grommets covering the holes of the mainboard tray, which makes things look a bit more messy.
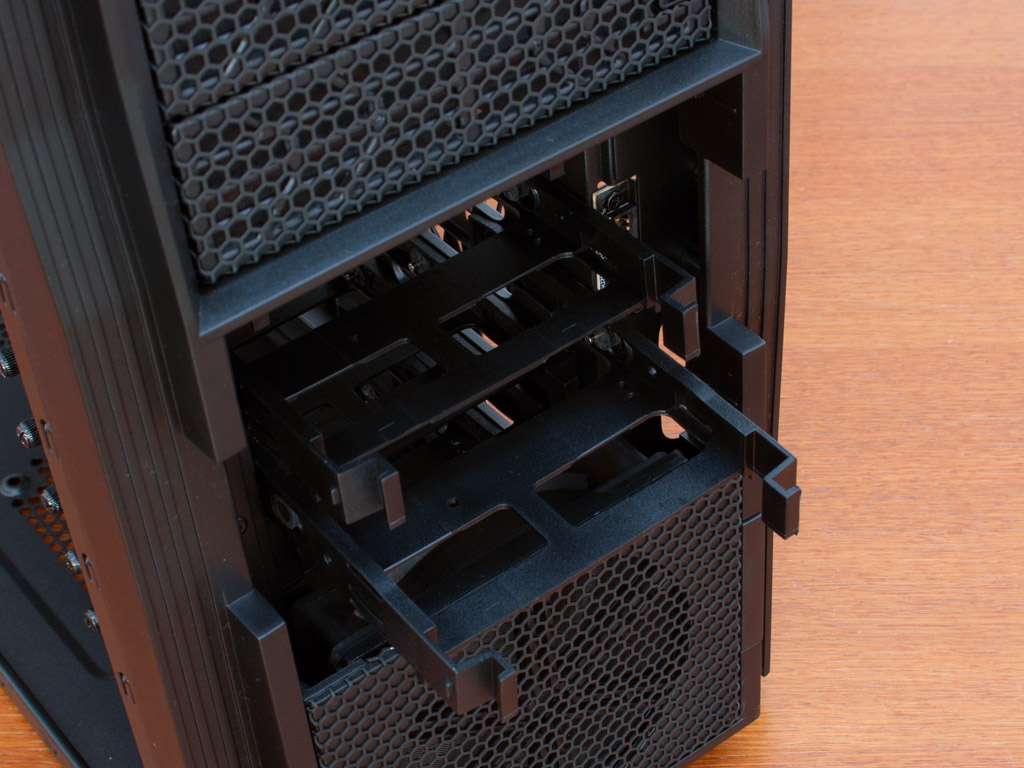
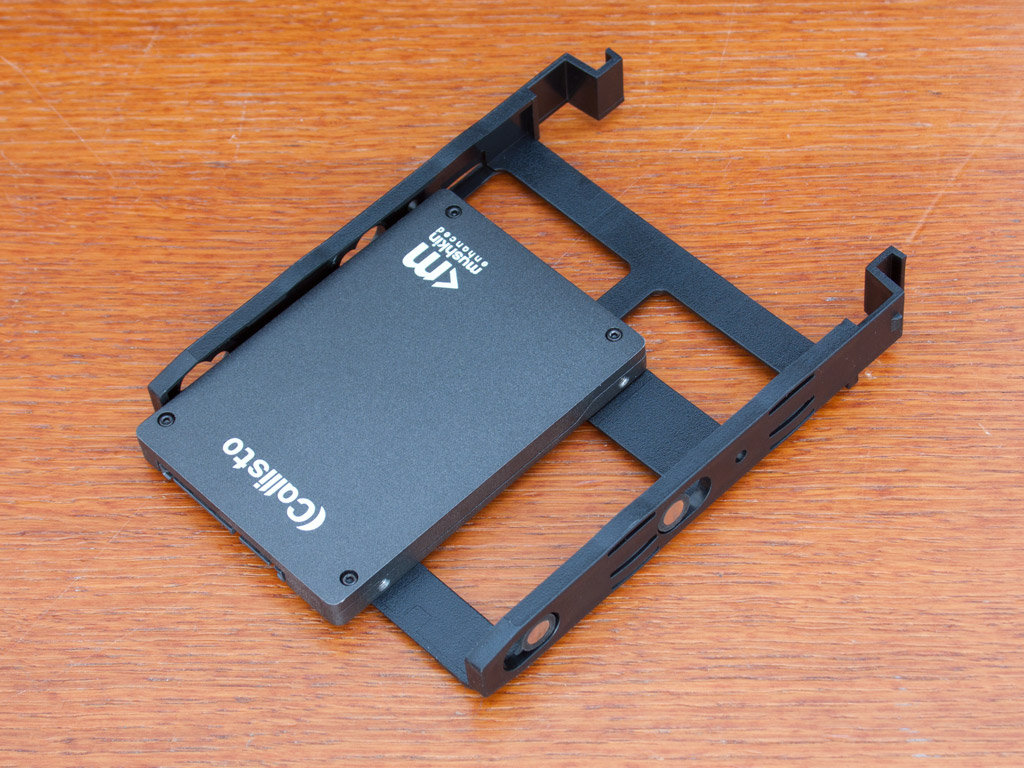
The installation of both 3.5 and 2.5 inch drives is fairly simple. While the former kind does not require any tools - just some muscle power, you will have to use traditional means to secure a 2.5 inch drive to those trays. A 3.5 inch drive is held in place by rubber lined, metal pins, so there is no need to fear that any vibration will passed onto the chassis frame.
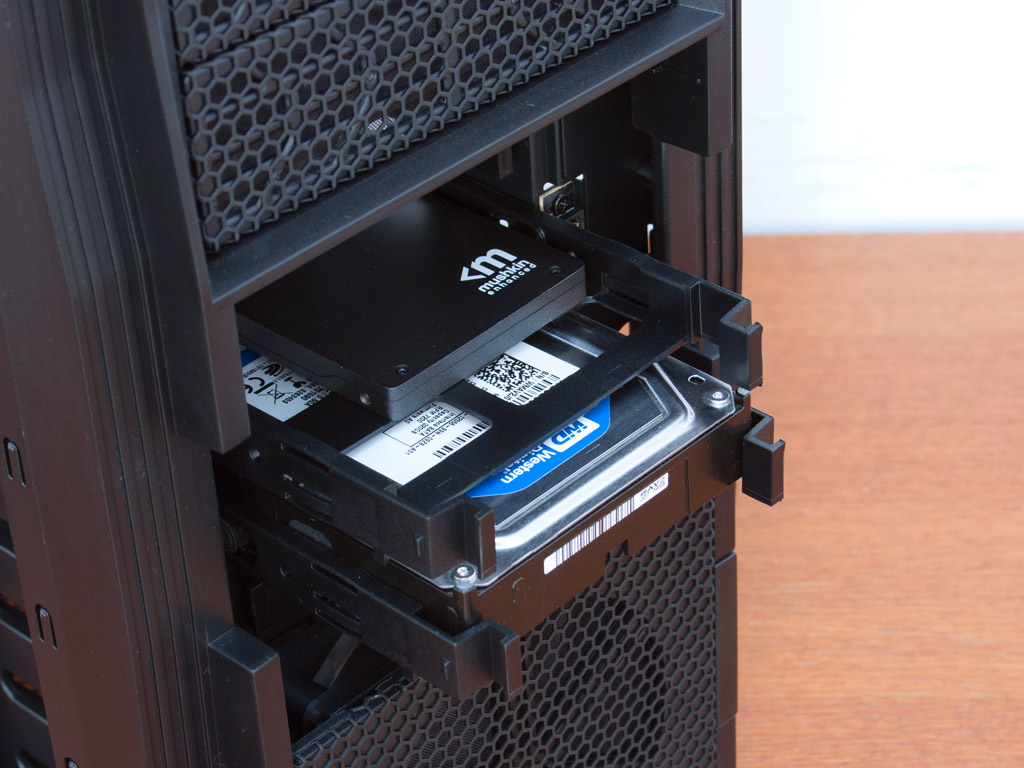
Once the drives have been placed on the trays, simply slide them into the case through the front of the chassis. This is pretty cool and easy, but with such a system in place, NZXT has not chosen to go the last mile and make some or all of these bays hot swappable - a feature already sorely missed in the H2 and also not present in the Tempest 410.

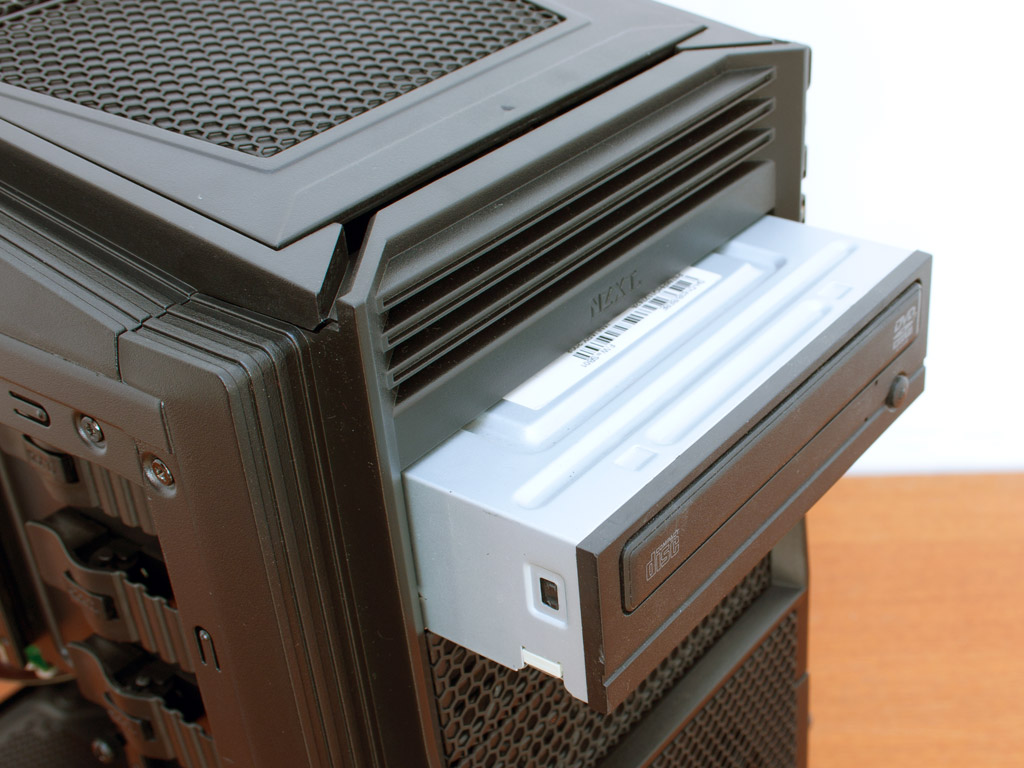
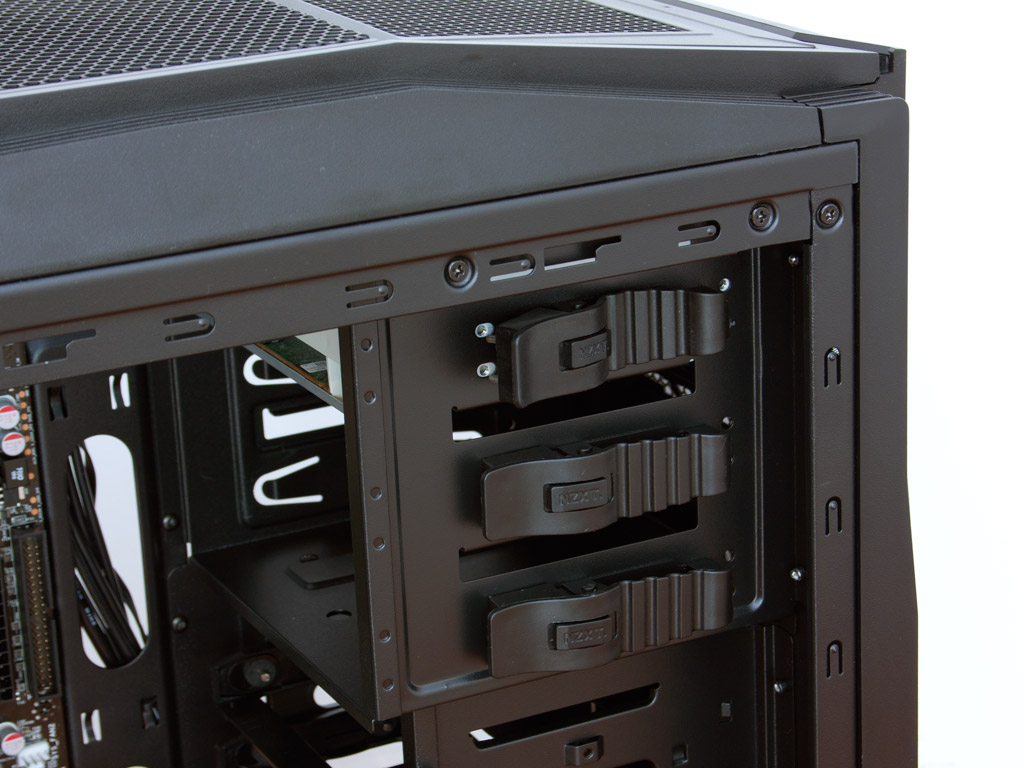
Installing the optical drives is an easy task. Simply pull out the cover, slide the drive into place and swing the lock back so that the pins snap into the holes of the drive. This system does hold rather well, but still gives a tiny bit of play.
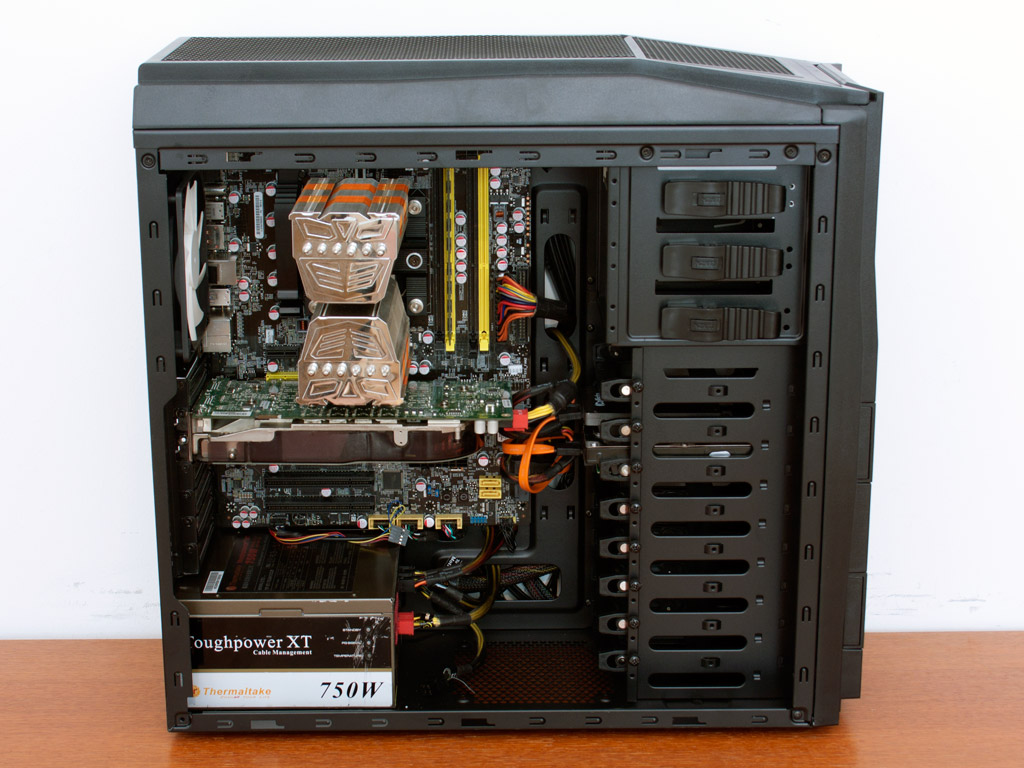
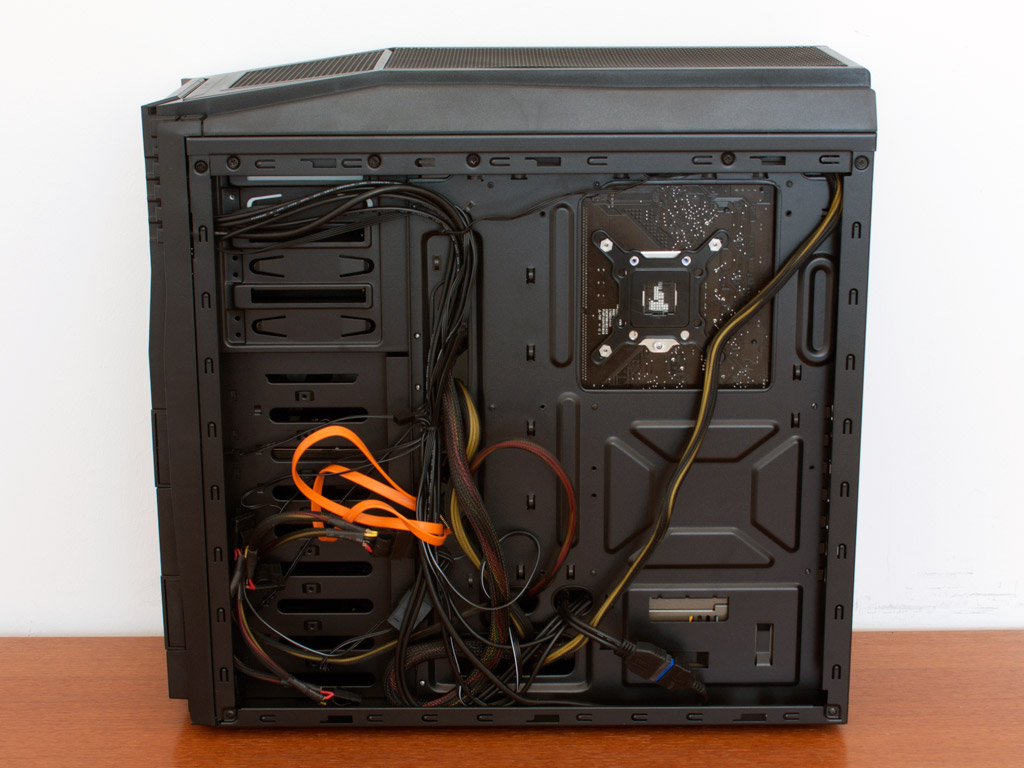
Once everything is installed, you can clearly see that cable management is very good and keeps the mess out of the interior. Most of the cables are routed behind the mainboard tray. Please excuse my cable mess, NZXT supplies a few zip ties so you will be able keep this area clean as well. Nonetheless, I was still able to put the side panel on the case without any problems.
Finished Looks
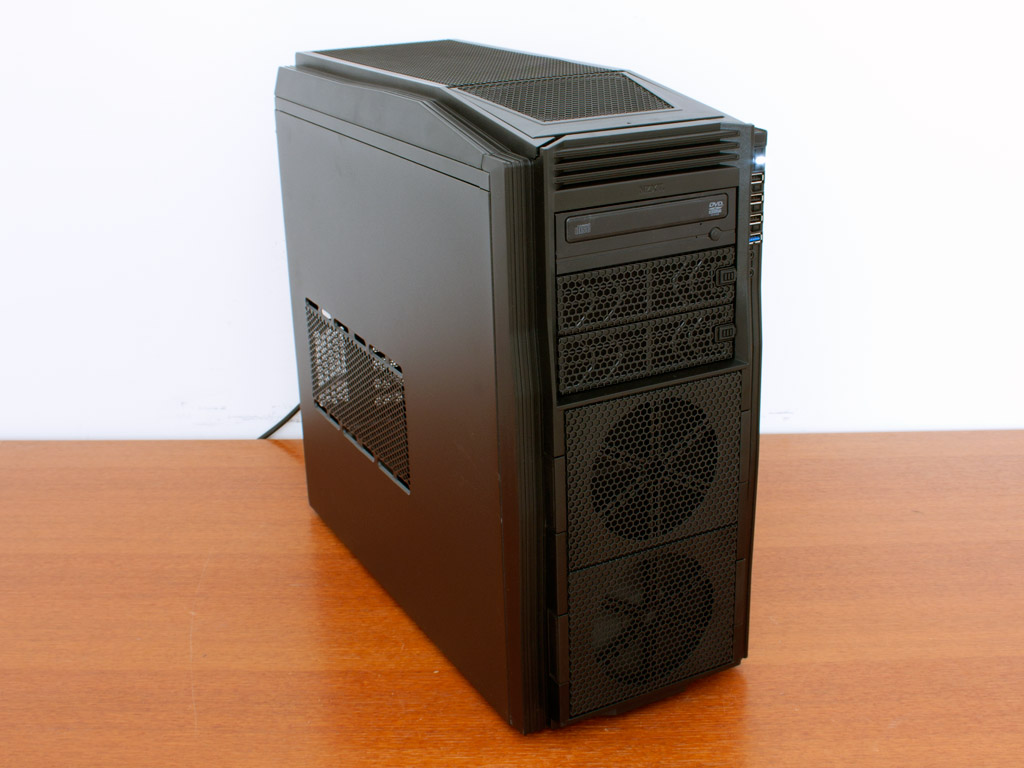
Once everything is installed and the side panels have been placed back on the chassis, the case makes a similar impression compared to the empty version. The optical drive fits well within the chassis, since it is actually the simplest part of the front looks.
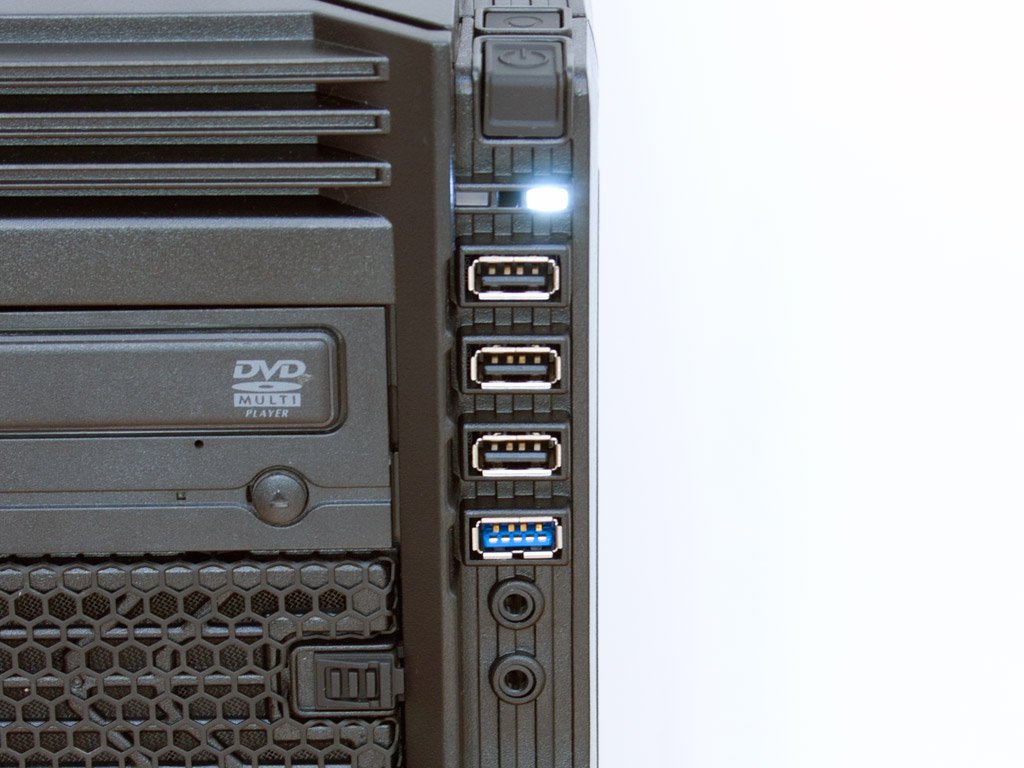
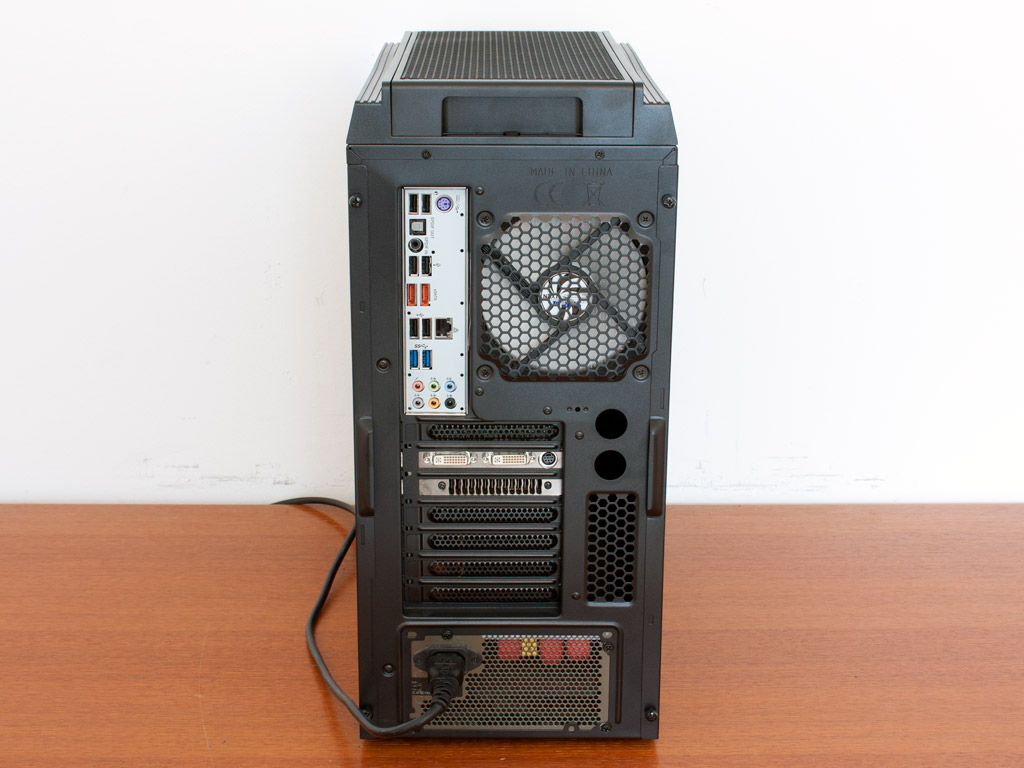

NZXT has employed white LEDs for power/HDD, which looks pretty cool actually. In the rear you can see the fan spin when turned on, while the components can clearly be seen through the side and top opening of the chassis.
Dec 1st, 2024 00:28 EST
change timezone
Latest GPU Drivers
New Forum Posts
- What are your thoughs on next gen Intel Battlemage GPUs? (15)
- 550W Bios on XFX Speedster Merc310 7900XTX? (0)
- looking for inexpensive x570 that can do 16x/8x on both pcie slots (14)
- Is it bad to have 2 crooked screws on motherboard standoffs ? (14)
- My computer has a issue (2)
- Corona 10 Benchmark (26)
- 9800x 3d vs 12900k - Battle of the Century (229)
- color accurate/grading monitor for editing (8)
- evga 3070 ddr6 chip upgrade?? (8)
- 7800X3D - what are your temperatures? (13)
Popular Reviews
- Thermaltake The Tower 600 Review
- Sparkle Arc A770 ROC Review
- STALKER 2 Performance Benchmark Review - 35 GPUs Tested
- AMD Ryzen 7 9800X3D Review - The Best Gaming Processor
- STALKER 2: DLSS vs. FSR vs. XeSS Comparison Review
- Glorious Model O 2 Mini Wireless Review
- Upcoming Hardware Launches 2024 (Updated Nov 2024)
- Crucial Pro DDR5-5600 CL46 64 GB Review
- FSP M580 Plus Review
- Endgame Gear XM2 8K Review
Controversial News Posts
- AMD Falling Behind: Radeon dGPUs Absent from Steam's Top 20 (222)
- AMD Ryzen 7 9800X3D Stocks Vaporized in Retail, Being Scalped (154)
- Apple and Samsung in the Fray to Acquire Intel: Rumor (123)
- Microsoft Offers $30 Windows 10 Security Extension for Home Users (118)
- TechPowerUp is Hiring a Power Supply (PSU) Reviewer (112)
- Microsoft is Introducing a $349 Mini PC That Streams Windows 11 from the Cloud (106)
- AMD "Zen 6" to Retain Socket AM5 for Desktops, 2026-27 Product Launches (100)
- Intel Working on Fixing "Arrow Lake" Gaming Performance with Upcoming Patches (91)