 7
7
Phanteks Enthoo Evolv Review
Assembly & Finished Looks »A Closer Look - Inside
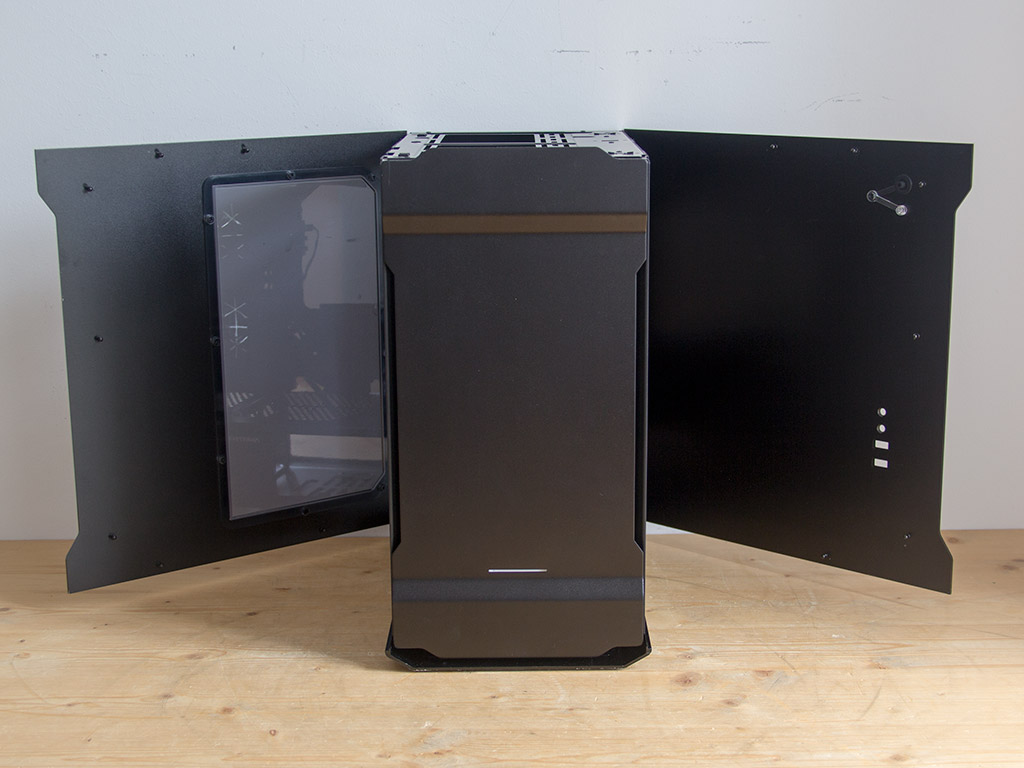
Both side panels rest on real metal hinges, so you essentially have to swing them open like doors. As there are no screws or locks, anyone can access your system, so you had better keep an eye on at, say, a LAN party. You may take the side panels off their hinges as they are just held in place by metal pins, which is simple, but very effective.
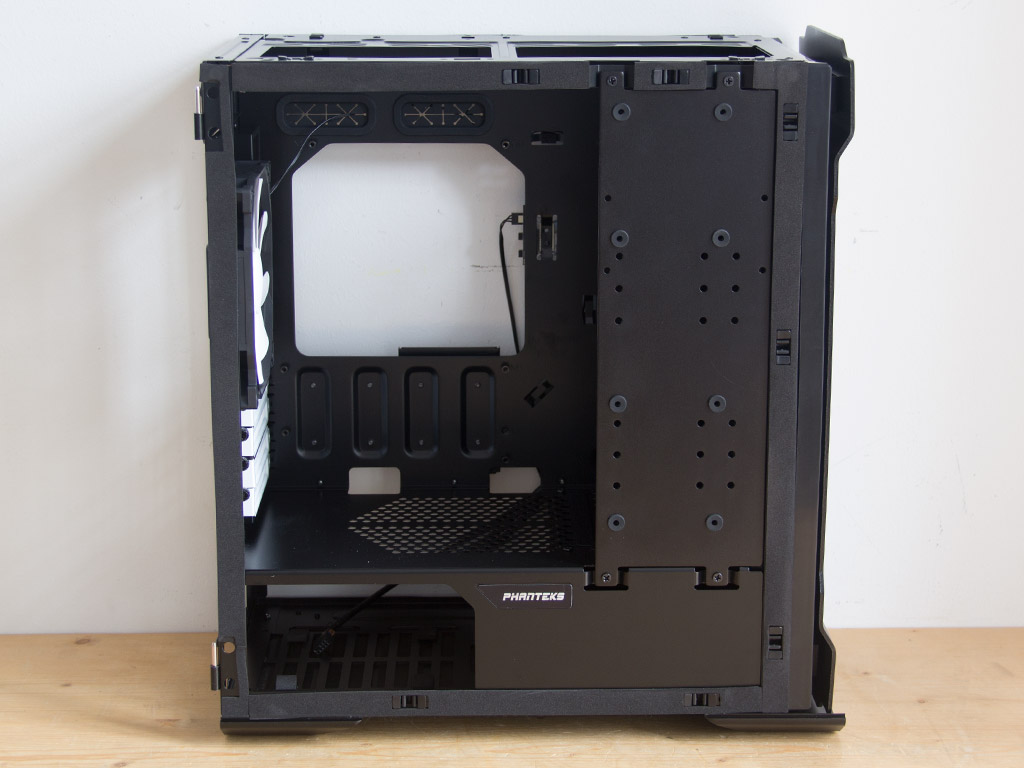
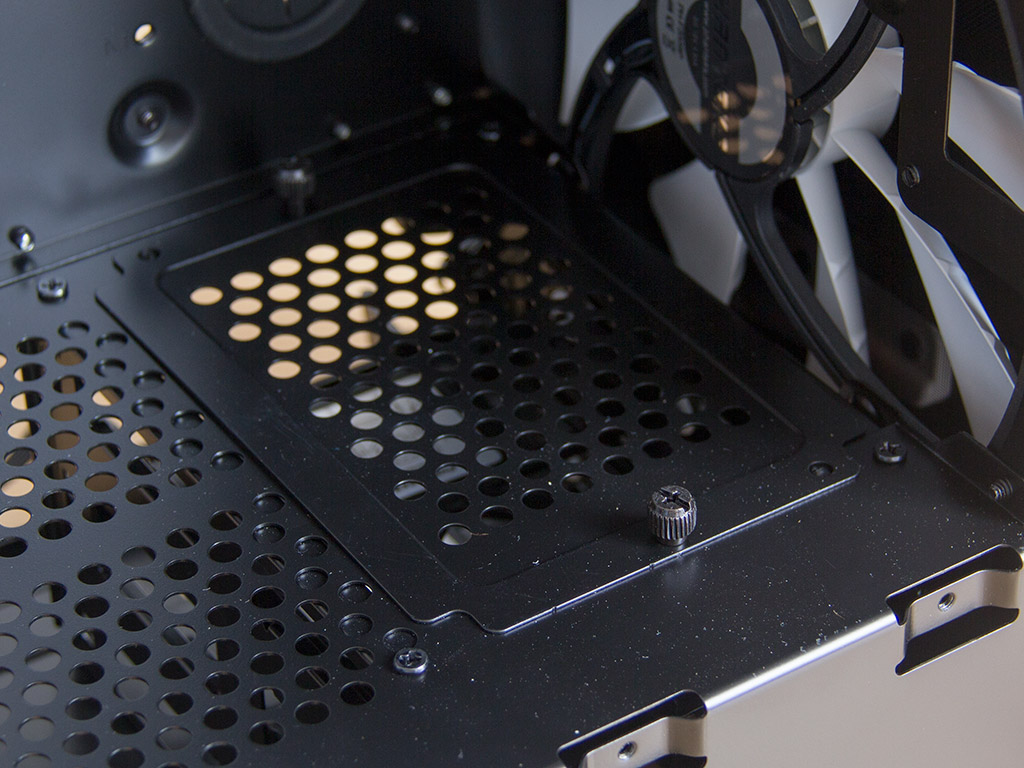
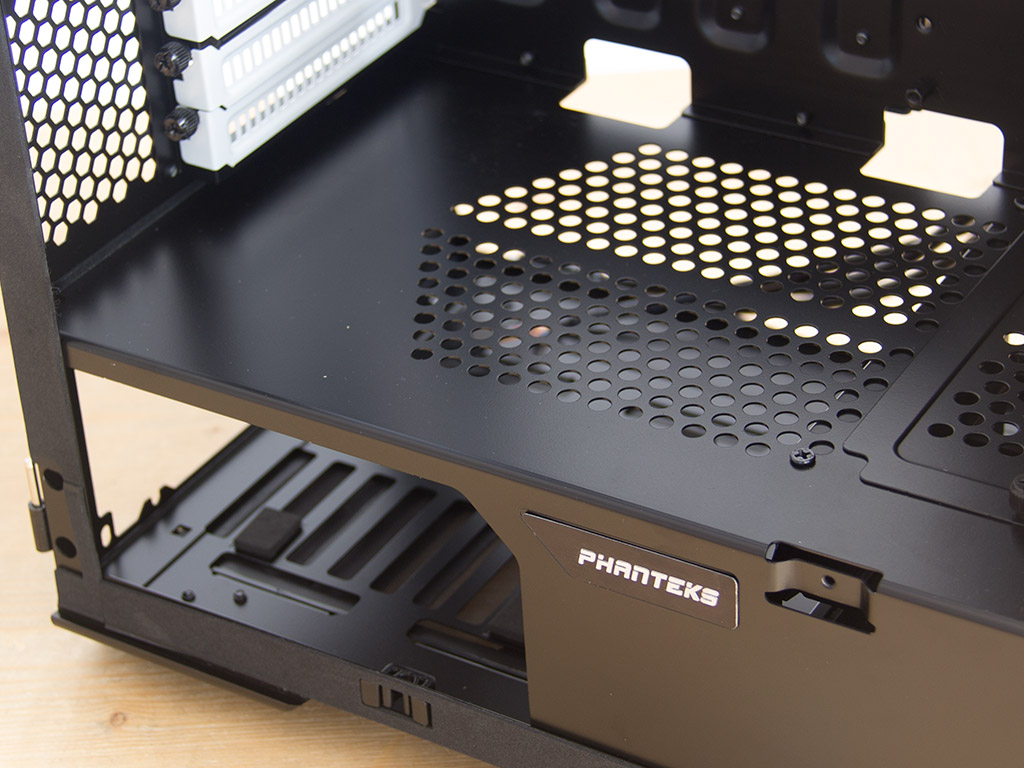
The interior of the Phanteks Evolv essentially consists two areas: the PSU bay on the bottom and the rest of the system. To compensate for its rather compact dimensions, the enclosure is a bit wider than a traditional tower, which creates the space hard drives on the side would require. A large opening in the motherboard tray should also give you unobstructed access to a CPU cooler's baseplate.
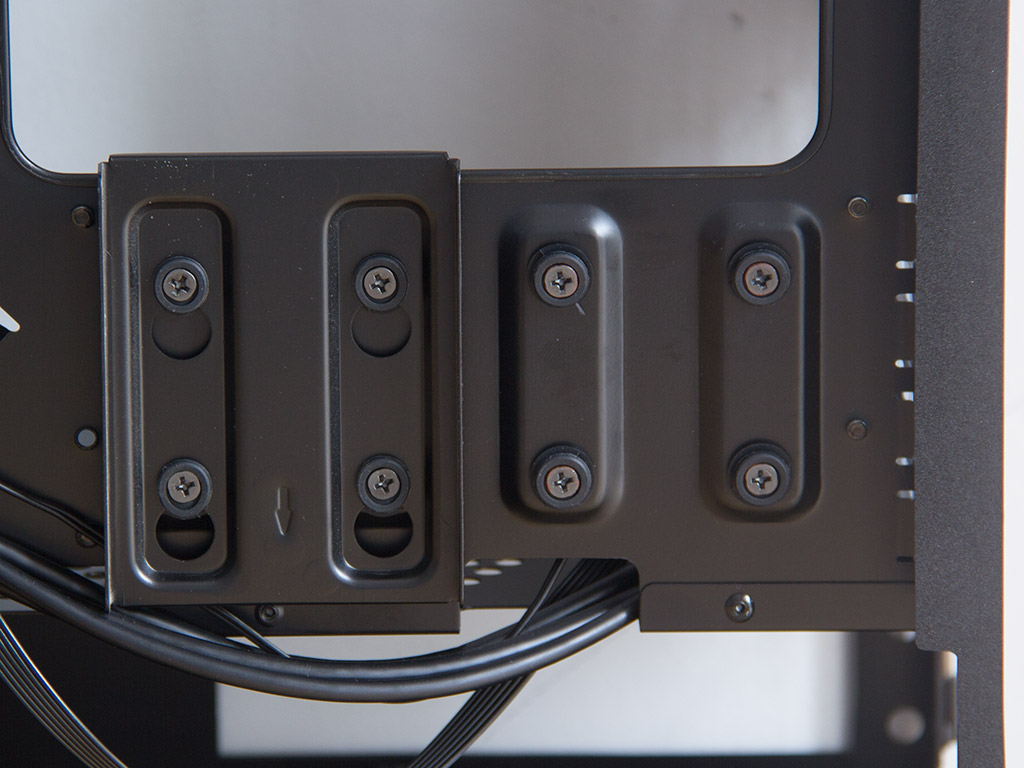
There are also two mounting possibilities for 2.5" drives here, but Phanteks only includes a single hard-drive tray, which has you shell out more money for an additional such tray should you want to include it in your build. Granted, most people won't need it, but those who do plan on placing another SSD there may find shelling out some more money annoying. There is around an inch of spare room between the motherboard tray and the side panel, plenty enough to properly route cables. Look closely and you will also notice the foam lining Phanteks placed on the frame to ensure the side panels are not a source of vibrational noise.
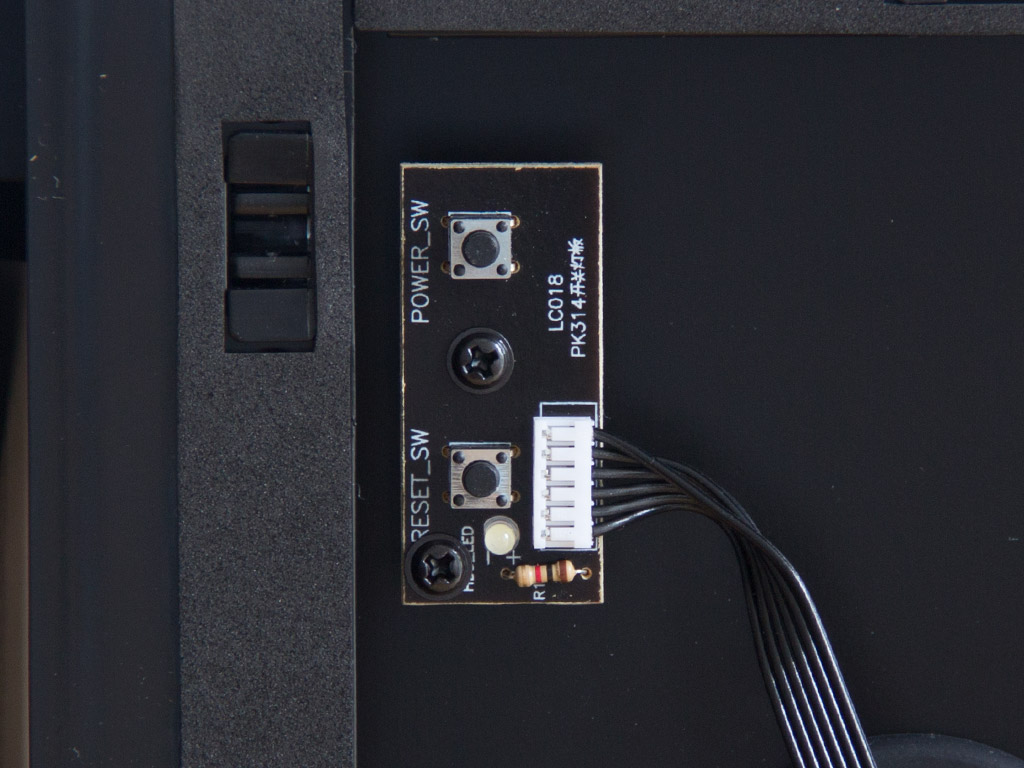
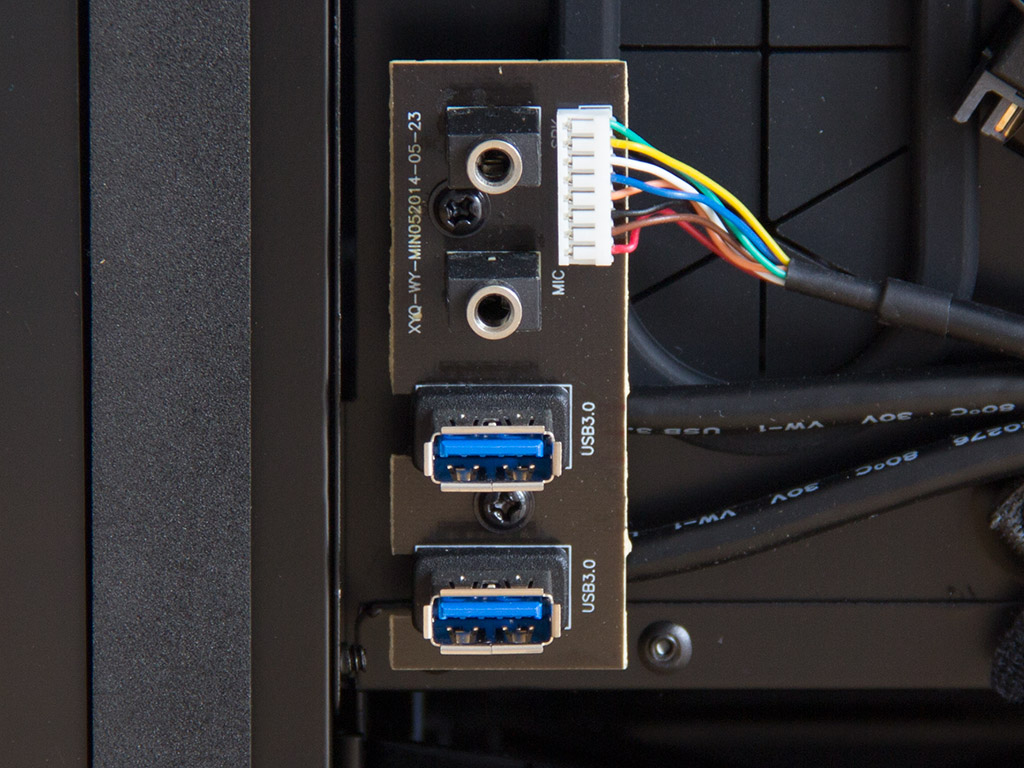
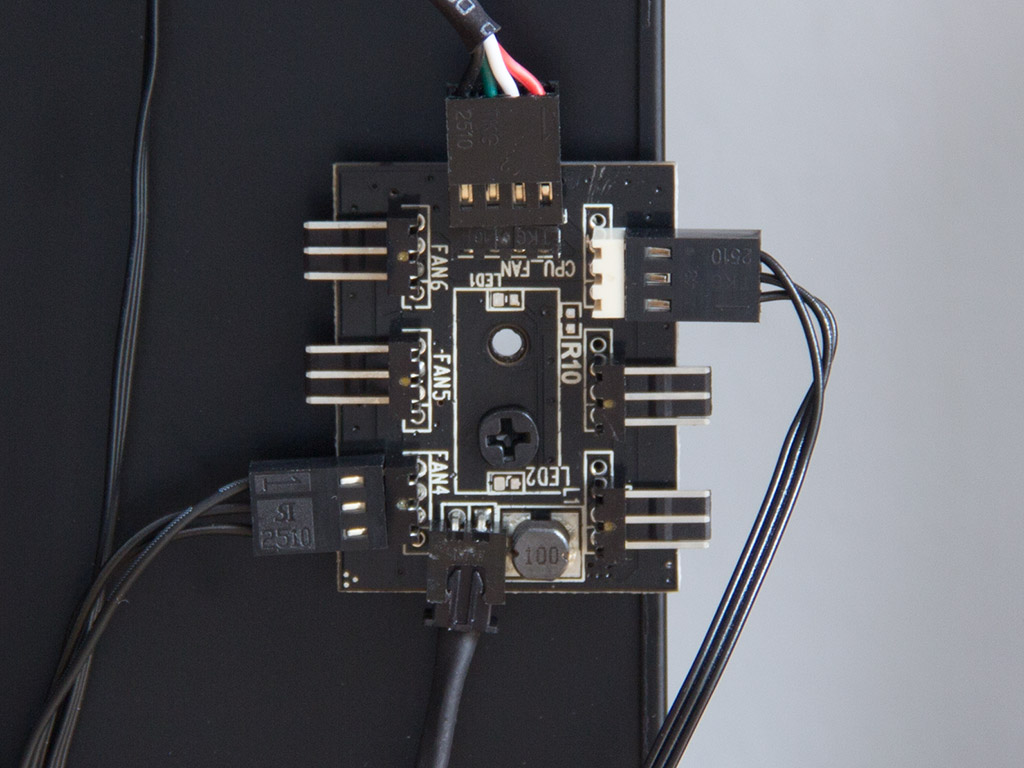
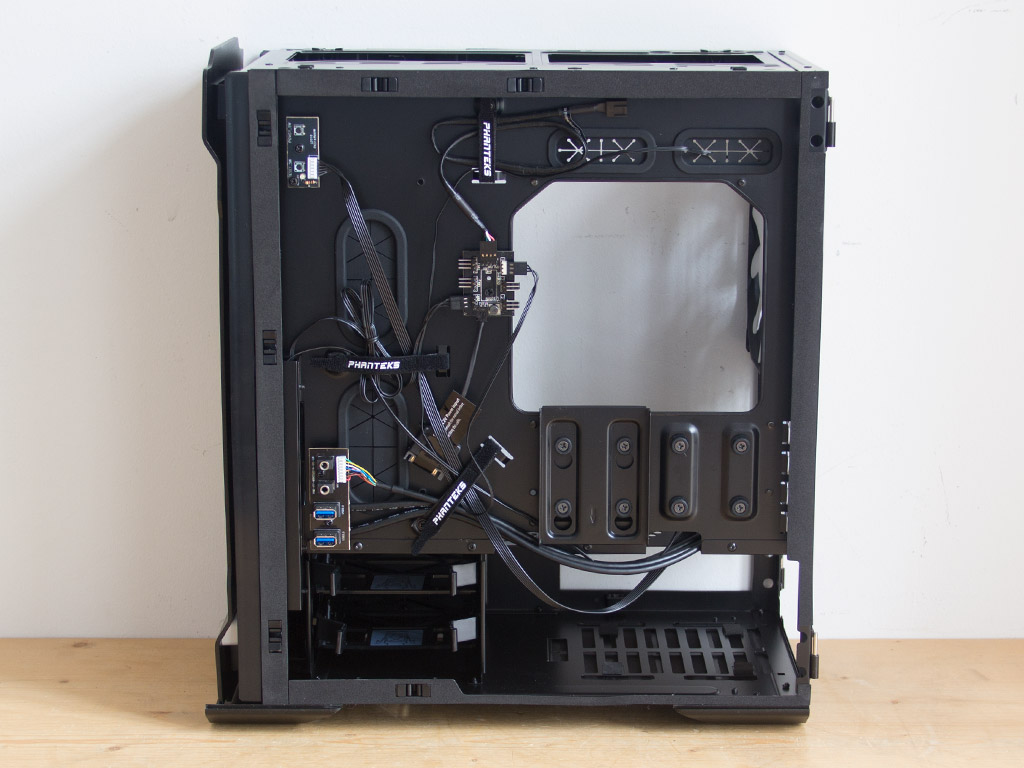
You will also find three PCBs on the back of the motherboard tray. The first is for the power and reset buttons, while the one below it holds all the I/O. Last but not least, there is the fan PCB for up to five fans on a single power source.
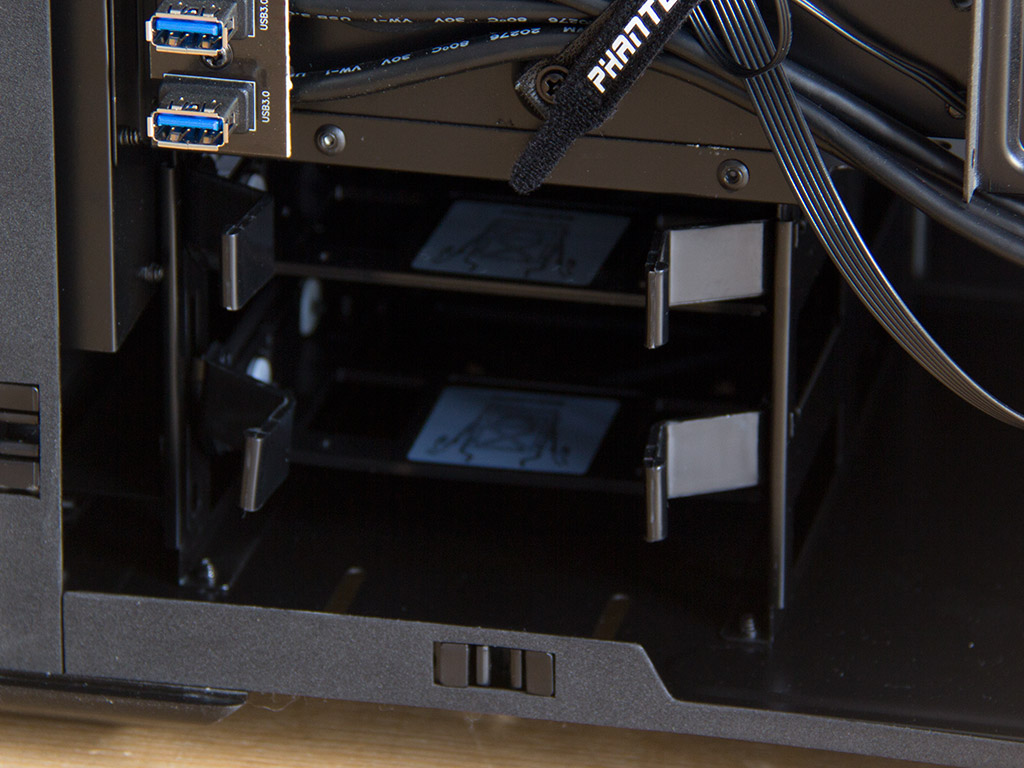
Look at the bottom of the front and you will find two mounting possibilities for 2.5/3.5" hard drives. Phanteks offers hard-drive trays you can use to do so.
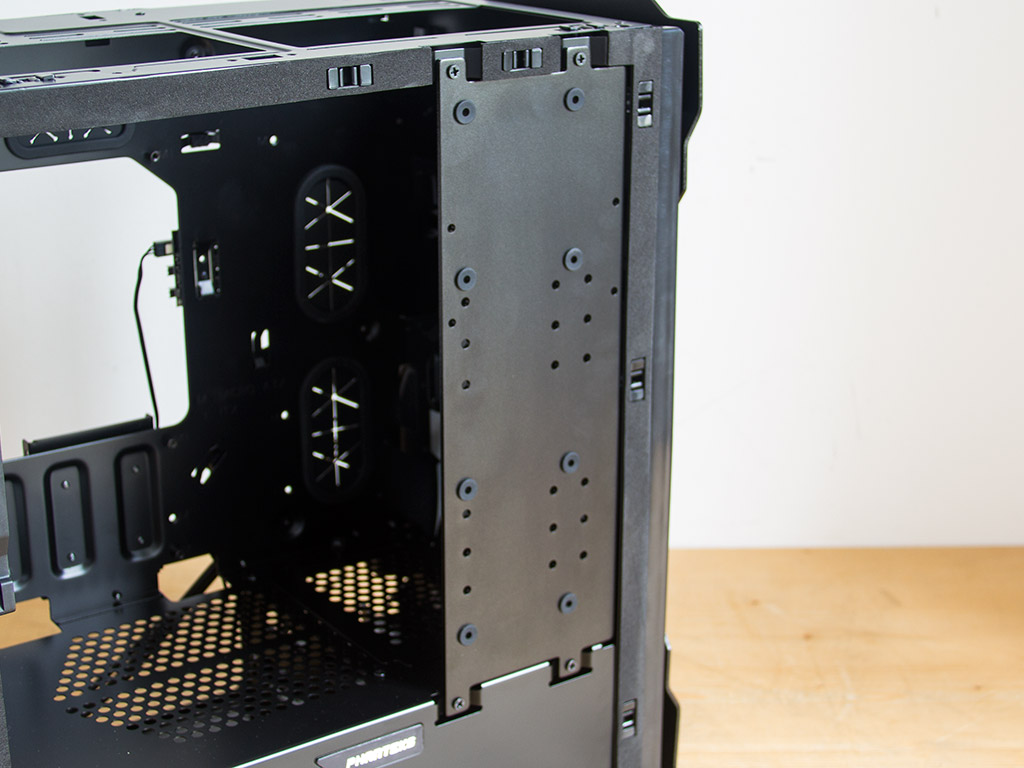
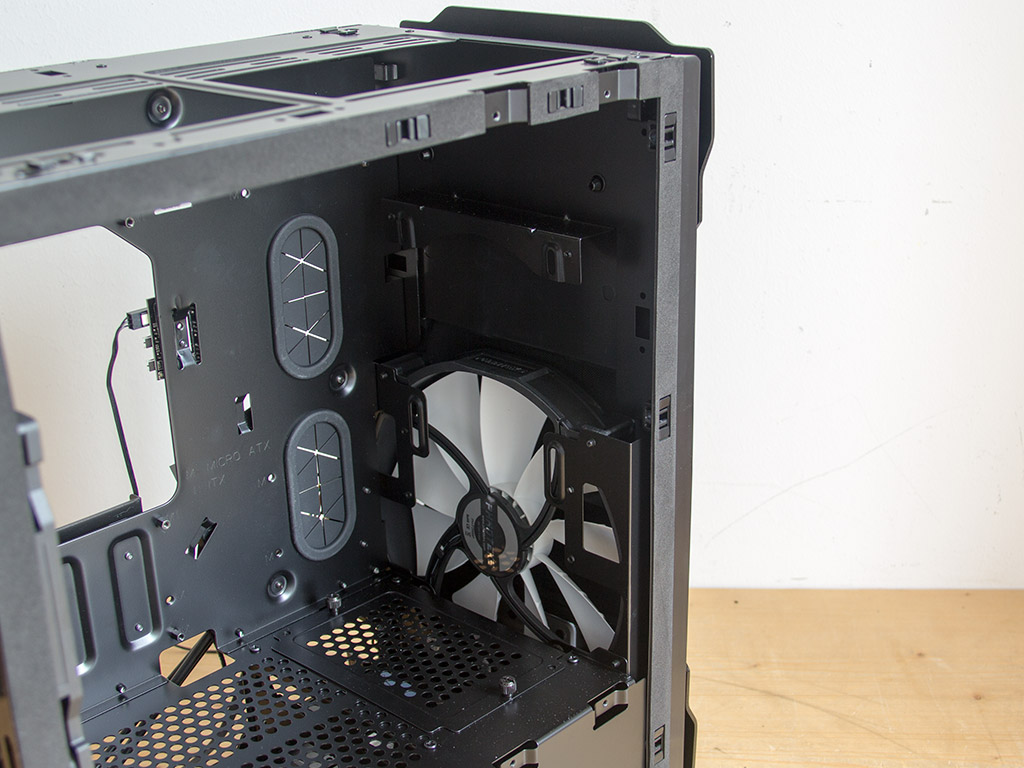
An aluminum slab has been placed above these: It is also there to hold hard drives. You may remove it for readily available access to the interiors entirety. Doing so again reveals the 200 mm fan, but also nicely shows that you may install two 120 mm or 140 mm fans there instead, though a little cover in the front needs to be removed if you want to put a 240 mm radiator there.
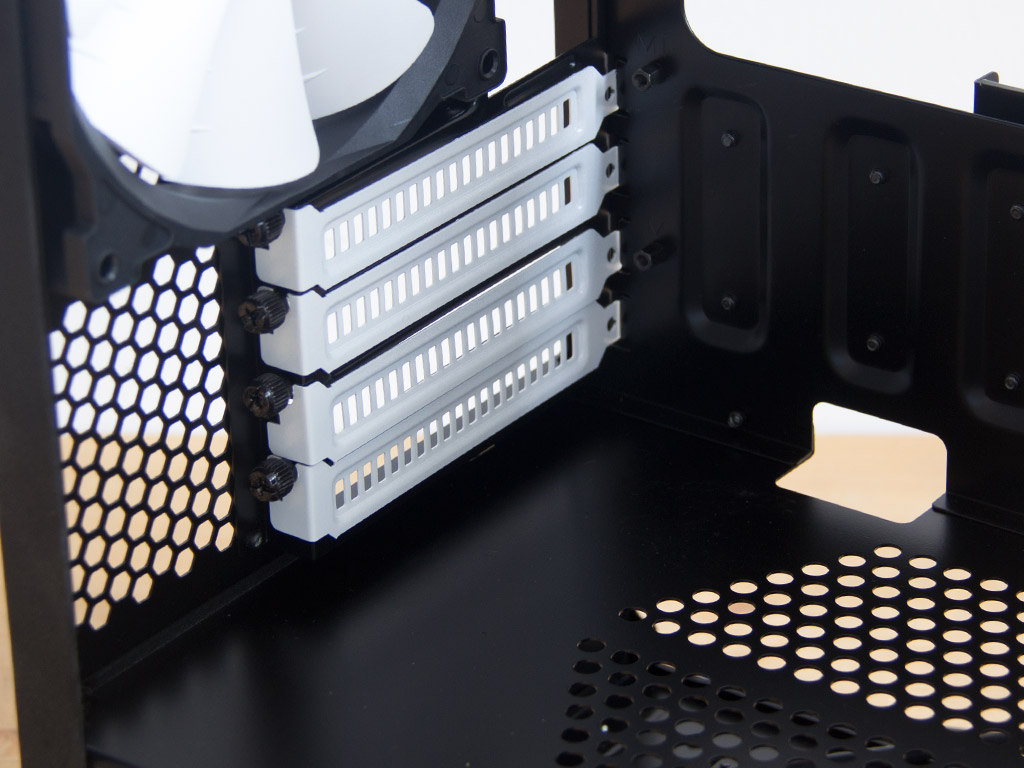
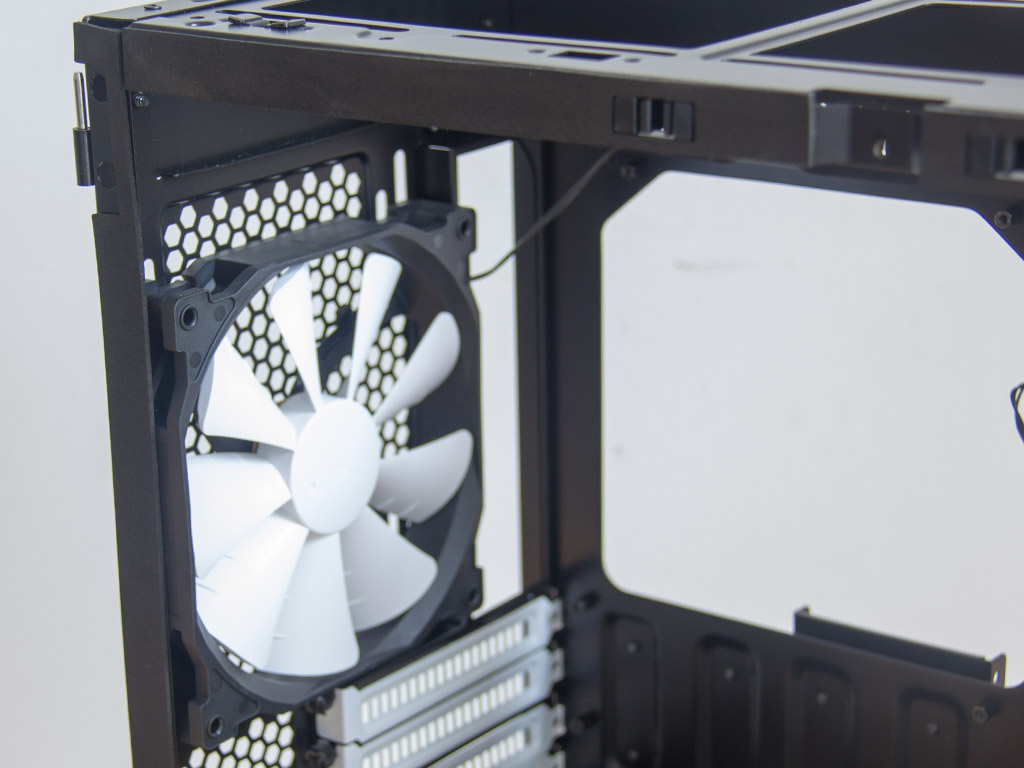
With the exception of its dividing cover, things are a lot more traditional in the rear. The PSU sits on rubber pads and has to be installed through the side facing away from the window. Above that are the four motherboard-expansion slots. Phanteks equipped each of these with a white cover that includes a thumbscrew, which makes it fairly easy to remove. The 140 mm fan in the top is also of retail quality. Look closely and you will see that the 5.25" drive bay has not been pre-assembled out of the box. You will have to screw the tray into place if you wish to install an optical drive there, which suggests that the area's main purpose is to hold liquid- or air-cooling.
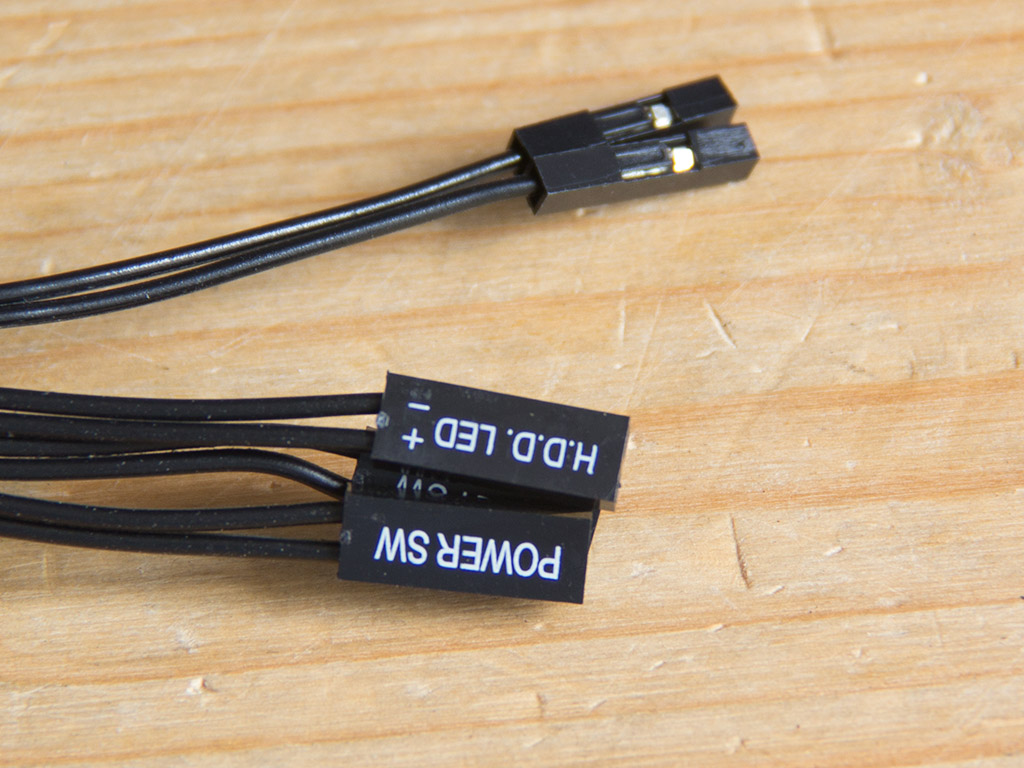
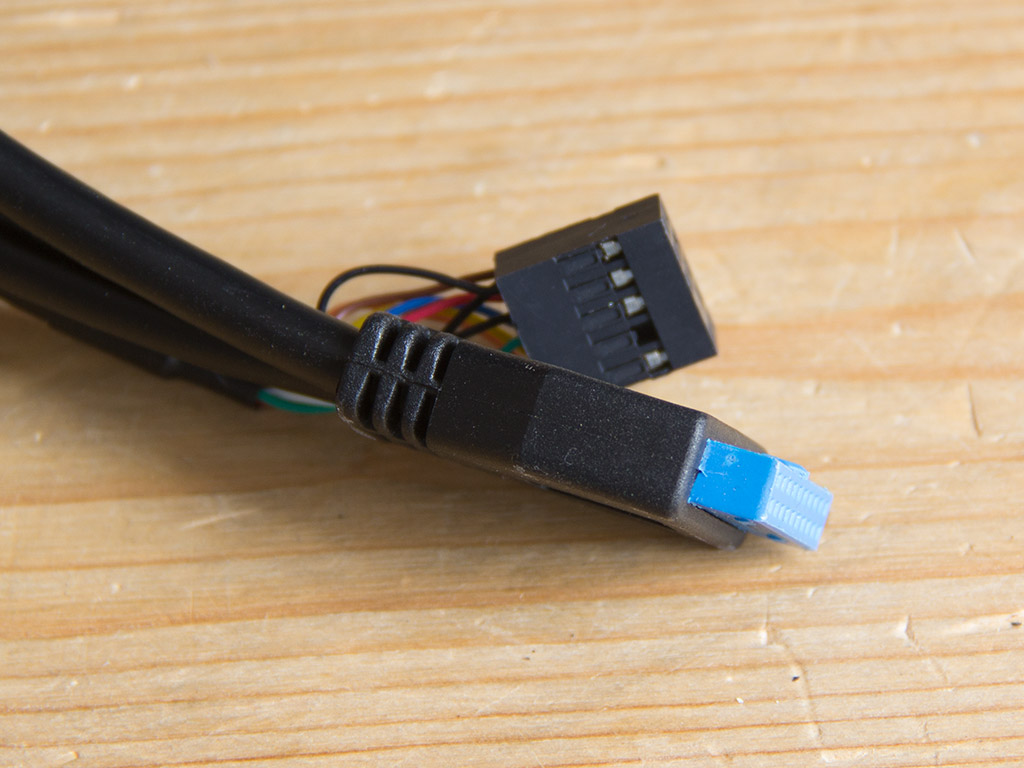
All the cables within the Phanteks Evolv are of the standard variety, with black sleeving and default connectors.
Mar 10th, 2025 16:16 EDT
change timezone
Latest GPU Drivers
New Forum Posts
- DLSS as antialiasing? (19)
- Please I need help with the poor performance that my PC is giving me (28)
- Company of Heroes 3 (5)
- The TPU Darkroom - Digital SLR and Photography Club (4071)
- Maxsun RX580 graphics card crashes (24)
- A Final Fantasy IX Reminiscence - My love letter and homage to one of the best stories ever told (72)
- Gaming PC instabiliity (20)
- Msi 5090 DOA? (27)
- 3D Printer Club (447)
- Microprose: Falcon 5.0 - Well under development- yeay (1)
Popular Reviews
- Sapphire Radeon RX 9070 XT Nitro+ Review - Beating NVIDIA
- XFX Radeon RX 9070 XT Mercury OC Magnetic Air Review
- ASUS Radeon RX 9070 TUF OC Review
- MSI MAG B850 Tomahawk Max Wi-Fi Review
- NVIDIA GeForce RTX 5080 Founders Edition Review
- NVIDIA GeForce RTX 5070 Founders Edition Review
- Corsair Vengeance RGB CUDIMM DDR5-8800 48 GB CL42 Review
- AMD Ryzen 7 9800X3D Review - The Best Gaming Processor
- ASUS GeForce RTX 5070 Ti TUF OC Review
- MSI GeForce RTX 5070 Ti Gaming Trio OC+ Review
Controversial News Posts
- NVIDIA GeForce RTX 50 Cards Spotted with Missing ROPs, NVIDIA Confirms the Issue, Multiple Vendors Affected (513)
- AMD Plans Aggressive Price Competition with Radeon RX 9000 Series (277)
- AMD Radeon RX 9070 and 9070 XT Listed On Amazon - One Buyer Snags a Unit (261)
- AMD RDNA 4 and Radeon RX 9070 Series Unveiled: $549 & $599 (260)
- AMD Mentions Sub-$700 Pricing for Radeon RX 9070 GPU Series, Looks Like NV Minus $50 Again (248)
- NVIDIA Investigates GeForce RTX 50 Series "Blackwell" Black Screen and BSOD Issues (244)
- AMD Radeon RX 9070 and 9070 XT Official Performance Metrics Leaked, +42% 4K Performance Over Radeon RX 7900 GRE (195)
- AMD Radeon RX 9070-series Pricing Leaks Courtesy of MicroCenter (158)