 30
30
Phanteks NV7 Review
Assembly & Finished Looks »A Closer Look - Inside
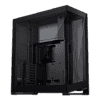
You may remove both the rear panel by pulling it off its pins as well as the front glass panel by unscrewing a single screw. While the former is just fine for the build process, the latter does eliminate a lot of the structural rigidity of the chassis and as such should only be detached temporarily as needed. For our build process, we left both of these attached and it went just fine.

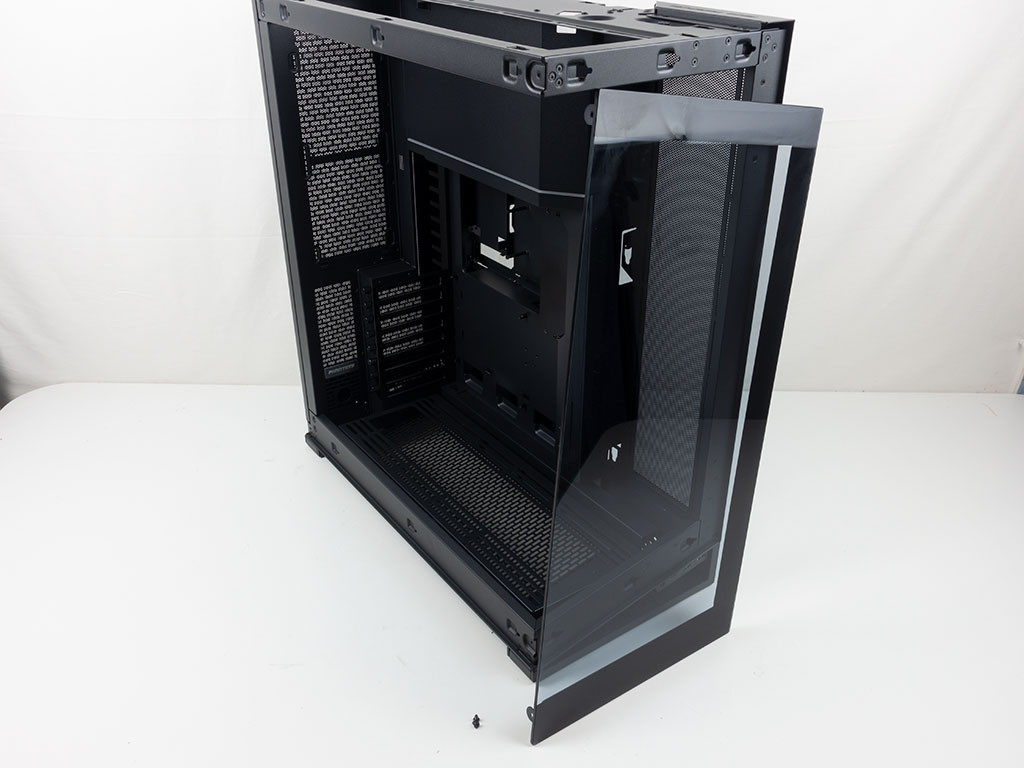
The front IO panel is held in place by two screws, and can easily be moved to the rear of the chassis. Phanteks has done an excellent job in designing the cable routing within the NV7 in a way that allows you to re-route these wires quickly and easily as well.
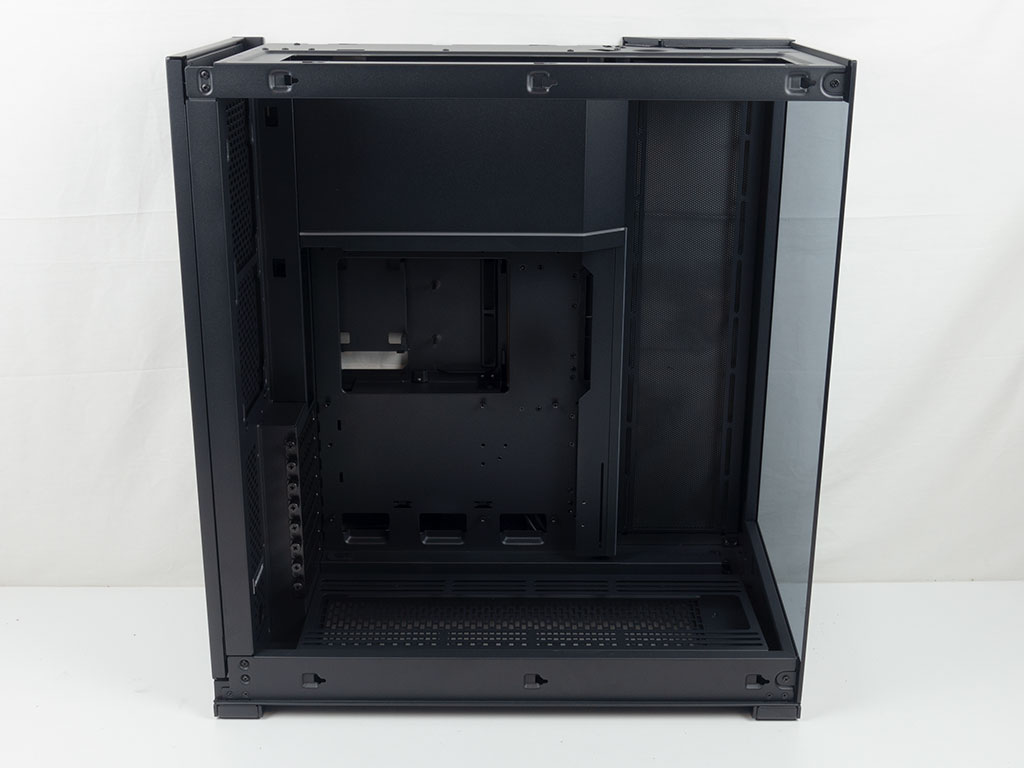
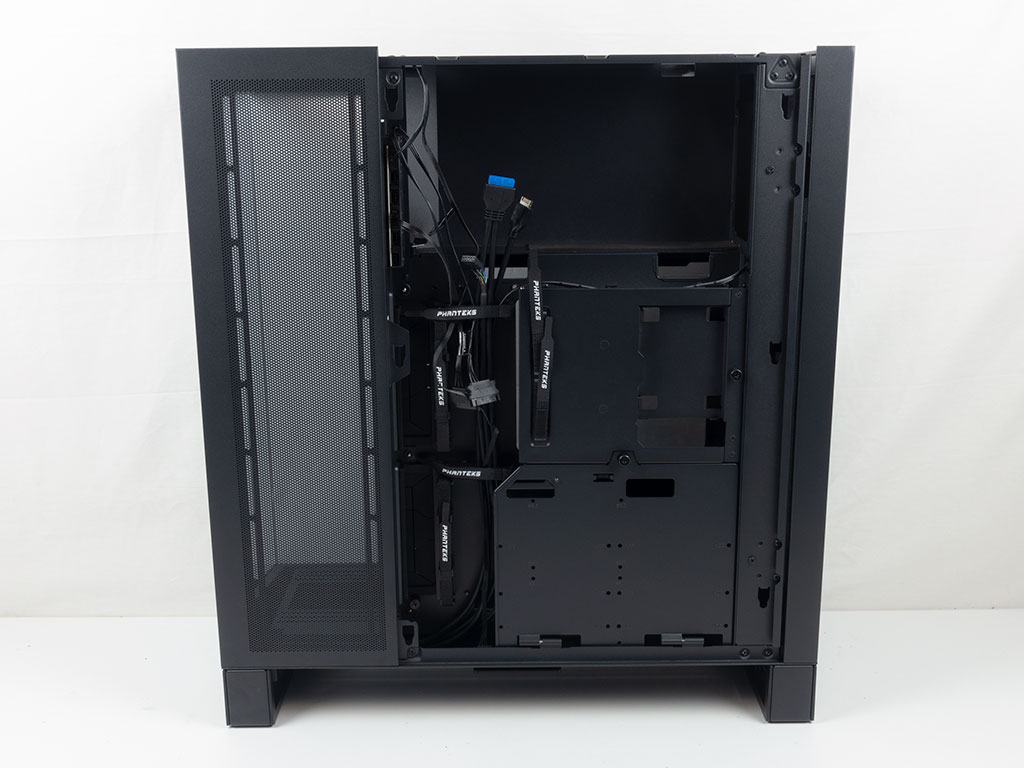
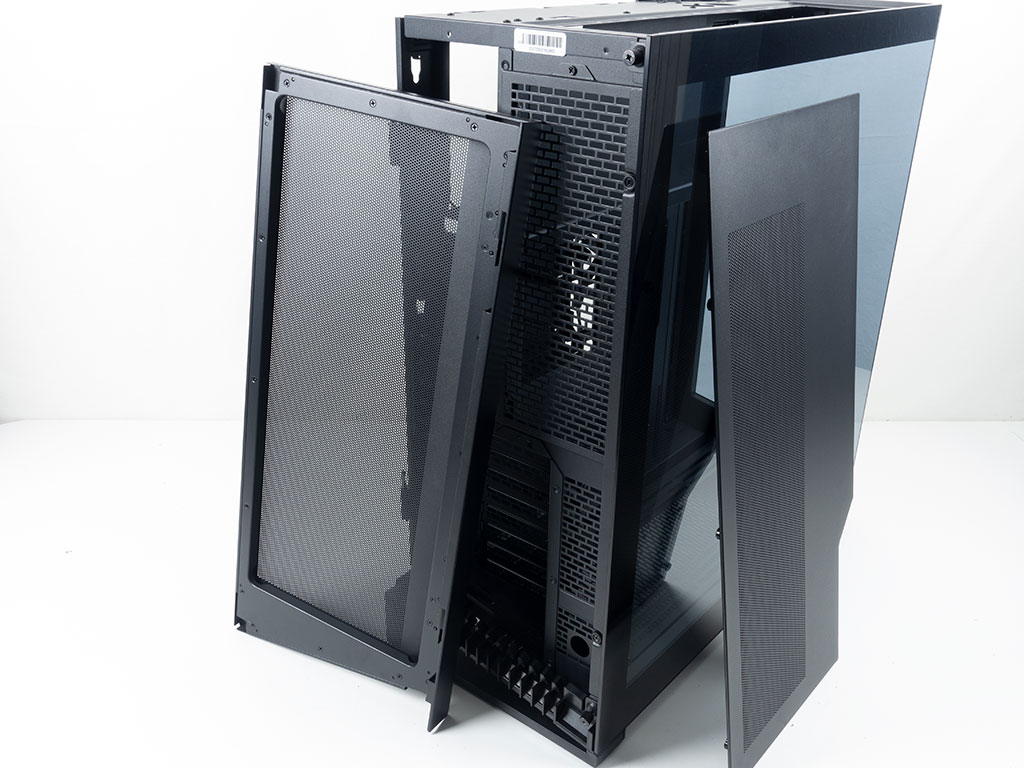
Phanteks has basically employed a sandwich style layout and stretched it, so that it can fit the PSU above the motherboard area. This means that it could use nearly the full width for internal components instead of having to compromise on things like CPU cooler height for example. This layout tweak results in a fairly large blank canvas above the motherboard, which could be a really nifty aspect for modders to be creative with. That same sense of the layout is clearly visible on the other side of the chassis, as the side fan placement is right up against the exterior frame of the chassis with all the storage, wiring and PSU spread towards the back of the NV7.
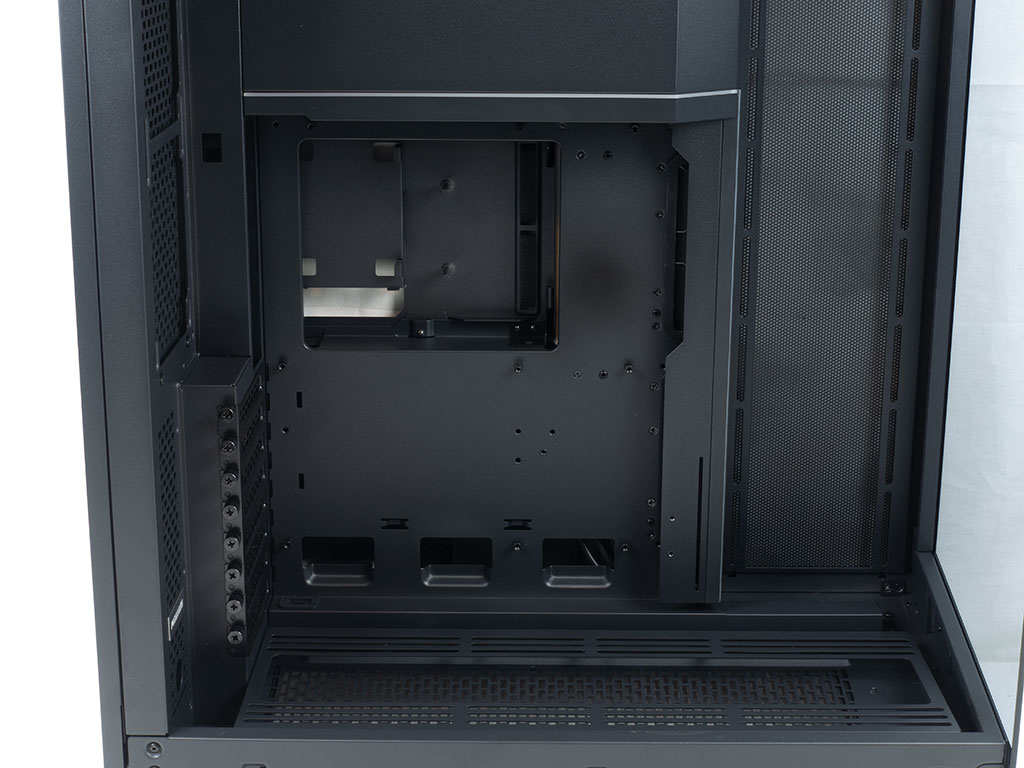
One unique design element of the Phanteks NV7 are the cable covers at the front and top edges of the motherboard tray. These both come equipped with D-RGB elements and will hug your ATX motherboard so that unsightly leads are barely visible. both of these sport push-pin connectors. The horizontal bar can easily be pulled off with a firm tug, while the vertical one uses a single thumb screw. Both of these use plastic but match the metal pretty well in general. As you can see, there is a dark paint spot on the motherboard tray of our sample, but this is just cosmetic and will not be visible in the completed build.
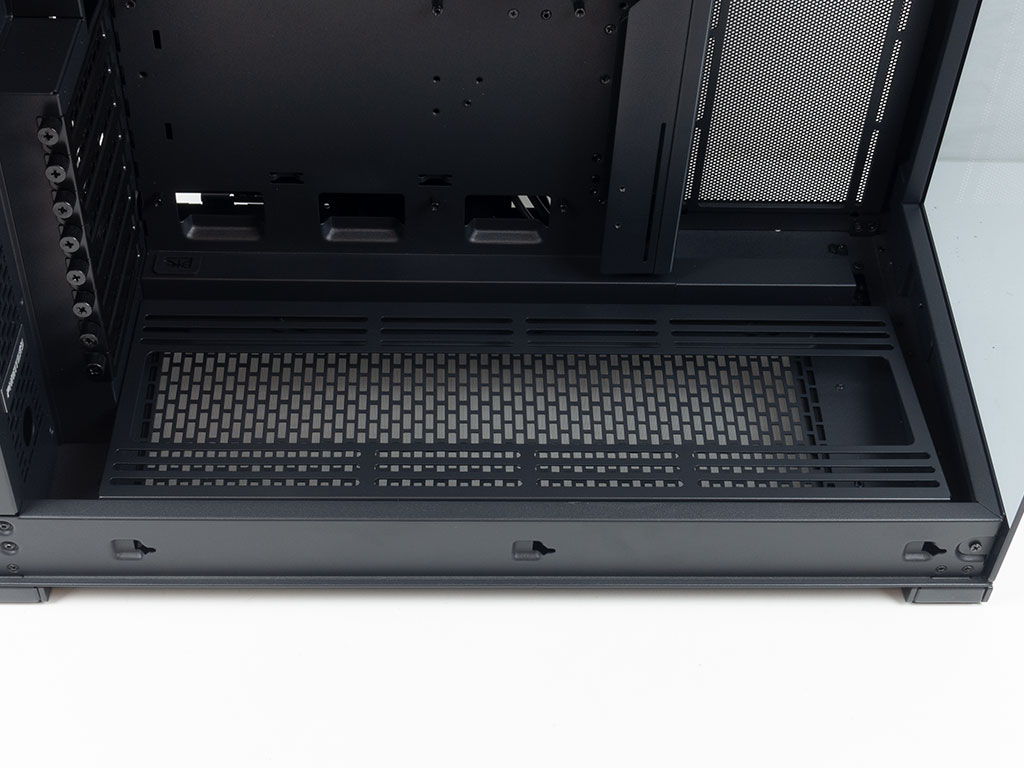
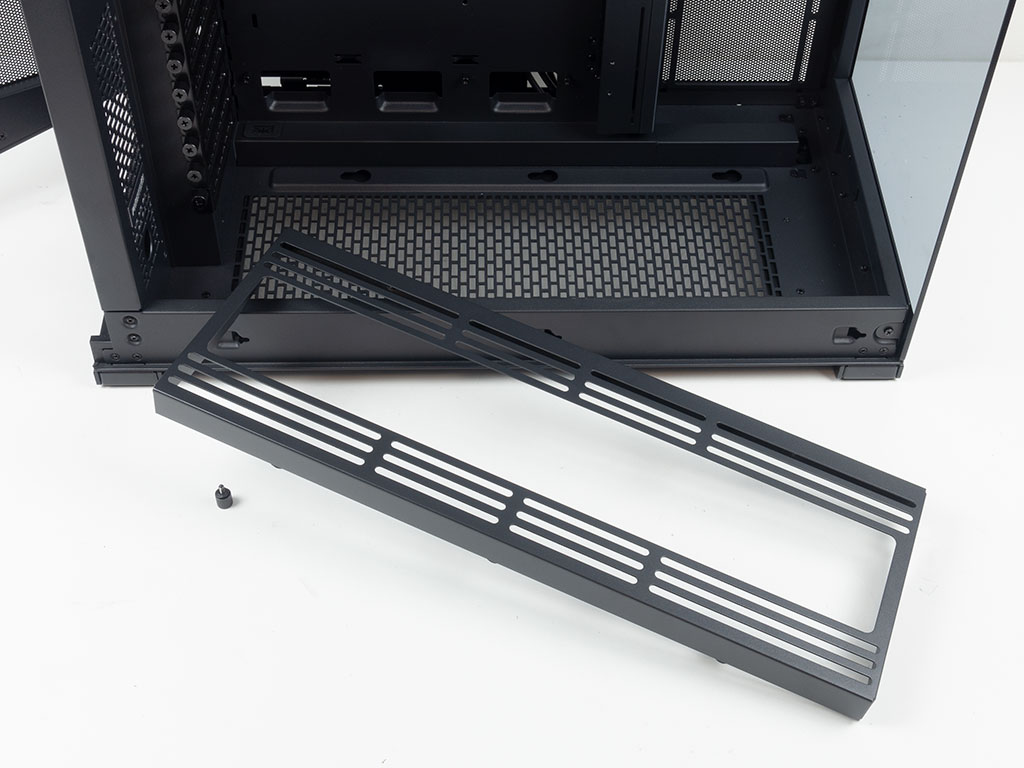
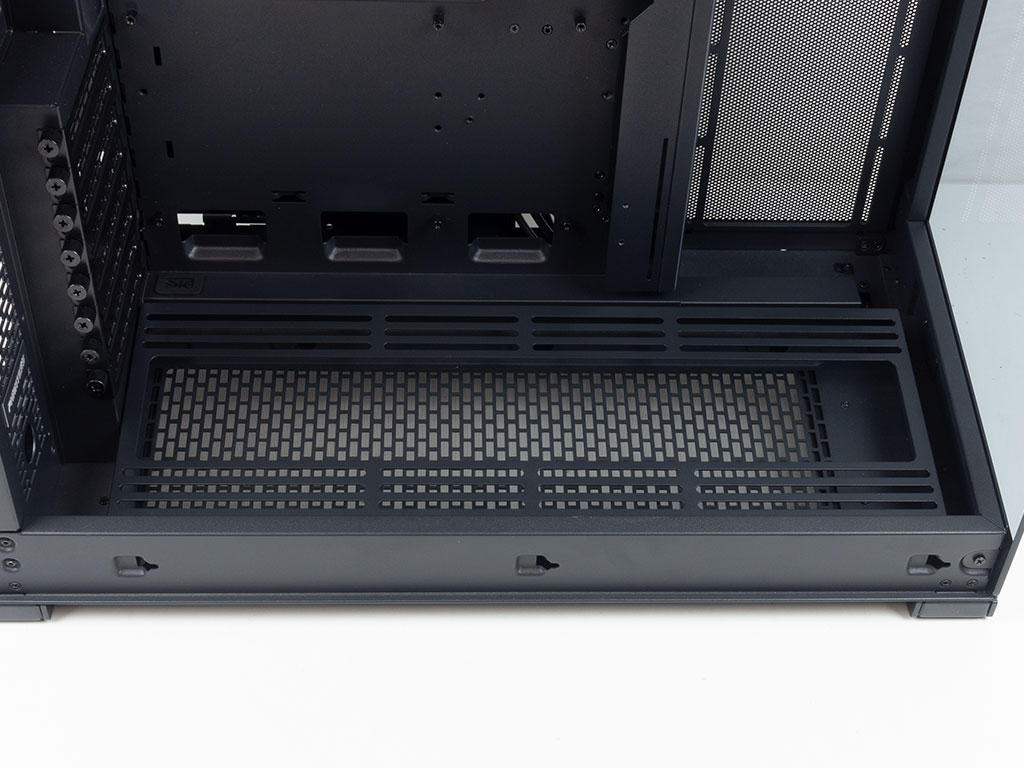
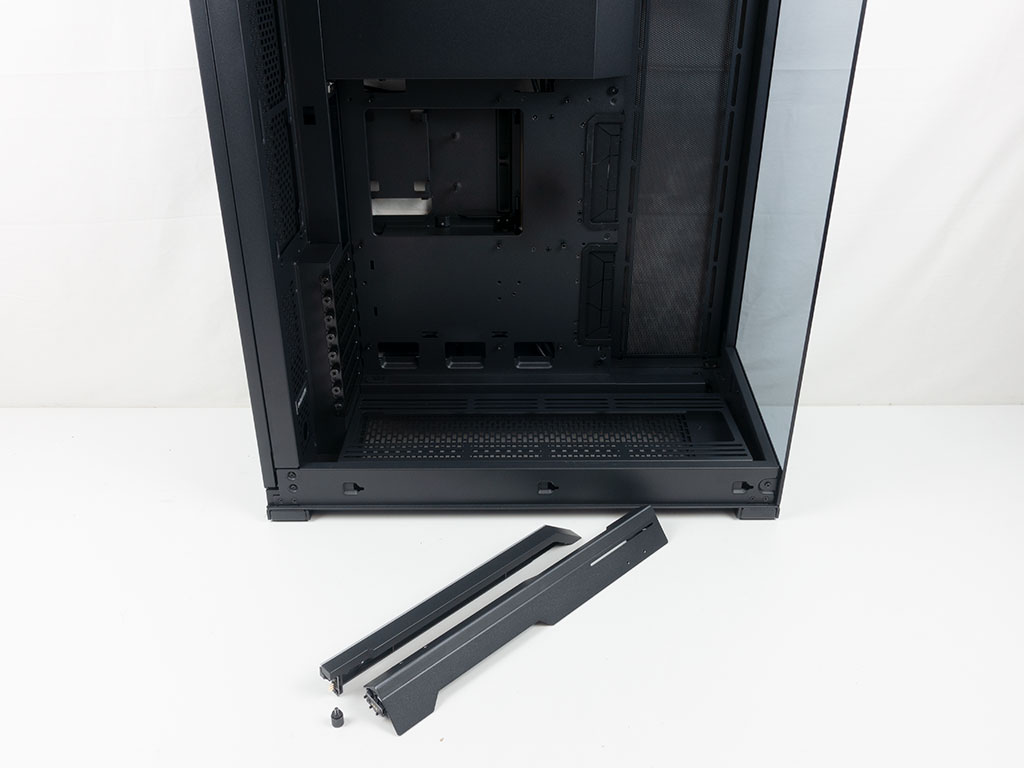
Thanks to the added available width within the NV7 due to its layout, you have plenty of room to install 120 or 140 mm fans in the floor of the chassis. Phanteks has designed the mounting frame to rest on rubber mounted screws and secures it all with a single thumb screw. You may rotate it to go from a flat to an angled position, which is a nice touch.

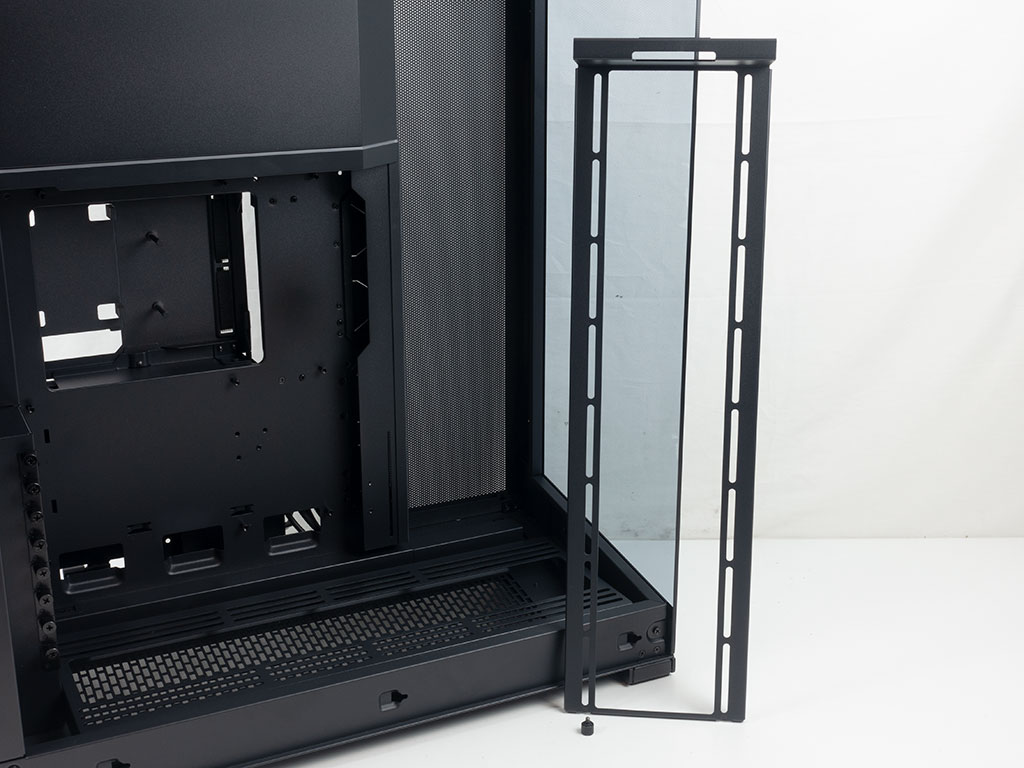
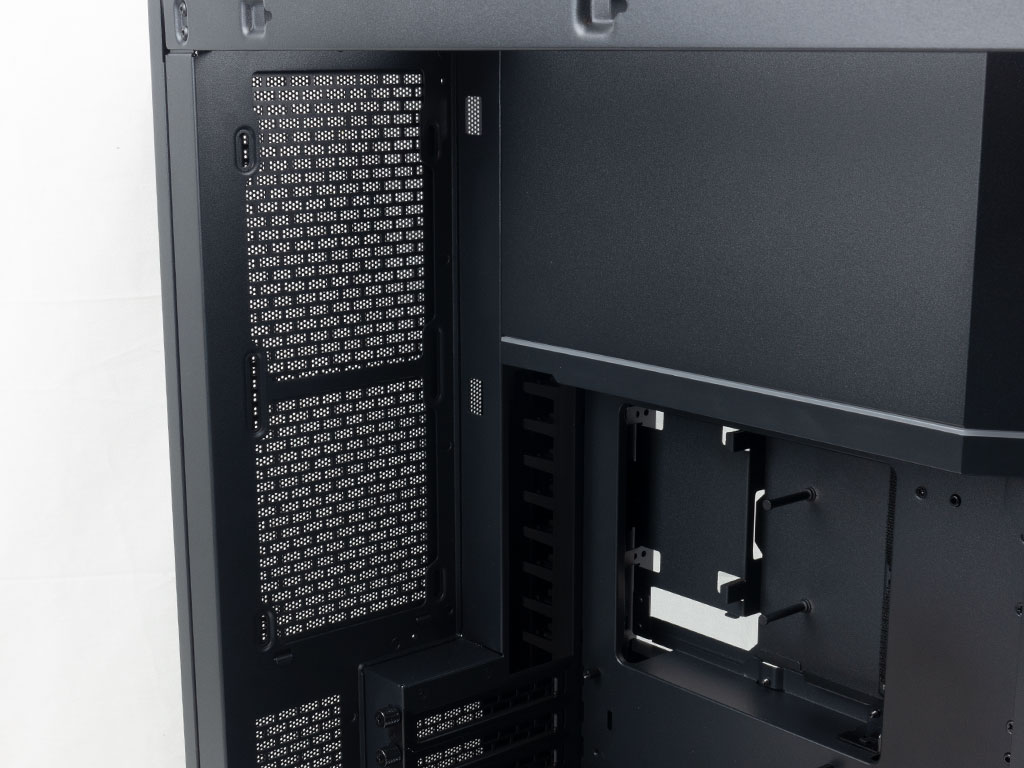
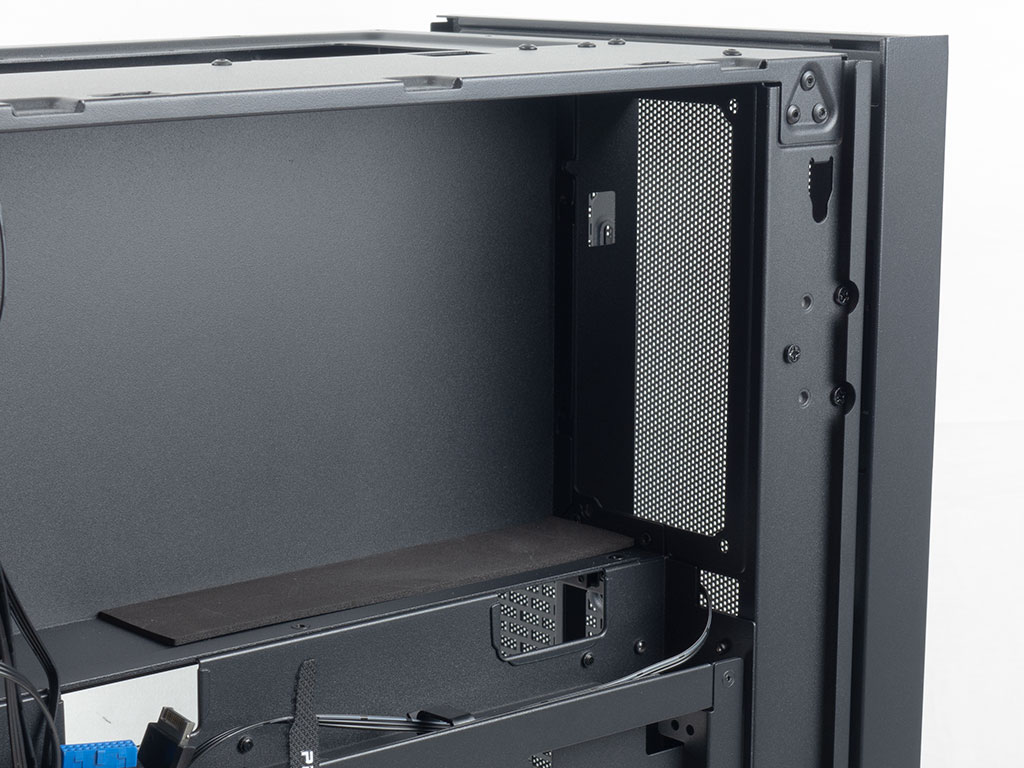
As the side mounting bracket is not accessible from the outside, Phanteks had to figure out another way to fill this part. This requires removing the top panel to gain access to a single thumb screw keeping it in place on top of two hooks at the bottom edge. This frame may easily hold up to four 120 mm fans or a 360 mm radiator. If you are using the latter, there are the two solid covers to close any gaps.
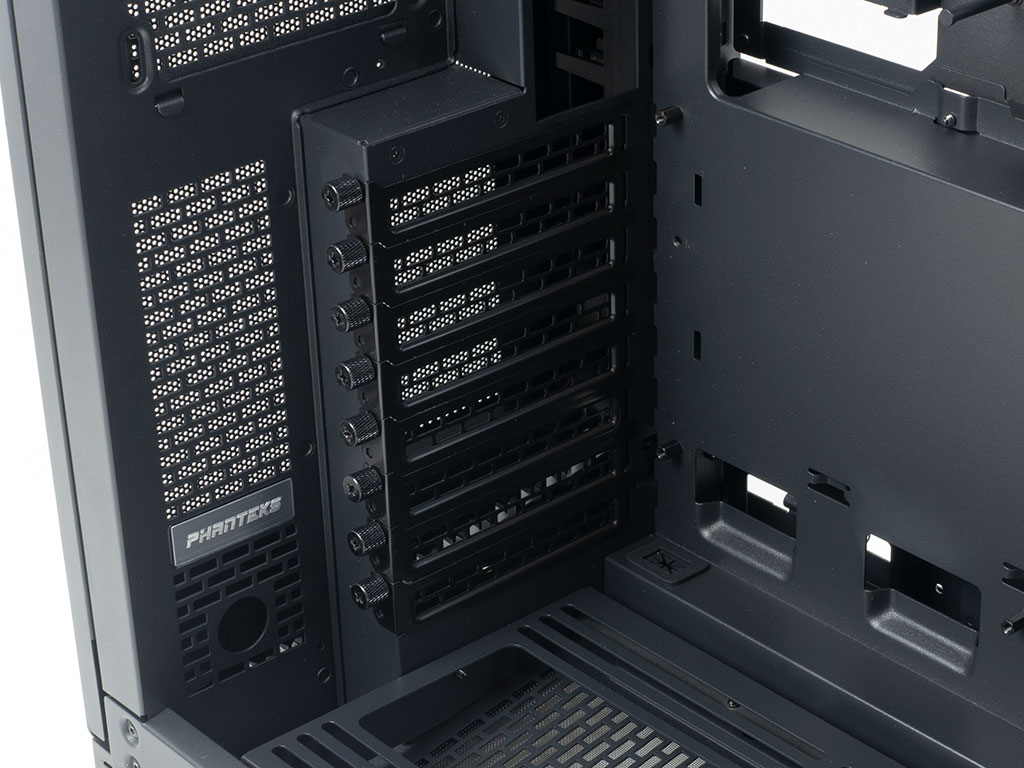
In the rear, there is a small plaque for branding next to the eight expansion slots, where Phanteks employs large thumb screws for easy access. Above that are the two aforementioned 120 mm mounting positions to make the most of the space. Since a 240 mm radiator will fit here, this brings the total possible to three - one 240 mm and two 360 mm units - one of which goes into the ceiling - without having to compromise in any way within the NV7.
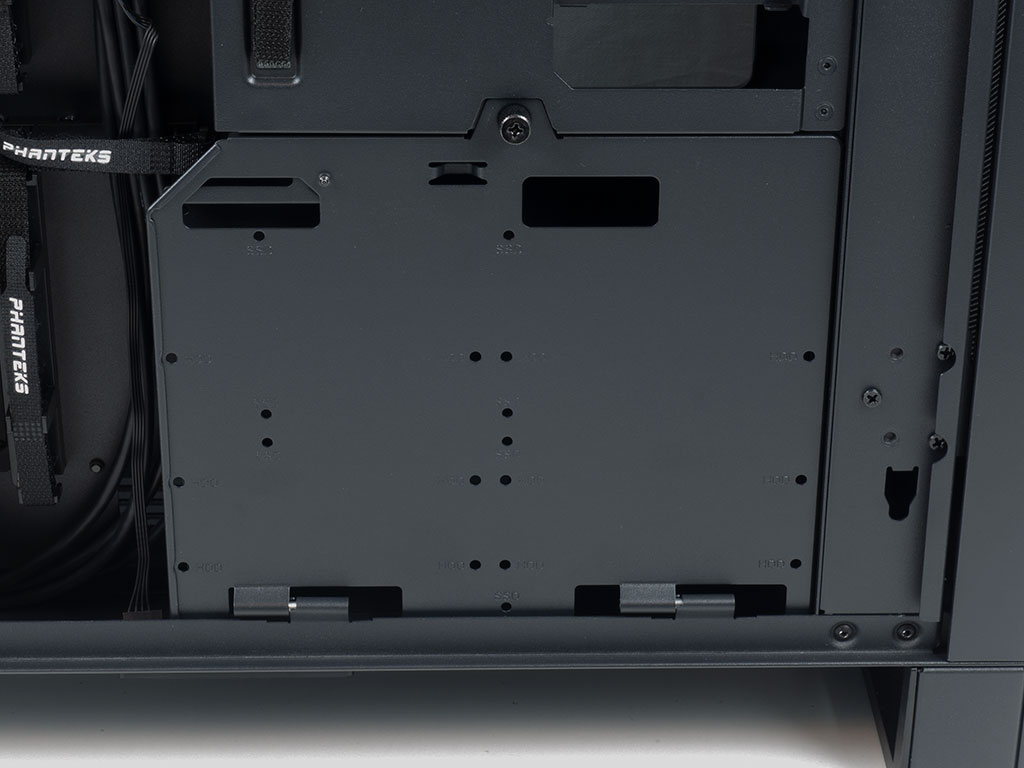

The NV7 may hold up to six SSDs, four of which can be mounted unto a hinged cover alongside a single 3.5" unit. Alternatively, if you have a second 3.5" drive, it may be placed there instead of the SSDs.
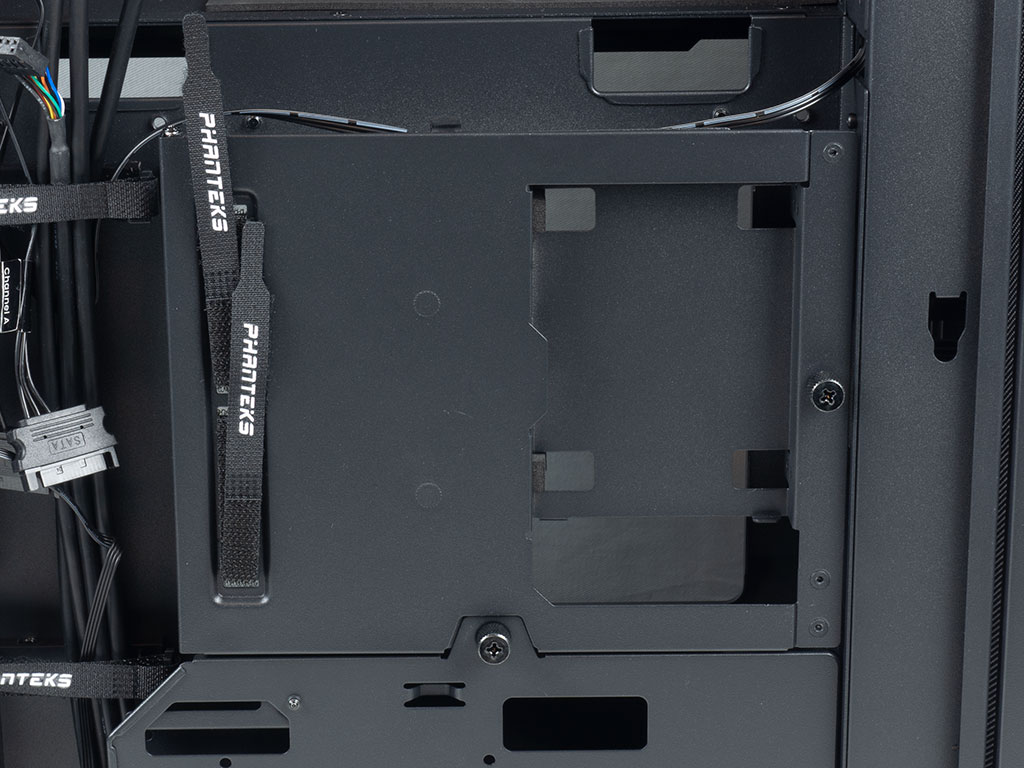
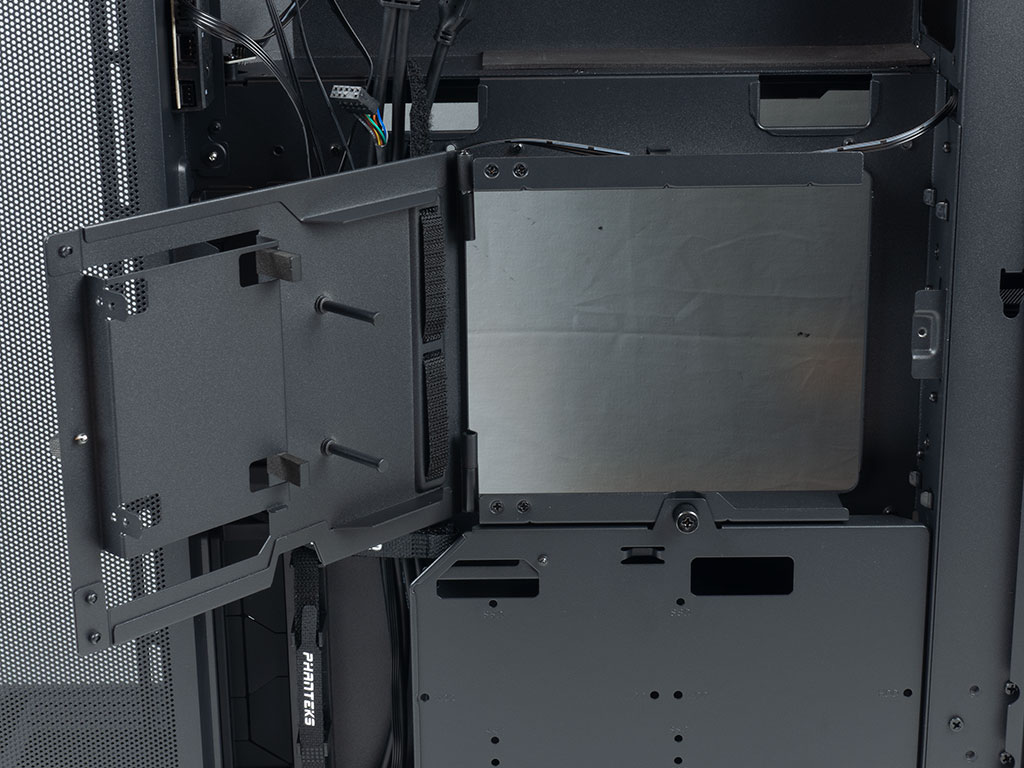
In such a scenario, you are still left with two more 2.5" drives that can be installed in the vertically hinged cover above the just mentioned one. This utilizes foam pads for a friction hold on one side while screws secure each drive on the other. One of these storage devices will be visible with the door closed. Phanteks has also placed Velcro straps here, to allow you to secure the SATA power and data cables, thus protecting your drives from getting damaged if you happen to pull the door open too enthusiatically.

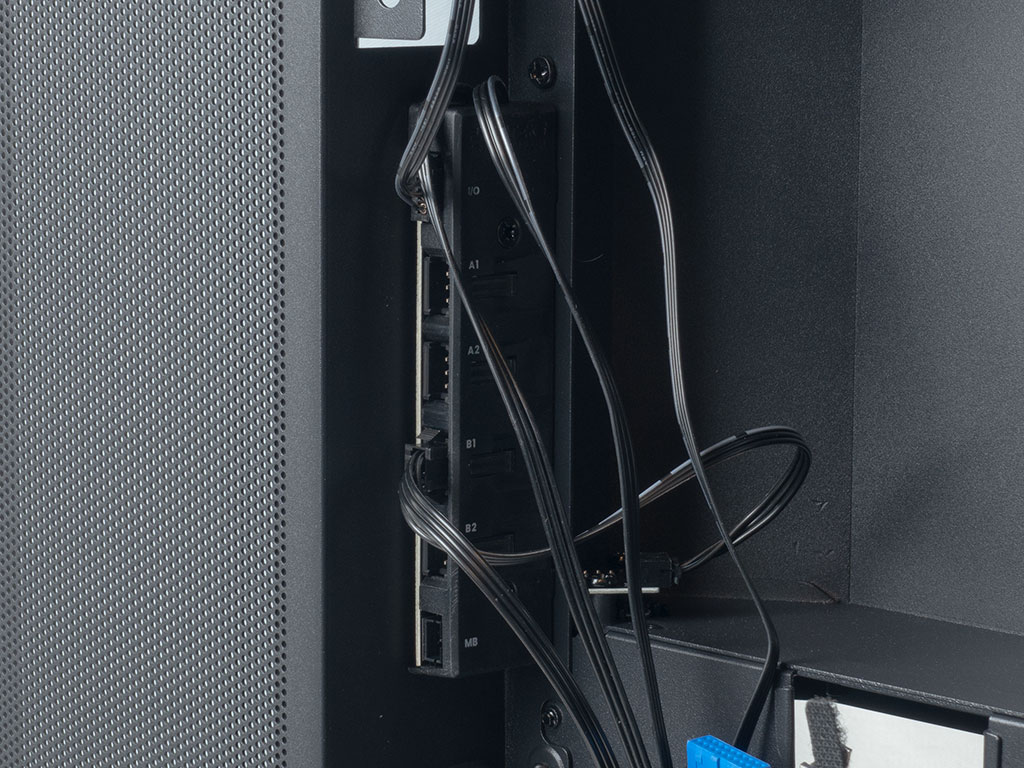
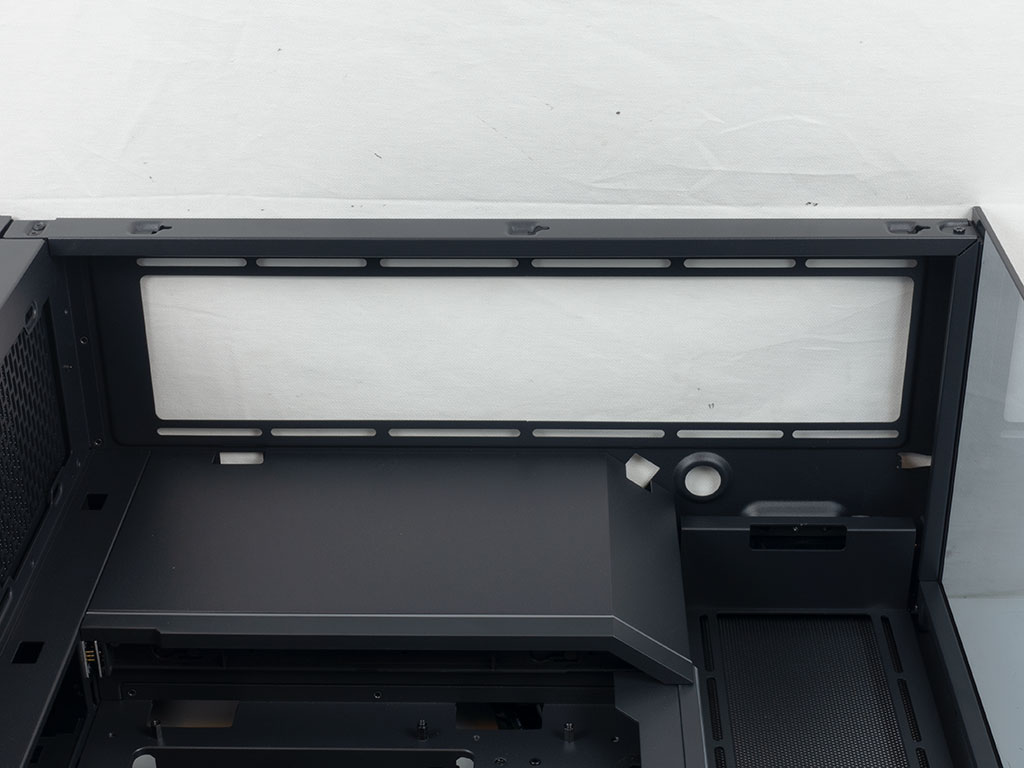
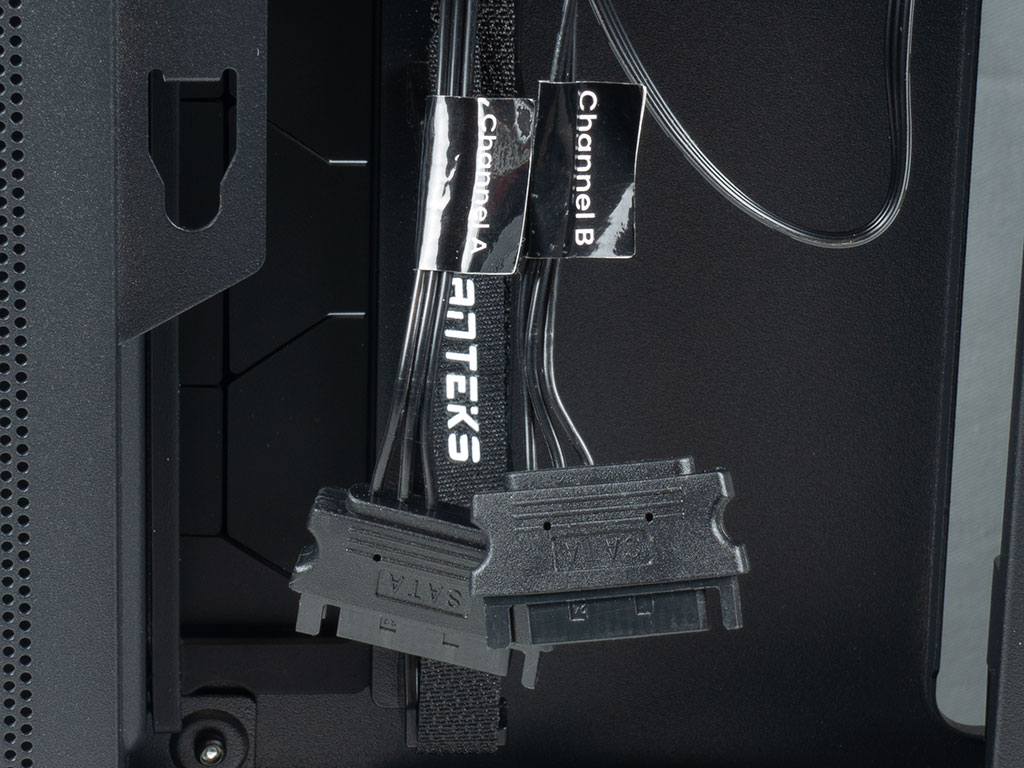
The PSU bay at the very top is pretty standard, but comes with a foam pad as an anti-vibration measure. Phanteks could have added a few hooks for zip ties here to keep the cable mess a bit better contained, but that would have meant disturbing that visible canvas on the interior of the chassis. A cable trench with both horizontal as well as vertical zip ties is the main route for most of your cables. Phanteks has also placed high-quality rubber grommets that are further secured with framing so that they don't pop out on their own. Lastly, in the top PSU compartment, you will find the upgraded D-RGB controller with the two channels. There are two connectors for each channel, with both the embedded strips connected to channel B, plug 1. As you can see, these are still the proprietary Phanteks connectors, which is unfortunate.
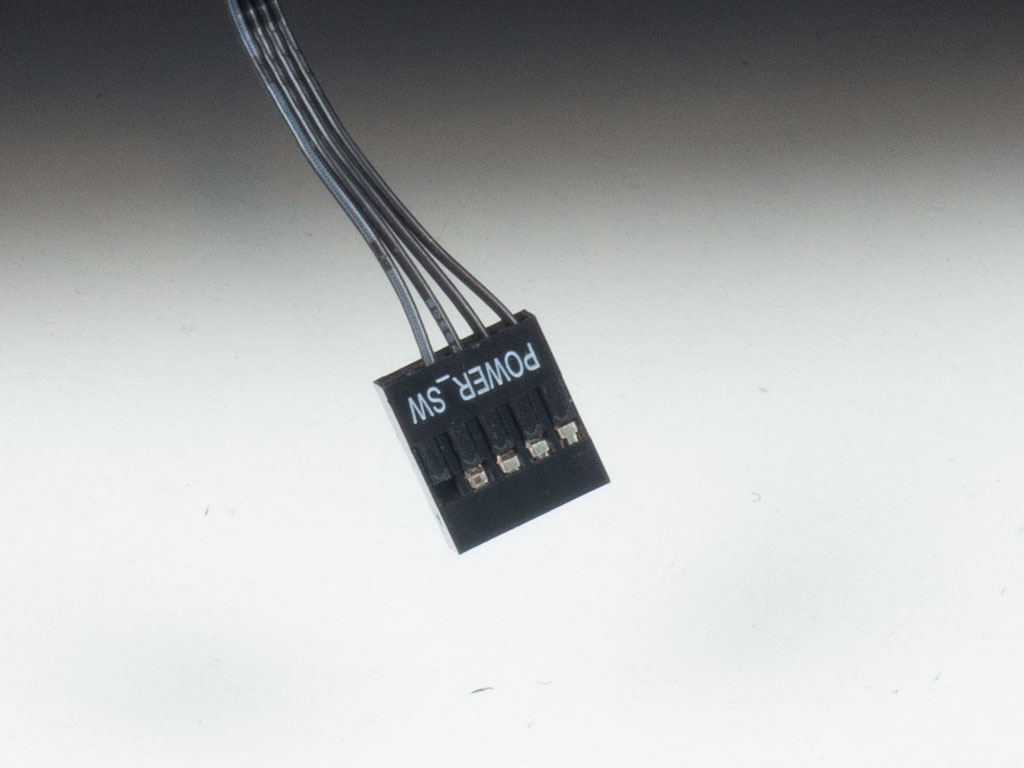
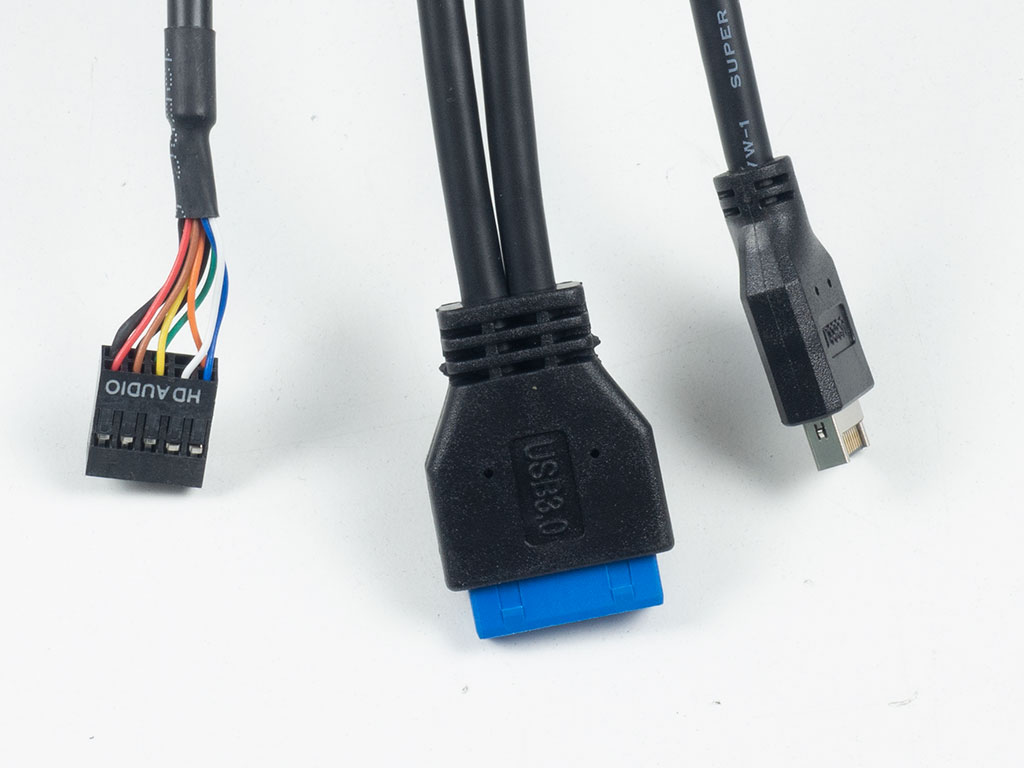
The front panel cables have been unified within the NV7, following the recent trend. After years of motherboard brands employing the same pin layout, it is great to see case brands, including Phanteks, jumping onboard and offering this one plug to rule them all. Besides that, there is are the usual I/O cables and two clearly labeled SATA power plugs for the D-RGB controller.
Jul 1st, 2025 22:45 CDT
change timezone
Latest GPU Drivers
New Forum Posts
- PCMA2305 Phase Change Metal Alloy (PCMA) (7)
- Best motherboards for XP gaming (18)
- What would you buy? (32)
- Is my m2 possibly fake ? and possible laptop hardware damage ? (28)
- HP Zbook 15 G2 GPU Upgrade (4)
- Help me overclocking my GSkill Ripjaws 3200MHz CL 16 DDR4 RAMs. (20)
- MACPRO 3,1 booting windows (0)
- My PCIe5 SSD is slow. Samsung 9100 PRO (29)
- Steering wheels, I think I had a mea culpa! (0)
- My PSU died.. (1)
Popular Reviews
- ASUS ROG Crosshair X870E Extreme Review
- Crucial T710 2 TB Review - Record-Breaking Gen 5
- Sapphire Radeon RX 9060 XT Pulse OC 16 GB Review - An Excellent Choice
- AVerMedia CamStream 4K Review
- Upcoming Hardware Launches 2025 (Updated May 2025)
- AMD Ryzen 7 9800X3D Review - The Best Gaming Processor
- Lexar NQ780 4 TB Review
- Sapphire Radeon RX 9070 XT Nitro+ Review - Beating NVIDIA
- AMD Ryzen 9 9950X3D Review - Great for Gaming and Productivity
- NVIDIA GeForce RTX 5060 8 GB Review
TPU on YouTube
Controversial News Posts
- Intel's Core Ultra 7 265K and 265KF CPUs Dip Below $250 (288)
- NVIDIA Grabs Market Share, AMD Loses Ground, and Intel Disappears in Latest dGPU Update (208)
- Some Intel Nova Lake CPUs Rumored to Challenge AMD's 3D V-Cache in Desktop Gaming (140)
- NVIDIA GeForce RTX 5080 SUPER Could Feature 24 GB Memory, Increased Power Limits (112)
- Microsoft Partners with AMD for Next-gen Xbox Hardware (105)
- NVIDIA Launches GeForce RTX 5050 for Desktops and Laptops, Starts at $249 (105)
- Intel "Nova Lake‑S" Series: Seven SKUs, Up to 52 Cores and 150 W TDP (100)
- NVIDIA DLSS Transformer Cuts VRAM Usage by 20% (91)