 6
6
QNAP TS-453A 4-bay NAS Review
System Status, Applications & App Center »Storage Manager

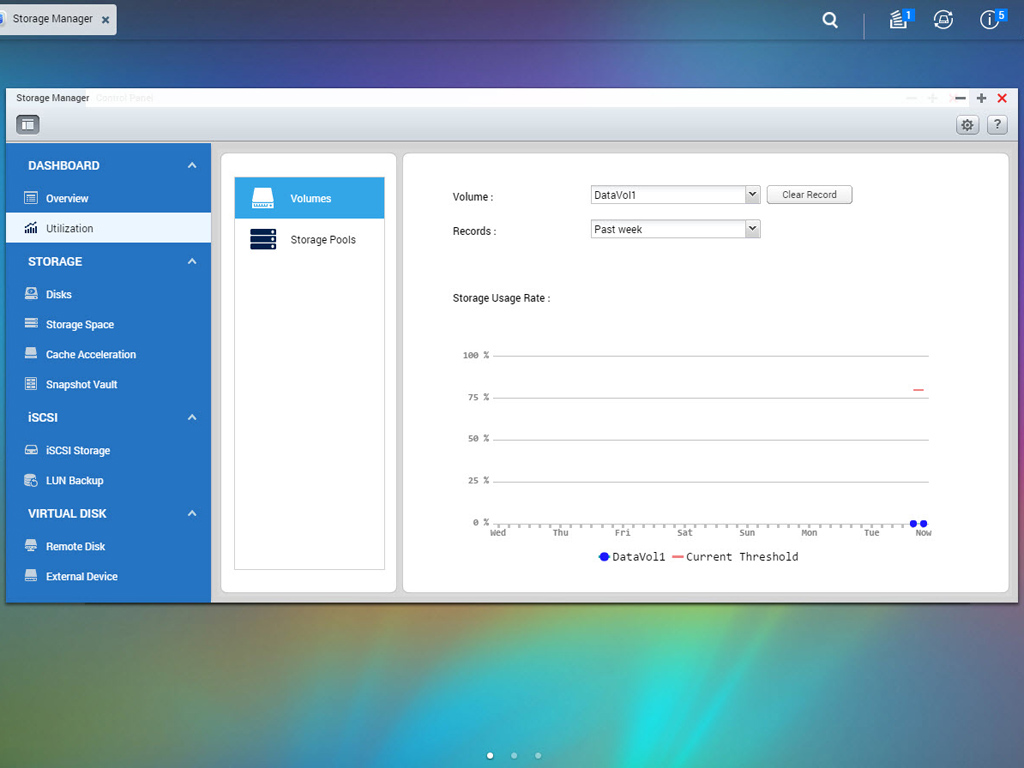
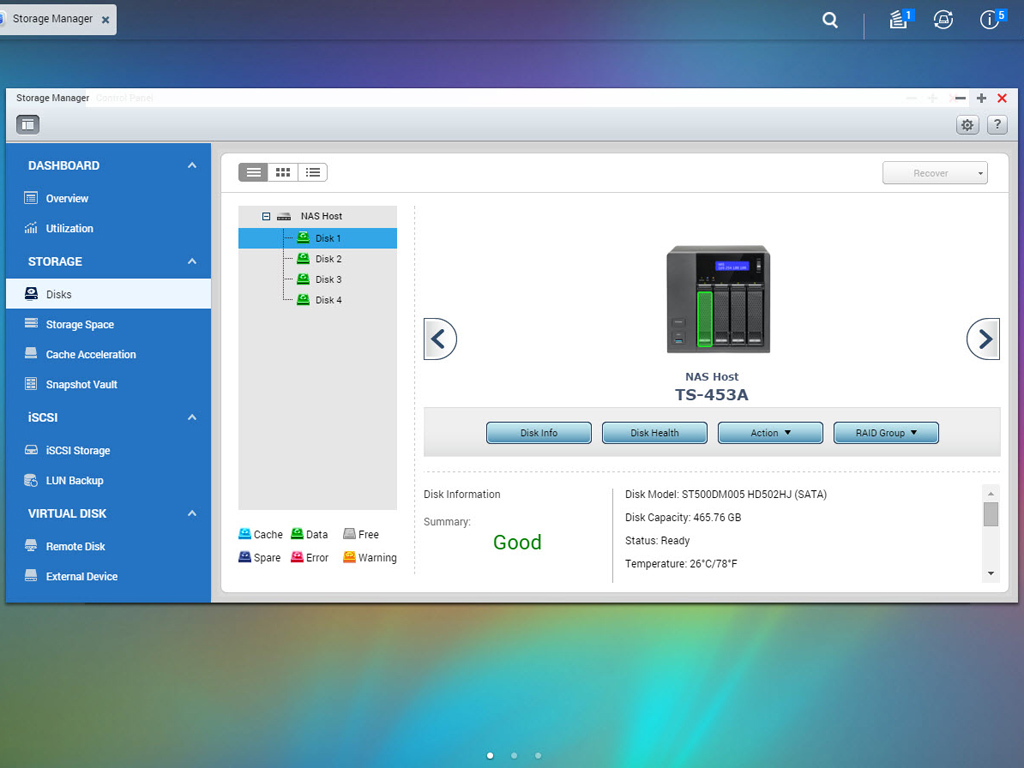


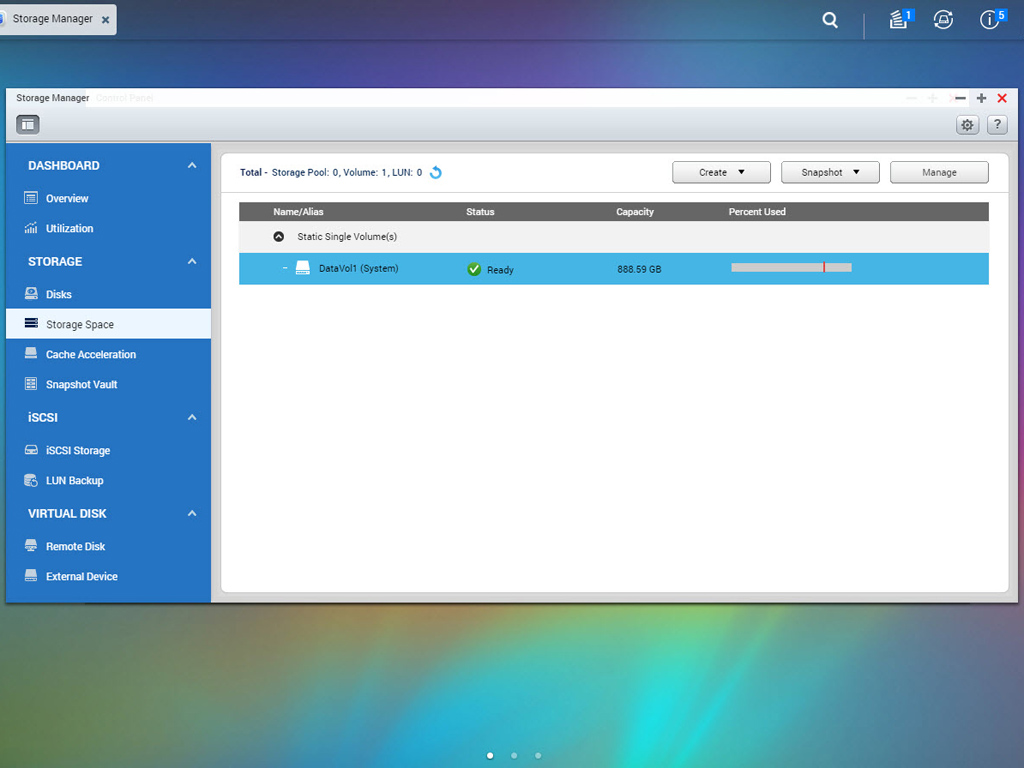
Storage Manager tracks model, size, and the current status of all installed HDDs. You can also format and check on HDDs or pick the RAID level that suits your needs here. The TS-453A supports RAID 0, RAID 1, RAID 5, RAID 6, and RAID 10 with four HDDs installed. You can also configure the HDDs in JBOD (Just a Bunch of Disks), which will combine all HDDs into one big volume. The best options are RAID 5 (at least three HDDs are required) as it can tolerate the failure of one HDD and RAID 6 (at least four HDDs are required) because it can tolerate the failure of up to two HDDs. You can also use Storage Manager to create iSCSI storage arrays and add iSCSI targets of other QNAP NAS or storage servers to the NAS as virtual disks for storage-expansion purposes.

Sacrifice one bay by installing an SSD and you can utilize the cache-acceleration option. It will use your SSD's speeds to increase network transfer speeds to and from the NAS.

A new feature called Snapshot was added with QTS 4.2. Snapshots can be used with iSCSI LUNs and volumes. Up to 256 snapshots are supported for each volume or LUN, and up to 1024 snapshots are supported for the whole system. There are also two types of snapshots, local and remote. An important advantage of this snapshot technology as compared to traditional file backups is that you can recover a file in a folder or the entire folder instantly with only a few clicks instead of having to recover a whole data set for just one or several files you might need. QNAP's snapshot function also provides the necessary tools to help you find the files you want to recover. You are able to view files and folders in a snapshot and browse through them in chronological order. The files a snapshot contains can also directly be edited by users, and the remote snapshot replica allows you to replicate volumes and LUNs between different remote servers, either on a schedule or immediately.
QNAP states that at least 4 GB of RAM are required for the snapshot function to work.
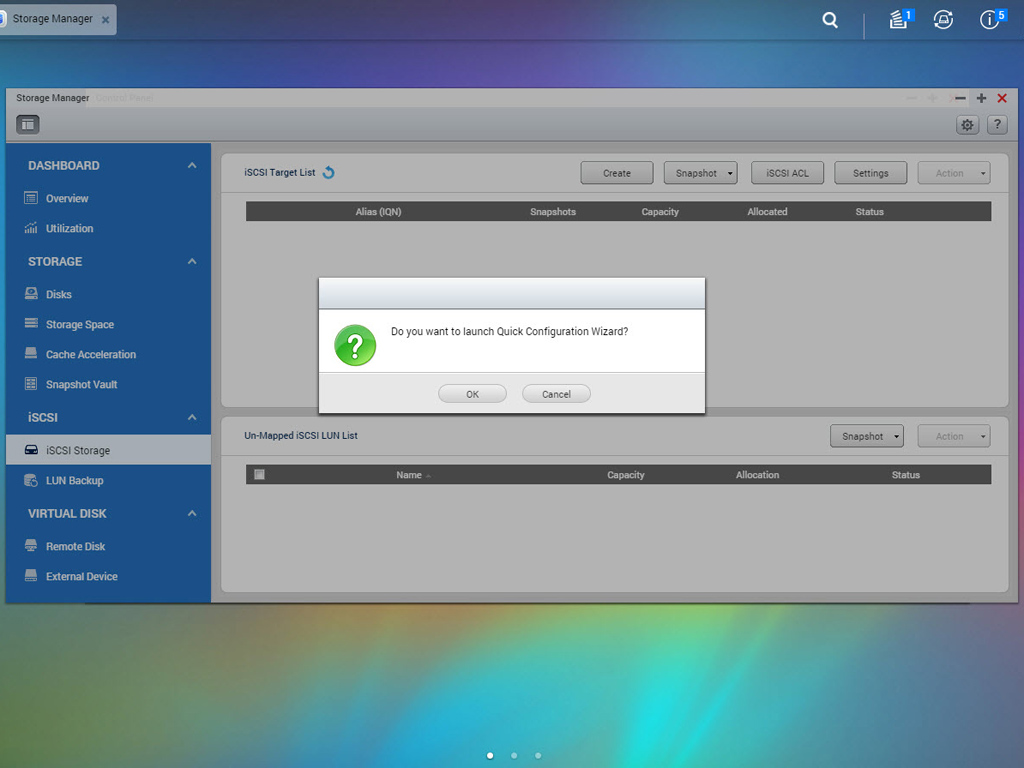
Creating an iSCSI Target with a mapped LUN is very easy. You only have to follow the wizard's steps.
Network Settings
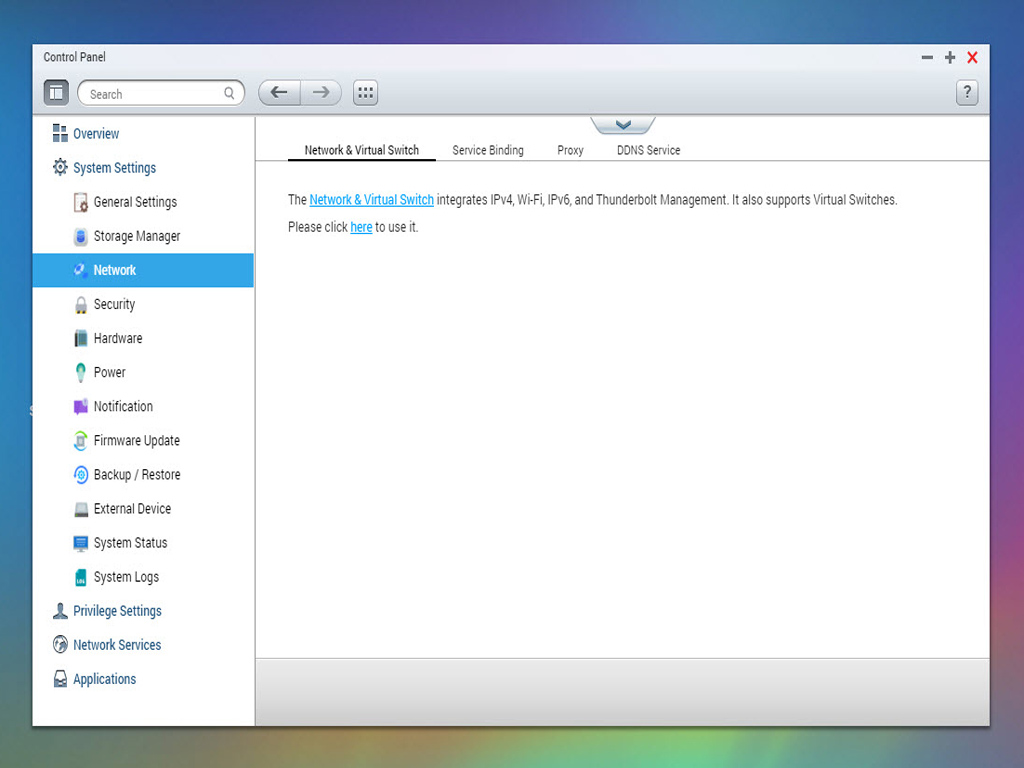


QNAP's new QTS OS features a new Network Settings group that has moved out of the Control Panel since it now has a dedicated app called "Network & Virtual Switch." QNAP says this app to integrate all managerial options for IPv4, IPv6, Wi-Fi, and Thunderbolt with a virtual switch. Network & Virtual Switch essentially provides you with a central location where you can create, configure, and manage network connections, which allows you to connect your devices to both local and remote networks. You can take a tour of the Network & Virtual Switch app by following this link.
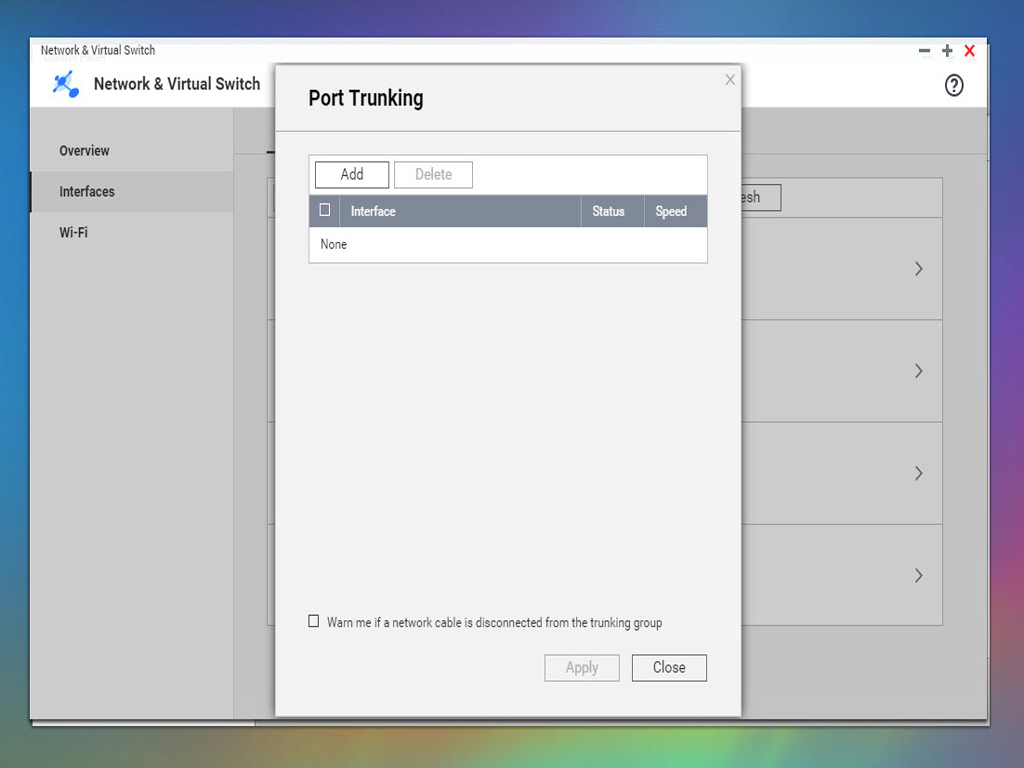
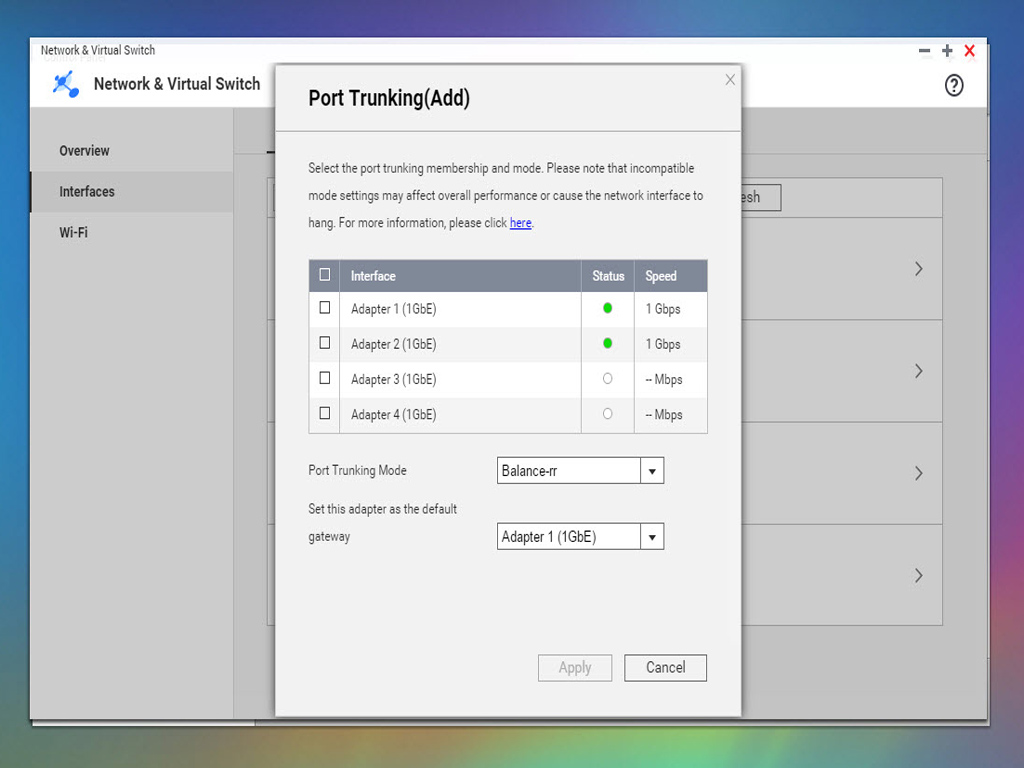
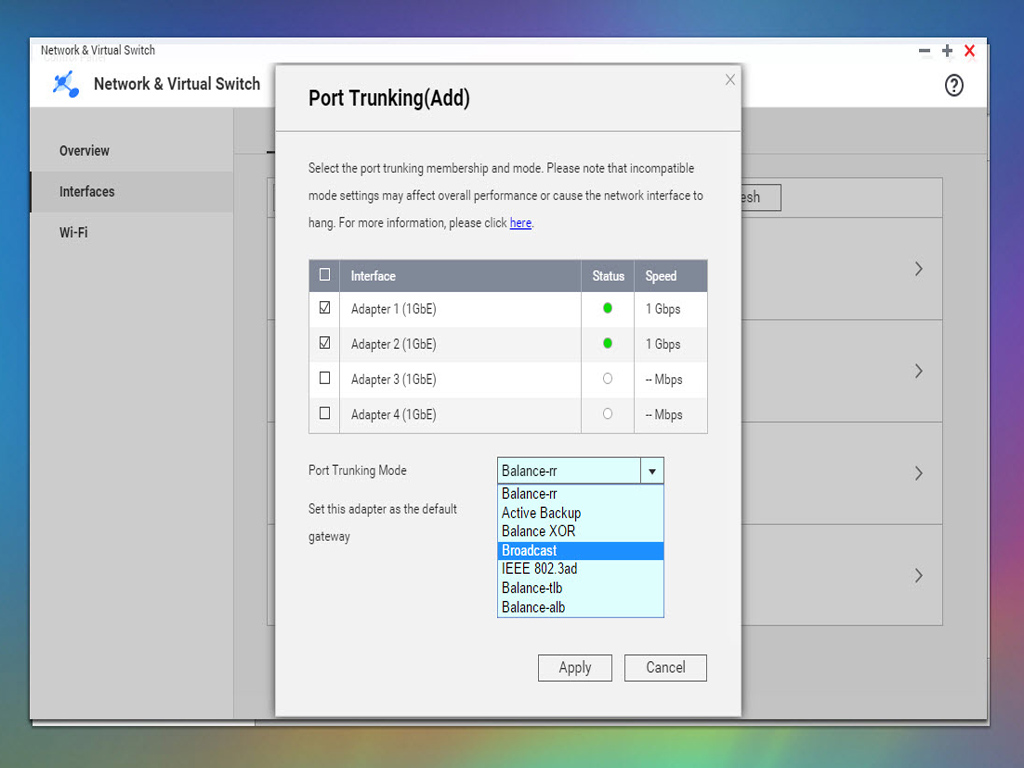
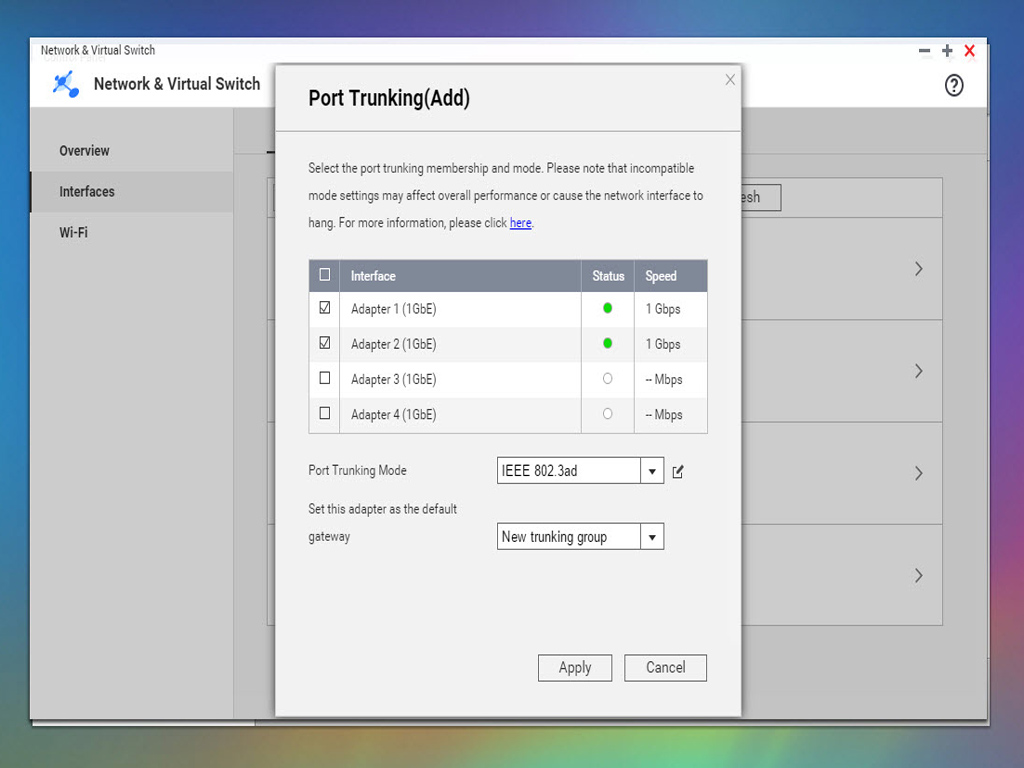
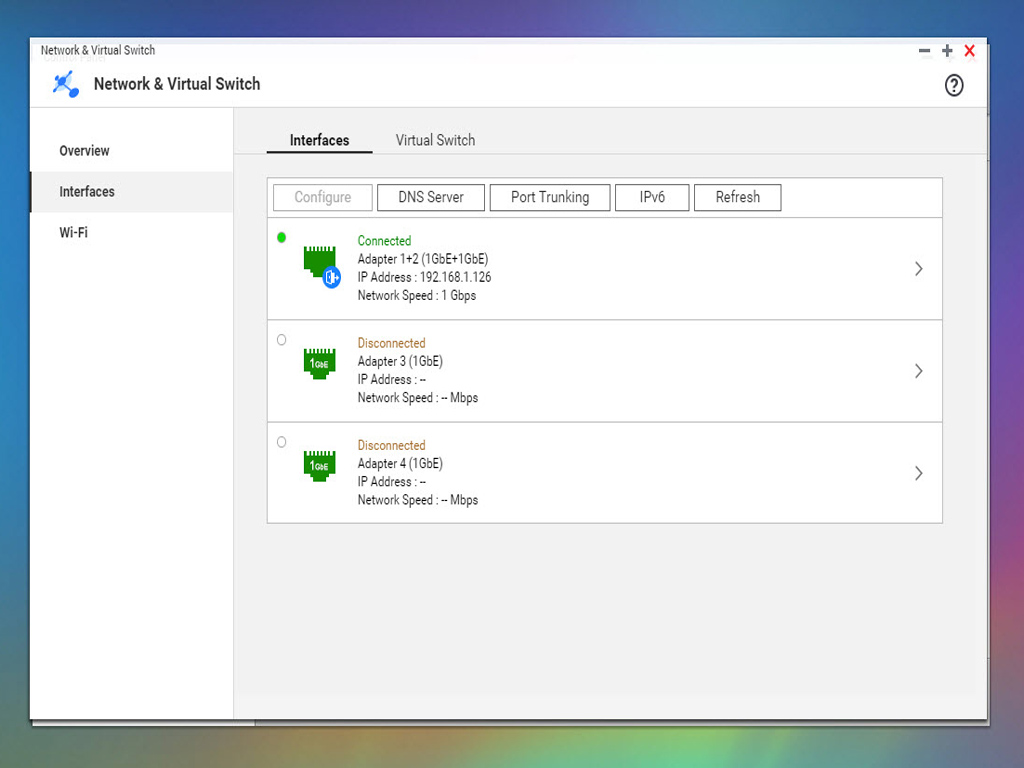
You have the ability to combine all Ethernet ports into one (Port Trunking mode) to increase transfer speeds. However, you need a switch that is compatible with the IEEE 802.1AX-2008 standard (the successor to IEEE 802.3ad) to do so. Another important option is Jumbo Frames, a reference to Ethernet frames that are larger than 1500 bytes. Jumbo Frames is designed to boost networking throughput while reducing CPU utilization on large-file transfers by allowing larger payloads per packet. But there is a catch as the Jumbo Frames setting only applies to Gigabit network environments and all connected clients must enable the option with exactly the same MTU value for a performance boost.
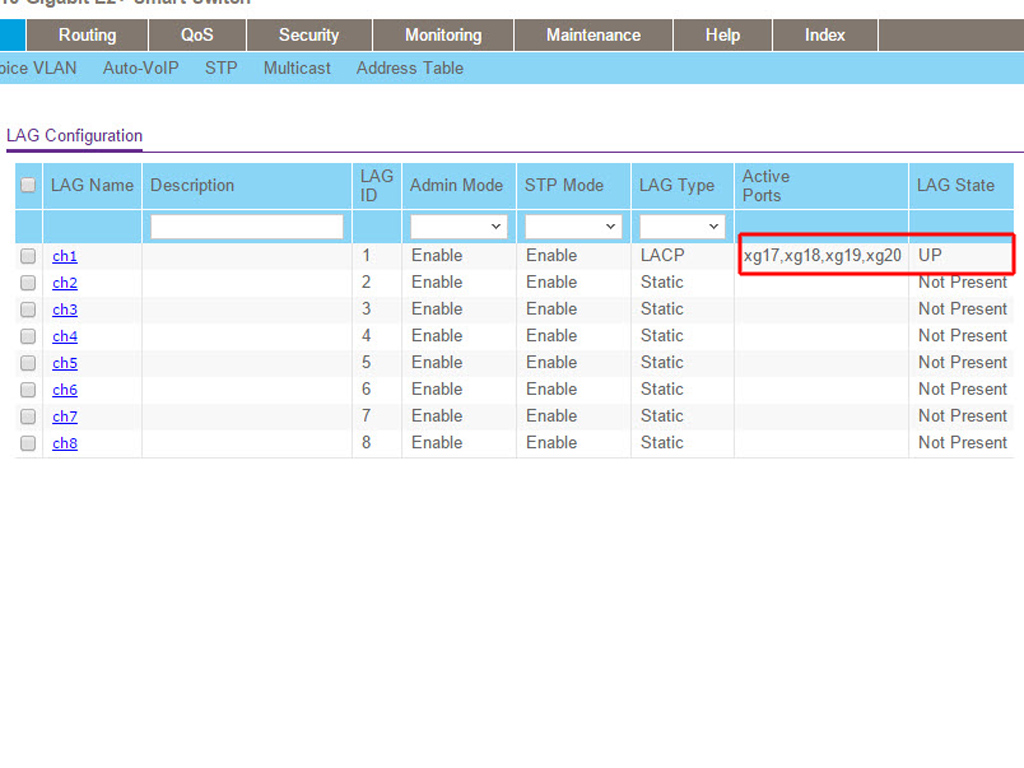
We combined all four Ethernet ports into one.
Network Services
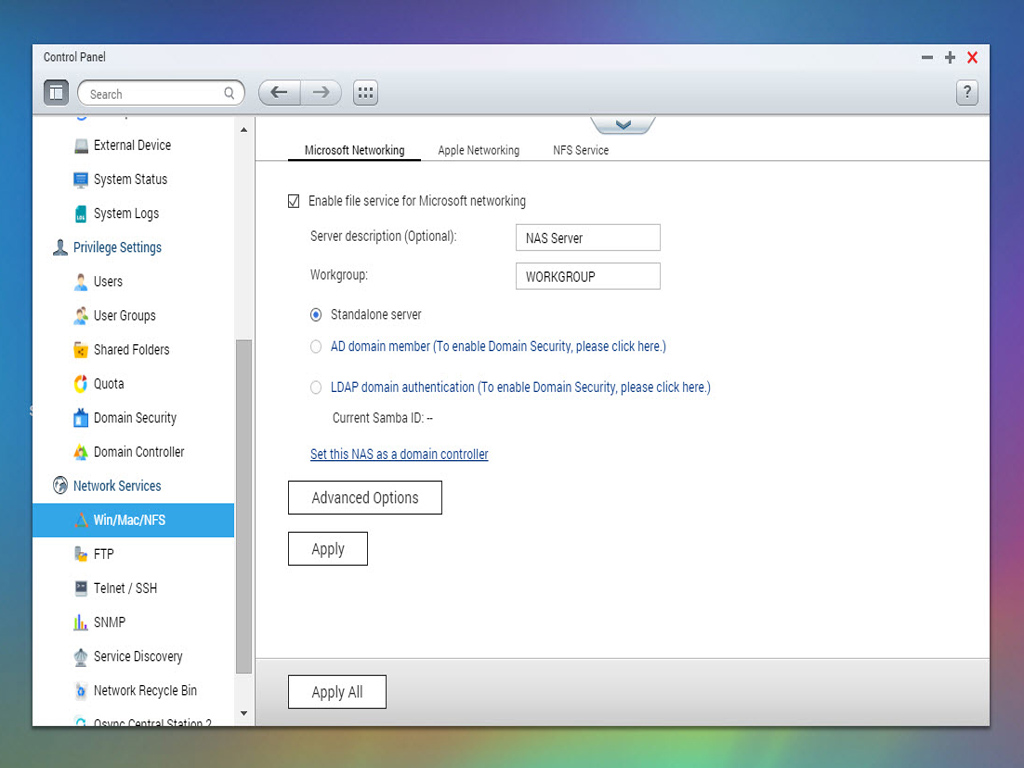
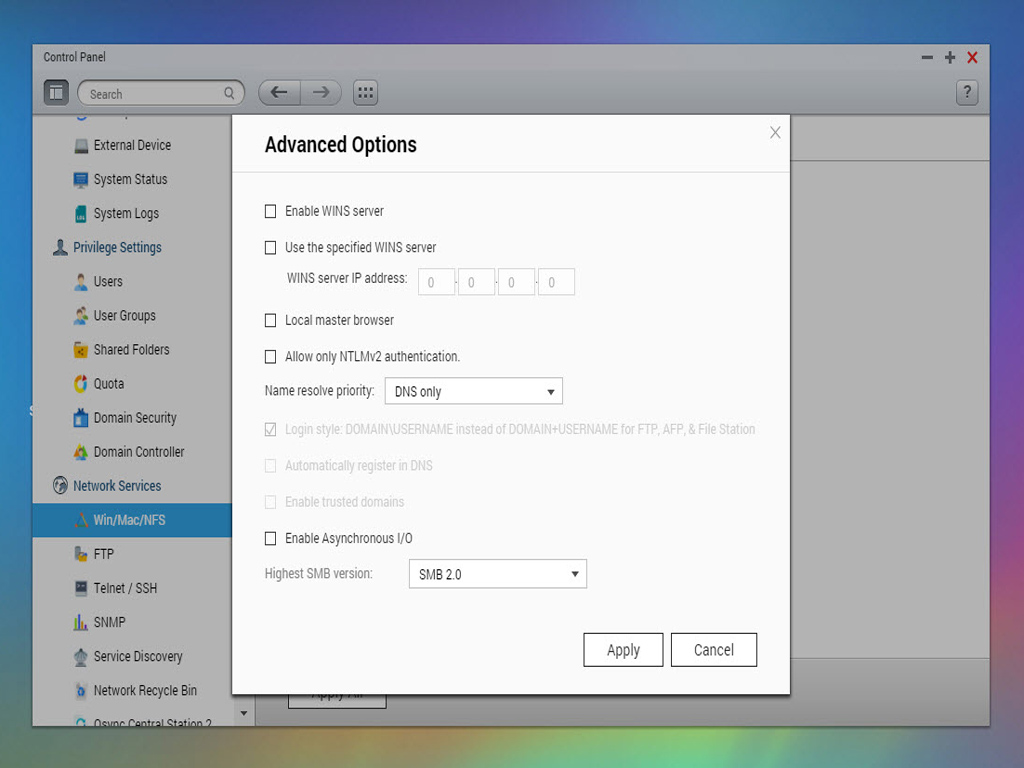
You should enable the file service for Microsoft networking if you want the NAS to be a part of a Microsoft-compatible network. You can also set the NAS up as a domain controller.
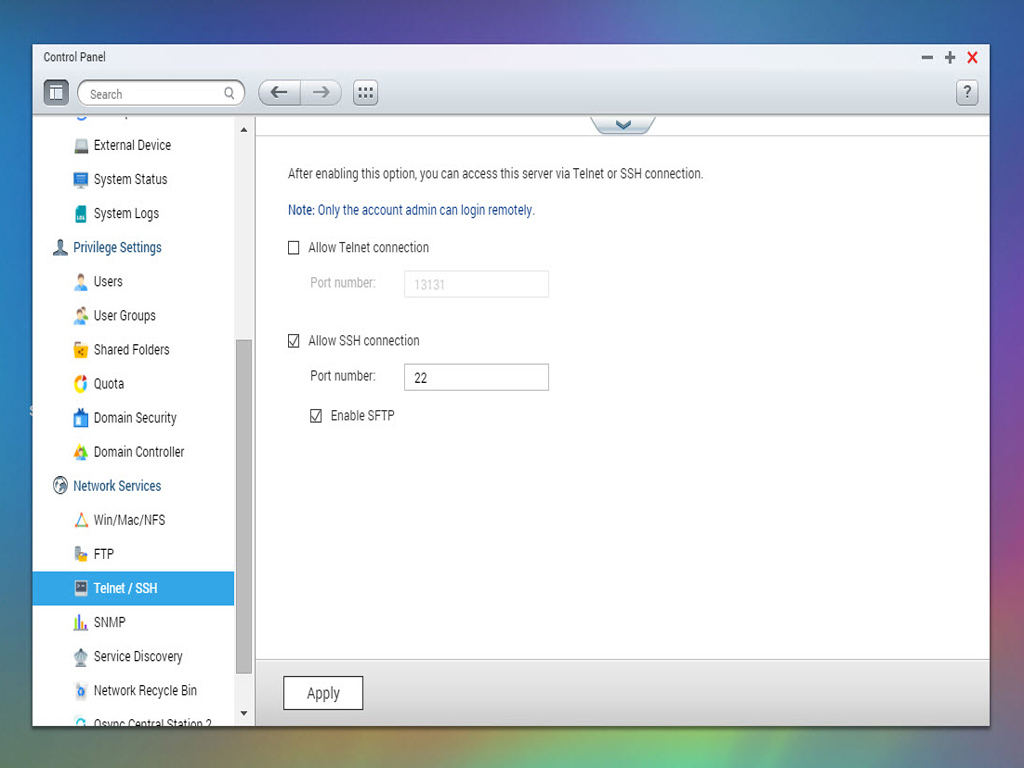
The Telnet / SSH menu will be of use to advanced users who need to access the NAS server's OS though the command prompt.
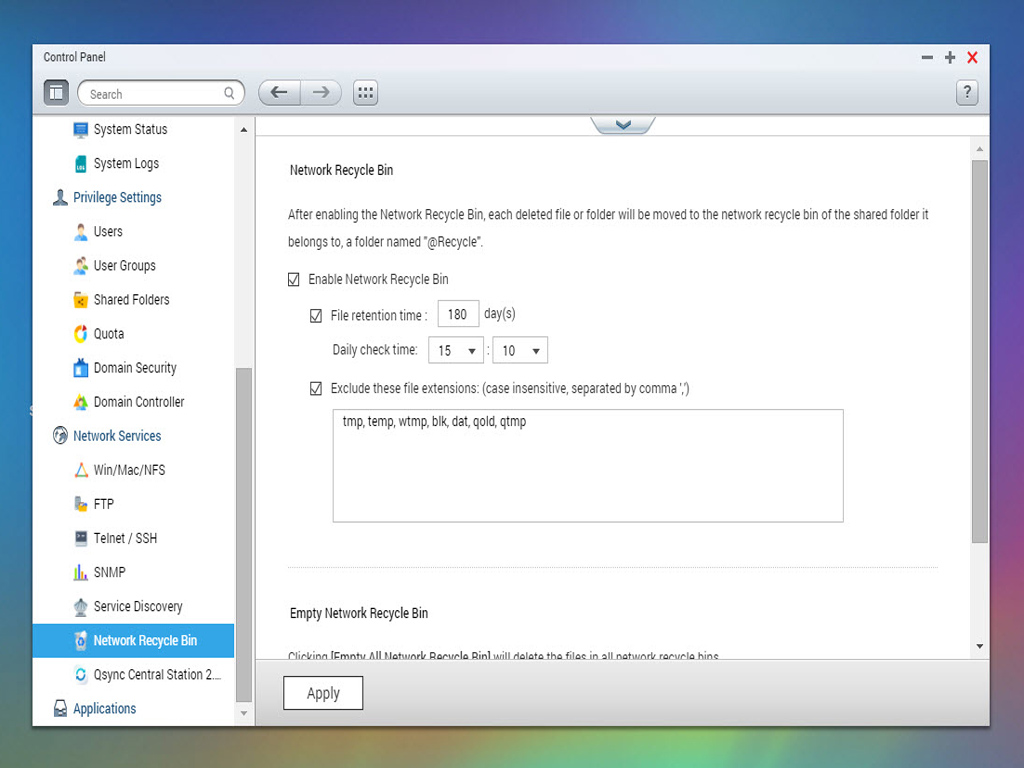
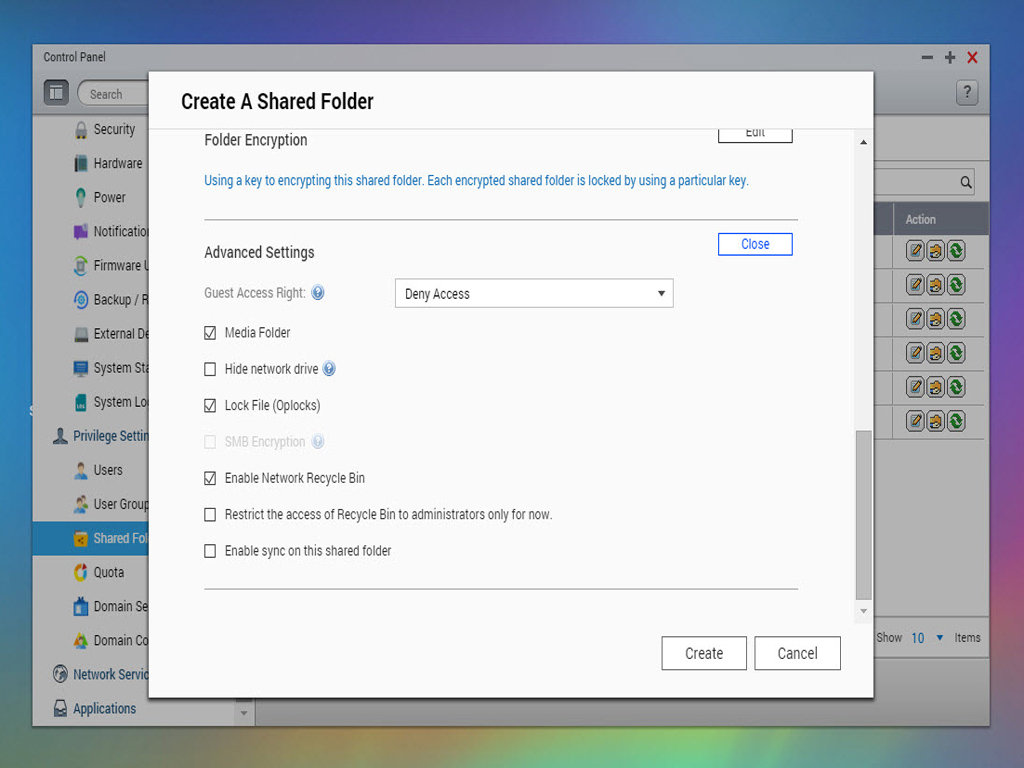
The network recycle bin works like the regular recycle bin in another OS. After enabling it, every deleted file or folder will be moved to the network recycle bin of the shared folder it belongs to, which would allow you to recover a file after accidentally deleting it. While a very useful option, you should be careful with it if you delete large files regularly as they may take up a significant amount of storage space. You can avoid such mishaps by carefully specifying for how many days (1-180) deleted files will be kept in your recycling bin.
Shared Folders
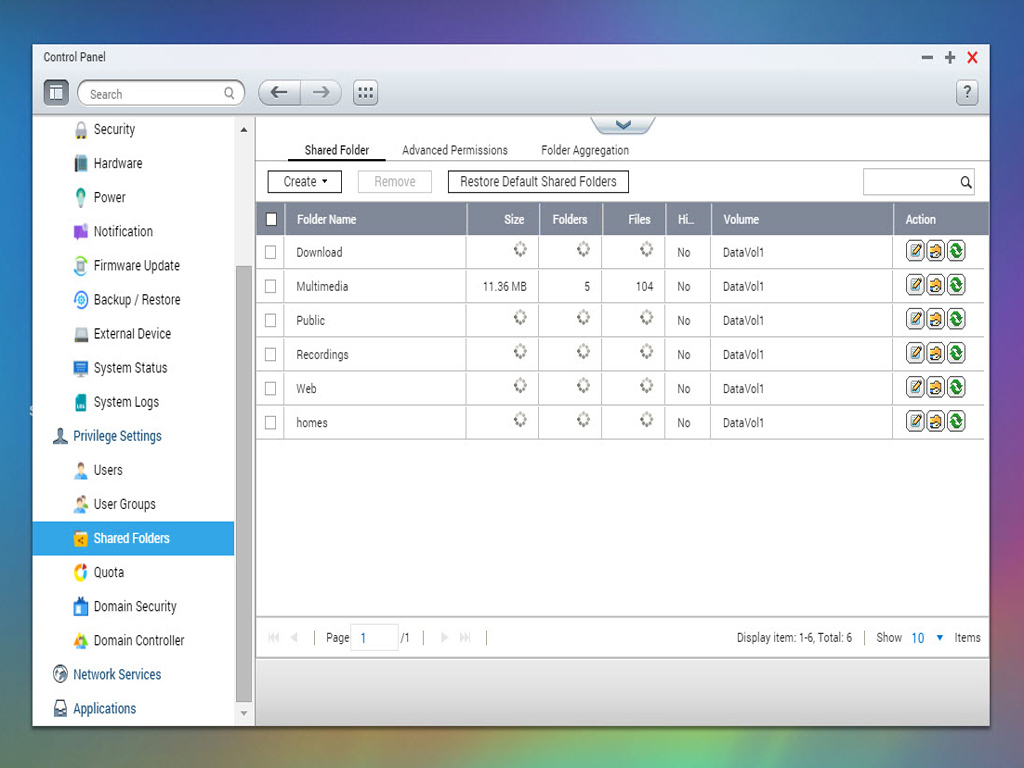
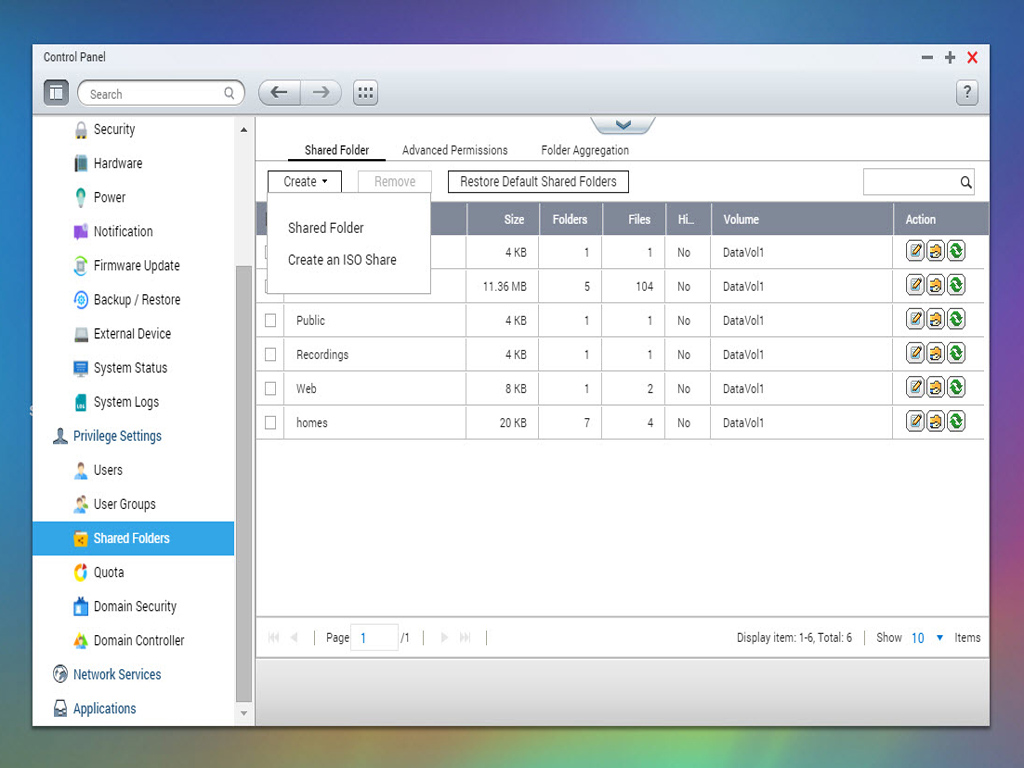

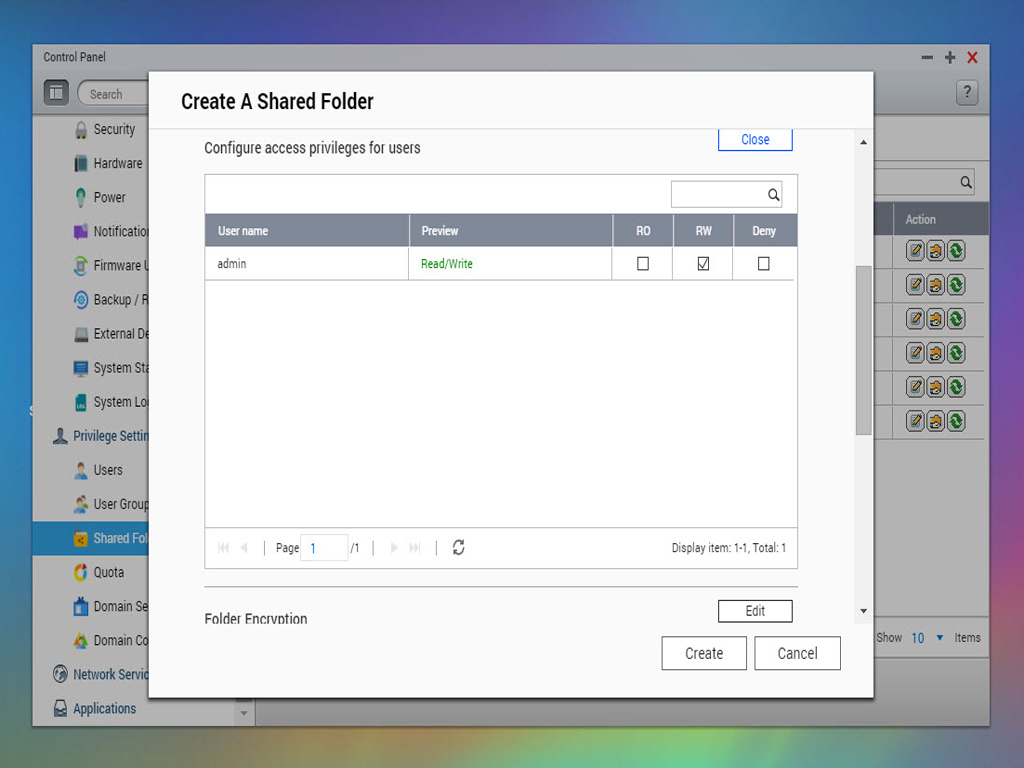
The Shared Folder menu is crucial to the security of all files stored on the NAS. This menu will allow you to create new shared folders for users and user groups or edit access permissions for already existing shared folders.

If you want a specific folder to be accessible by anyone, you should enable the "guest login" option in its settings.
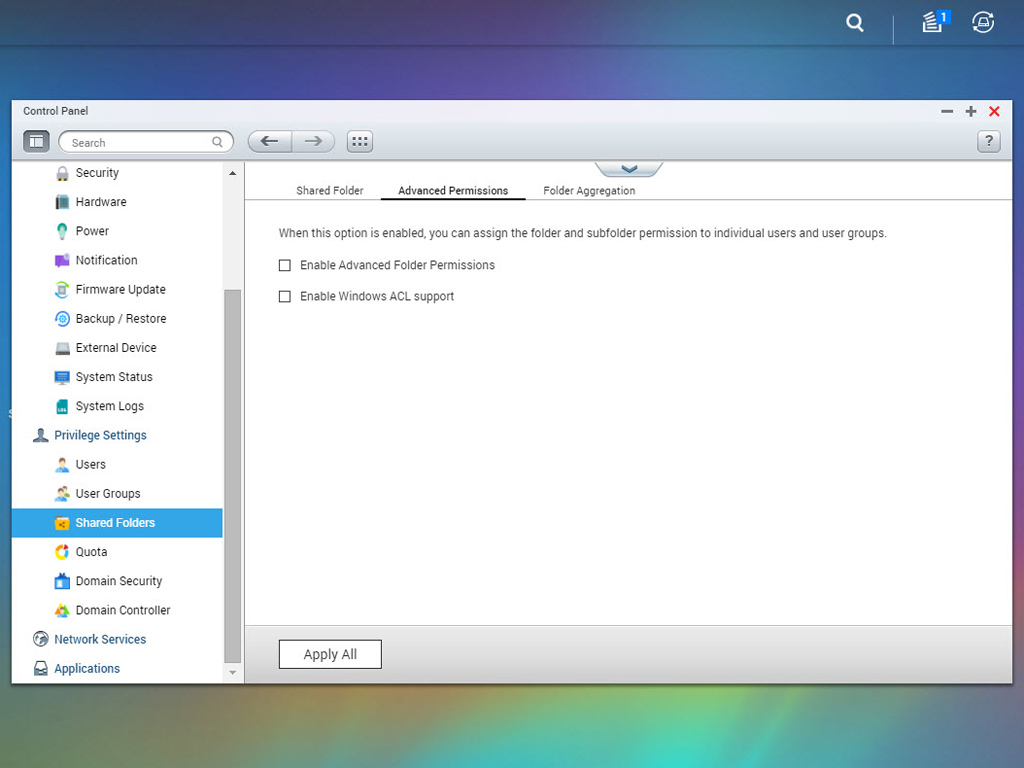
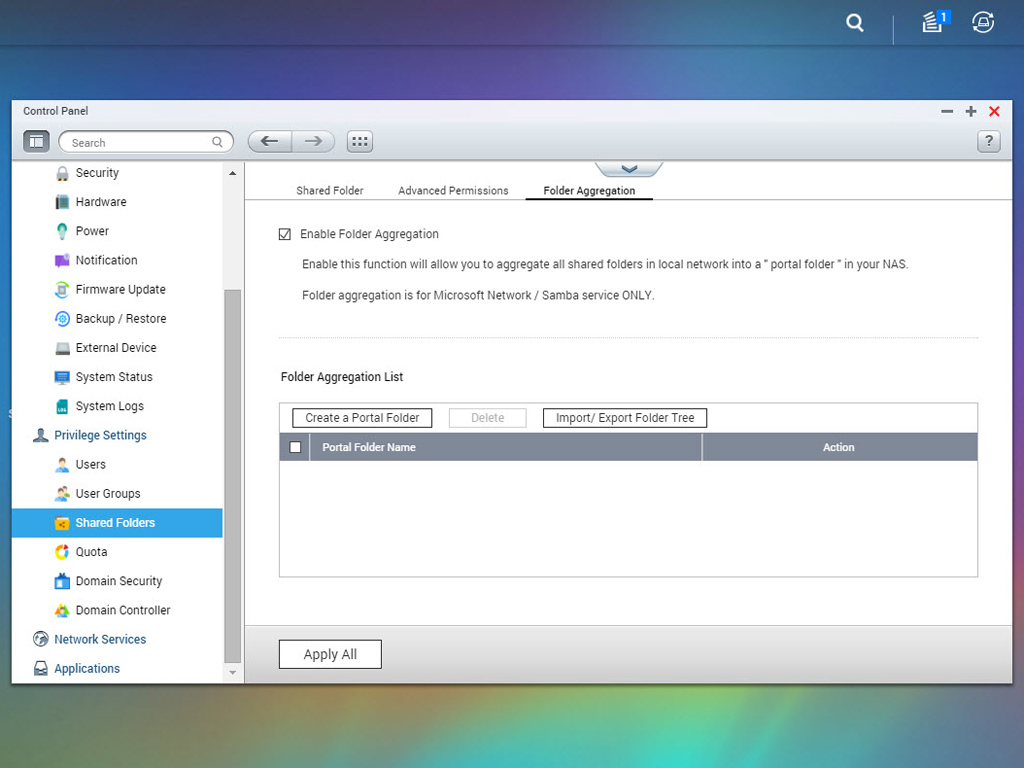
Here are the Advanced Permissions and Folder Aggregation tabs of the Shared Folder menu.
Jun 30th, 2025 17:55 CDT
change timezone
Latest GPU Drivers
New Forum Posts
- Can you guess Which game it is? (194)
- Help me choose the right PSU , Cooler Master vs Seasonic (53)
- HOW TO ADD NVMe M.2 SSD SUPPORT TO OLD MOTHERBOARDS WITH AWARD-Phoenix LEGACY SUPPORT? (2)
- Whats a fair asking price - MSI 4070 Super (4)
- HTPC Power Consumption Discussion, Upgrade vs Migration (18)
- RX 9000 series GPU Owners Club (1103)
- Will you buy a RTX 5090? (579)
- Rare GPUs / Unreleased GPUs (2111)
- Steam Deck Owners Clubhouse (530)
- Good time in the year to buy a new PC (4)
Popular Reviews
- Sapphire Radeon RX 9070 XT Nitro+ Review - Beating NVIDIA
- ASUS ROG Crosshair X870E Extreme Review
- Sapphire Radeon RX 9060 XT Pulse OC 16 GB Review - Samsung Memory Tested
- Lexar NQ780 4 TB Review
- AVerMedia CamStream 4K Review
- ASRock Phantom Gaming Z890 Riptide Wi-Fi Review
- AMD Ryzen 7 9800X3D Review - The Best Gaming Processor
- Upcoming Hardware Launches 2025 (Updated May 2025)
- Intel Core Ultra 7 265K Review
- NVIDIA GeForce RTX 5060 8 GB Review
TPU on YouTube
Controversial News Posts
- Intel's Core Ultra 7 265K and 265KF CPUs Dip Below $250 (288)
- NVIDIA Grabs Market Share, AMD Loses Ground, and Intel Disappears in Latest dGPU Update (204)
- Some Intel Nova Lake CPUs Rumored to Challenge AMD's 3D V-Cache in Desktop Gaming (140)
- Microsoft Partners with AMD for Next-gen Xbox Hardware (105)
- NVIDIA Launches GeForce RTX 5050 for Desktops and Laptops, Starts at $249 (104)
- Intel "Nova Lake‑S" Series: Seven SKUs, Up to 52 Cores and 150 W TDP (100)
- NVIDIA GeForce RTX 5080 SUPER Could Feature 24 GB Memory, Increased Power Limits (89)
- Reviewers Bemused by Restrictive Sampling of RX 9060 XT 8 GB Cards (88)