 10
10
Raidmax Hyperion Review
Value & Conclusion »Test System
| System Parts for Case Reviews | |
|---|---|
| Processor: | Intel Core i7-4770K @ 4.2 GHz (Haswell, 8192 KB Cache) |
| Motherboards: | ATX: Gigabyte GA-Z97X-Gaming 7 mATX: Gigabyte GA-Q87M-D2H mini-ITX: GA-H97N-WIFI Provided by: Gigabyte |
| Graphic Card: | Long: NVIDIA GeForce GTX 280 OEM Short: HIS Radeon 5350 HD |
| Memory: | Crucial Ballistix Tactical DIMM Kit 8GB @ DDR3-1600, CL8-8-8-24 Provided by: Crucial |
| HDD: | Western Digital 320 GB 7200 RPM |
| SSD: | Crucial MX100 256GB SATA 6Gbps Provided by: Crucial |
| Power Supply: | Fractal Design Edison M 550W Provided by: Fractal Design |
| Cooling: | Air Cooling: Be Quiet Shadow Rock 2 Liquid Cooling: Fractal Design Kelvin T12 & S24 Provided by: Fractal Design |
Assembly

Installing a mATX board is done by traditional means. As you can see, I moved the two fans into the front of the chassis. I would strongly suggest Raidmax do the same right at the factory. This setup creates a nice air funnel and does not block the external drive bay. The nearly 300 mm long graphics card still fits nicely while I employ Fractal Design's liquid-cooling solution for the CPU. Such a setup also shows that the top of the chassis can't hold a liquid-cooling setup as there is simply not enough space between the ceiling and the dividing wall.
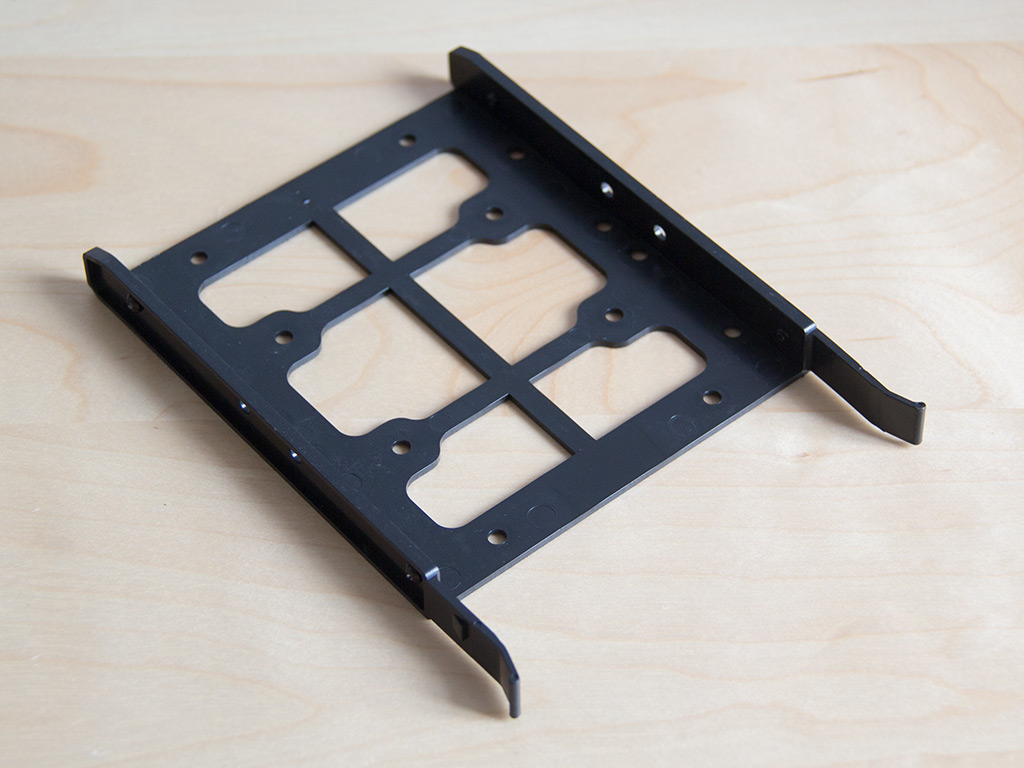
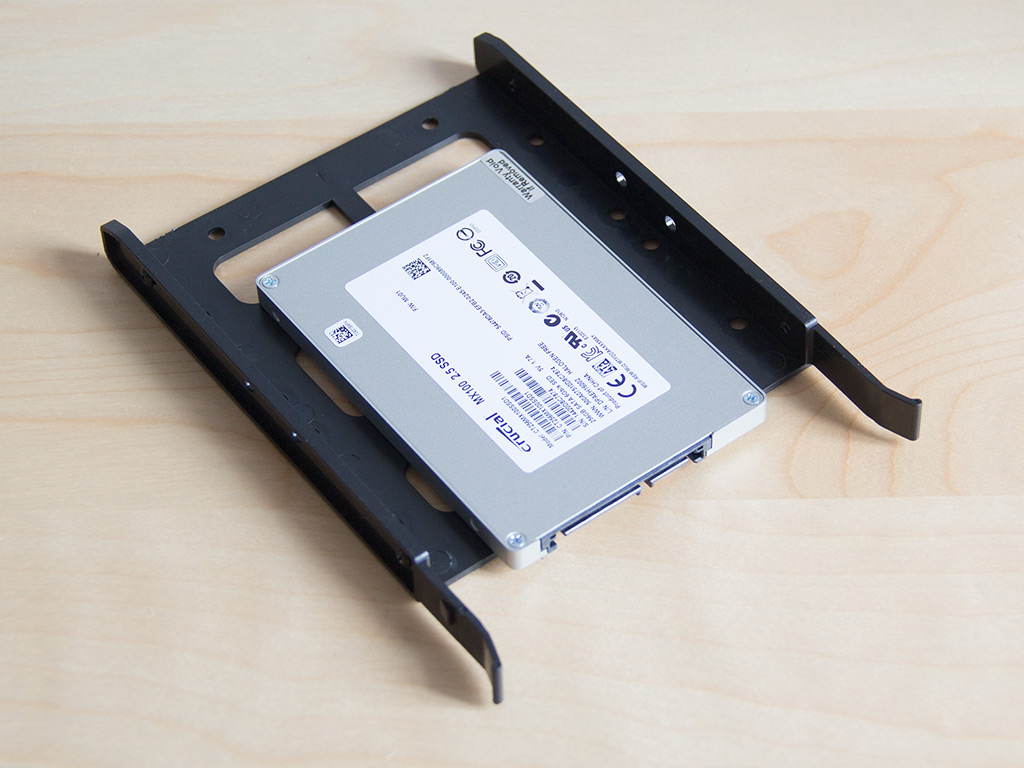


The trays in the hidden compartment are the easiest way to install hard drives. Simply place the drives onto the trays and drop them back into the cage. You should really install the PSU next and connect everything, which I found out the hard way after equipping the cooling bracket with a liquid-cooling solution.
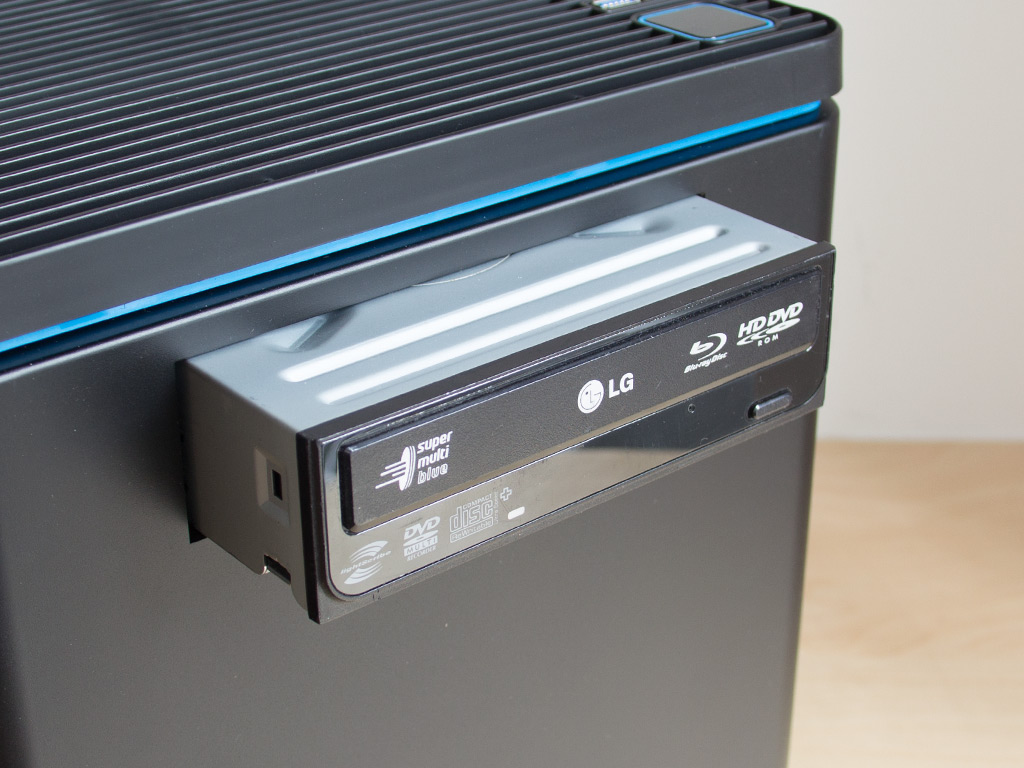
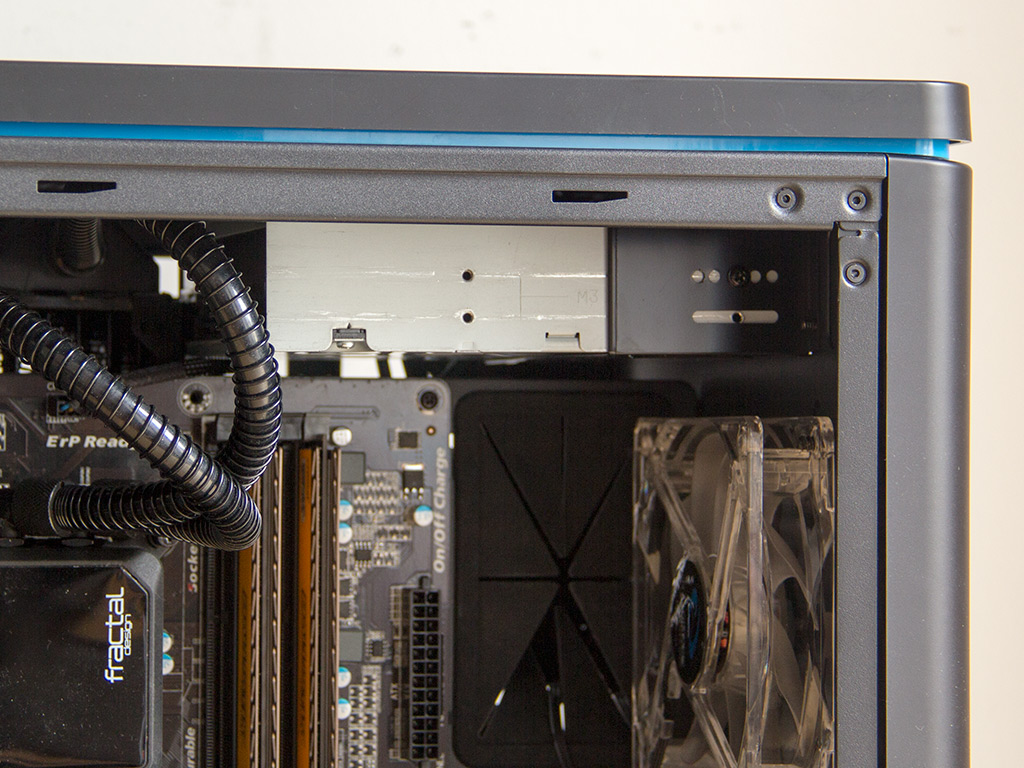
Adding an optical drive poses no problems after you've removed the fans in the ceiling. Just remove the cover and slide the drive into place. Lastly, use the provided screws to secure it properly.
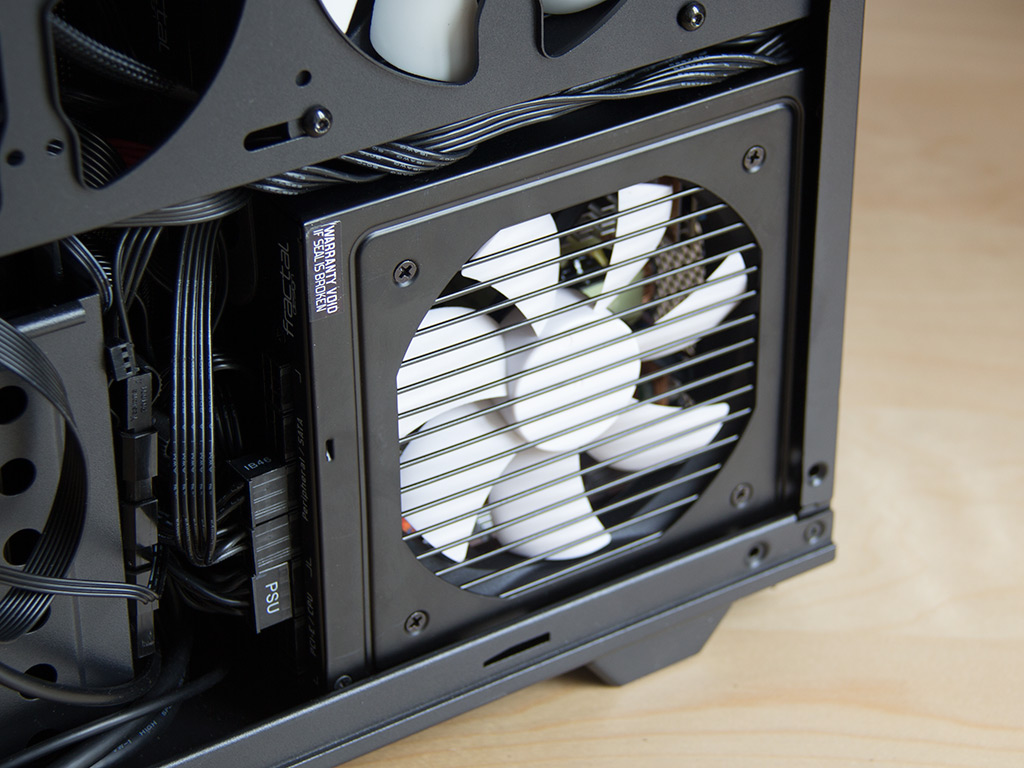
As I mentioned, you should really install the PSU within the Raidmax Hyperion early on, but even doing so later is not impossible. While you will not find any mention of a maximum size, I would suggest a PSU that is at most 165 mm long, which is enough for a modular PSU without having to sacrifice the hard-drive cage next to it.
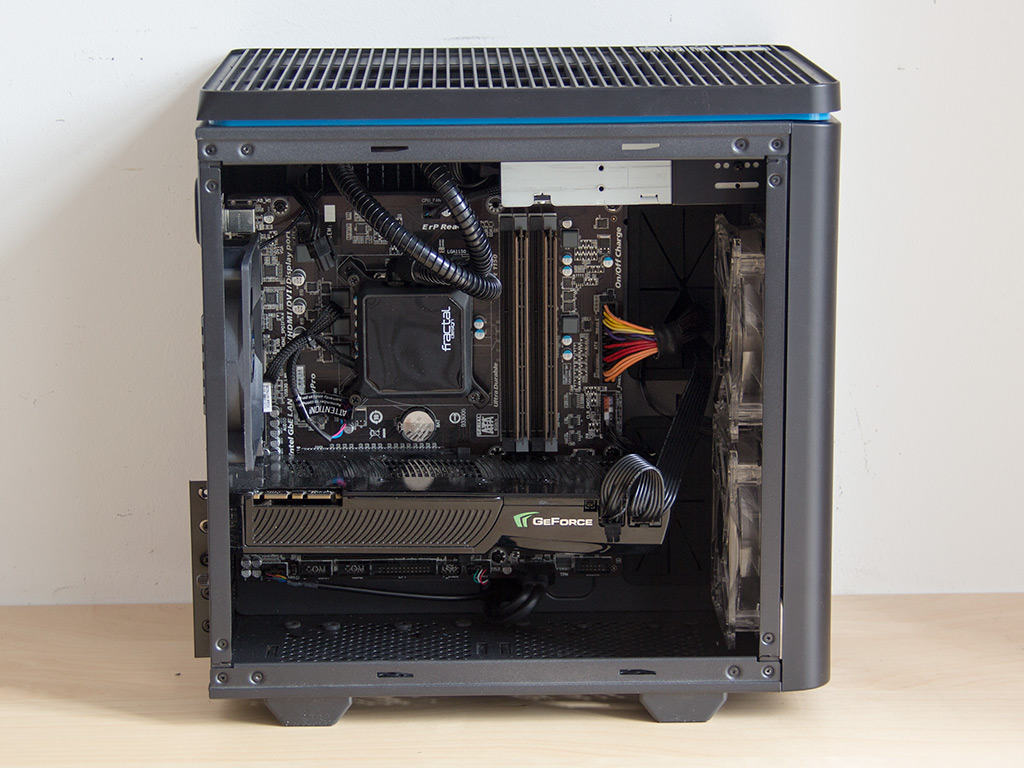

With everything in place, the main compartment makes a very clean impression. This is no surprise as all the unnecessary parts have been moved behind the motherboard tray. The two fans in front will help cool the GPU and memory, all while pushing some airflow across the CPU area, and Fractal Design's AIO for the CPU loops back to the radiator that has been tucked away into the back. The air vents on the side panel make perfect sense as they give all the fans you could mount there access to fresh air.
Finished Looks
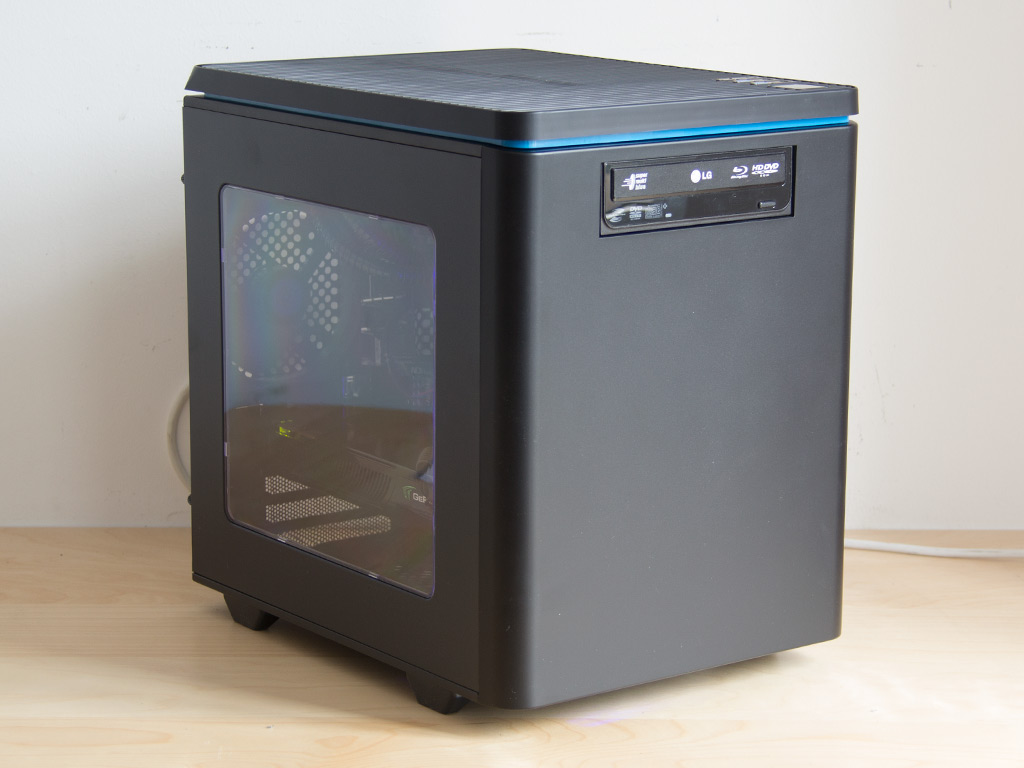
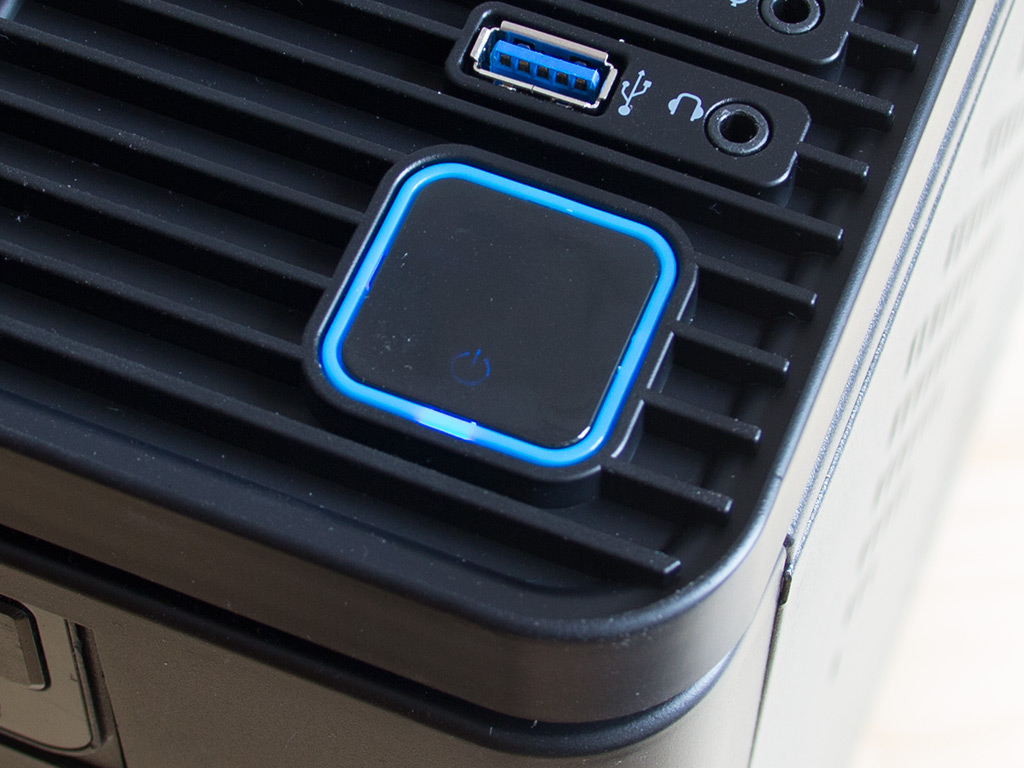
With everything installed and the system on, the Hyperion makes a really nice impression. It is compact yet potent, and its design is timeless. Its power button lights up ever so slightly once the system has been turned on.
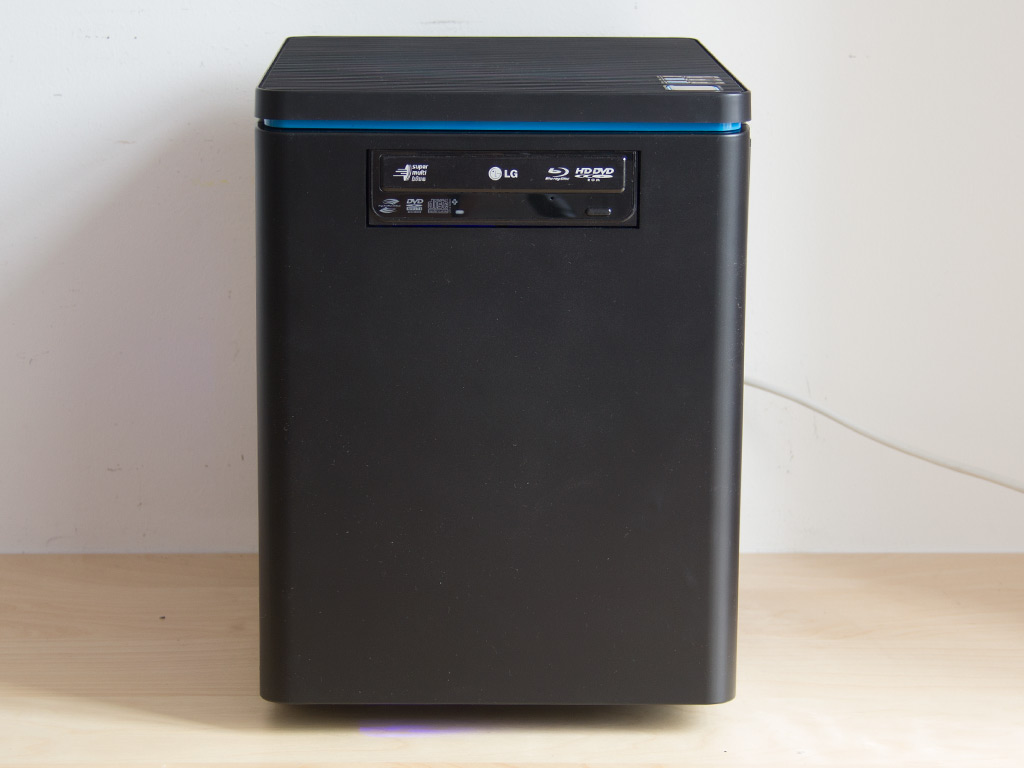
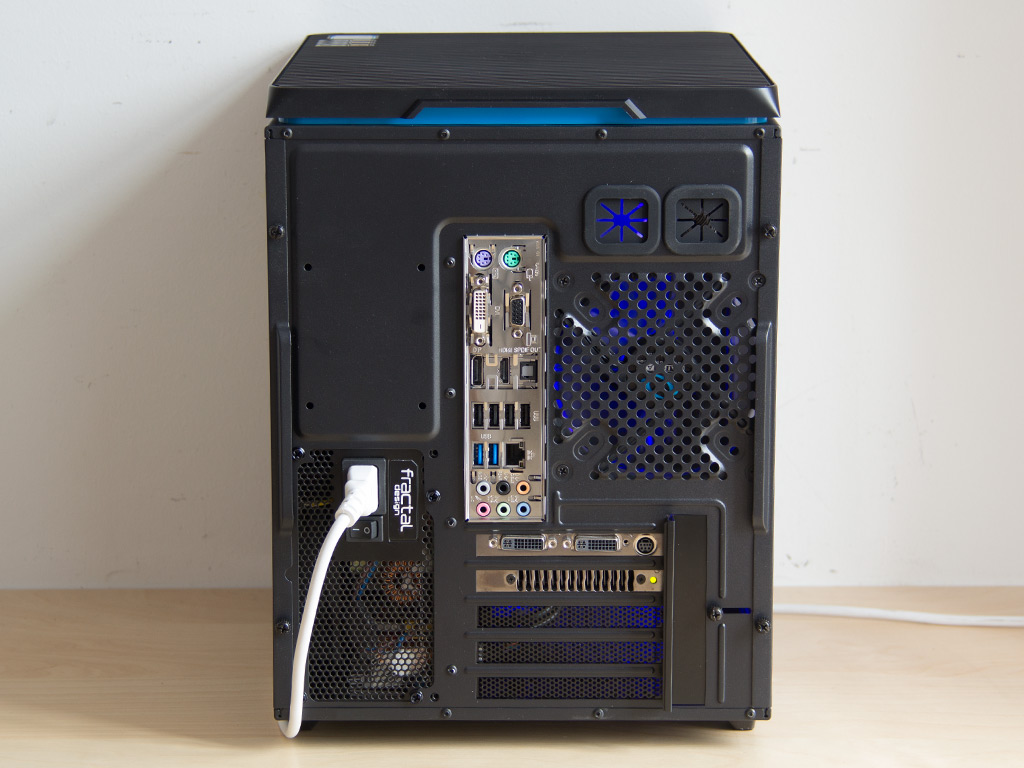
The optical drive in front is simple but effective. It is accessible and fits into the chassis perfectly. Looking at the rear, most of the cables there go into the motherboard's IO in the middle, while the PSU is slightly to the left, inside the other compartment.
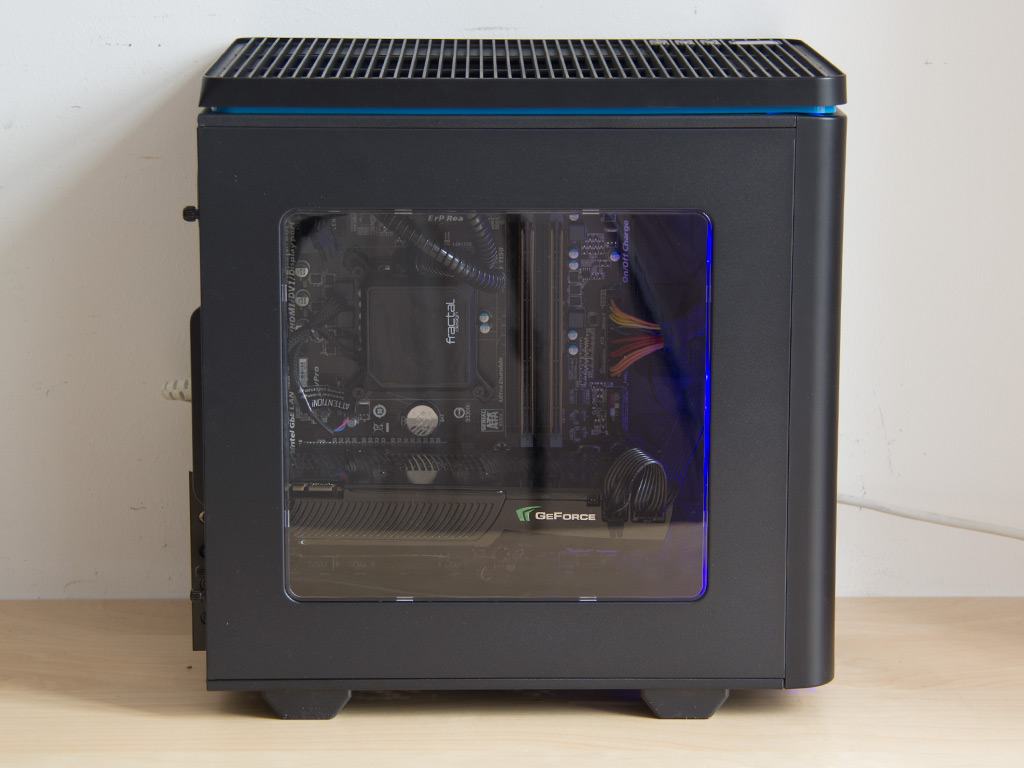
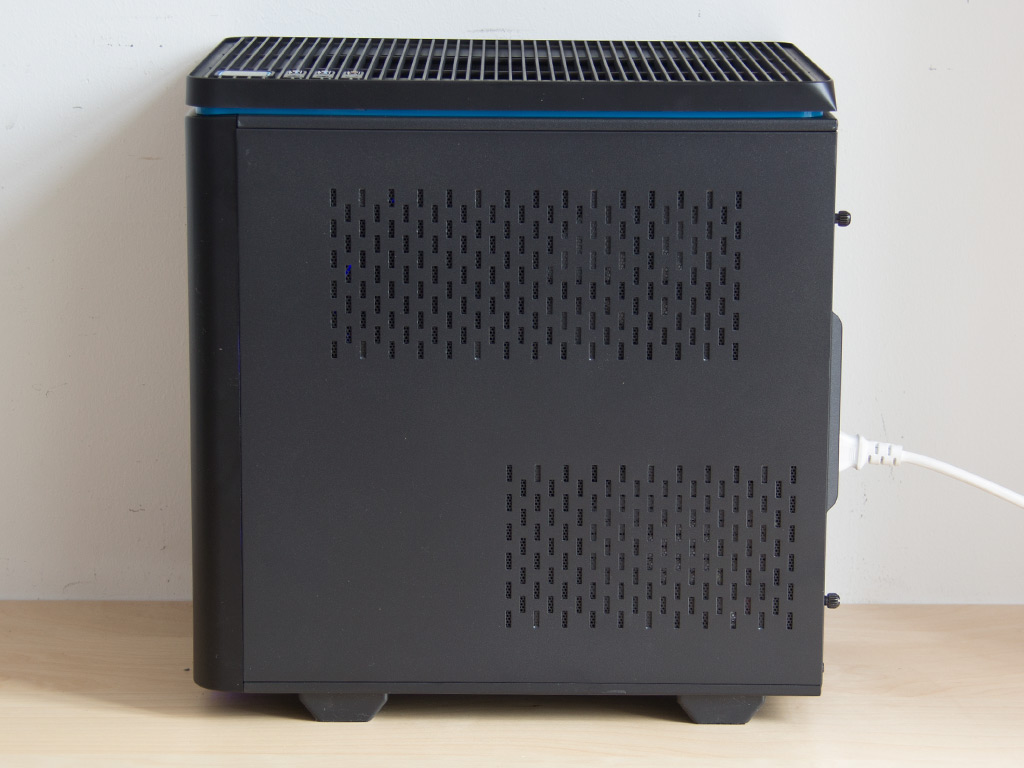
The LED fans' blue glow shows the parts within off without the need for an LED strip. The large window also allows you to strut all the important stuff around at that next LAN party. Lastly, looking at the solid panel on the other side, all the fans are hidden behind its air vents, which also come with a metal mesh dust filter on the inside to keep big dust and dirt particles out.
Feb 24th, 2025 00:41 EST
change timezone
Latest GPU Drivers
New Forum Posts
- It's happening again, melting 12v high pwr connectors (899)
- Your PC ATM (35252)
- What's your latest tech purchase? (23203)
- Testing max ram overclock pn Ryzen 1700 (73)
- How many continuous hours will it last my mini pc if connected to the LiitoKala battery pack that I've found for a cheap price ? (3)
- How's your old spinner holding up? (38)
- Looking for video bios for ATI Rage 128 (0)
- is a 650w gold power supply enough for a amd 7 7700x OR 7 5700x and a msi geforce rtx 4070 super 12go gaming x slim ? (4)
- Problem with NVIDIA Driver 572.16 and GTX 1080 Ti. (3)
- New fans (3)
Popular Reviews
- ASUS GeForce RTX 5070 Ti TUF OC Review
- MSI GeForce RTX 5070 Ti Ventus 3X OC Review
- darkFlash DY470 Review
- MSI GeForce RTX 5070 Ti Vanguard SOC Review
- MSI GeForce RTX 5070 Ti Gaming Trio OC+ Review
- Galax GeForce RTX 5070 Ti 1-Click OC White Review
- Palit GeForce RTX 5070 Ti GameRock OC Review
- Fantech Aria II Pro Review
- Gigabyte GeForce RTX 5090 Gaming OC Review
- AMD Ryzen 7 9800X3D Review - The Best Gaming Processor
Controversial News Posts
- NVIDIA GeForce RTX 5090 Spotted with Missing ROPs, NVIDIA Confirms the Issue, Multiple Vendors Affected, RTX 5070 Ti, Too (449)
- AMD Radeon 9070 XT Rumored to Outpace RTX 5070 Ti by Almost 15% (304)
- AMD Plans Aggressive Price Competition with Radeon RX 9000 Series (271)
- AMD Radeon RX 9070 and 9070 XT Listed On Amazon - One Buyer Snags a Unit (247)
- Edward Snowden Lashes Out at NVIDIA Over GeForce RTX 50 Pricing And Value (241)
- AMD Denies Radeon RX 9070 XT $899 USD Starting Price Point Rumors (239)
- NVIDIA Investigates GeForce RTX 50 Series "Blackwell" Black Screen and BSOD Issues (228)
- New Leak Reveals NVIDIA RTX 5080 Is Slower Than RTX 4090 (215)