 18
18
Razer Viper V3 Pro Review
Sensor & Performance »Build Quality
Overall build quality is very solid. There is no rattle when shaking the mouse. When applying lateral pressure, no creaking or flexing of the shell can be observed. Activating the side buttons by squeezing the sides is impossible. Lastly, accidental clicks when slamming down the mouse do not occur.Buttons
Main buttons on the Viper V3 Pro are very good. Pre-travel is low to moderate, and post-travel is moderate, resulting in a firm and snappy button response nonetheless. Despite being visually separated from the shell, button movement is low even when provoked. Button stiffness is medium. A pair of Razer-branded 3rd-generation optical switches are used.
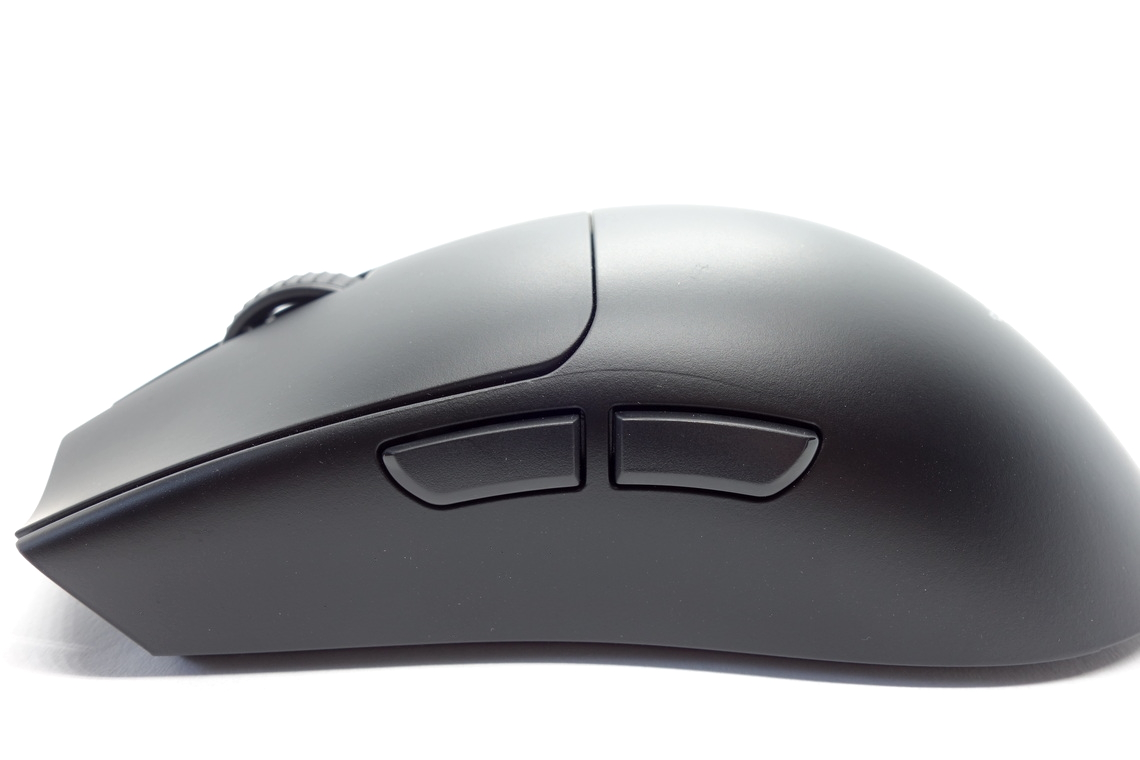
Side buttons are good to very good. Pre-travel is low (forward button) to moderate (back button), whereas post-travel is very low. That said, button response is somewhat unsatisfying, as feedback is largely lacking. The actuation point is even across the entirety of these. Button placement is good as actuation is possible very easily by rolling one's thumb across. A set of surface-mounted switches (beige plunger) from CF (ChangFeng) are used for these.
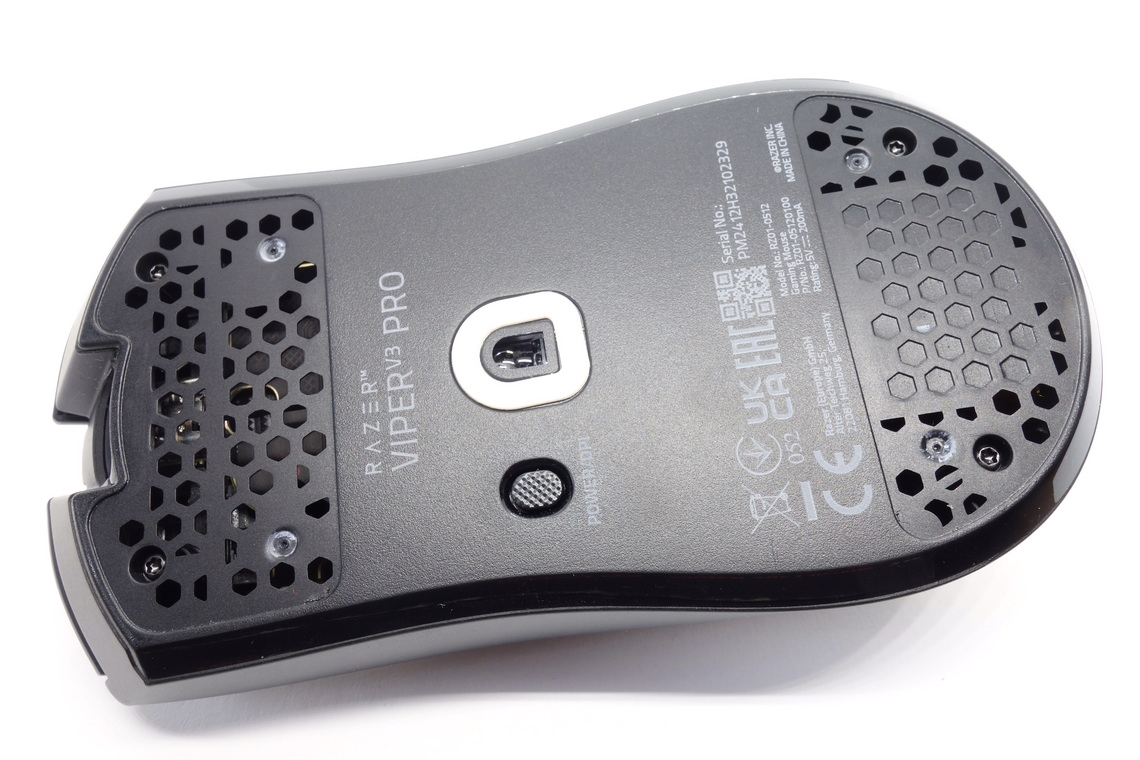
Underneath the mouse is a single button which either cycles through the set CPI levels if pressed briefly or turns the mouse on or off if pressed and held, which works well. A seemingly unbranded tactile switch is used for this one.
Scroll Wheel
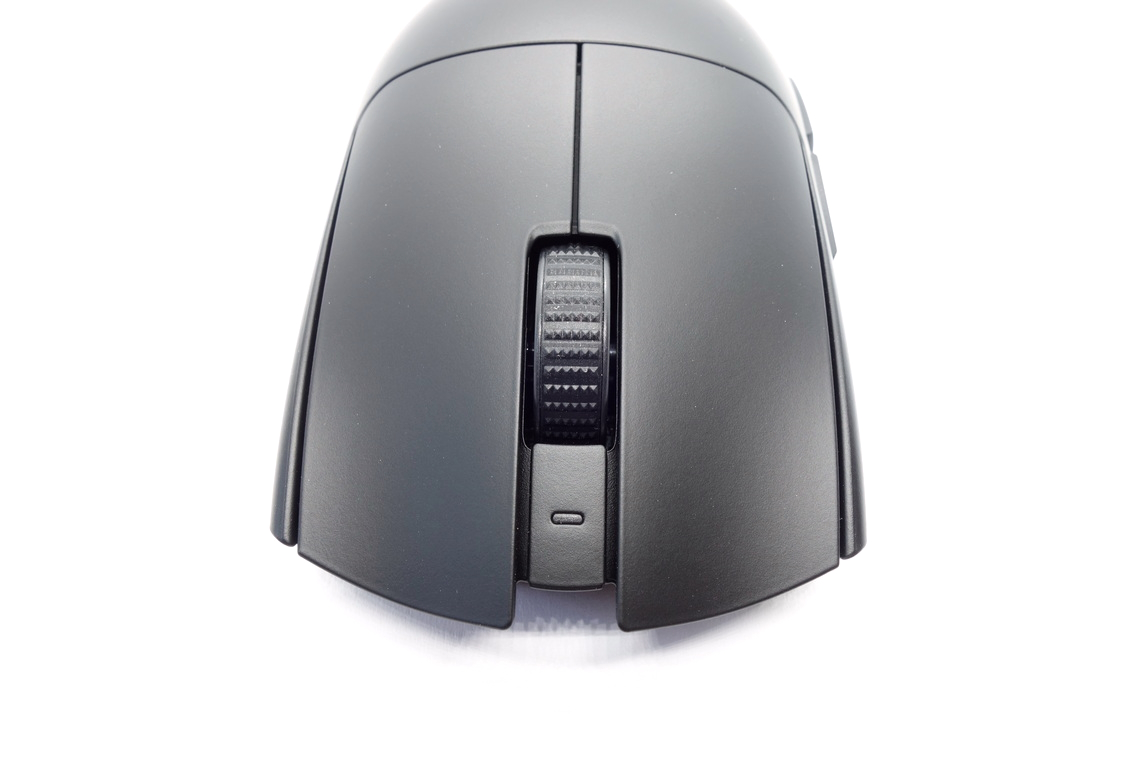
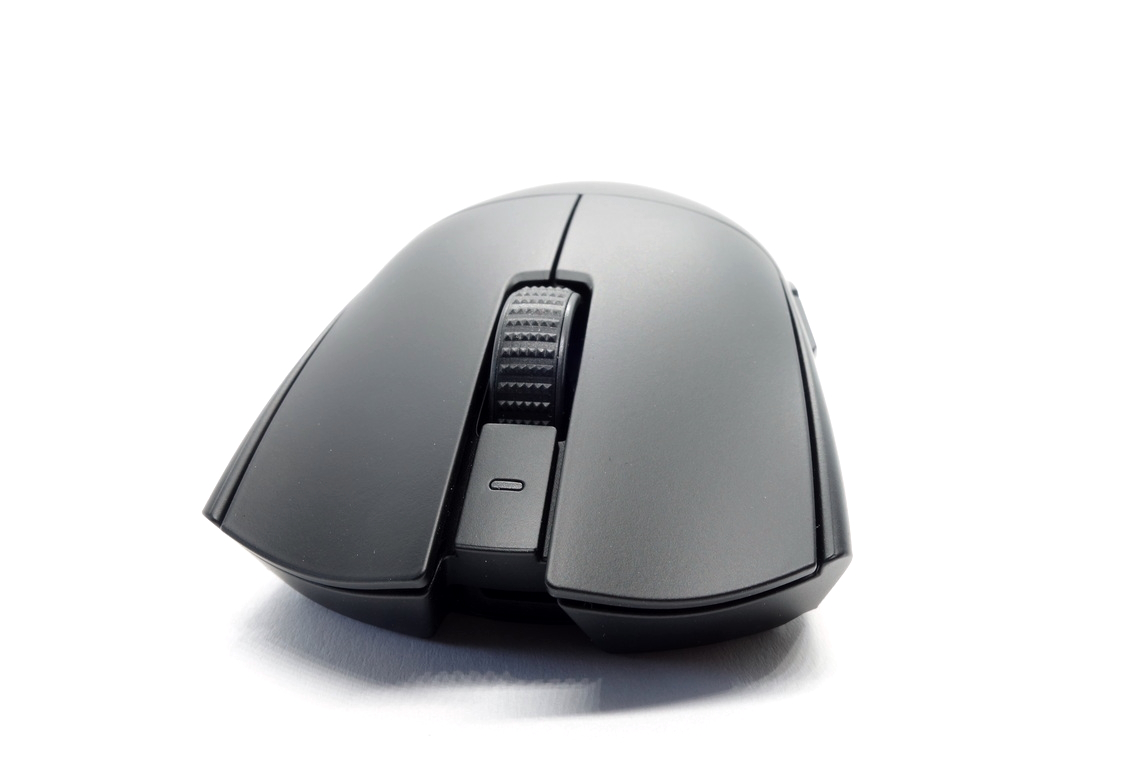
The scroll wheel is excellent. Noise levels are mostly under control, and tactility is great, with clearly defined steps allowing for controlled scrolling. The encoder comes from TTC (blue, white core) and has a height of 8 mm. The middle (scroll wheel) click requires high force for actuation. Another switch from CF is used for this one.
Surface
The Viper V3 Pro has a matte surface all over. Grip is fine, and it doesn't attract fingerprints or dirt too much. It is easy to clean, and there are no signs of wear left after doing so. All in all, excellent materials.Button Sound Test
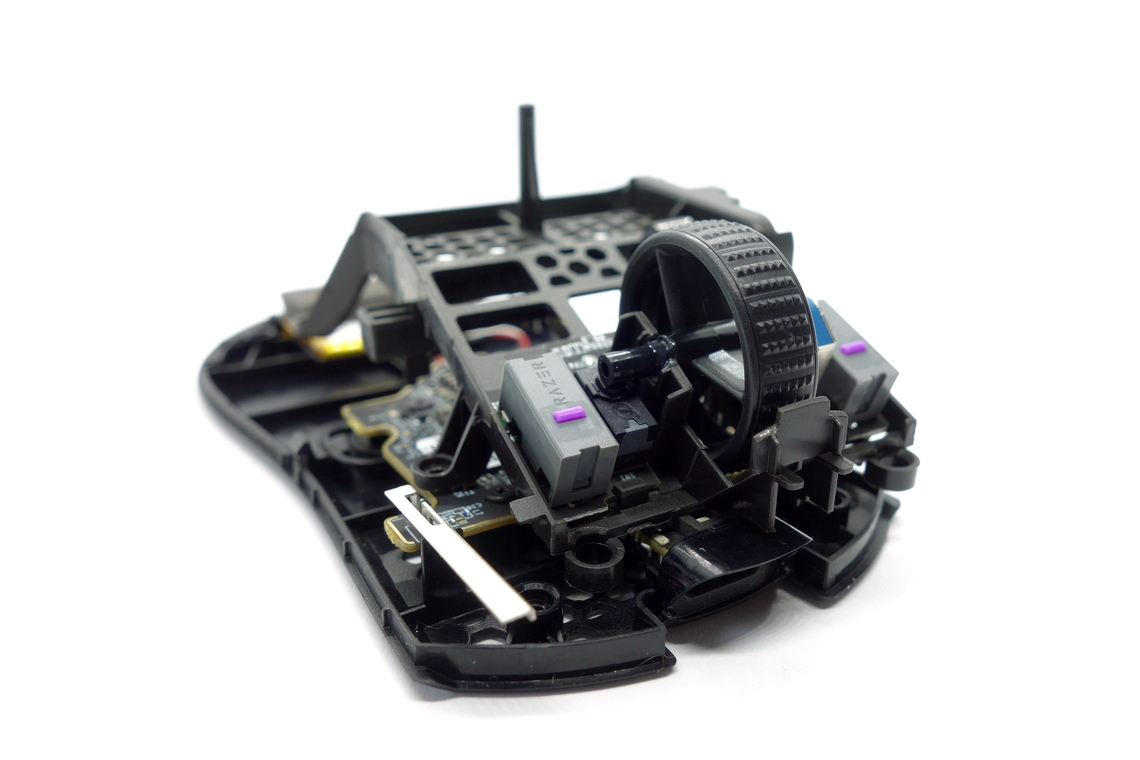
Disassembly
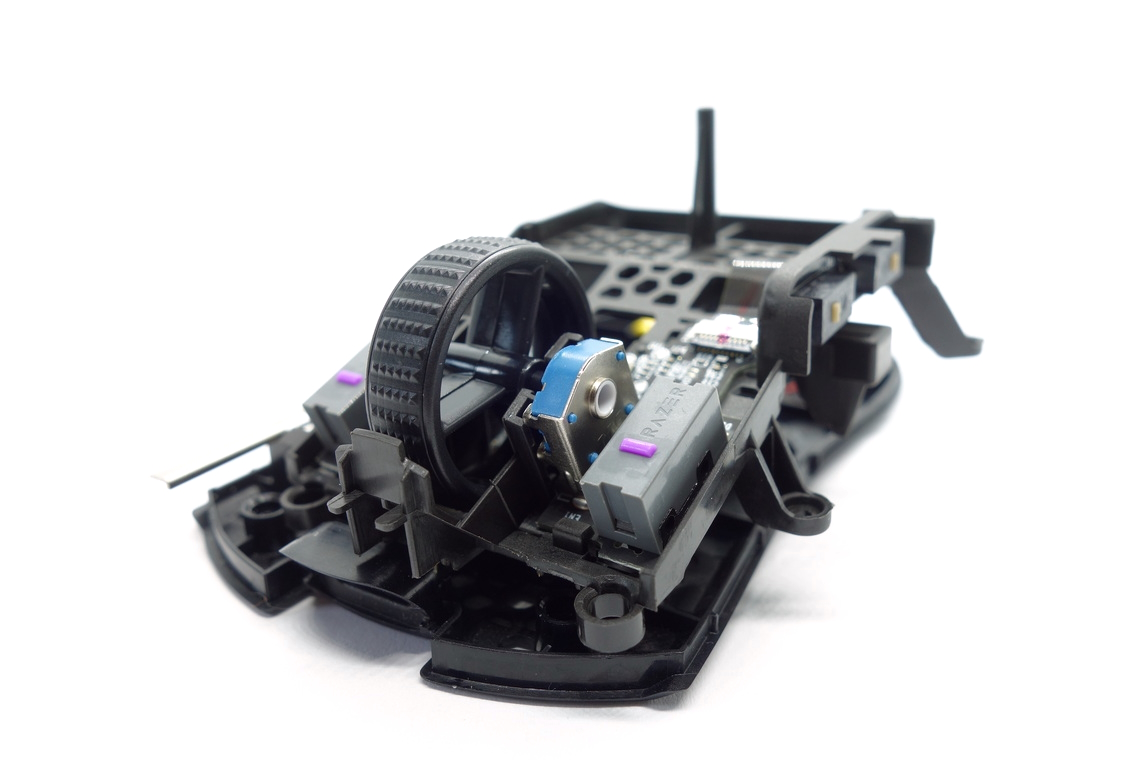
Disassembling the Viper V3 Pro is easy. Torx T6 screws are found beneath the front and rear skates. After removing those, two additional clips at the sides need to be dislodged, which is easily done. When separating top and bottom shell, make sure not the rip the cable connecting the two.
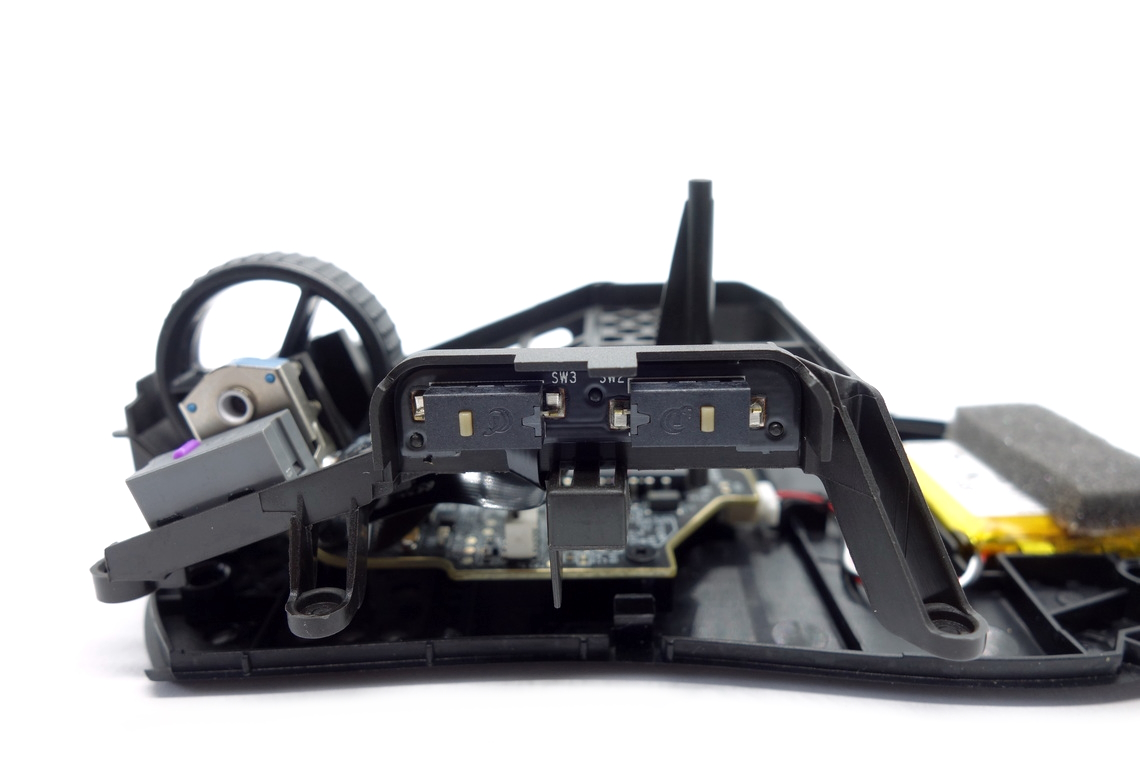
The internal design is uncommon yet highly efficient. A plastic assembly is screwed into the top shell, which holds the side-button PCB along with a PCB holding the main button switches and scroll wheel, both of which are connected through an FFC to the main PCB. The main PCB is very compact and thin, and four screws are used to affix it to the bottom shell. Of particular note is the antenna construction. The MCU is a Nordic nRF52840, whose datasheet can be found here. The Bluetooth capability of the chip remains unused.

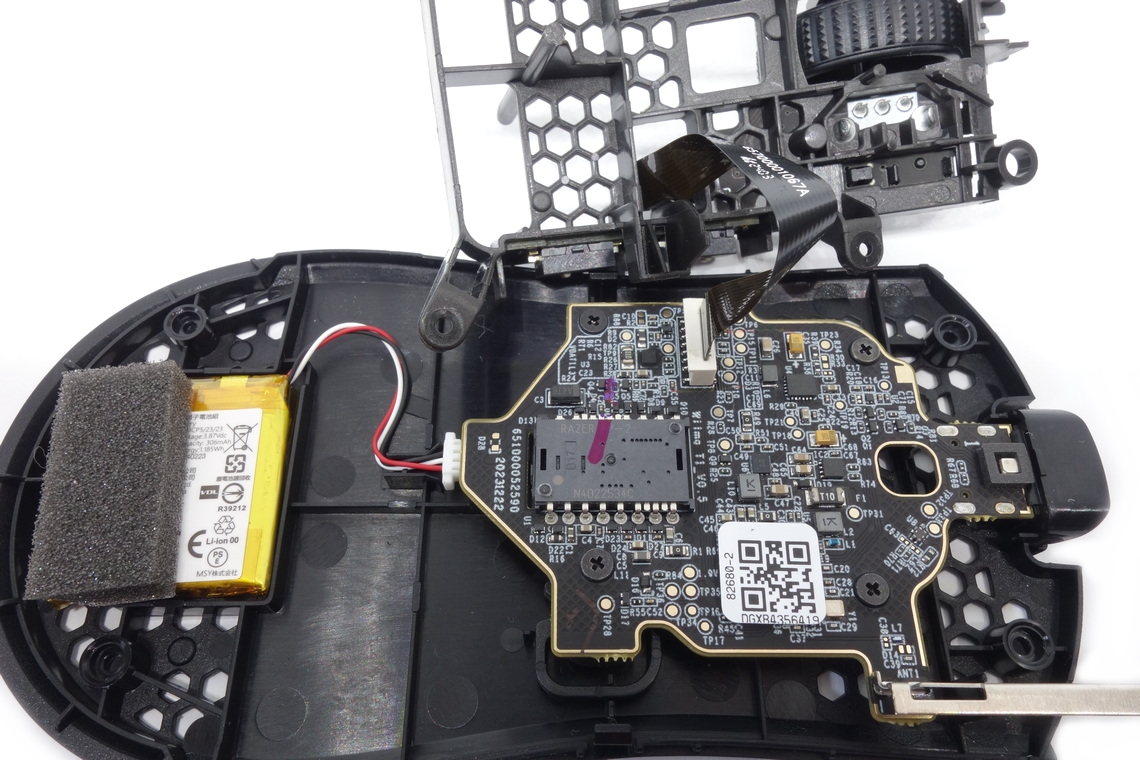
As for the soldering and general quality of the PCB, I'm unable to find any noteworthy flaws.
Jul 10th, 2025 02:22 CDT
change timezone
Latest GPU Drivers
New Forum Posts
- Screen burn-in (20)
- TPU's Nostalgic Hardware Club (20493)
- 3DMARK "LEGENDARY" (326)
- Post Your TIMESPY, PCMARK10 & FIRESTRIKE SCORES! (2019) (321)
- 5070ti overclock...what are your settings? (47)
- 'NVIDIA App' not usable offline? (1)
- G-Sync Not Working in Borderless / Window Mode - Windows 11 (5)
- [GPU-Z Test Build] New Kernel Driver, Everyone: Please Test (78)
- Friend's monitor randomly loses signal (3)
- What's your latest tech purchase? (24234)
Popular Reviews
- NZXT N9 X870E Review
- NVIDIA GeForce RTX 5050 8 GB Review
- Fractal Design Epoch RGB TG Review
- Corsair FRAME 5000D RS Review
- Fractal Design Scape Review - Debut Done Right
- AMD Ryzen 7 9800X3D Review - The Best Gaming Processor
- Sapphire Radeon RX 9060 XT Pulse OC 16 GB Review - An Excellent Choice
- Upcoming Hardware Launches 2025 (Updated May 2025)
- Sapphire Radeon RX 9070 XT Nitro+ Review - Beating NVIDIA
- PowerColor ALPHYN AM10 Review
TPU on YouTube
Controversial News Posts
- Intel's Core Ultra 7 265K and 265KF CPUs Dip Below $250 (288)
- Some Intel Nova Lake CPUs Rumored to Challenge AMD's 3D V-Cache in Desktop Gaming (140)
- NVIDIA Launches GeForce RTX 5050 for Desktops and Laptops, Starts at $249 (117)
- AMD Radeon RX 9070 XT Gains 9% Performance at 1440p with Latest Driver, Beats RTX 5070 Ti (116)
- NVIDIA GeForce RTX 5080 SUPER Could Feature 24 GB Memory, Increased Power Limits (115)
- Microsoft Partners with AMD for Next-gen Xbox Hardware (105)
- Intel "Nova Lake‑S" Series: Seven SKUs, Up to 52 Cores and 150 W TDP (100)
- NVIDIA DLSS Transformer Cuts VRAM Usage by 20% (97)