 0
0
SeeAudio Bravery In-Ear Monitors Review
Fit, Comfort & Audio Performance »Closer Examination
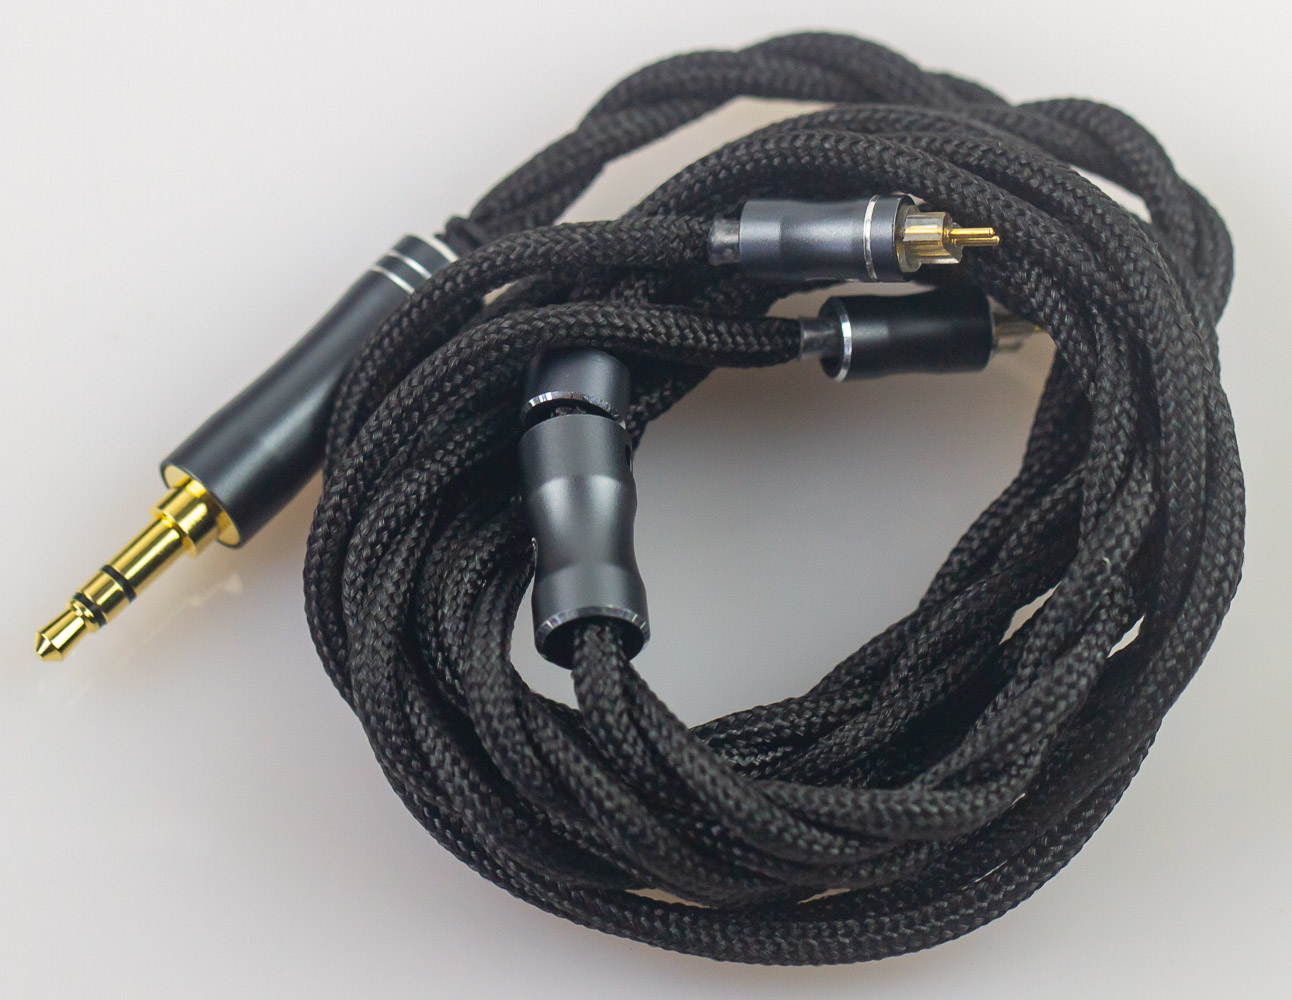

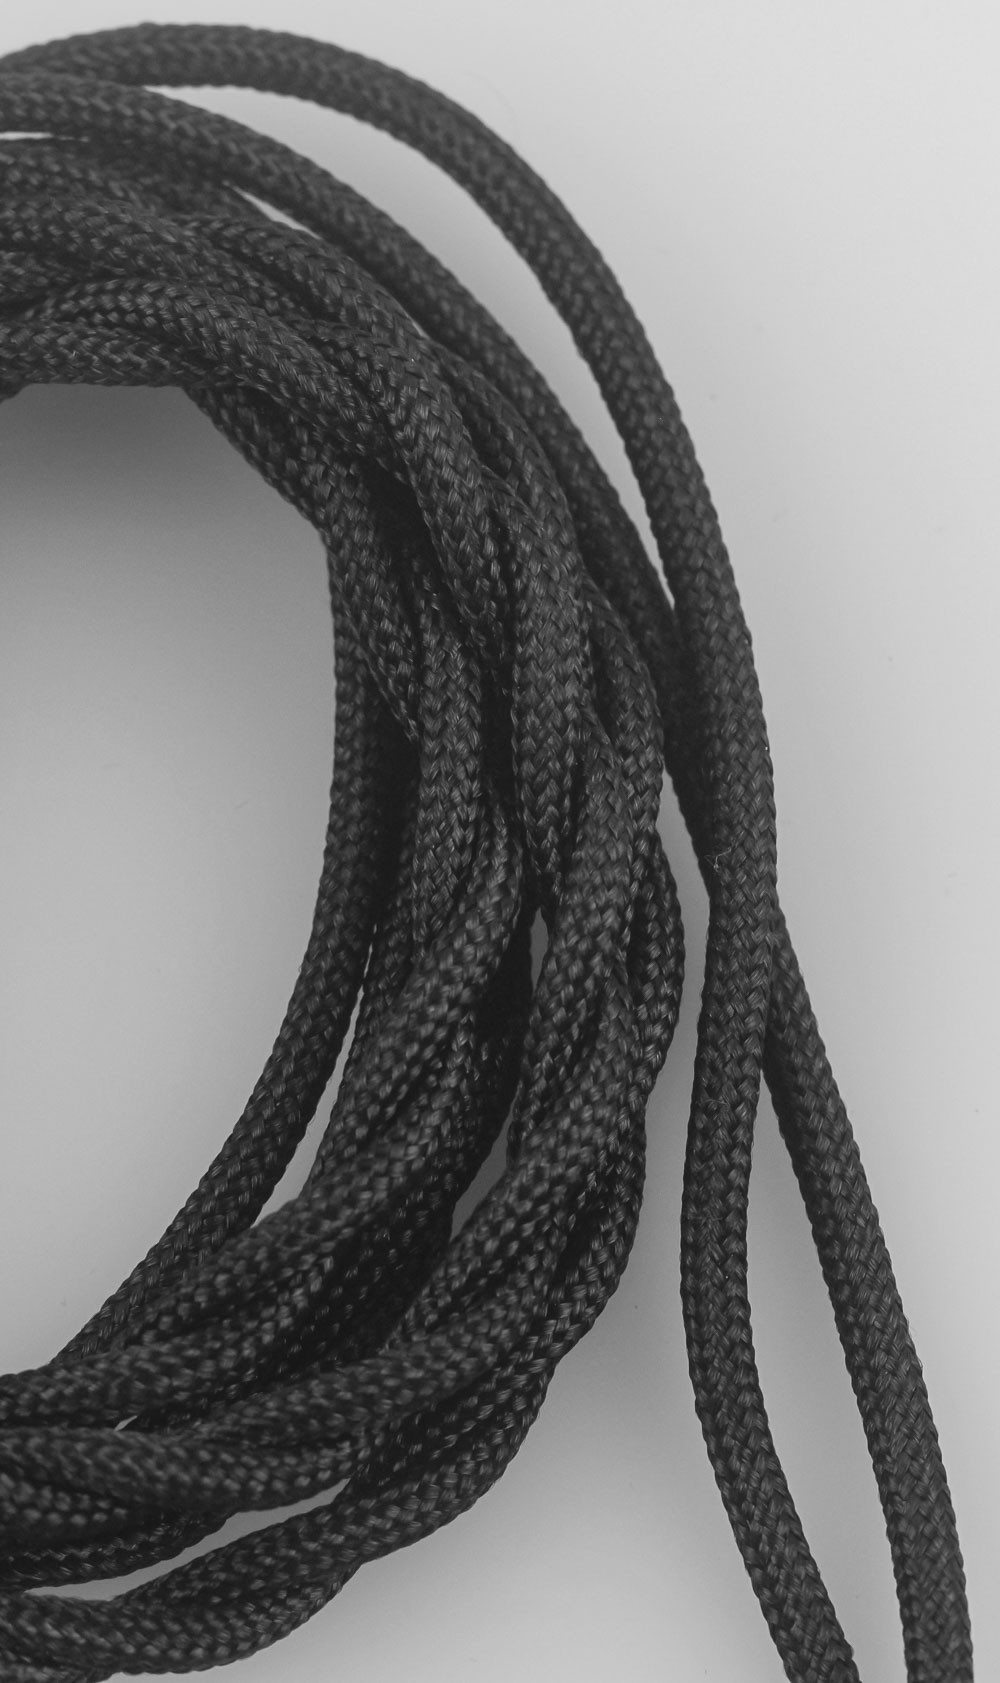
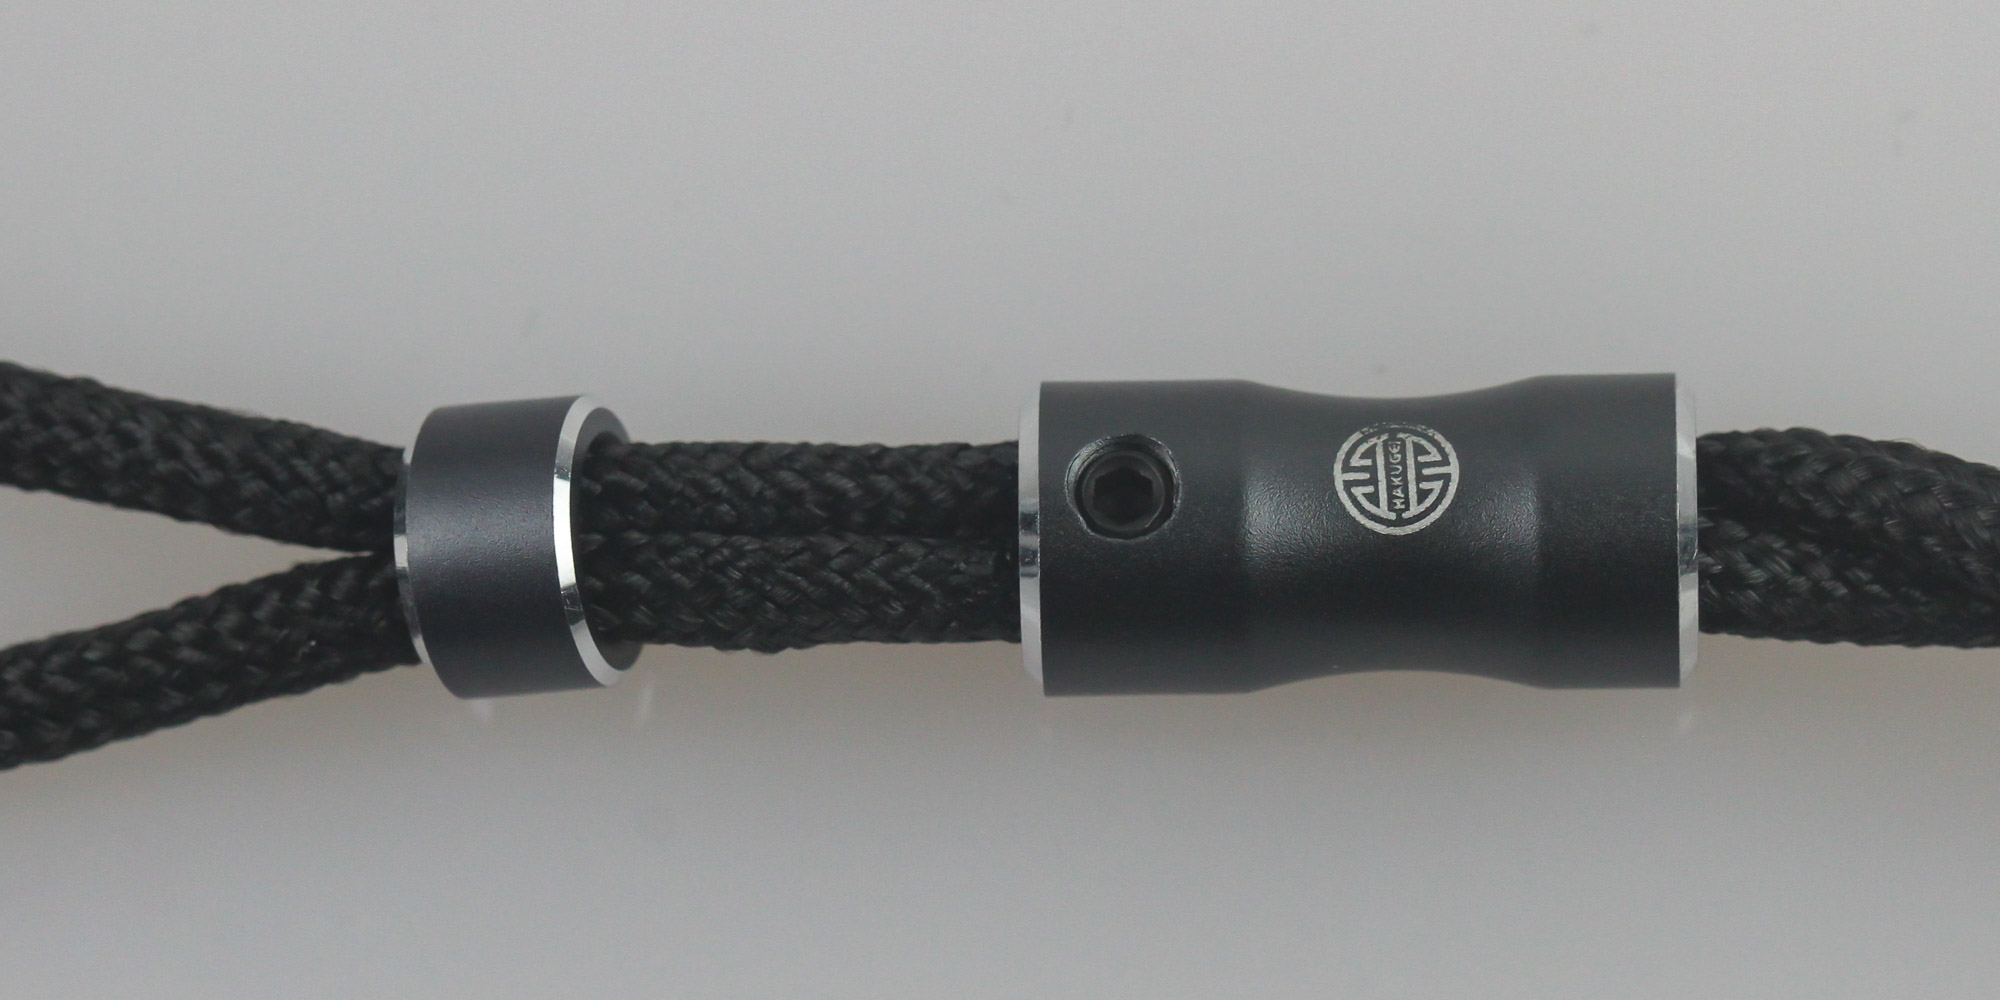
AZLA was SeeAudio's partner for ear tips, and HAKUGEI is the equivalent for the cable. HAKUGEI is a brand so new that it relies mostly on social media for outreach, at least outside of Asia. This hasn't stopped the brand from churning out premium IEM cables, and I am glad to have seen it here since this is quite impressive for what you get. In fact, the HAKUGEI cable being so pliable and soft is why that relatively small case compartment works with the SeeAudio Bravery, as it allows for a compact fit without looking like a bird's nest. The cable starts with a gold-plated 3.5 mm TRS plug from the source and heads into a gunmetal gray housing with the SeeAudio name and HAKUGEI logo. The conductor is 6N (99.9999% pure) OCC (Ohno Continuous Cast) copper, which should have much higher purity and larger single crystal size (more on this here if you are interested). The conductor gets a cloth fabric covering, which contributes primarily to the suppleness here, and has two braids for the two channels that split up at the cable cinch/splitter in a similar finish, including the bare metal accent rings.
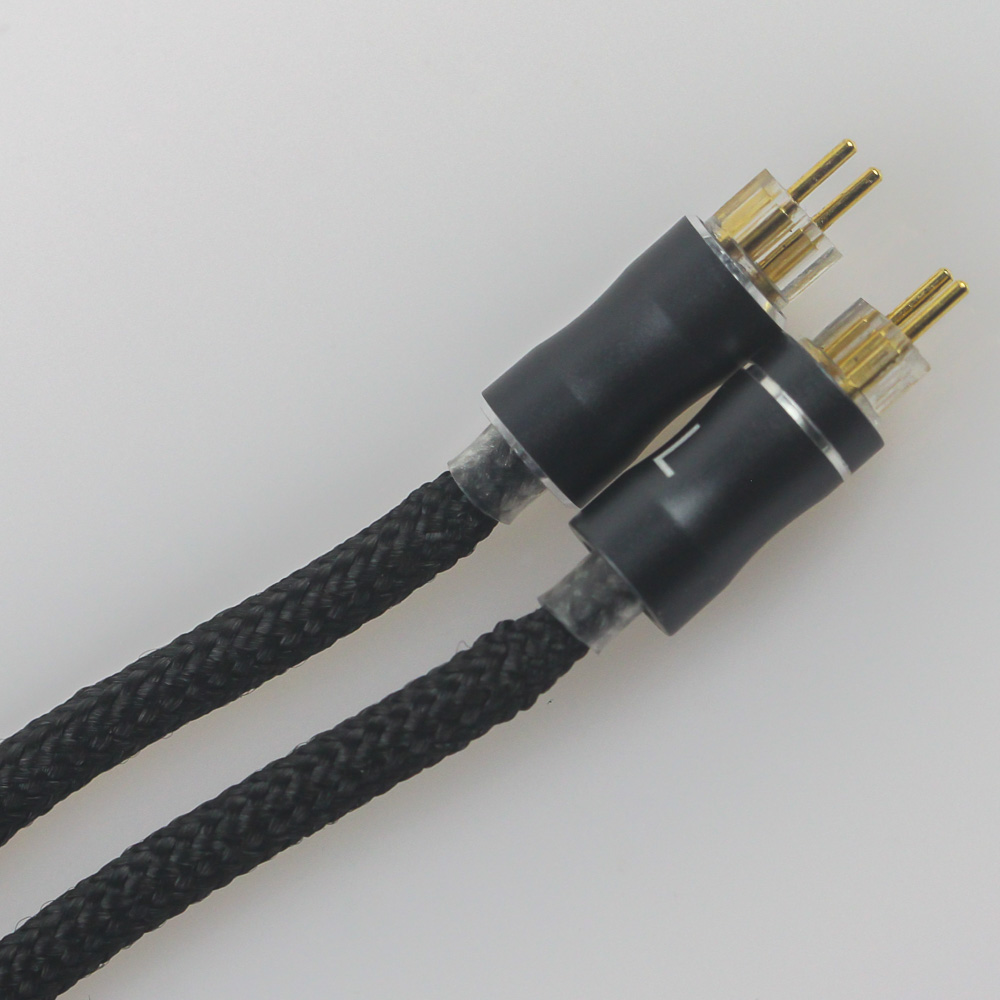
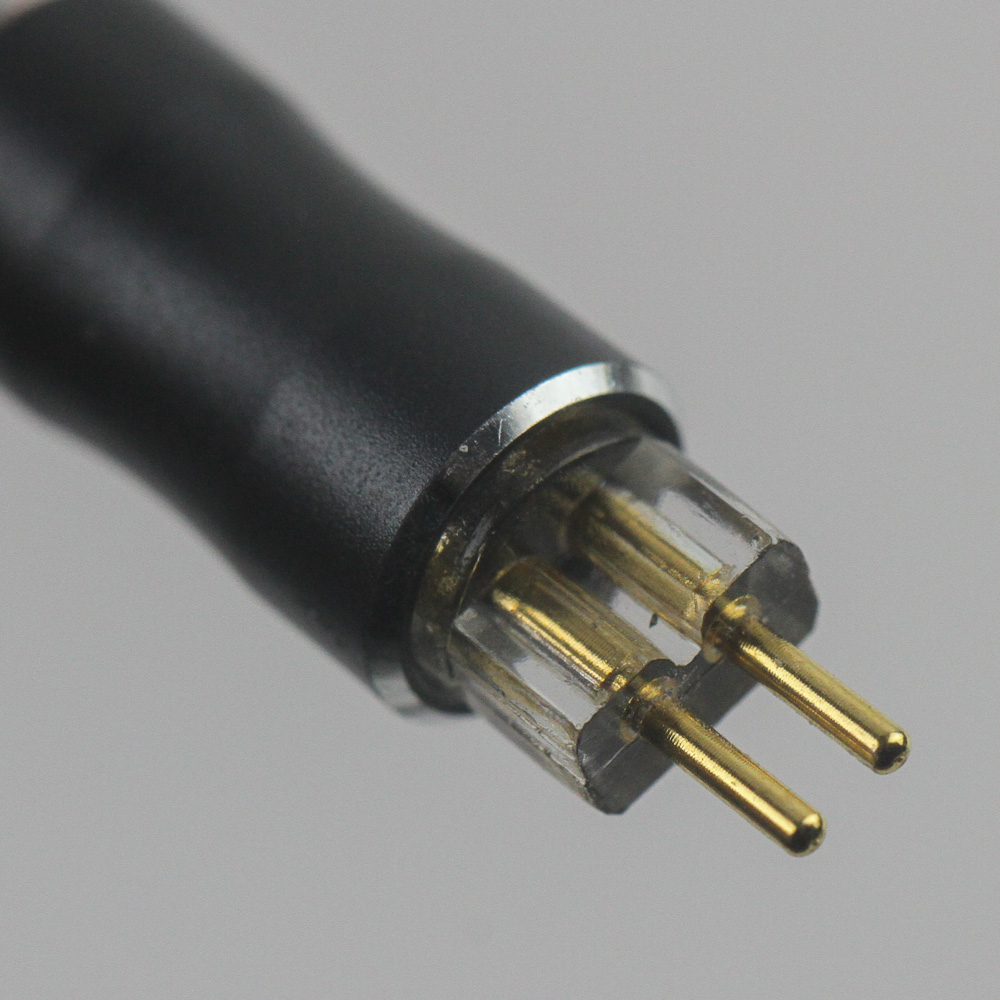
Interestingly, the current version of the cable omits the pre-shaped memory wire earhooks after customer feedback on the launch version. I think this is the right move since the cable is soft enough as it is and the plastic sheathing would have looked and worked poorly, as with the MOONDROP Aria (2021) cable. The cable terminates in two 0.78 mm 2-pin connectors with an extruded housing, perhaps because the launch version simply had extremely long pins without any support that could bend or even snap off easily. There are L/R markings on the housings themselves, which helps with the actual installation process. Physically thus, this latest version does seem the way to go. That said, I did notice some microphonics with the cable looped around the front as most would use it, even if the right way to go about it is to have the cable routed around the back. A cable clip would have helped, and perhaps SeeAudio would be better served removing some of the less practical accessories in favor of one in the box.
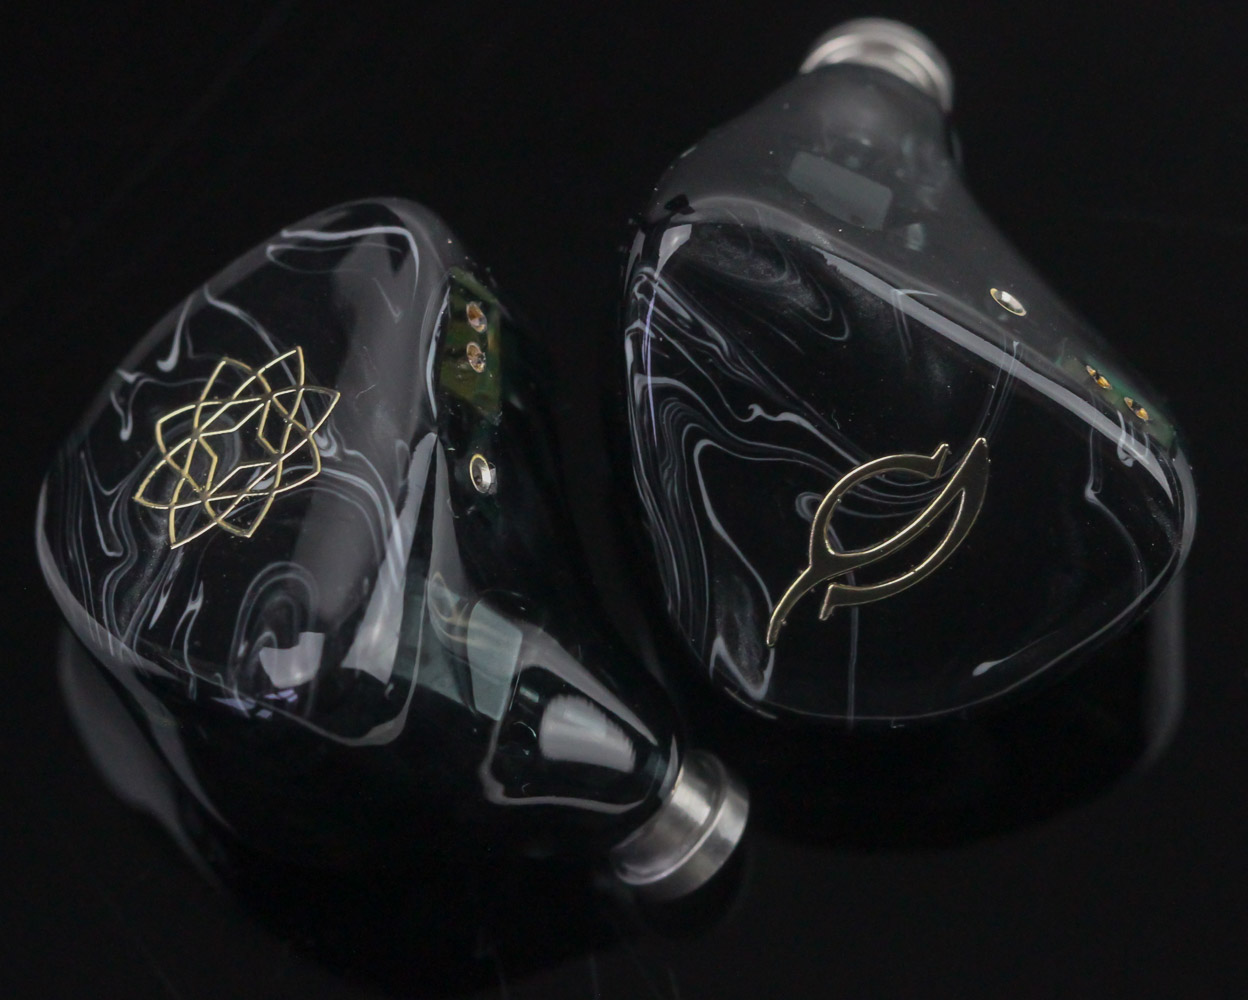
There isn't much in the way of SeeAudio describing the design of the Bravery IEMs themselves, although the images above and below make it fairly self-explanatory. These go the way of resin for the shell, and translucent resin at that for a look at the hardware inside. The face plate is opaque and of two different designs to better distinguish the two. Both go with a black and white ink design reminiscent of watercolors on a blank canvas and a different outcome each time as the colors mix and spread out on a larger sheet that no doubt gets cut up into individual face plates. There are golden-colored appliques too, but these are otherwise some of the better-looking designs up close, while also looking clean and subtle from further away.
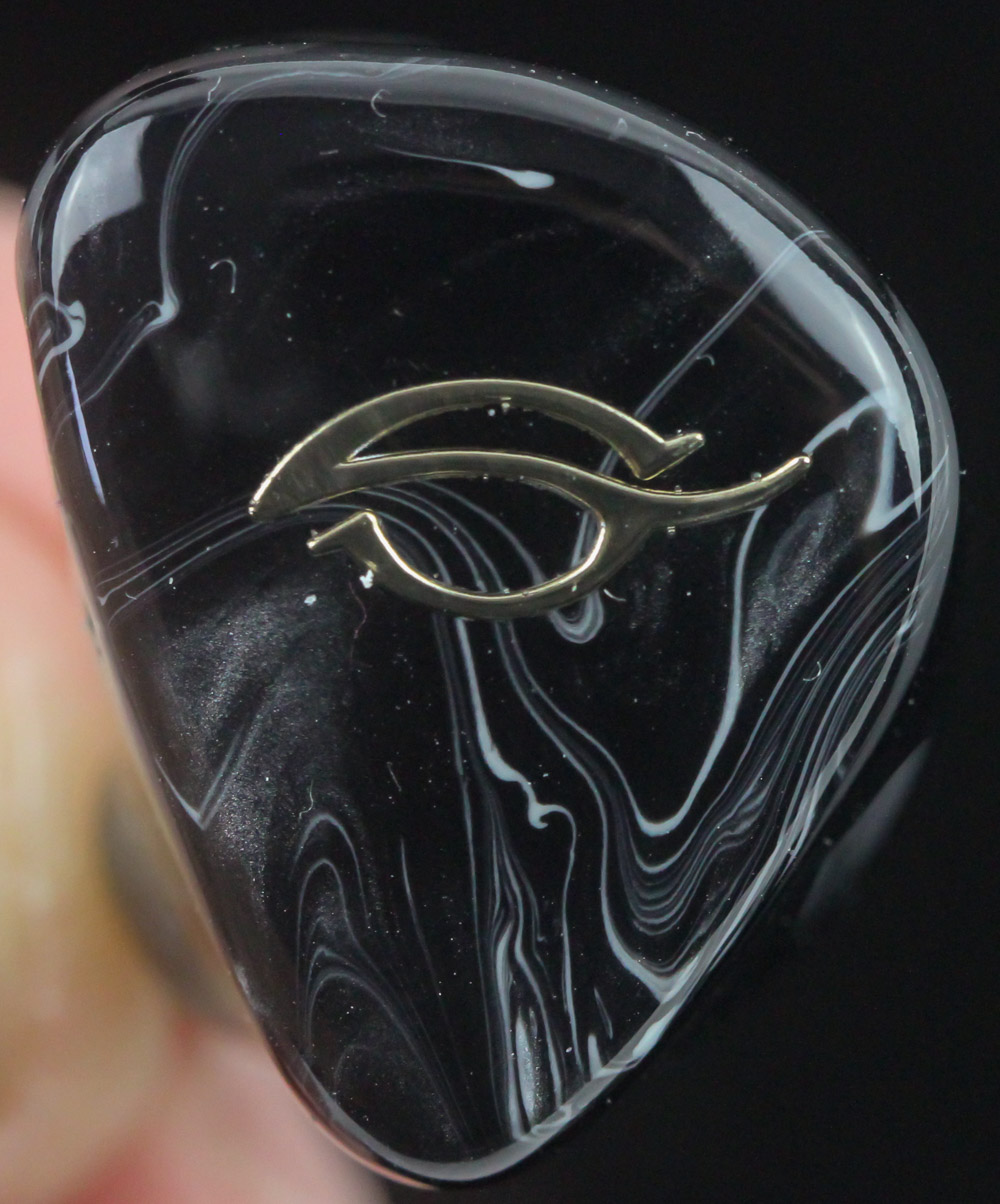
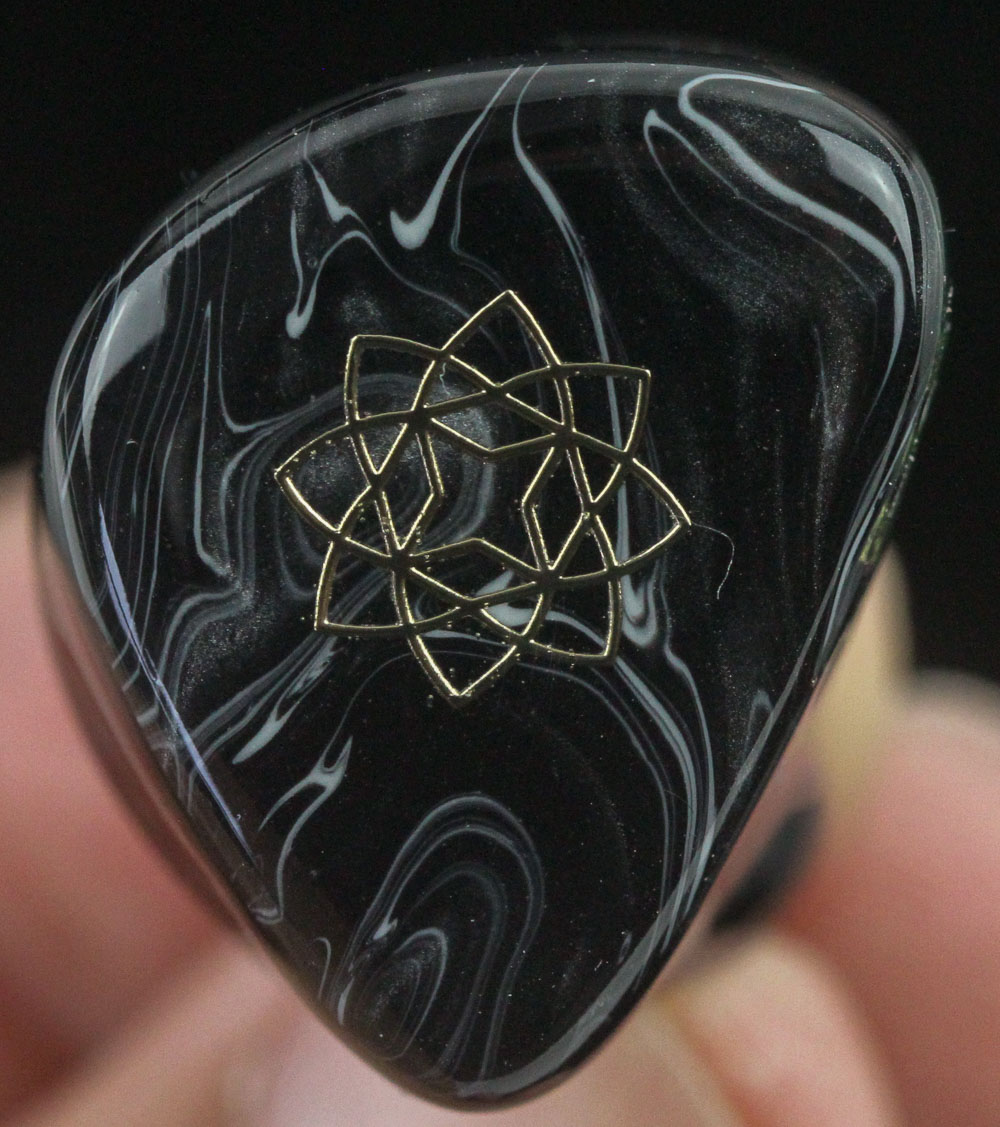
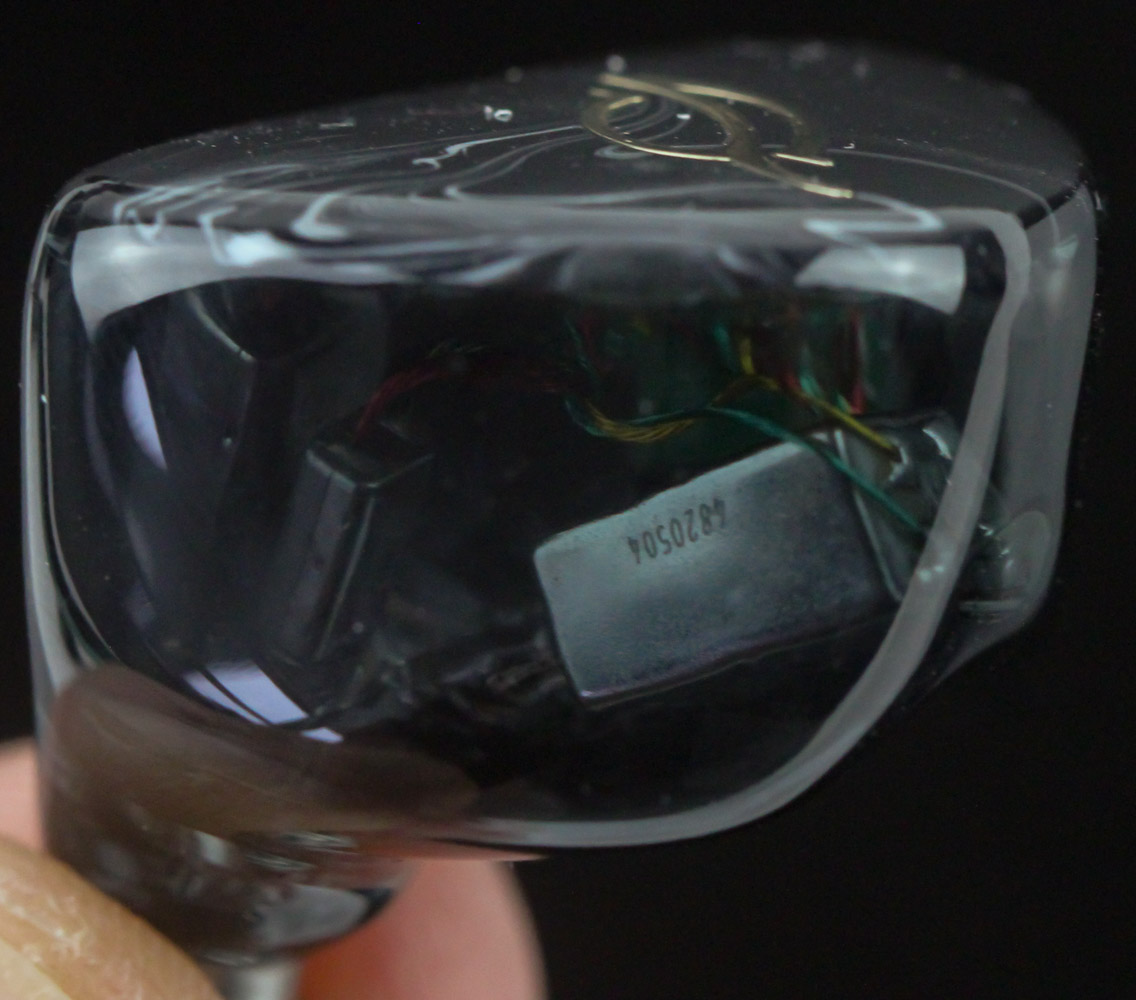
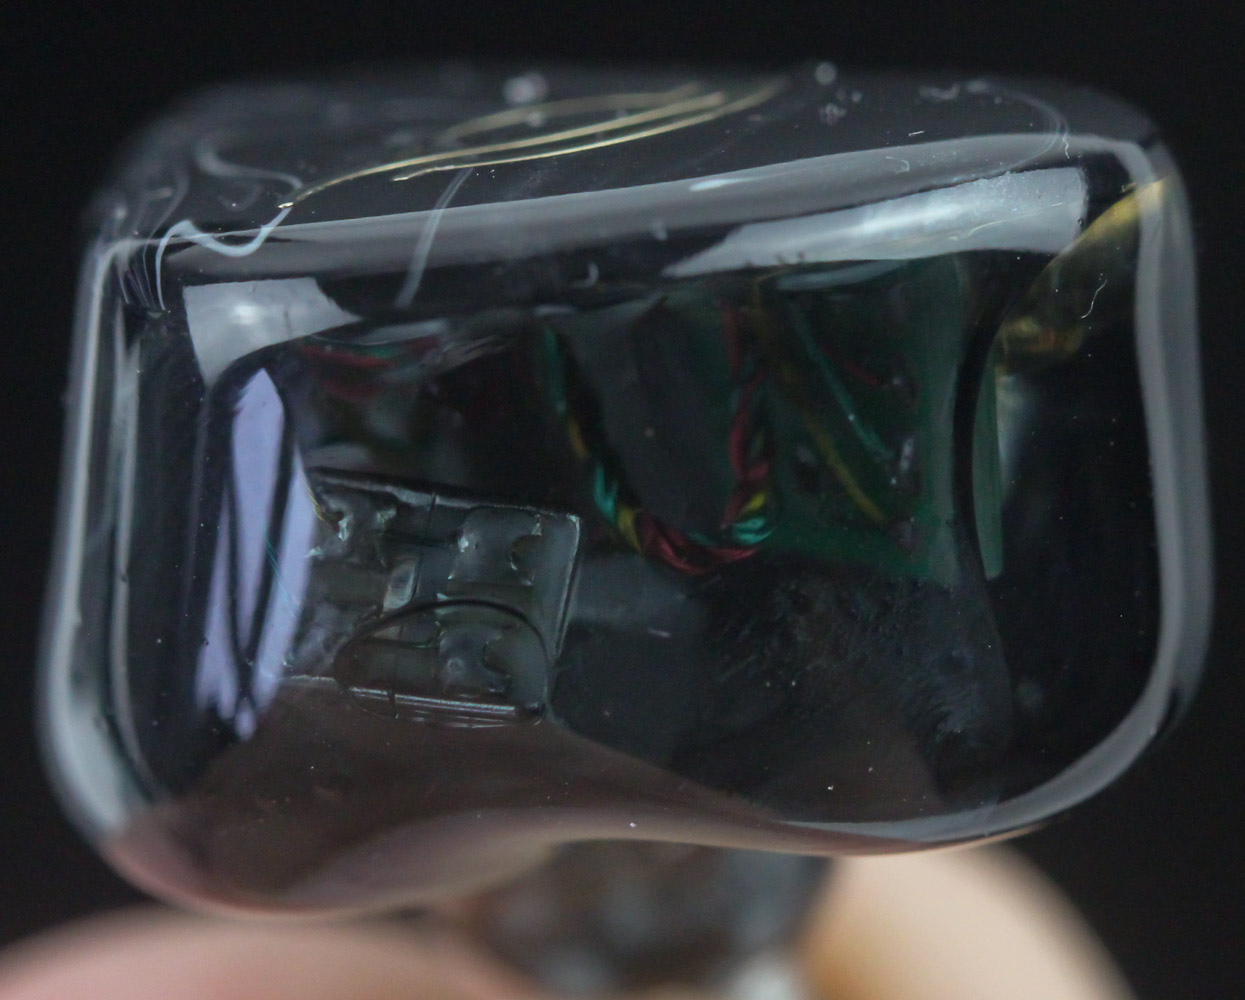
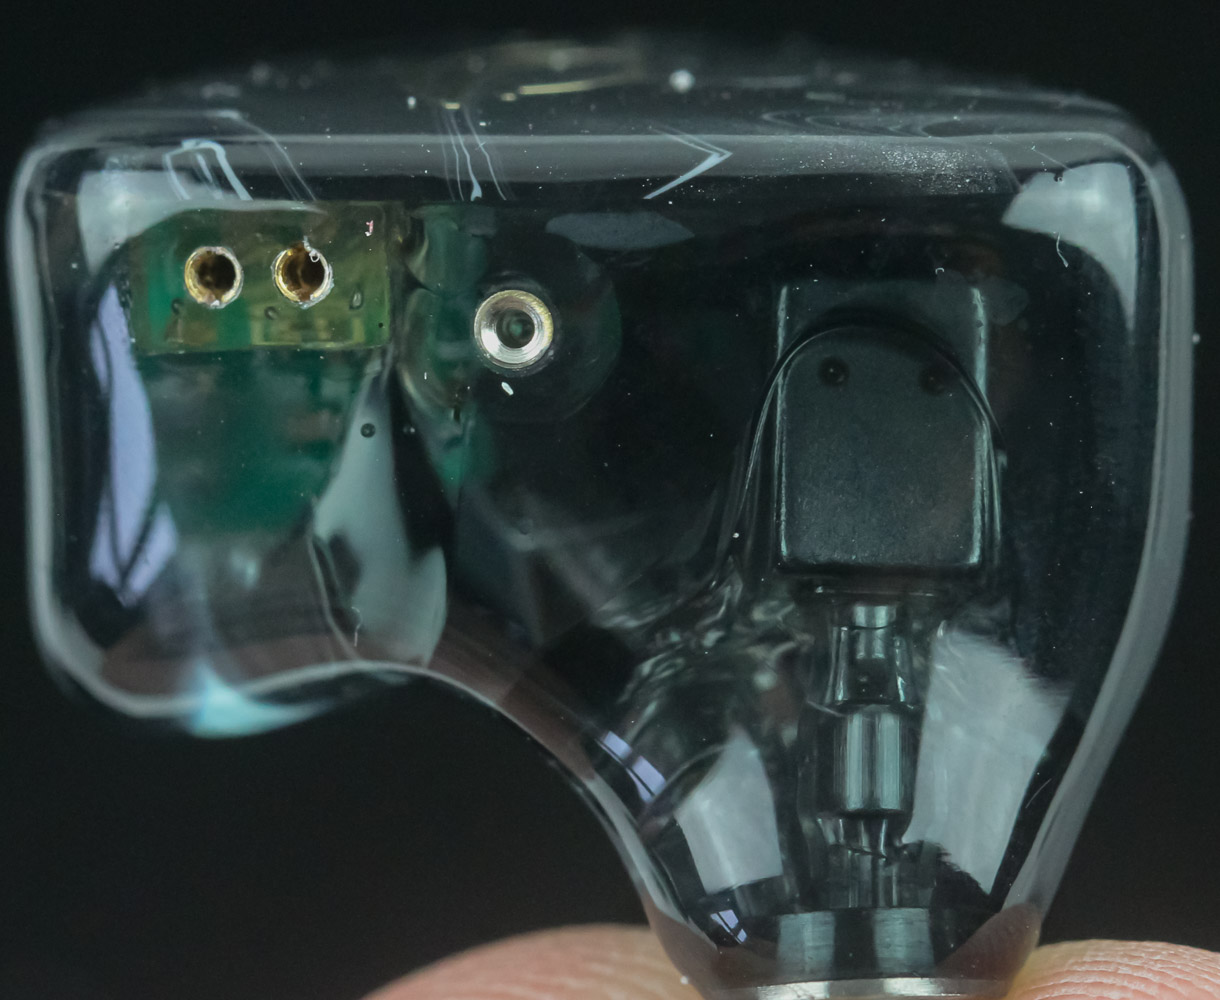
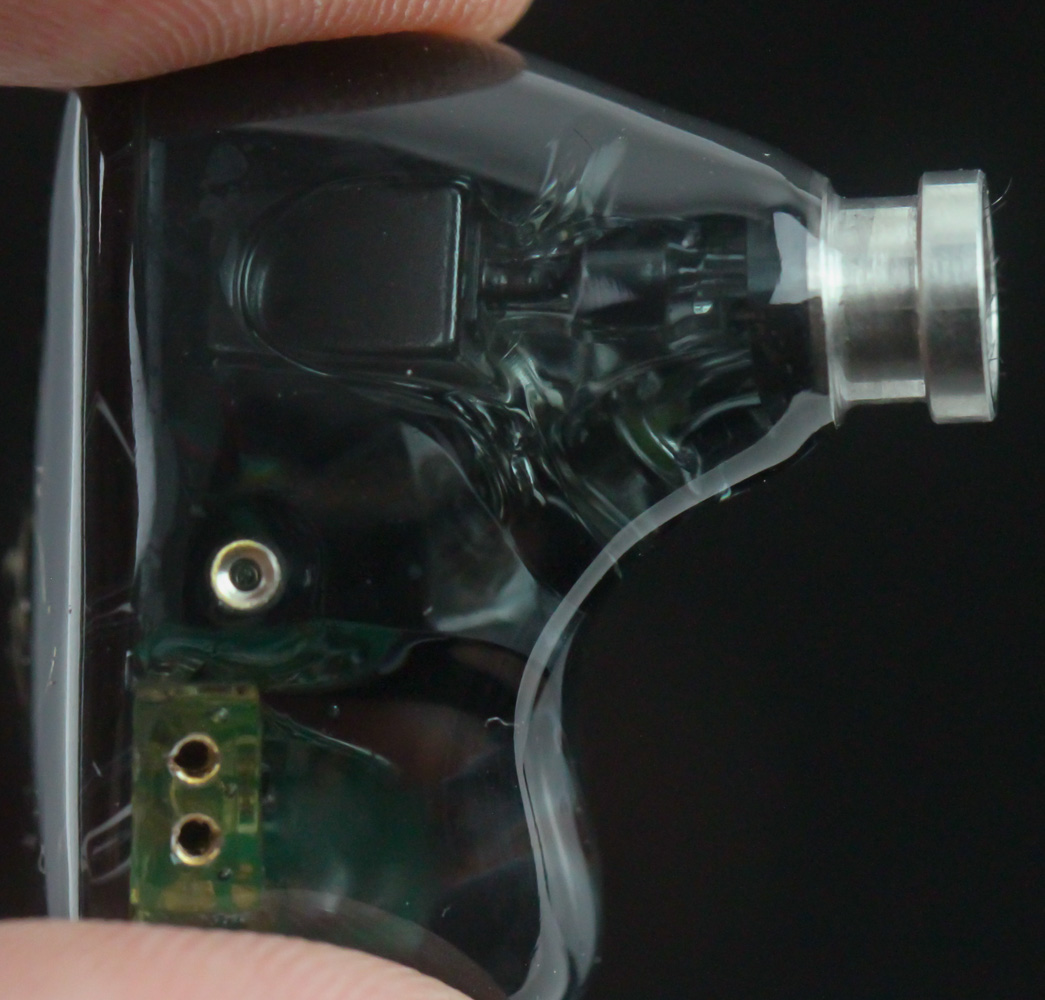

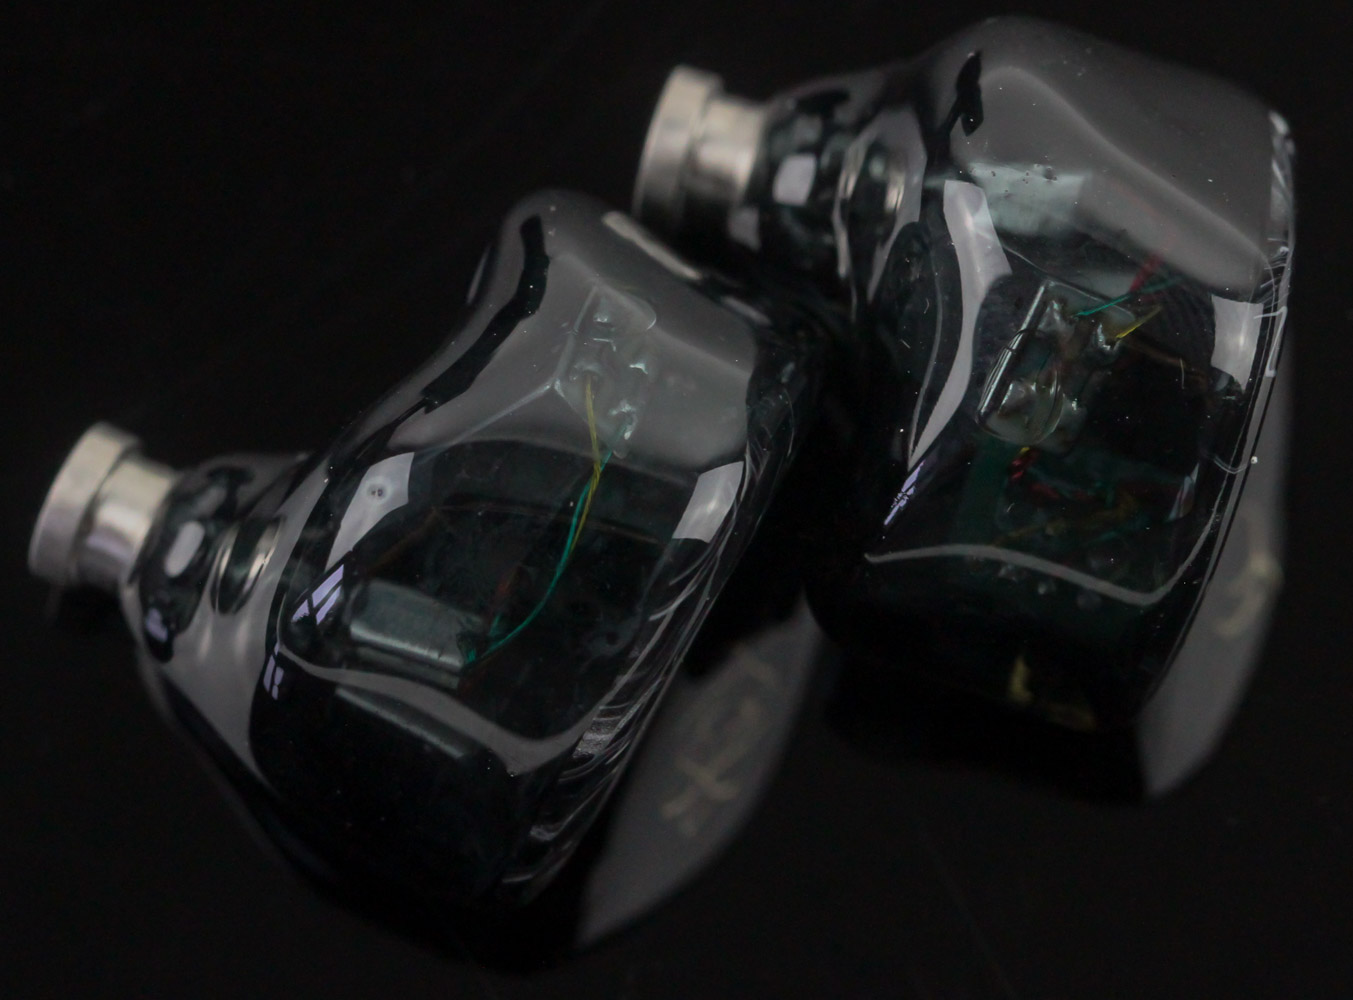
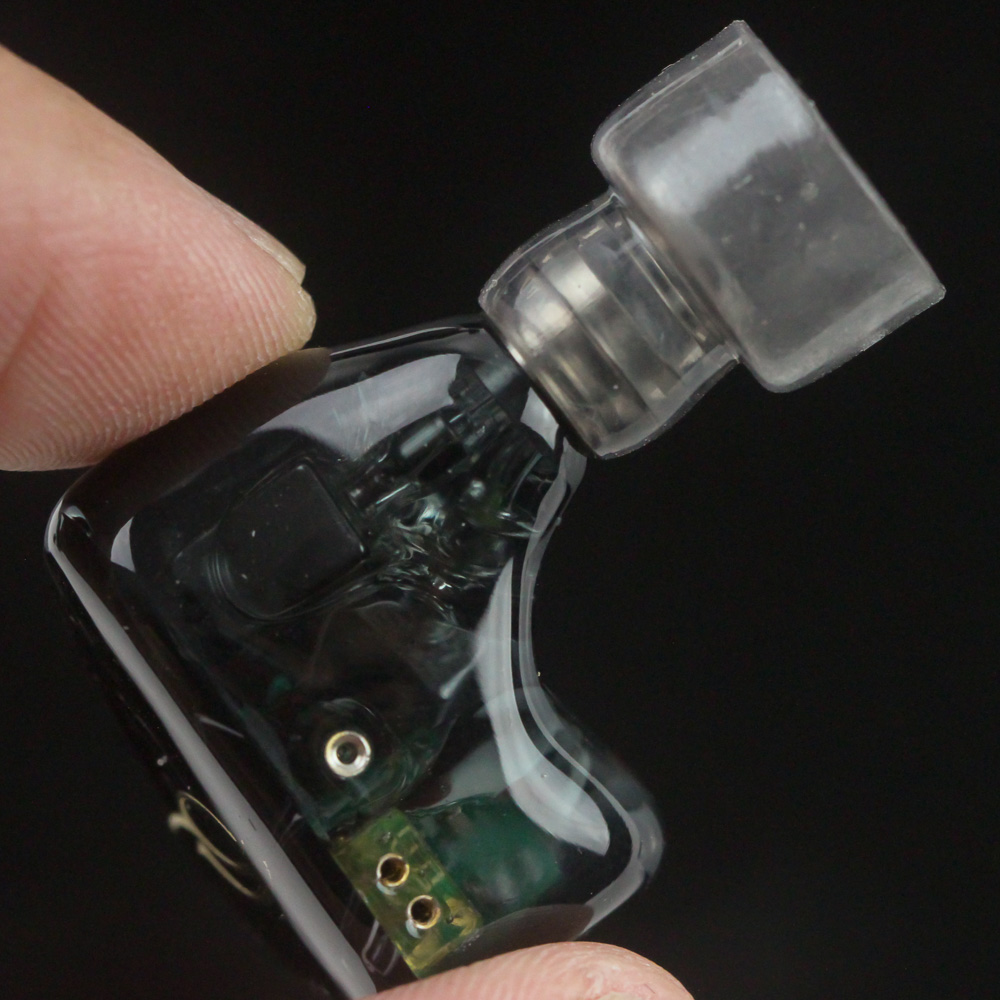
This is what I meant by the face plates aboard the SeeAudio Bravery being unique sets even within the family. The inked-patterns are not uniform even within the two here, with the left shell having more empty space compared to the right one, and this could have misfired had it been more of an outspoken finish. As it is, it ends up mostly serving as a background for the appliques that include the SeeAudio logo on the left IEM and a geometric star pattern on the right one. The resin flows over the face plate, so you won't feel any of this, and the face plate thus melds naturally into the body of the shells, where it is somewhat see-through for an examination of the four balanced armature drivers inside the acoustic chamber, as well as the wiring inside that ultimately makes most of the aftermarket cables redundant if not addressed well. A daughter PCB hosts the 2-pin connectors, and these are all soldered in to where the connectors are inline with the plane of the shell as opposed to recessed into the body. There is a single vent next to these on the side, which should provide some pressure equalization while not compromising sound isolation much. The nozzle is large at ~5.8 mm in diameter at the end and has a notch to prevent ear tips from working themselves loose. A mesh filter on the end also prevents contaminants from entering the acoustic chamber, and it can be removed and replaced by the spare filters included in the box if it gets too dirty or clogs up.
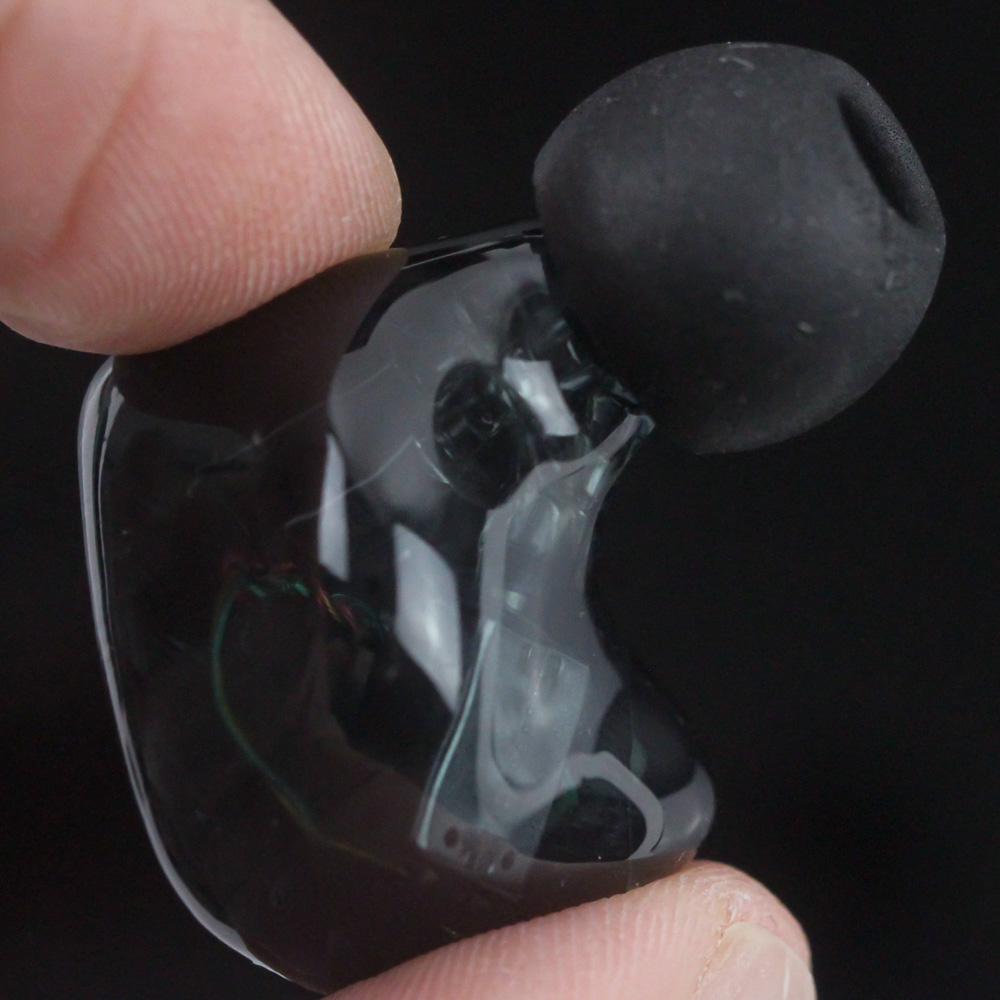
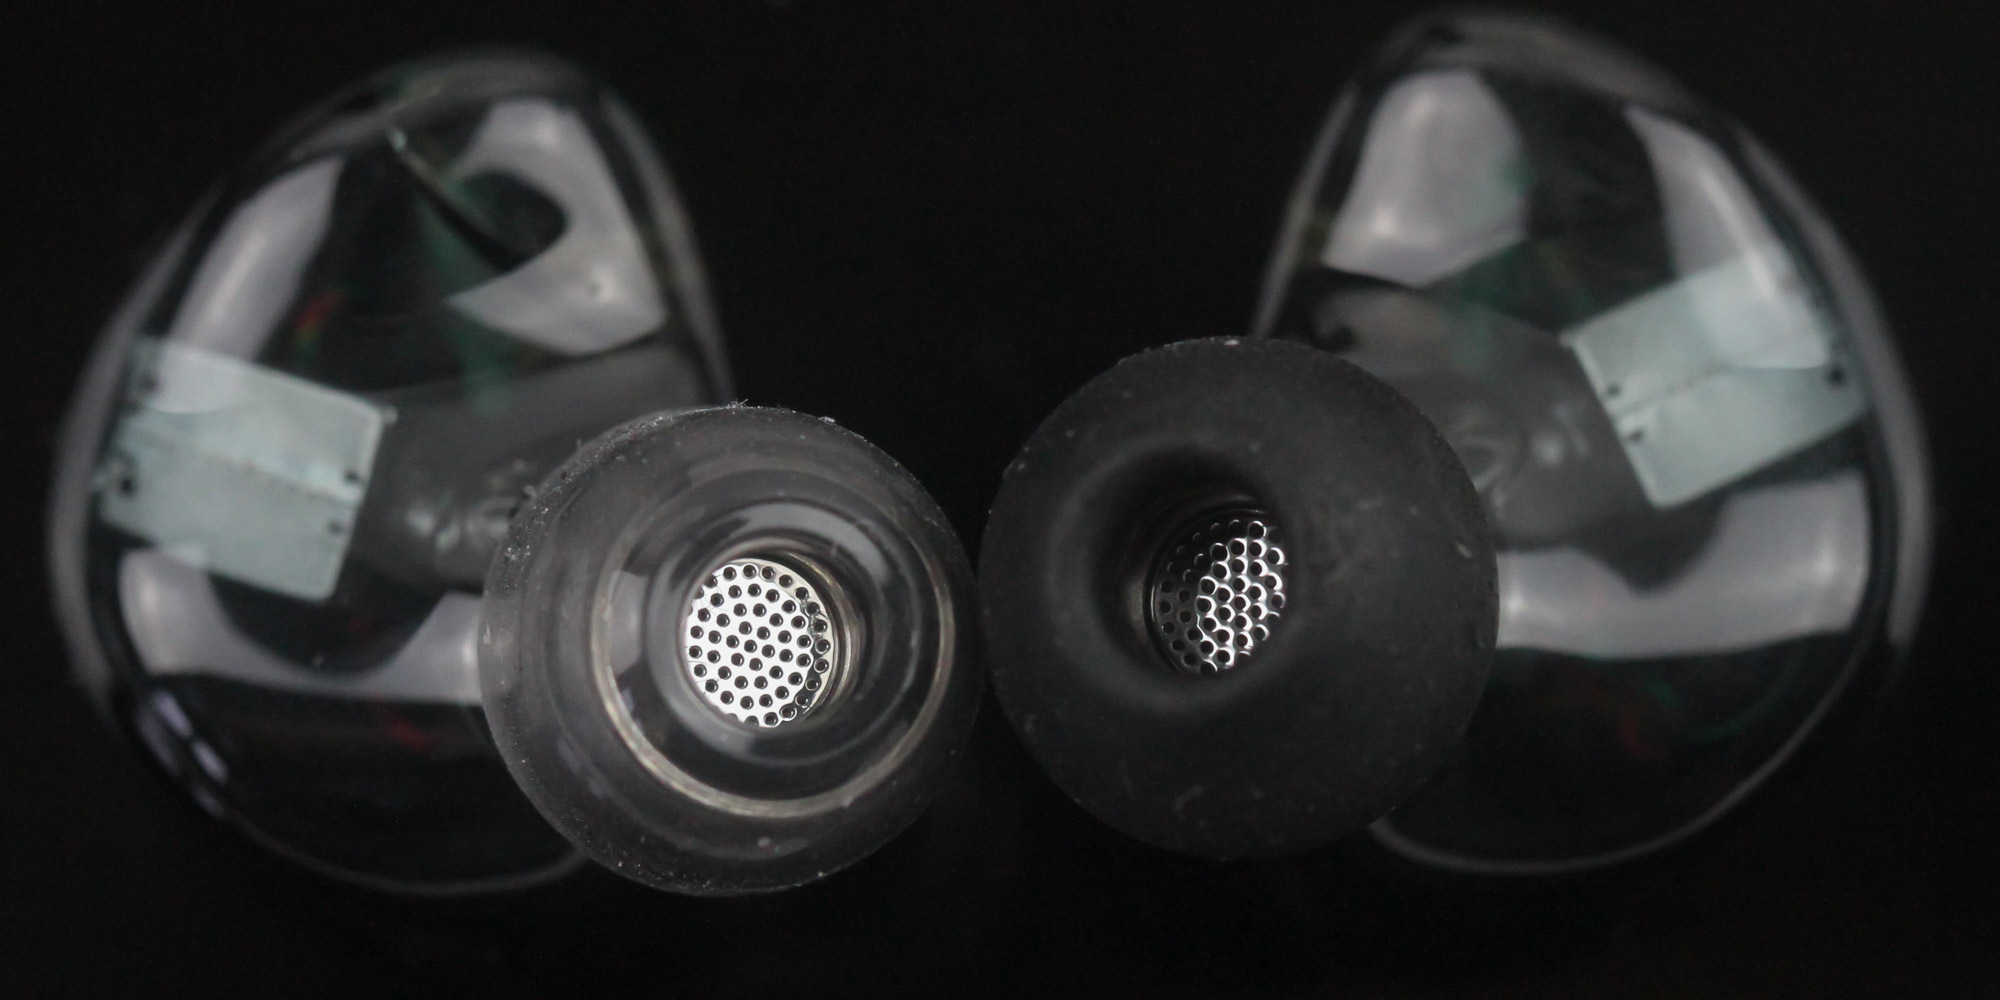
Fitting the ear tips is somewhat on the harder side owing to the larger nozzle, but the included ear tips have a wide enough bore to where it's not going to be frustrating by any means. Push them in to where the notch in the nozzle secures them in place and go around to make sure the tips are inserted completely all the way. Seen above are the AZLA SednaEarfit XELASTEC and SeeAudio generic foam tips, both in size M, installed on these IEMs. Notice how different the depth from the ear tip to the nozzle filter is on the two, and the tips will somewhat influence the sound signature accordingly. Regardless of which of the two types of tips you go with, the next step is to re-connect the cable by carefully pushing the connectors in place. Note that the L/R markings on the cable go under as you see the IEMs with the face plate, which will help prevent any alignment issues. The 3.5 mm TRS connector then goes to your source. I know there are many who prefer to use IEMs throughout, but I like to use over-ear headphones when sitting down and IEMs/TWS earbuds on the go. I've paired the SeeAudio Bravery with all the tested portable DAC/amps thus and personally liked the cleaner profile and handy EQ options with the Qudelix-5K as the source, in turn paired to my phone and laptop.
Jul 5th, 2025 14:08 CDT
change timezone
Latest GPU Drivers
New Forum Posts
- What are you playing? (23892)
- How do you view TPU & the internet in general? (With poll) (72)
- AMD RX 9070 XT & RX 9070 non-XT thread (OC, undervolt, benchmarks, ...) (155)
- Are there others on TPU with a dual system (two pc´s in one case)? (12)
- FINAL FANTASY XIV: Dawntrail Official Benchmark (196)
- Help Watercooling my PC (1)
- TPU's Nostalgic Hardware Club (20484)
- GravityMark v1.89 GPU Benchmark (310)
- Optane performance on AMD vs Intel (57)
- EVGA XC GTX 1660 Ti 8GB ROM (8)
Popular Reviews
- NVIDIA GeForce RTX 5050 8 GB Review
- Fractal Design Scape Review - Debut Done Right
- Crucial T710 2 TB Review - Record-Breaking Gen 5
- ASUS ROG Crosshair X870E Extreme Review
- PowerColor ALPHYN AM10 Review
- Sapphire Radeon RX 9060 XT Pulse OC 16 GB Review - An Excellent Choice
- Upcoming Hardware Launches 2025 (Updated May 2025)
- AMD Ryzen 7 9800X3D Review - The Best Gaming Processor
- Sapphire Radeon RX 9070 XT Nitro+ Review - Beating NVIDIA
- NVIDIA GeForce RTX 5060 8 GB Review
TPU on YouTube
Controversial News Posts
- Intel's Core Ultra 7 265K and 265KF CPUs Dip Below $250 (288)
- NVIDIA Grabs Market Share, AMD Loses Ground, and Intel Disappears in Latest dGPU Update (212)
- Some Intel Nova Lake CPUs Rumored to Challenge AMD's 3D V-Cache in Desktop Gaming (140)
- NVIDIA GeForce RTX 5080 SUPER Could Feature 24 GB Memory, Increased Power Limits (115)
- NVIDIA Launches GeForce RTX 5050 for Desktops and Laptops, Starts at $249 (105)
- Microsoft Partners with AMD for Next-gen Xbox Hardware (105)
- AMD Radeon RX 9070 XT Gains 9% Performance at 1440p with Latest Driver, Beats RTX 5070 Ti (102)
- Intel "Nova Lake‑S" Series: Seven SKUs, Up to 52 Cores and 150 W TDP (100)