 10
10
Shuttle XPC Cube SZ170R8 w/ i5-6600K Review
BIOS Walkthrough & Performance »Parts Installation

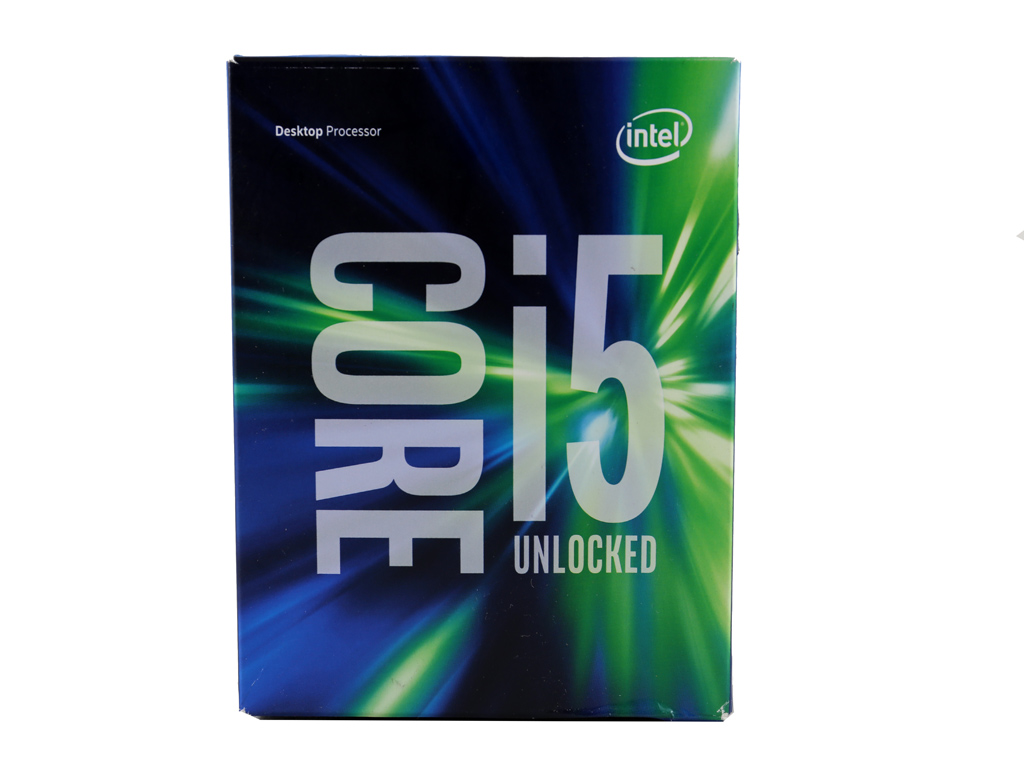
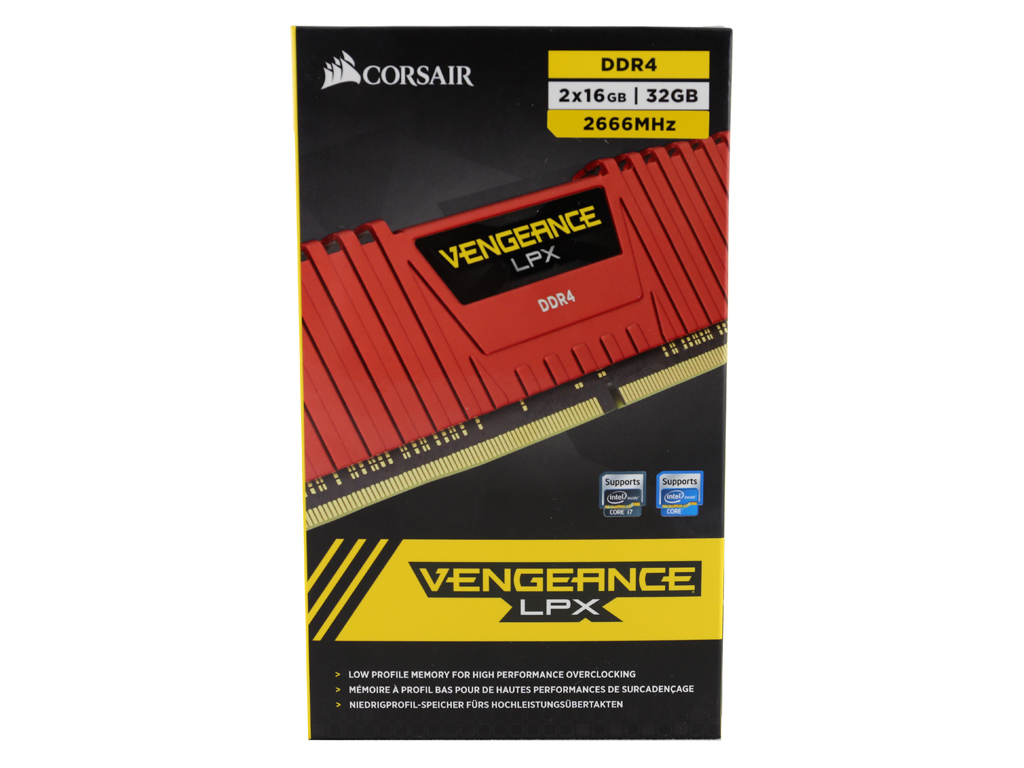
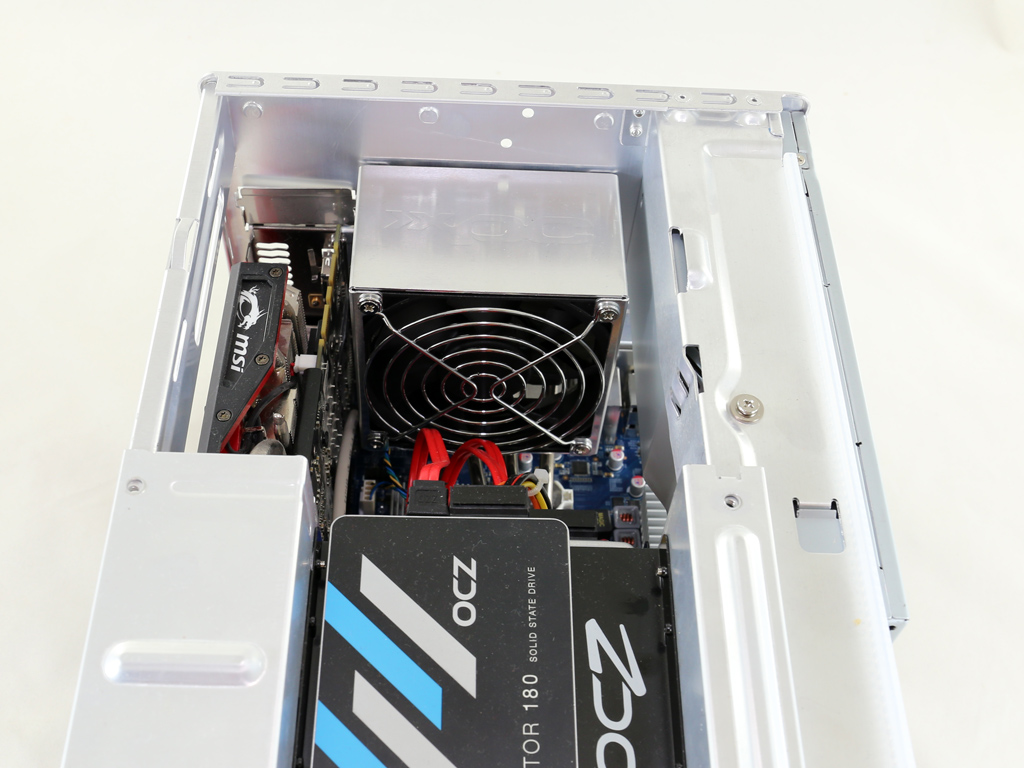
We chose a high-end Skylake CPU (i5-6600K) and an MSI GeForce GTX 970 GAMING 4G to put together a decent gaming system. The PSU is strong enough to handle a potent CPU and such high-end graphic cards as the fresh NVIDIA GTX 1070 or GTX 1080. We also used two OCZ SSDs and a 32 GB kit of Corsair DDR4 memory modules.
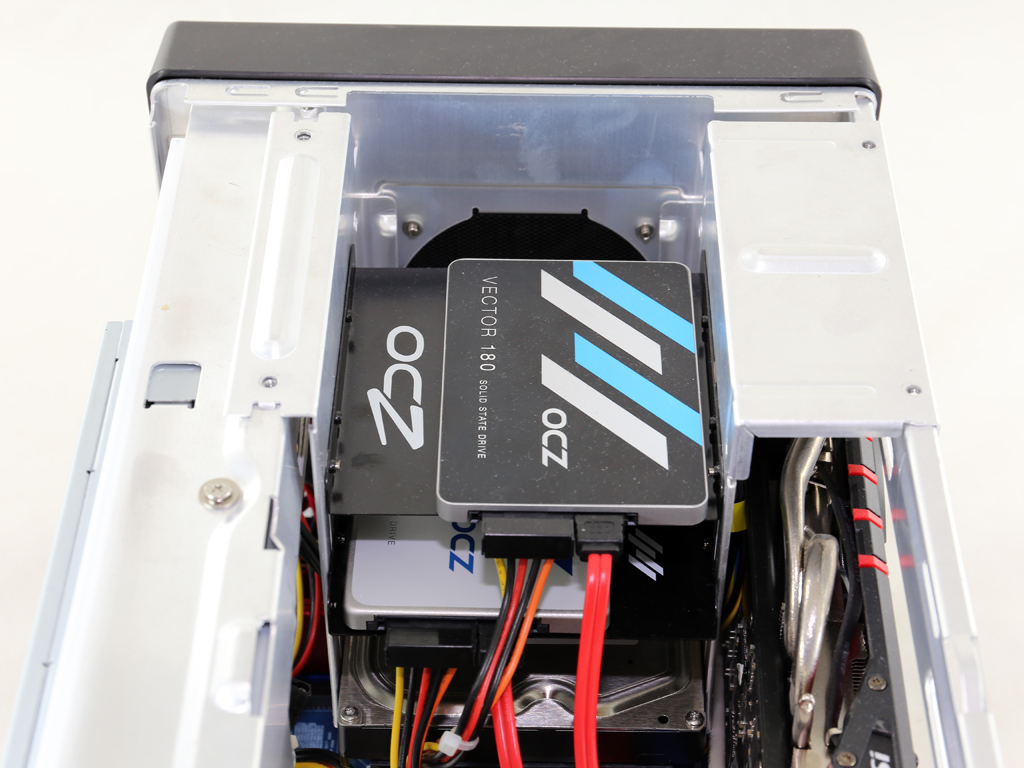
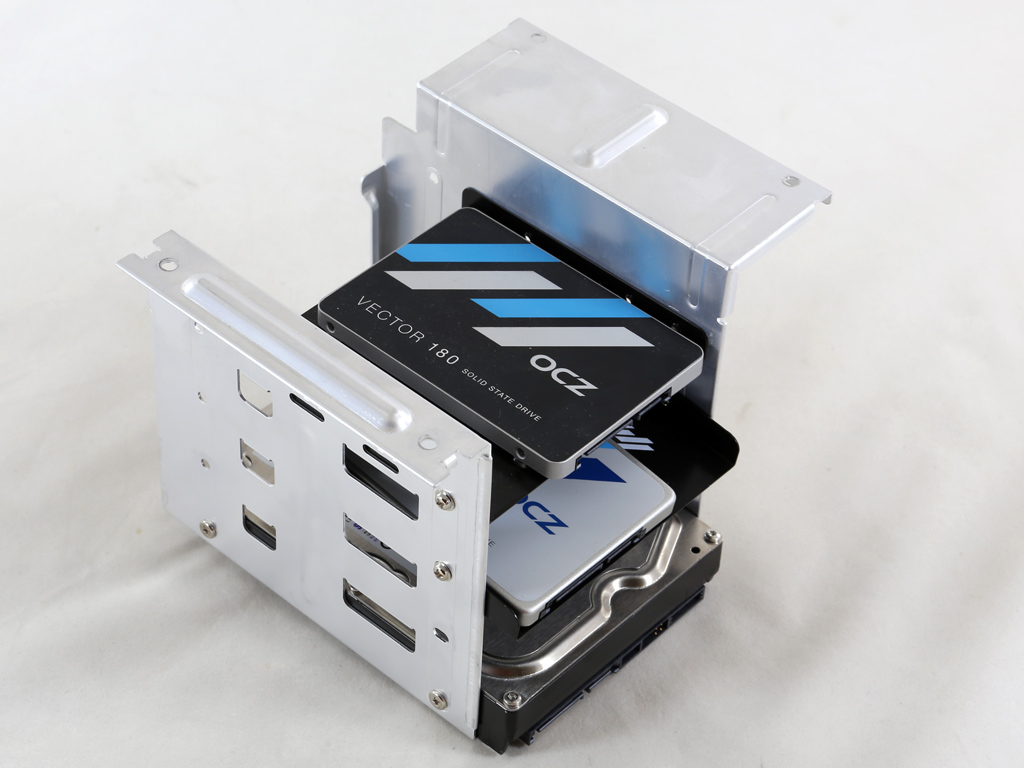
This is what the drive cage looks like with an HDD installed. As you can see, it doesn't use a screw-less mounting mechanism, which we don't deem to be problematic, though some users might prefer not having to use a screwdriver during assembly. In order to install the CPU, you have to remove the HDD cage, which should go back into the system last.
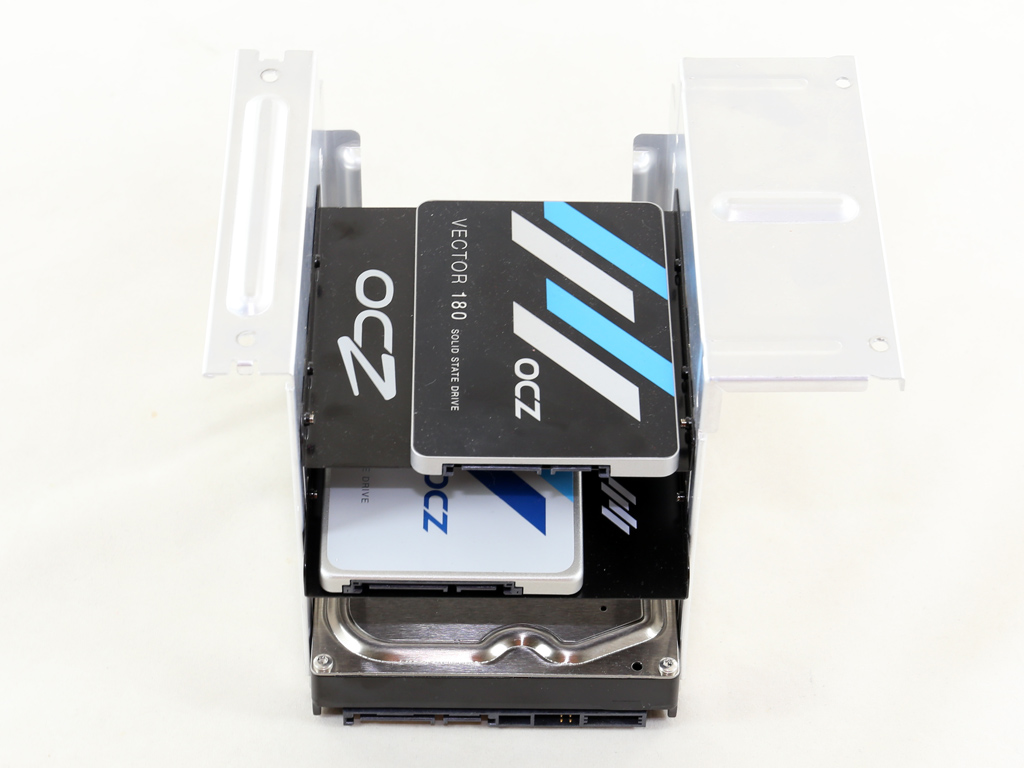
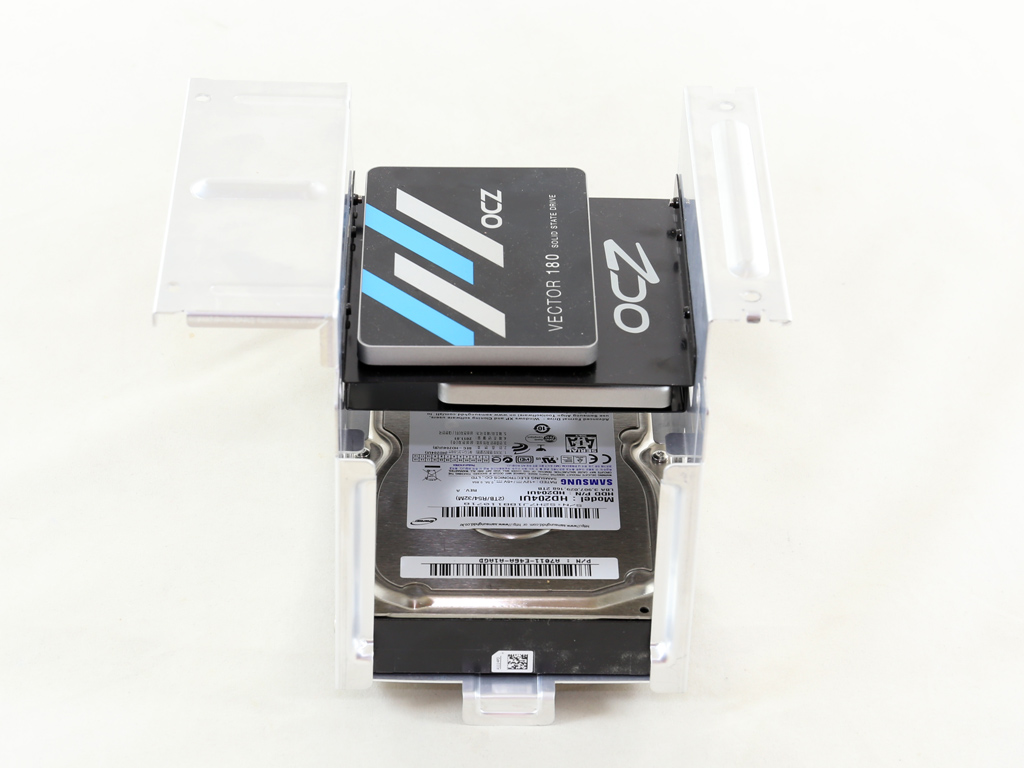
Since Shuttle doesn't include an SSD adapter in the bundle, we used those that came bundled with our OCZ SSDs. There should be an SSD adapter or the chassis should have bays especially for 2.5" SSD drives since most users nowadays at least use one. However, Shuttle does offer their PHD3 2.5'' drive holder as an optional accessories. It allows for the installation of up to two 63.5mm (2.5") hard drives or SSDs into a larger 89mm (3.5") drive bay.
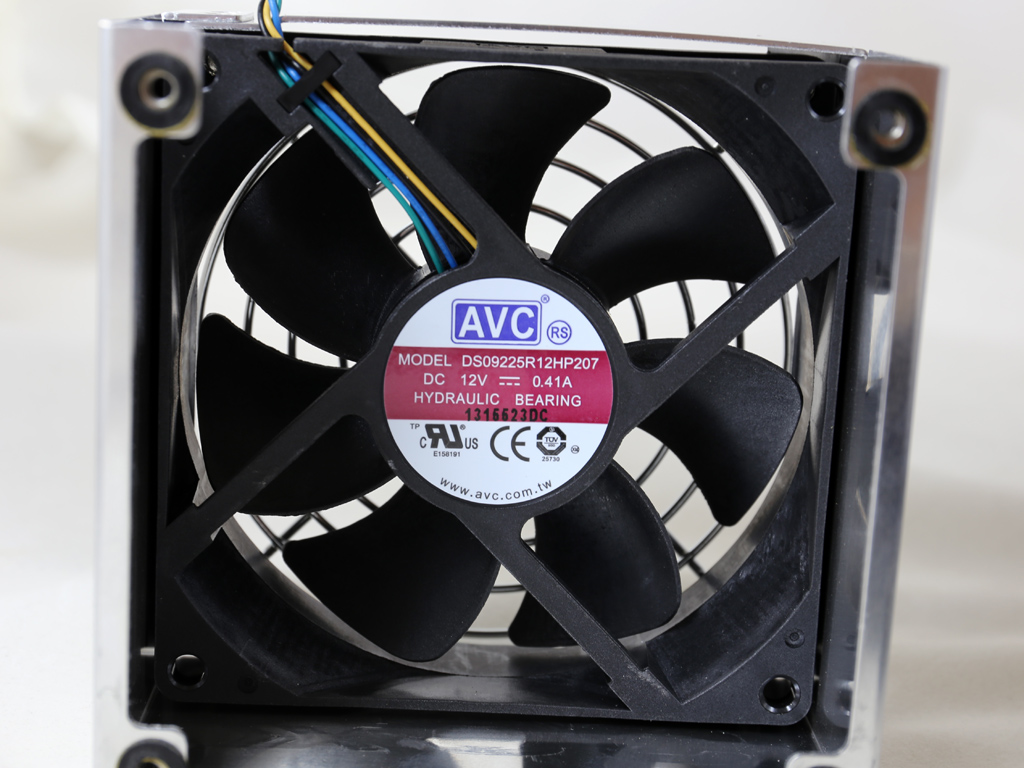
The ICE 2 system uses heatpipes for increased performance. The fan depicted above - its model number is DS09225R12HP207 (92 mm, 12V, 0.41A, HDB) - is there to get rid of the heat the heatpipes transfer and will also cool the entire system down.
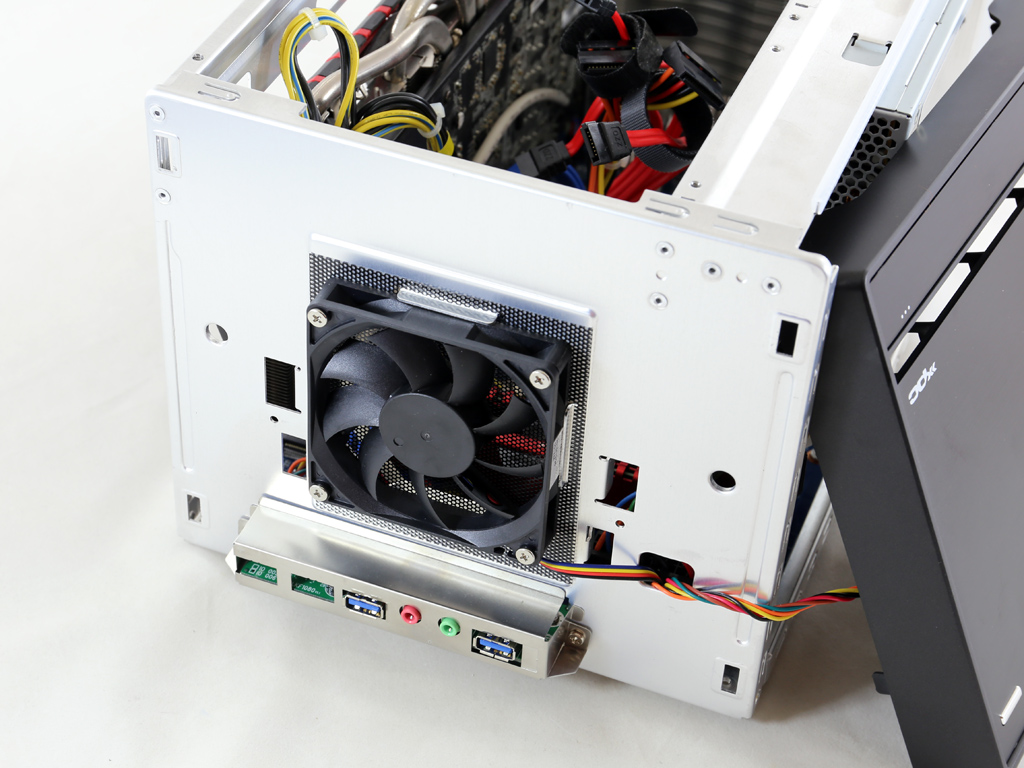
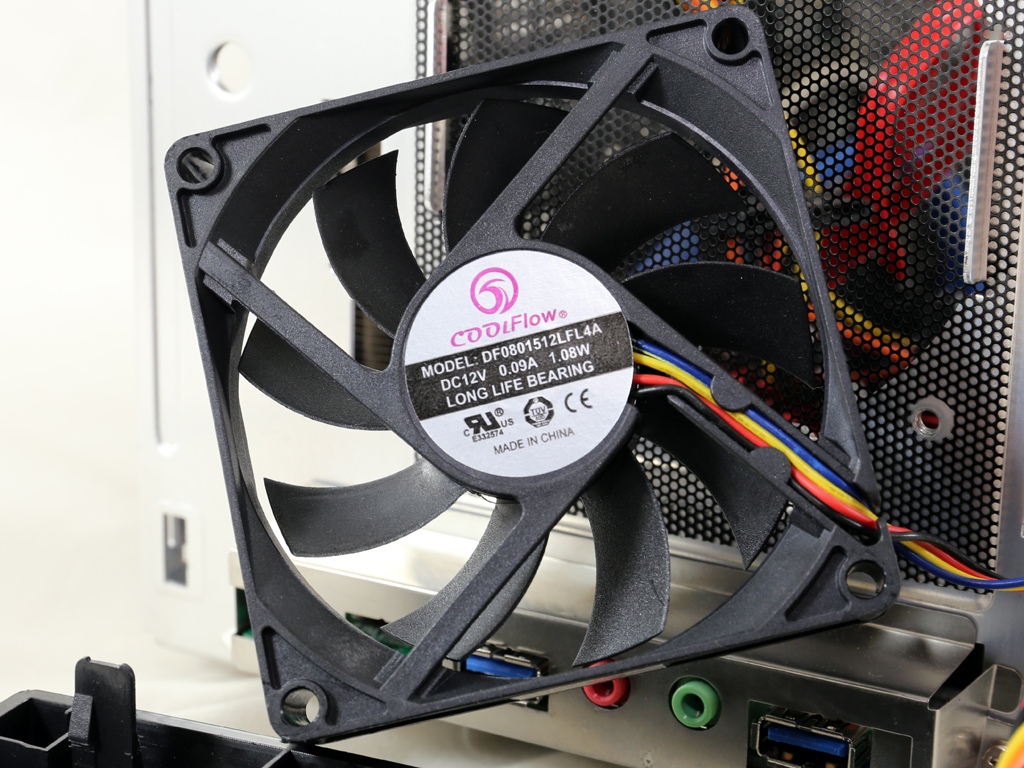
There is another 80mm fan (CoolFlow DF0801512LFL4A) at the front of the chassis. It not only cools mounted drives down, but creates some internal airflow by pushing hot air toward the rear of the chassis.
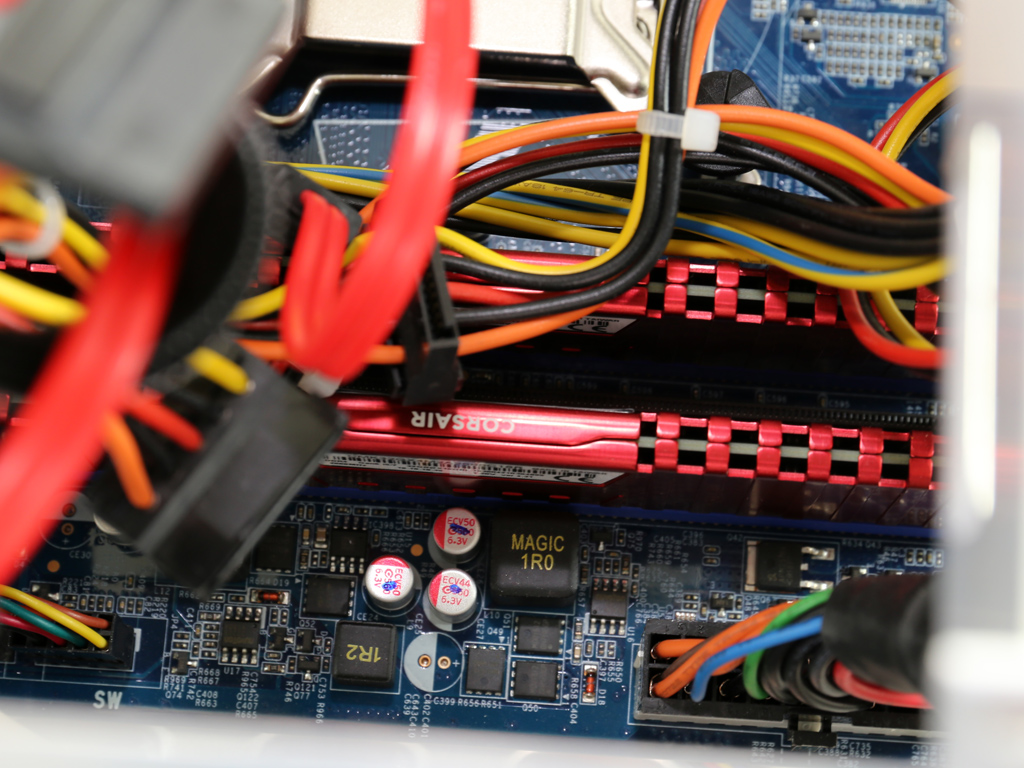
If you only use a pair of DIMMs, you should install them into the blue-colored RAM slots.
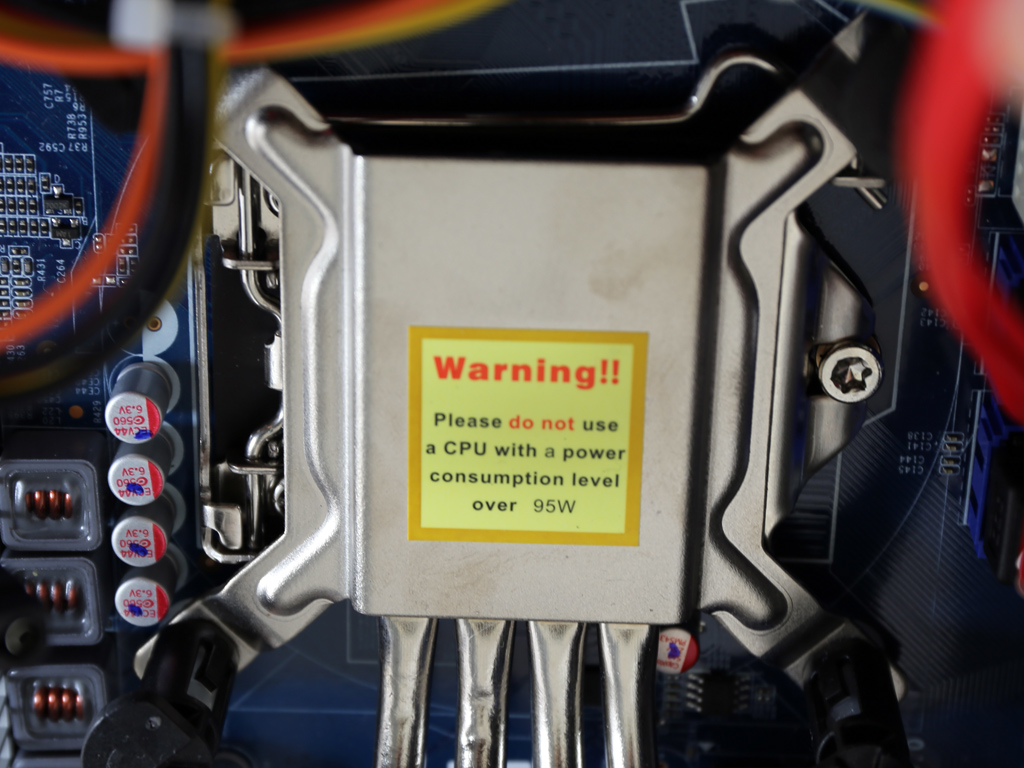
There is a warning label on the CPU heatsink to inform you of the fact you can only install CPUs with up to a 95W TDP. The most energy hungry Skylake CPUs are the i5-6700K and i5-6600K. Their TDP is 91W.

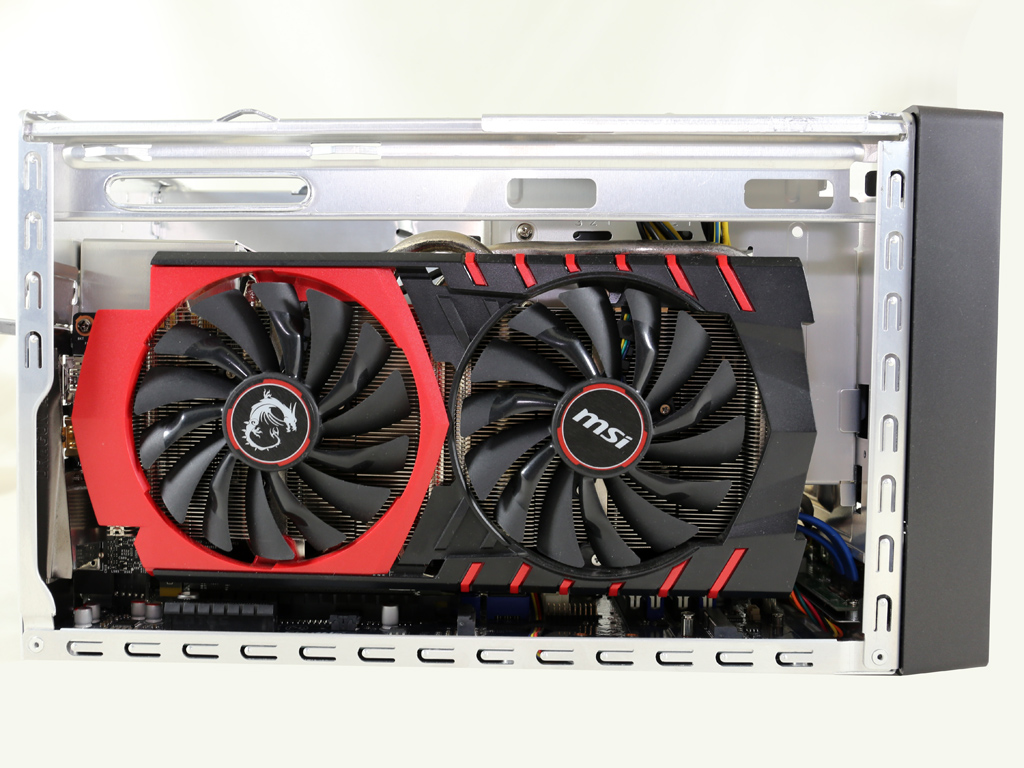
This case can accommodate a large, dual-slot graphics card, and the 500 W PSU won't have the slighted problem supporting it.
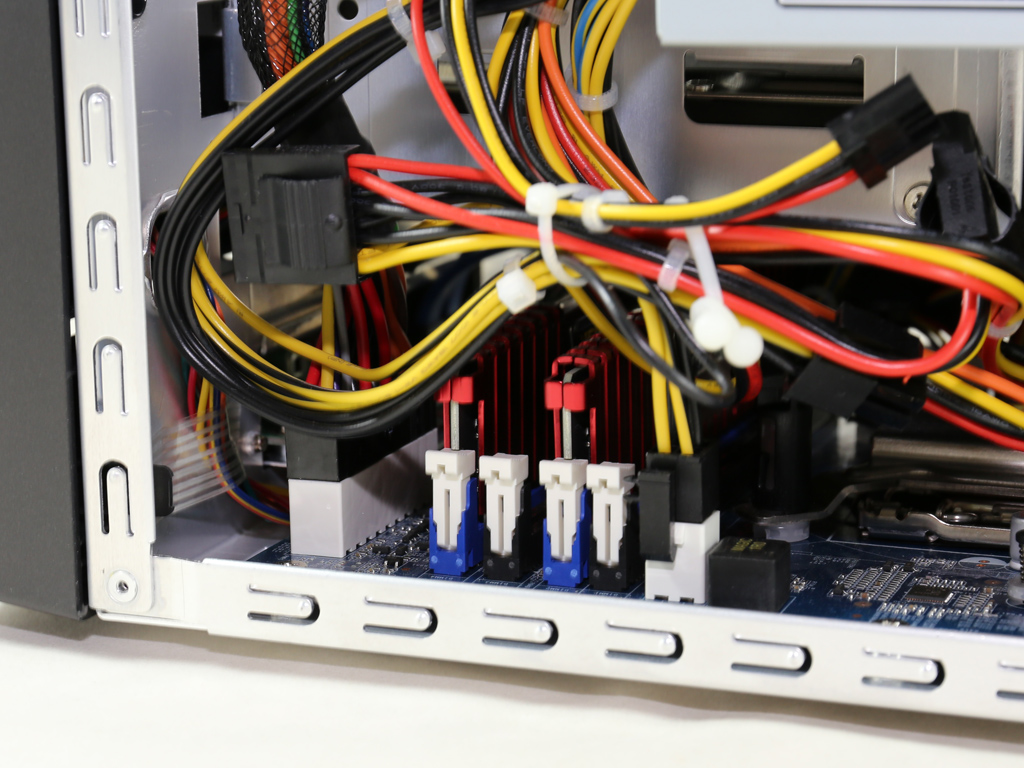
All in all, setting up the system is a straightforward procedure for even those with very little experience in installing hardware. The most difficult parts are installing the CPU and the cooling system, since you have to be very careful about not damaging any socket pins and have to make sure to mount the heatsink onto the PSU correctly. Most cables are preinstalled and prerouted, which keeps cable management work to optimize internal airflow to a minimum.
Jul 10th, 2025 02:44 CDT
change timezone
Latest GPU Drivers
New Forum Posts
- Do you still use Antivirus software on your latest hardware? (75)
- Screen burn-in (21)
- TPU's Nostalgic Hardware Club (20493)
- 3DMARK "LEGENDARY" (326)
- Post Your TIMESPY, PCMARK10 & FIRESTRIKE SCORES! (2019) (321)
- 5070ti overclock...what are your settings? (47)
- 'NVIDIA App' not usable offline? (1)
- G-Sync Not Working in Borderless / Window Mode - Windows 11 (5)
- [GPU-Z Test Build] New Kernel Driver, Everyone: Please Test (78)
- Friend's monitor randomly loses signal (3)
Popular Reviews
- NZXT N9 X870E Review
- NVIDIA GeForce RTX 5050 8 GB Review
- Fractal Design Epoch RGB TG Review
- Corsair FRAME 5000D RS Review
- Fractal Design Scape Review - Debut Done Right
- AMD Ryzen 7 9800X3D Review - The Best Gaming Processor
- Sapphire Radeon RX 9060 XT Pulse OC 16 GB Review - An Excellent Choice
- Upcoming Hardware Launches 2025 (Updated May 2025)
- Sapphire Radeon RX 9070 XT Nitro+ Review - Beating NVIDIA
- PowerColor ALPHYN AM10 Review
TPU on YouTube
Controversial News Posts
- Intel's Core Ultra 7 265K and 265KF CPUs Dip Below $250 (288)
- Some Intel Nova Lake CPUs Rumored to Challenge AMD's 3D V-Cache in Desktop Gaming (140)
- NVIDIA Launches GeForce RTX 5050 for Desktops and Laptops, Starts at $249 (117)
- AMD Radeon RX 9070 XT Gains 9% Performance at 1440p with Latest Driver, Beats RTX 5070 Ti (116)
- NVIDIA GeForce RTX 5080 SUPER Could Feature 24 GB Memory, Increased Power Limits (115)
- Microsoft Partners with AMD for Next-gen Xbox Hardware (105)
- Intel "Nova Lake‑S" Series: Seven SKUs, Up to 52 Cores and 150 W TDP (100)
- NVIDIA DLSS Transformer Cuts VRAM Usage by 20% (97)