 12
12
SilverStone ALTA F1 Review
Assembly & Finished Looks »A Closer Look - Inside

Taking off the panels is easily done once you remove the top cover. That said, both sliding locks with the square push button in the back routinely did not slide back into the fully locked position upon being released, which left the panels loose. There is simply too much friction between the sliding strip and case it is attached to. Stronger springs could solve this issue permanently, but as a rule of thumb, you need to release the buttons quickly to ensure it snaps back all the way every time. If you do so slowly, the slider will get stuck halfway most of the time.
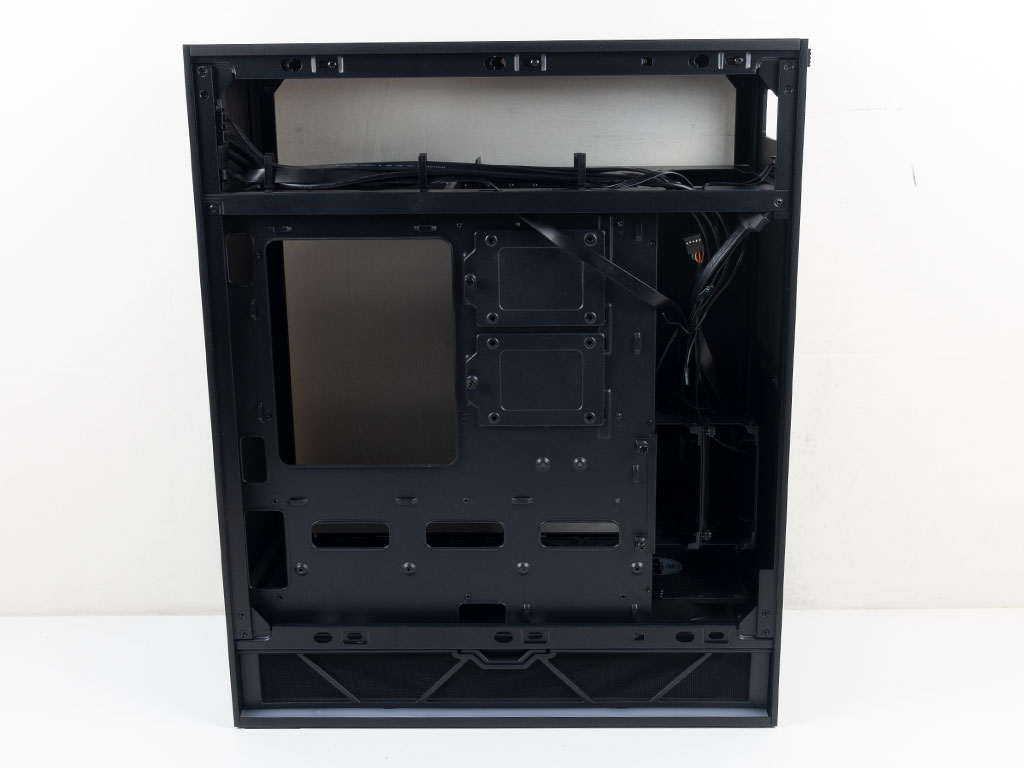
The interior of the SilverStone Alta F1 is rotated 90°, which has been a signature element of SilverStone cases over the years. The Alta F1 utilizes a mainstream, off-the-shelf OEM body that is simply turned on its front and encased in aluminium panels with a bit of additional tooling in the ceiling. This simple, generic body is quite in stark contrast to what we would expect from a $300 case, which usually features individualized engineering. Another small detail is that SilverStone opted out of any grommets even though both sides are made out of glass. Having them would have helped the overall cleanliness of the final build.

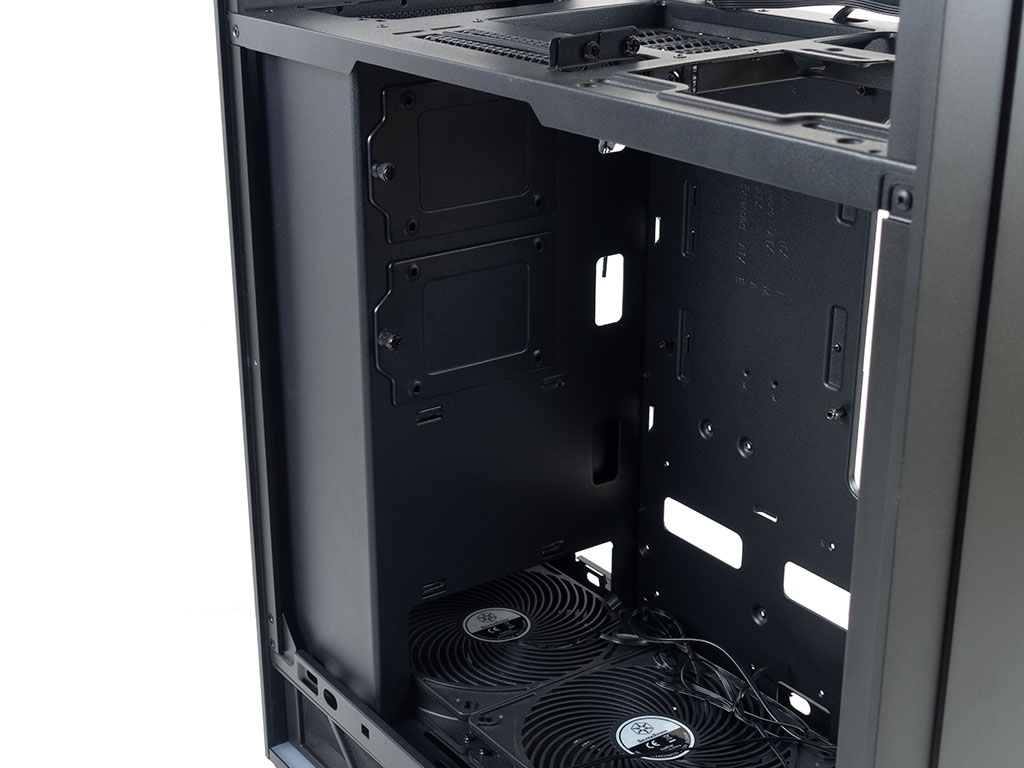
Looking at the bottom of the Alta F1, usually the front for traditional cases, there are the three 140 mm Air Penetrator fans, which are known for their focused airflow due to a unique grille design. In the rear, on the metal shroud, are two 2.5" HDD mounting trays, one of which actually hides a small, unique PSU support bracket as we will see later on.
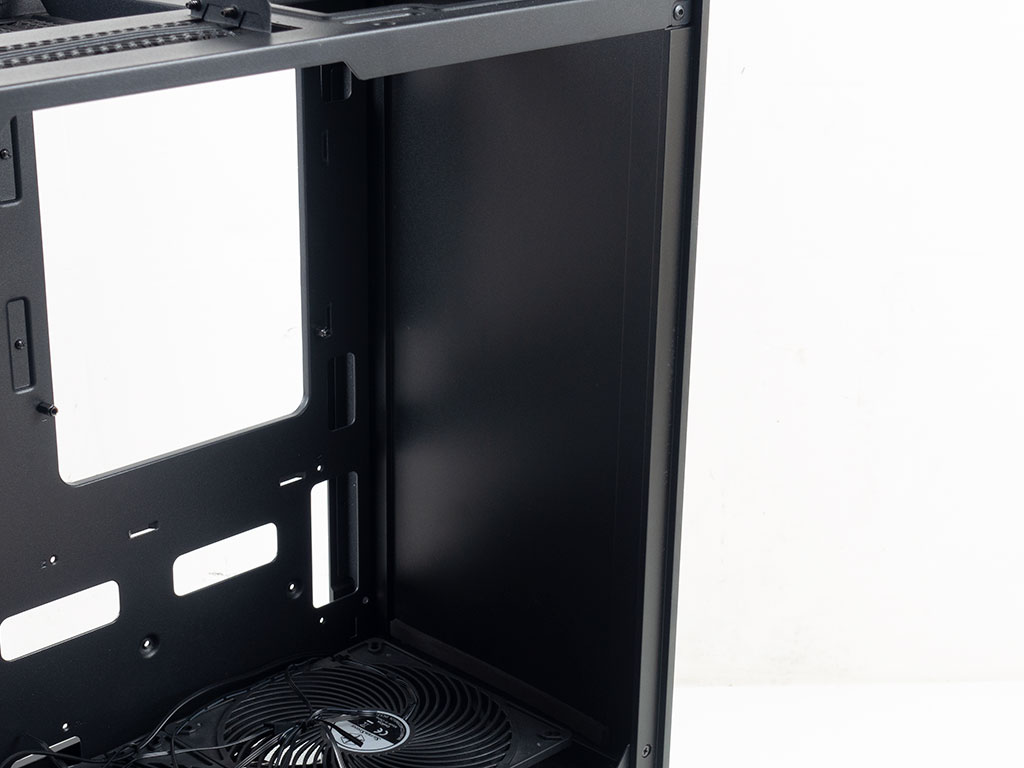
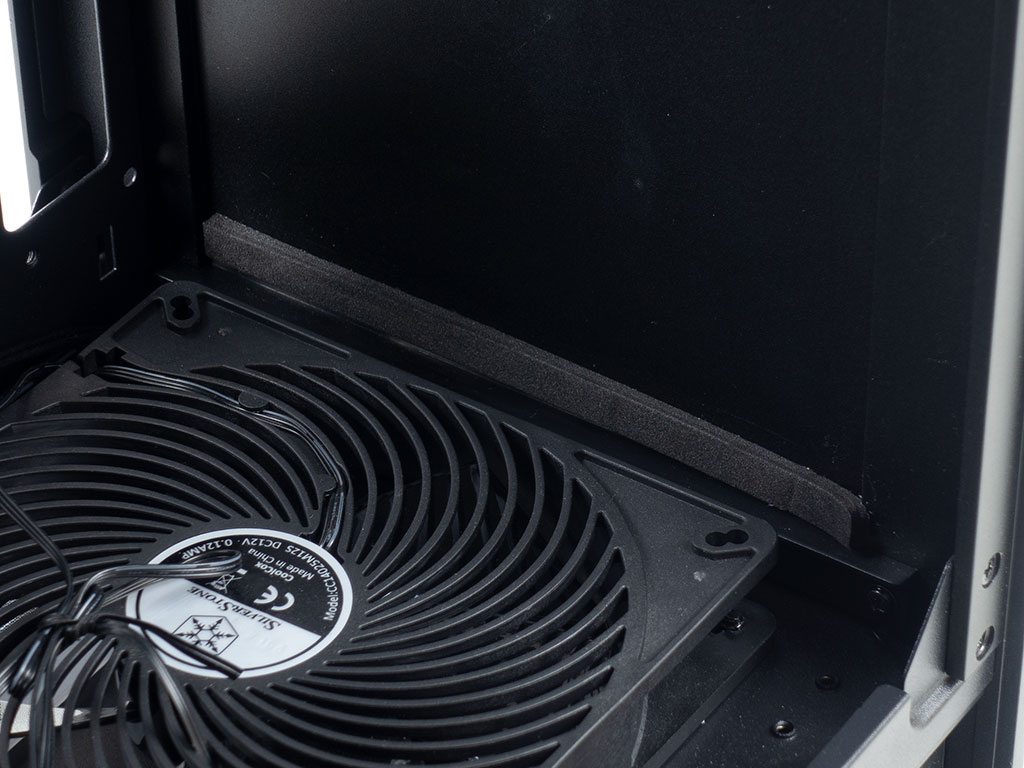
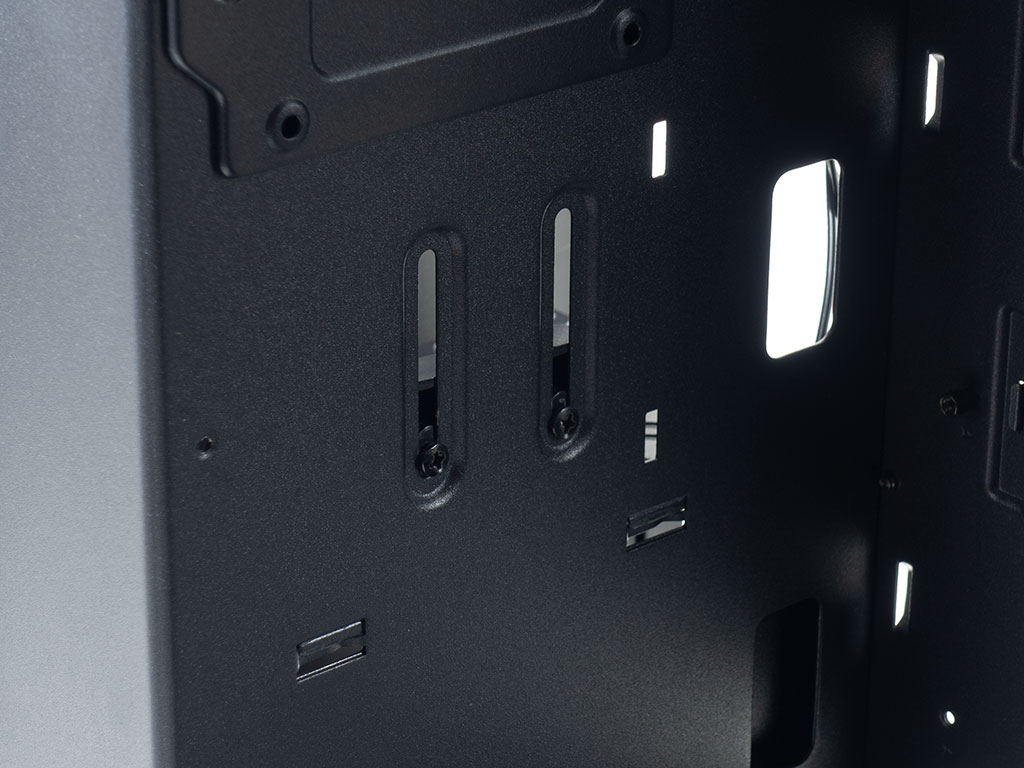
There is not much to see in the front as there is just the solid aluminium panel. SilverStone could have used this area to attach something for pumps or reservoirs as a differentiator from mainstream interiors. A foam strip of no apparent purpose has been placed a little crudely on the very bottom of the interior as well. It may be there to ensure no light from the LED strip in the front bleeds through.
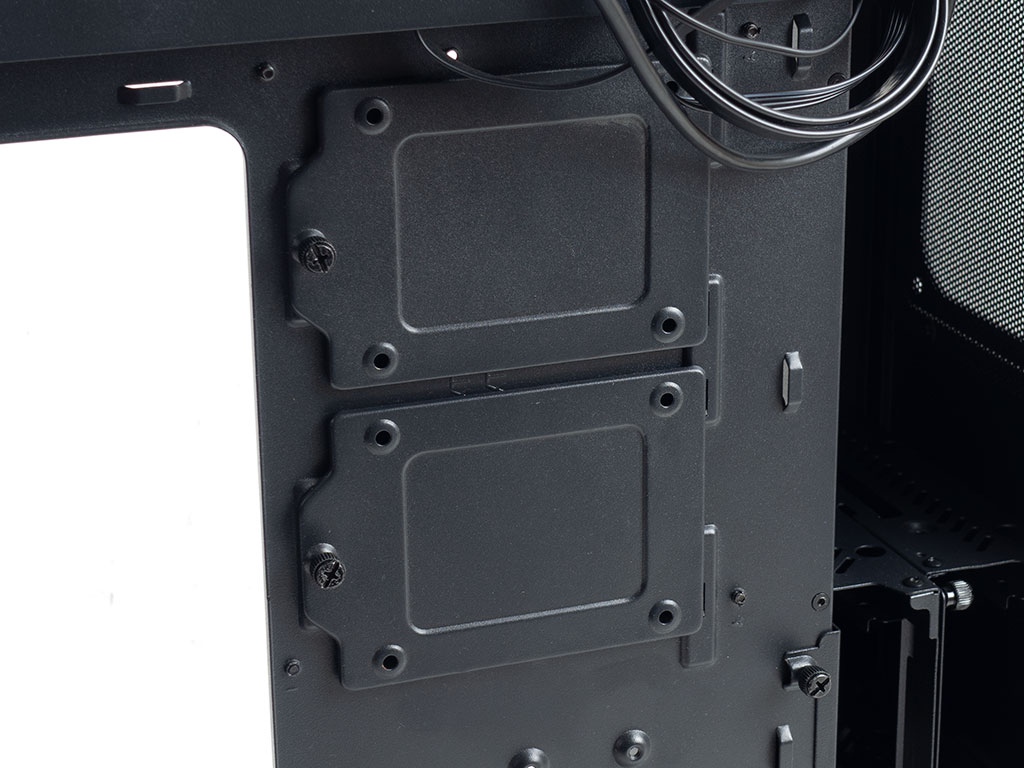
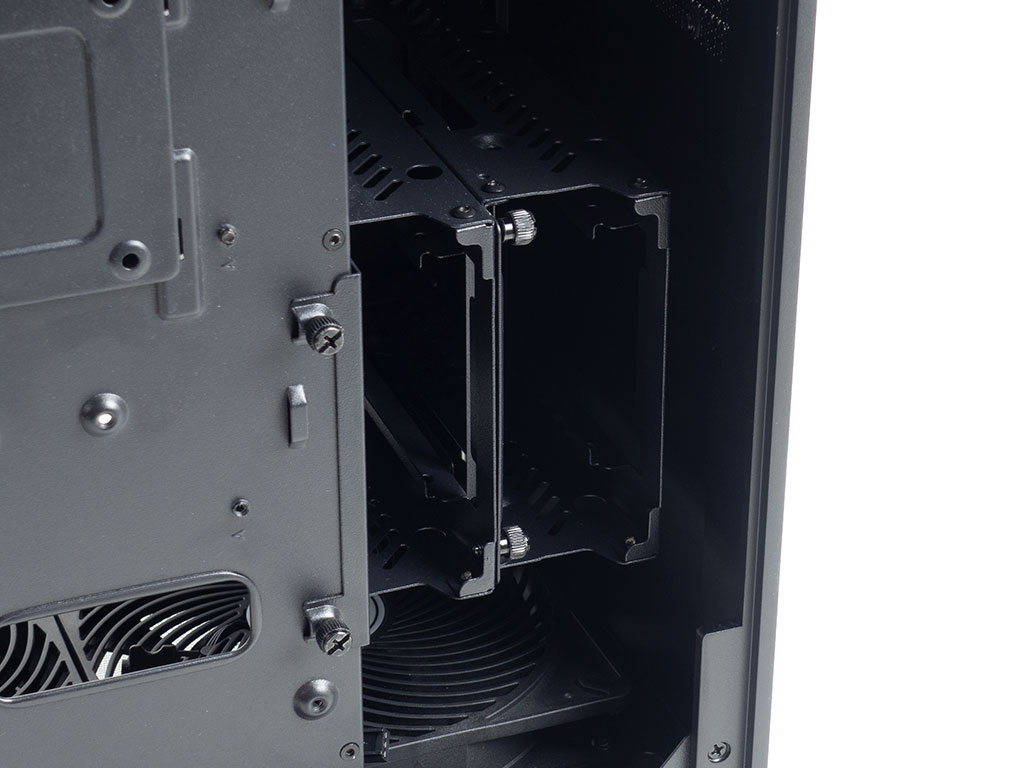
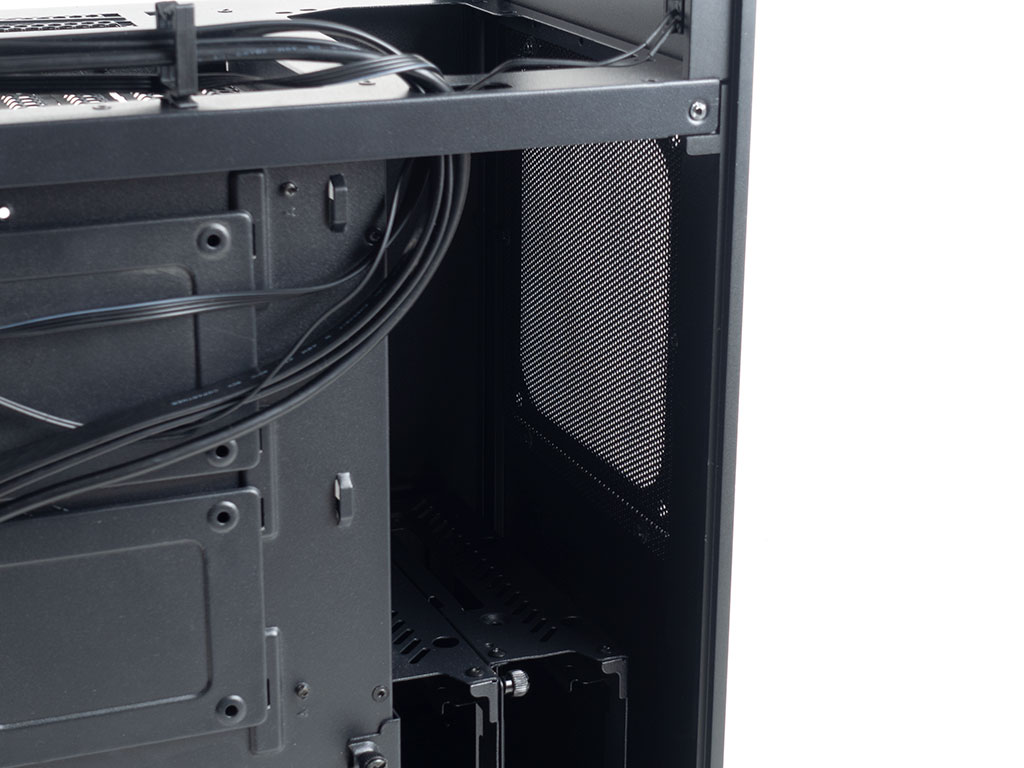
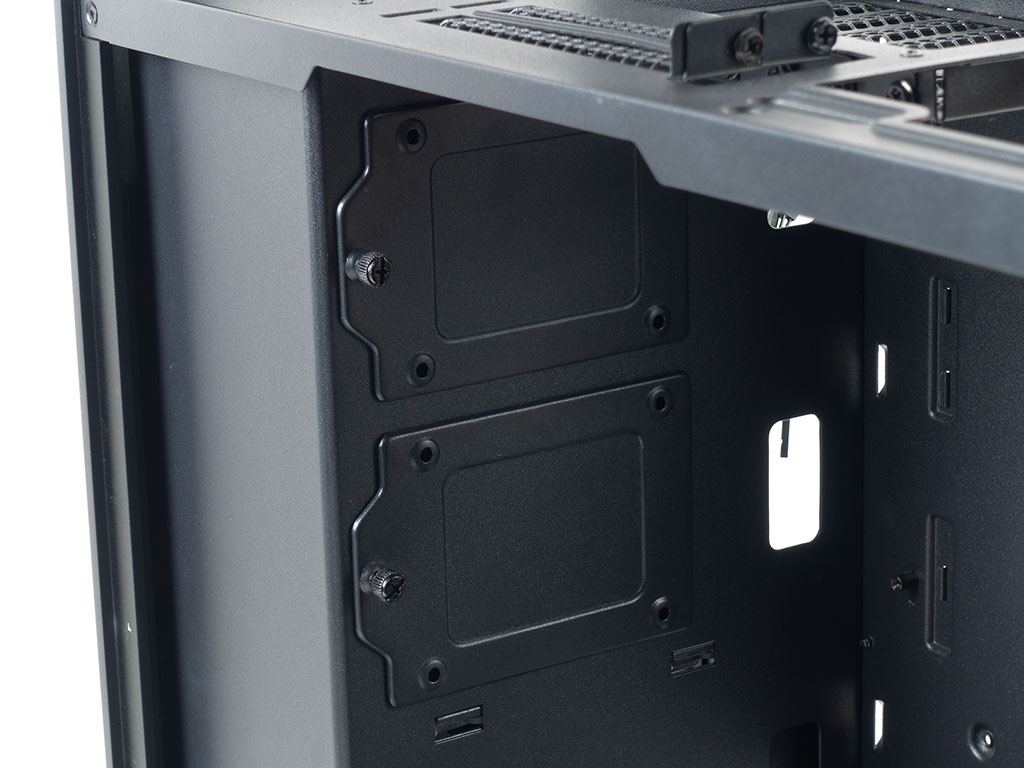
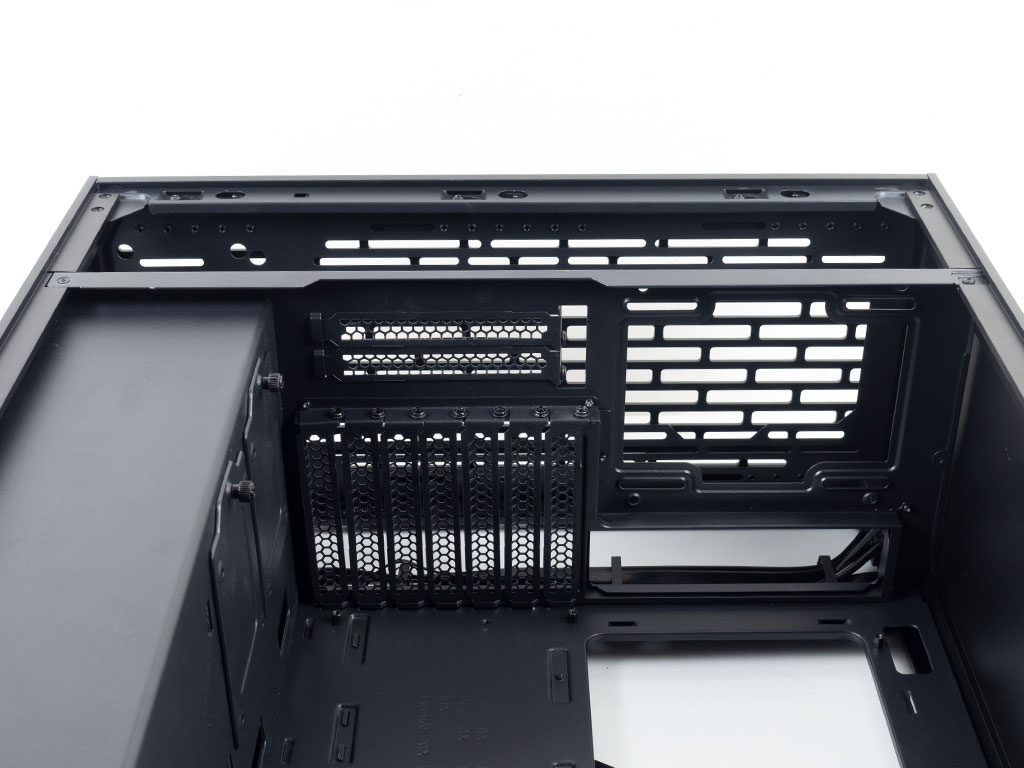
On the backside of the motherboard tray are two additional 2.5" hard-drive plates. It is nice to see SilverStone filling all four possible position in this OEM body as most brands only include two. Two further HDD cages behind the metal shroud have been modified to attach to the shroud, making for an additional two 3.5" and two 2.5" drives for up to eight drives within the SilverStone Alta F1, which is a very good total. Above these cages is the PSU bay, which means the unit will hang off the top interior panel. There is a small aluminium corner piece in the top-right corner, which you have to navigate past during assembly lest it scratch the PSU, which we found out the hard way.
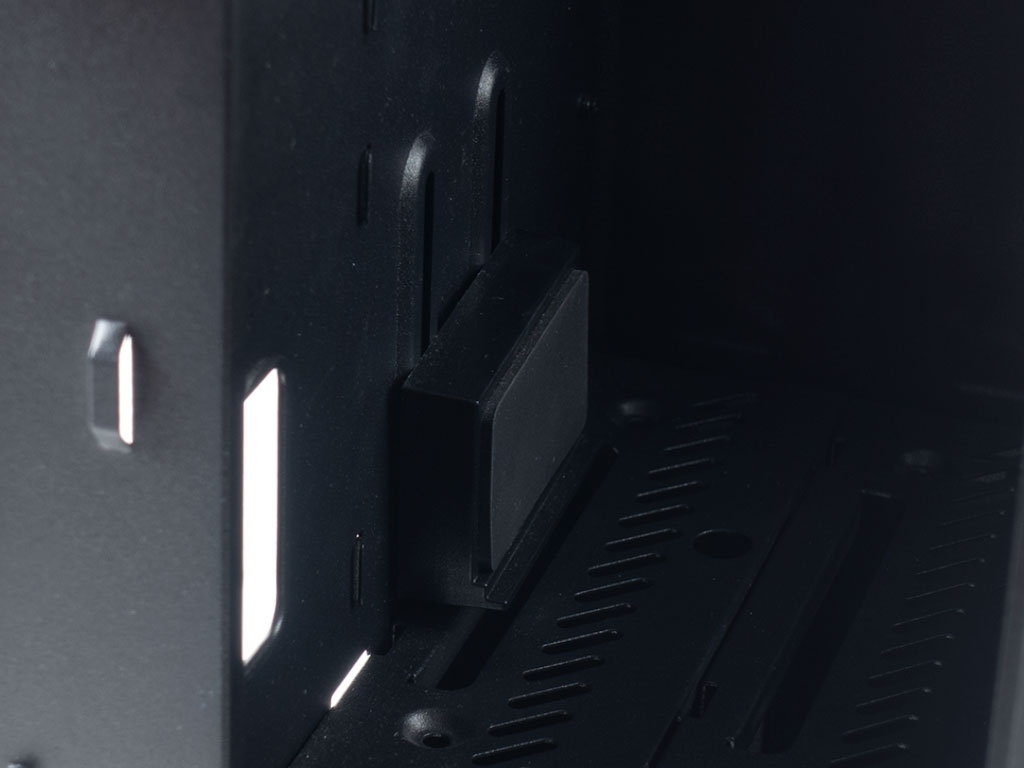
In the PSU bay is a nifty little support bracket that comes with a foam layer to ensure the unit rests securely in this unusual state. It can be adjusted in placement by removing one of the 2.5" drive trays as previously mentioned.
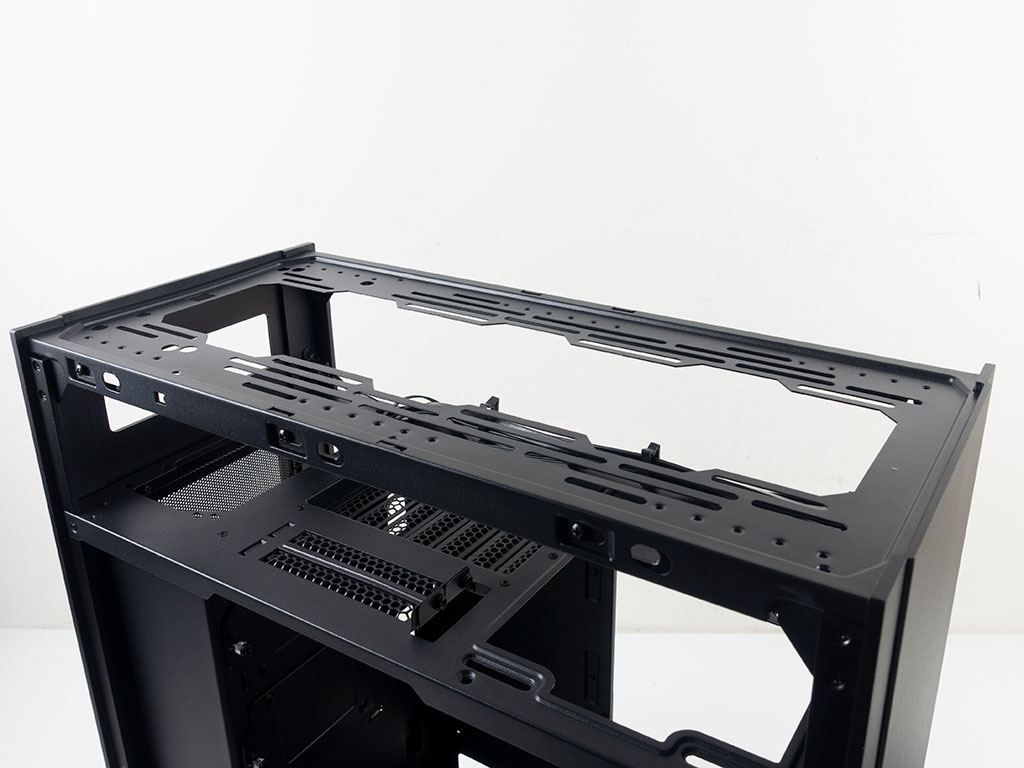
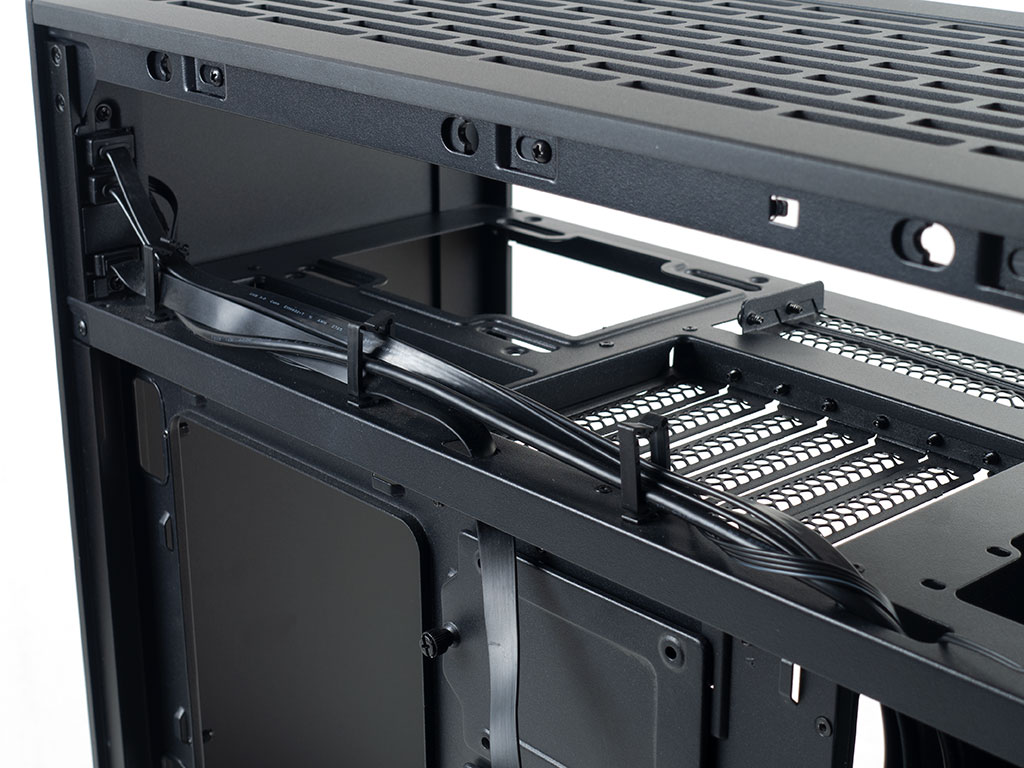
SilverStone has included a fan/AIO mounting bracket in the very top of the chassis. It is technically outside the classic case body, and you are meant to route the AIO into the interior through the top fan opening of that frame. While that works, it is simply so because the top of the interior is exactly the same as the back of a mainstream case with seven plus two expansion slots. As the I/O is above the interior frame, SilverStone routed it all the way across the top edge before passing it through the case panel into the interior. This really disturbs the look of this area of the case, and the simple option would have been to route the cables into the case right away, maybe within an inch of the front panel.

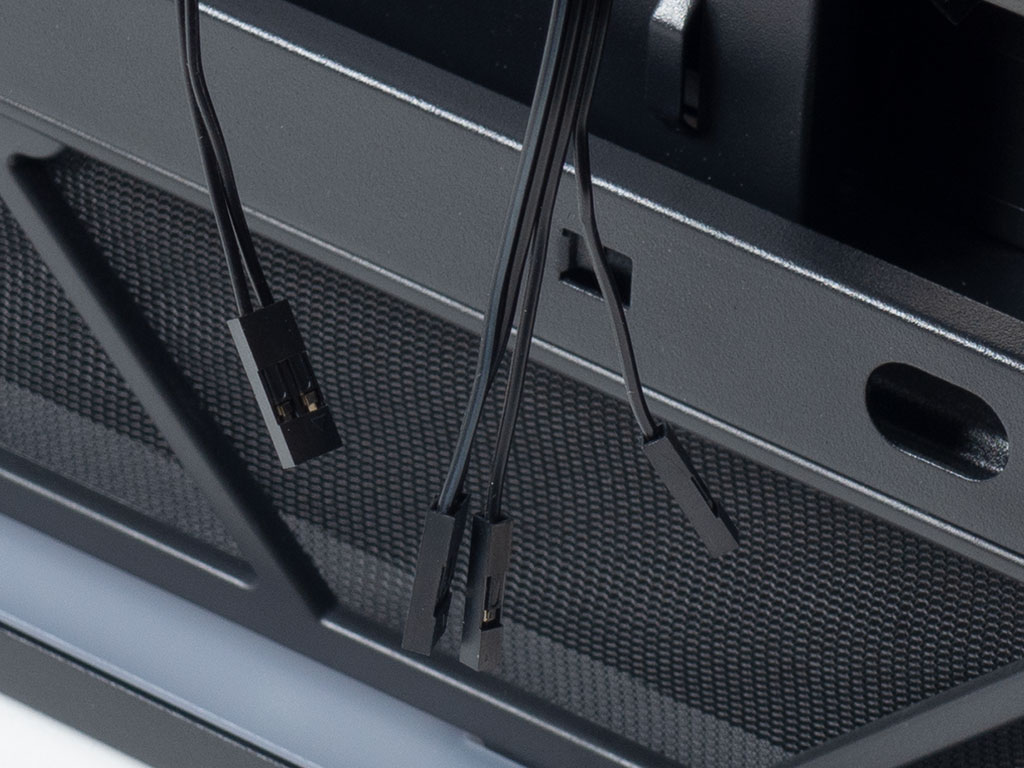
The I/O cables are all sleeved black, and the USB variants are nice and flat for easier cable management, which is a nice touch. The case cables, which lack an HDD activity lead, are also of the default variety and long enough to connect to the motherboard. Not pictured here is the single 3-pin ARGB connector for the front ARGB strip, which is quite short. If your board does not have a header for it in the top-right corner, you will have to buy an extension lead.
Mar 10th, 2025 16:28 EDT
change timezone
Latest GPU Drivers
New Forum Posts
- Maxsun RX580 graphics card crashes (26)
- DLSS as antialiasing? (20)
- Fix for Vram always at maximum (0)
- Please I need help with the poor performance that my PC is giving me (28)
- Company of Heroes 3 (5)
- The TPU Darkroom - Digital SLR and Photography Club (4071)
- A Final Fantasy IX Reminiscence - My love letter and homage to one of the best stories ever told (72)
- Gaming PC instabiliity (20)
- Msi 5090 DOA? (27)
- 3D Printer Club (447)
Popular Reviews
- Sapphire Radeon RX 9070 XT Nitro+ Review - Beating NVIDIA
- XFX Radeon RX 9070 XT Mercury OC Magnetic Air Review
- ASUS Radeon RX 9070 TUF OC Review
- MSI MAG B850 Tomahawk Max Wi-Fi Review
- NVIDIA GeForce RTX 5080 Founders Edition Review
- NVIDIA GeForce RTX 5070 Founders Edition Review
- Corsair Vengeance RGB CUDIMM DDR5-8800 48 GB CL42 Review
- AMD Ryzen 7 9800X3D Review - The Best Gaming Processor
- ASUS GeForce RTX 5070 Ti TUF OC Review
- MSI GeForce RTX 5070 Ti Gaming Trio OC+ Review
Controversial News Posts
- NVIDIA GeForce RTX 50 Cards Spotted with Missing ROPs, NVIDIA Confirms the Issue, Multiple Vendors Affected (513)
- AMD Plans Aggressive Price Competition with Radeon RX 9000 Series (277)
- AMD Radeon RX 9070 and 9070 XT Listed On Amazon - One Buyer Snags a Unit (261)
- AMD RDNA 4 and Radeon RX 9070 Series Unveiled: $549 & $599 (260)
- AMD Mentions Sub-$700 Pricing for Radeon RX 9070 GPU Series, Looks Like NV Minus $50 Again (248)
- NVIDIA Investigates GeForce RTX 50 Series "Blackwell" Black Screen and BSOD Issues (244)
- AMD Radeon RX 9070 and 9070 XT Official Performance Metrics Leaked, +42% 4K Performance Over Radeon RX 7900 GRE (195)
- AMD Radeon RX 9070-series Pricing Leaks Courtesy of MicroCenter (158)