 16
16
SilverStone FARA 512Z Review
Thermal Stress Test »Review System
| System Parts for ATX Cases | |
|---|---|
| Processor: | Intel Core i5-12600K Alder Lake 3.7 GHz, 6+4 cores / 16 threads |
| Motherboard: | ASUS ROG Strix Z690-E Gaming WiFi BIOS 2305 |
| Memory: | 2x 16 GB Lexar ARES RGB DDR5 32 GB, 6000 MHz, CL34-38-38-76 (XMP 3.0 & EXPO) |
| Graphics Card: | Gigabyte Radeon RX 6600 Eagle 8G |
| Cooling: | Fractal Design Lumen Series 240 mm, 280 mm or 360 mm |
| HDD: | Toshiba MG08ADA400E 4 TB 3.5" SATA III, 7200 RPM, 256 MB Buffer, 243 MB/s |
| SSD: | Lexar Professional NM800PRO 2 TB M.2 2280 PCIe Gen 4x4, 7500 MB/s Read, 6500 MB/s Write |
| Power Supply: | be quiet! Dark Power 13 850 W 80 Plus Titanium, ATX 3.0, Fully Modular |
Assembly
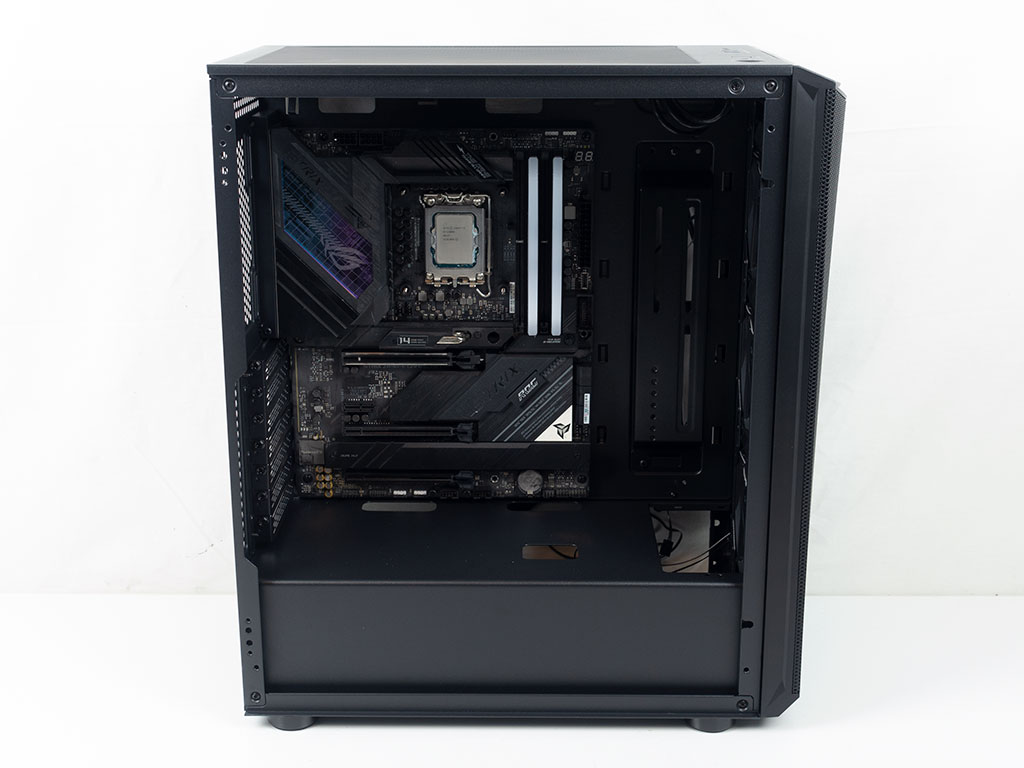
Installing the motherboard is done by traditional means using spacers and screws. There is plenty of room above as well as to the right of the board. SilverStone has placed the cutouts at the top and bottom well, so that you should be able to minimize visual exposure to wiring. The compact cable cover to the right is a bit farther away, which is actually good thing as this allows for a bigger bend radius, which in turns puts less stress on the plugs and connectors. Even though the FARA 512Z is pretty short, you should have no issues installing a longer GPU inside the chassis.

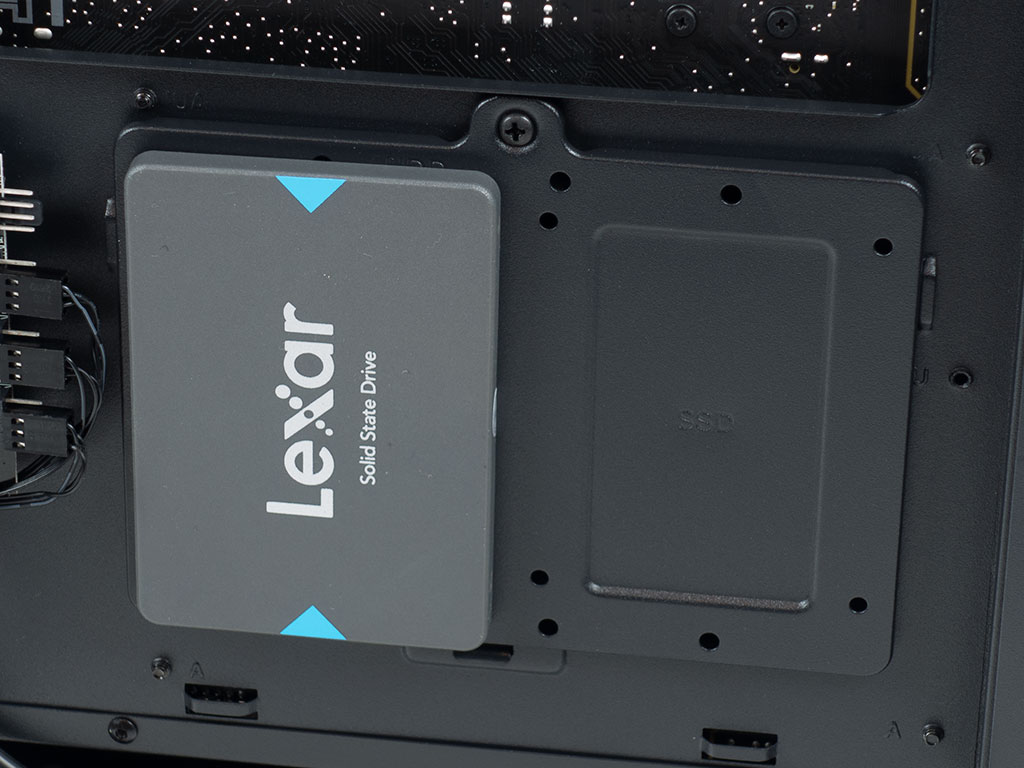
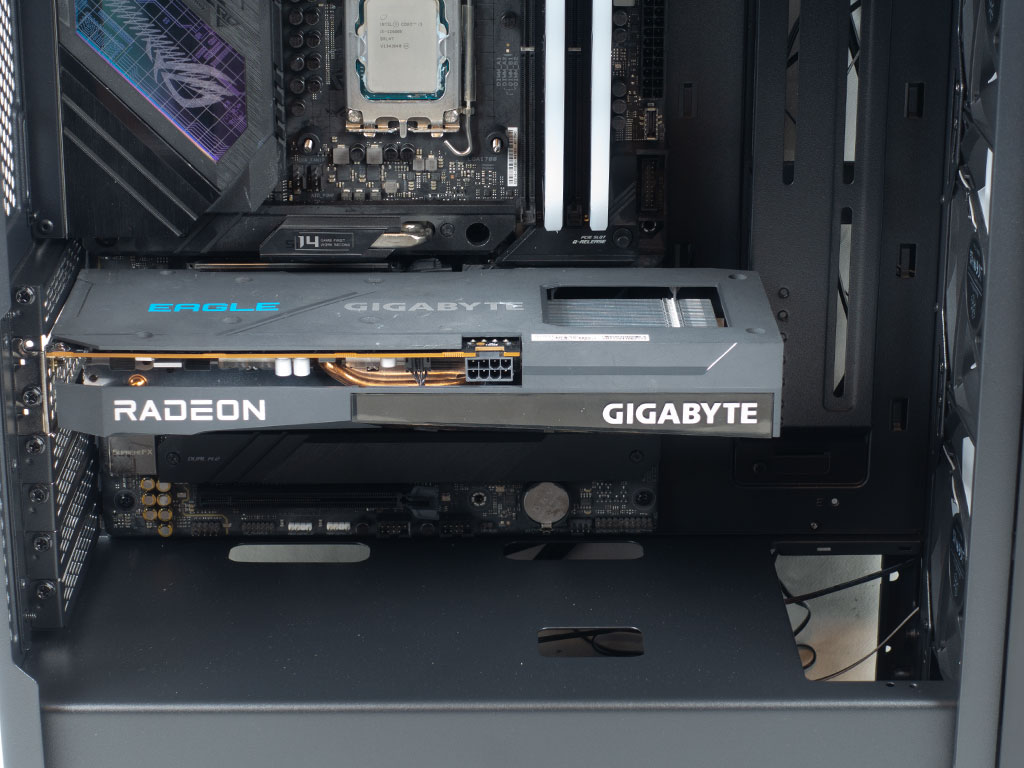
Adding a 2.5" drive to the mounting plate requires the use of screws and the removal of that plate from its position. Once filled, you may simply set it back and use the single screw to hold it down.
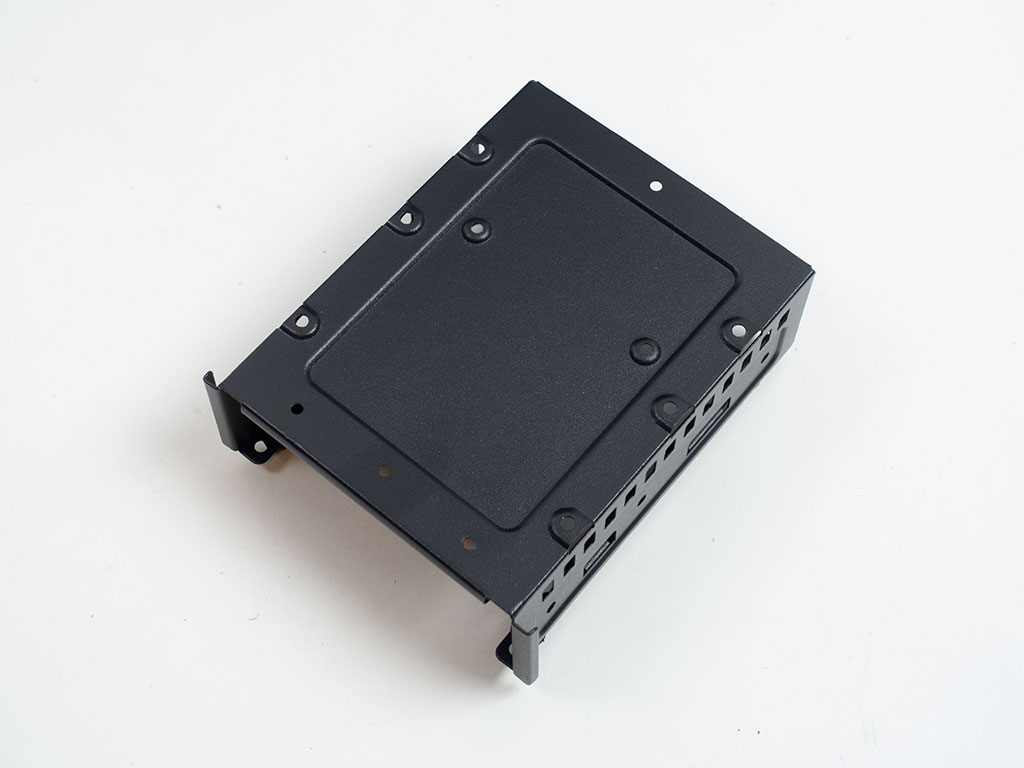
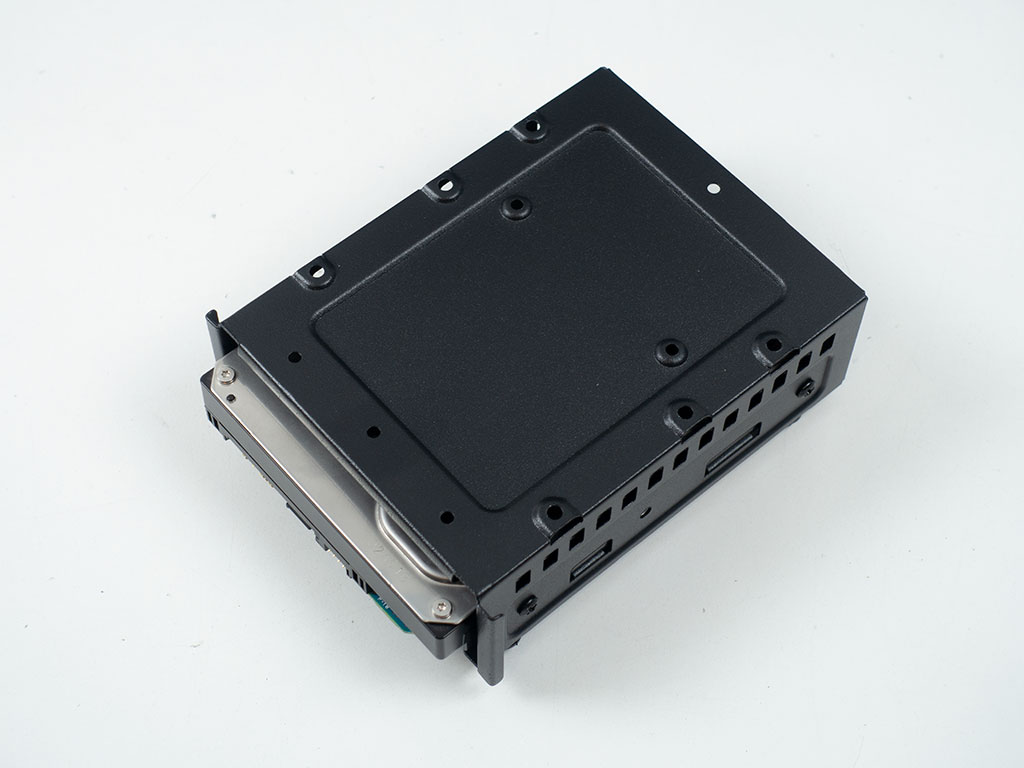
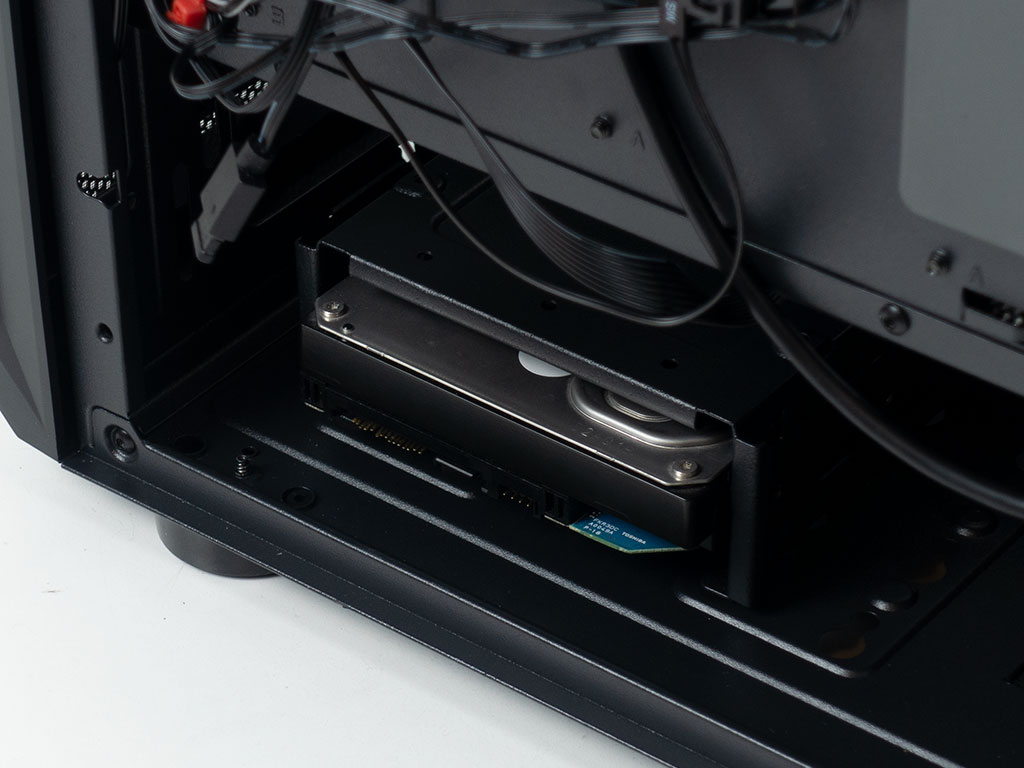
Similarly, the HDD cage has to be removed to screw in a classic drive which you may then slide back into one of the two possible positions. It holds in place pretty well, so if you do not plan to transport your system and would rather have easier access to the cage, you may skip screwing it in from the underside of the floor.
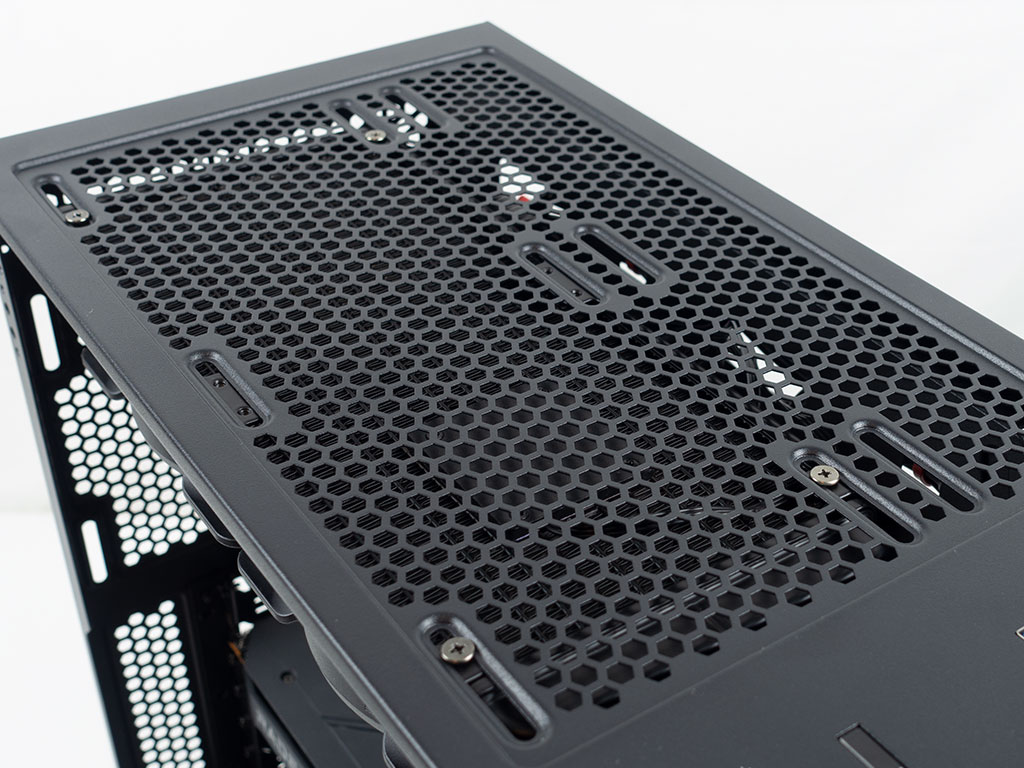
Adding a PSU bears no surprises. Simply slide it in and screw it down from the rear of the case. There is plenty of room, so you should have no issues with wiring, even if your power supply is not modular.
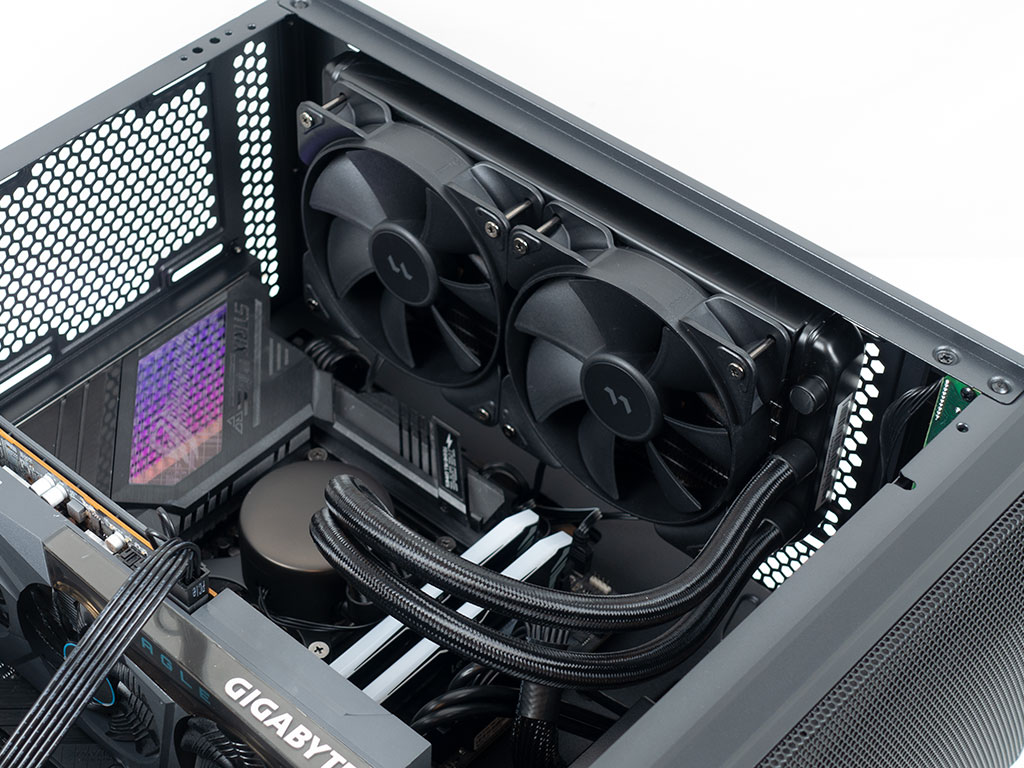
Installing an AIO in the ceiling is pretty straight forward as well. A 240 mm unit will easily fit, as will a 280 mm variant. However with the larger unit, you may want to ensure to first connect everything that plugs into the top edge of the motherboard.
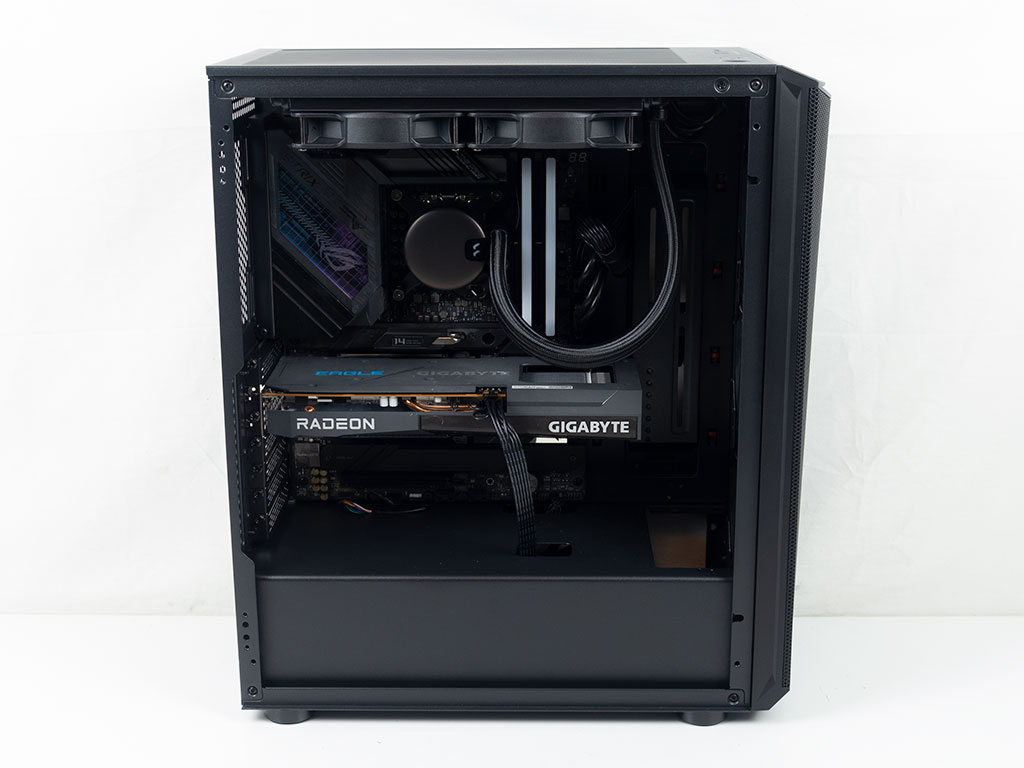
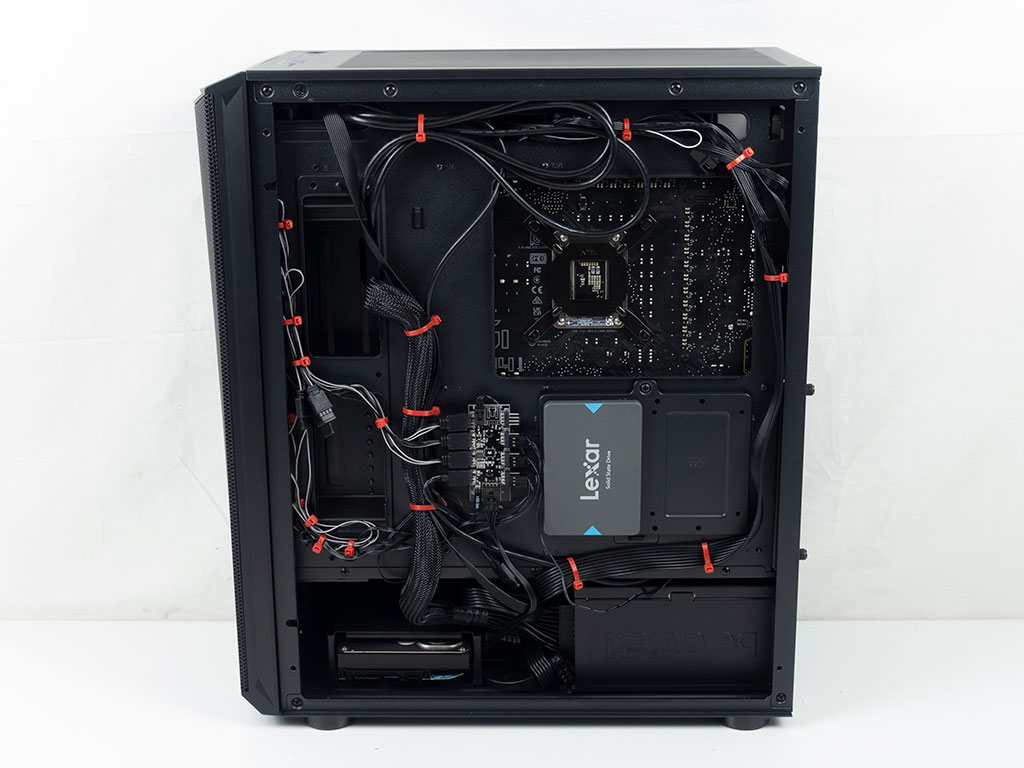
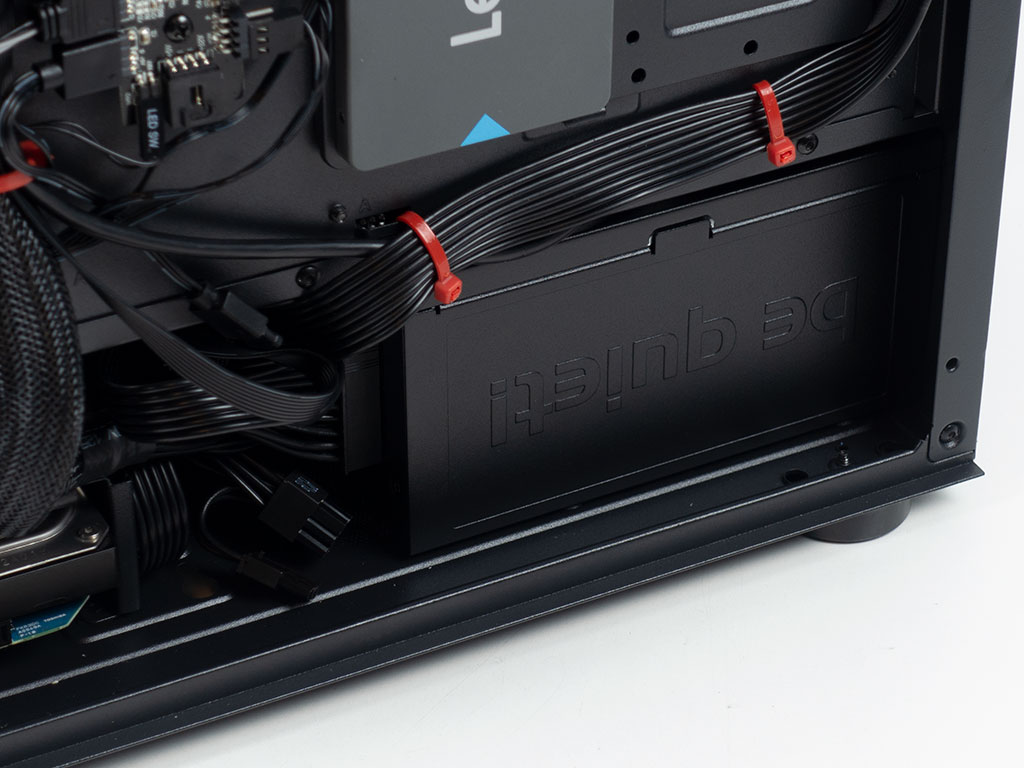
With everything installed, the interior of the SilverStone FARA 512Z looks quite alright. The opening for the PCIe wire is handy and the cover towards the front of the case does a good job in hiding the larger wires incoming from the right. On the bottom, the lack of grommets does mean you see more exposed cables, but that is a mere cosmetic issue. In the rear, after a considerable effort we managed to wrangle the ARGB wiring and connect it to the built-in PCB. On top of that all the other wires were spread out across most of the hook locations to avoid any bulky wire bundles. We did connect the fans to the PCB, as that is clearly the way SilverStone has intended it to be used. As such, you can expect the system to be loud even at idle as all units will run at 100%.
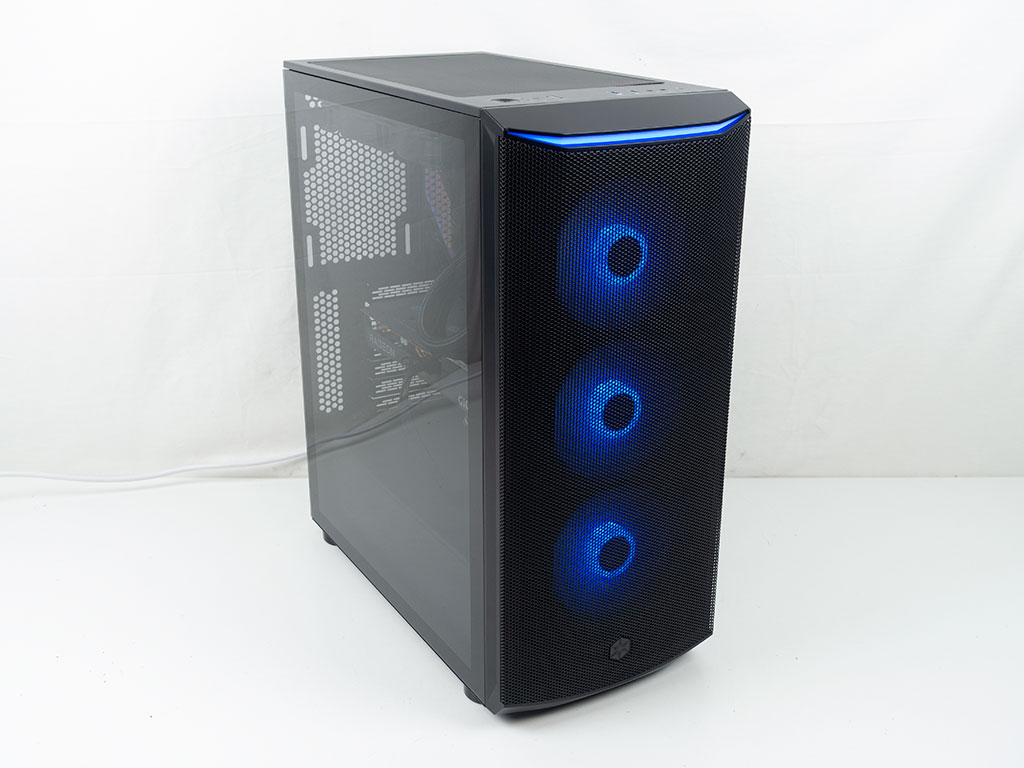
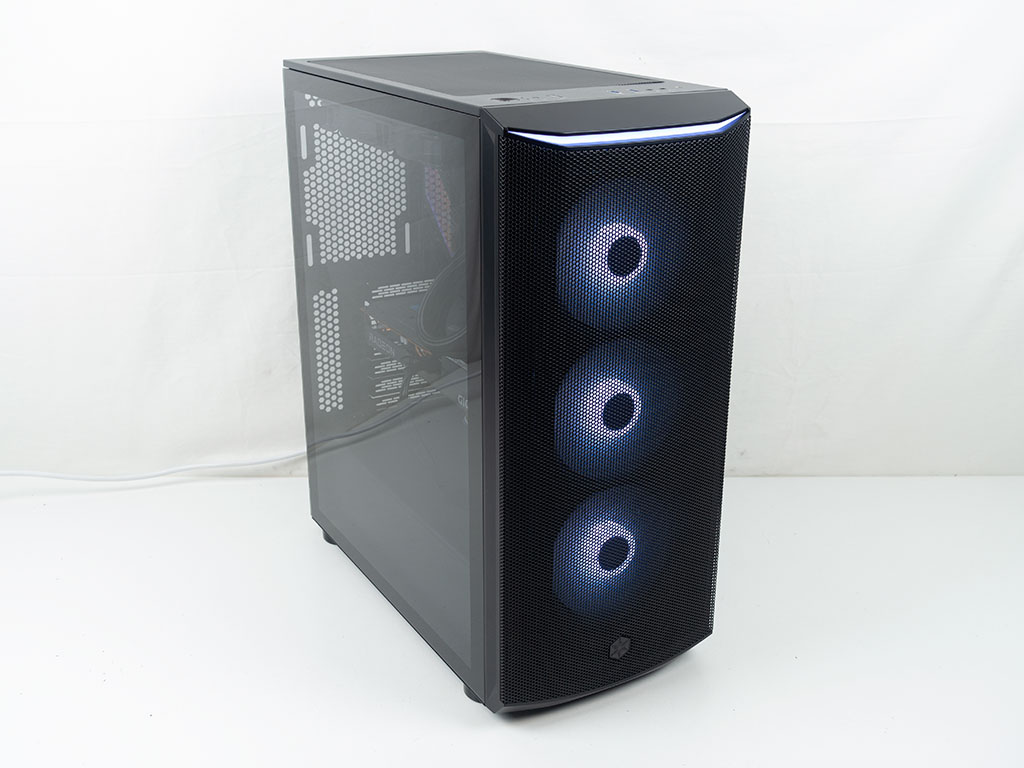
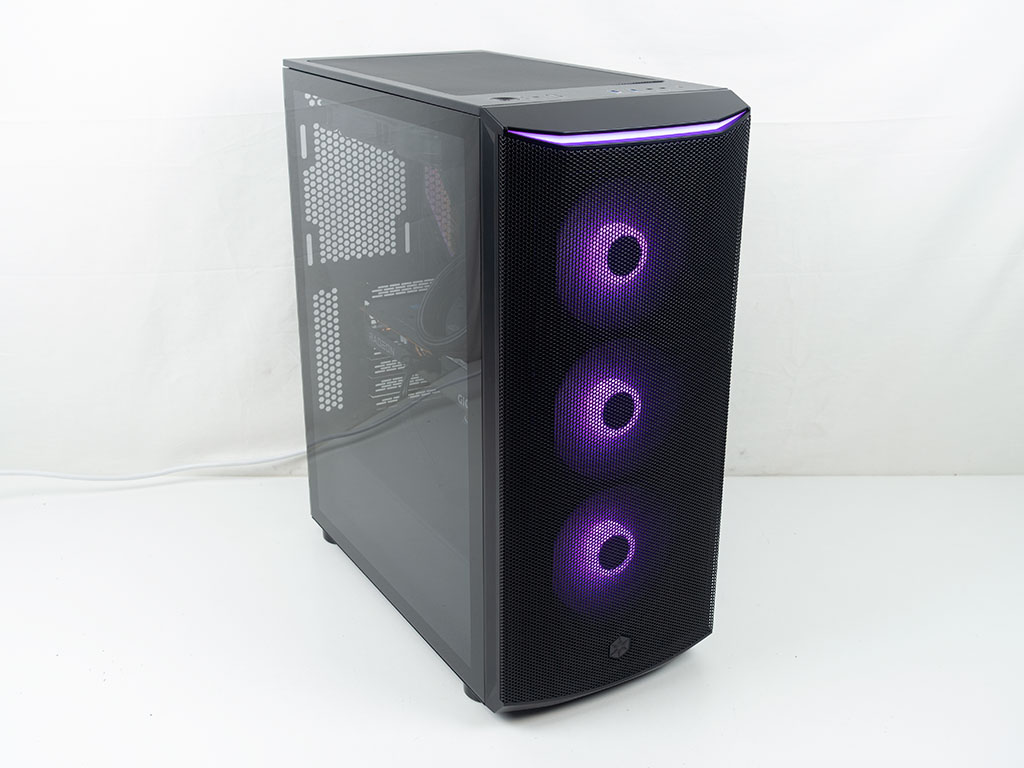
Finished Looks
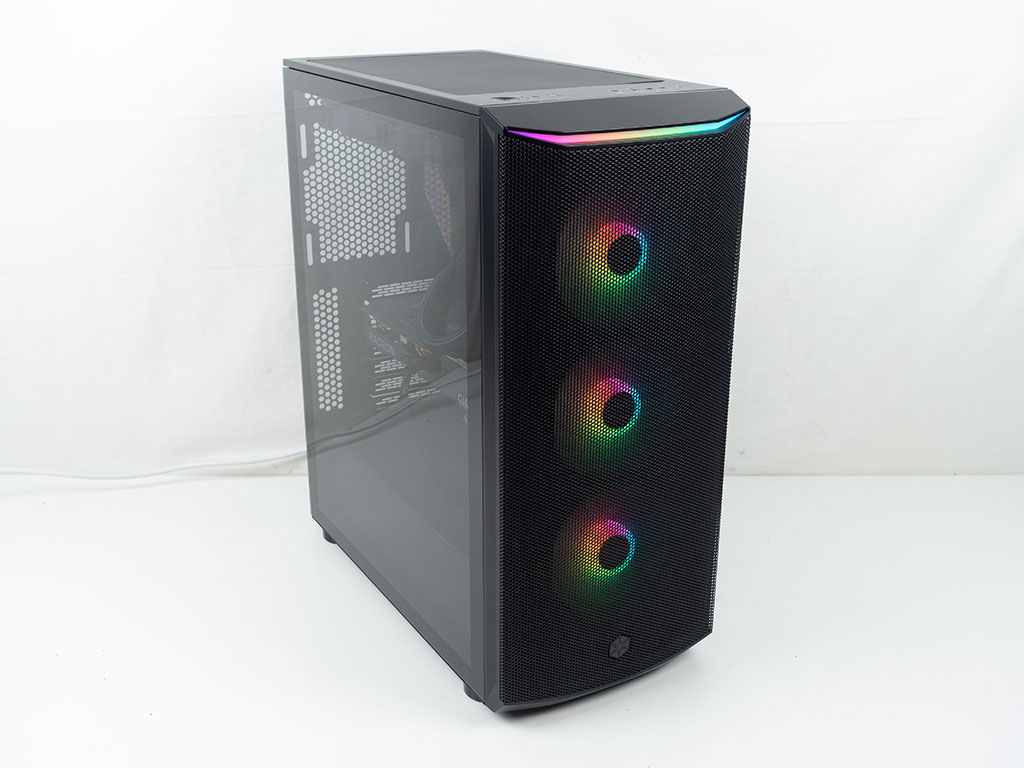
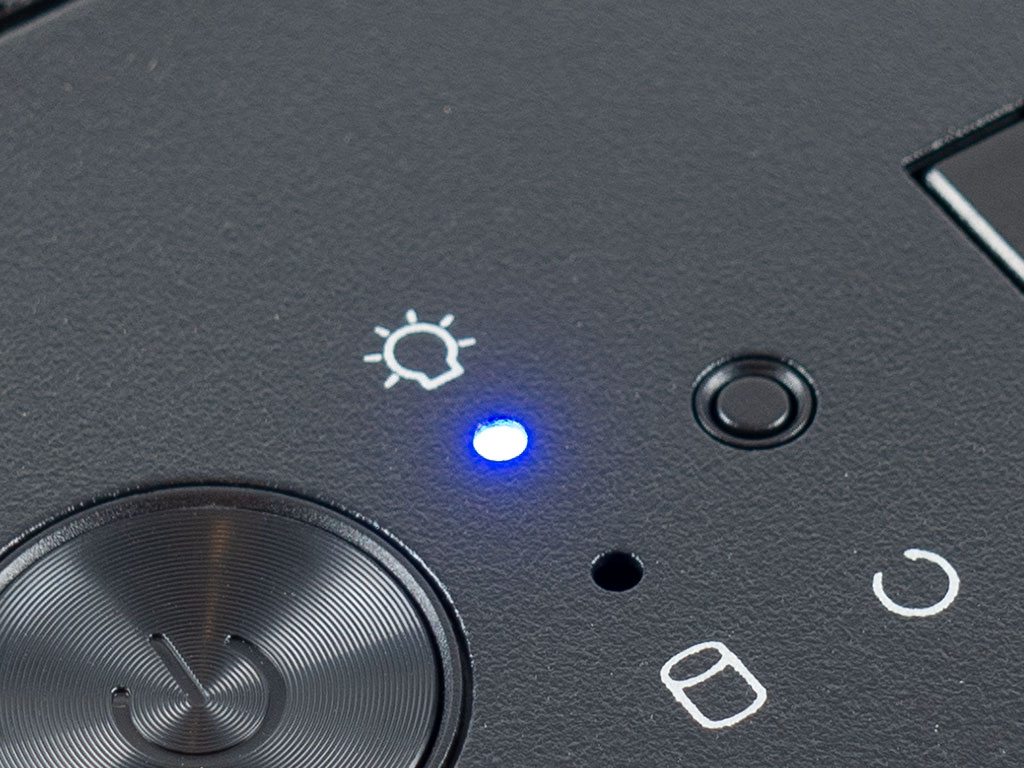
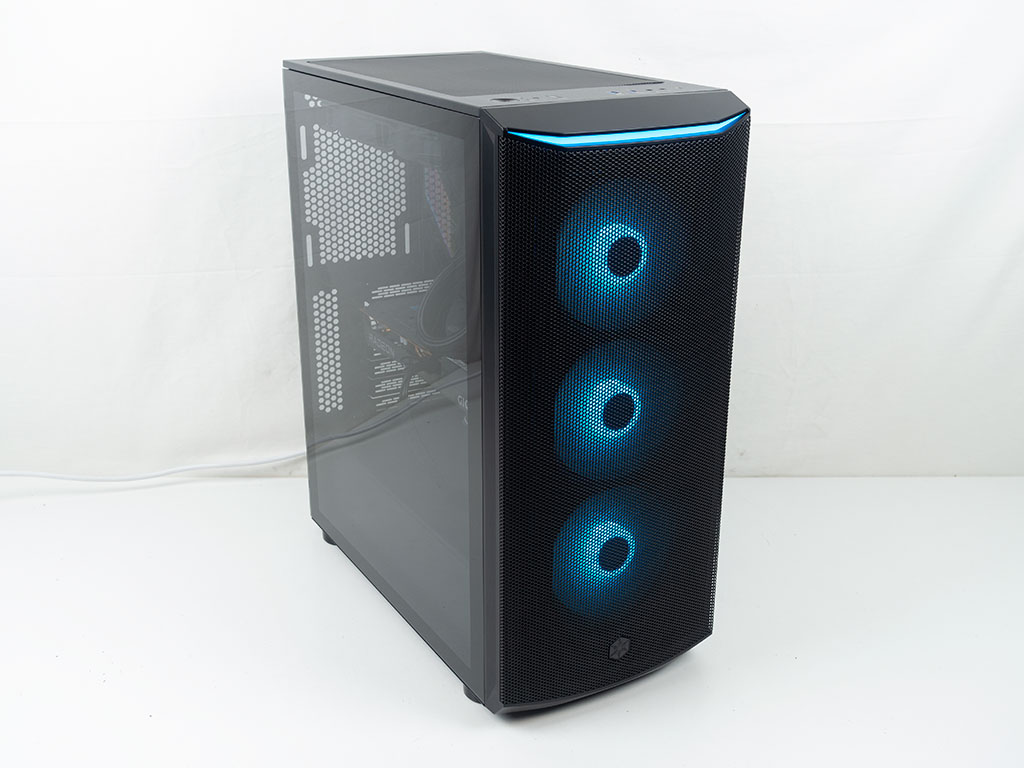
Turning the SilverStone FARA 512Z on for the first time, you are greeted by a rainbow colored ARGB strip and fan mounted LEDs. A blue power light at the top also lets you know that your system is up and running.
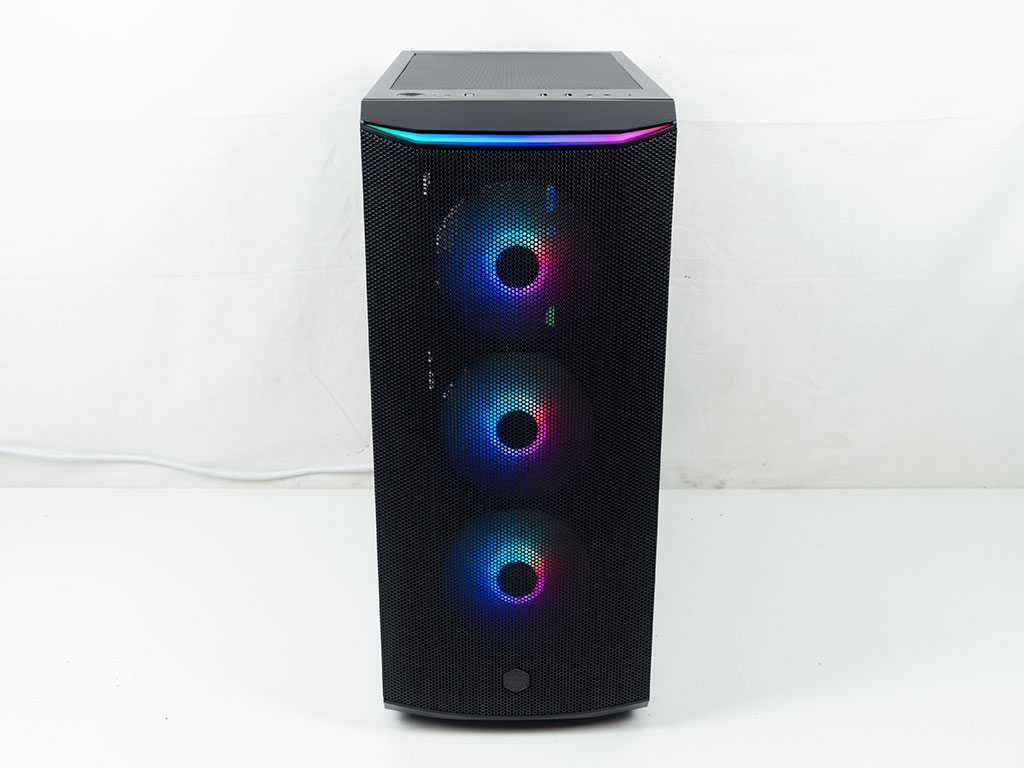
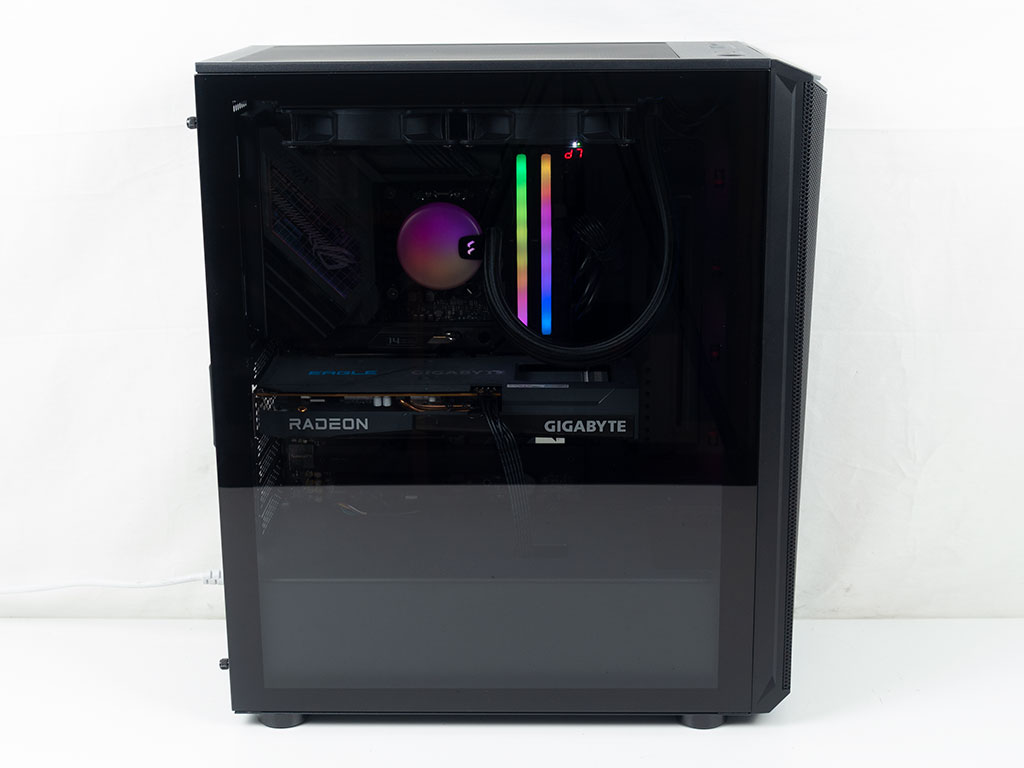
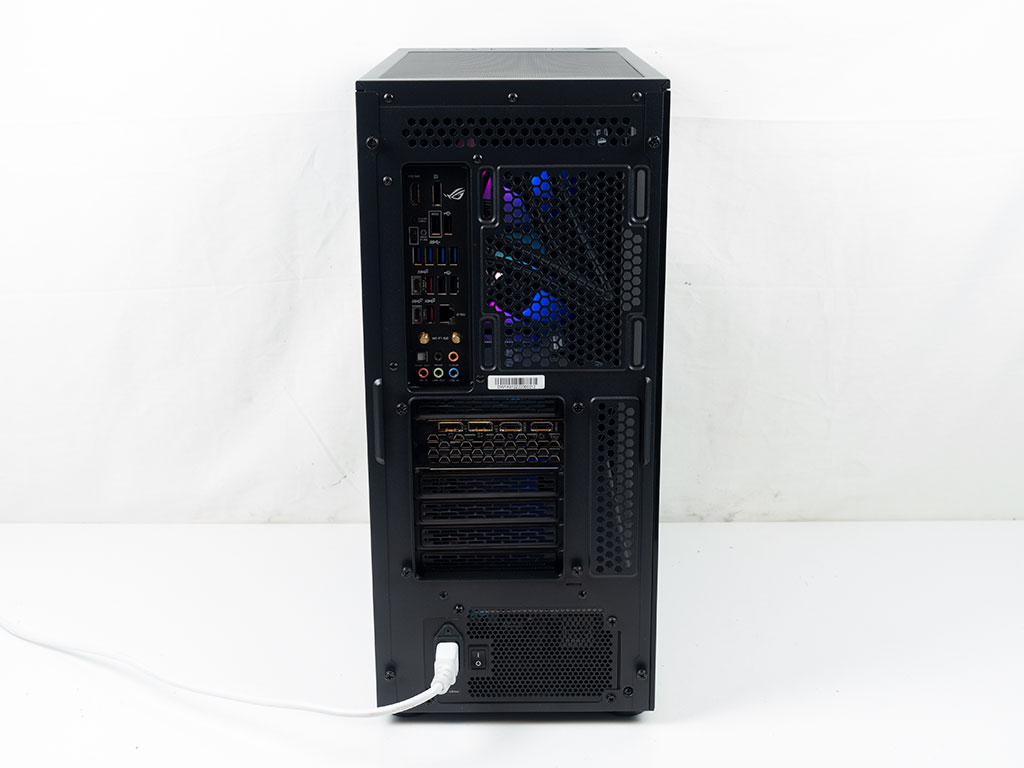
The ARGB lighting effect in the front of the chassis looks quite nice and SilverStone has done an excellent job with the diffusing cover for the top strip. Thanks to the clear window, you may also view all your hardware and interior lighting elements easily. In the rear, everything is where you would expect to see it from a chassis of this layout.
Thanks to the built-in PCB and toggle button at the top of the chassis, you may cycle through several single- as well as multi-color animations. On top of that the FARA 512Z offers seven solid hues which are shown below.


Mar 10th, 2025 18:10 EDT
change timezone
Latest GPU Drivers
New Forum Posts
- USB hard disk box capacity limits (12)
- Please I need help with the poor performance that my PC is giving me (32)
- I'm looking for a good tool to make the 3D scanning of my mini-pc using the photogrammetry and my Kinect 2. (53)
- Maxsun RX580 graphics card crashes (29)
- What is a good real price for the RTX 5090? (23)
- Microcenter GPU Stock status (31)
- Biostar RX 6700 XT OC BIOS (0)
- Msi 5090 DOA? (28)
- DLSS as antialiasing? (23)
- Cryptocoin Value and Market Trend Discussion (1646)
Popular Reviews
- Sapphire Radeon RX 9070 XT Nitro+ Review - Beating NVIDIA
- XFX Radeon RX 9070 XT Mercury OC Magnetic Air Review
- ASUS Radeon RX 9070 TUF OC Review
- MSI MAG B850 Tomahawk Max Wi-Fi Review
- NVIDIA GeForce RTX 5080 Founders Edition Review
- NVIDIA GeForce RTX 5070 Founders Edition Review
- Corsair Vengeance RGB CUDIMM DDR5-8800 48 GB CL42 Review
- AMD Ryzen 7 9800X3D Review - The Best Gaming Processor
- ASUS GeForce RTX 5070 Ti TUF OC Review
- MSI GeForce RTX 5070 Ti Gaming Trio OC+ Review
Controversial News Posts
- NVIDIA GeForce RTX 50 Cards Spotted with Missing ROPs, NVIDIA Confirms the Issue, Multiple Vendors Affected (513)
- AMD Plans Aggressive Price Competition with Radeon RX 9000 Series (277)
- AMD Radeon RX 9070 and 9070 XT Listed On Amazon - One Buyer Snags a Unit (261)
- AMD RDNA 4 and Radeon RX 9070 Series Unveiled: $549 & $599 (260)
- AMD Mentions Sub-$700 Pricing for Radeon RX 9070 GPU Series, Looks Like NV Minus $50 Again (248)
- NVIDIA Investigates GeForce RTX 50 Series "Blackwell" Black Screen and BSOD Issues (244)
- AMD Radeon RX 9070 and 9070 XT Official Performance Metrics Leaked, +42% 4K Performance Over Radeon RX 7900 GRE (195)
- AMD Radeon RX 9070-series Pricing Leaks Courtesy of MicroCenter (158)