 2
2
SilverStone FARA B1 Pro Review
Thermal Stress Test »Review System
| System Parts for Case Reviews | |
|---|---|
| Processor: | ATX: Intel Core i5-11600K mATX/ITX: Intel Core i5-10600K Provided by: Intel |
| Motherboards: | ATX: Gigabyte Z590 AORUS PRO AX ITX: Gigabyte Z590I Vision D Provided by: Gigabyte mATX: ASRock B560M Steel Legend Provided by: ASRock |
| Graphics Card: | Palit GeForce RTX 2080 Gaming Pro OC Provided by: Palit ZOTAC GAMING GeForce RTX 3060 Ti Twin Edge OC Provided by: Zotac |
| Memory: | 16 GB XPG SPECTRIX D50 3200 MHz 16 GB XPG SPECTRIX D60G DDR4 3000 MHz 16 GB XPG GAMMIX D20 DDR4 3200 MHz Provided by: ADATA |
| HDD: | Western Digital 320 GB 7200 RPM |
| SSD: | ATX:XPG SPECTRIX S20G 500 GB mATX: XPG GAMMIX S50 Lite 1 TB ITX: ADATA Falcon 512 GB ADATA Ultimate SU800 512 GB ADATA Ultimate SU720 500 GB Provided by: ADATA |
| Power Supply: | ATX: Fractal Design ION+ 650W 80 Plus Gold SFX: Fractal Design ION SFX-L 650W 80 Plus Gold Provided by: Fractal Design |
| Cooling: | be quiet! Pure Loop 120/240/280/360 Provided by: be quiet! |
Assembly
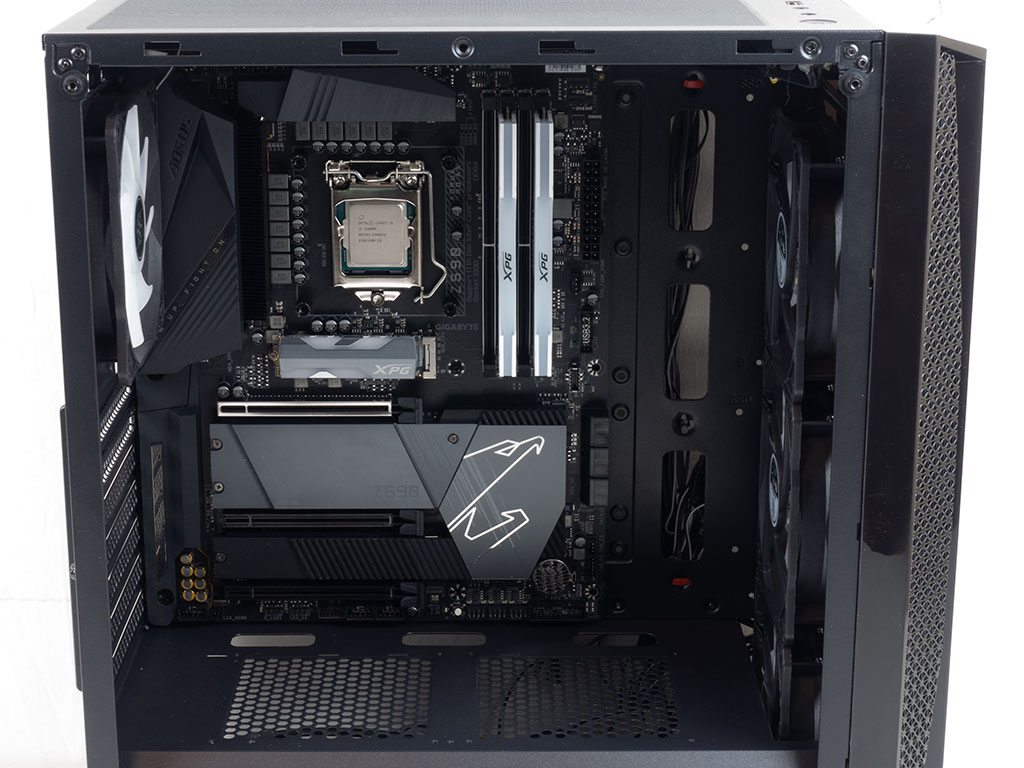
Installing the motherboard is done by traditional means, using spacers and screws. There is not a lot of room on the bottom edge of the board, but some at the top. However, those openings will partly be blocked by fans or liquid cooling. As previously mentioned, the row of cable-routing holes to the right of the board is covered by the motherboard, leaving just the column in the very front.
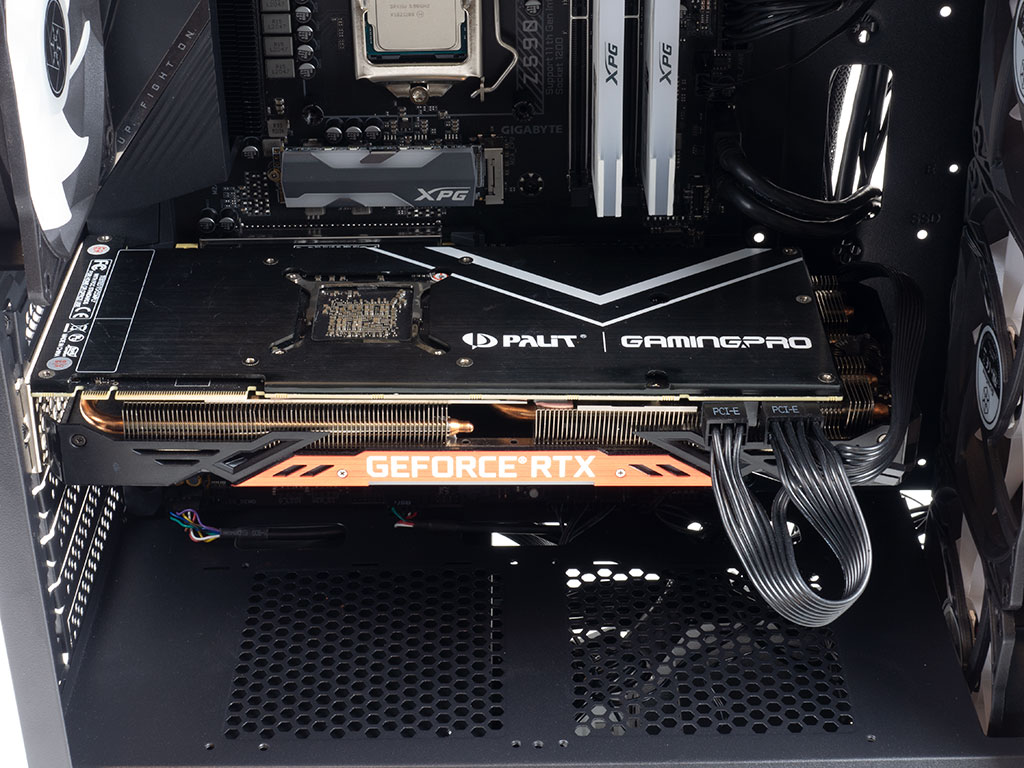
Adding the GPU already meant breaking out one of the non-reusable covers. That said, most long GPUs will fit inside the case just fine.
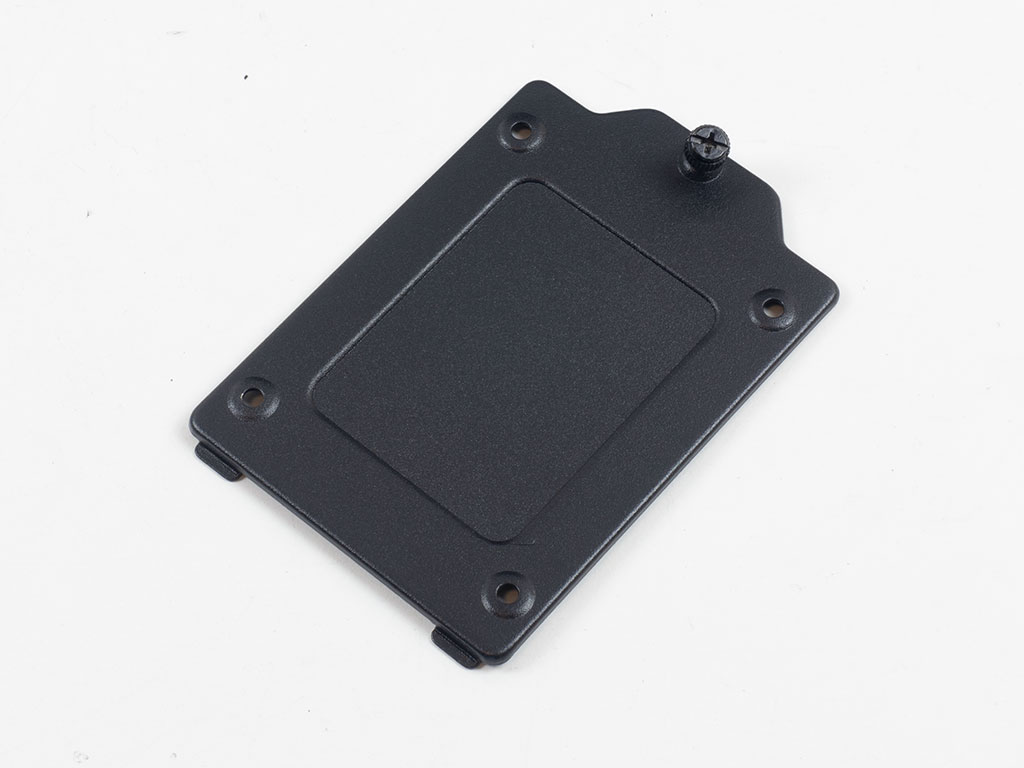
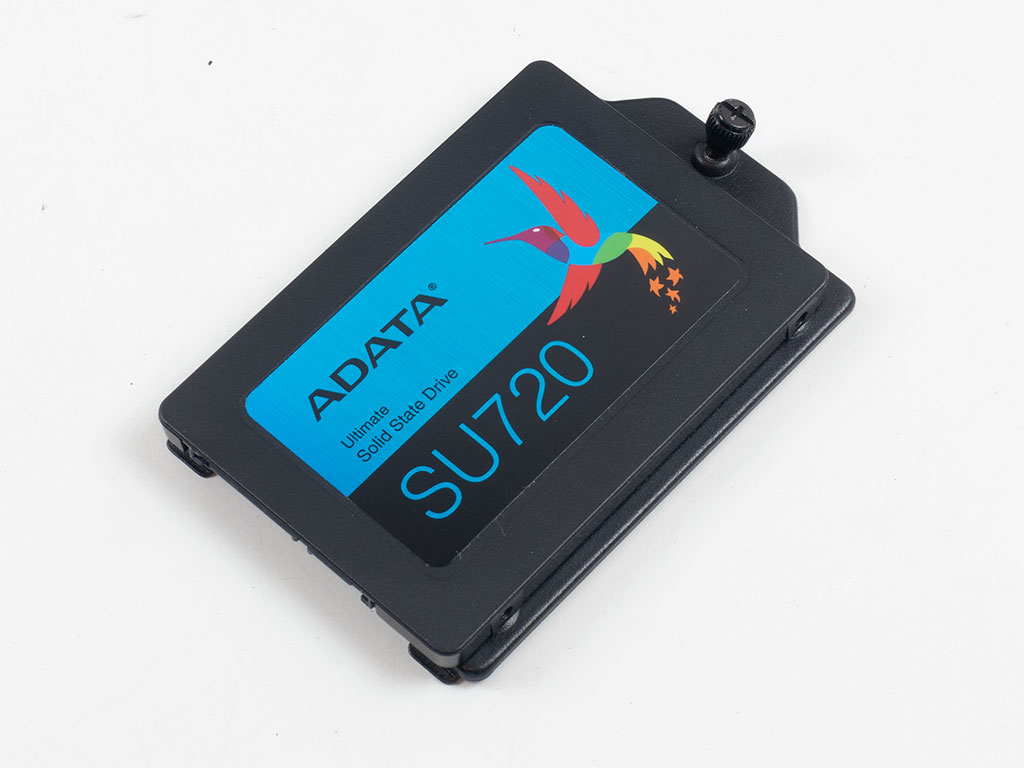
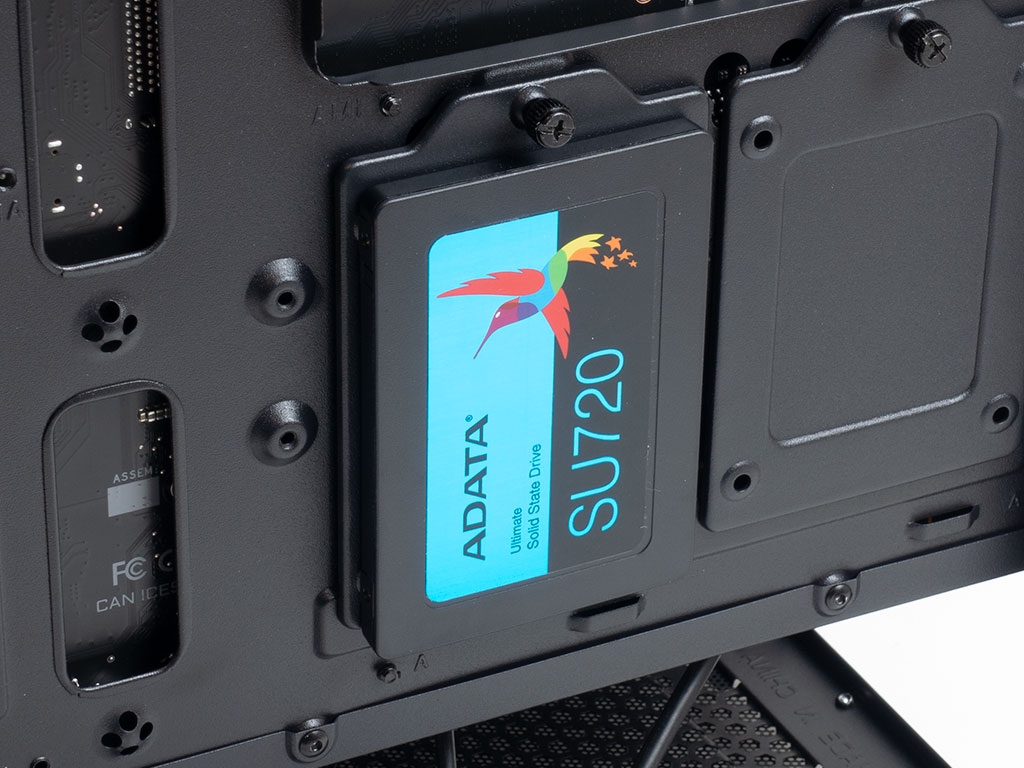
Installing an SSD on any of the trays is easy, and these trays may be filled outside of the chassis and then placed back onto the backside of the motherboard tray, on top of the 3.5" HDD cage or shown off on top of your shroud.
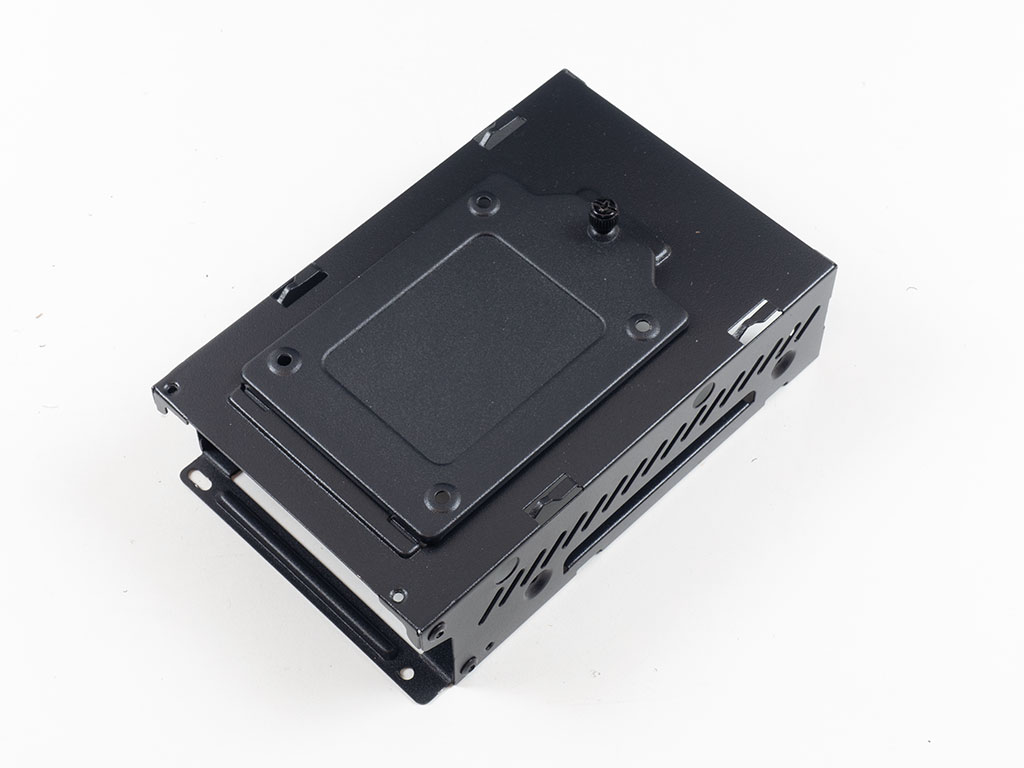
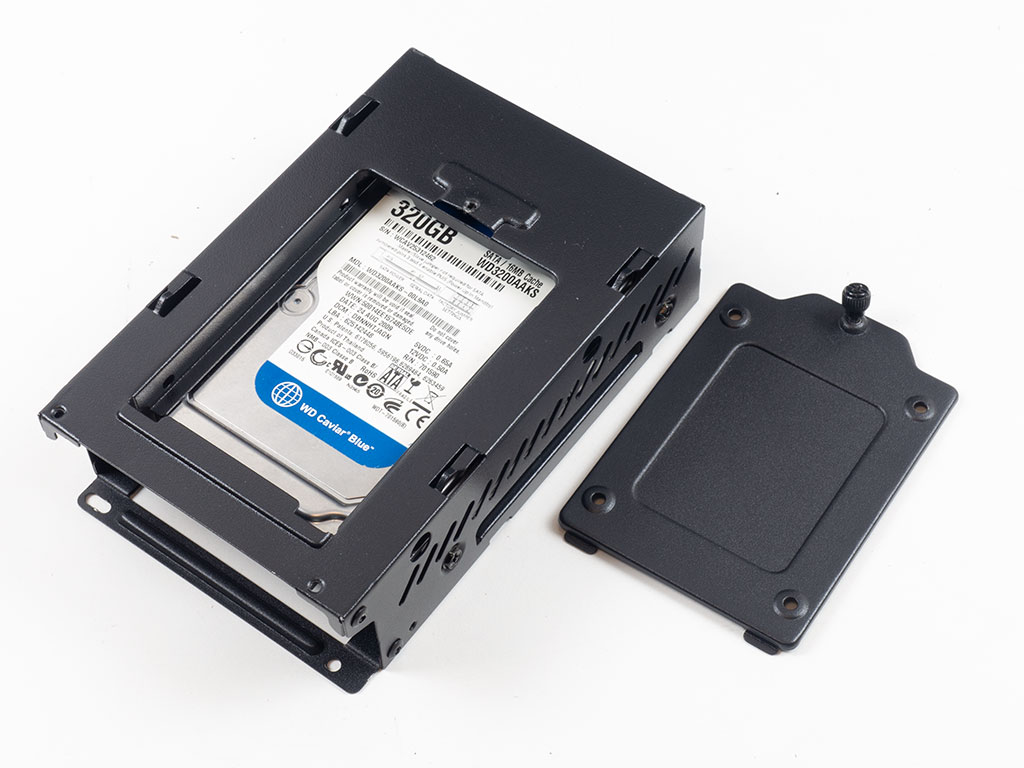
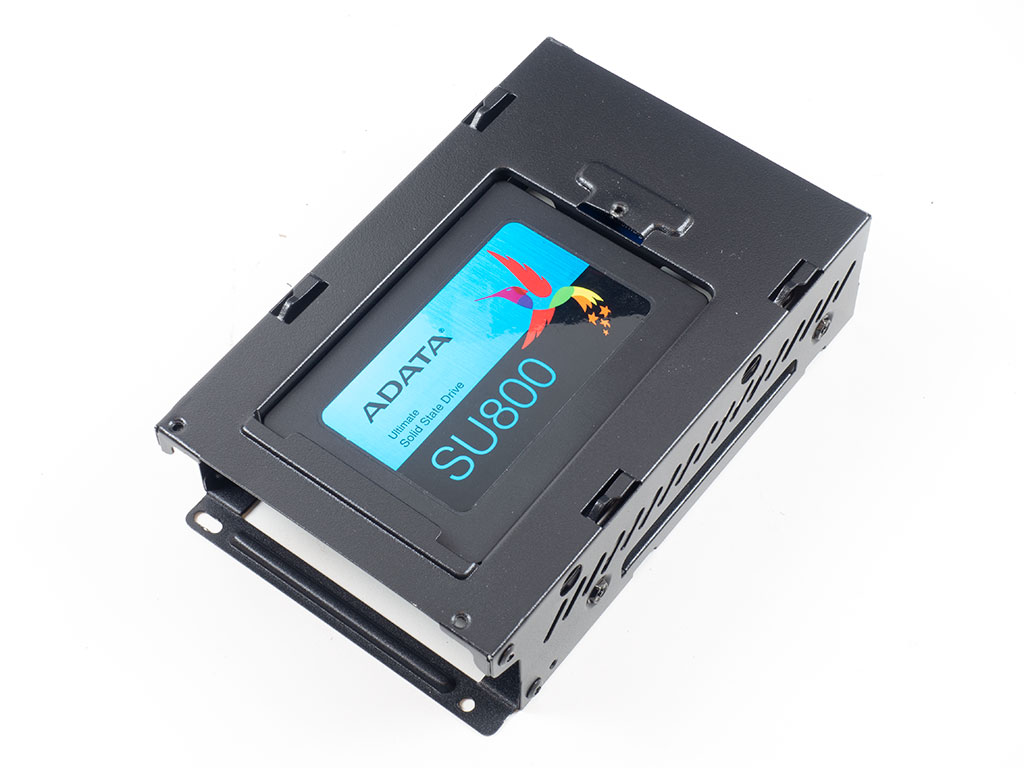
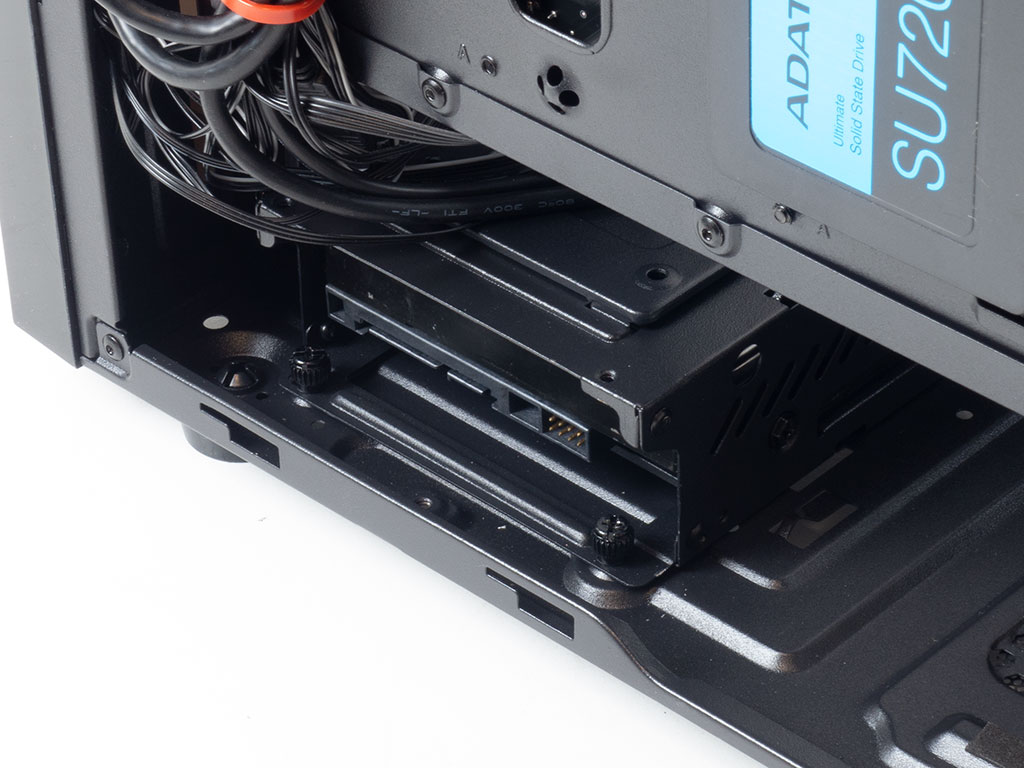
To include a 3.5" drive in your build, pull the cage out from underneath the shroud. It is engineered to fit both a 3.5" and a 2.5" unit, with a third, tray-based 2.5" mounting slot in the top. All drives are secured by traditional screws, and once filled, you may simply slide the whole thing back and use the two thumb screw to pin it down.
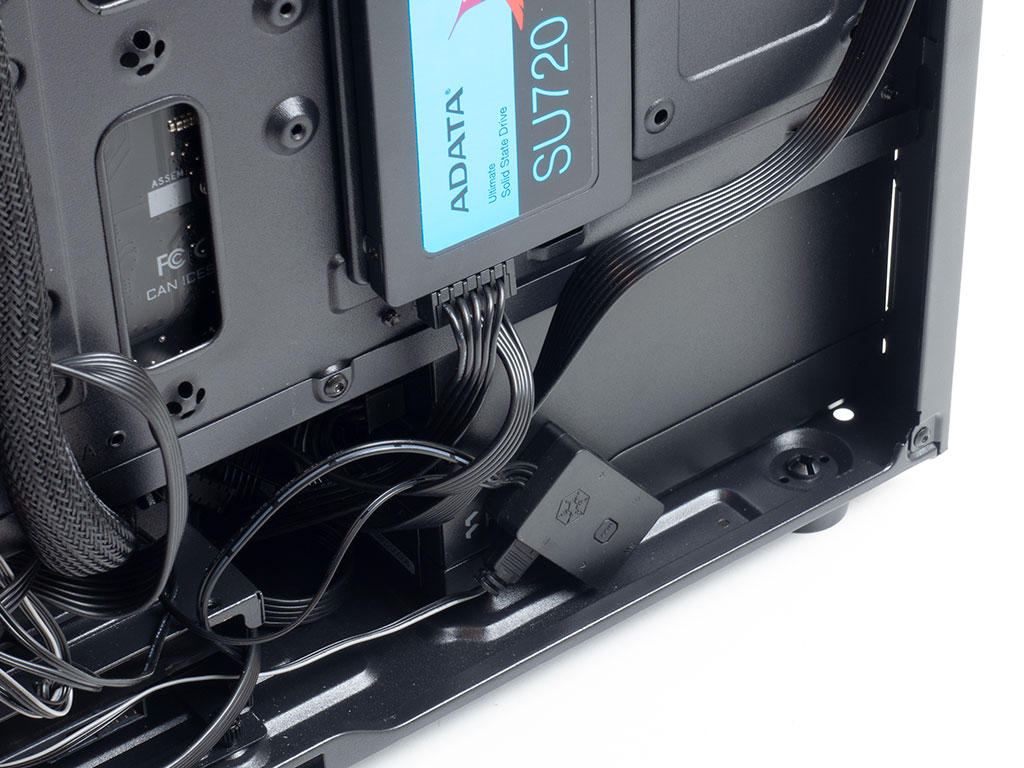
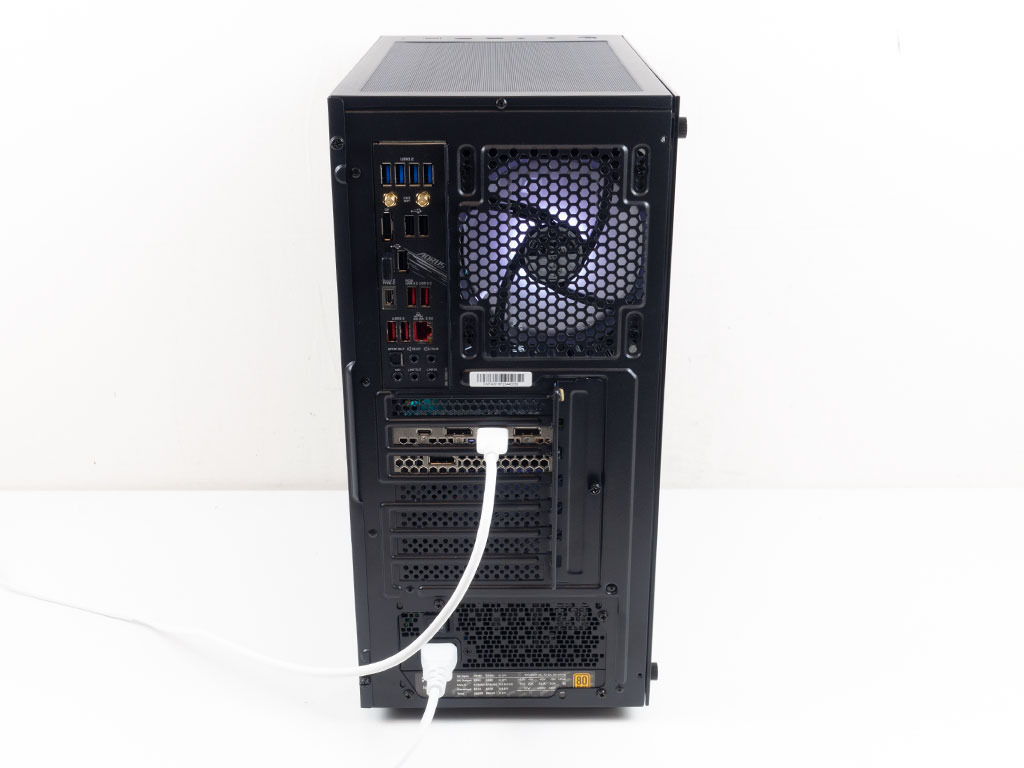
Getting the PSU into the bay was a bit of a squeeze in terms of the height of the shroud. One has to watch the USB 2.0 and audio cables of the case a little in the process. But once in place, just secure it with classic screws with about 2" of room to the hard drive cage for any cables you may have.

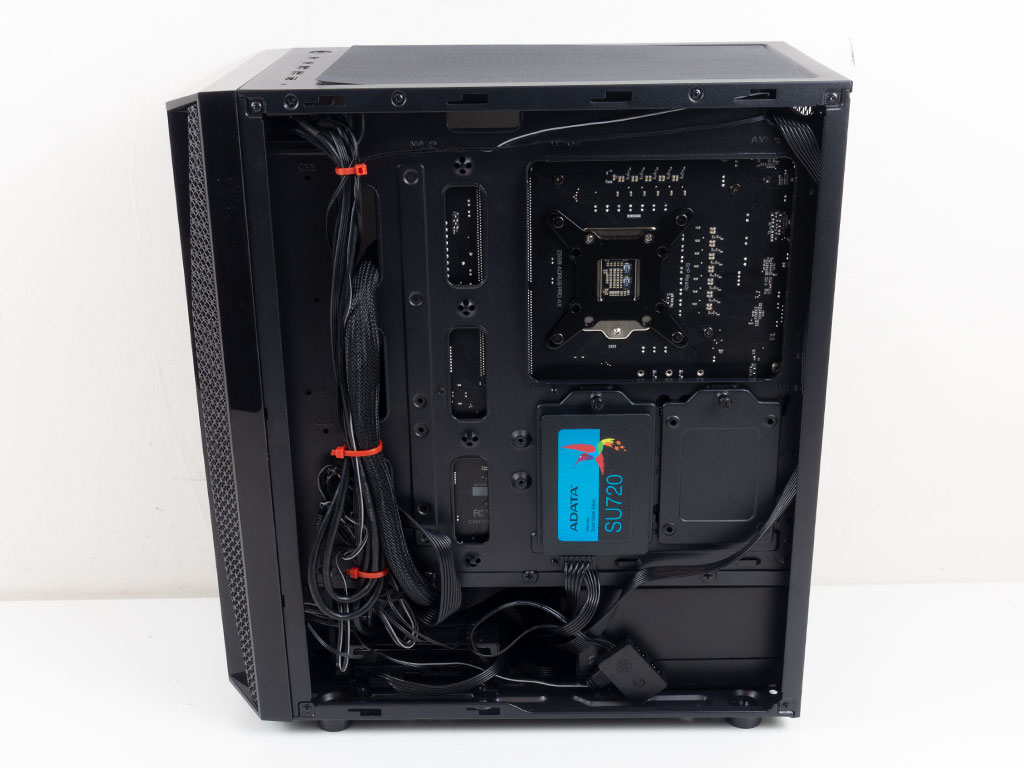
Lastly, installing the 240 AIO was a bit tricky since the side without any tubing is slightly shorter, which resulted in the fans colliding with the motherboard heatsink and had me rotate it around and push it as far towards the front as possible to barely fit it all. The result works just fine with the Pure Loop 240 mm unit, but it would depend on the AIO you use. Overall, the case makes a good impression in terms of cleanliness. Even though the frame employs weird domes as "zip-tie hooks," our slightly thicker, red variants fit through these with a bit of tough love. We also spent a bit of time cleaning up the cables for the four fans as each comes with two leads, and we had to find a place for the separate ARGB controller.
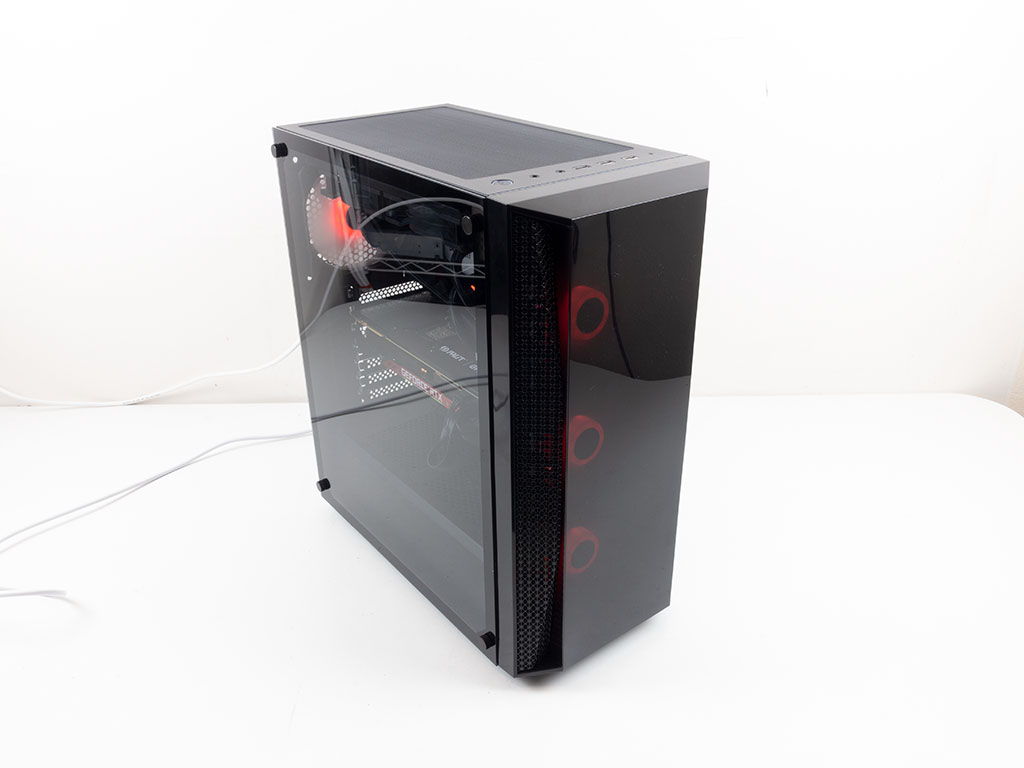
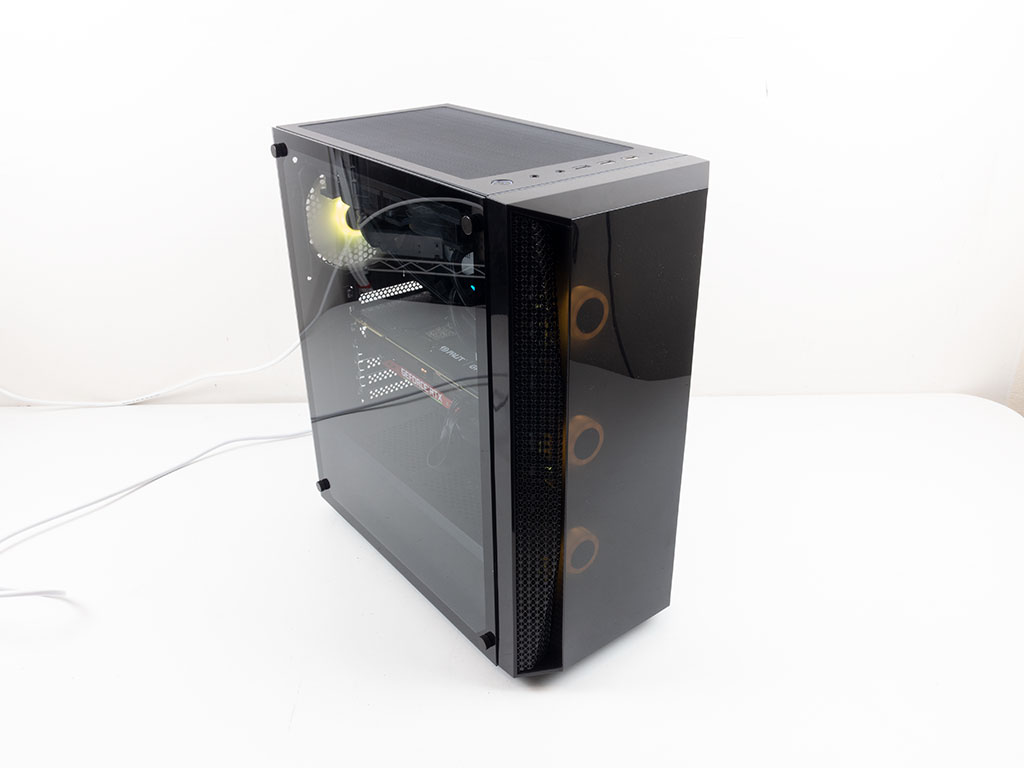
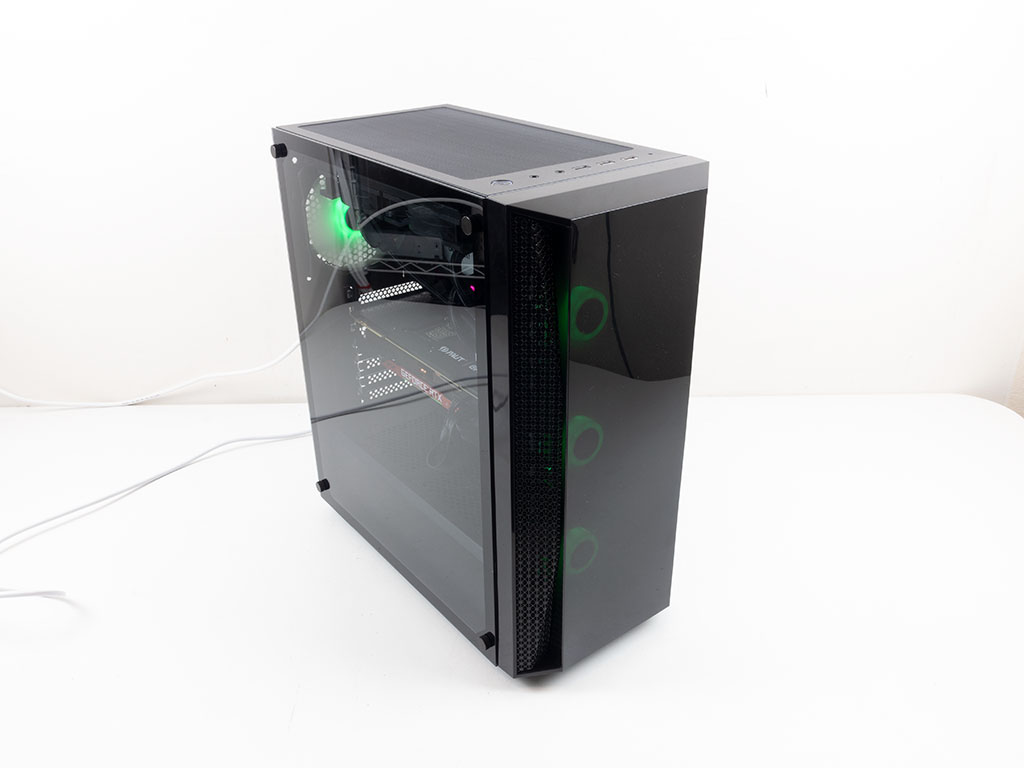
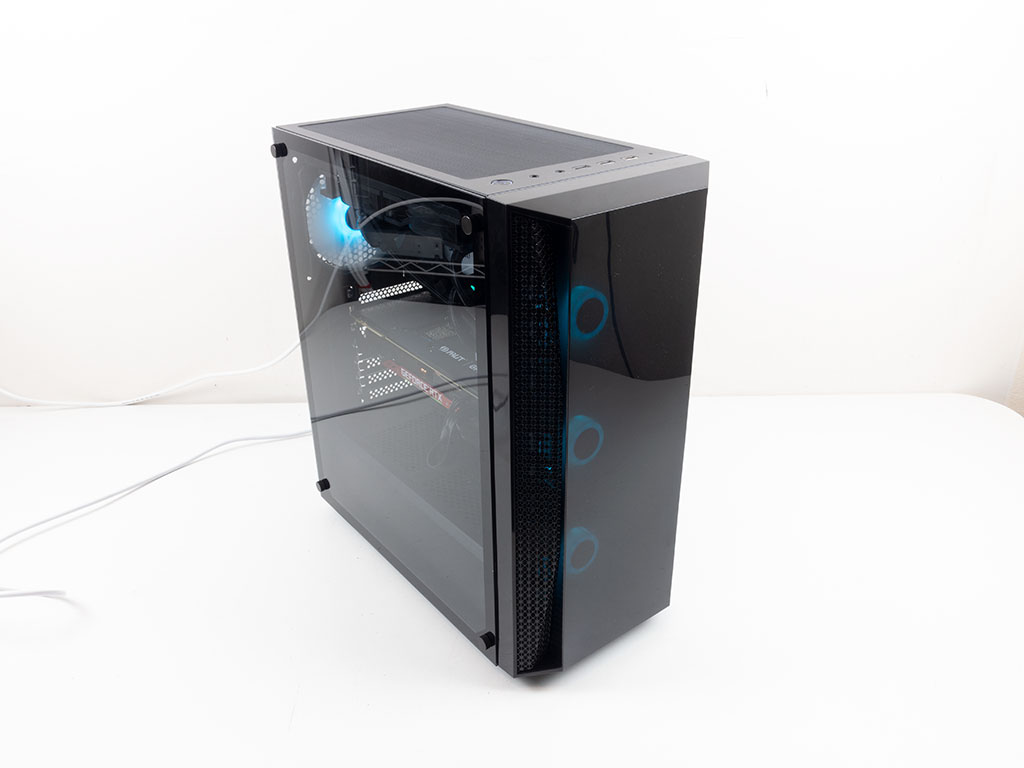
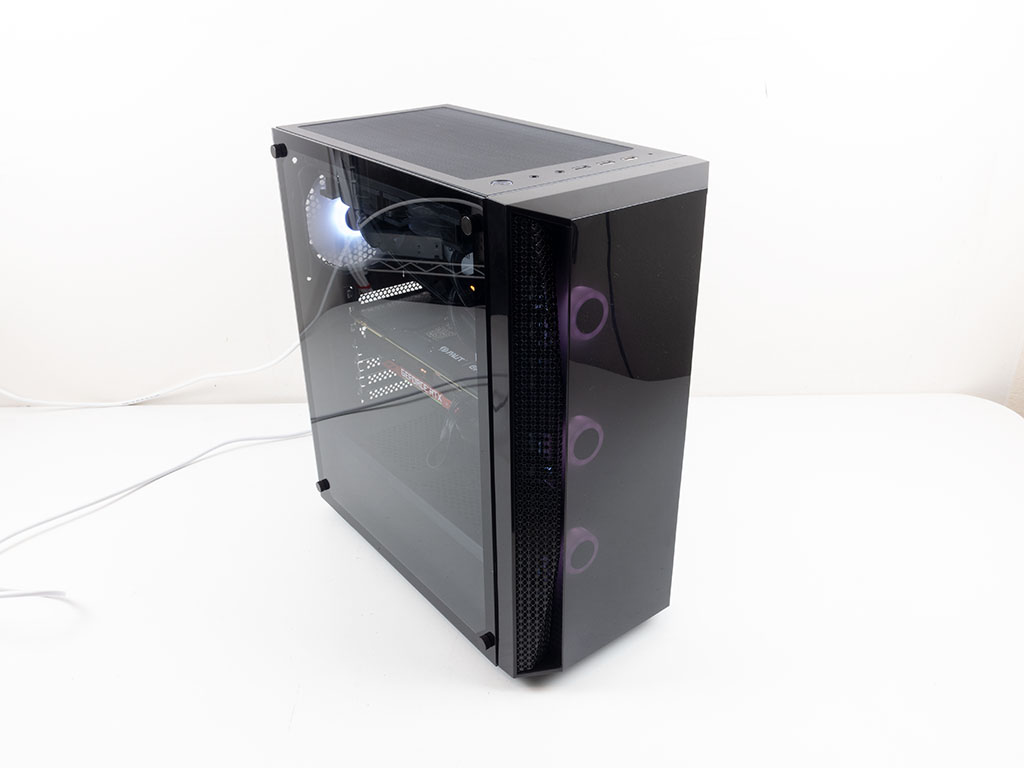
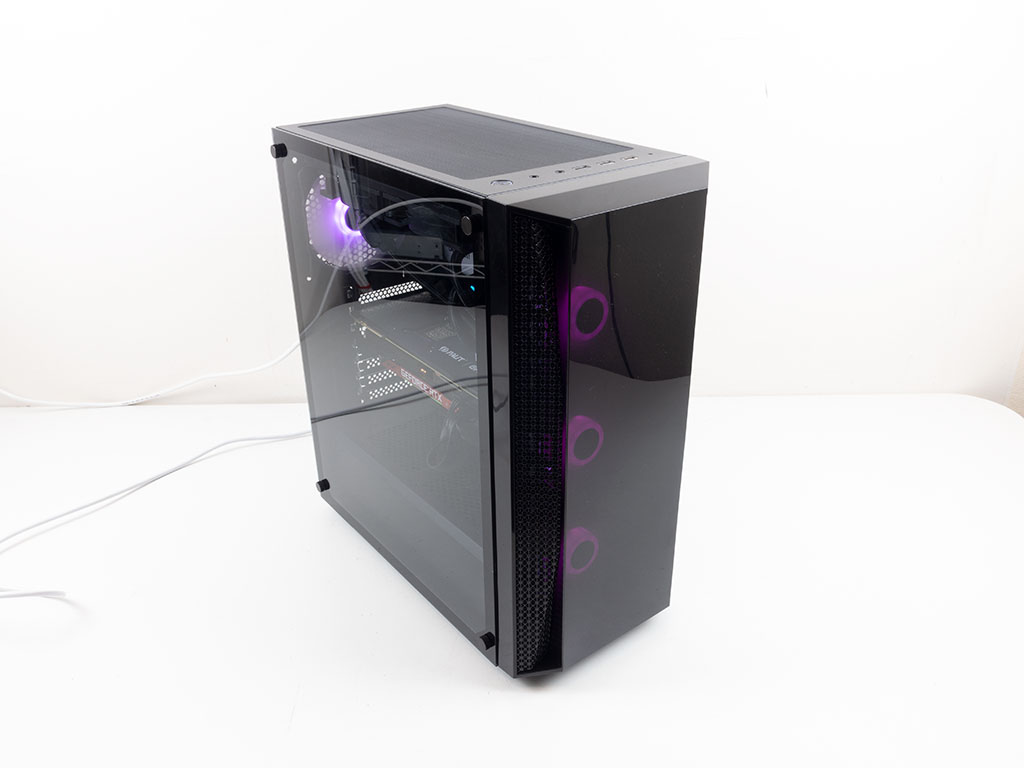
Finished Looks
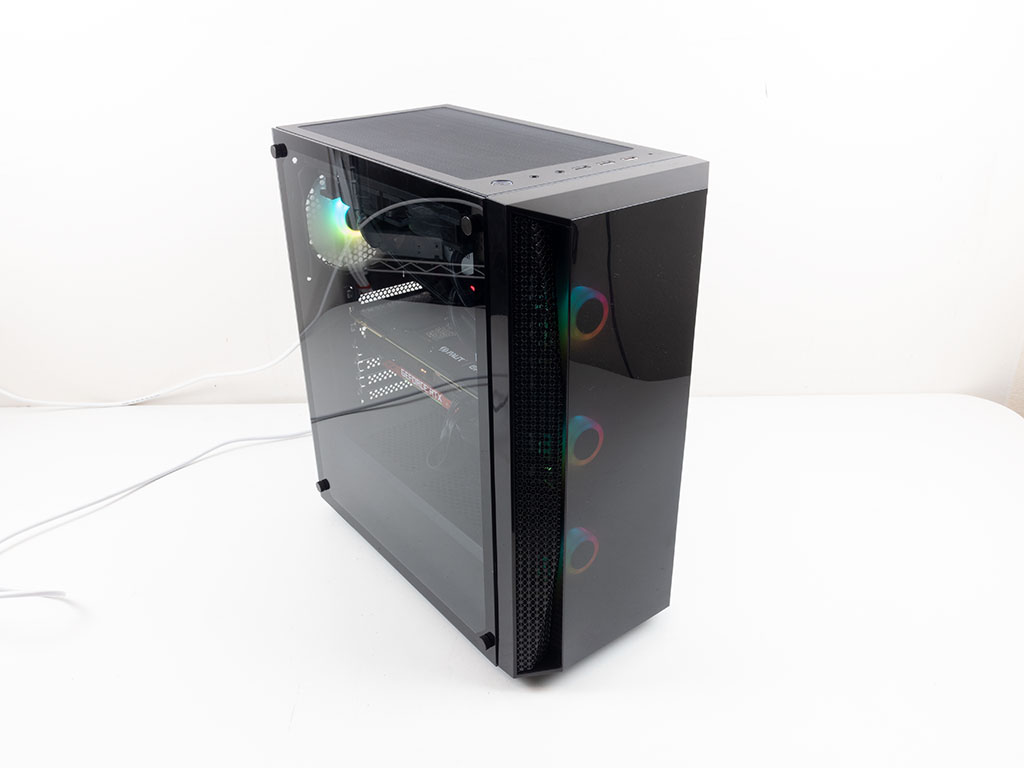
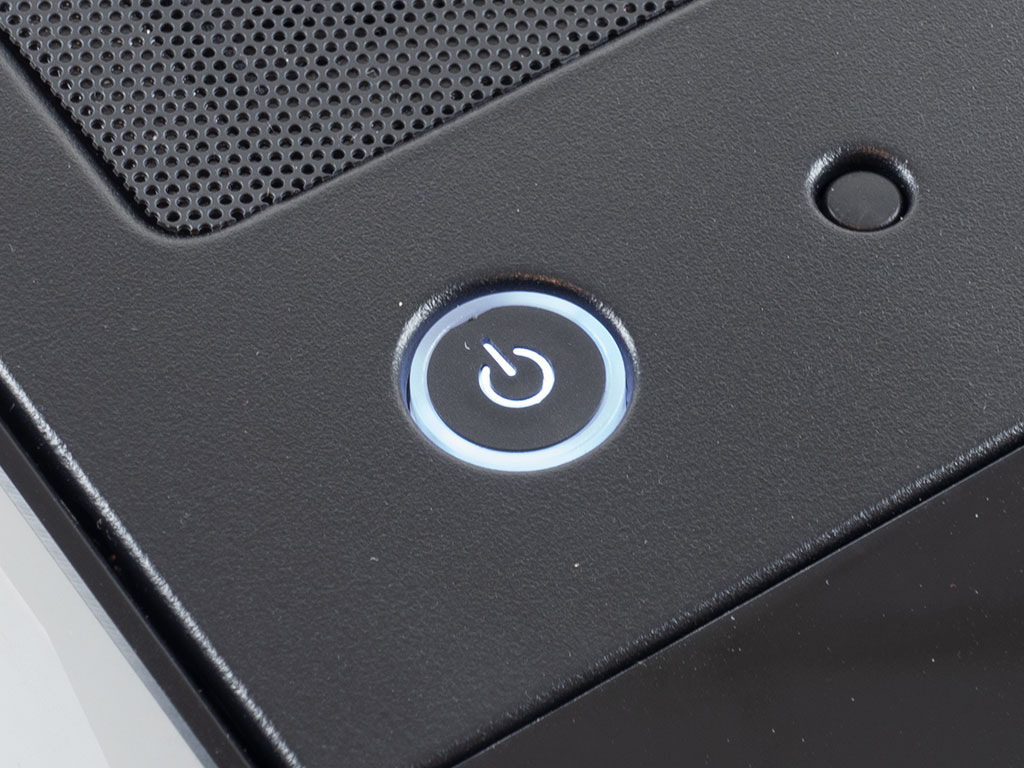
With the SilverStone FARA B1 Pro turned on, you can see the ARGB glow from the three fan hubs in the front as well as the shine from the rear. A nice white power LED turns on as soon as the system is up and running.
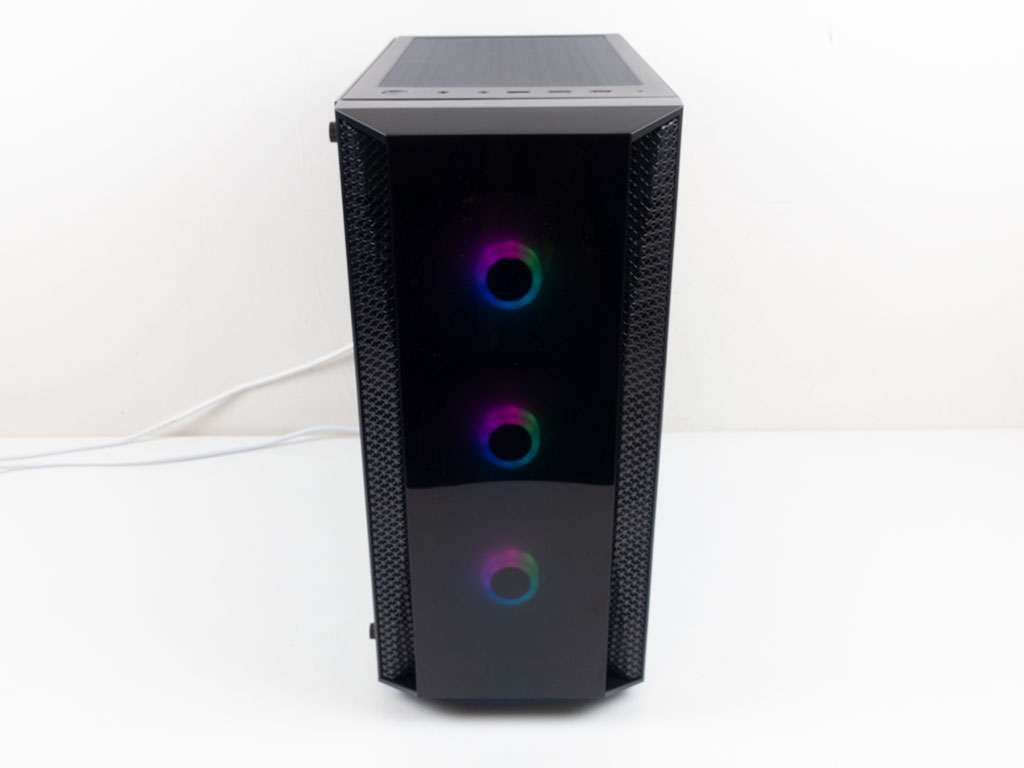
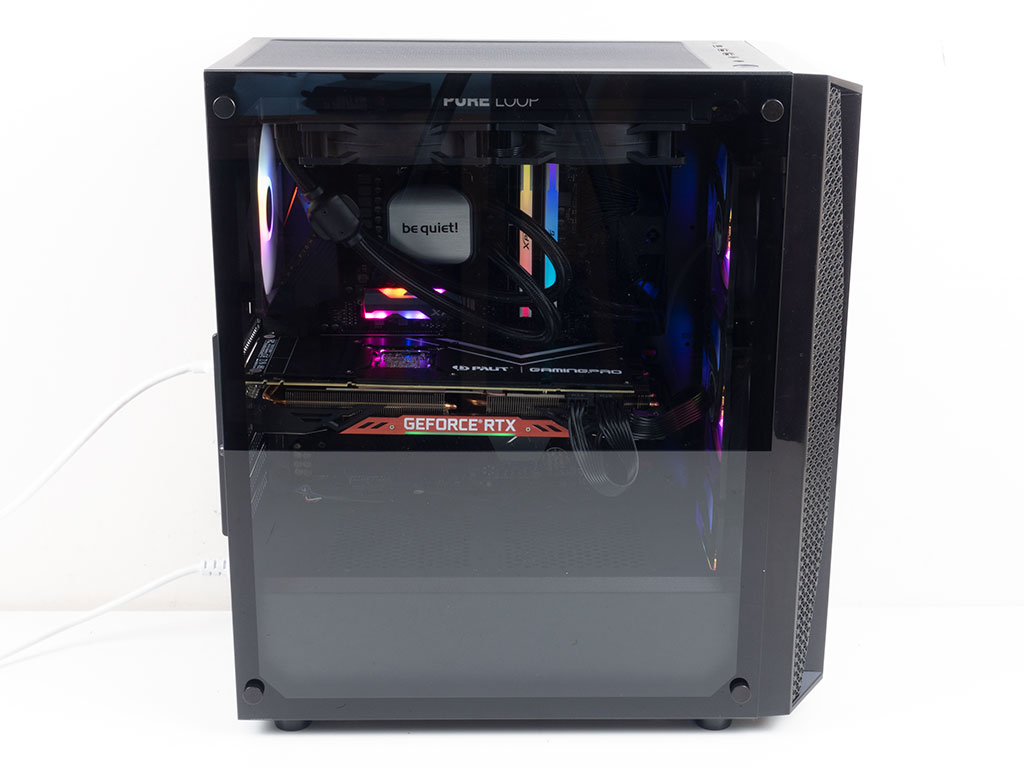
The glow of the ARGB LEDs in the hubs of the three fans is dimmed considerably through the dark acrylic, while you can clearly see all your hardware through the clear glass side panel.
With the ARGB controller connected to the unlabeled button in the top of the FARA B1 Pro, you may cycle through a good set of single and multi-color animations, or select from among the solid color options below.

Jul 12th, 2025 05:40 CDT
change timezone
Latest GPU Drivers
New Forum Posts
- Chrome has removed uBlock Origin 1.64.0 (remove google search suggestions) (1)
- Can you guess Which game it is? (228)
- Will you buy a RTX 5090? (646)
- Gigabyte graphic cards - TIM gel SLIPPAGE problem (146)
- What's your latest tech purchase? (24240)
- Best motherboards for XP gaming (103)
- ASUS ProArt GeForce RTX 4060 Ti OC Edition 16GB GDDR6 Gaming - nvflash64 VBIOS mismatch (3)
- Steam Deck Owners Clubhouse (535)
- What are you playing? (23923)
- 'NVIDIA App' not usable offline? (9)
Popular Reviews
- Fractal Design Epoch RGB TG Review
- Corsair FRAME 5000D RS Review
- Lexar NM1090 Pro 4 TB Review
- NVIDIA GeForce RTX 5050 8 GB Review
- NZXT N9 X870E Review
- Our Visit to the Hunter Super Computer
- Sapphire Radeon RX 9060 XT Pulse OC 16 GB Review - An Excellent Choice
- AMD Ryzen 7 9800X3D Review - The Best Gaming Processor
- Upcoming Hardware Launches 2025 (Updated May 2025)
- Chieftec Iceberg 360 Review
TPU on YouTube
Controversial News Posts
- Intel's Core Ultra 7 265K and 265KF CPUs Dip Below $250 (288)
- Some Intel Nova Lake CPUs Rumored to Challenge AMD's 3D V-Cache in Desktop Gaming (140)
- AMD Radeon RX 9070 XT Gains 9% Performance at 1440p with Latest Driver, Beats RTX 5070 Ti (131)
- NVIDIA Launches GeForce RTX 5050 for Desktops and Laptops, Starts at $249 (119)
- NVIDIA GeForce RTX 5080 SUPER Could Feature 24 GB Memory, Increased Power Limits (115)
- Microsoft Partners with AMD for Next-gen Xbox Hardware (105)
- Intel "Nova Lake‑S" Series: Seven SKUs, Up to 52 Cores and 150 W TDP (100)
- NVIDIA DLSS Transformer Cuts VRAM Usage by 20% (97)