 30
30
ssupd Meshroom S Review
Assembly & Finished Looks »A Closer Look - Inside
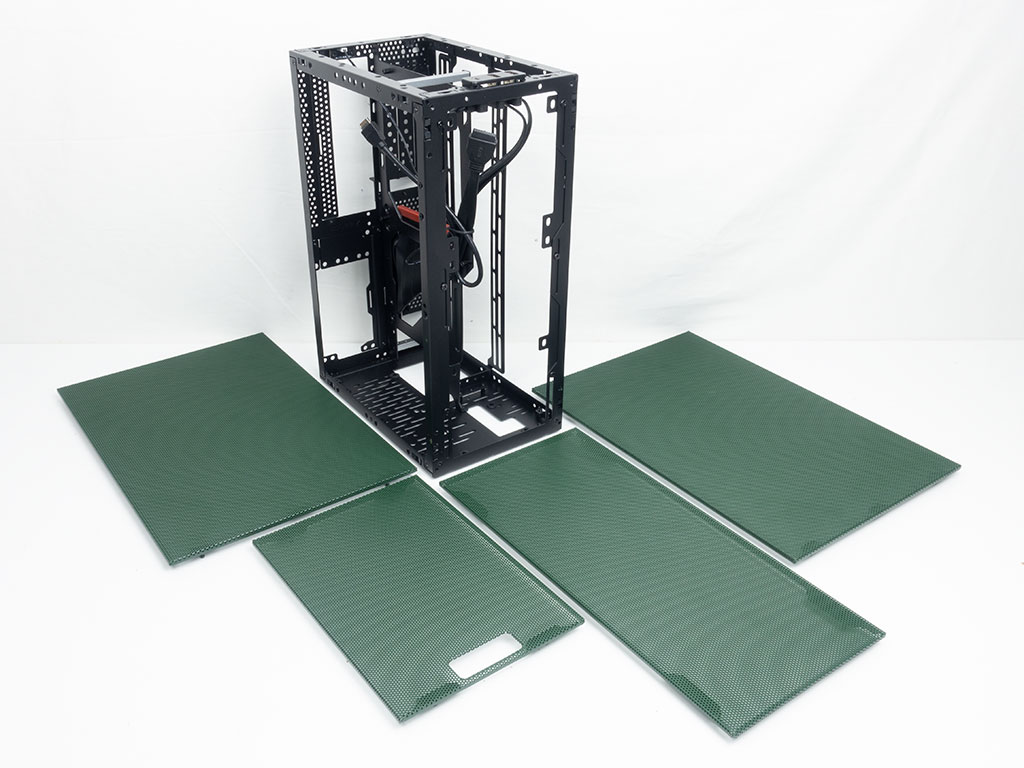
You do not need any tools to take apart the ssupd Meshroom S. Simply pull the four panels off and you are left with just the frame. This makes system assembly straightforward. Ssupd has also improved on the mesh, eliminating solid borders compared to panels from the original Meshlicious. However, doing so means the fine mesh holes are now not quite as close to each other as before, as the metal still needs structural rigidity. Even without the panels installed, the frame feels nice and sturdy.
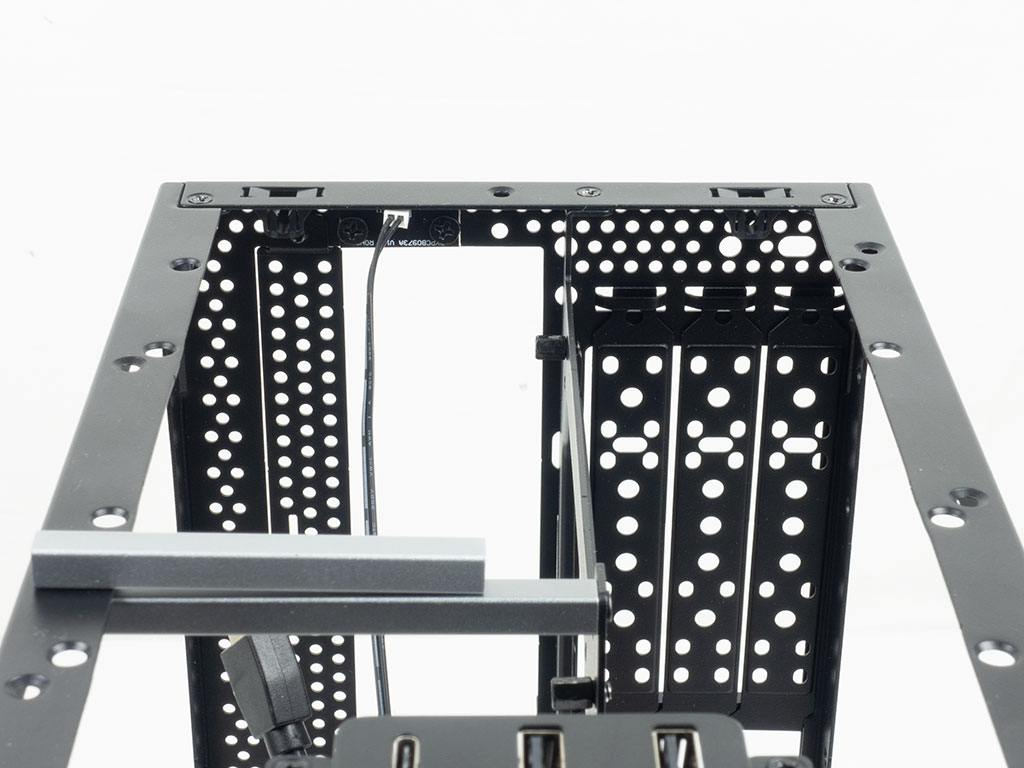
In the front, you may mount two 120 or 140 mm fans or a 240 or 280 mm radiator. Thanks to a tweaked front frame, you should have more flexibility in placing radiators. This setup is excellent for a case of this volume, especially with the lack of obstruction, not requiring component-specific compromises with an ITX & SFX build. ssupd has also drilled holes in the top panel, making room for a single 15 mm thick, 120 mm exhaust fan or two 2.5" drives here, with the help of the included multi-purpose mounting bracket.
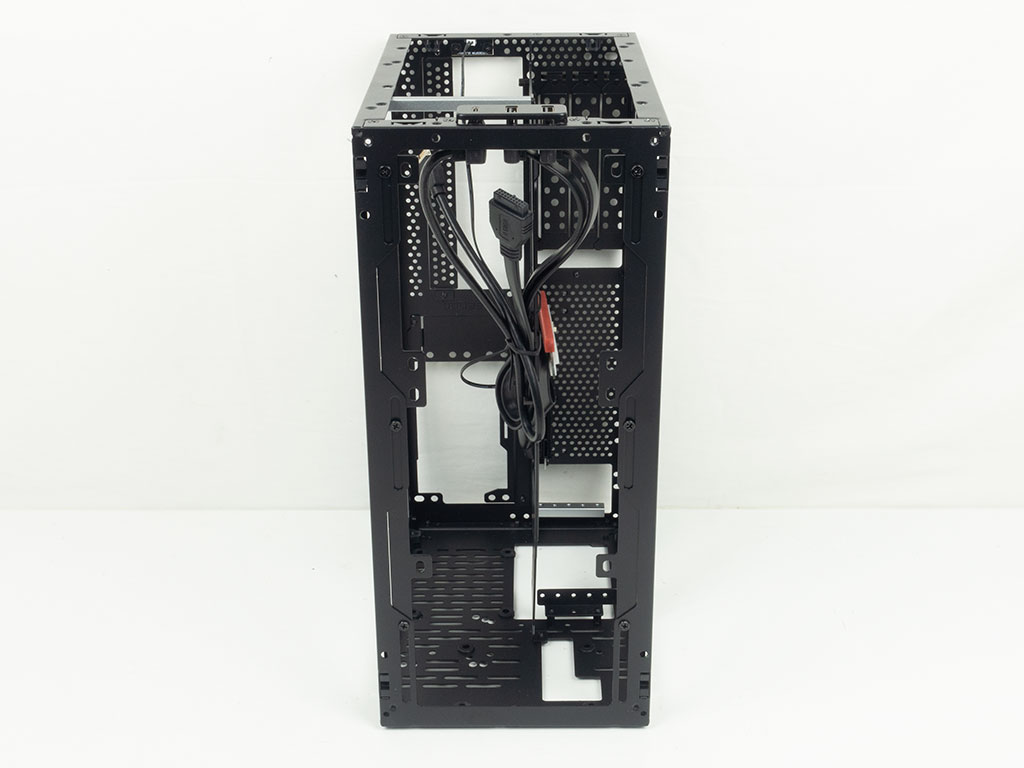
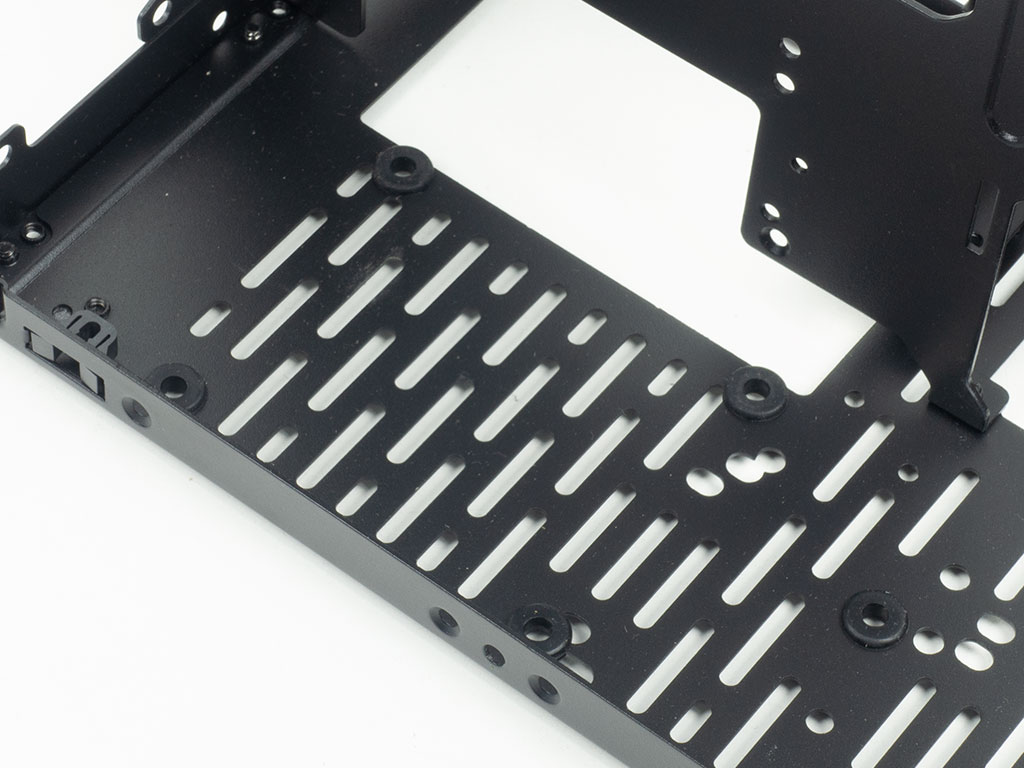
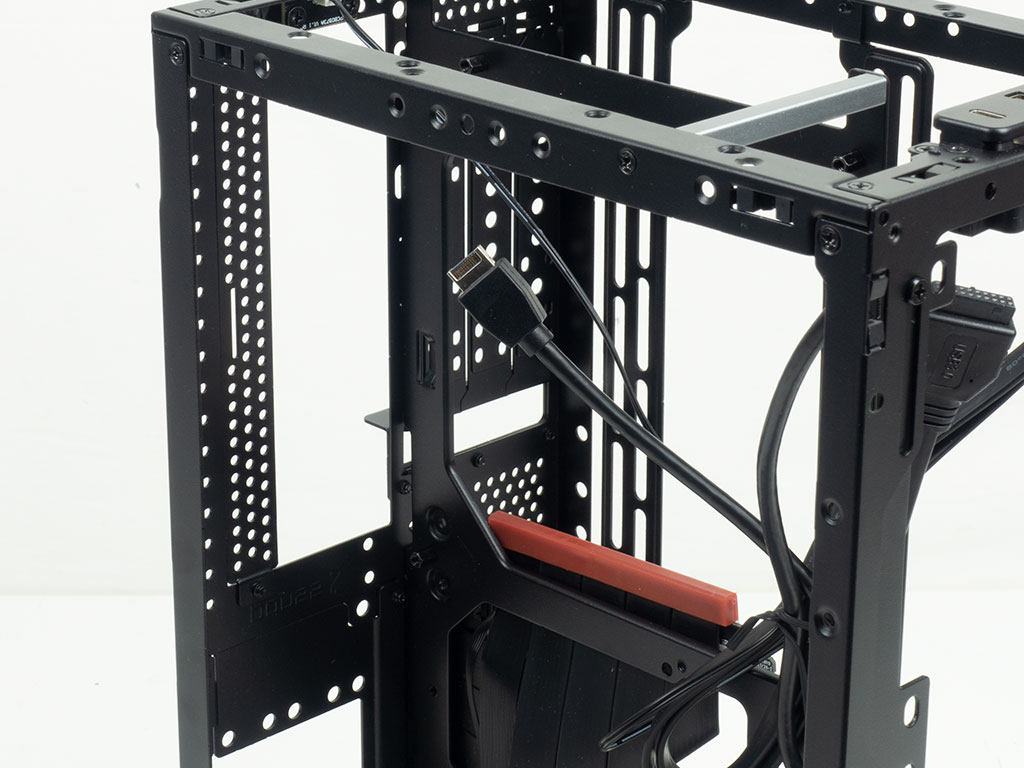
The motherboard side focuses on the brains of the system, along with the power supply below it, with the mounting tray for the board being pretty bare and allowing for cables to reach it from all three sides because of large cutouts. ssupd has tweaked that tray considerably when compared to the Meshlicious. Gone is the SSD placement which interfered with a screw in the back of the original Meshlicious. And, thanks to the more thoughtful cutouts, you may now actually move the PCIe ribbon up to give shorter GPUs some additional space for bulk cable connectors.
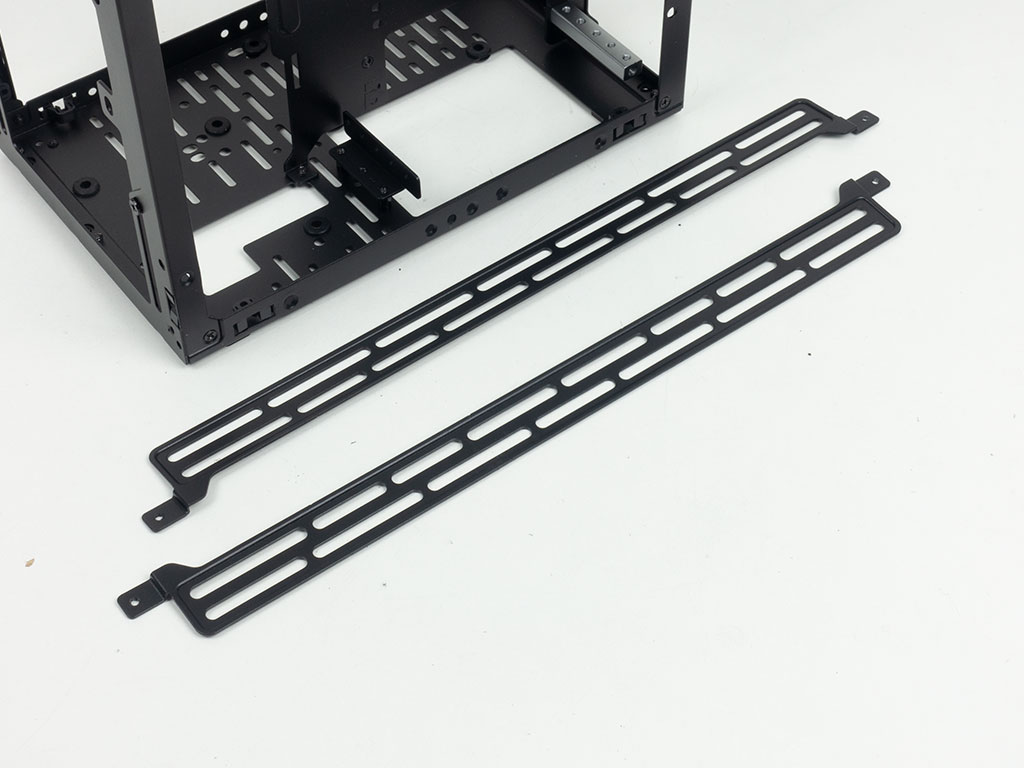
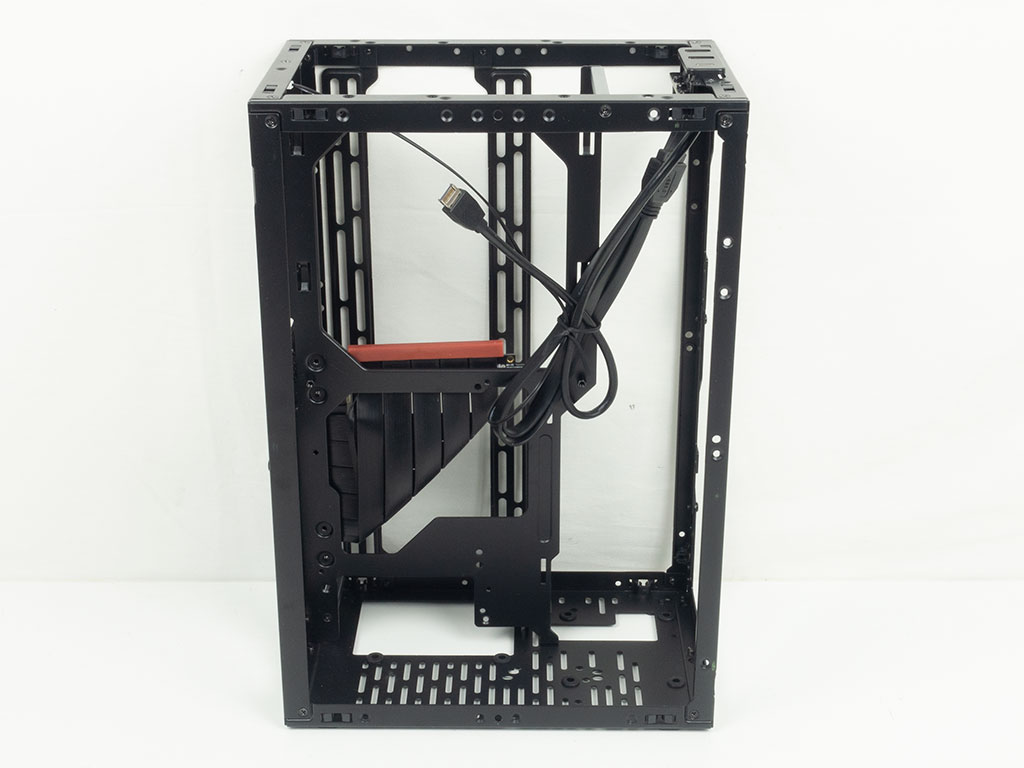
On the GPU side, there is not much else by default—we received the variant bundled with a PCIe 4.0 riser cable, folded to accommodate the vertical, long GPU setup out of the box. ssupd sells other riser cables separately, for short GPU setups with storage or with ATX or M-ATX builds. There are now a pair of mounting rails, allowing you to add a second radiator or two fans to your system. However, doing so will mean you won't have room for a GPU. The better use case is when utilizing an M-ATX or ATX motherboard which takes up the depth of the chassis, forcing you to relocate cooling to this part of the chassis. Even with an AIO here, you will still be able to employ a large GPU as well.
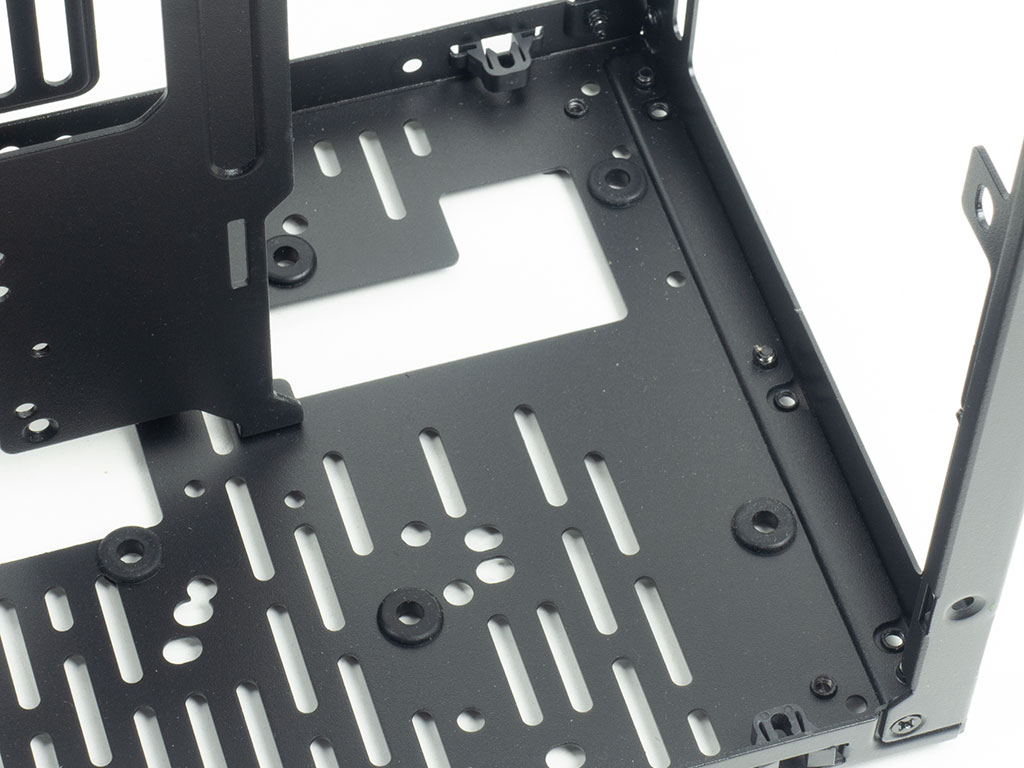
The one floor mounted SSD underneath the PSU bay on the original Meshlicious was held in place by classic screws, but this location now comes equipped with rubber rings, just like the second position in front of it.
Speaking of PSUs, not too much has changed here, with the main difference being the slightly updated SFX mounting plate. It may be rotated to give you the most flexibility on how you could mound your SFX, or SFX-L unit, but it is obviously recommended that the fan is set to pull cool air from the exterior of the chassis. The motherboard tray hasn't evolved much either in the Meshroom S, but there are now more cable mounting hooks on the tray itself, which should make for a cleaner system in the end.

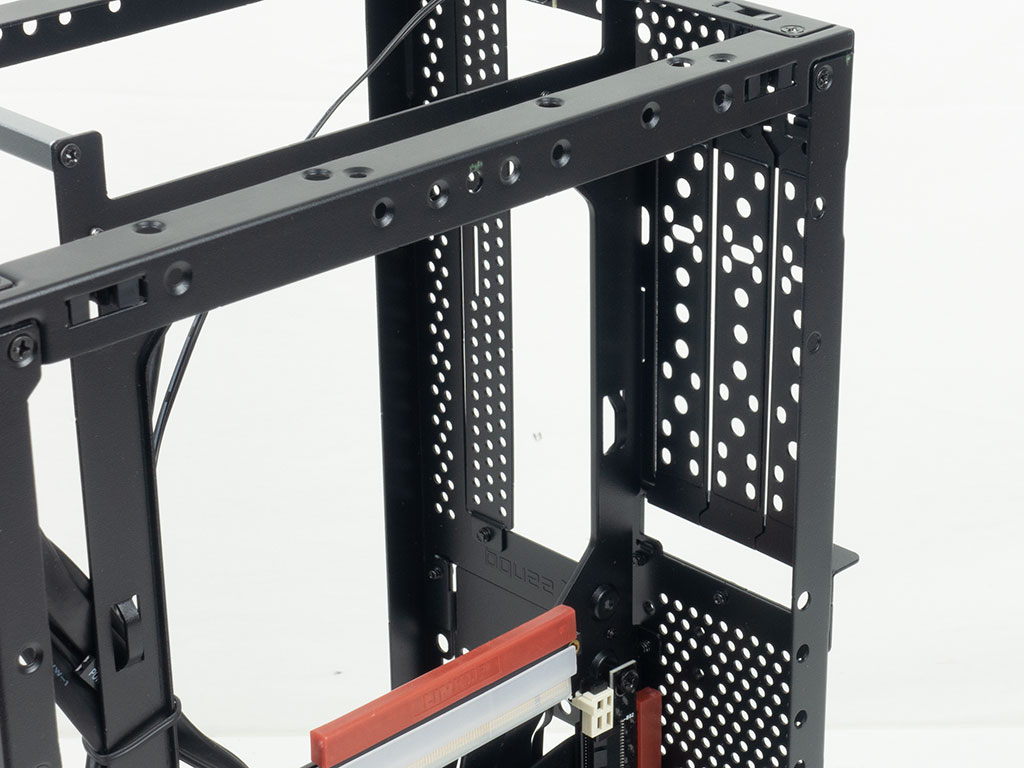
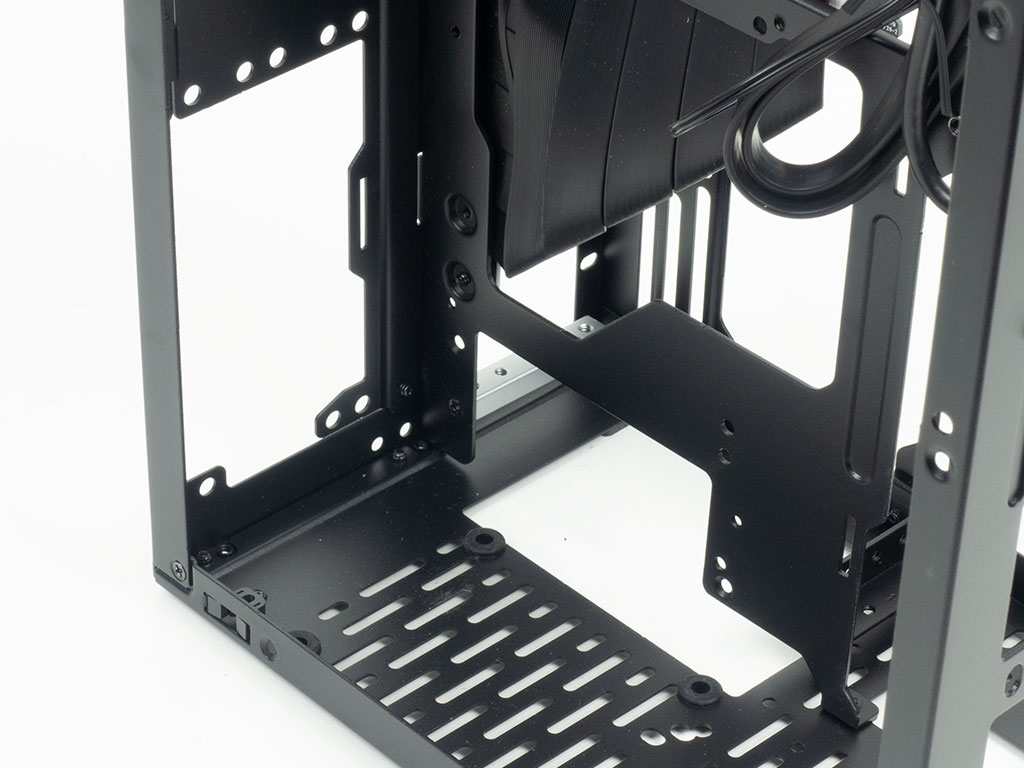
Taking a closer look at the bottom of the GPU side, there is now only one cool blue spacer acting as the resting bar point for the vertically mounted GPU. The second one present in the Meshlicious has been replaced by a black system that can be moved to allow for GPU and ATX builds, or utilized to mount storage drives to. In other words, that part has been re-engineered to be far more useful, nice to see.
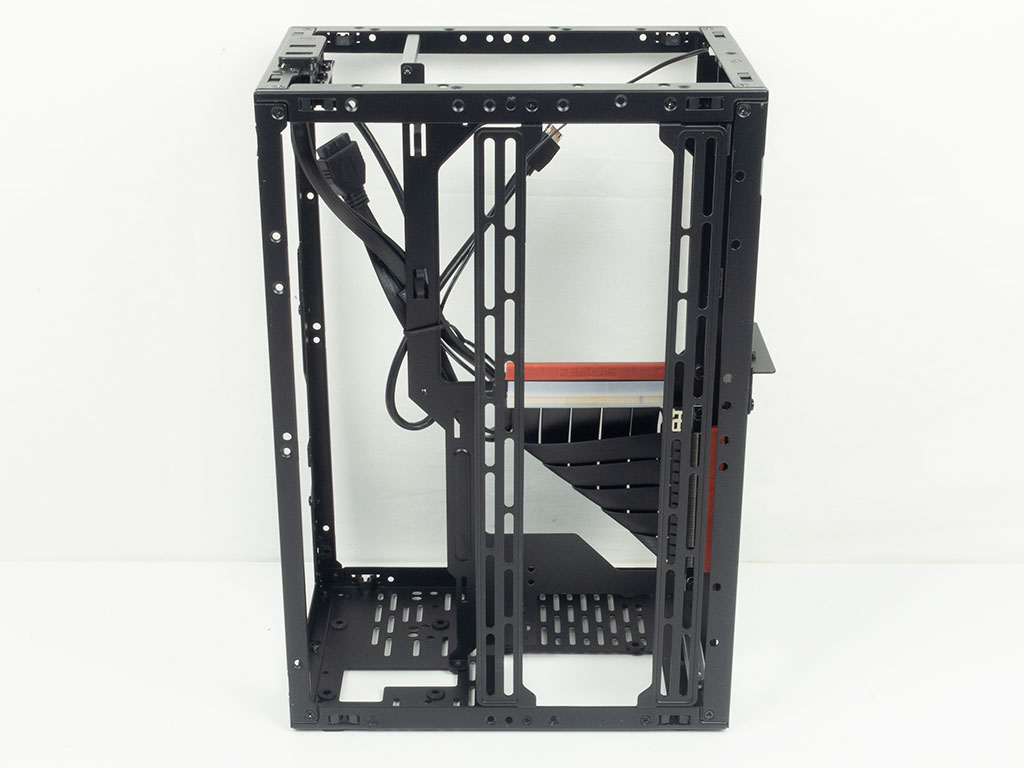
ssupd allows you to install a three-slot card without having to do anything here. If you opt for a vertical mounting of a short GPU, this area is where you will install the frame the additional storage will attach to. If you look closely, you can see that ssupd allows you to move the GPU mounting brackets up or down by offering a total of three mounting holes, which means you have to move the position of the PCIe riser cable as well. In the top is another set of three expansion slots for just such a configuration. It is not meant to be compatible with the four-slot setup as there are no short GPUs out there that need that space anyways.
As you can see, the shorter GPU mounting bracket would go here if you move the whole mounting plate over. Doing so also means you loose some clearance for air coolers, so this setup is really only meant for extreme situations, like when using a GeForce RTX 3090 and liquid cooling on the CPU.
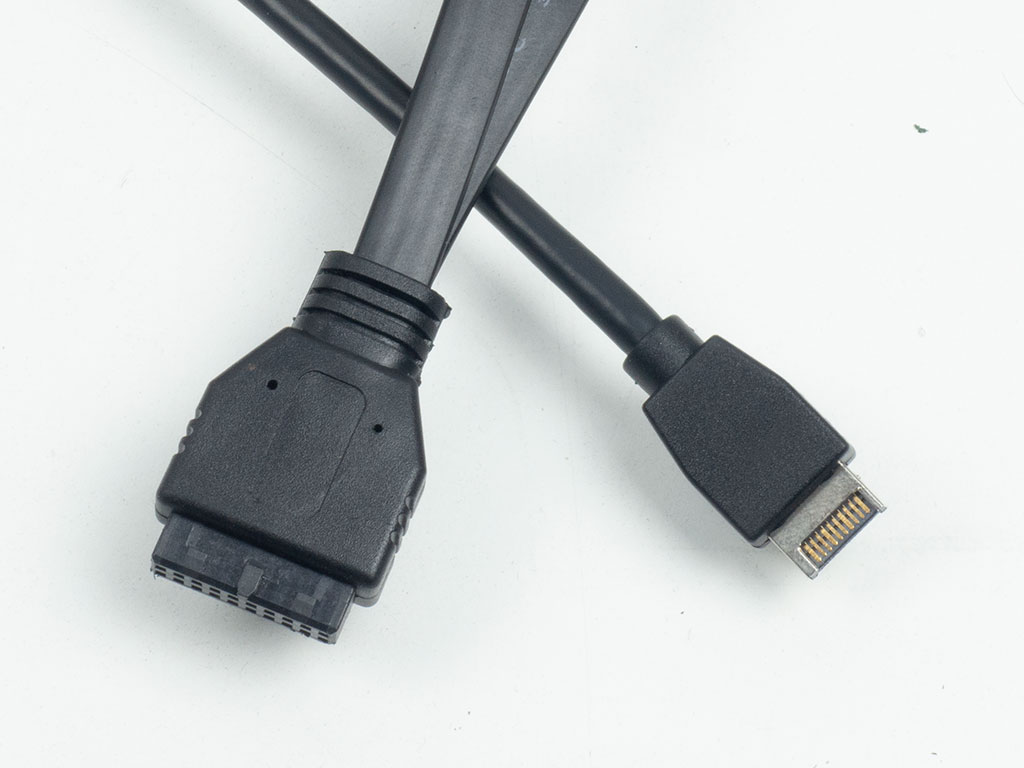
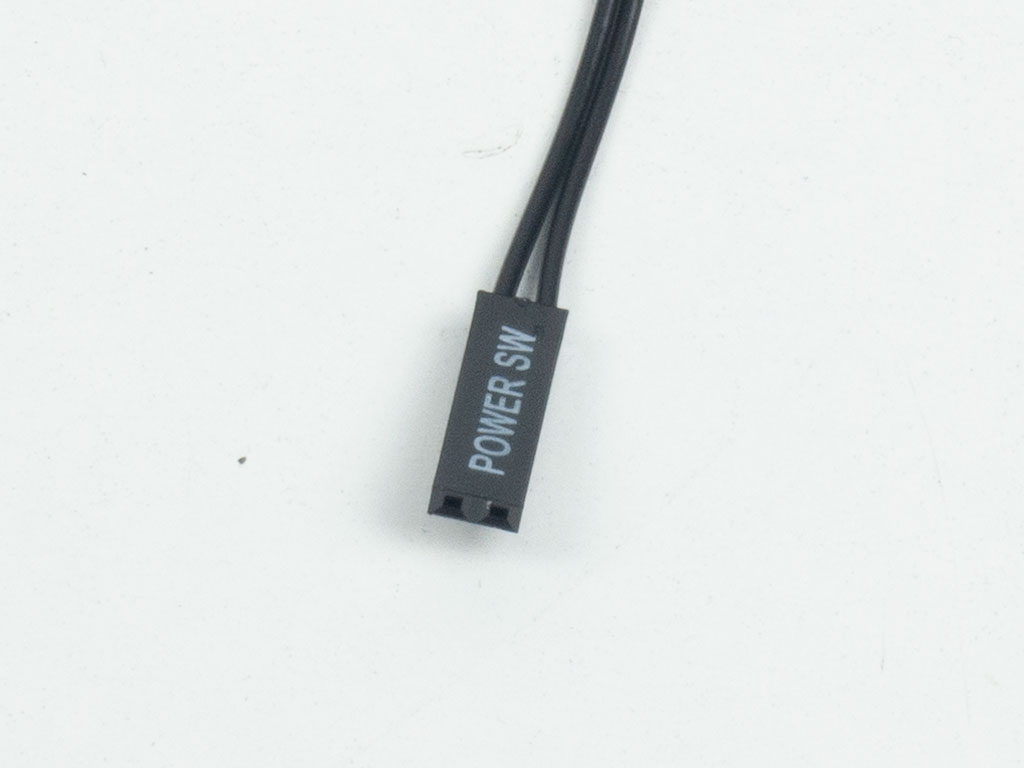
All the cables within the ssupd Meshlicious are sleeved black and of the default variety. Thanks to the dual USB 3.0 ports, you can now make full use of that header on your motherboard. However, this comes at a small sacrifice as the Meshroom S no longer sports LEDs, so you have to closely inspect the case to see if the system is powered up. Generally not a big deal, but odds are users will build SSD based systems with the Meshroom S, as such it would have been nice to have the HDD activity LED around.
Jul 3rd, 2025 21:45 CDT
change timezone
Latest GPU Drivers
New Forum Posts
- GPU-Z Display Bug via DP 2.1? (4)
- What Windows is overall the best to you and why? (269)
- How do you view TPU & the internet in general? (With poll) (58)
- HP Zbook 15 G2 GPU Upgrade (12)
- Will you buy a RTX 5090? (610)
- What phone you use as your daily driver? And, a discussion of them. (1756)
- What would you buy? (51)
- A Final Fantasy IX Reminiscence - My love letter and homage to one of the best stories ever told (90)
- GravityMark v1.89 GPU Benchmark (309)
- RTX 5070 discussion (5)
Popular Reviews
- ASUS ROG Crosshair X870E Extreme Review
- Crucial T710 2 TB Review - Record-Breaking Gen 5
- Fractal Design Scape Review - Debut Done Right
- PowerColor ALPHYN AM10 Review
- Sapphire Radeon RX 9060 XT Pulse OC 16 GB Review - An Excellent Choice
- Upcoming Hardware Launches 2025 (Updated May 2025)
- AMD Ryzen 7 9800X3D Review - The Best Gaming Processor
- Sapphire Radeon RX 9070 XT Nitro+ Review - Beating NVIDIA
- SCHENKER KEY 18 Pro (E25) Review - Top-Tier Contender
- AVerMedia CamStream 4K Review
TPU on YouTube
Controversial News Posts
- Intel's Core Ultra 7 265K and 265KF CPUs Dip Below $250 (288)
- NVIDIA Grabs Market Share, AMD Loses Ground, and Intel Disappears in Latest dGPU Update (212)
- Some Intel Nova Lake CPUs Rumored to Challenge AMD's 3D V-Cache in Desktop Gaming (140)
- NVIDIA GeForce RTX 5080 SUPER Could Feature 24 GB Memory, Increased Power Limits (115)
- Microsoft Partners with AMD for Next-gen Xbox Hardware (105)
- NVIDIA Launches GeForce RTX 5050 for Desktops and Laptops, Starts at $249 (105)
- Intel "Nova Lake‑S" Series: Seven SKUs, Up to 52 Cores and 150 W TDP (100)
- NVIDIA DLSS Transformer Cuts VRAM Usage by 20% (97)