 17
17
Streacom DA6 Review
Thermal Stress Test »Review System
| System Parts for Case Reviews | |
|---|---|
| Processor: | Intel Core i5-12600K Provided by: Intel |
| Motherboard: | Gigabyte Z590I VISION D |
| Graphics Card: | Gigabyte Radeon RX 6600 Eagle Provided by: Gigabyte ZOTAC GAMING GeForce RTX 3060 Ti Twin Edge OC Provided by: Zotac |
| Memory: | Lexar ARES RGB DDR4 4000 MHz - 16 GB Provided by: Lexar |
| HDD: | Toshiba MG08ADA400E 7200 RPM SATA III Provided by: Toshiba |
| SSD: | ATX:XPG GAMMIX S70 BLADE 1 TB mATX: ADATA LEGEND 840 512 GB ITX: XPG SPECTRIX S20G 500 GB ADATA Ultimate SU800 512 GB ADATA Ultimate SU720 500 GB Provided by: ADATA |
| Power Supply: | ATX: Fractal Design ION+ 650W 80 Plus Gold SFX: Fractal Design ION SFX-L 650W 80 Plus Gold Provided by: Fractal Design |
| Cooling: | be quiet! Pure Loop 120/ Pure Loop 2 FX 240/280/360 Provided by: be quiet! |
Assembly
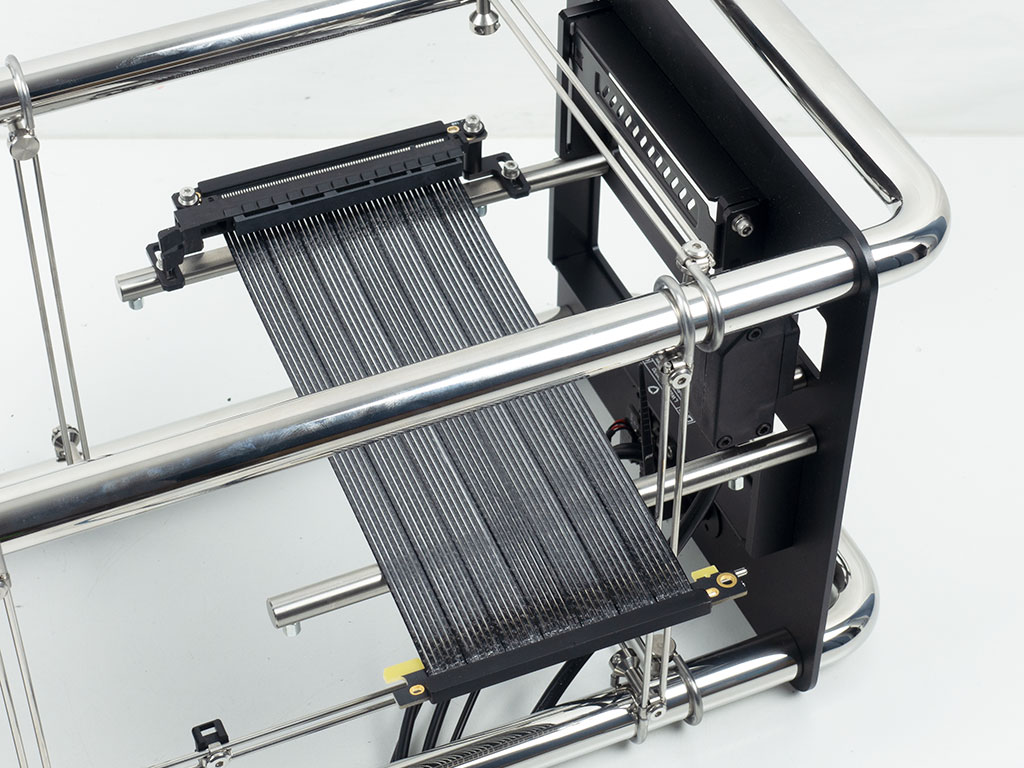
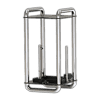
The Streacom DA6 does not ship with a riser cable. Instead the brand communicates the type of ribbon cable that would fit. To take the guesswork out of the equation, you can opt for their own RZ4-21B. This unique looking cable may be screwed directly unto the rod if your GPU is 3-slots thick. However, doing so, you will have to remove the locking clip from the riser cable. Alternatively, by using the provided spacers. we can skip that step and still install the 2-slot GPU we use for case reviews. Also, before diving into the assembly of the system, switching out the button with the fingerprint enabled one is a breeze as it only requires the removal of the existing screws and spacers. After doing so, the button comes right out so that you may screw in the biometric one instead. It requires a USB 2.0 interface and you are meant to re-use the existing case wiring for the on/off and LED functionality.
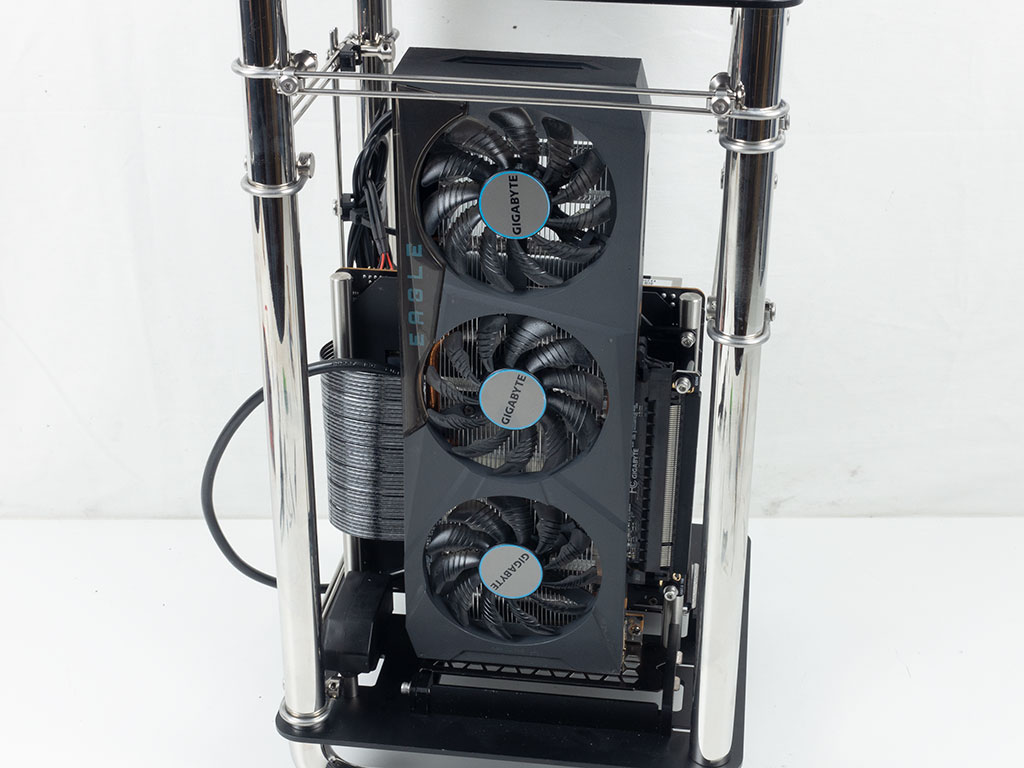
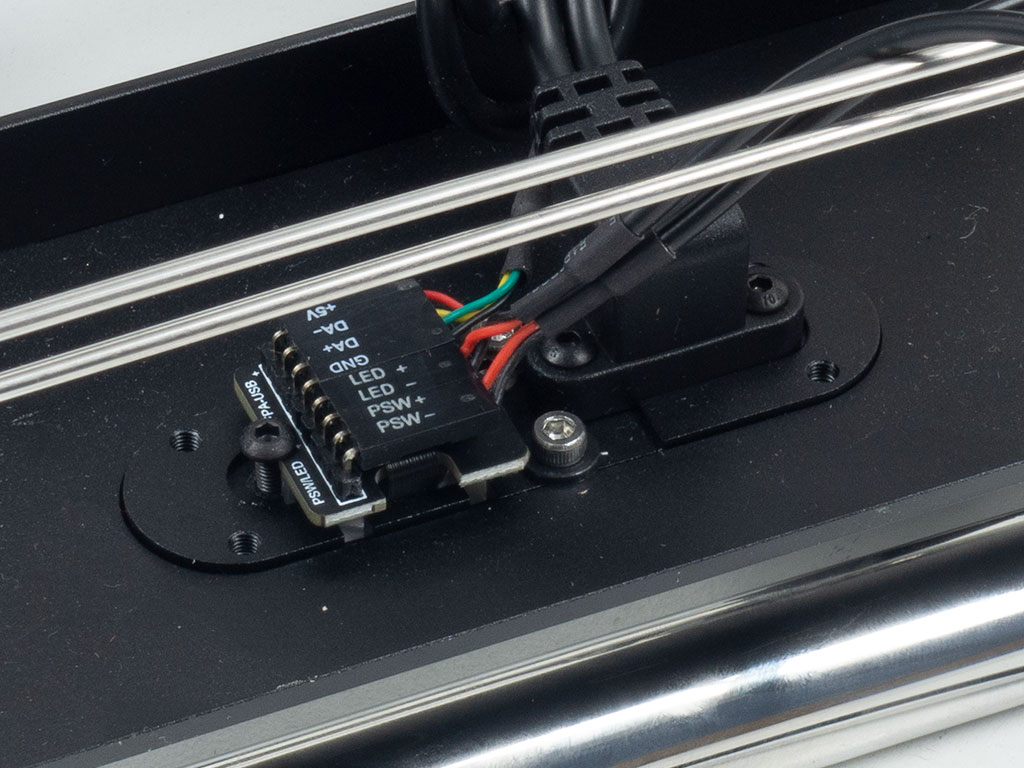
Adding the motherboard is quite easy, as you have access from all sides to slide it into place. This component is the only one that utilizes classic screws to be held in place. As you can see, we zip tied the wires for the power button to the USB cable to eliminate any unintentional strain that could be put on the angled pins. The rest of the wiring is kept in place nicely by using the pre-installed, reusable zip ties. It would have been really nice if Streacom included a few extra ones, so that you could use the pre-installed ones and then cut them down to size, knowing you have a few spare in case you change up your build at a later point. Adding the GPU is a little tricky at first as you have to align the PCIe slot with the GPU. Once it is in the right one simply tighten the screws holding the expansion slot in place and you are good to go. As you can see there is plenty of space so that you may install a radiator of up to 280 mm size here, that could be dedicated to the GPU, so that you could have a fully liquid cooled setup.
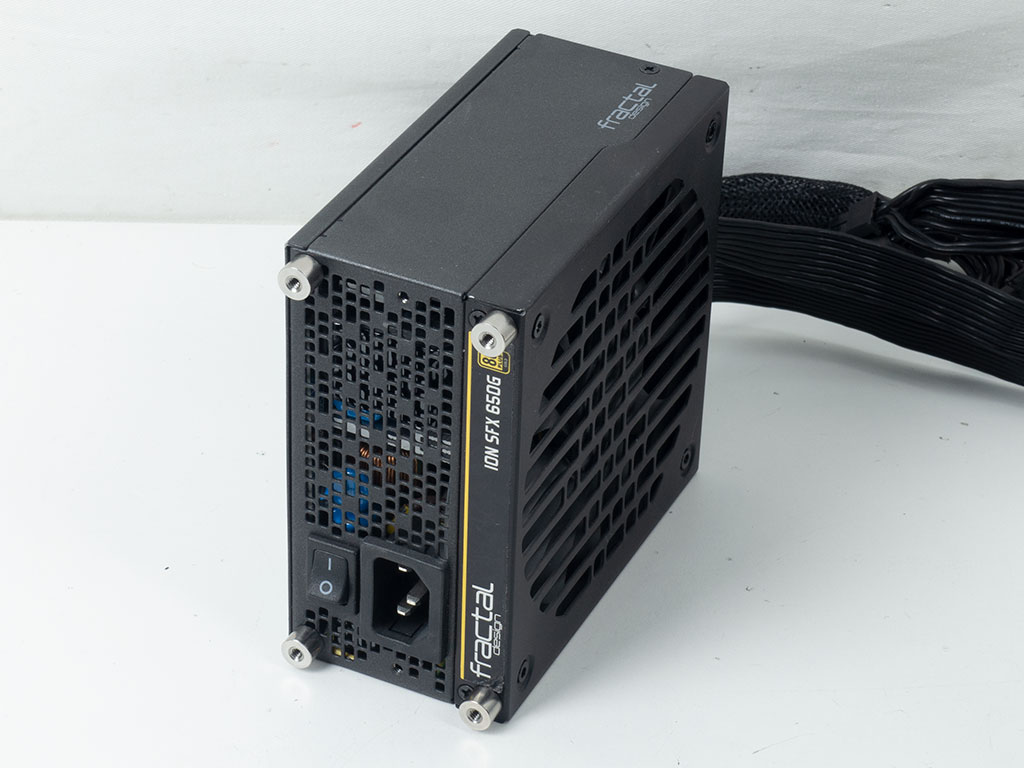
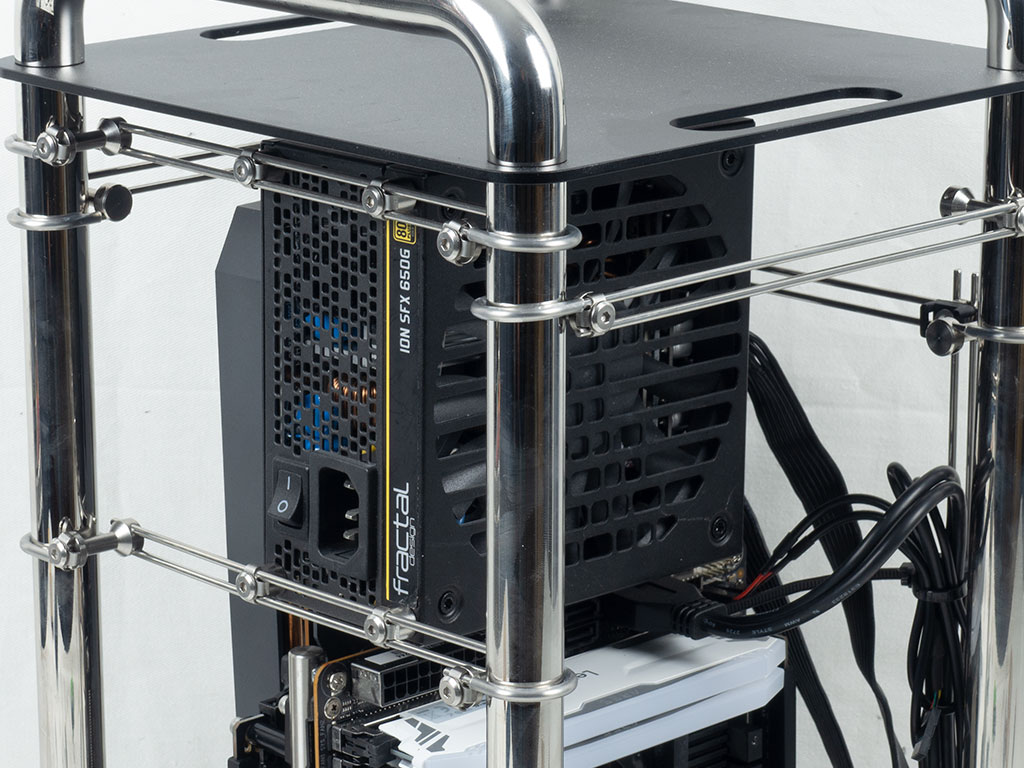
Thanks the the universal mounting brackets, you have a lot of options on how to utilize the space within the DA6. For example, it can hold either an ATX or SFX power supply and you may choose to install such a device horizontally or vertically. As you may also install hard drives using these, you could adjust the placement of the PSU along the bracket to fit in storage drives and make the most of the the space. In our build, we will be focusing on including a 240 mm AIO, as such the SFX-L unit from Fractal is a great choice. Streacom provides metal spacers which we initially used to secure the power supply to the brackets, but due to the power cable being angled downward, we opted to remove them in the end so that the plug would fit. Installing the PSU may well have been the more frustrating part of the build process. While the universal brackets are great, they are made up of a lot of individual pieces, so loosening them, aligning everything, trying to screw things in really meant ensuring nothing would come apart in the process. Couple that with the small hex tool for the beautiful, but specialty screws that have flat ends instead of pointy ones, and you will at times end up questioning your ability to screw in a simple screw.
With a bit of creativity, the bulk of wiring was hidden in the space between the GPU and motherboard, which is an excellent way to ensure that the final build comes out as clean as possible.
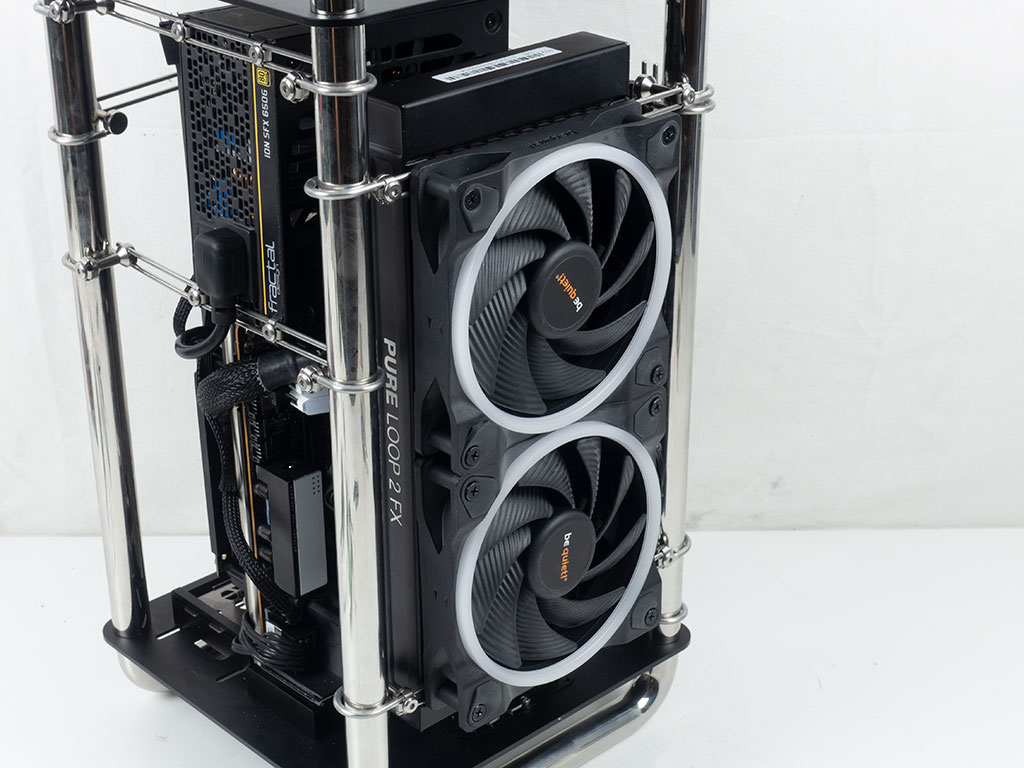
Adding an AIO means that you will have to sandwich bracket between the radiator and fan. For this you need to ensure your mounting screws are long enough to accommodate the bracket's thickness. While most AIOs mounting screws are long enough for one such element, those hoping to add a fan grill may find themselves going to their local hardware store for a set of longer ones. Installing the AIO was a little tricky again, due to the moving parts, but once you have one corner secured, the worst is over.
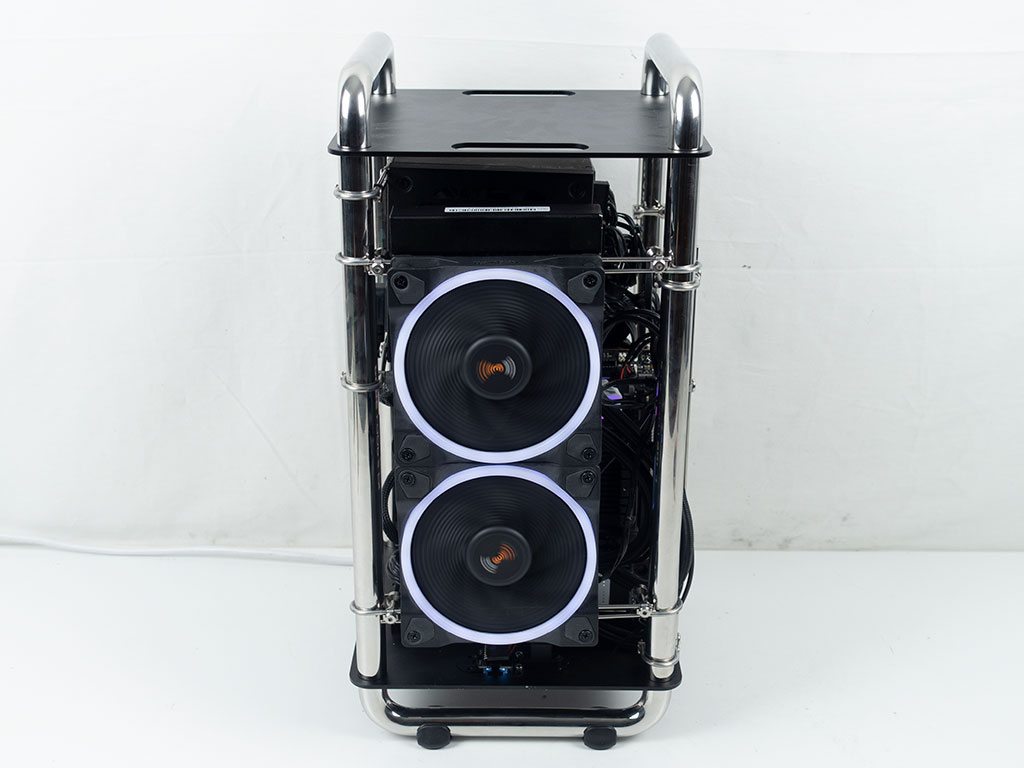
Finished Looks
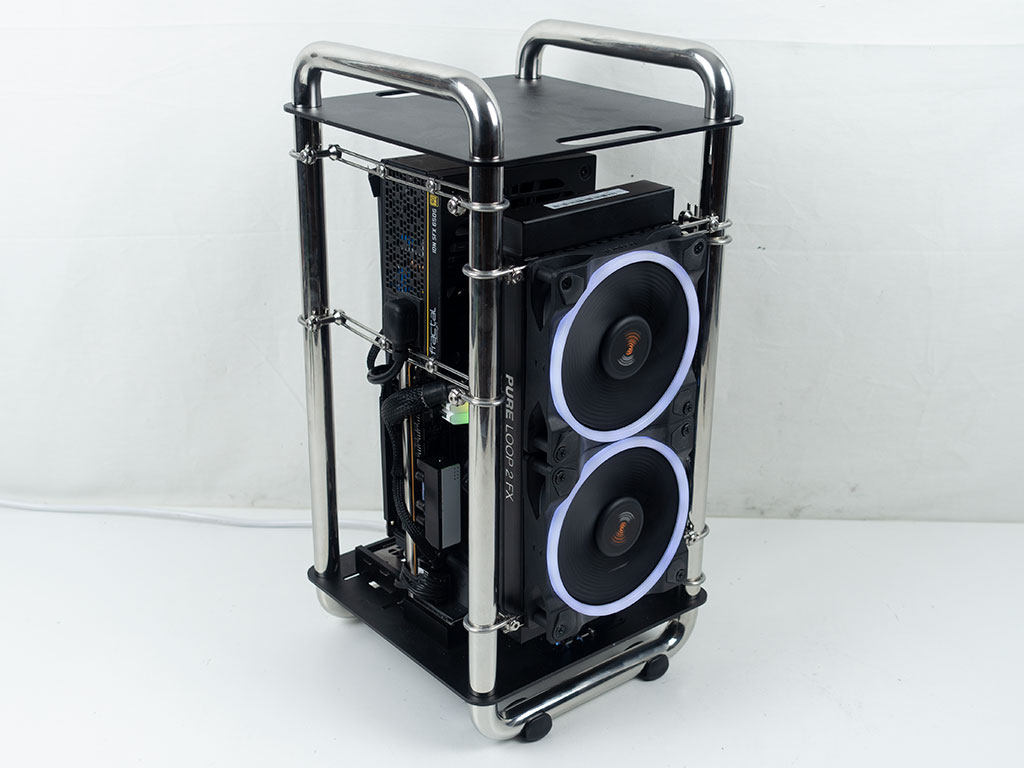
The last step before turning on the system is to remove any unused mounting brackets. With the AIO fans on the exterior of the chassis, you have a nice focal point on the front of the chassis. As you can see, it is a bit offset to be in line with the CPU socket.
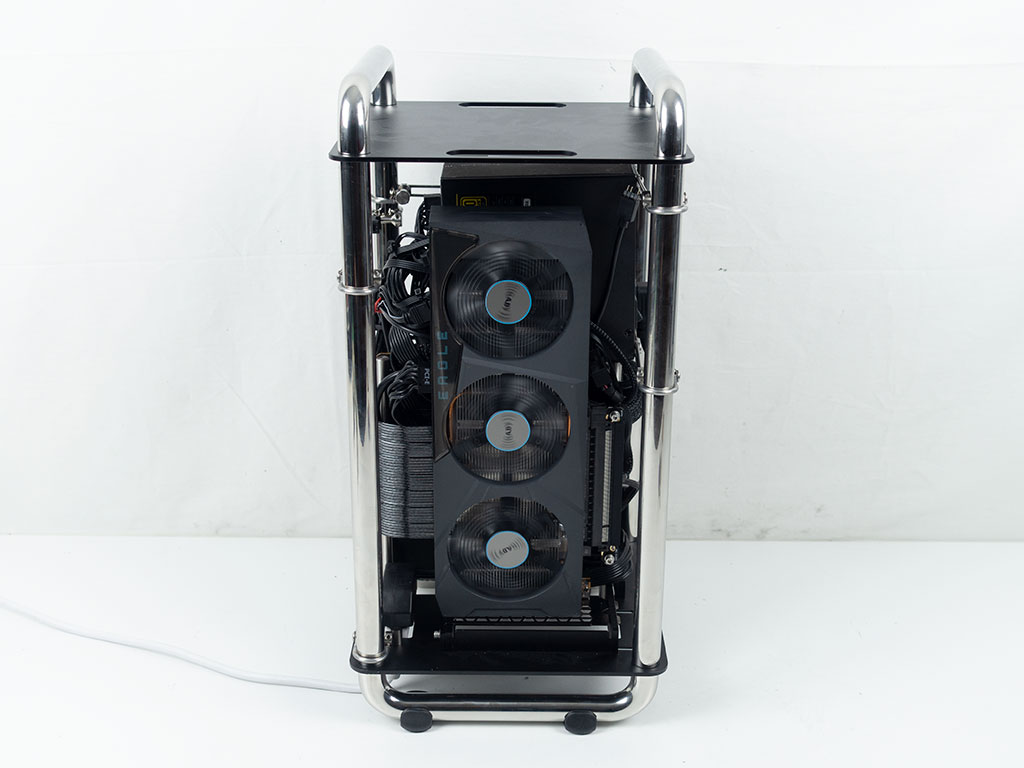
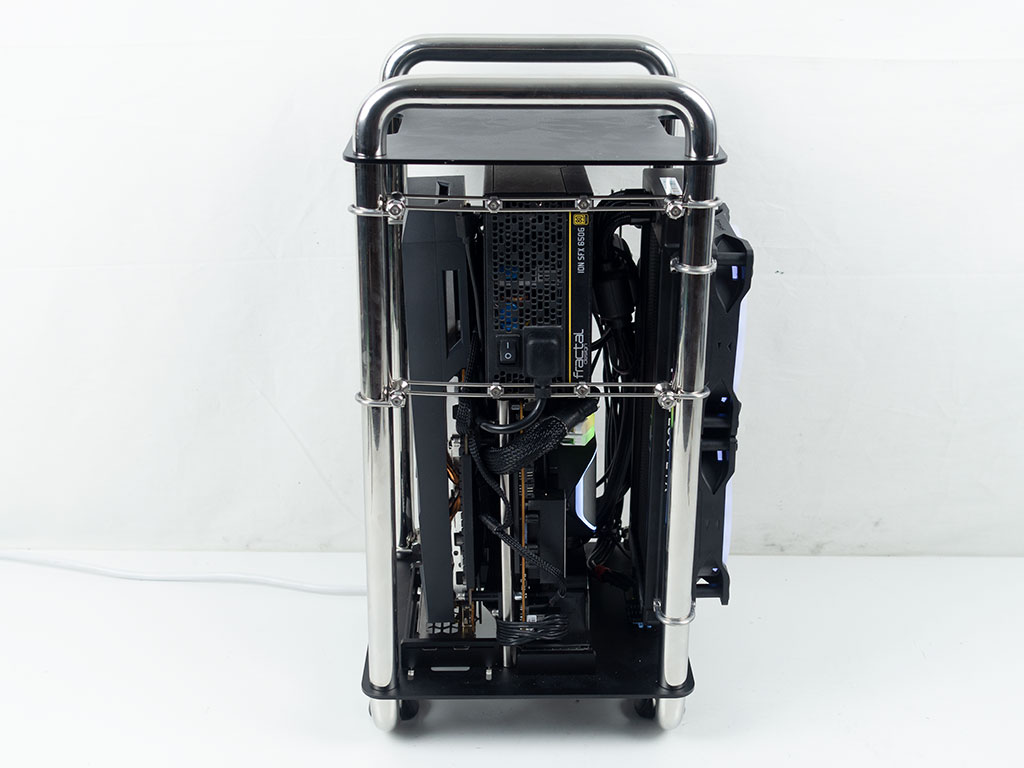
Looking at it from the front, you may notice that the tubing of the AIO is poking out a little on the side of the chassis. That is not an issue with the case, but squarely on the builder. You can move the AIO up to make better use of the tubing, or zip tie it to the mounting bracket to keep it in place. On the opposite side, the GPU has complete, unobstructed access to surrounding air. There is plenty of space for you to install additional fans here as well if you want to add an extra active airflow component.
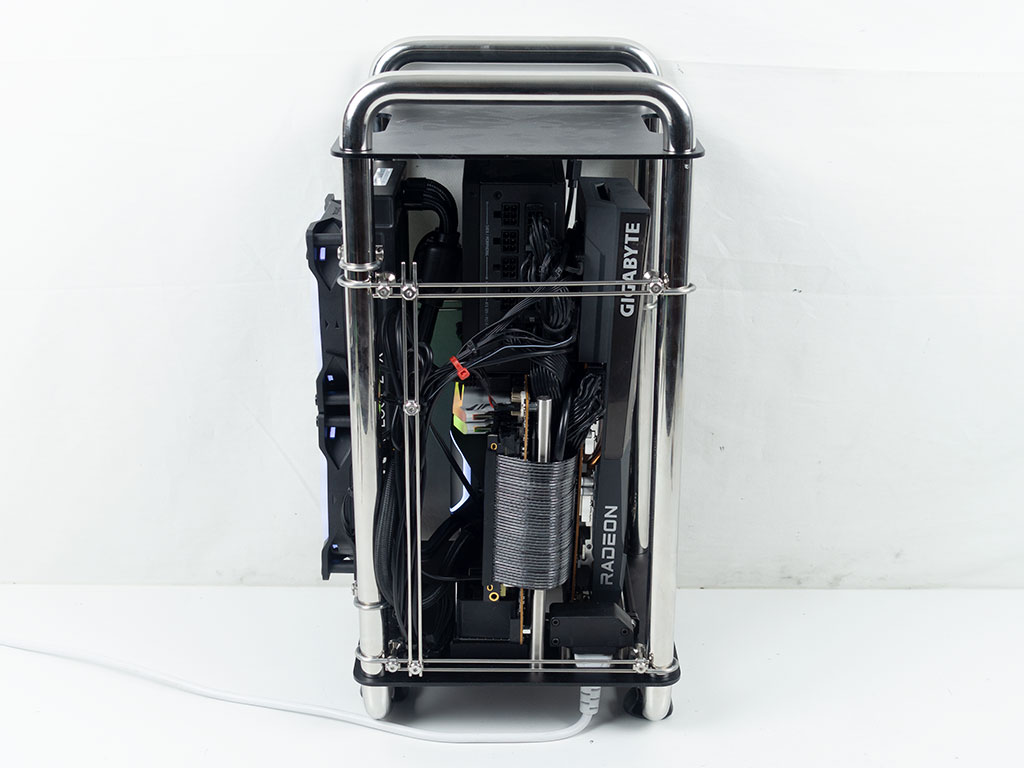
The side where the ribbon cable passes from one side to the other, we manage to keep things rather clean. You can zip tie things a bit more together, but the wires need to bridge that gap from the AIO to the motherboard somewhere. And, in our case, both the fans and the ARGB elements required individual adapters to be able to use the single headers on the motherboard, further adding to the cable mess one has to deal with. On the other side, where the PSU power and switch are, there is far less wiring visible. Overall, being able to keep things this tidy is actually very positive. While you will never be able to have things as clean as an enclosed chassis, the DA6 could still be really good with a bit more patience, planning and creativity.
Jul 2nd, 2025 23:43 CDT
change timezone
Latest GPU Drivers
New Forum Posts
- Will you buy a RTX 5090? (589)
- NVIDIA App (36)
- AMD RX 7000 series GPU Owners' Club (1327)
- What's your latest tech purchase? (24189)
- RDNA 4 Fine Wine? (HUB Vid) (41)
- GravityMark v1.89 GPU Benchmark (308)
- Good time in the year to buy a new PC (5)
- The Official Thermal Interface Material thread (1767)
- What Windows is overall the best to you and why? (262)
- Nvidia drivers (6)
Popular Reviews
- ASUS ROG Crosshair X870E Extreme Review
- Crucial T710 2 TB Review - Record-Breaking Gen 5
- Sapphire Radeon RX 9060 XT Pulse OC 16 GB Review - An Excellent Choice
- PowerColor ALPHYN AM10 Review
- Upcoming Hardware Launches 2025 (Updated May 2025)
- AMD Ryzen 7 9800X3D Review - The Best Gaming Processor
- AVerMedia CamStream 4K Review
- Sapphire Radeon RX 9070 XT Nitro+ Review - Beating NVIDIA
- NVIDIA GeForce RTX 5060 8 GB Review
- AMD Ryzen 9 9950X3D Review - Great for Gaming and Productivity
TPU on YouTube
Controversial News Posts
- Intel's Core Ultra 7 265K and 265KF CPUs Dip Below $250 (288)
- NVIDIA Grabs Market Share, AMD Loses Ground, and Intel Disappears in Latest dGPU Update (212)
- Some Intel Nova Lake CPUs Rumored to Challenge AMD's 3D V-Cache in Desktop Gaming (140)
- NVIDIA GeForce RTX 5080 SUPER Could Feature 24 GB Memory, Increased Power Limits (114)
- NVIDIA Launches GeForce RTX 5050 for Desktops and Laptops, Starts at $249 (105)
- Microsoft Partners with AMD for Next-gen Xbox Hardware (105)
- Intel "Nova Lake‑S" Series: Seven SKUs, Up to 52 Cores and 150 W TDP (100)
- NVIDIA DLSS Transformer Cuts VRAM Usage by 20% (96)