 1
1
Streacom F12C Review
Assembly & Finished Looks »A Closer Look - Inside
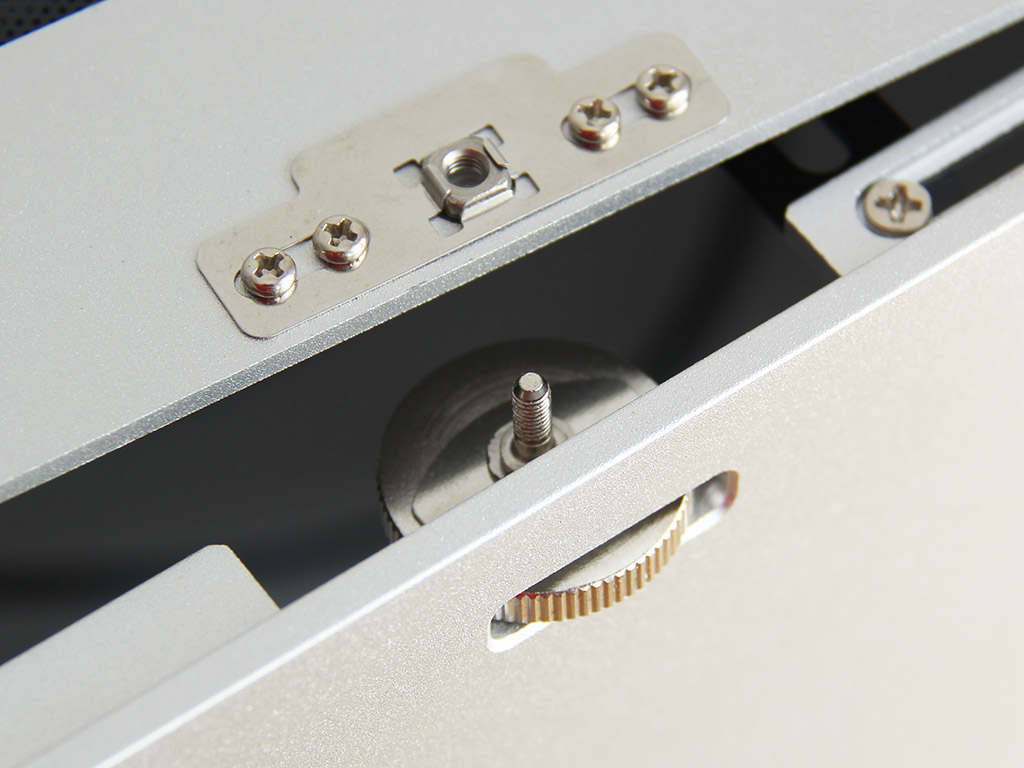
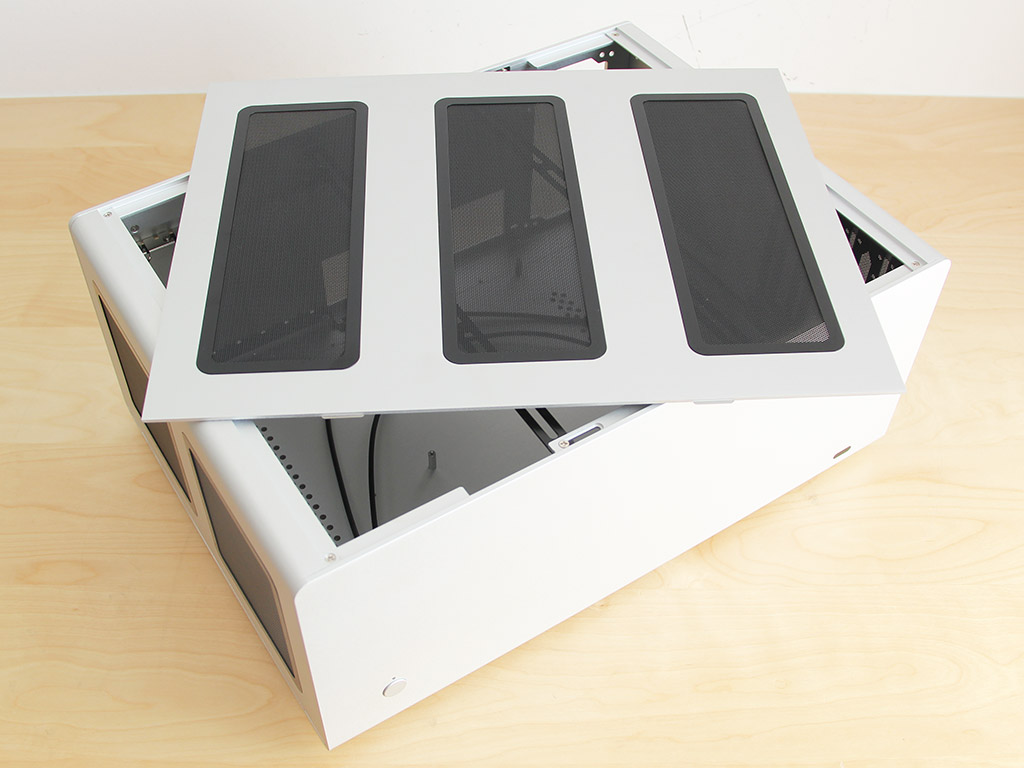
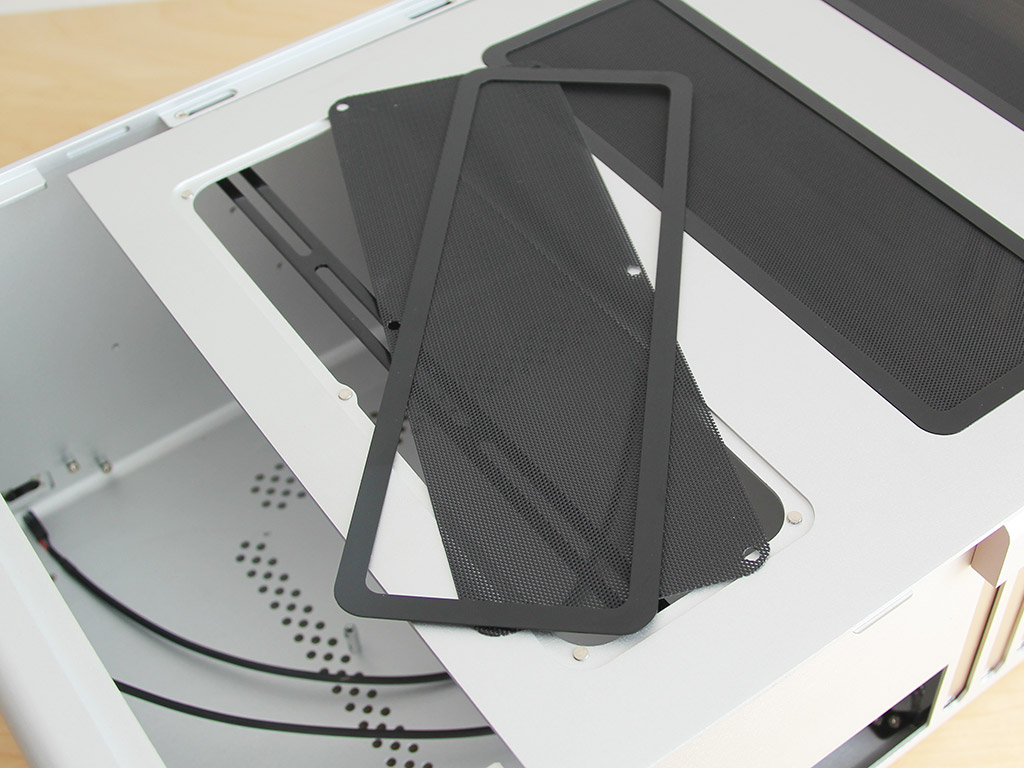
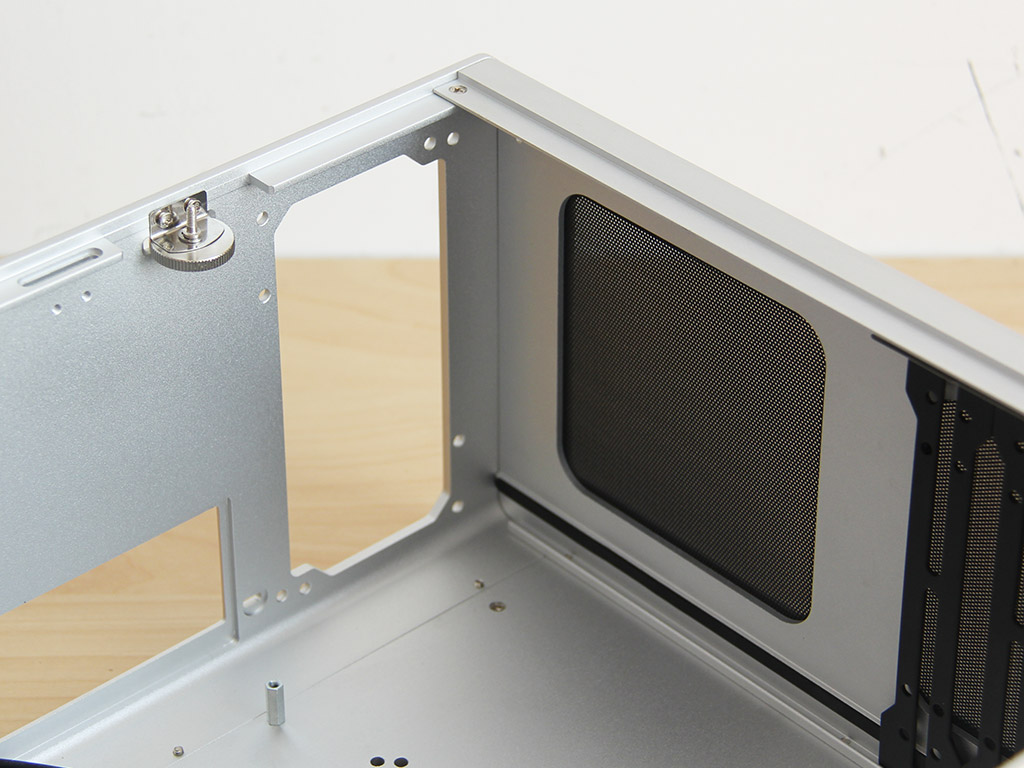
To access the interior, simply turn the dials which eventually release and continue to push the panel up for easy removal. Looking at the locking mechanism, it is simple but highly effective. The metal-mesh covers are essentially two pieces: a mesh and a magnetic frame to place on top, which will sandwich the metal mesh between case and frame.
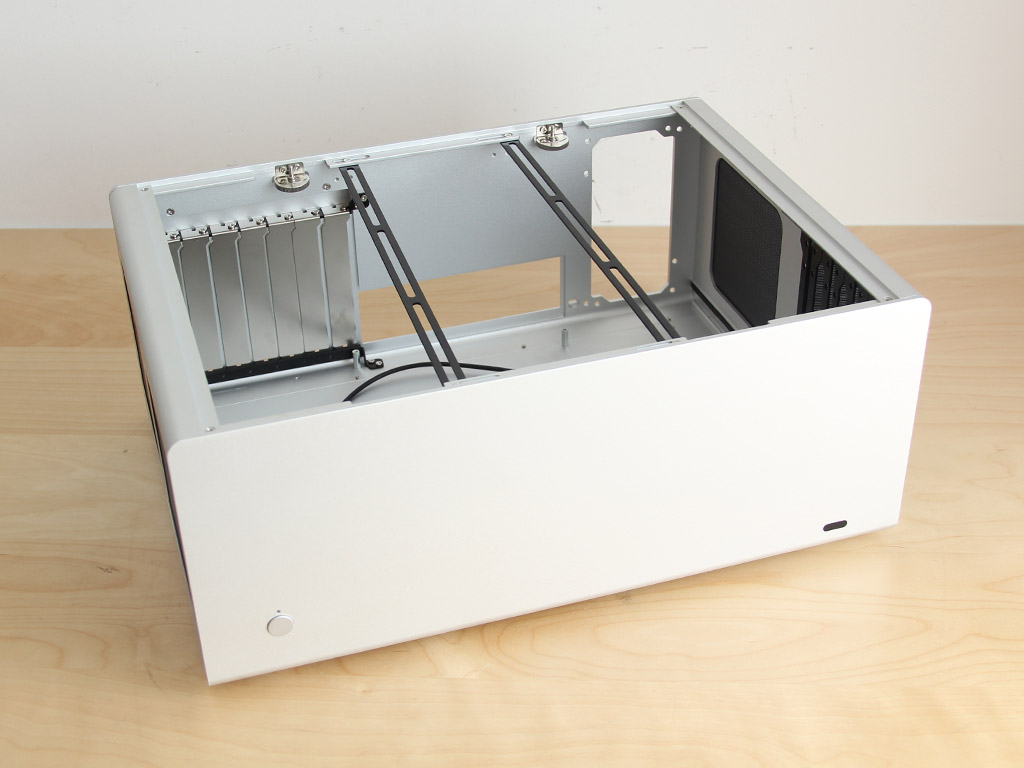
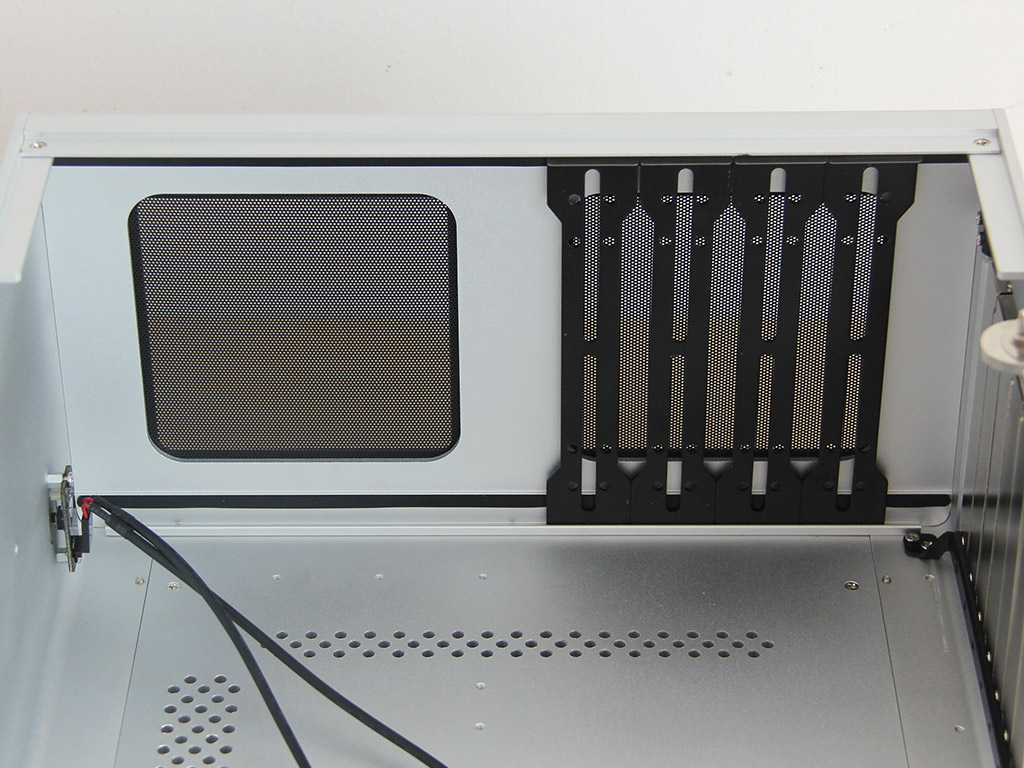
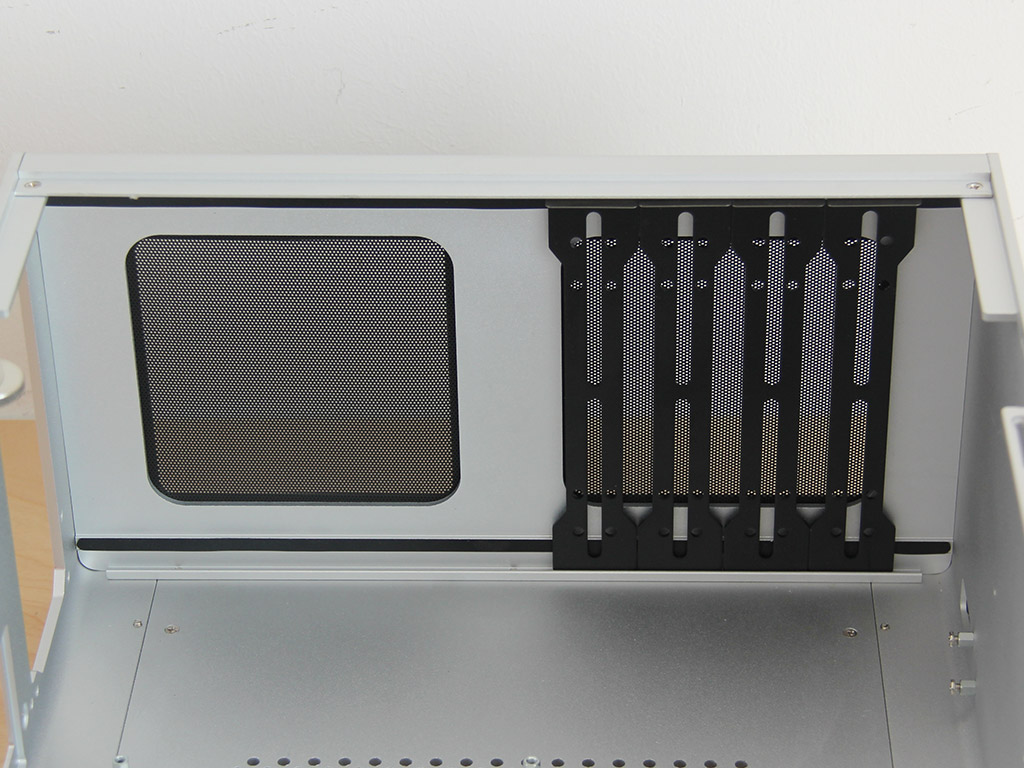
With the top cover removed, you can clearly see the interior. Streacom placed two metal bars within the chassis, which you may use as mount for fans or radiators. You should be able to fit a 280 mm unit here if you wanted to.
Both sides of the chassis are quite similar as both have the two air vents, but also come with four universal metal mounting kits each. You may mount anything from fans to hard drives and reservoirs onto these. Install drives vertically and you will only be able to mount eight at most; however, that maximum increases to 24 x 2.5″ or 12 x 3.5″ (with ITX) horizontally. Streacom advertises a minimum of 2 x 2.5″ and 5 x 3.5″ drives if you go with a full ATX board.
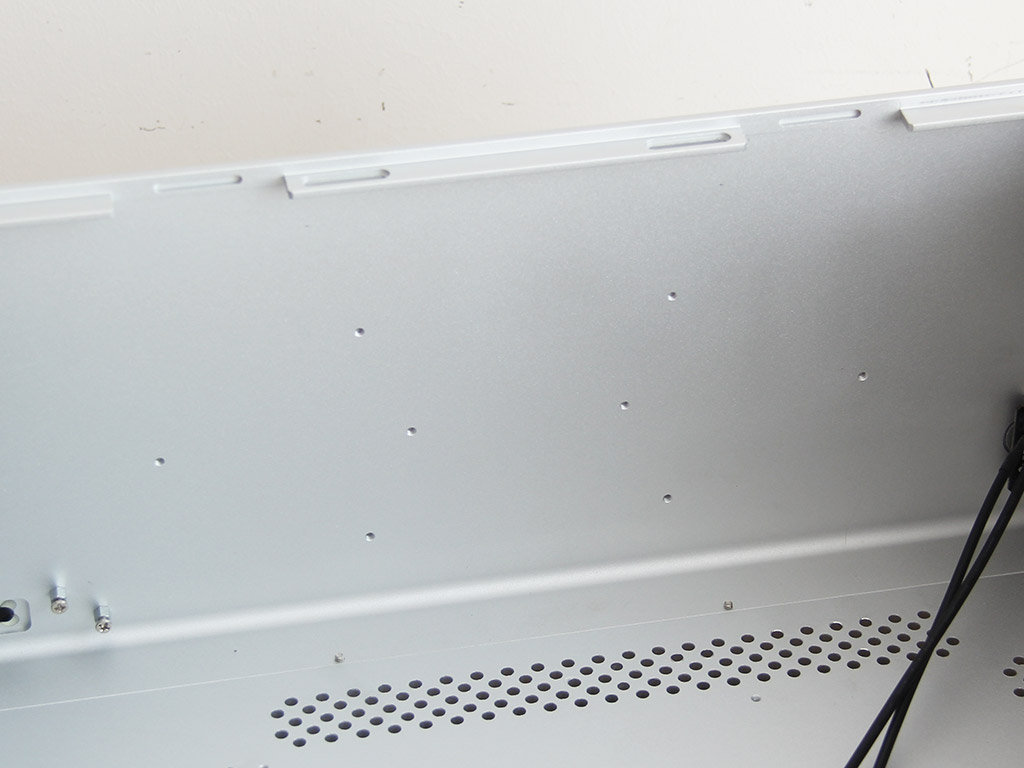

In the front are several holes, which, as we are told, are for some special OEM purposes. You will find a tiny PCB for the power button in one corner and a mounting spot for a Flirc or IRRC solution, which, however, are sold separately. While some might argue that the small PCB and sensor should have been included in the price, others will argue that the slightly lower price tag without these is actually more important.
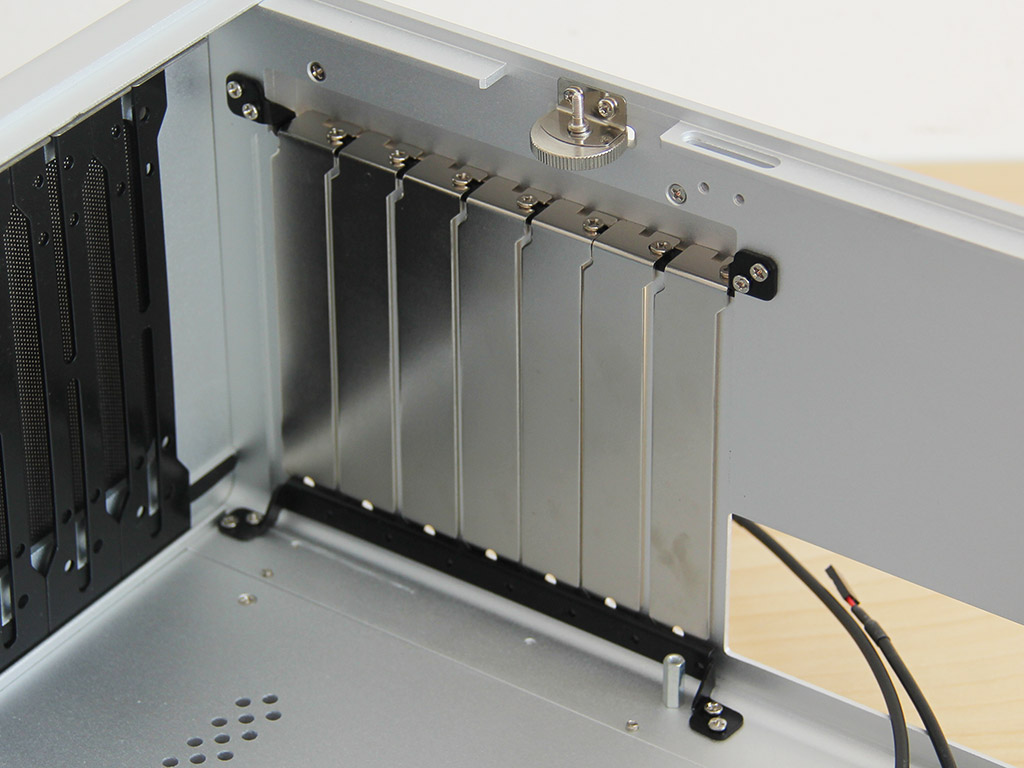
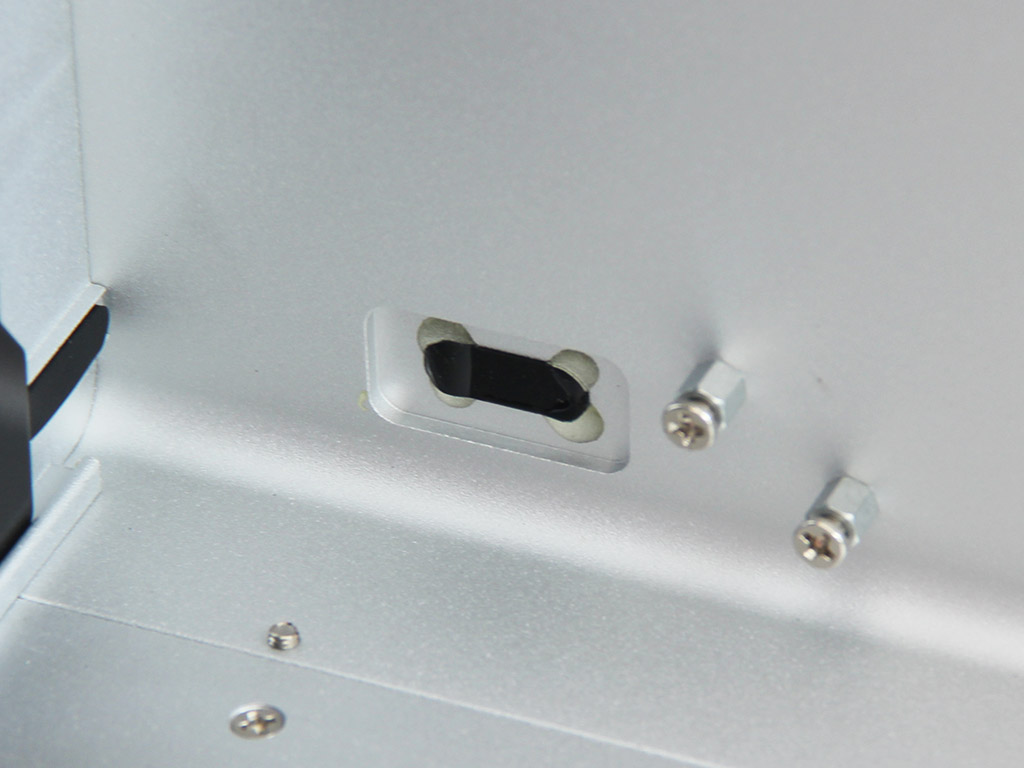
The seven expansion slots in the rear of the exterior are held in place by individual screws. To remove these, you will first have to take off the aluminum cover by unscrewing two screws from within the chassis. The PSU bay is rather simple and should fit any unit, without length playing a role. However, it should be said that using a long PSU will limit the number of hard drives you will be able to install into this side of the chassis.
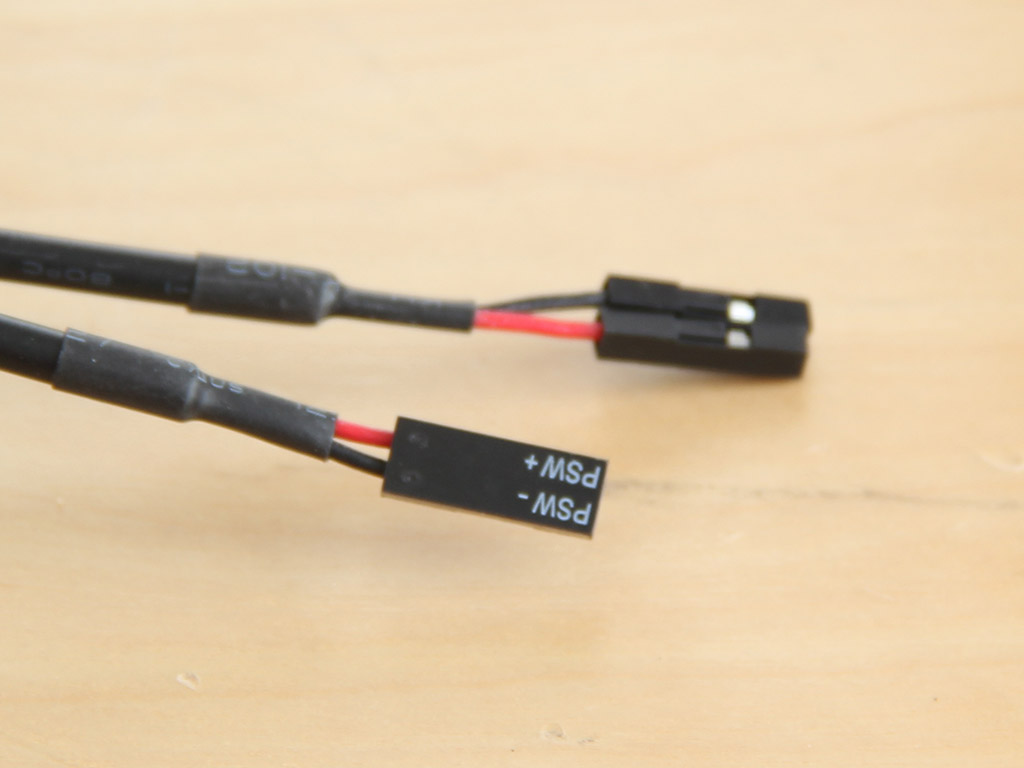
As there is no I/O or reset button, you will only find two leads: one for the power button and another for its LED.
Feb 20th, 2025 11:47 EST
change timezone
Latest GPU Drivers
New Forum Posts
- 1st New Build! Any thoughts/feedback? (9)
- Kinda Need Help Before Proceeding. (14)
- What are you playing? (22955)
- Zotac 4070 ti super uses AD102-175, but core power is 9+2. Is it bad? (0)
- It's happening again, melting 12v high pwr connectors (827)
- Windows 11 General Discussion (5671)
- "Is the RX 6800 hotspot value normal ? (21)
- AIO - 120mm cpu cooler? (11)
- As we live the age of game remakes, which game you would like to see to have a remake? (289)
- Share your AIDA 64 cache and memory benchmark here (3006)
Popular Reviews
- MSI GeForce RTX 5070 Ti Ventus 3X OC Review
- Gigabyte GeForce RTX 5090 Gaming OC Review
- Galax GeForce RTX 5070 Ti 1-Click OC White Review
- Ducky One X Inductive Keyboard Review
- AMD Ryzen 7 9800X3D Review - The Best Gaming Processor
- AVerMedia X'Tra Go GC515 Review
- WD Black SN7100 2 TB Review - The New Best SSD
- MSI MAG Z890 Tomahawk Wi-Fi Review
- NVIDIA GeForce RTX 5080 Founders Edition Review
- Kingdom Come Deliverance II Performance Benchmark Review - 35 GPUs Tested
Controversial News Posts
- AMD Radeon 9070 XT Rumored to Outpace RTX 5070 Ti by Almost 15% (302)
- AMD is Taking Time with Radeon RX 9000 to Optimize Software and FSR 4 (256)
- AMD Plans Aggressive Price Competition with Radeon RX 9000 Series (250)
- AMD Radeon RX 9070 and 9070 XT Listed On Amazon - One Buyer Snags a Unit (242)
- Edward Snowden Lashes Out at NVIDIA Over GeForce RTX 50 Pricing And Value (241)
- AMD Denies Radeon RX 9070 XT $899 USD Starting Price Point Rumors (239)
- New Leak Reveals NVIDIA RTX 5080 Is Slower Than RTX 4090 (215)
- AMD Radeon RX 9070 XT Launch Allegedly Set for March 6 (152)