 1
1
Streacom F12C Review
Value & Conclusion »Test System
| System Parts for Case Reviews | |
|---|---|
| Processor: | Intel Core i7-4770K @ 4.2 GHz (Haswell, 8192 KB Cache) |
| Motherboards: | ATX: Gigabyte GA-Z97X-Gaming 7 mATX: Gigabyte GA-Q87M-D2H mini-ITX: GA-H97N-WIFI Provided by: Gigabyte |
| Graphic Card: | Long: NVIDIA GeForce GTX 280 OEM Short: HIS Radeon 5350 HD |
| Memory: | Crucial Ballistix Tactical DIMM Kit 8GB @ DDR3-1600, CL8-8-8-24 Provided by: Crucial |
| HDD: | Western Digital 320 GB 7200 RPM |
| SSD: | Crucial MX100 256GB SATA 6Gbps Provided by: Crucial |
| Power Supply: | Fractal Design Edison M 550W Provided by: Fractal Design |
| Cooling: | Air Cooling Mini-ITX: Thermalright AXP-100R Air Cooling mATX: Thermalright Macho 90 Air Cooling ATX: Thermalright Macho 120 Provided by: PC-COOLING.de Liquid Cooling: Fractal Design Kelvin T12 & S24 |
Assembly
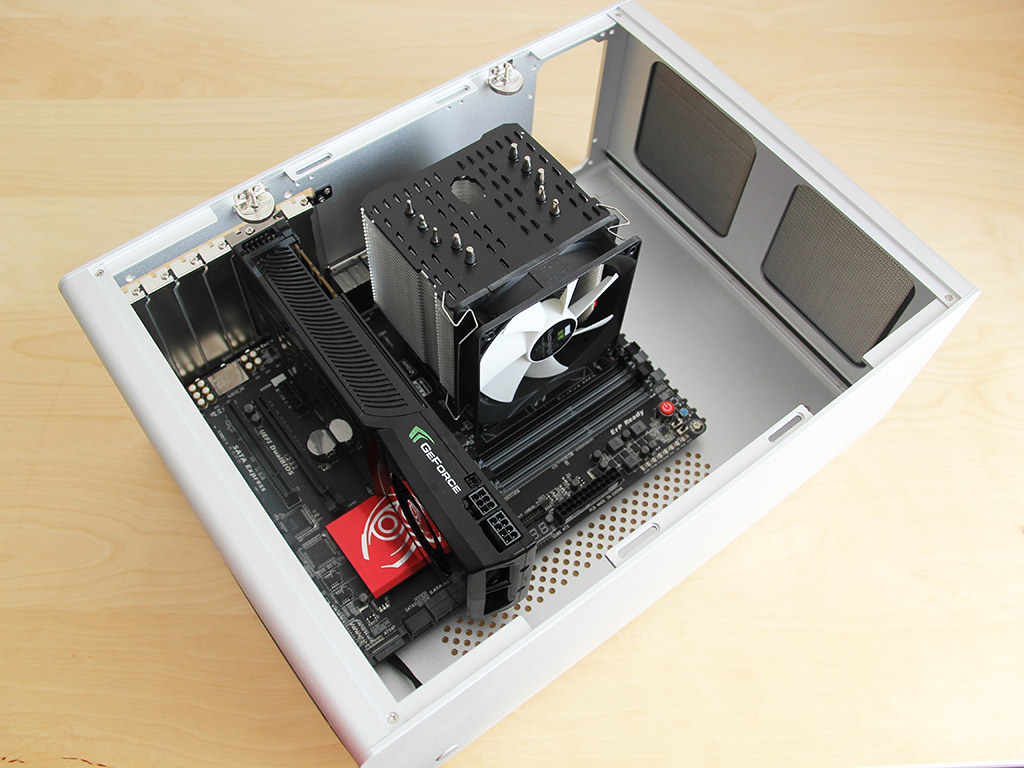
Installing a fully sized motherboard is done by traditional means, with the use of spacers and screws. Streacom mentions a maximum height of 135 mm for the CPU cooler, which should allow you to install some compact 92 mm tower units into the F12C. A fully sized ATX board will not allow you to install hard drives vertically any longer. Instead, only horizontal or SSD placements are viable so long as you are not going for more than a single graphics card in the motherboard's top expansion slot.
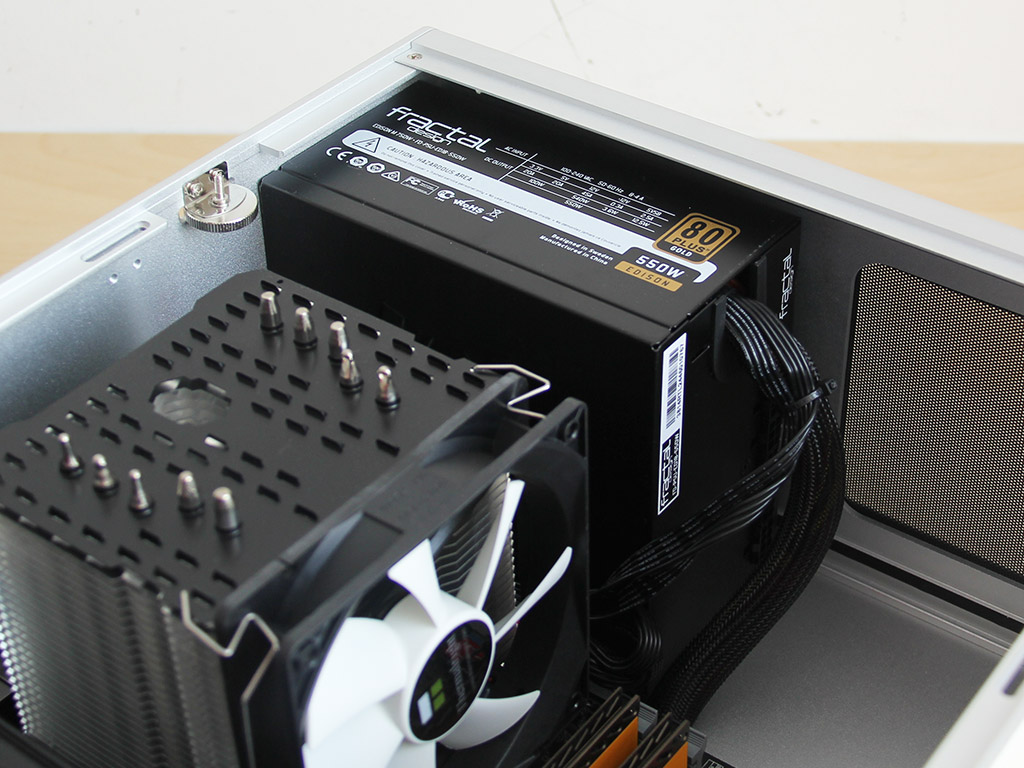
Before installing any storage drives, you should place the PSU before installing any storage drives to align any drives properly later on. Adding the power supply bears no surprises, and we chose to have the fan pull clean air in through the side.
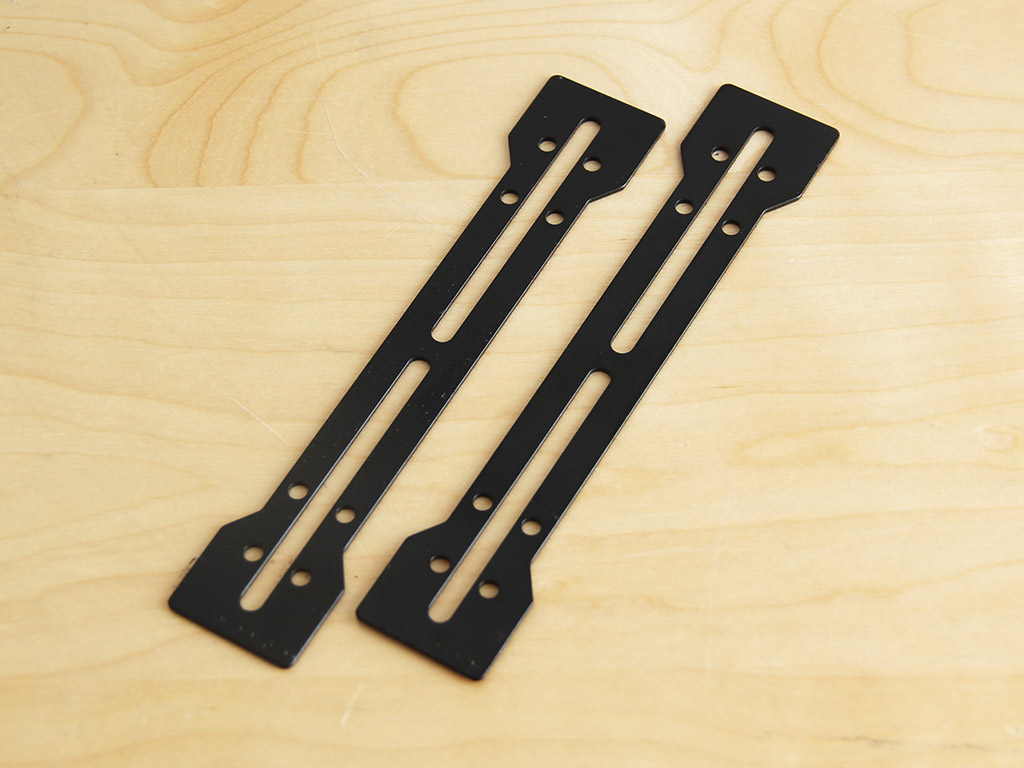
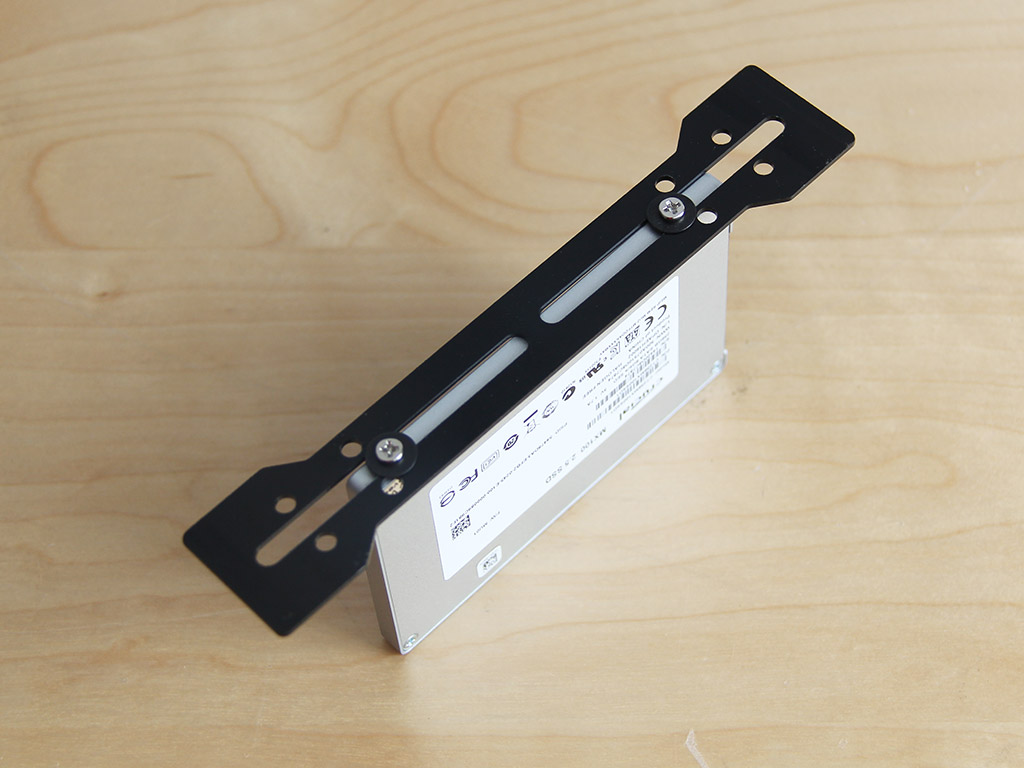
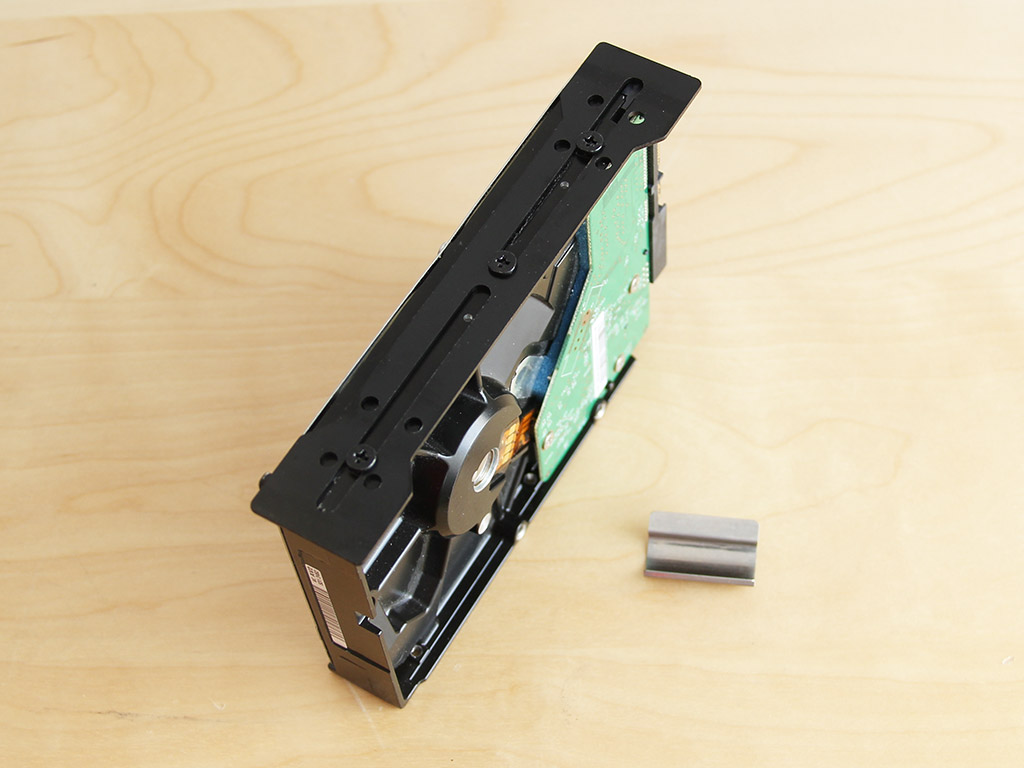
To install any drives or fans within the F12C, you first need to remove the metal bars within the chassis. These are held in place by metal clips of quite some force. While this is great as you won't have to worry about anything falling apart on its own, removing and placing them is actually quite difficult. Once the bars are released, you may secure a drive to these. Given the universal approach, it makes no difference whether you use 3.5 or 2.5" storage devices. The metal clip has been placed next to the traditional drive in the image above to illustrate what is required to add them to the chassis.
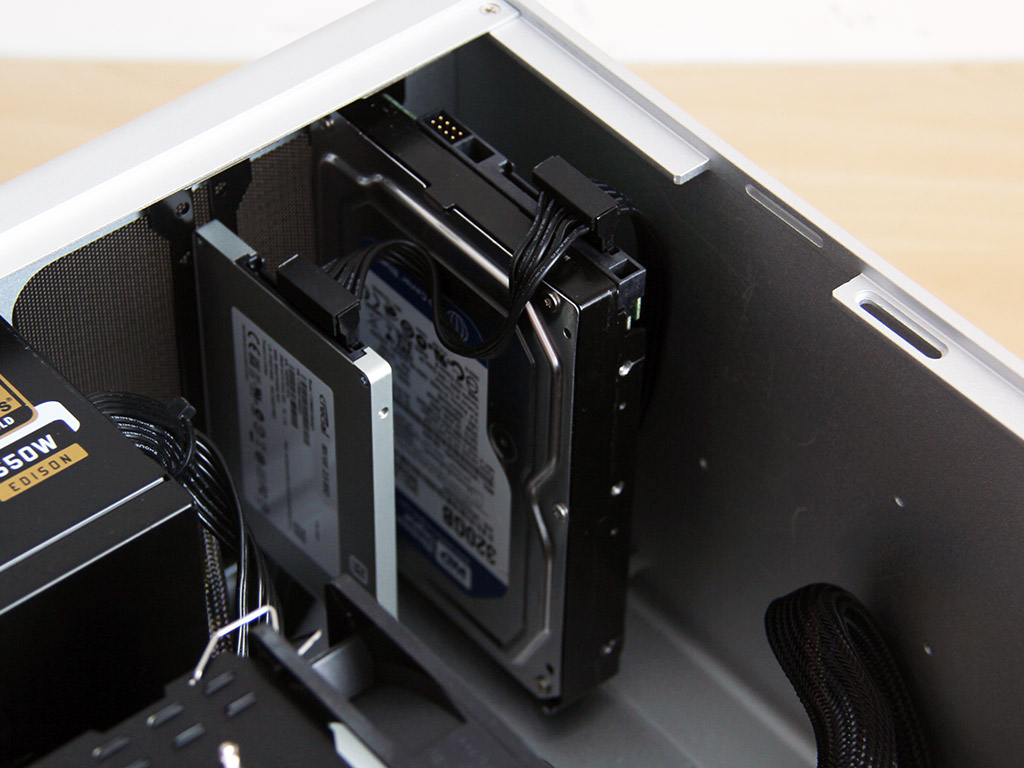
Once in place, you can move them around a bit, as the black mounting plates are held in place by a groove that runs along the entire side of the chassis. With a normally sized PSU, you should be able to get around 4-5 drives installed here, which is enough for most scenarios.
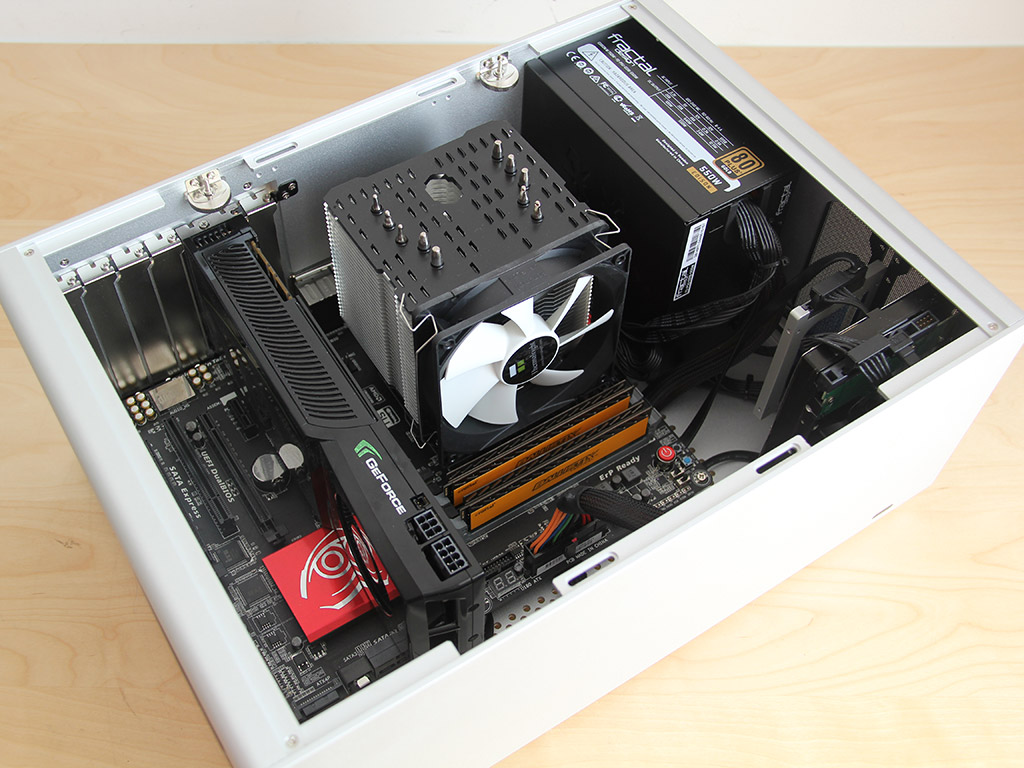
With everything installed and some pre-routing of the cables, the Streacom F12C is rather clean. You have to put some thought and planning into it before assembly, though, as there are no real possibilities to route anything, and Streacom does not include any plastic clips to aid in the process.
Finished Looks
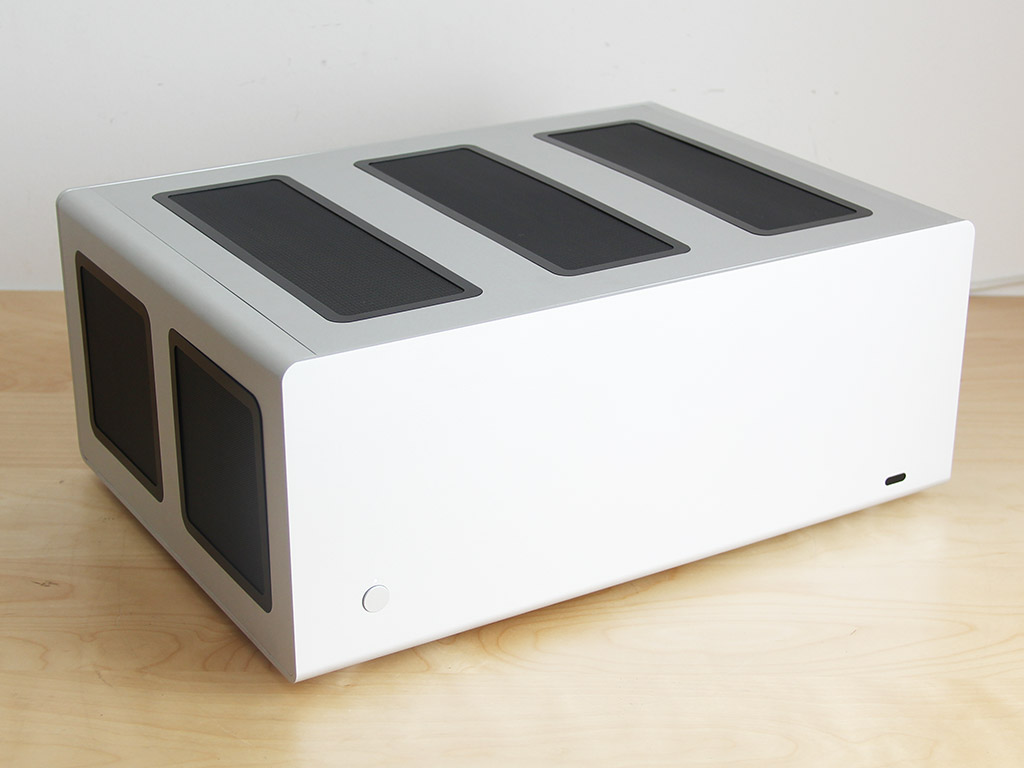
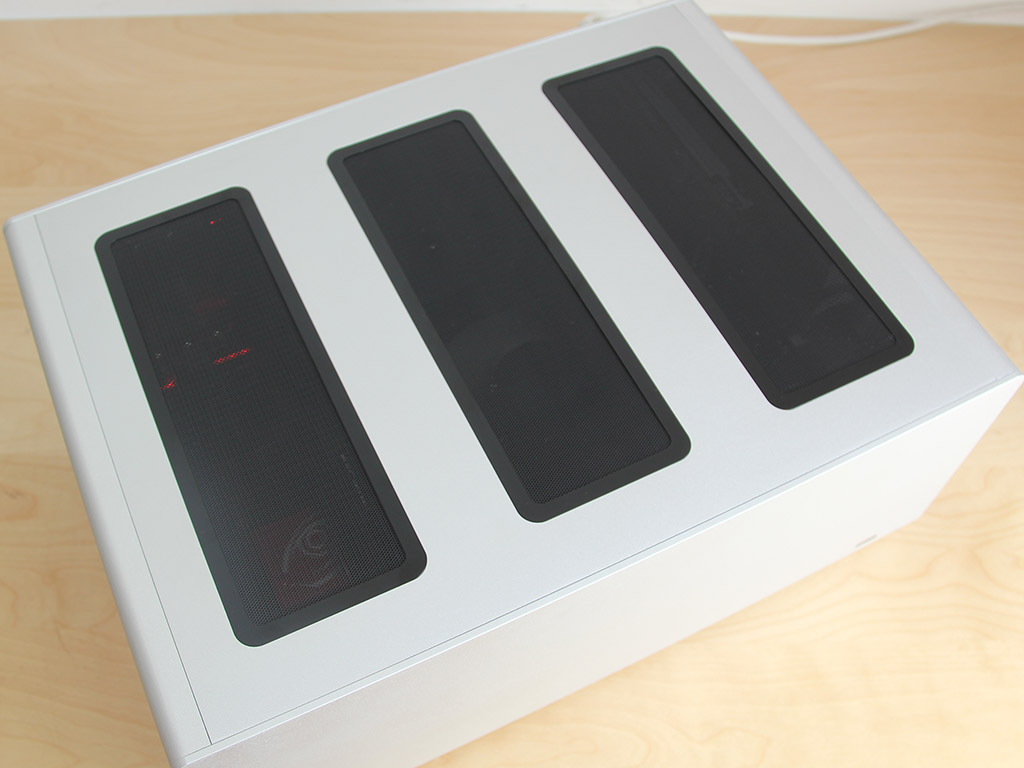
Once the top panel is in place, turning the system on also lights up the white LED in front. Aside from it, there is nothing but the operating noise to let you know that it is up and running. Looking at the top, you can clearly see the parts within. While the metal mesh filters will do their job quite nicely, fine particles will find their way inside, and any noise will find its way out.

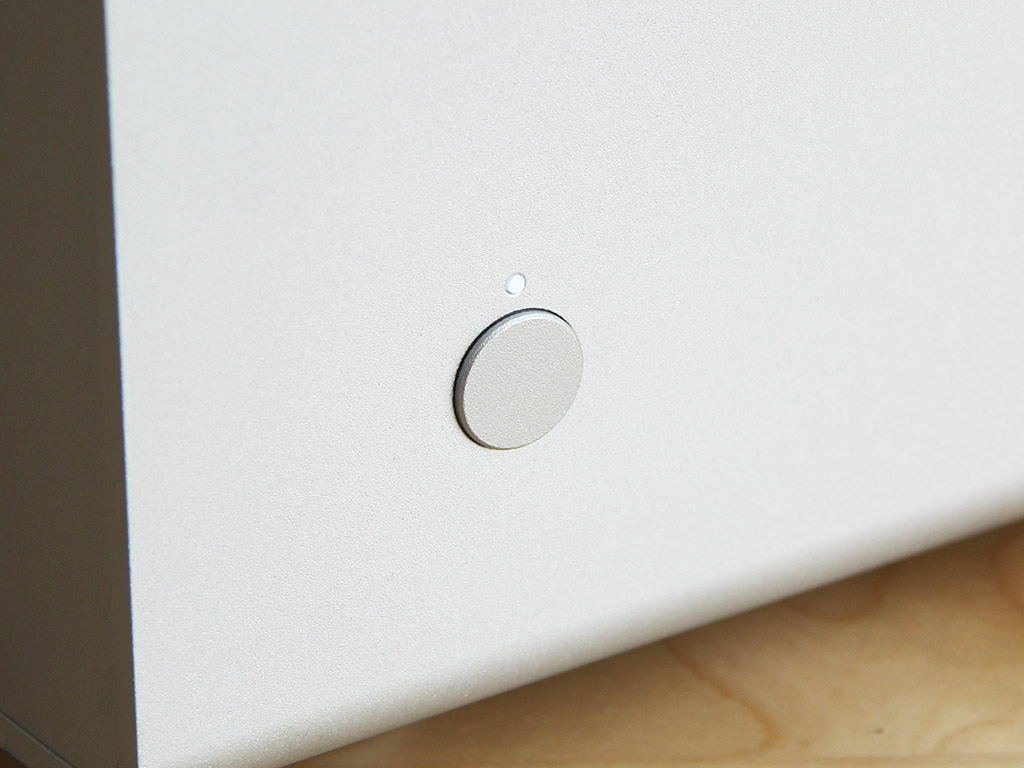
Looking at the front with no drive bay or I/O, only the white LED above the circular aluminum power button changes its state. The color choice of the diode is quite the wise one as it fits the F12C perfectly.
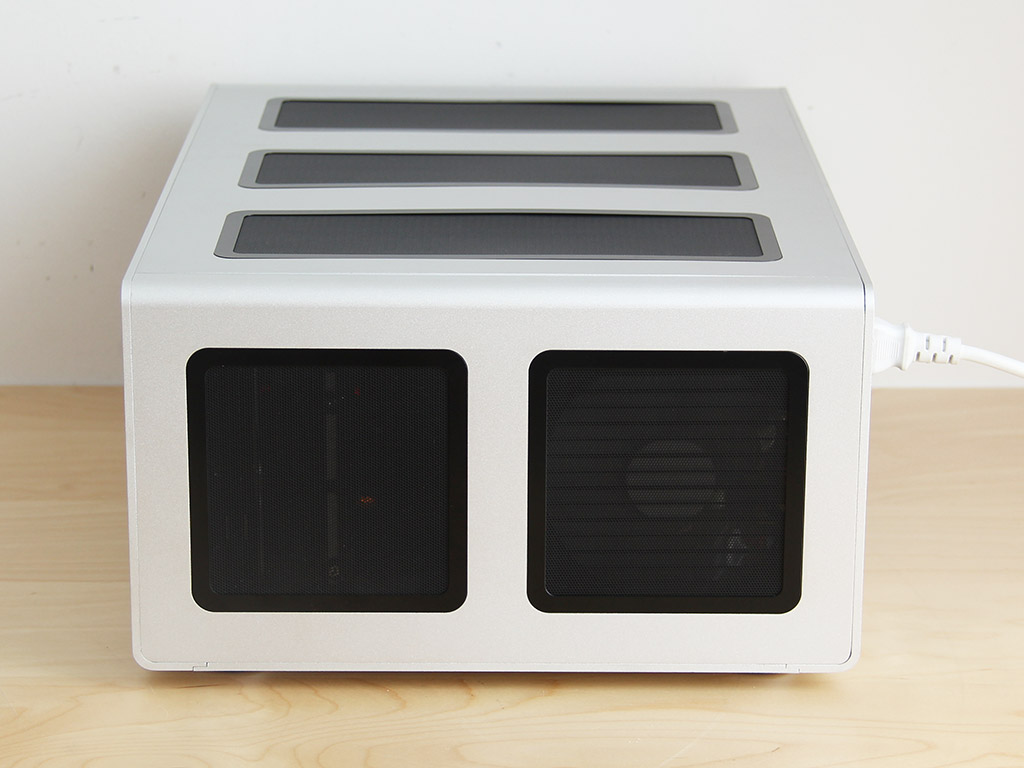
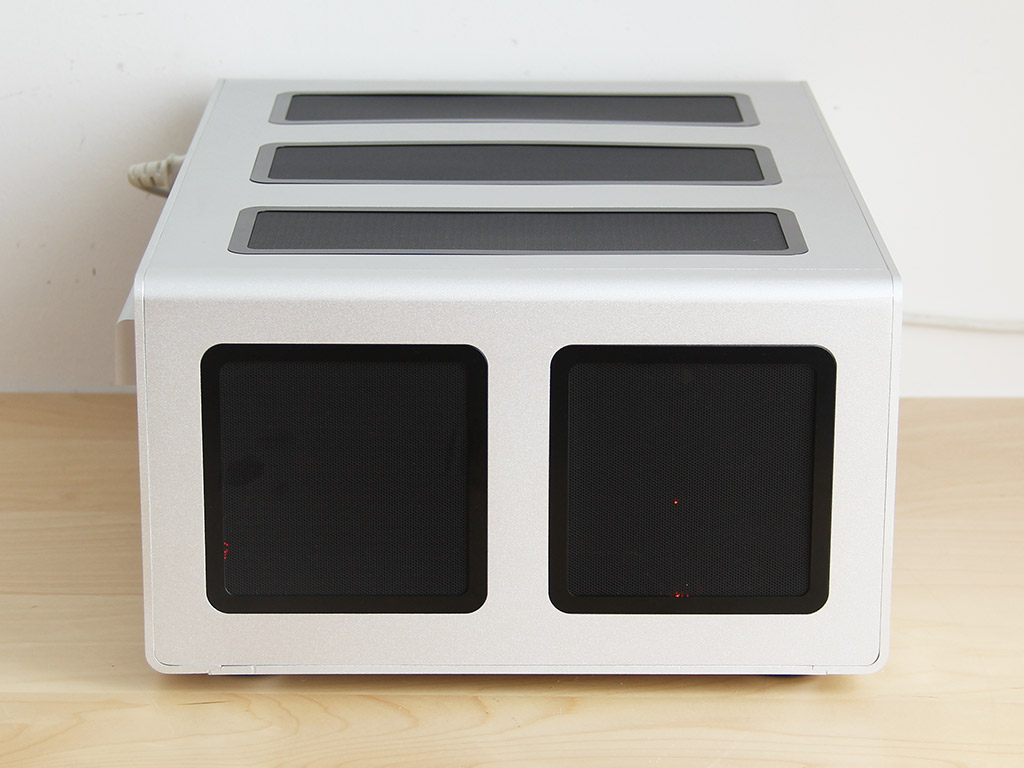
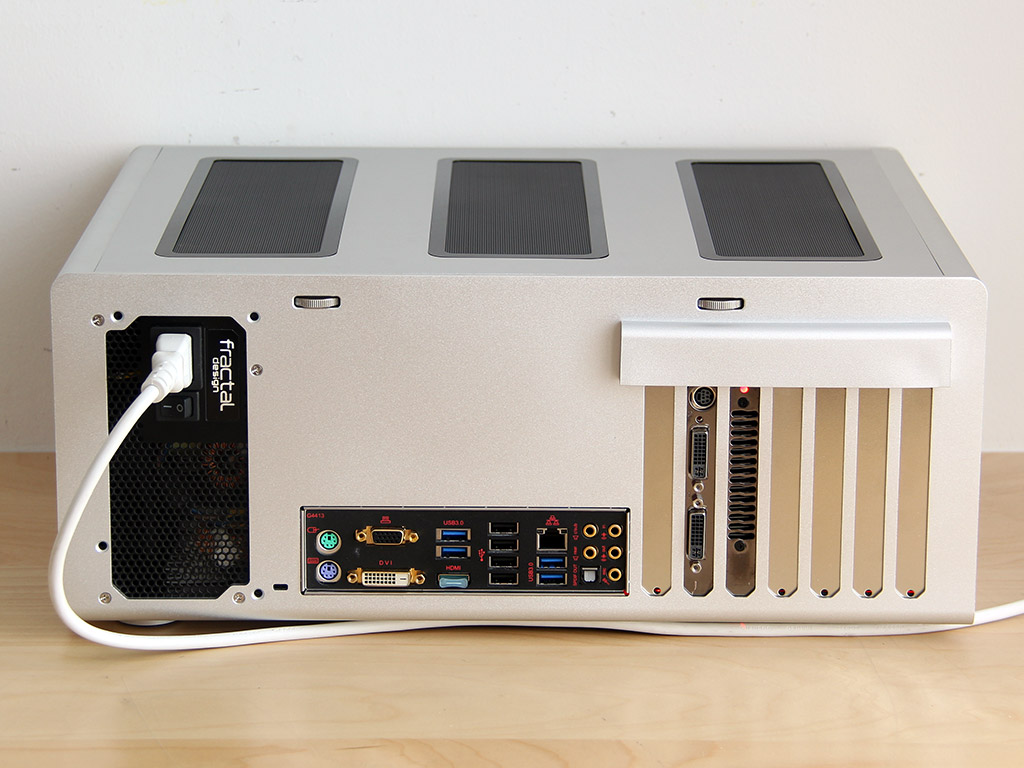
Both sides allow you to see the internal parts when looking at the chassis, just like the top. In the rear, all the connectors are where you would expect them to be, as this can be considered a mid-tower configuration that has been tipped on its side.
Feb 20th, 2025 11:53 EST
change timezone
Latest GPU Drivers
New Forum Posts
- It's happening again, melting 12v high pwr connectors (828)
- 1st New Build! Any thoughts/feedback? (9)
- Kinda Need Help Before Proceeding. (14)
- What are you playing? (22955)
- Zotac 4070 ti super uses AD102-175, but core power is 9+2. Is it bad? (0)
- Windows 11 General Discussion (5671)
- "Is the RX 6800 hotspot value normal ? (21)
- AIO - 120mm cpu cooler? (11)
- As we live the age of game remakes, which game you would like to see to have a remake? (289)
- Share your AIDA 64 cache and memory benchmark here (3006)
Popular Reviews
- MSI GeForce RTX 5070 Ti Ventus 3X OC Review
- Gigabyte GeForce RTX 5090 Gaming OC Review
- Galax GeForce RTX 5070 Ti 1-Click OC White Review
- Ducky One X Inductive Keyboard Review
- AMD Ryzen 7 9800X3D Review - The Best Gaming Processor
- AVerMedia X'Tra Go GC515 Review
- WD Black SN7100 2 TB Review - The New Best SSD
- MSI MAG Z890 Tomahawk Wi-Fi Review
- NVIDIA GeForce RTX 5080 Founders Edition Review
- Kingdom Come Deliverance II Performance Benchmark Review - 35 GPUs Tested
Controversial News Posts
- AMD Radeon 9070 XT Rumored to Outpace RTX 5070 Ti by Almost 15% (302)
- AMD is Taking Time with Radeon RX 9000 to Optimize Software and FSR 4 (256)
- AMD Plans Aggressive Price Competition with Radeon RX 9000 Series (250)
- AMD Radeon RX 9070 and 9070 XT Listed On Amazon - One Buyer Snags a Unit (242)
- Edward Snowden Lashes Out at NVIDIA Over GeForce RTX 50 Pricing And Value (241)
- AMD Denies Radeon RX 9070 XT $899 USD Starting Price Point Rumors (239)
- New Leak Reveals NVIDIA RTX 5080 Is Slower Than RTX 4090 (215)
- AMD Radeon RX 9070 XT Launch Allegedly Set for March 6 (152)