 3
3
Sunbeam Tuniq 3 Review
Value & Conclusion »Installation
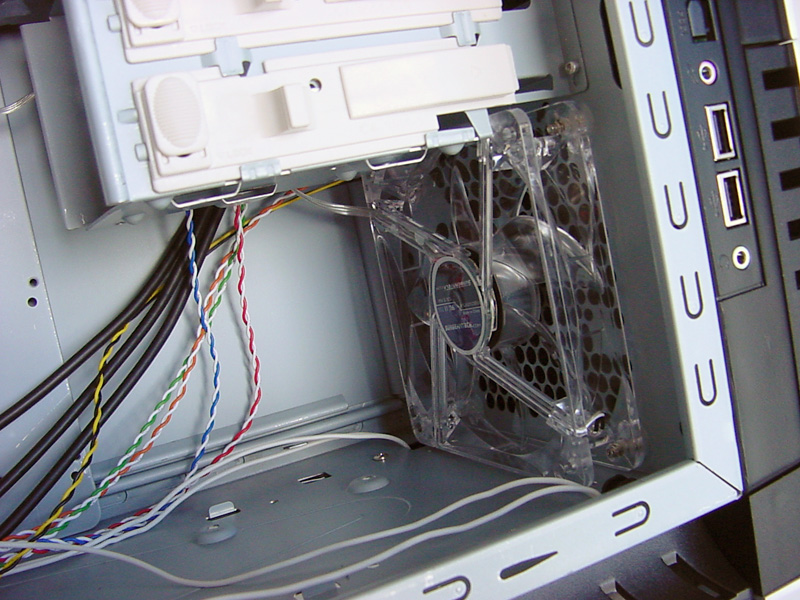
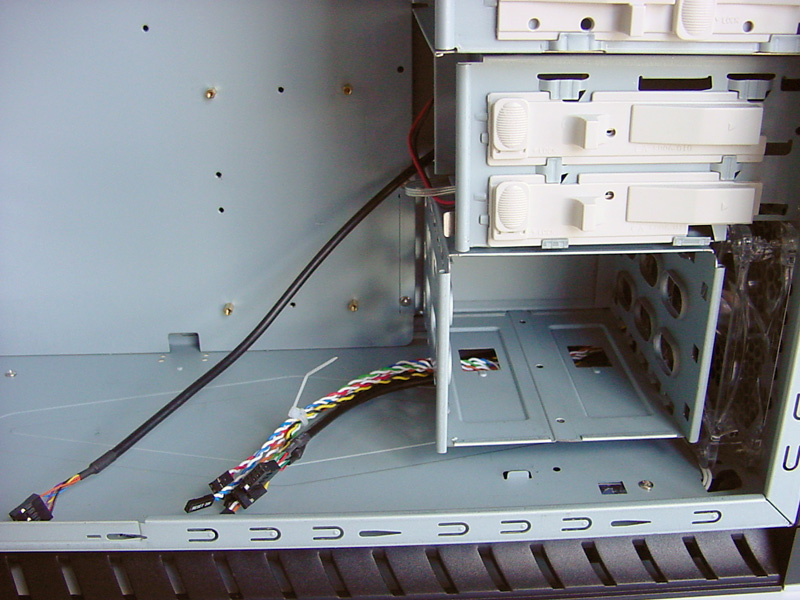
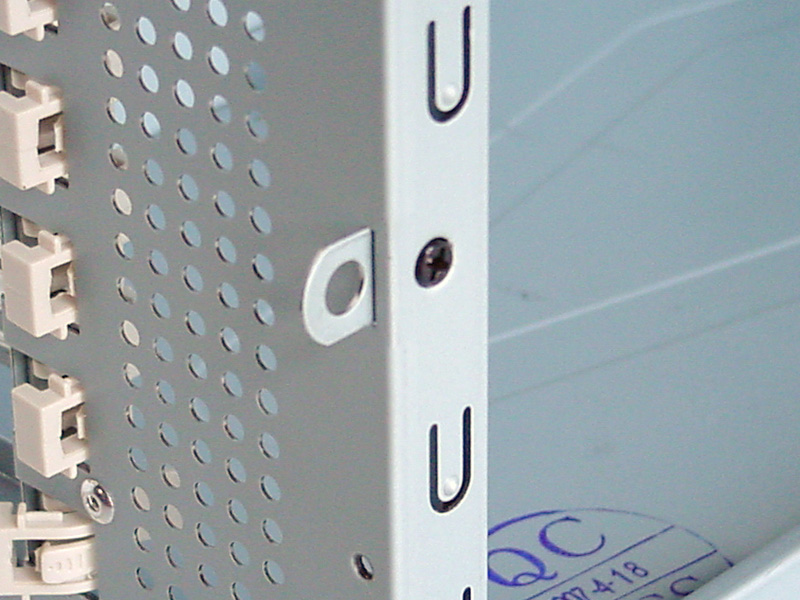
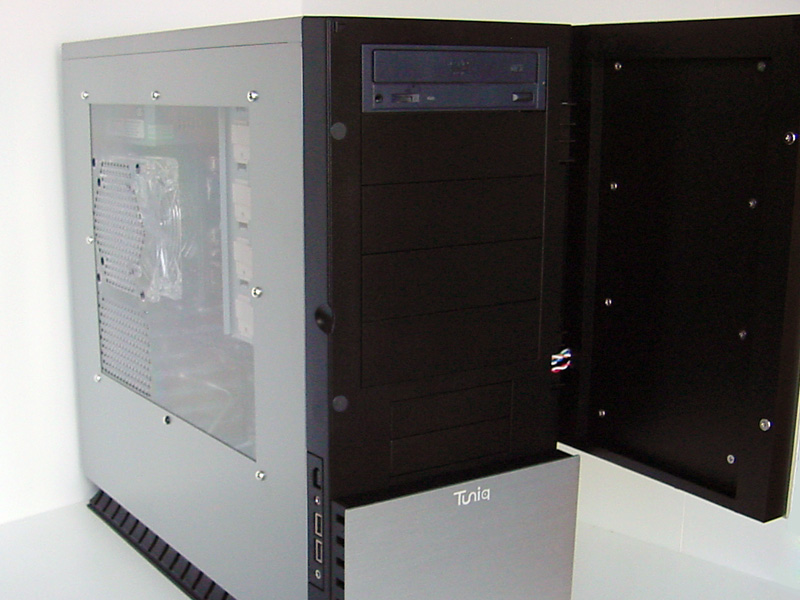
To start, I removed the 3D Core Fan assembly. With the CCFL base on the case this proved to be a slightly difficult task, as the two bottom screws were blocked by the base. Instead of putting the Core Fan back in after the installation, I decided to leave it out and use the fans elsewhere in the system. One of the fans went to the lower front opening, and the other to the side panel. To install the one in front, the HDD cage had to be removed by unscrewing the four screws that hold it in. I added the fan to the front with the fan screws included in the hardware. I also took the time to clean up the wiring and install the inverter for the CCFLs behind the external 3.5" bays before putting the HDD cage back in. The security loop was installed along the back panel with the single black screw from the kit.
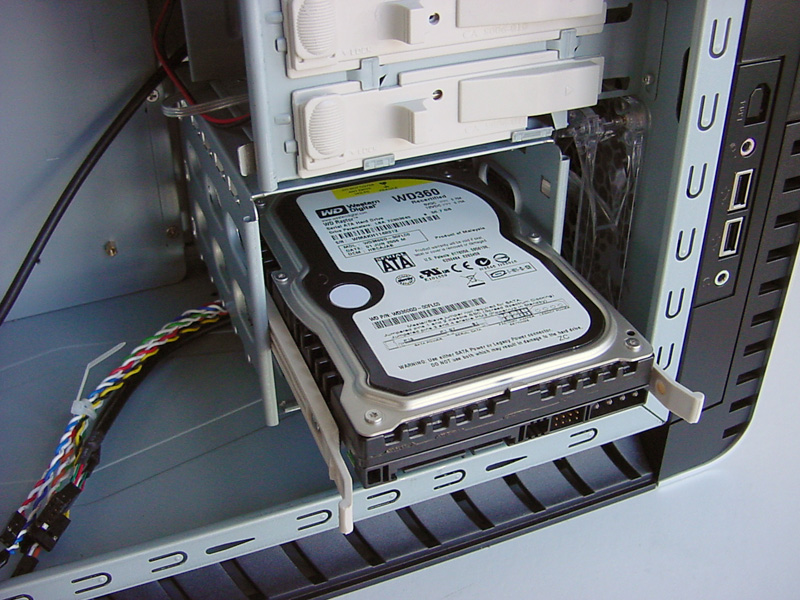
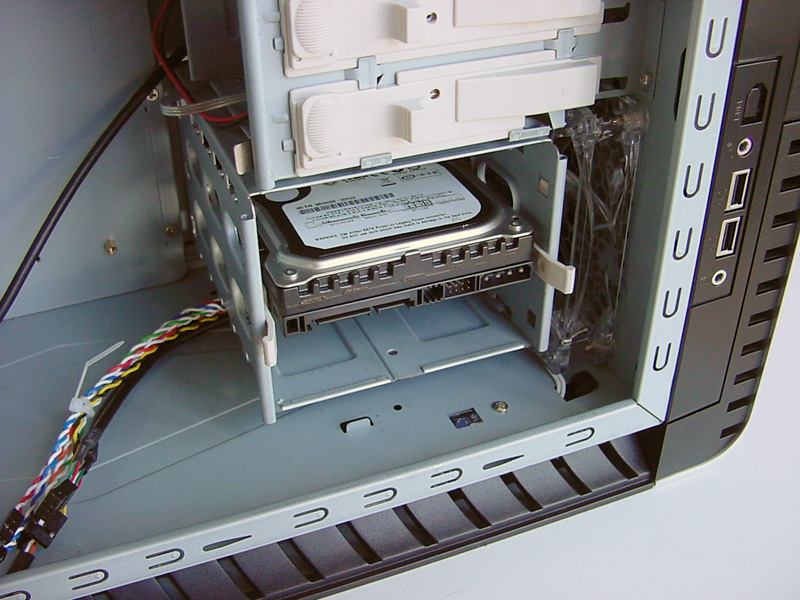
To install the hard disk, simply push the pins for two drive rails into the screw holes on the sides of the drive, then slide it into the cage until it clicks into place. Unfortunately, due to the implementation of the HDD cage and the drive rails, the hard disks cannot be installed backwards to help hide the cables.
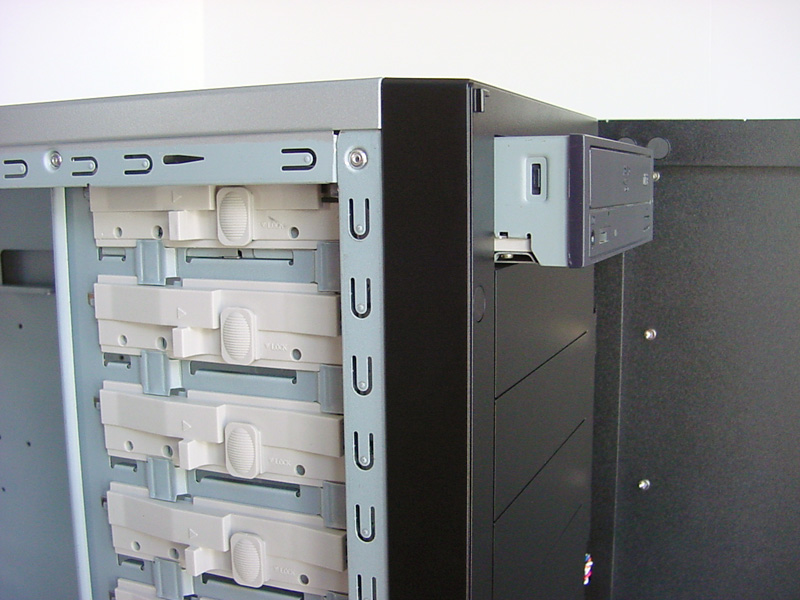
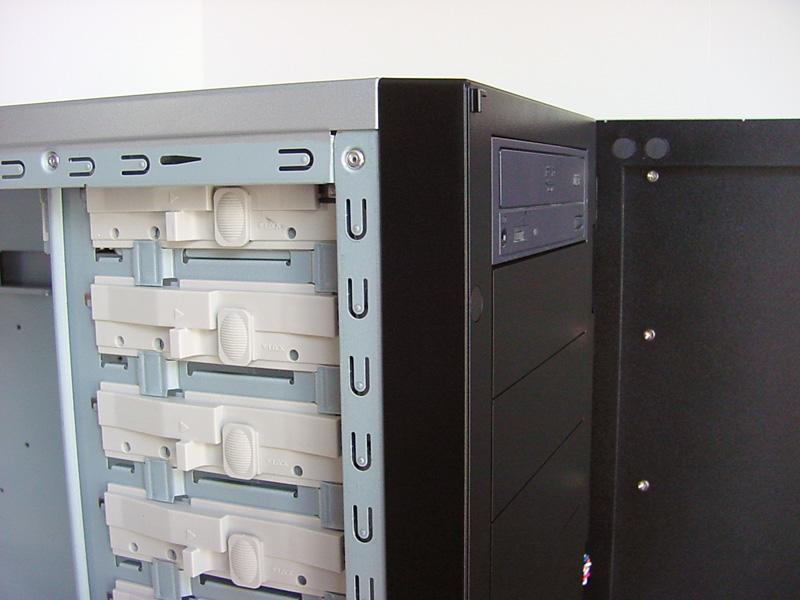
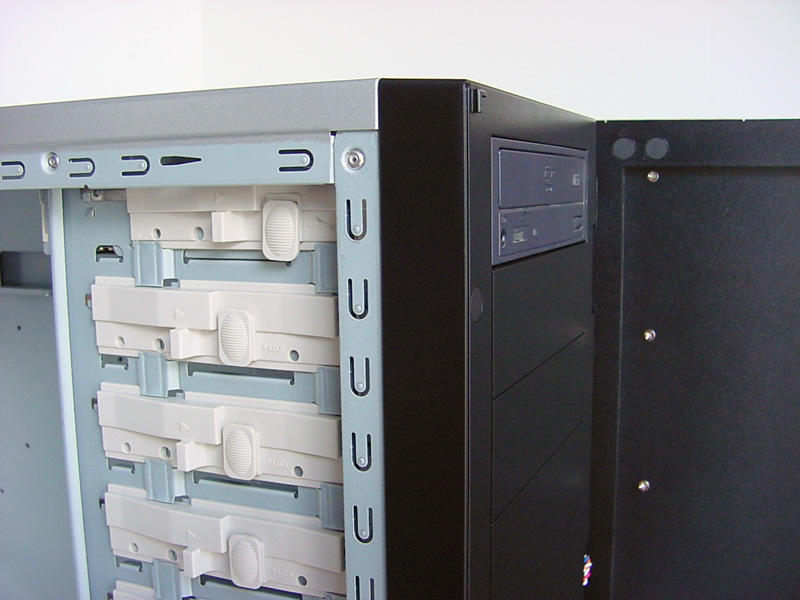
To install the optical drive, remove the bay cover and insert the drive until it lines up with the front panel. Push the latch forward, then slide the lock down to secure it in place.
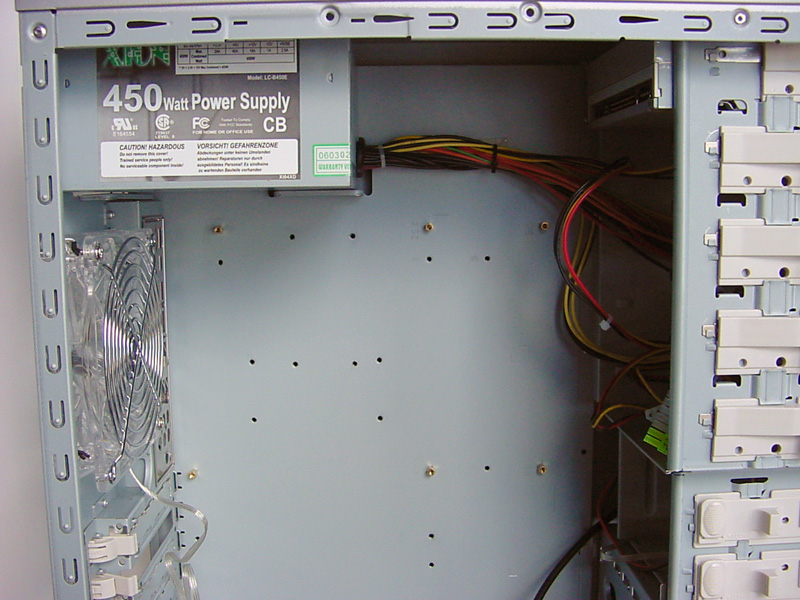
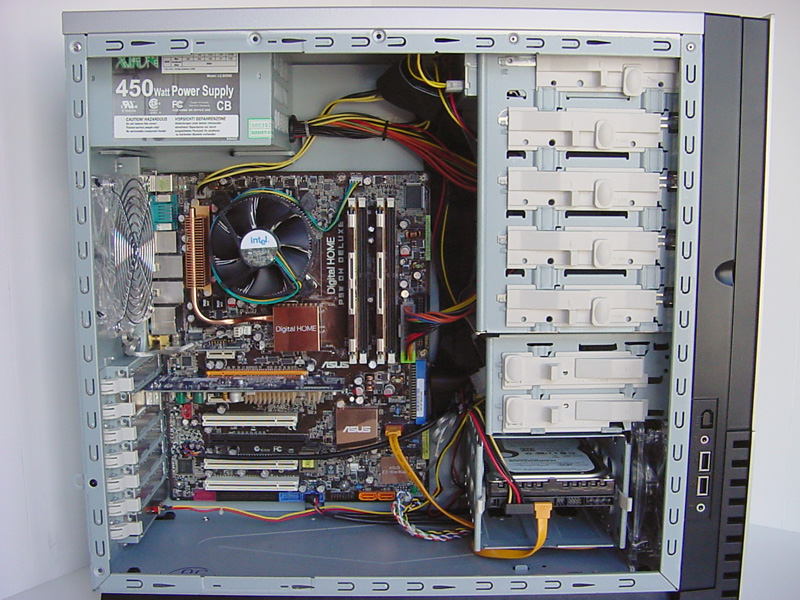
The power supply was installed into the case and the wires were bundled up using the plastic tie and mounting base. Finally, the motherboard was installed and all the wiring was connected.
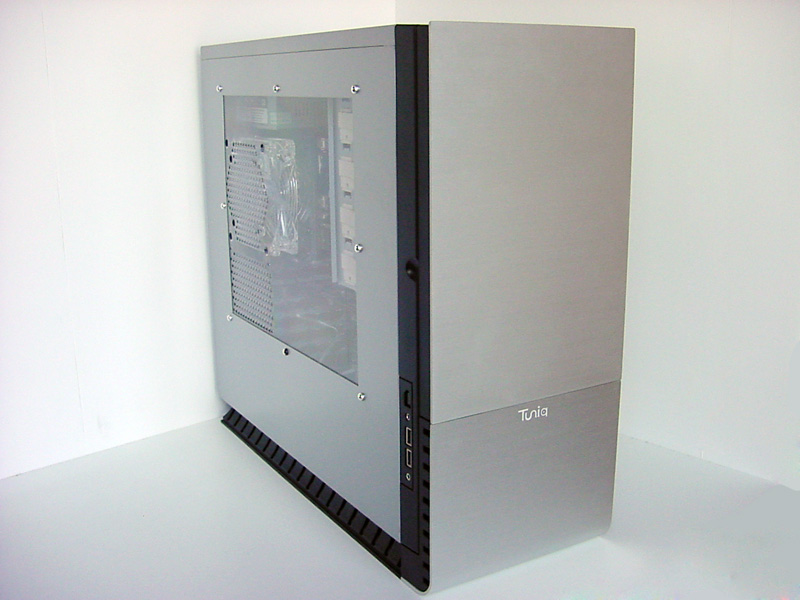
Finished Look
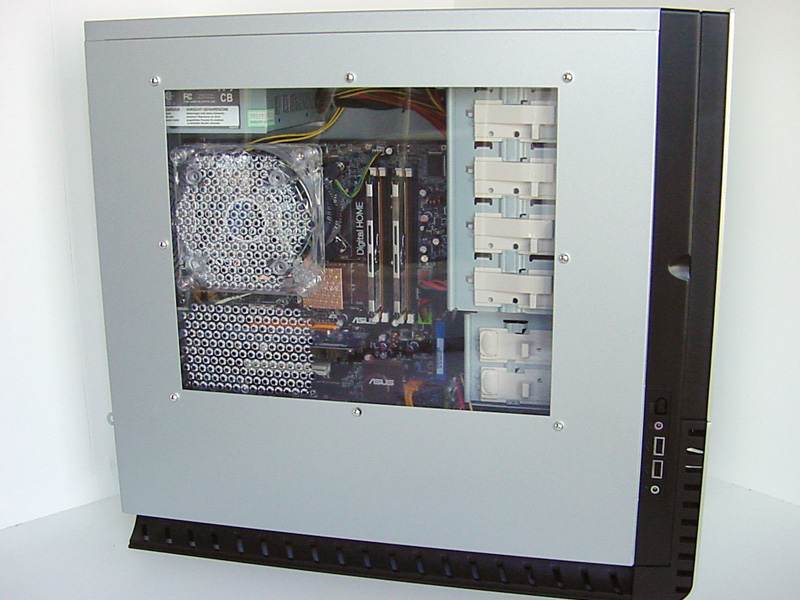
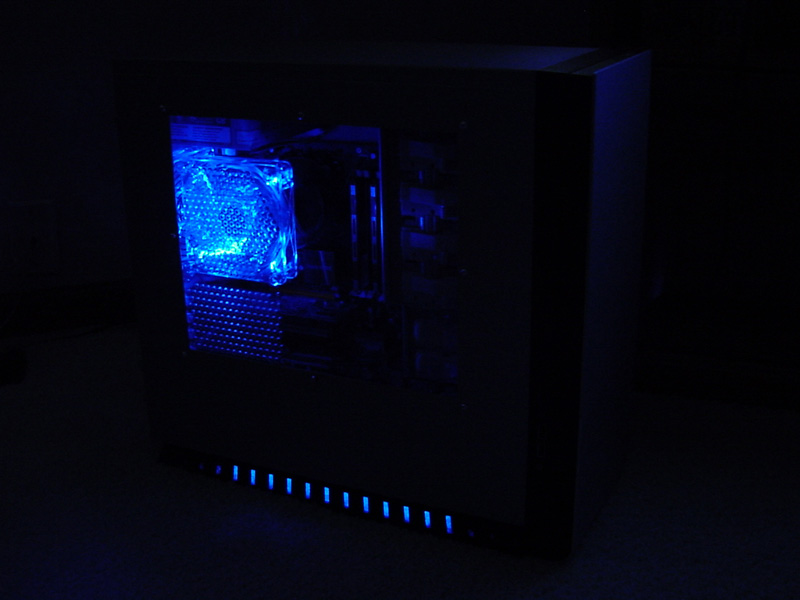
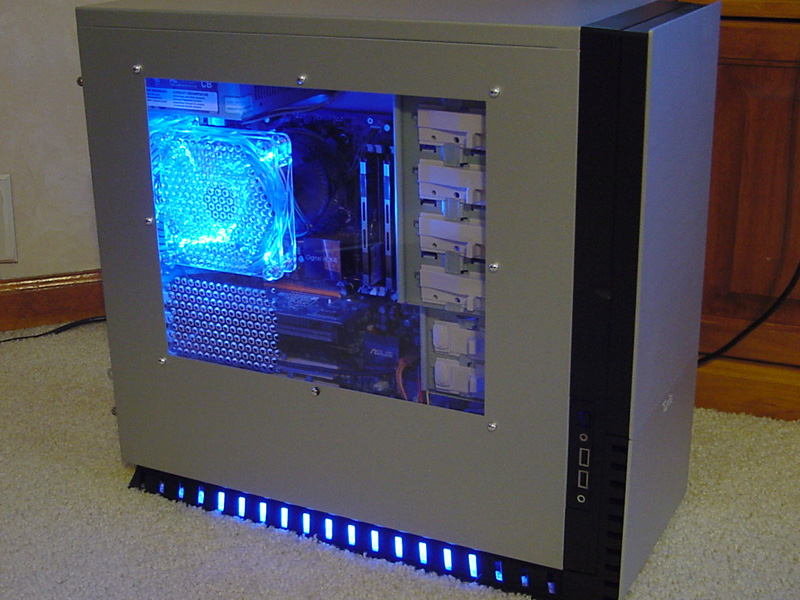
Surprisingly, the CCFLs were not too bright and are not distracting. In fact, the 120mm fan in the side window was much brighter than the CCFLs themselves, and if they were ever too distracting, the user could reach around to the back side and switch them off.
Jul 2nd, 2025 23:13 CDT
change timezone
Latest GPU Drivers
New Forum Posts
- Will you buy a RTX 5090? (588)
- AMD RX 7000 series GPU Owners' Club (1327)
- What's your latest tech purchase? (24189)
- RDNA 4 Fine Wine? (HUB Vid) (41)
- GravityMark v1.89 GPU Benchmark (308)
- Good time in the year to buy a new PC (5)
- The Official Thermal Interface Material thread (1767)
- What Windows is overall the best to you and why? (262)
- Nvidia drivers (6)
- How do you view TPU & the internet in general? (With poll) (54)
Popular Reviews
- ASUS ROG Crosshair X870E Extreme Review
- Crucial T710 2 TB Review - Record-Breaking Gen 5
- Sapphire Radeon RX 9060 XT Pulse OC 16 GB Review - An Excellent Choice
- PowerColor ALPHYN AM10 Review
- Upcoming Hardware Launches 2025 (Updated May 2025)
- AMD Ryzen 7 9800X3D Review - The Best Gaming Processor
- AVerMedia CamStream 4K Review
- Sapphire Radeon RX 9070 XT Nitro+ Review - Beating NVIDIA
- NVIDIA GeForce RTX 5060 8 GB Review
- AMD Ryzen 9 9950X3D Review - Great for Gaming and Productivity
TPU on YouTube
Controversial News Posts
- Intel's Core Ultra 7 265K and 265KF CPUs Dip Below $250 (288)
- NVIDIA Grabs Market Share, AMD Loses Ground, and Intel Disappears in Latest dGPU Update (212)
- Some Intel Nova Lake CPUs Rumored to Challenge AMD's 3D V-Cache in Desktop Gaming (140)
- NVIDIA GeForce RTX 5080 SUPER Could Feature 24 GB Memory, Increased Power Limits (114)
- NVIDIA Launches GeForce RTX 5050 for Desktops and Laptops, Starts at $249 (105)
- Microsoft Partners with AMD for Next-gen Xbox Hardware (105)
- Intel "Nova Lake‑S" Series: Seven SKUs, Up to 52 Cores and 150 W TDP (100)
- NVIDIA DLSS Transformer Cuts VRAM Usage by 20% (96)