 11
11
Sunbeam Acrylic HTPC Case Review
System Installation »Assembly

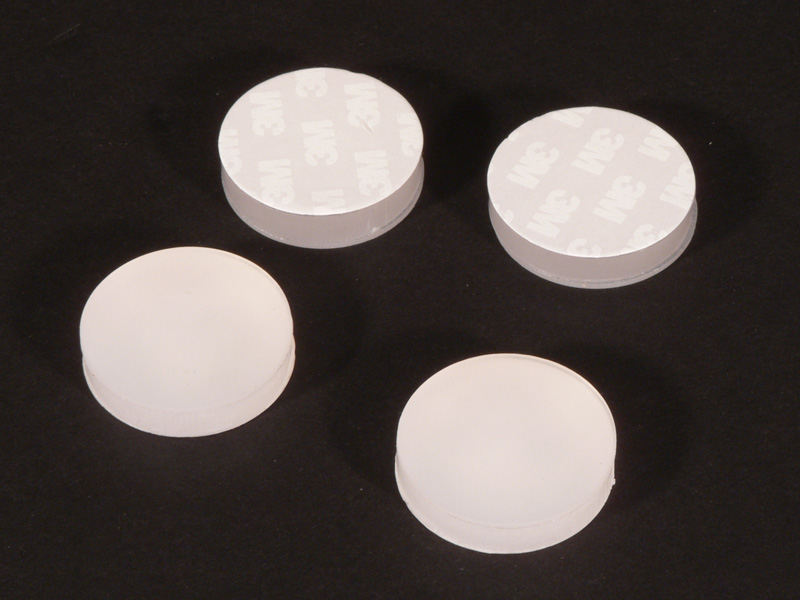

To start the assembly of the Sunbeam Acrylic HTPC case, the bottom panel needs the four case feet and two power supply supports attached to it with the included double-sided tape. Four corner brackets are then attached loosely with the chrome thumbscrews. By leaving these thumbscrews just a little loose, adding the side panels and making minor adjustments will be much easier.
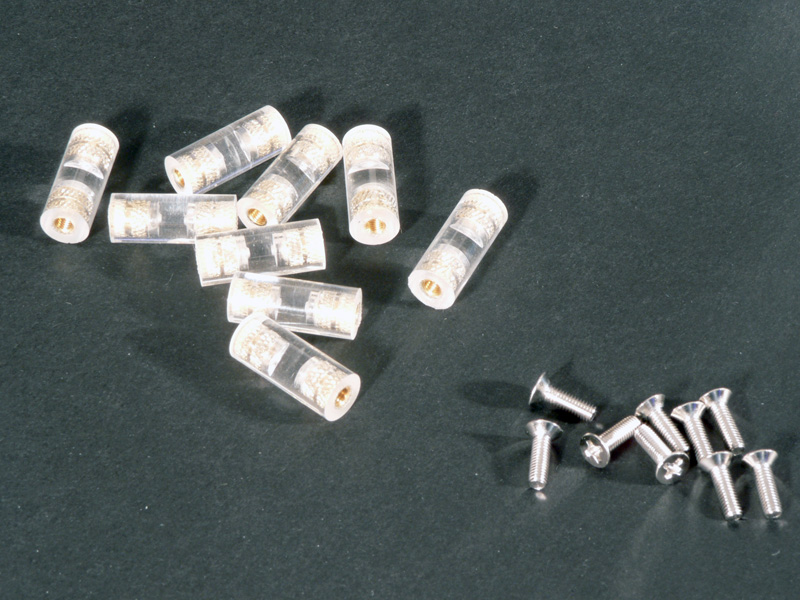

There are nine motherboard support stand-offs included with the kit, and these should be added next.
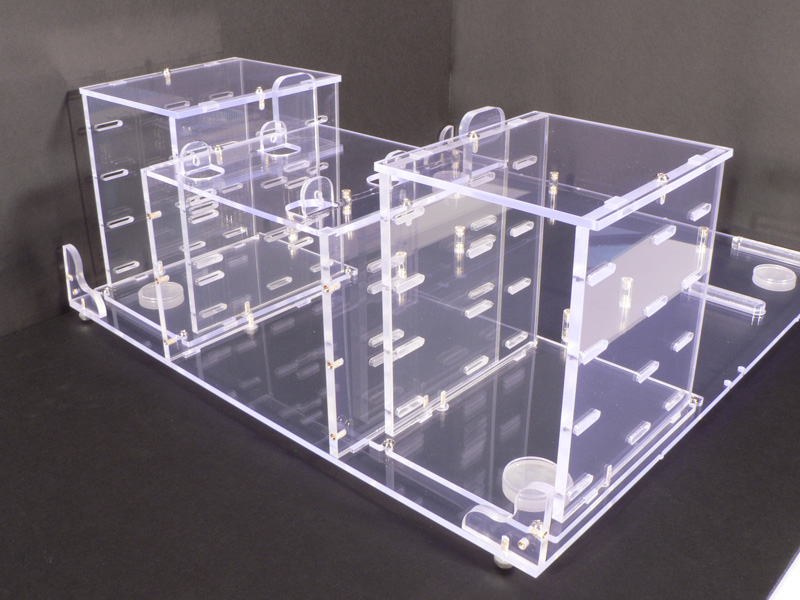
The Acrylic HTPC case features eight internal 3.5" bays, which has to be the most I have ever seen in an HTPC case. In fact, it is probably more hard drive bays than on many standard cases, aside from some full tower monsters out there. Here, the two HDD cages are assembled and added to the lower panel. These two cages can be left out if not needed, or one or both used depending on the user's needs. It would make sense to add the drives to the cages as they are assembled, but the drives were left out for clarity.
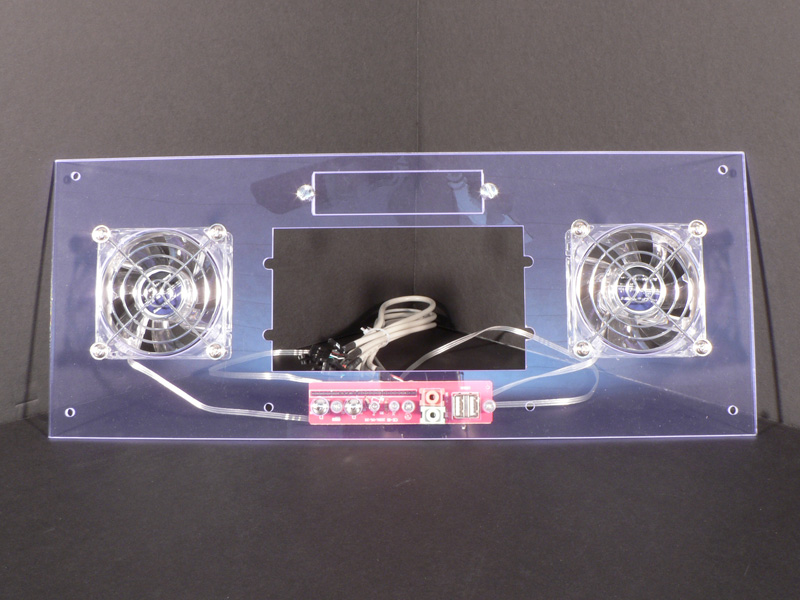
Next the front panel was assembled. Two of the fans and two of the grills were added to their respective openings, and the front I/O panel was added, too. Then the front panel was attached to the corner brackets, still leaving the thumbscrews a little loose.
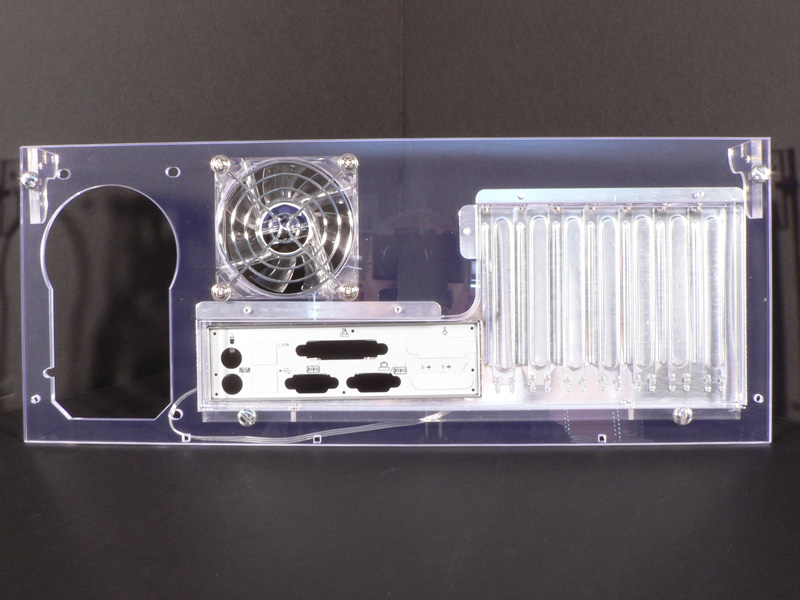
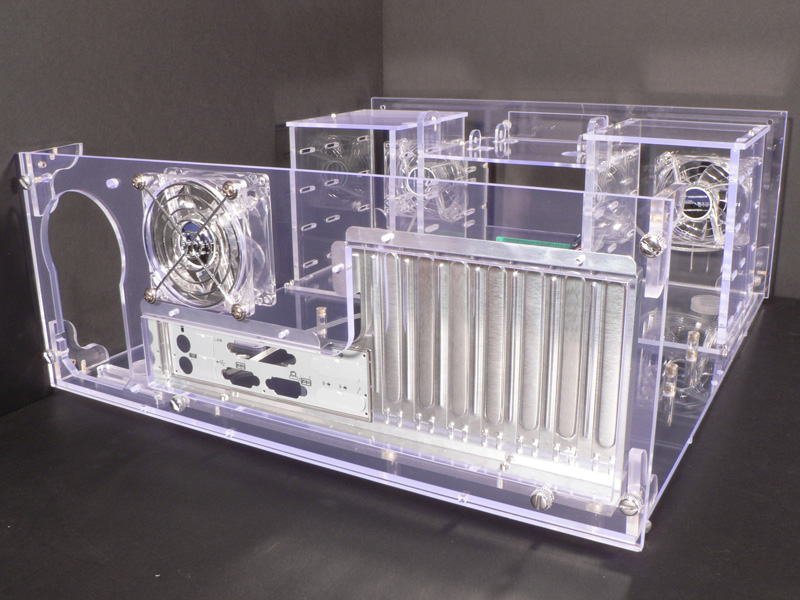
Moving on to the rear of the case, the metal PCI plate should be attached to the rear panel, along with another 80mm fan and grill. This panel then gets attached to the bottom, same as the front.
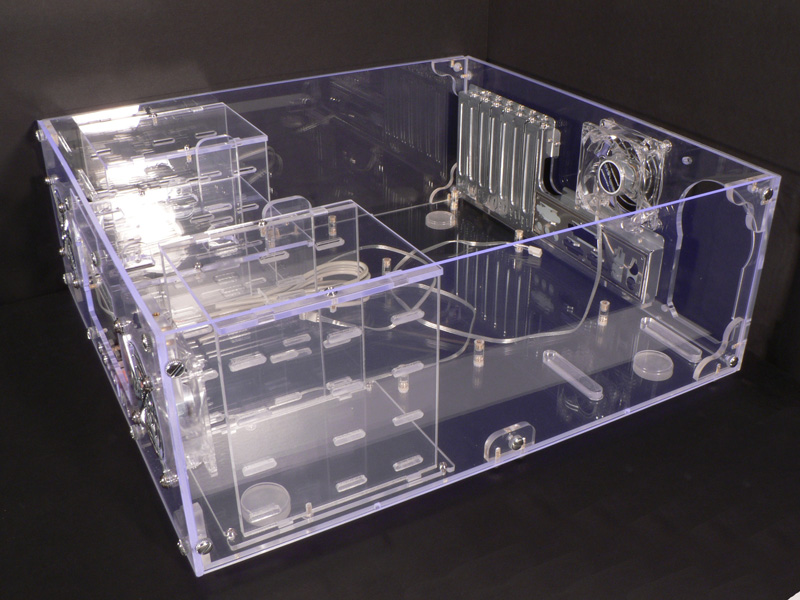

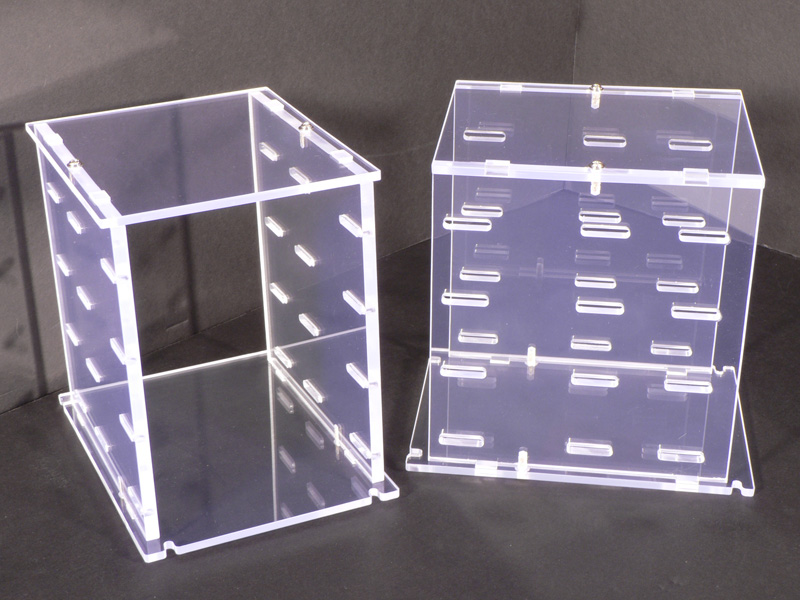
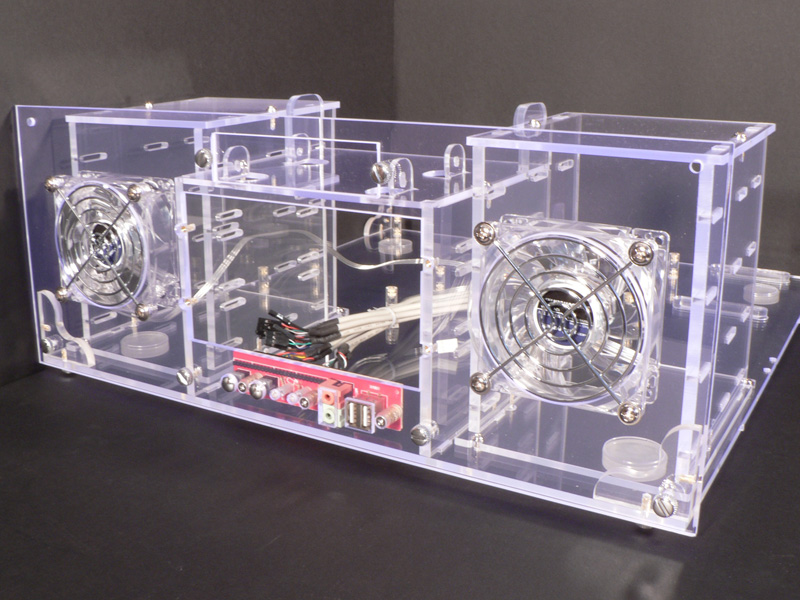
Now the two side panels can be added, and they get attached with more of the silver thumbscrews. There are two supports that are used along the sides to help hold the case together.
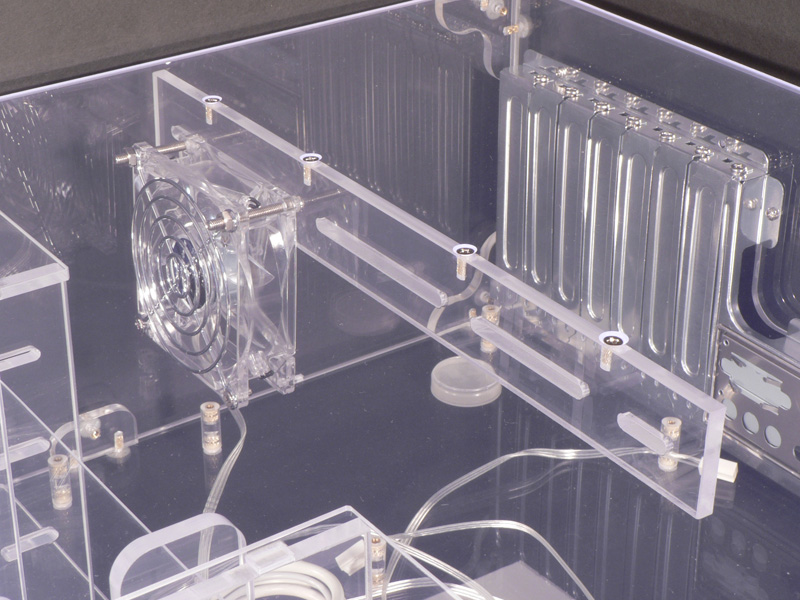
Sunbeam includes a bracket for their "Core Fan" system, which in this case is another 80mm fan that is used internally to provide additional airflow around the PCI cards. This works rather well, unless by some chance the video card used is a full-sized card like any of the high-end models from ATI or NVIDIA. This bracket might be in the way then, and if left out of the system there would be four open holes on the top panel.
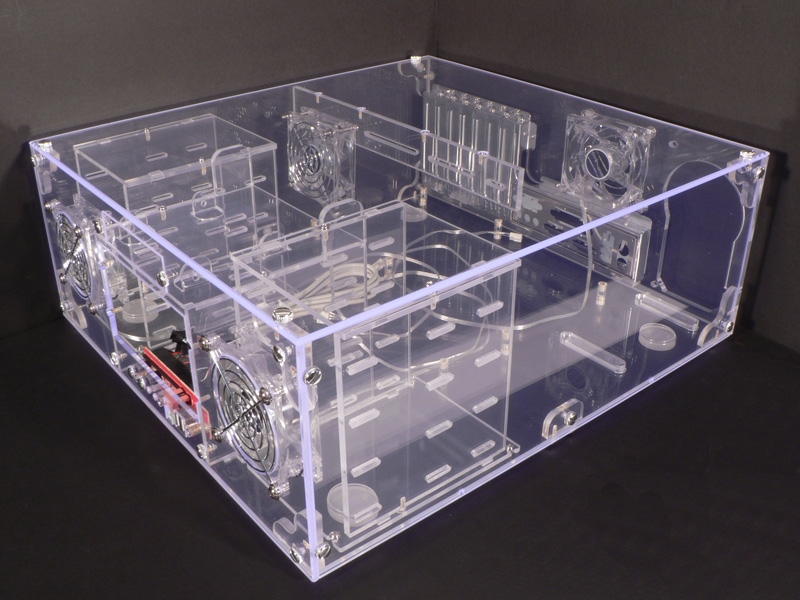

The top panel gets added last, and then all of the thumbscrews can be tightened up.
Mar 10th, 2025 16:19 EDT
change timezone
Latest GPU Drivers
New Forum Posts
- Maxsun RX580 graphics card crashes (25)
- DLSS as antialiasing? (19)
- Please I need help with the poor performance that my PC is giving me (28)
- Company of Heroes 3 (5)
- The TPU Darkroom - Digital SLR and Photography Club (4071)
- A Final Fantasy IX Reminiscence - My love letter and homage to one of the best stories ever told (72)
- Gaming PC instabiliity (20)
- Msi 5090 DOA? (27)
- 3D Printer Club (447)
- Microprose: Falcon 5.0 - Well under development- yeay (1)
Popular Reviews
- Sapphire Radeon RX 9070 XT Nitro+ Review - Beating NVIDIA
- XFX Radeon RX 9070 XT Mercury OC Magnetic Air Review
- ASUS Radeon RX 9070 TUF OC Review
- MSI MAG B850 Tomahawk Max Wi-Fi Review
- NVIDIA GeForce RTX 5080 Founders Edition Review
- NVIDIA GeForce RTX 5070 Founders Edition Review
- Corsair Vengeance RGB CUDIMM DDR5-8800 48 GB CL42 Review
- AMD Ryzen 7 9800X3D Review - The Best Gaming Processor
- ASUS GeForce RTX 5070 Ti TUF OC Review
- MSI GeForce RTX 5070 Ti Gaming Trio OC+ Review
Controversial News Posts
- NVIDIA GeForce RTX 50 Cards Spotted with Missing ROPs, NVIDIA Confirms the Issue, Multiple Vendors Affected (513)
- AMD Plans Aggressive Price Competition with Radeon RX 9000 Series (277)
- AMD Radeon RX 9070 and 9070 XT Listed On Amazon - One Buyer Snags a Unit (261)
- AMD RDNA 4 and Radeon RX 9070 Series Unveiled: $549 & $599 (260)
- AMD Mentions Sub-$700 Pricing for Radeon RX 9070 GPU Series, Looks Like NV Minus $50 Again (248)
- NVIDIA Investigates GeForce RTX 50 Series "Blackwell" Black Screen and BSOD Issues (244)
- AMD Radeon RX 9070 and 9070 XT Official Performance Metrics Leaked, +42% 4K Performance Over Radeon RX 7900 GRE (195)
- AMD Radeon RX 9070-series Pricing Leaks Courtesy of MicroCenter (158)