 2
2
Synology DS216play 2-bay NAS Review
Administration - Basic Settings »Initial Setup

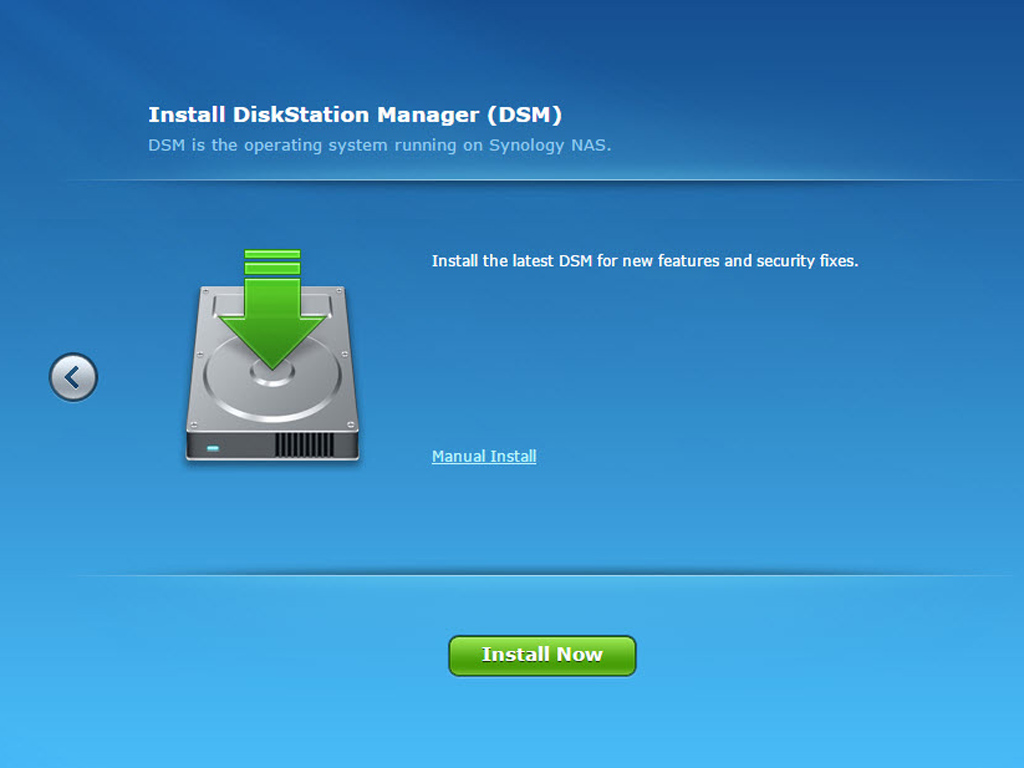
There is no need to install Synology Assistant to find the NAS server's IP address before you initialize it. You only have to open "find.synology.com" in a browser on a client PC after you have installed the hardware (HDDs) and connected all the cables (power and LAN) to start the initial setup procedure. Type in "diskstation:5000" instead if your PC isn't connected to the Internet. Setting this NAS up through Synology's Web Assistant is a piece of cake for even inexperienced users.
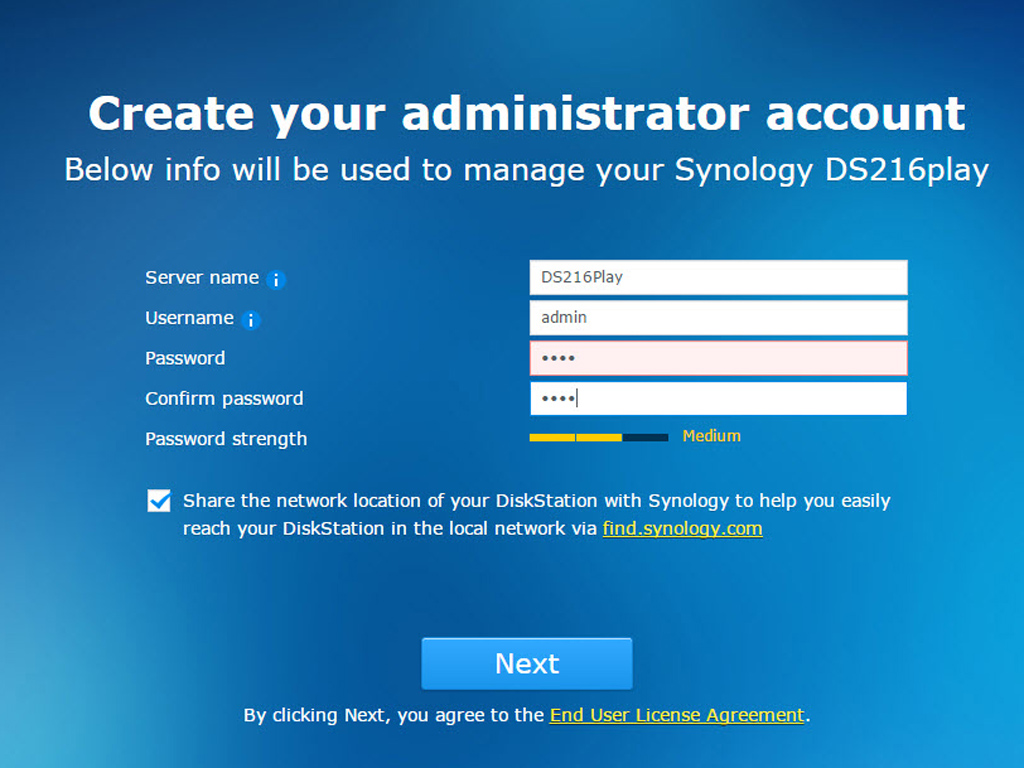

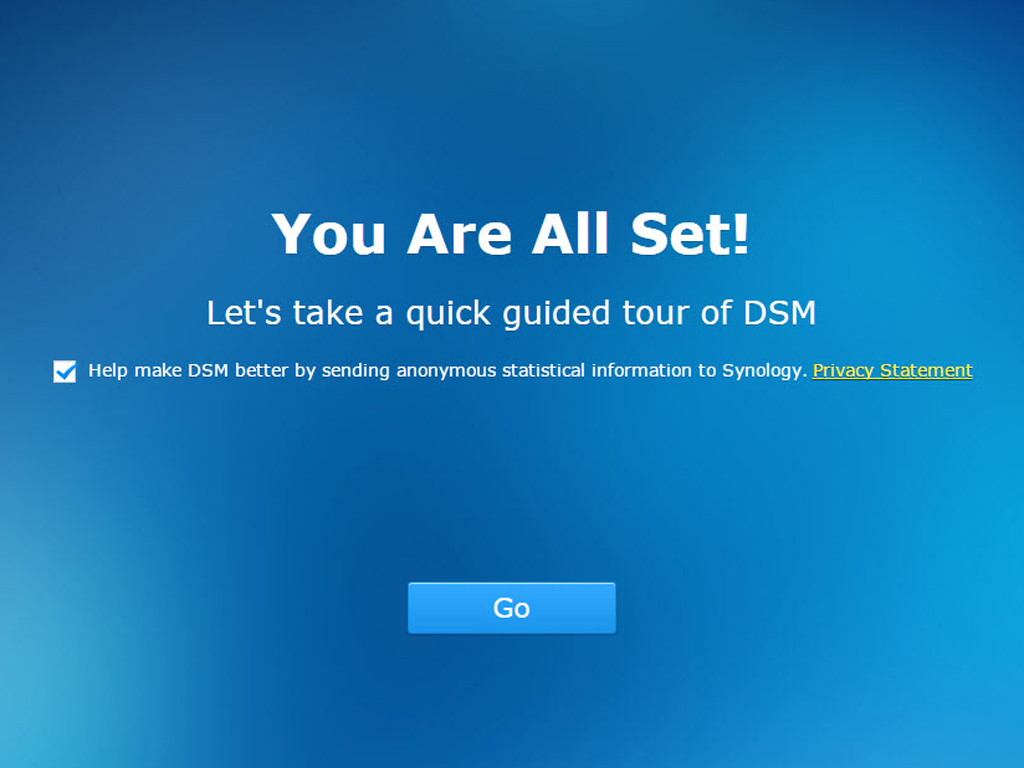
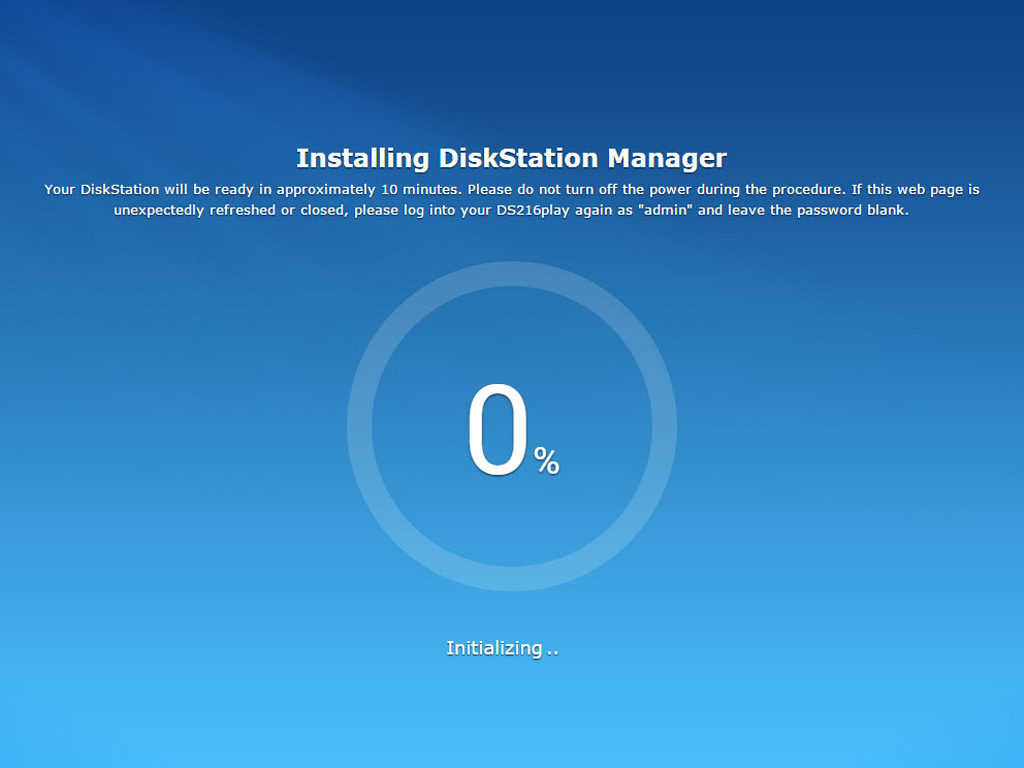
You will be asked to create an administrator's account and will have to pick an updating option after logging into DSM for the first time. We picked the first option, which will install the latest DSM version automatically, and advice you to do the same. There was an available DSM update we also made a point of installing—its installation was fast and easy.
Web Interface
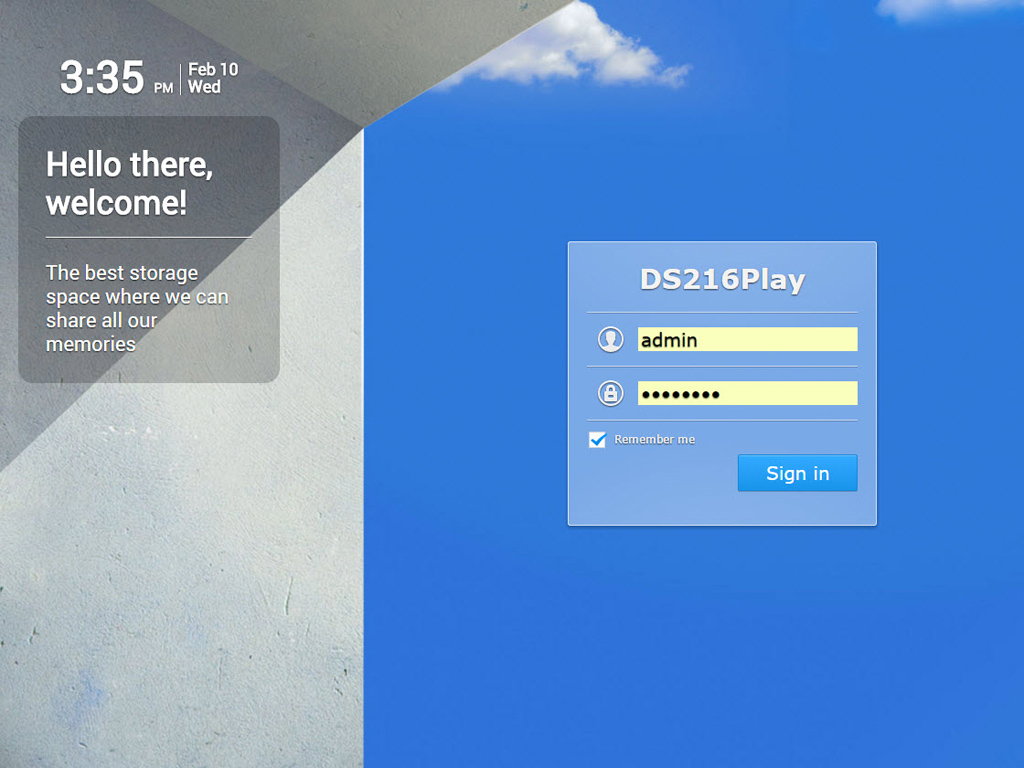

Here is the DSM login page. You will have to input your credentials in order to proceed to the web interface.
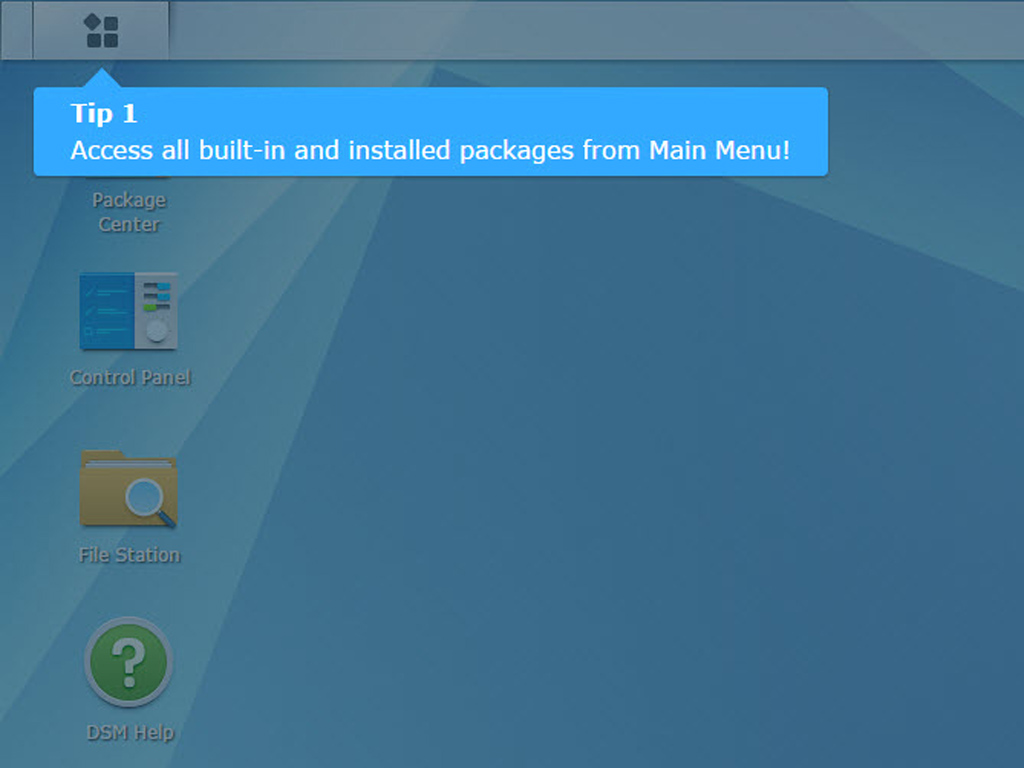
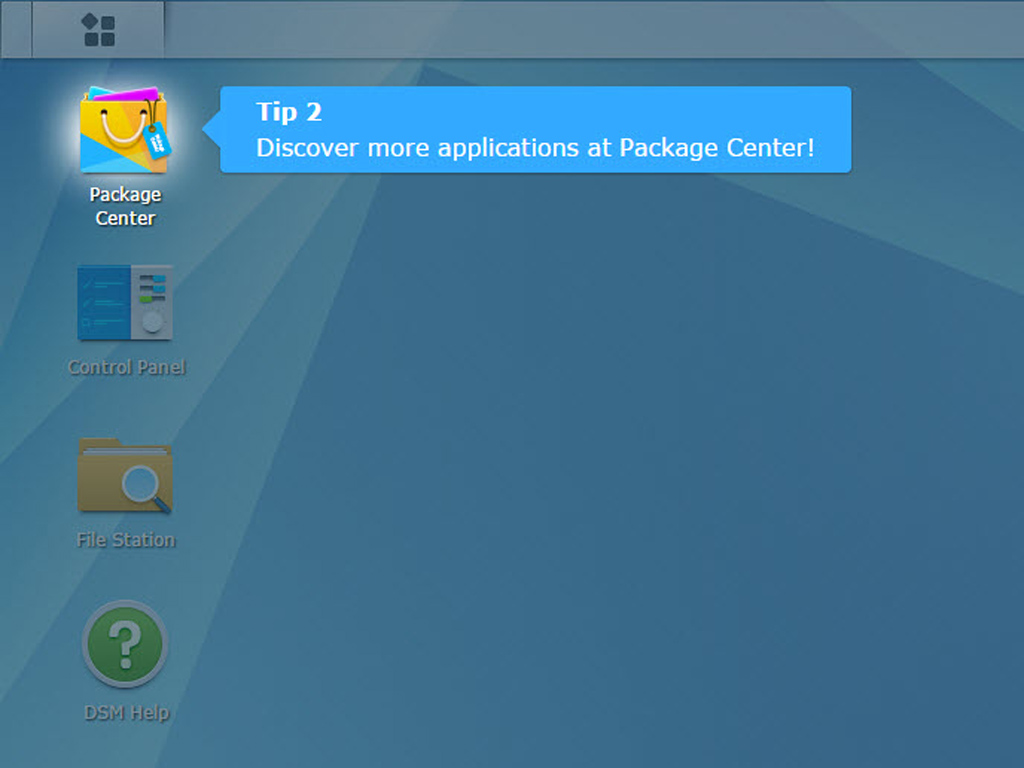
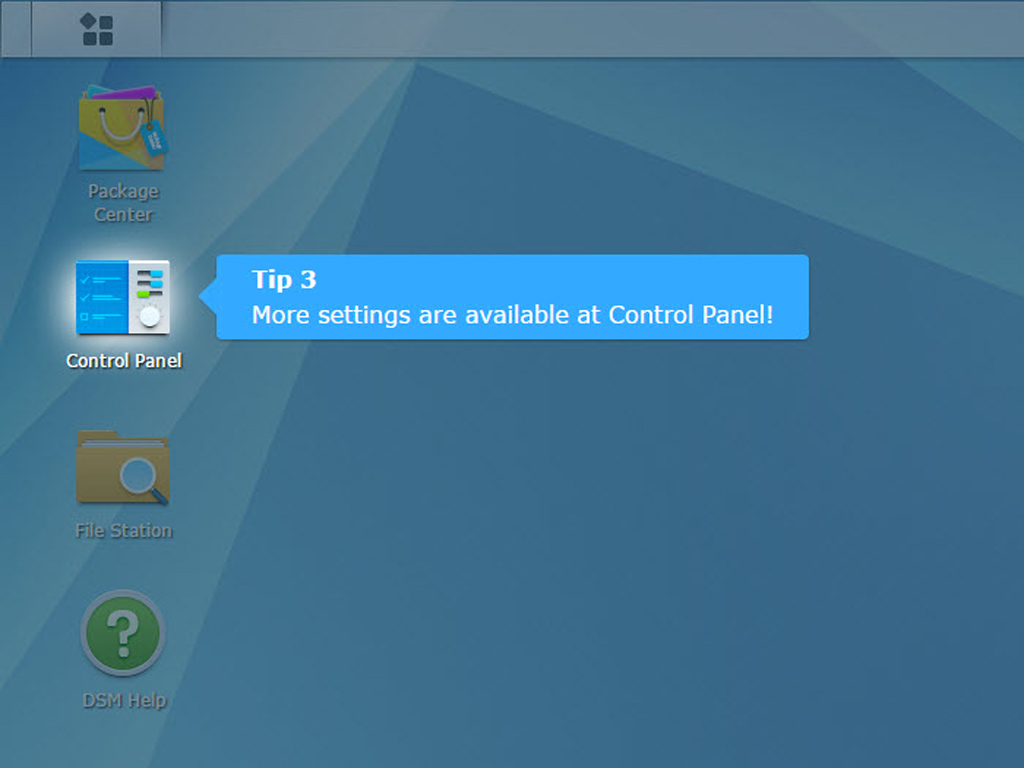
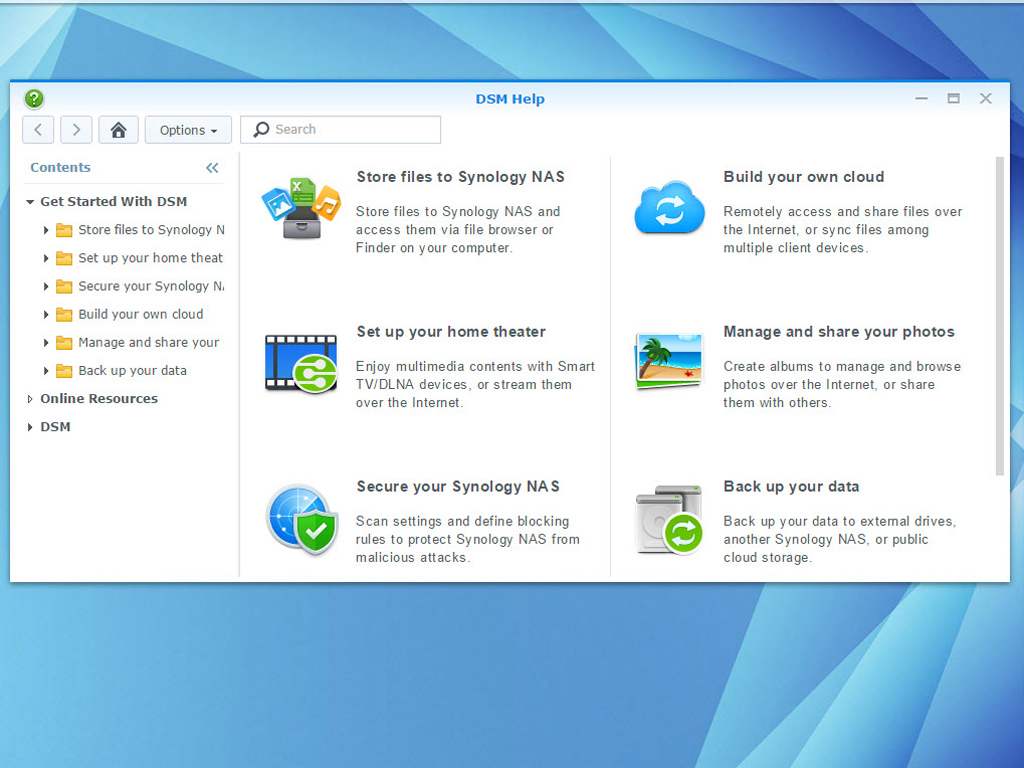
You will be greeted by several useful tips and the DSM Help app after you've logged into the web interface for the very first time. DSM's help app can also be very useful if you get stuck or need help with something.

The DSM taskbar hides a lot of functionality:
1) Show Desktop: Minimizes all open applications and packages.
2) Main Menu: View and open installed applications and packages. You can also click and drag to create desktop shortcuts.
3) Open applications:
- Click an icon to show or hide its window on the desktop.
- Right-click the icon and pick from the menu to manage the application's window (maximize, minimize, restore, and close) or its taskbar icon (pin to taskbar and unpin from taskbar).
5) Notifications: Displays notifications, like errors, status updates, and package installation notifications.
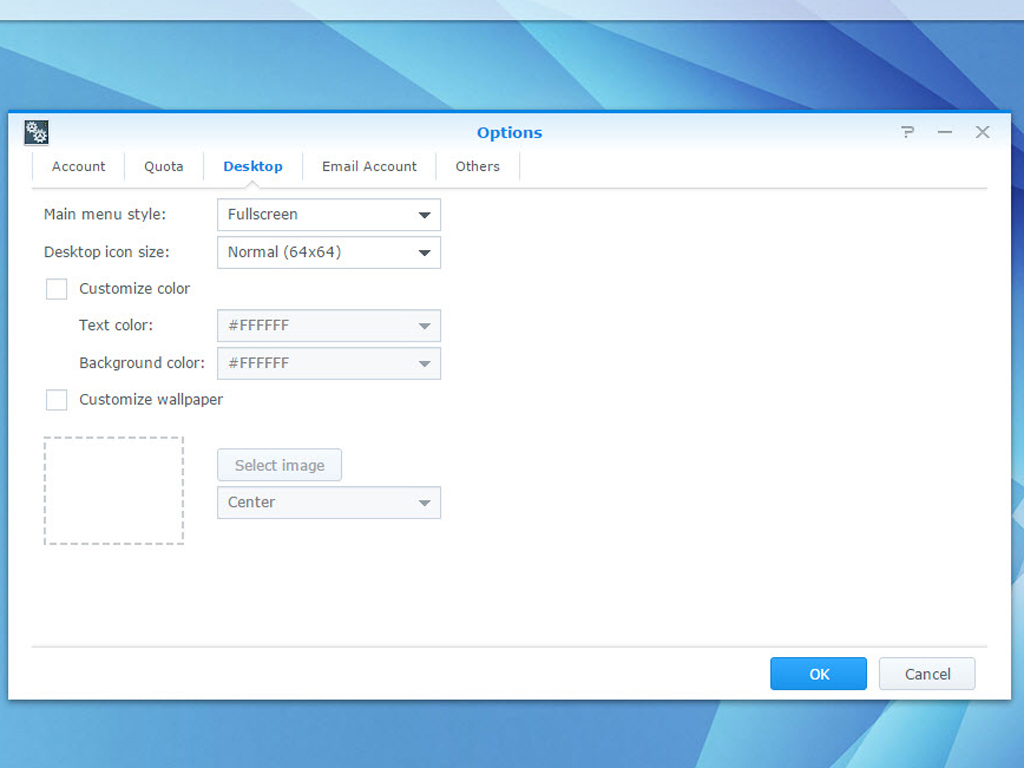
6) Options: The Shutdown, Restart, Logout, or Modify Personal Account options can be found here.
7) Search: Quickly find specific applications, packages, or DSM Help articles.
8) Widgets: Show or hide widgets.
9) Pilot View: See a preview of all open applications and packages.
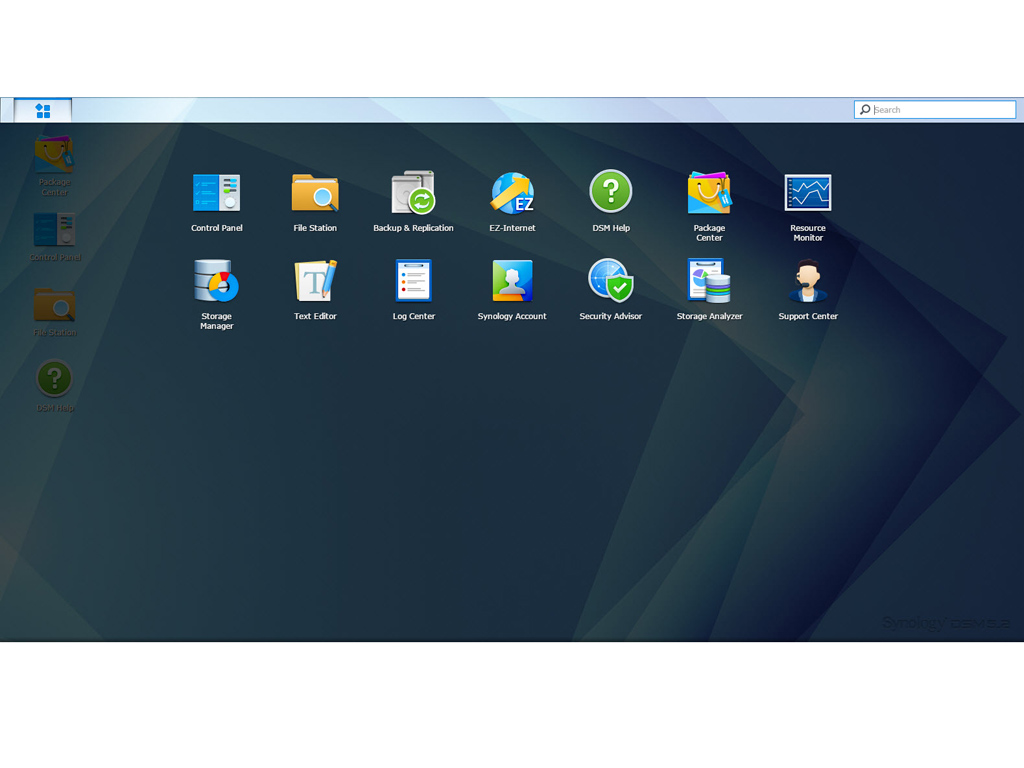
DSM's Start button in the taskbar's top-right corner reveals the main menu. Next to it is an icon for each open application. You can add shortcuts of your favorite applications to the desktop by dragging their icons from the main menu to the desktop. You can also remove shortcuts by right-clicking on them and picking the Remove Shortcut option.
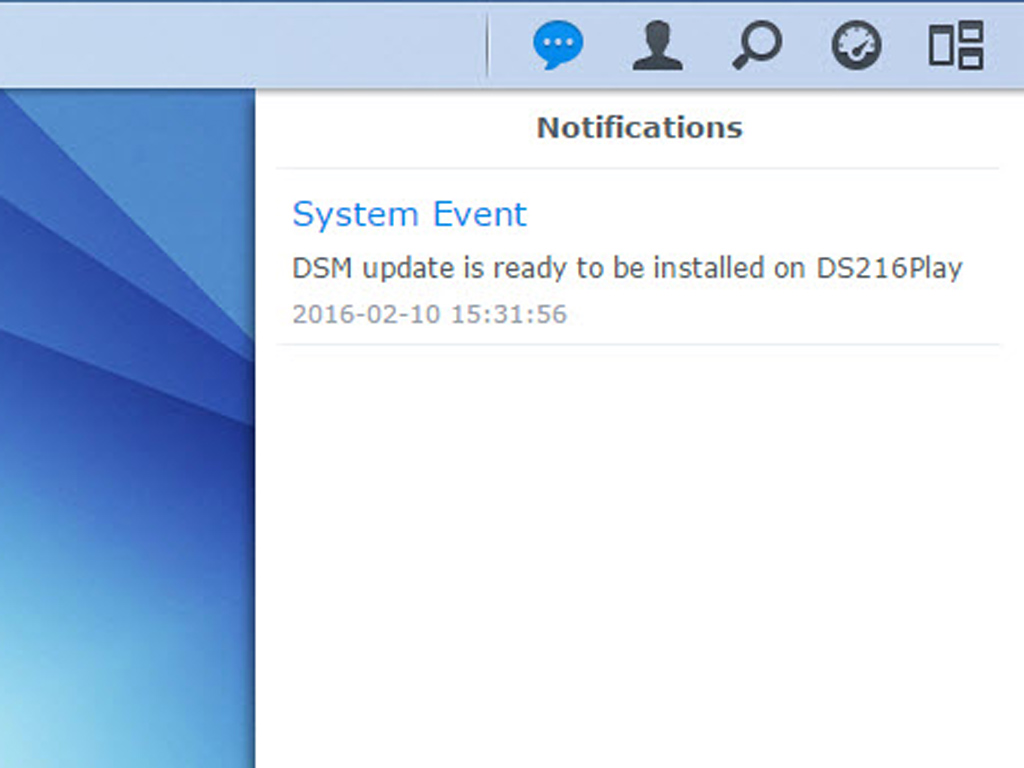
This window keeps track of all notifications, like errors, status updates, and package installation notifications.
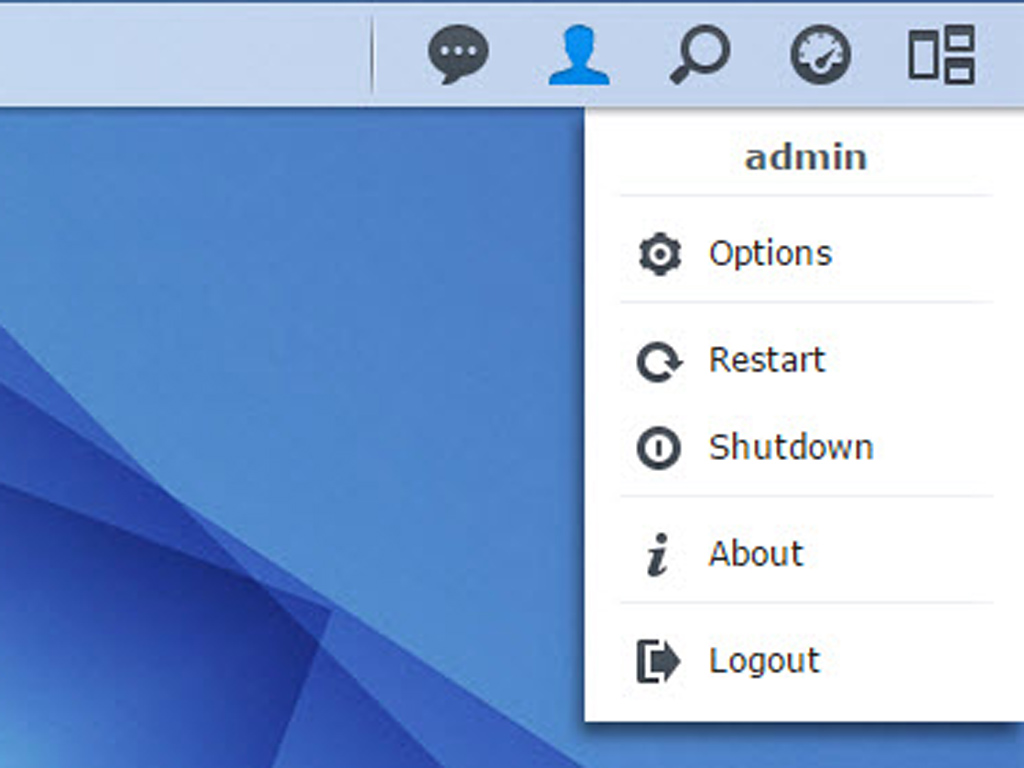

You can use the Admin options to manage personal account options, like changing the password, enabling 2-step verification, checking on account activity, etc.
Feb 17th, 2025 00:19 EST
change timezone
Latest GPU Drivers
New Forum Posts
- Emails from TPU Forums working? (7)
- TPU's Nostalgic Hardware Club (19944)
- Gpu driver and bios apparently :( (32)
- Gsync, Vsync, 120hz, 60hz - Questions (20)
- 3DMARK "LEGENDARY" (266)
- Random reboots on windows 11 (not in safe mode) (1)
- Is This The Next Big Thing - Near Zero Energy Chips (4)
- Cleaning a delidded 9800x3d (9)
- Windows 11 General Discussion (5661)
- How to recover from a bad video BIOS flash (146)
Popular Reviews
- WD Black SN7100 2 TB Review - The New Best SSD
- UGREEN 9-in-1 Steam Deck Docking Station Review
- Lian Li GA II Lite 360 Performance Review
- AMD Ryzen 7 9800X3D Review - The Best Gaming Processor
- Kingdom Come Deliverance II Performance Benchmark Review - 35 GPUs Tested
- NVIDIA GeForce RTX 5080 Founders Edition Review
- VAXEE E1 Wireless Review
- Gigabyte GeForce RTX 5080 Gaming OC Review
- MSI GeForce RTX 5080 Vanguard SOC Review
- Civilization VII Performance Benchmark Review - 35 GPUs Tested
Controversial News Posts
- AMD Radeon 9070 XT Rumored to Outpace RTX 5070 Ti by Almost 15% (301)
- AMD is Taking Time with Radeon RX 9000 to Optimize Software and FSR 4 (256)
- Edward Snowden Lashes Out at NVIDIA Over GeForce RTX 50 Pricing And Value (241)
- AMD Denies Radeon RX 9070 XT $899 USD Starting Price Point Rumors (239)
- AMD Plans Aggressive Price Competition with Radeon RX 9000 Series (235)
- New Leak Reveals NVIDIA RTX 5080 Is Slower Than RTX 4090 (215)
- AMD Radeon RX 9070 and 9070 XT Listed On Amazon - One Buyer Snags a Unit (176)
- AMD's Radeon RX 9070 Launch Faces Pricing Hurdles (175)