 4
4
Synology DS916+ 4-bay NAS Review
Storage Manager »Package Center
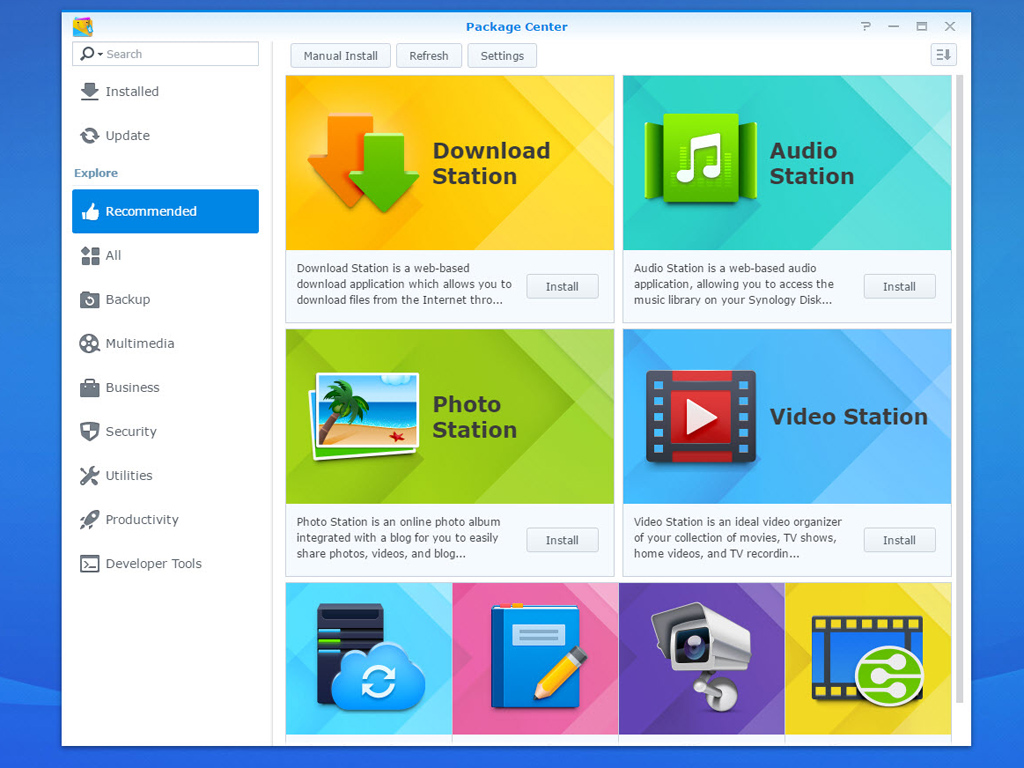
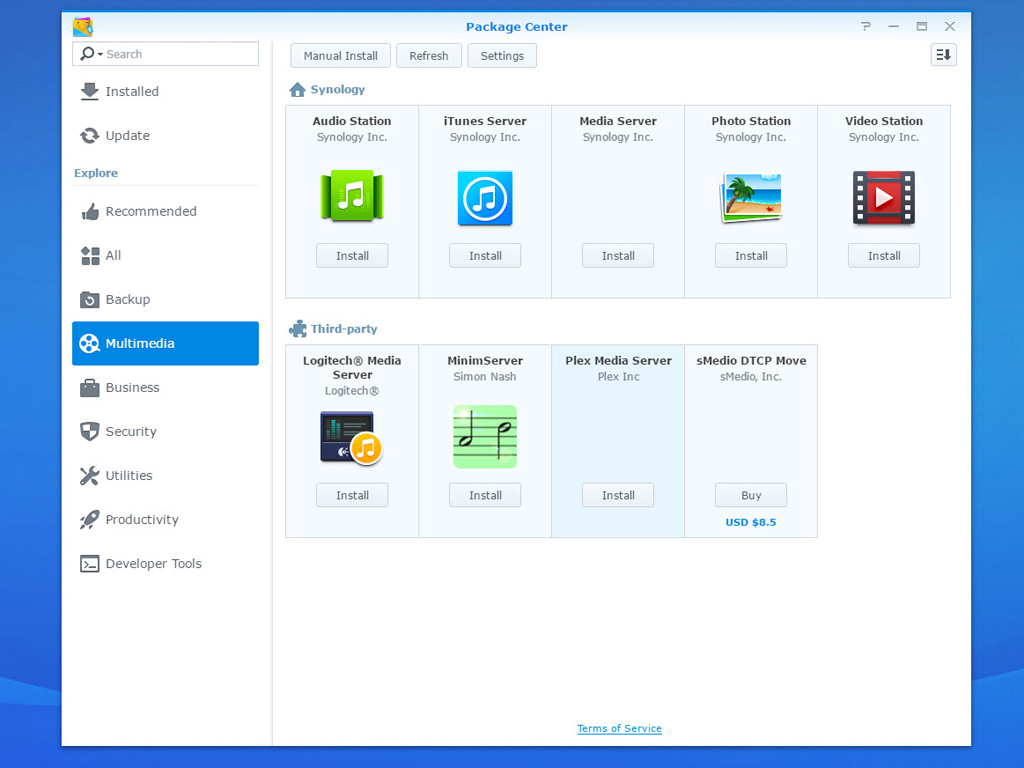

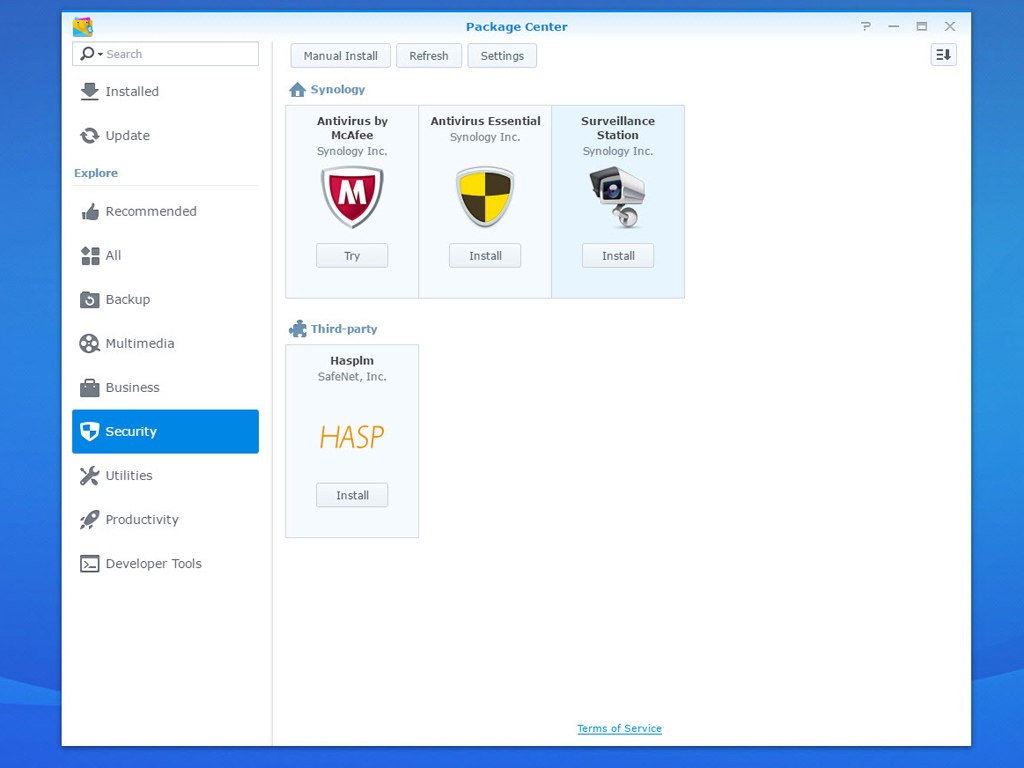
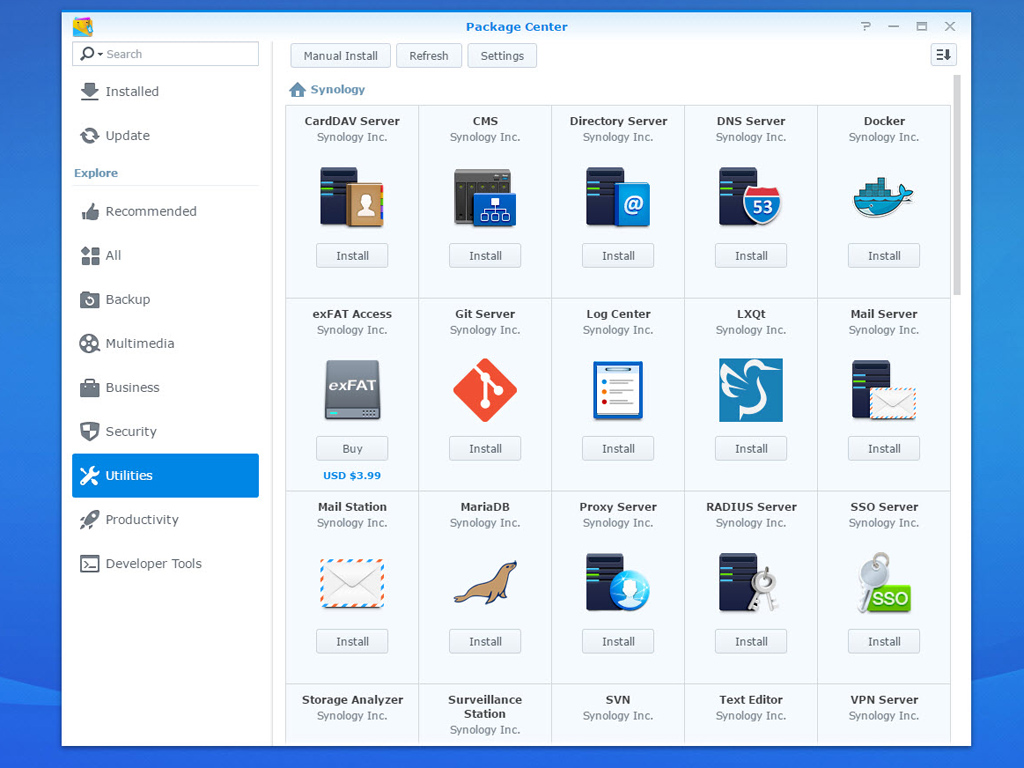
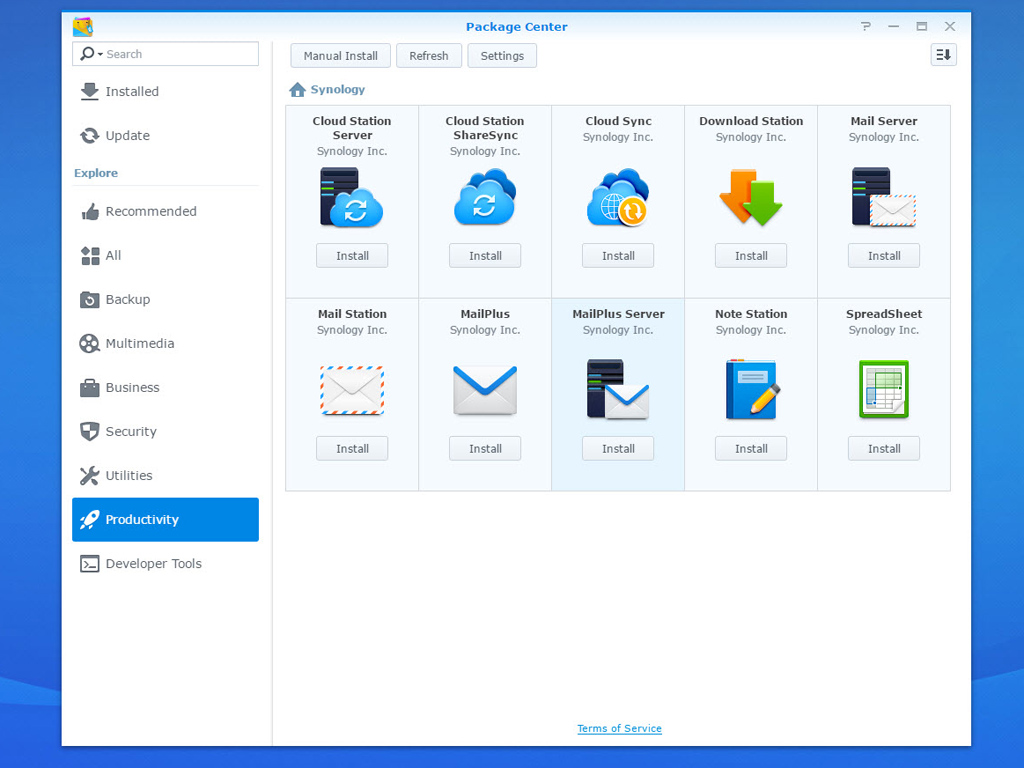
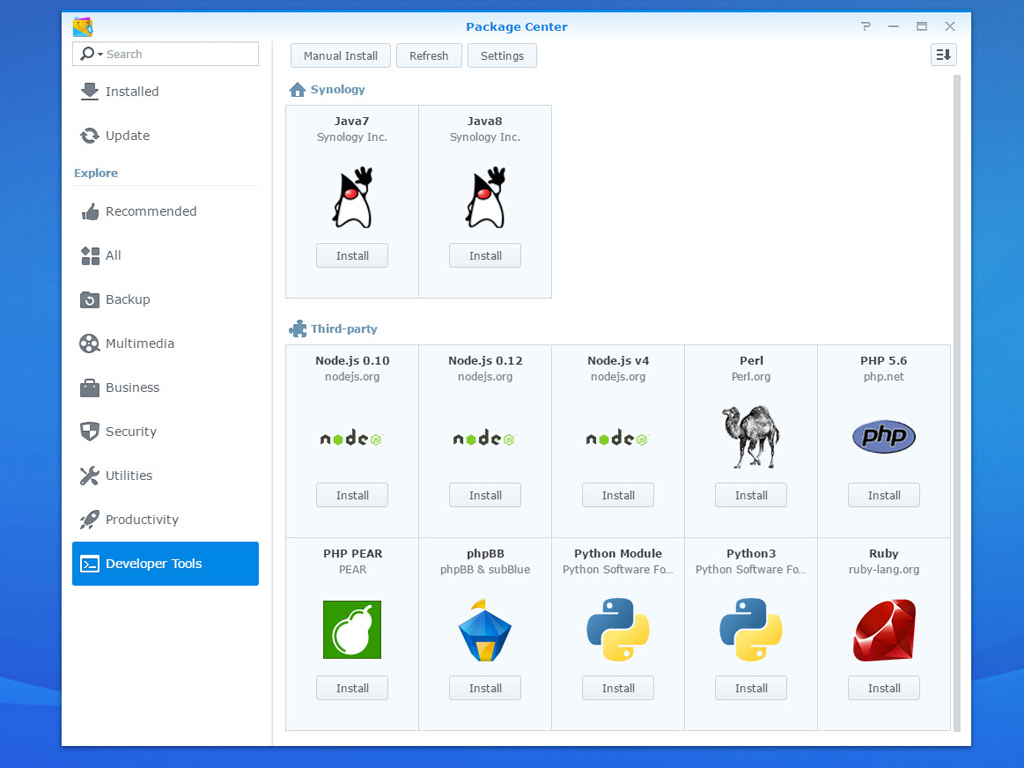
Use Package Center to easily install and update many applications to dramatically boost your NAS server's usability. You only have to browse through Synology's available applications to pick those you want to install. You can also manually upload and install an application. Synology offers a rich variety of applications it grouped into the following categories: Backup, Multimedia, Business, Security, and Utilities.
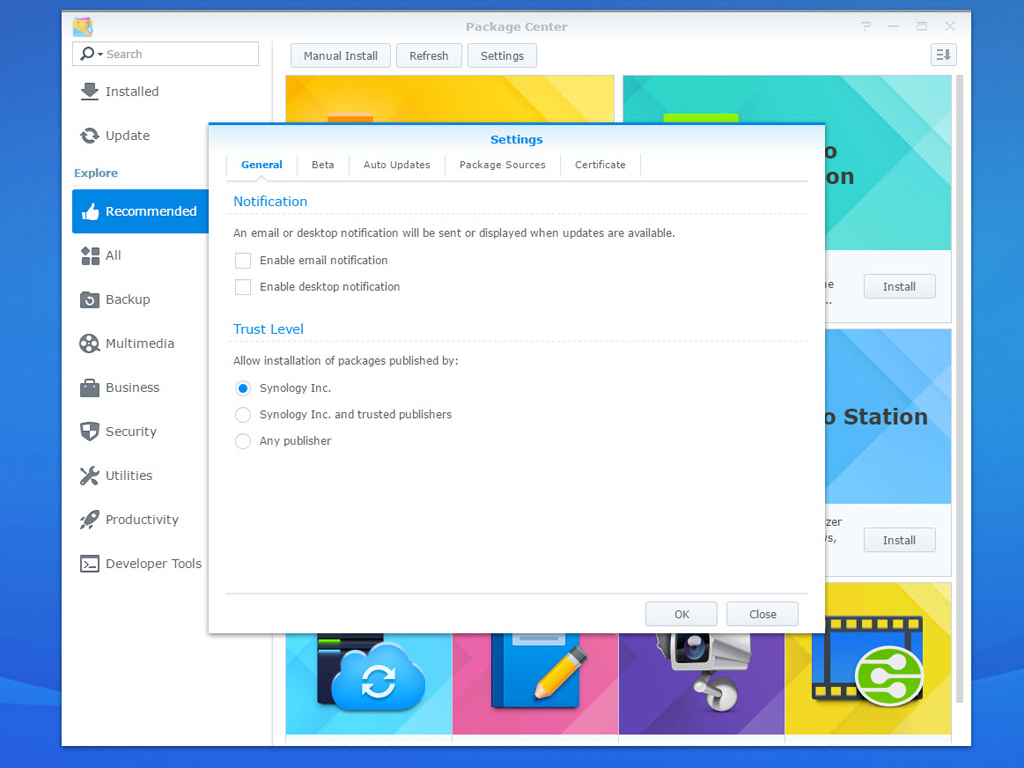
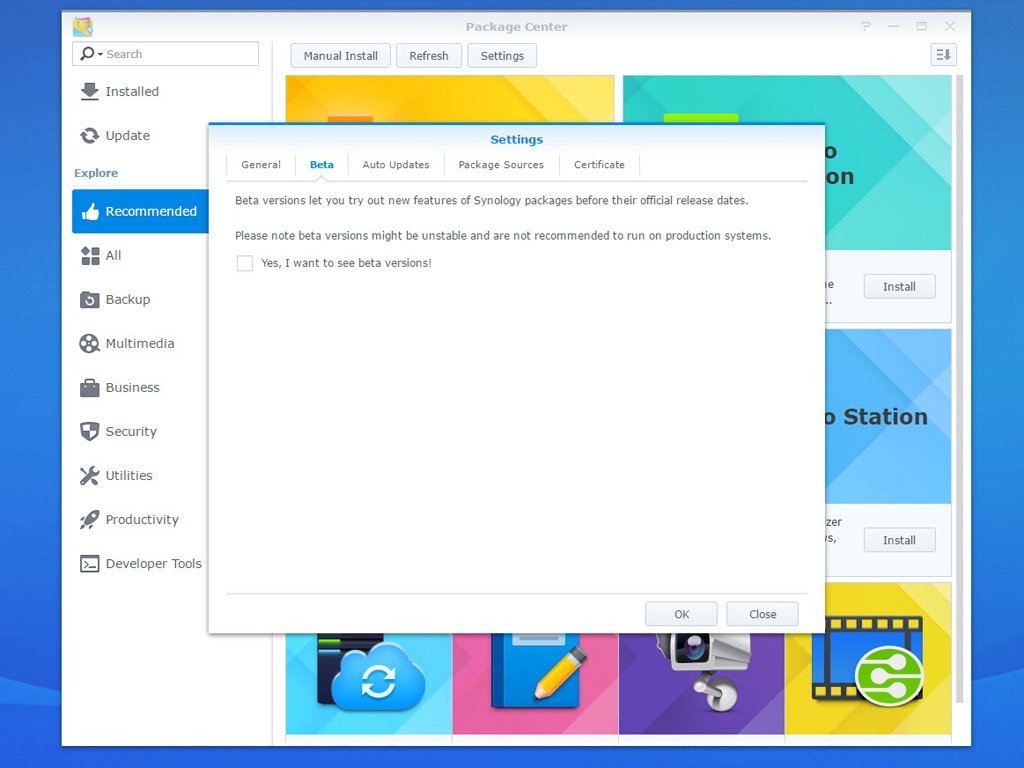
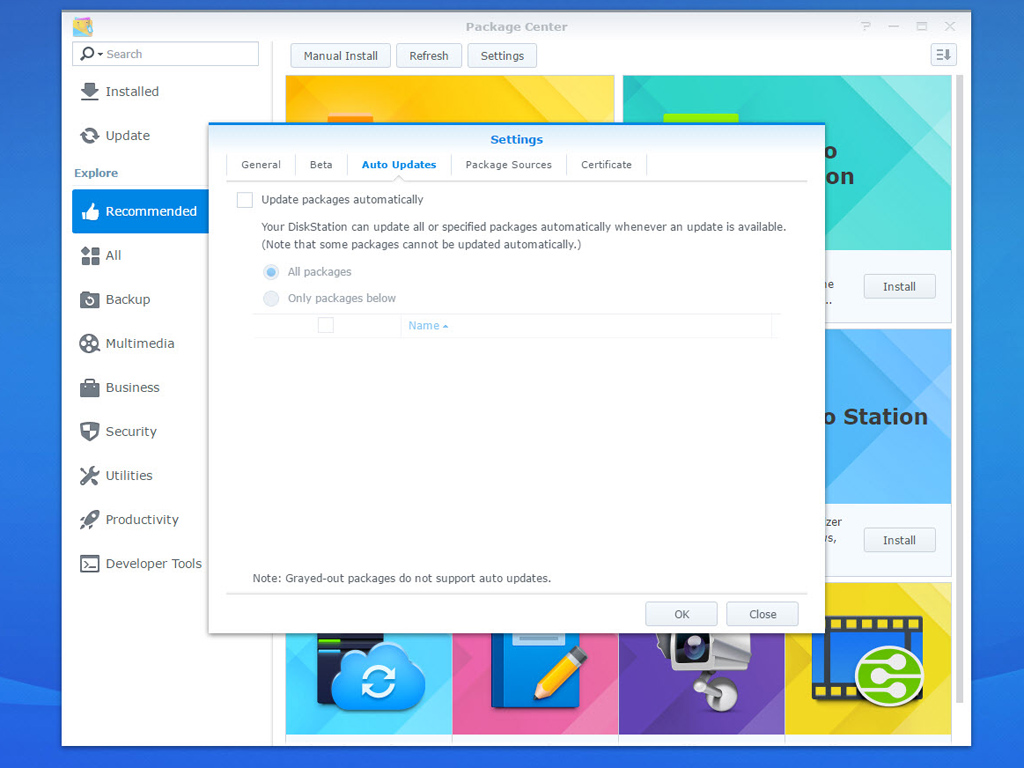
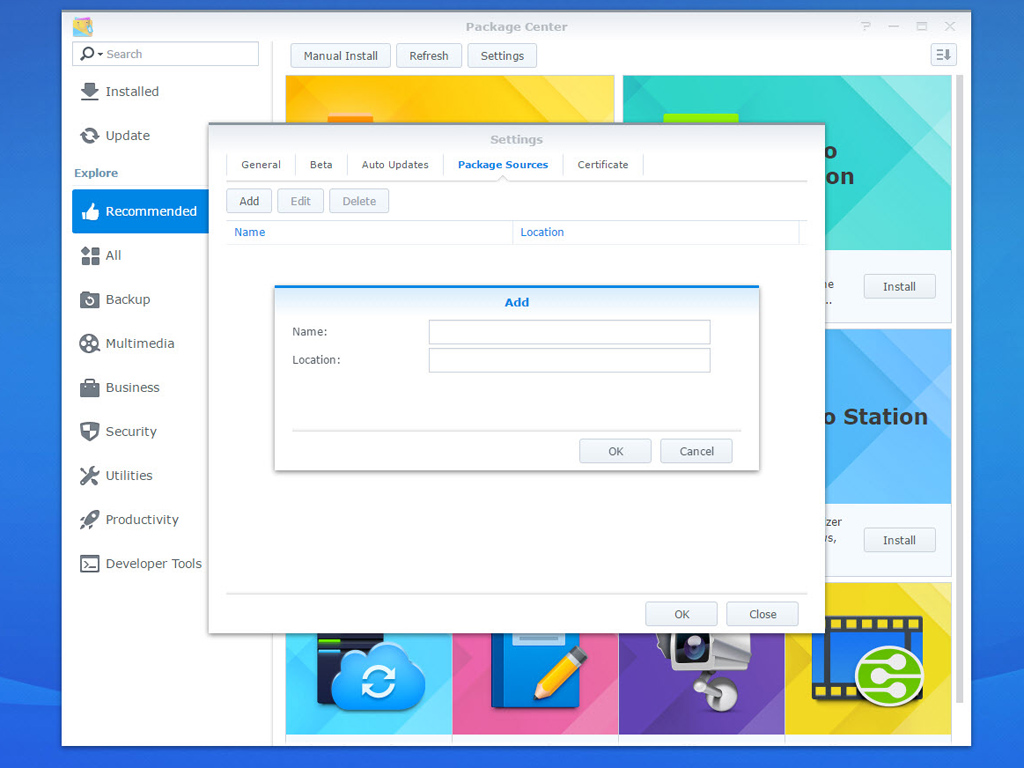
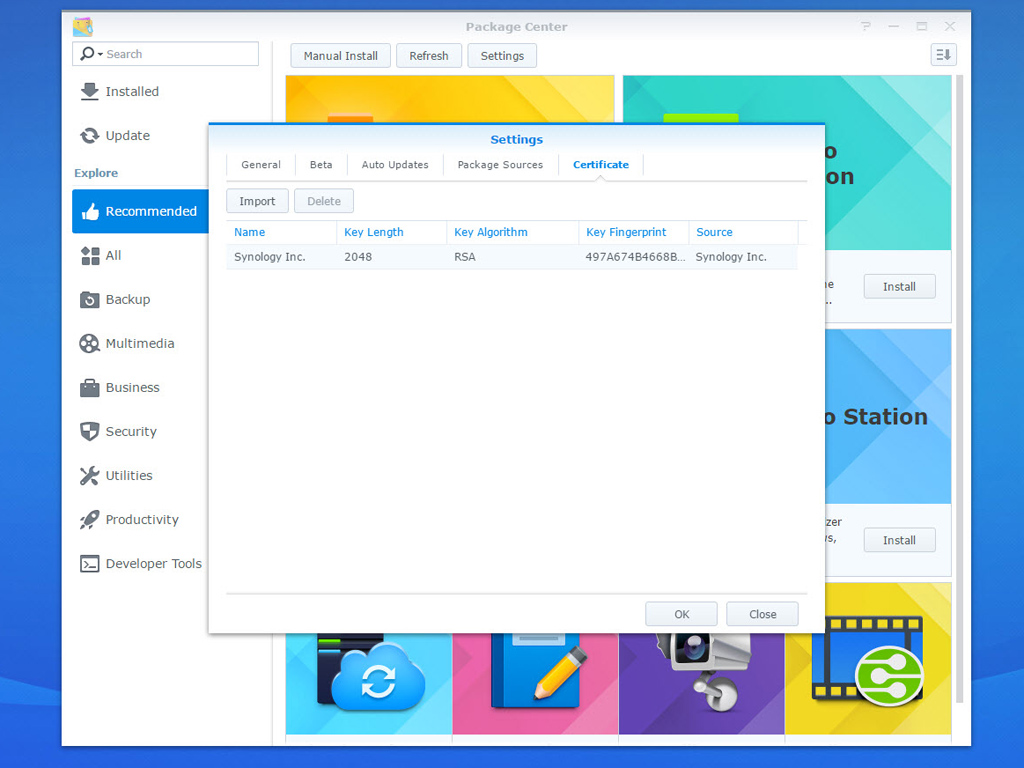
Here are Package Center's settings. The most basic is Trust Level, which controls the installation of packages. You can by default only install Synology apps. If you want to try apps from other publishers, you will have to pick the setting to do so here. You should be very careful with apps that are from non-trusted or unknown publishers, especially if you store sensitive data on your Synology NAS.
Info Center
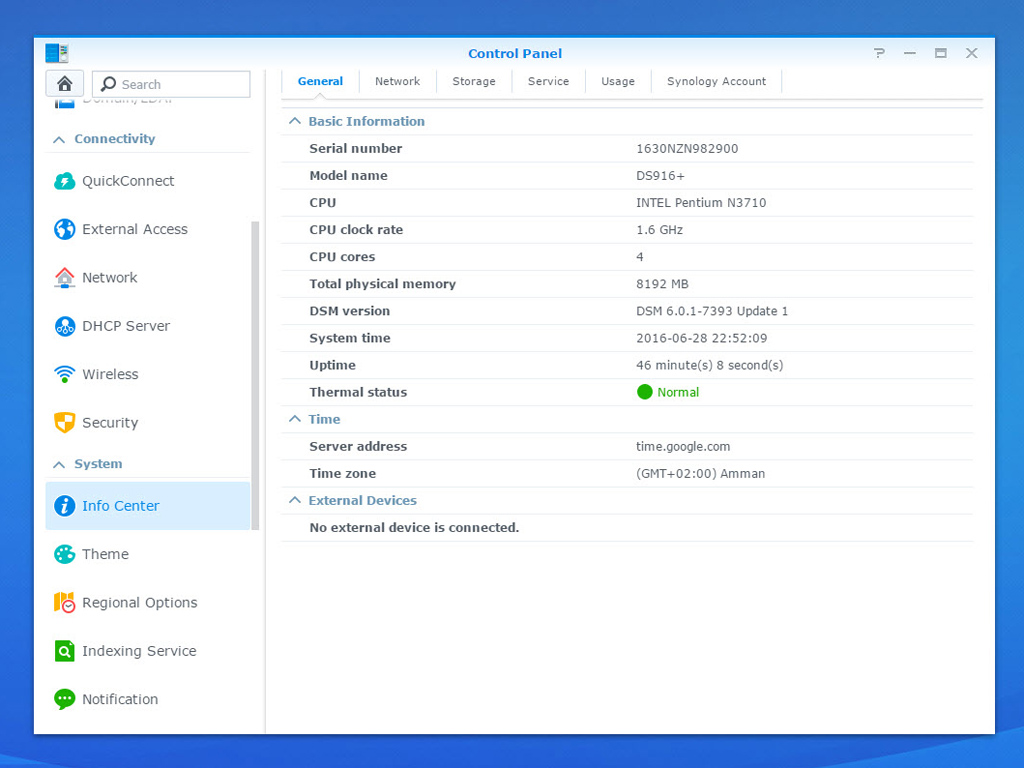
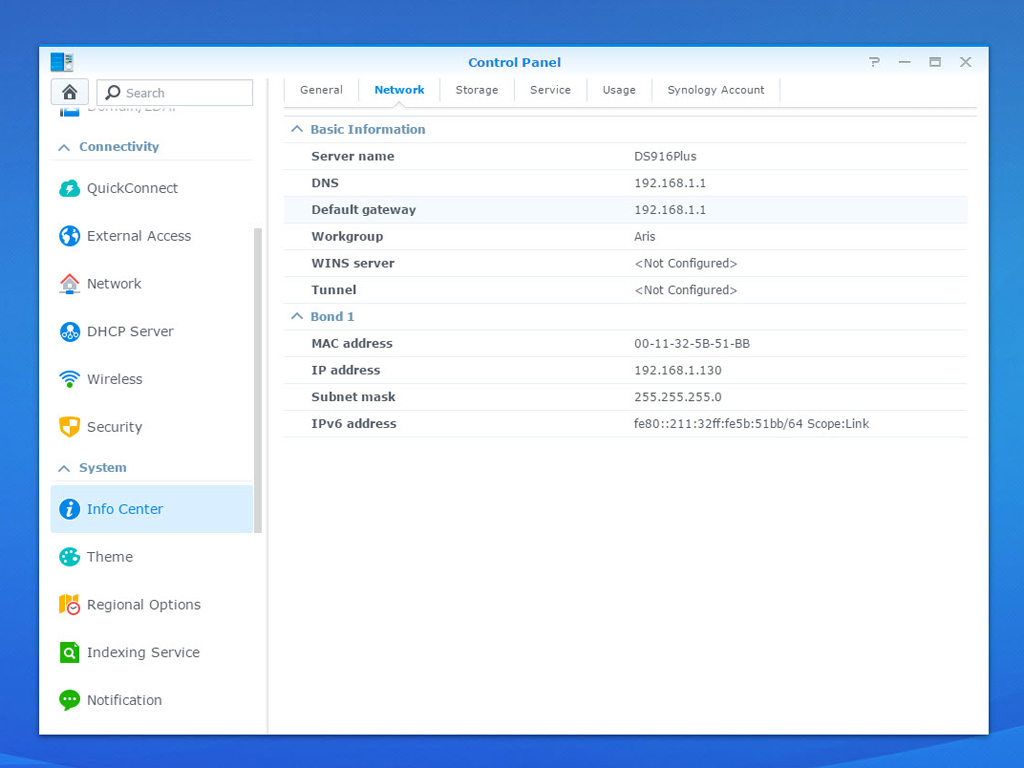
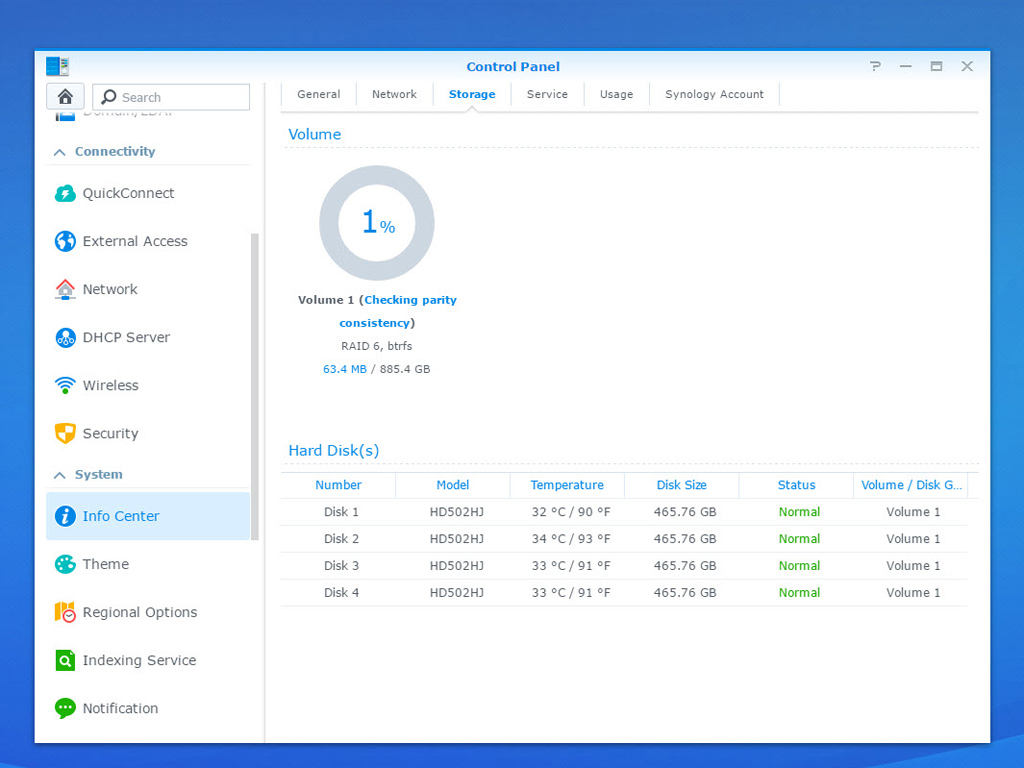
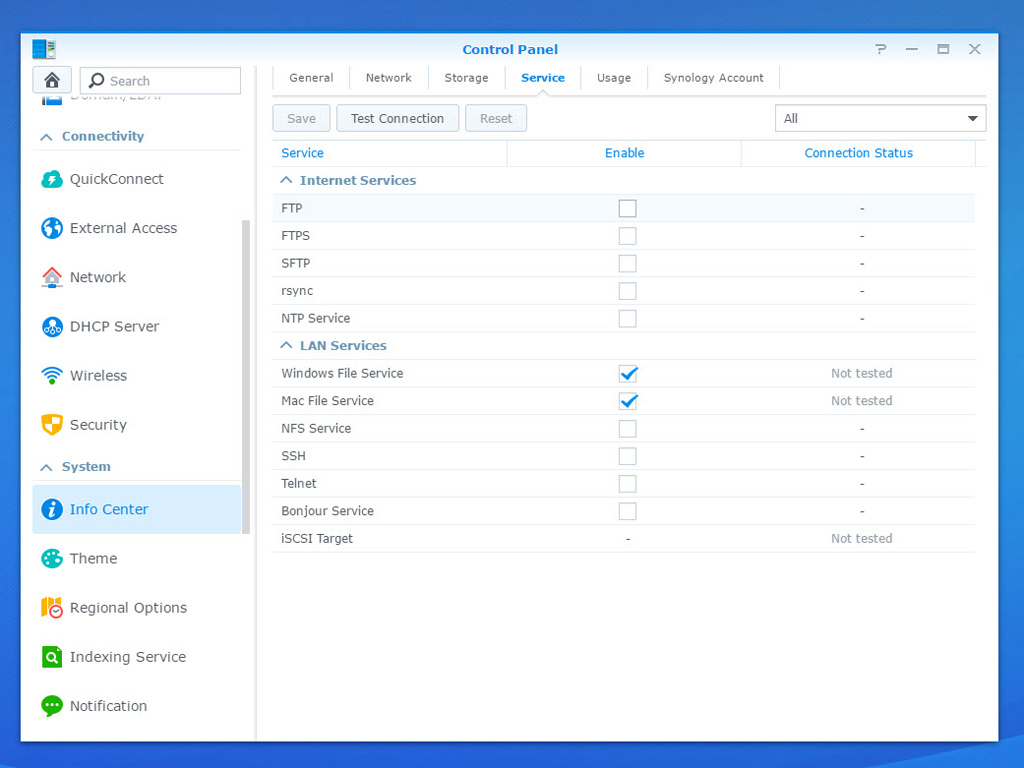

Info Center lists the NAS server's hardware specifications and comes with an overview of its services, the network, and its storage devices. A green icon under Thermal Status in its first tab denotes a normal state, while orange is indicative of high internal temperatures that will cause the NAS to shut down at any moment to prevent components from overheating. Hover over these icons with your cursor and the CPU's temperature will be displayed.
Log Center
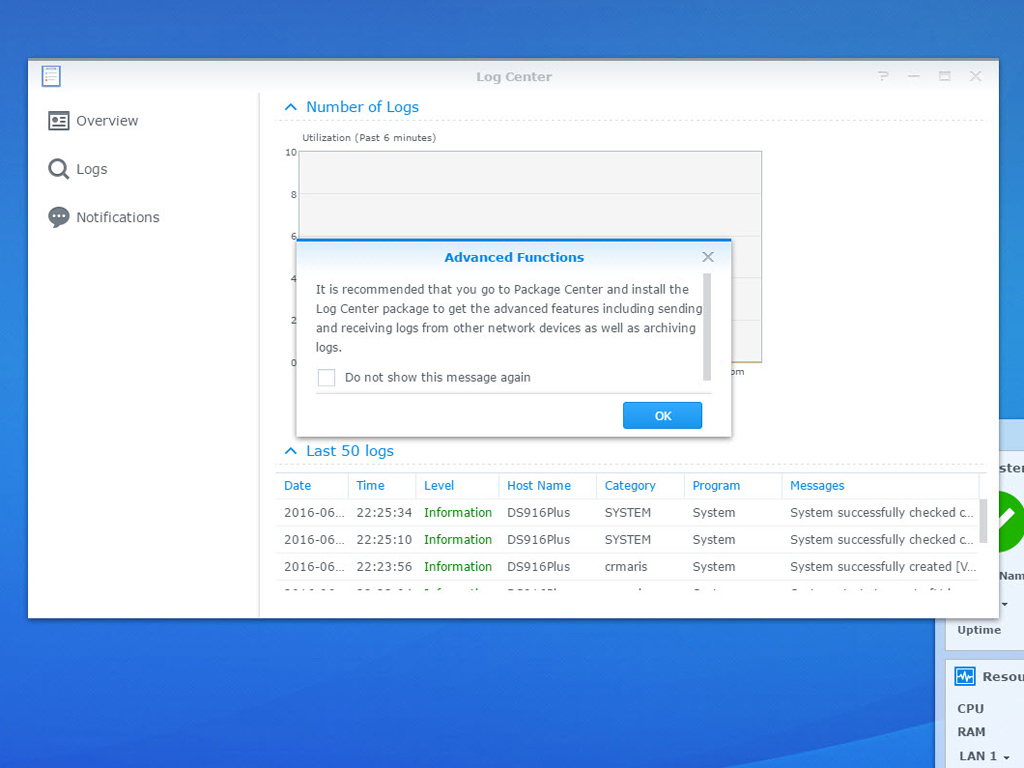
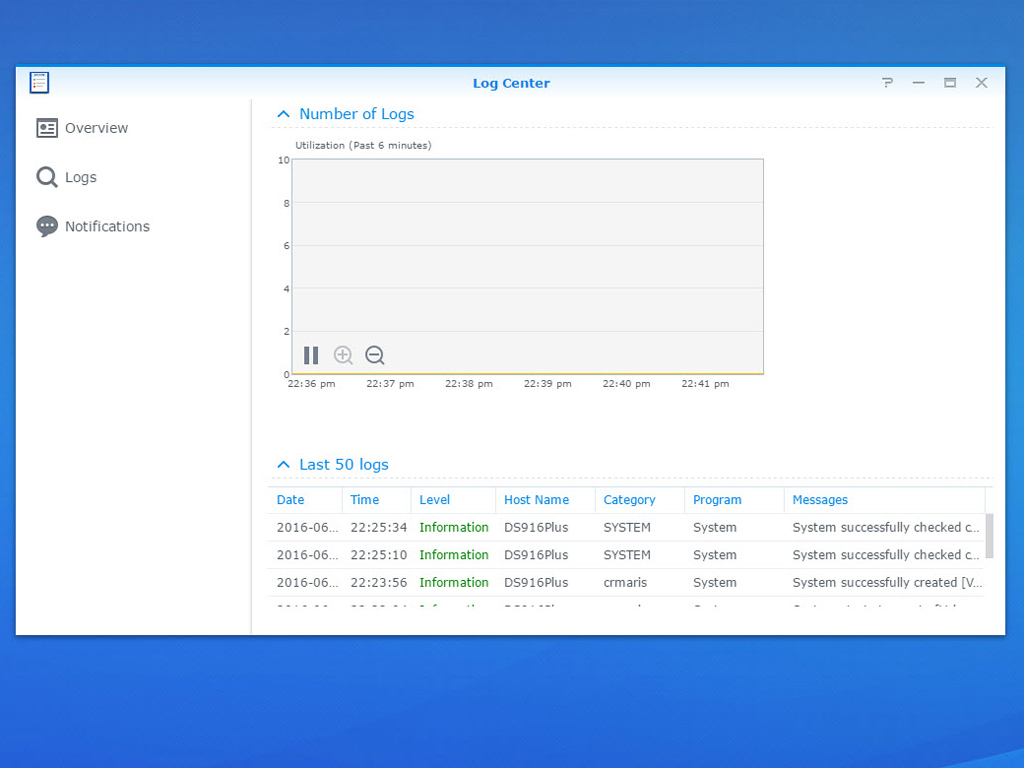
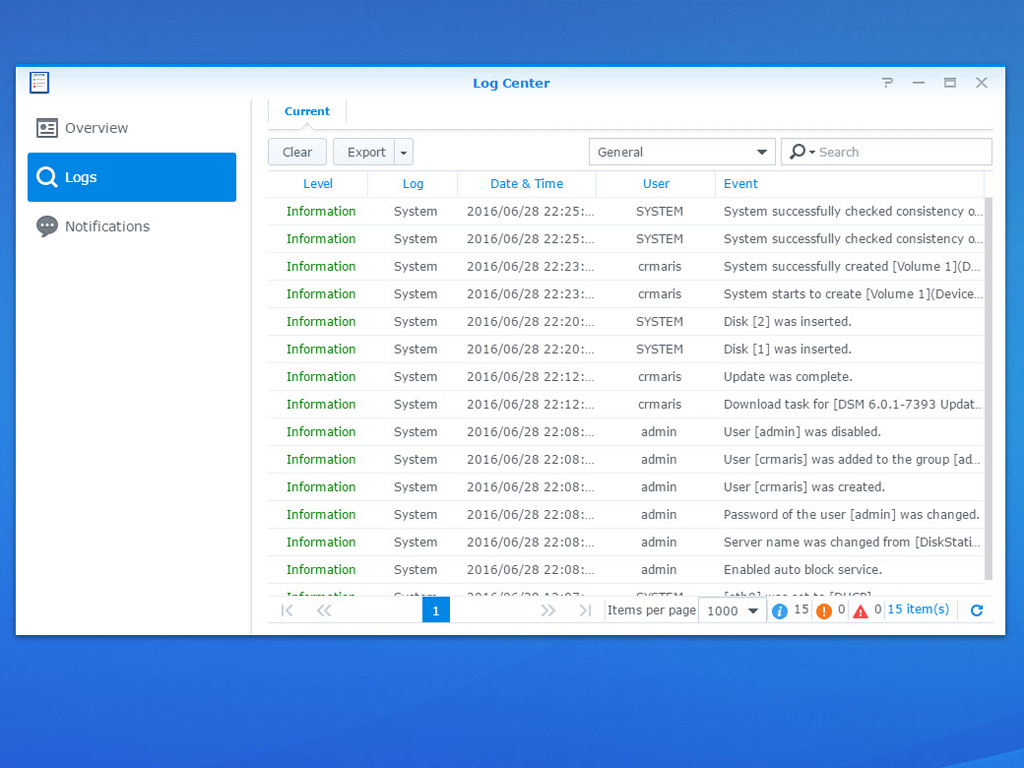
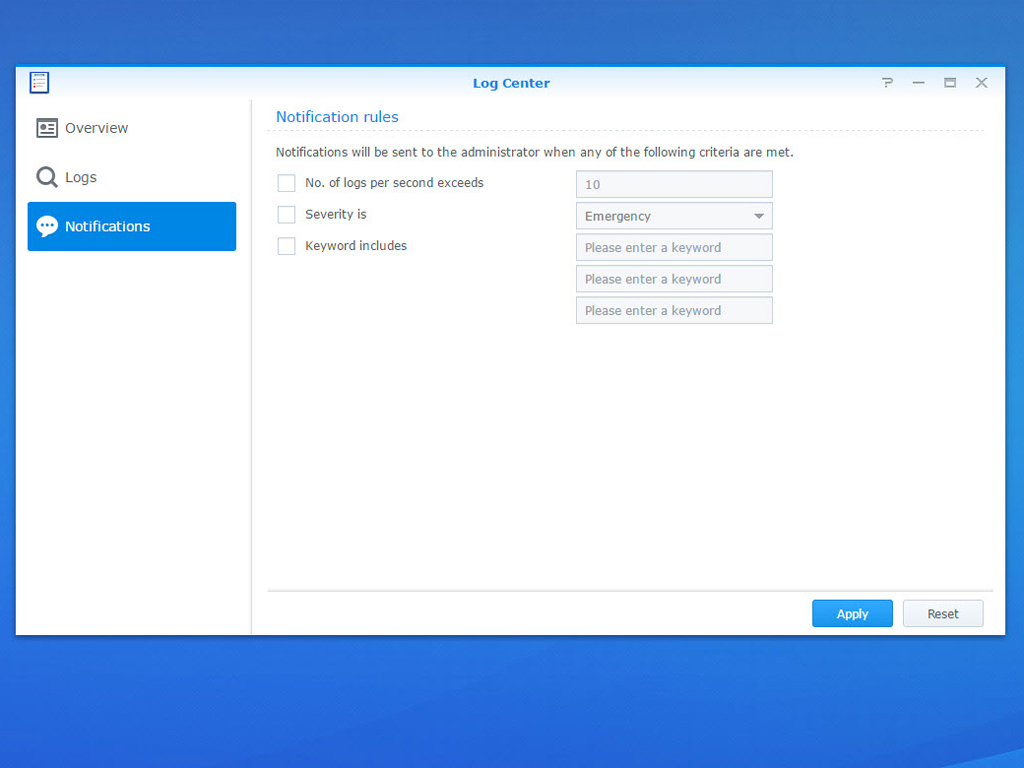
According to Synology, Log Center is a centralized log-management application with a comprehensive set of tools to accomplish the following tasks easily and efficiently:
- Send and receive logs from other network devices via the syslog logging standard
- Monitor log volume according to device and time
- Specify the log archival destination and create rules to automatically trigger log archival
- Search for and filter local logs and logs received from other network devices
- Send notifications to administrator(s) when specified events occur
Resource Center
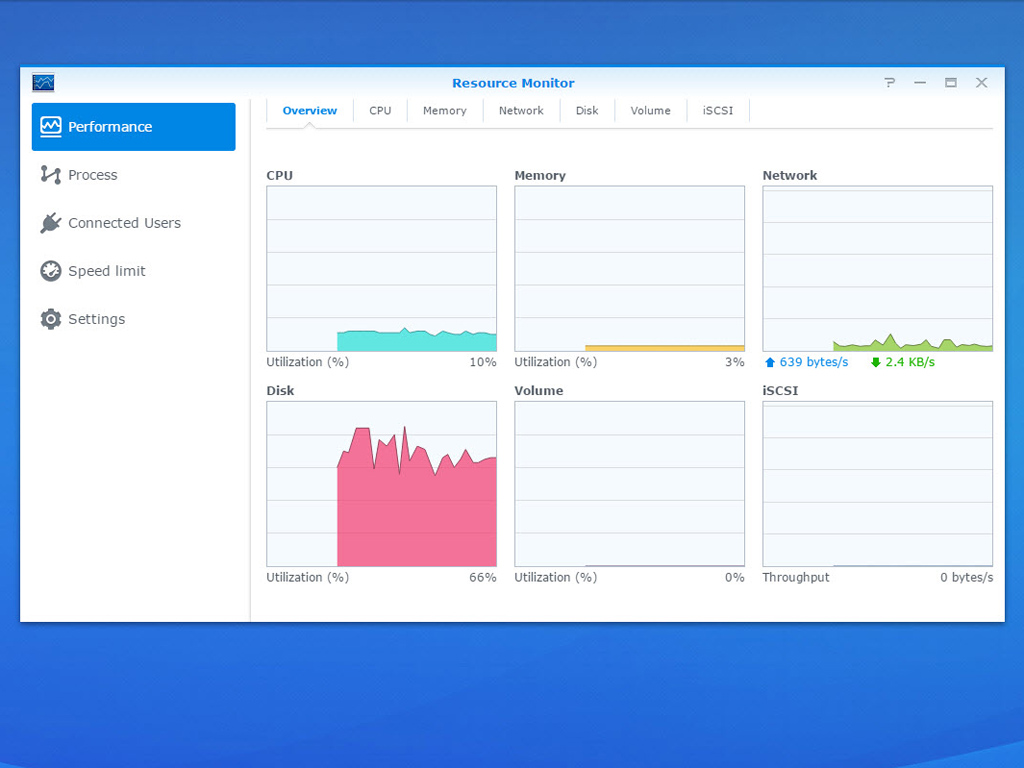
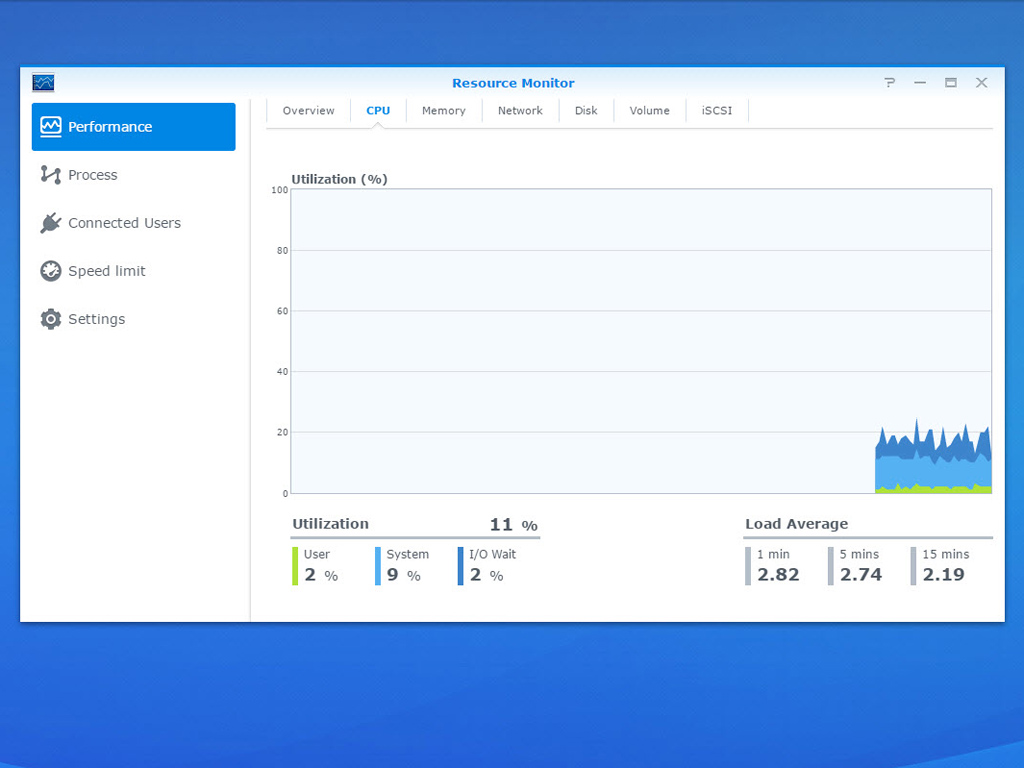
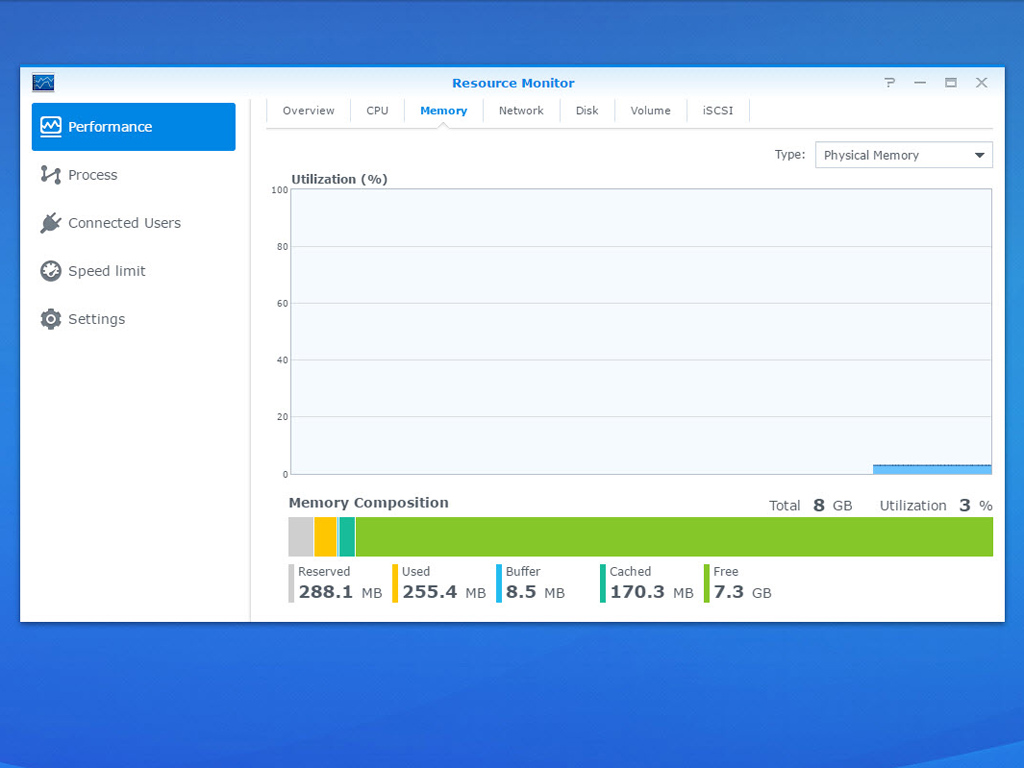
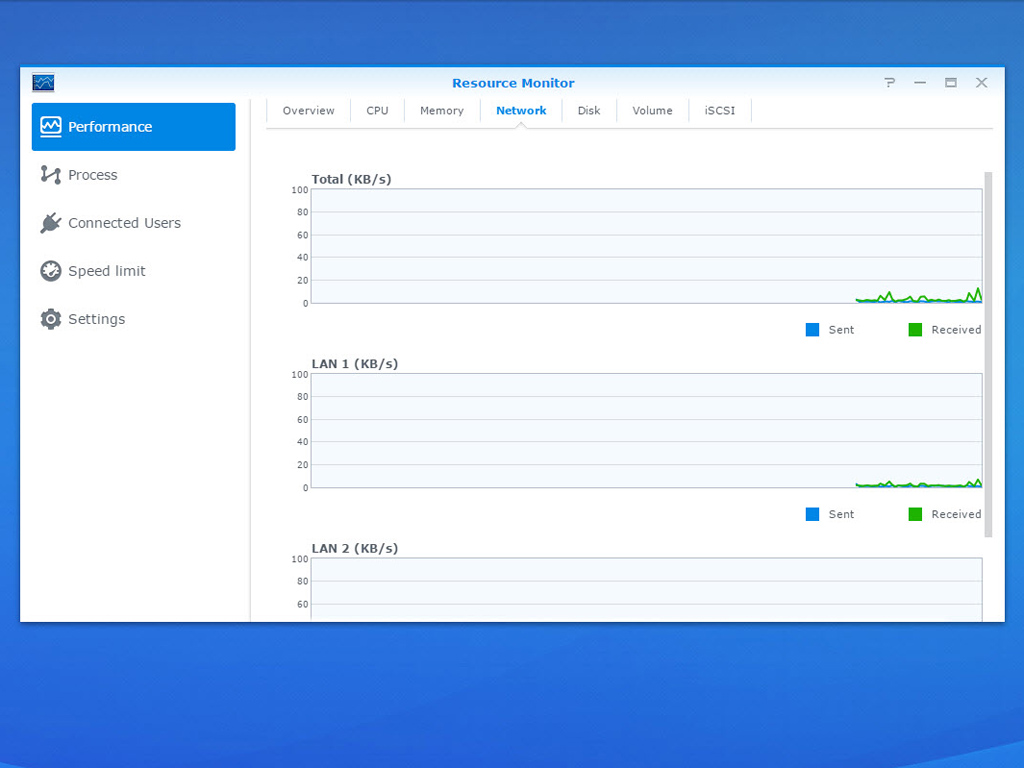
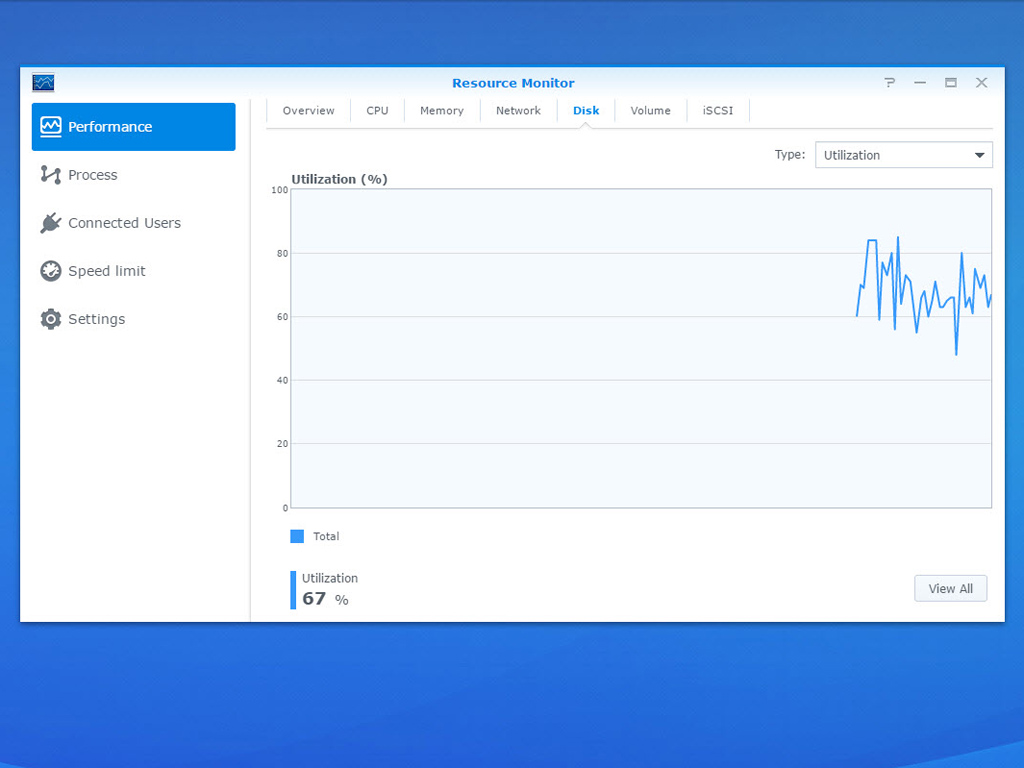
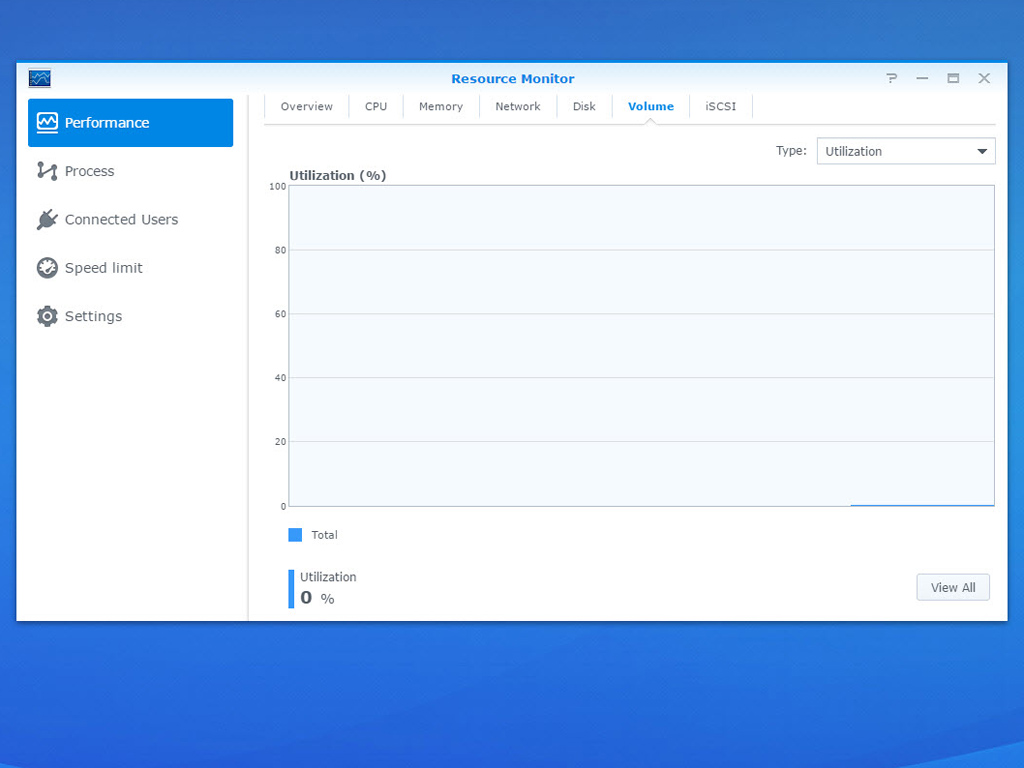
Resource Monitor allows you to monitor the system's resources—these include CPU and memory usage, disk utilization, and network transfer speeds. You can monitor resources in real time or view bygone data.
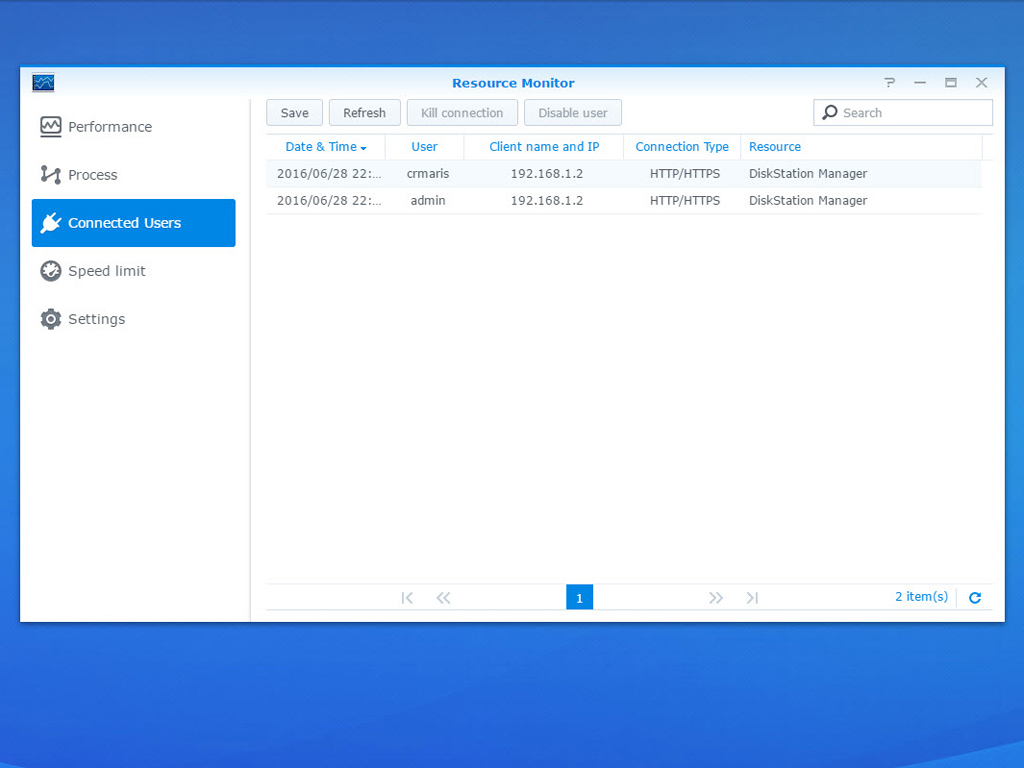
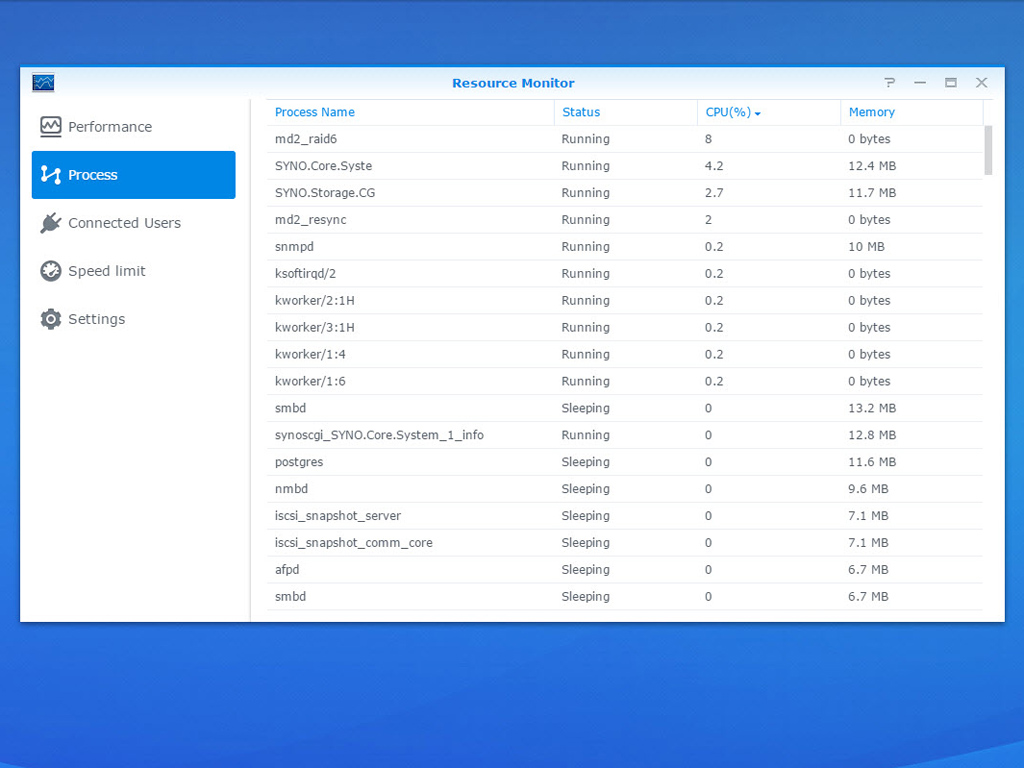
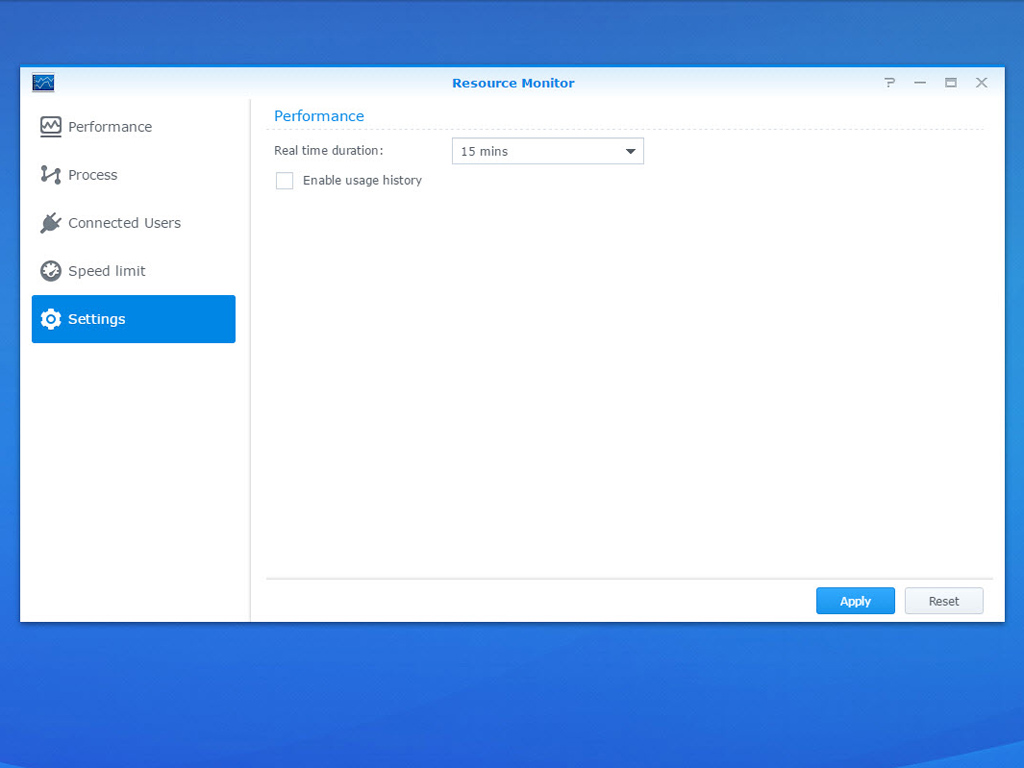
Using the resource monitor, you can check on all connected users and kill a connection if it bother you. There is also a process monitoring option, and the settings menu allows you to set the real-time duration and enable the usage history option.
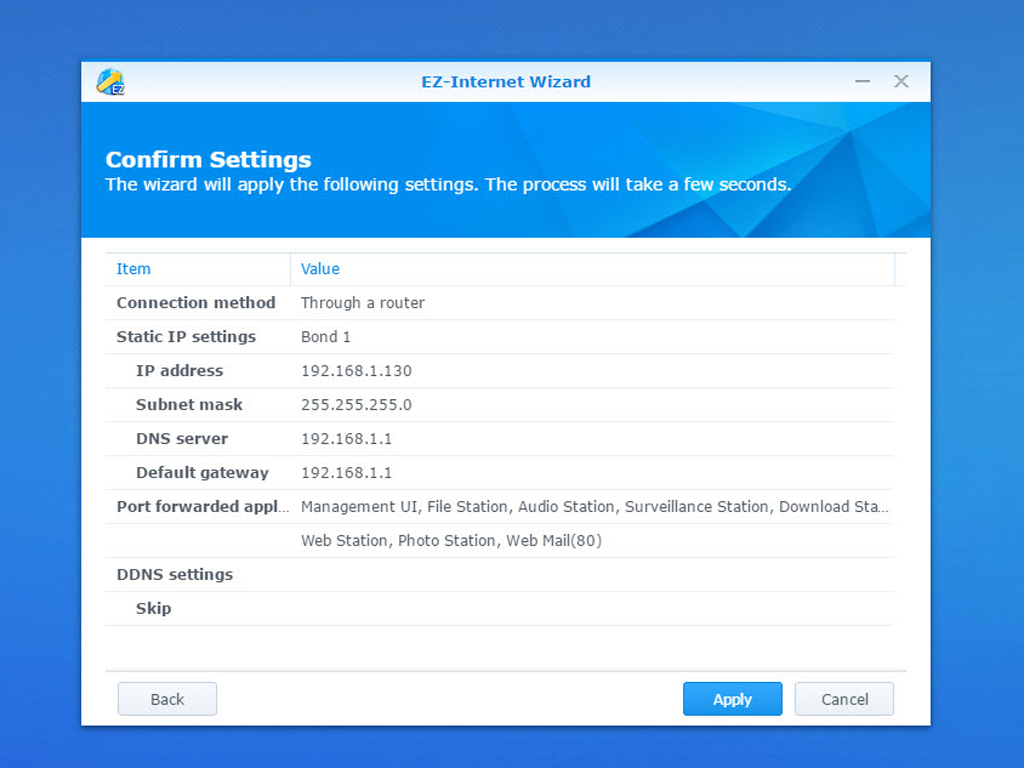
EZ-Internet Wizard
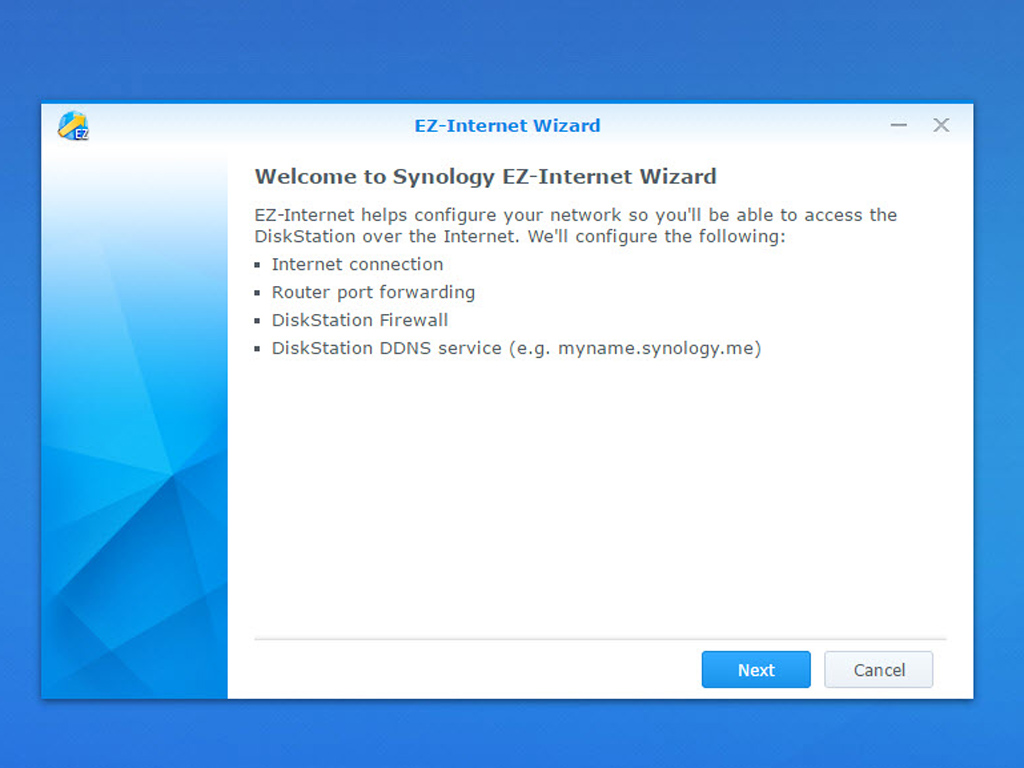
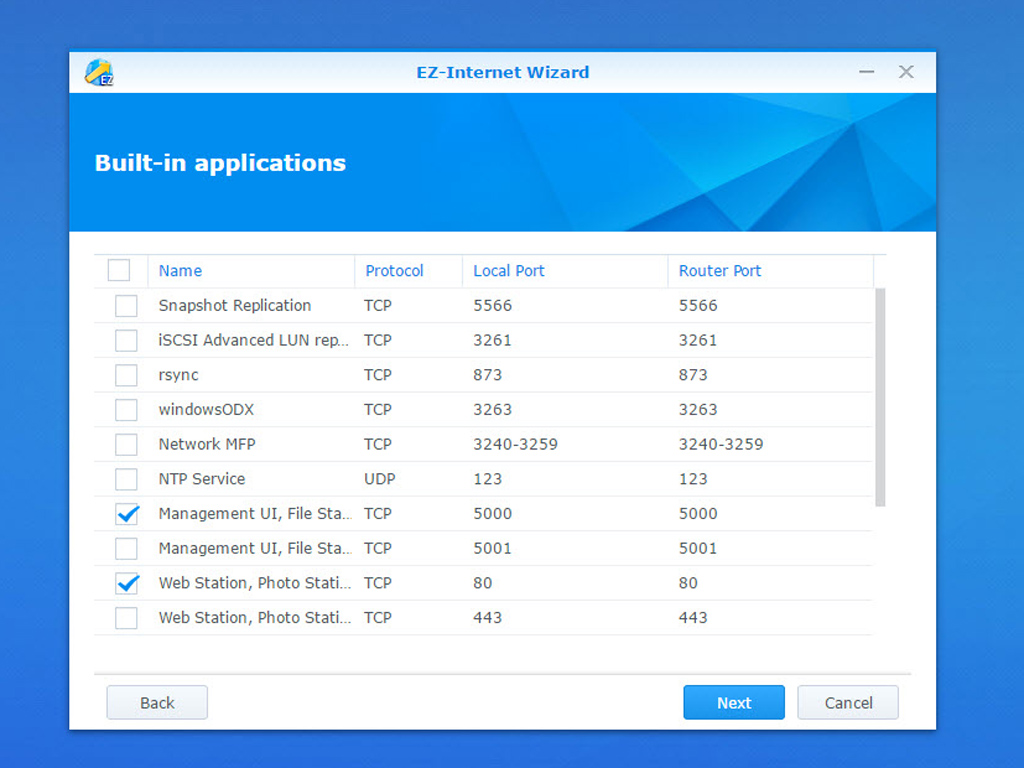
The EZ-Internet wizard guides you through an easy-to-follow set-up process for access over the Internet, which avoids having to through complex firewall settings, PPPoE setup, DDNS registration, and a router's port-forwarding configuration.
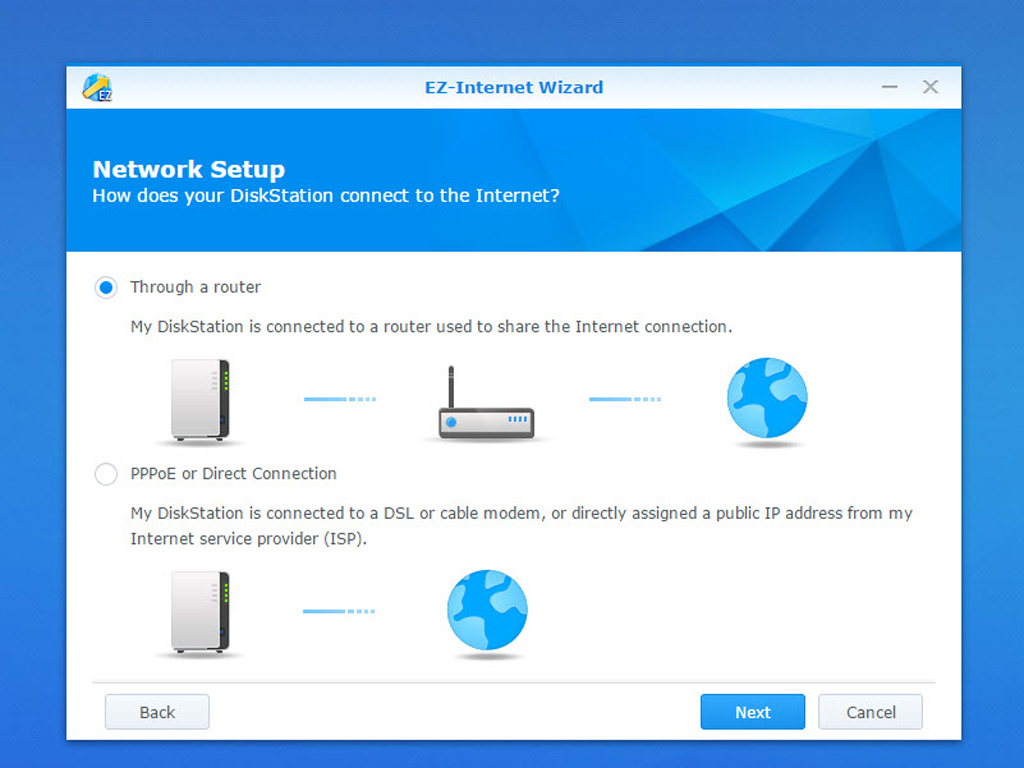
You have to first select how the NAS is connected to the Internet. In the majority of cases, especially in business environments, the NAS will be connected to the Internet over a router.
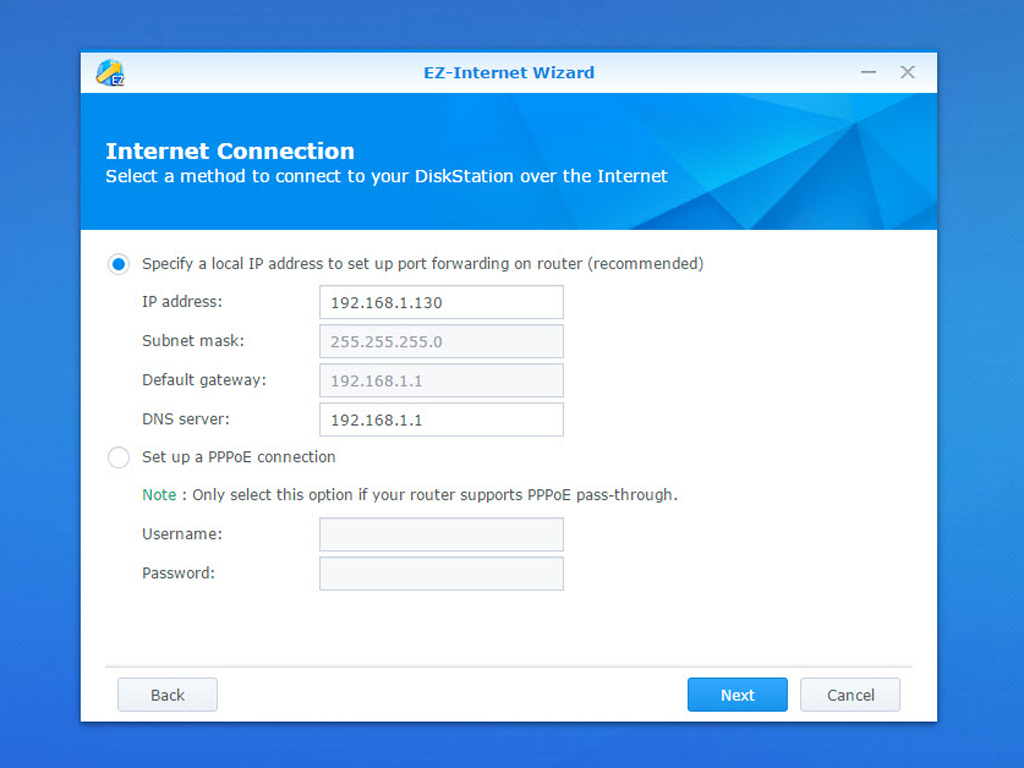
In this step, you have to specify the local IP address of the NAS. You will have to input your username password if your goal is to set up a PPPoE connection.
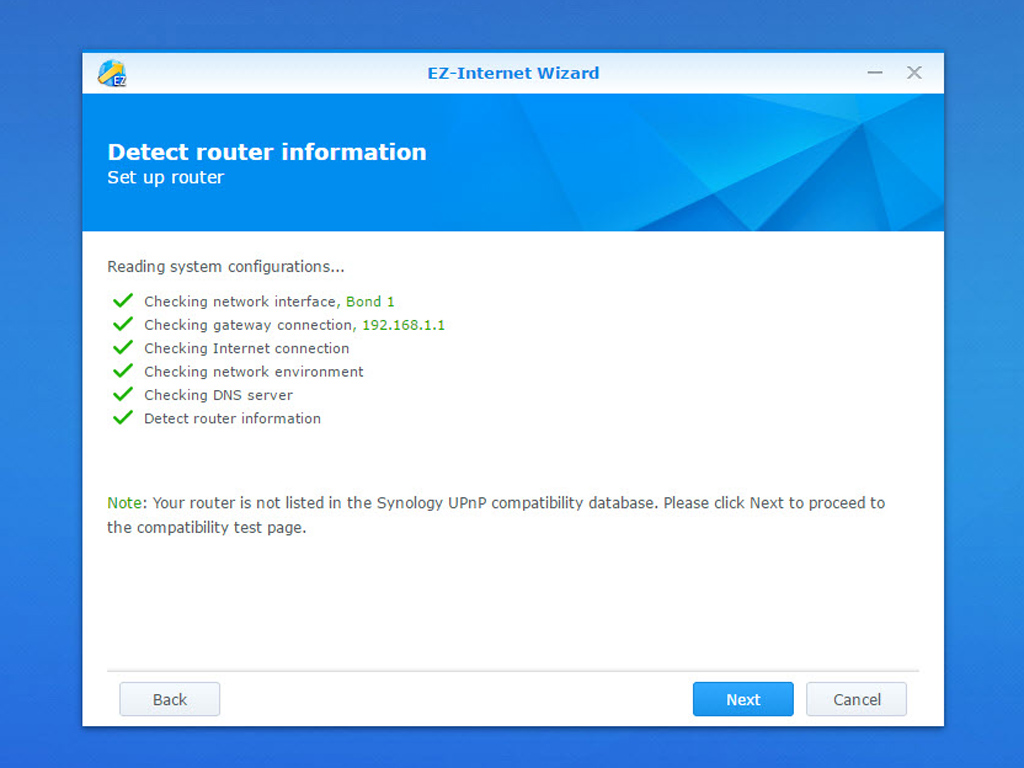
This step will automatically configure your router.
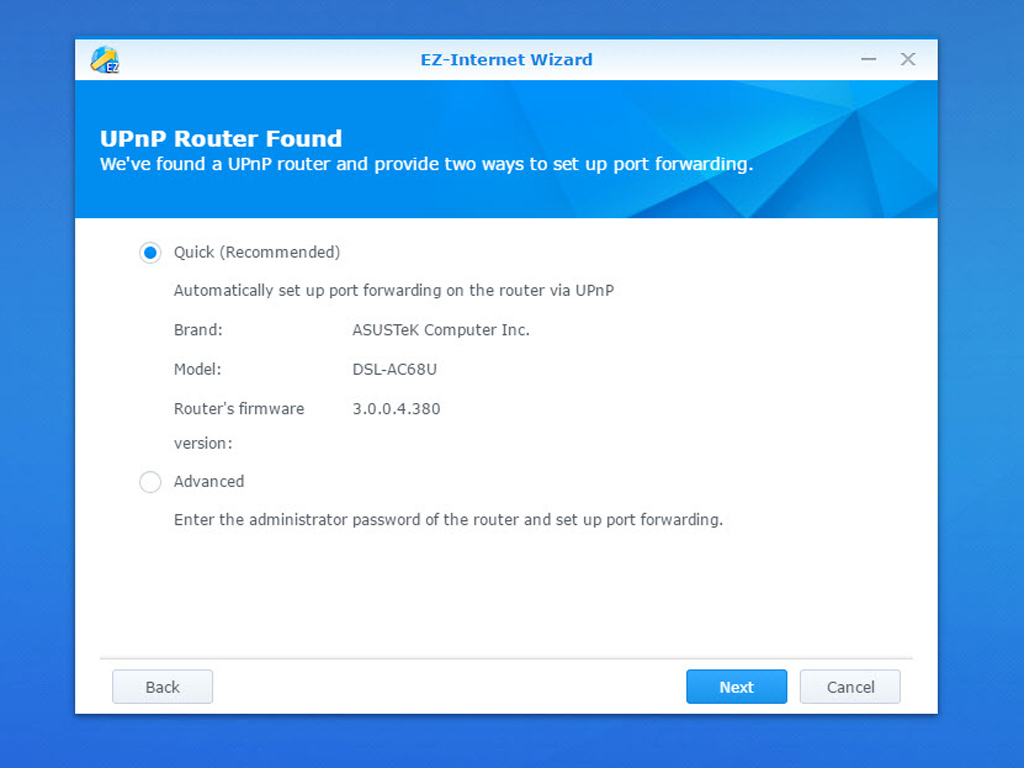
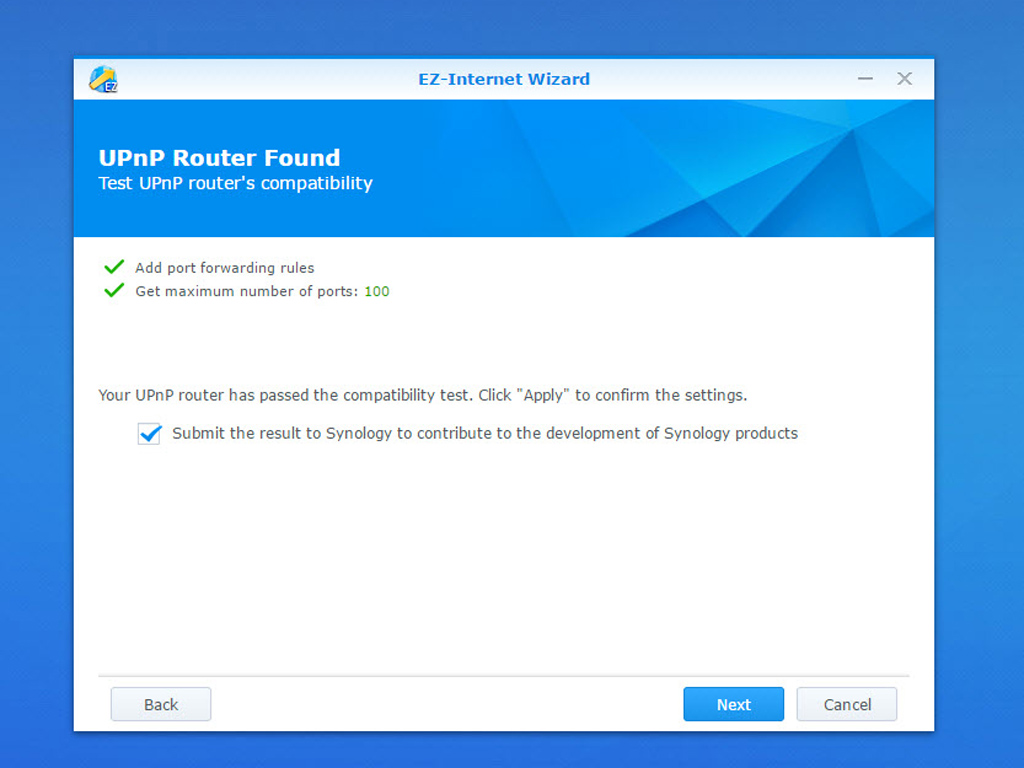
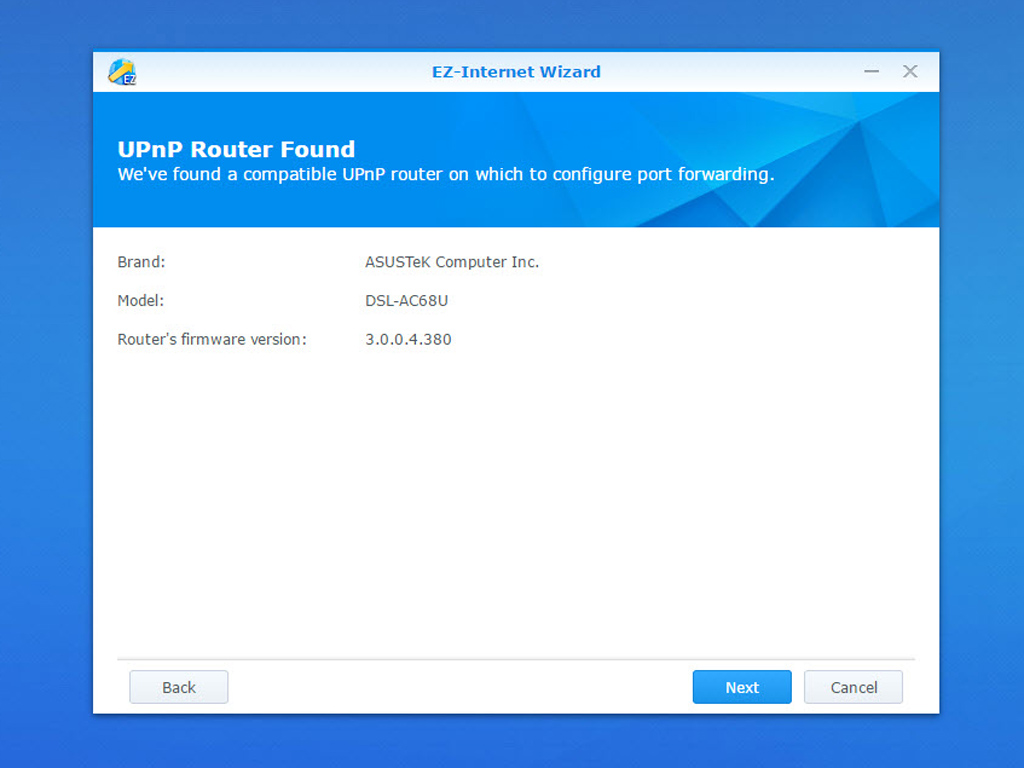
Our router was recognized properly, which meant its setup was a straightforward affair.
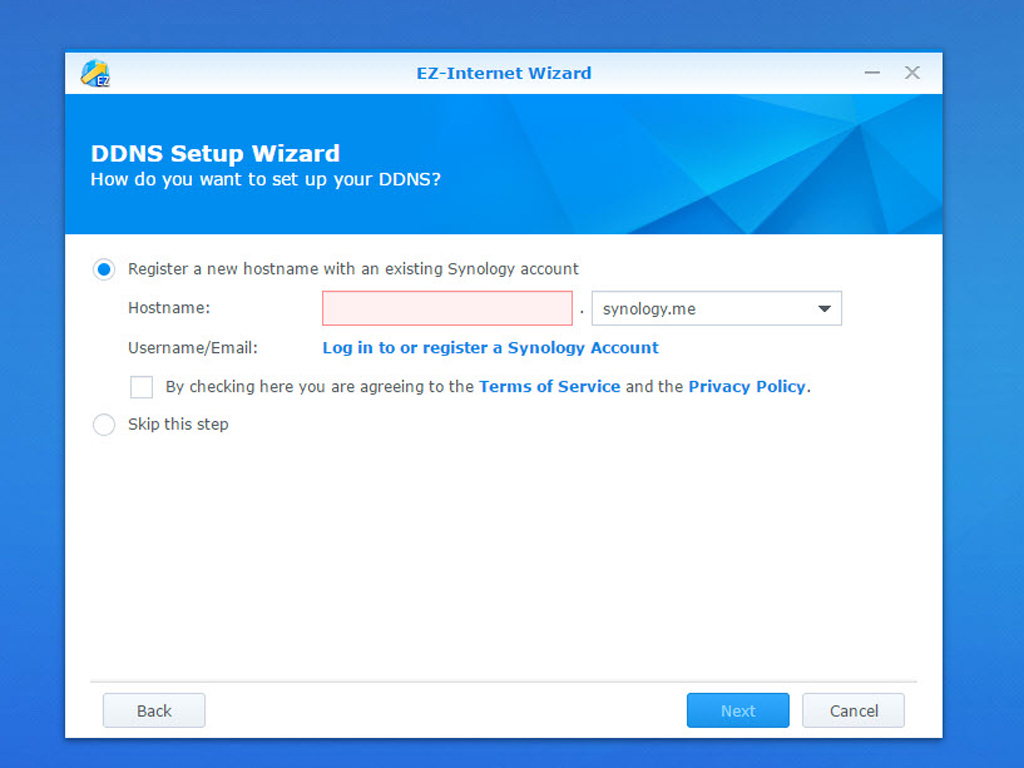
This is the DDNS (Dynamic Domain Name Service) setup wizard. This wizard will map a hostname to your NAS server's IP address. Doing so will allow you to access the NAS through a domain name instead of having to remember an IP address, which means you are able to find the NAS even after your dynamic IP address changes.
Jul 5th, 2025 13:52 CDT
change timezone
Latest GPU Drivers
New Forum Posts
- AMD RX 9070 XT & RX 9070 non-XT thread (OC, undervolt, benchmarks, ...) (155)
- Are there others on TPU with a dual system (two pc´s in one case)? (12)
- FINAL FANTASY XIV: Dawntrail Official Benchmark (196)
- Help Watercooling my PC (1)
- TPU's Nostalgic Hardware Club (20484)
- How do you view TPU & the internet in general? (With poll) (71)
- GravityMark v1.89 GPU Benchmark (310)
- Optane performance on AMD vs Intel (57)
- EVGA XC GTX 1660 Ti 8GB ROM (8)
- TPU's Rosetta Milestones and Daily Pie Thread (2374)
Popular Reviews
- NVIDIA GeForce RTX 5050 8 GB Review
- Fractal Design Scape Review - Debut Done Right
- Crucial T710 2 TB Review - Record-Breaking Gen 5
- ASUS ROG Crosshair X870E Extreme Review
- PowerColor ALPHYN AM10 Review
- Sapphire Radeon RX 9060 XT Pulse OC 16 GB Review - An Excellent Choice
- Upcoming Hardware Launches 2025 (Updated May 2025)
- AMD Ryzen 7 9800X3D Review - The Best Gaming Processor
- Sapphire Radeon RX 9070 XT Nitro+ Review - Beating NVIDIA
- NVIDIA GeForce RTX 5060 8 GB Review
TPU on YouTube
Controversial News Posts
- Intel's Core Ultra 7 265K and 265KF CPUs Dip Below $250 (288)
- NVIDIA Grabs Market Share, AMD Loses Ground, and Intel Disappears in Latest dGPU Update (212)
- Some Intel Nova Lake CPUs Rumored to Challenge AMD's 3D V-Cache in Desktop Gaming (140)
- NVIDIA GeForce RTX 5080 SUPER Could Feature 24 GB Memory, Increased Power Limits (115)
- NVIDIA Launches GeForce RTX 5050 for Desktops and Laptops, Starts at $249 (105)
- Microsoft Partners with AMD for Next-gen Xbox Hardware (105)
- AMD Radeon RX 9070 XT Gains 9% Performance at 1440p with Latest Driver, Beats RTX 5070 Ti (102)
- Intel "Nova Lake‑S" Series: Seven SKUs, Up to 52 Cores and 150 W TDP (100)