 20
20
TerraMaster F4-424 Review
A Quick Look at TOS 5.1 »Initial Setup
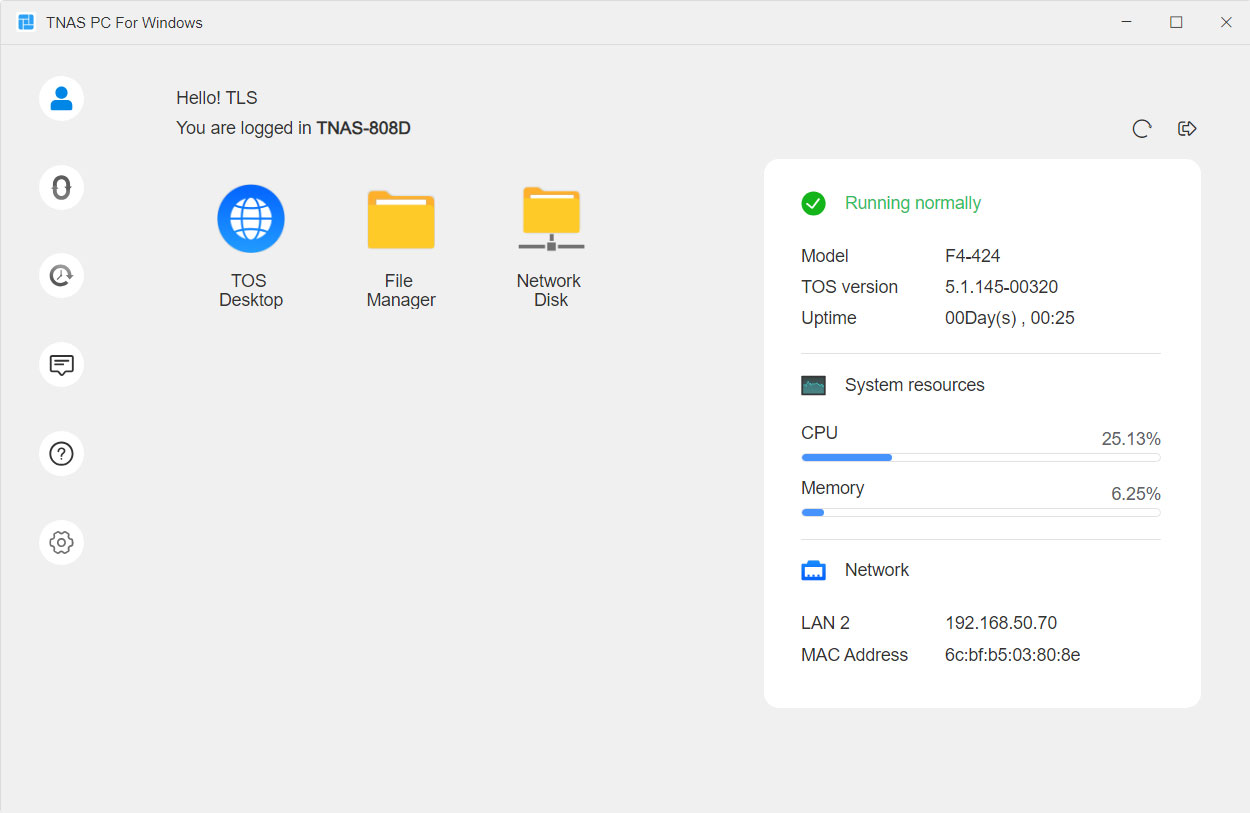

TerraMaster offers a similar setup experience to its competitors, with a wizard guiding you through the initial setup. TerraMaster also offers a Windows app for finding your NAS on the local network, but unlike Ugreen, this doesn't incorporate any kind of integrated user interface access. Instead, it opens a browser window that takes you to the TOS desktop or the file manager. The app does provide very basic system status information as well, such as CPU and memory usage, as well as the model name of your NAS, it's current OS version, update, IP address and MAC address. We'll go into some more details about the app later. The first screen you're greeted by once you've connected to the web interface is the Initialization screen and here you can also see the OS version that the NAS shipped with. To start the setup, you simply click on Start.
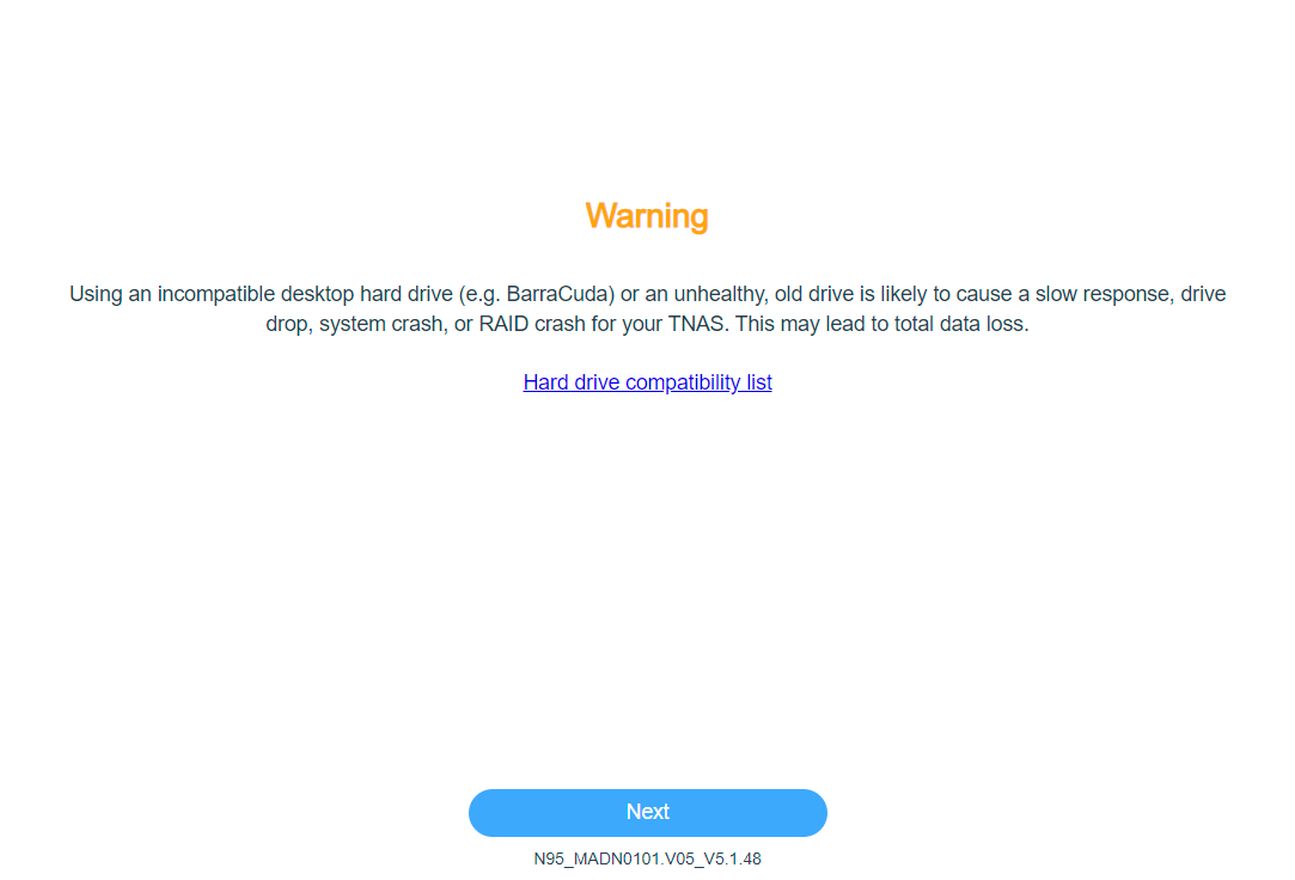
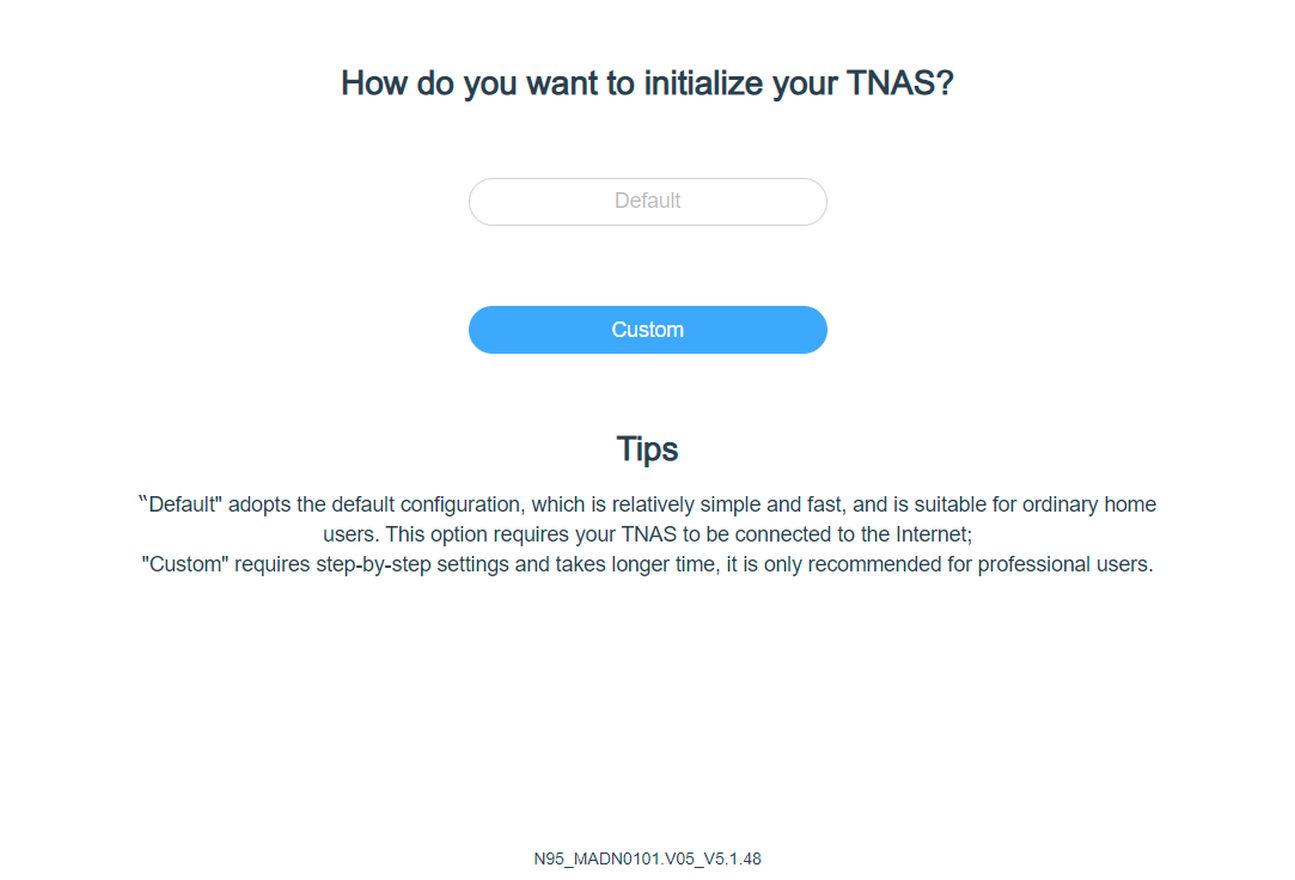
TerraMaster starts off the setup process by warning about certain potential hardware compatibility or reliability issues, which might freak out some users, and we're not sure this is the best way of doing that, but at least there was no big warning triangle here. For the initial setup, we went ahead with the Default settings, just to get a feel for the typical setup process.
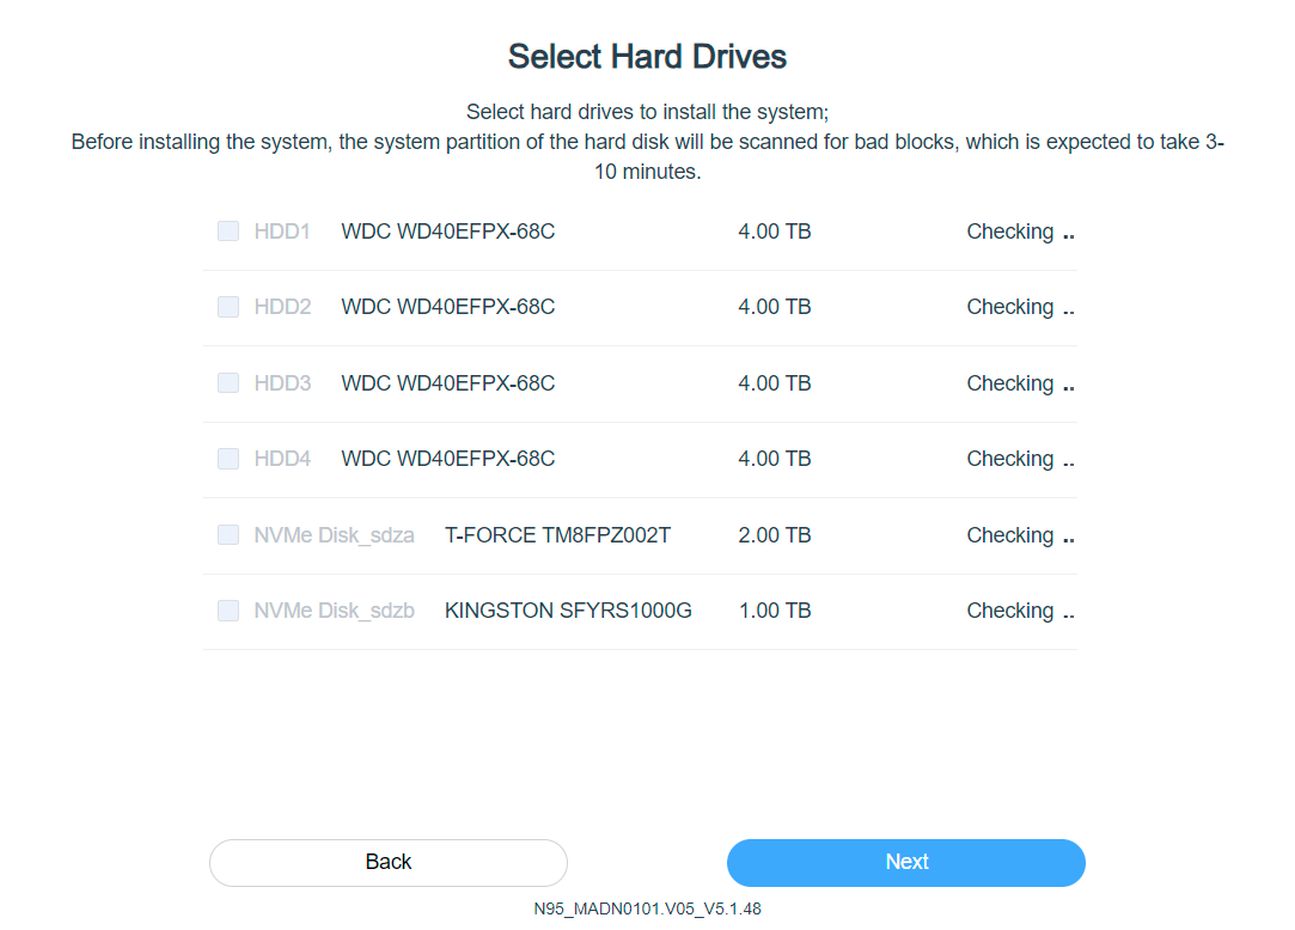
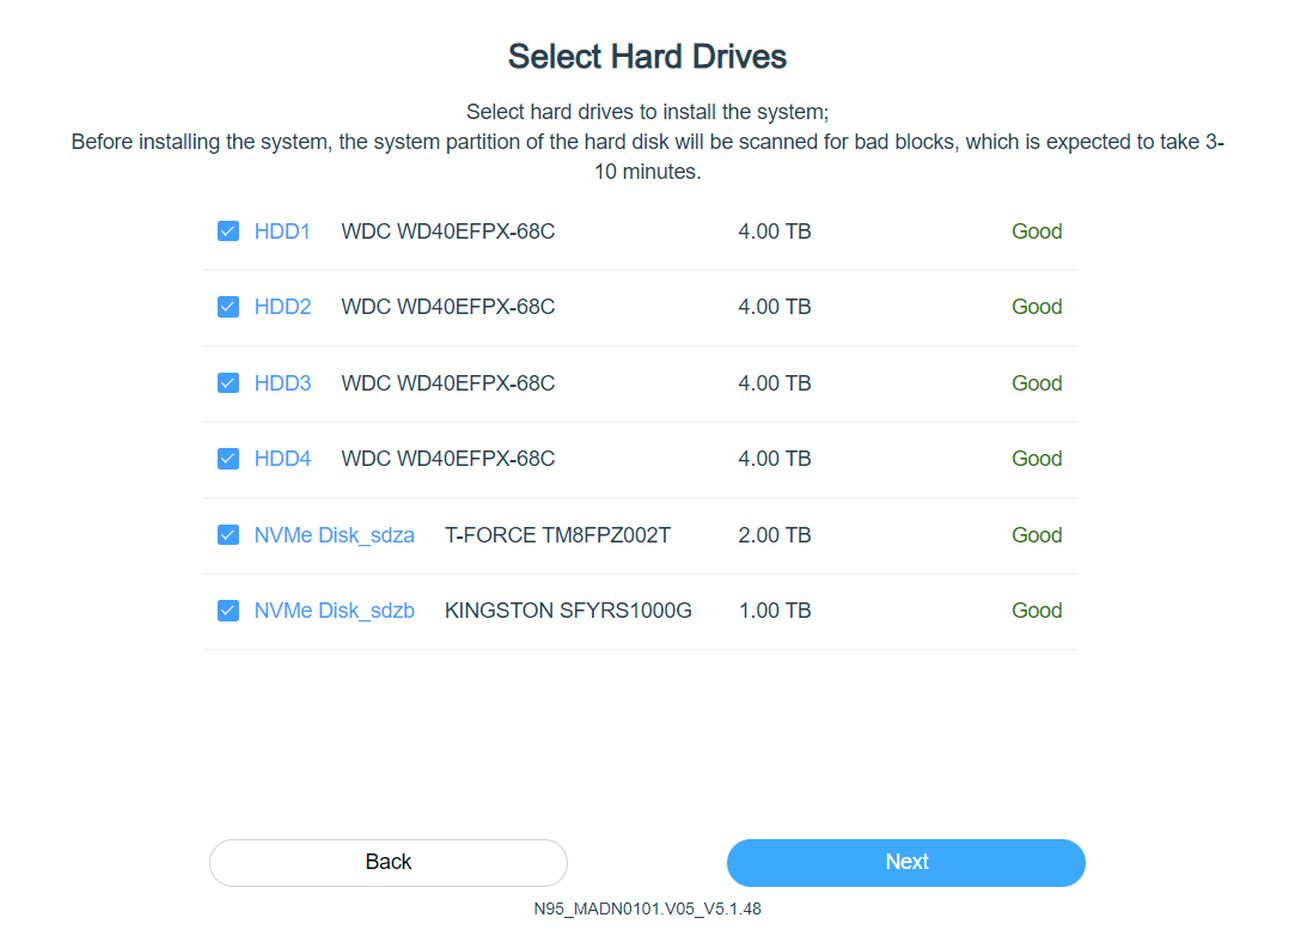
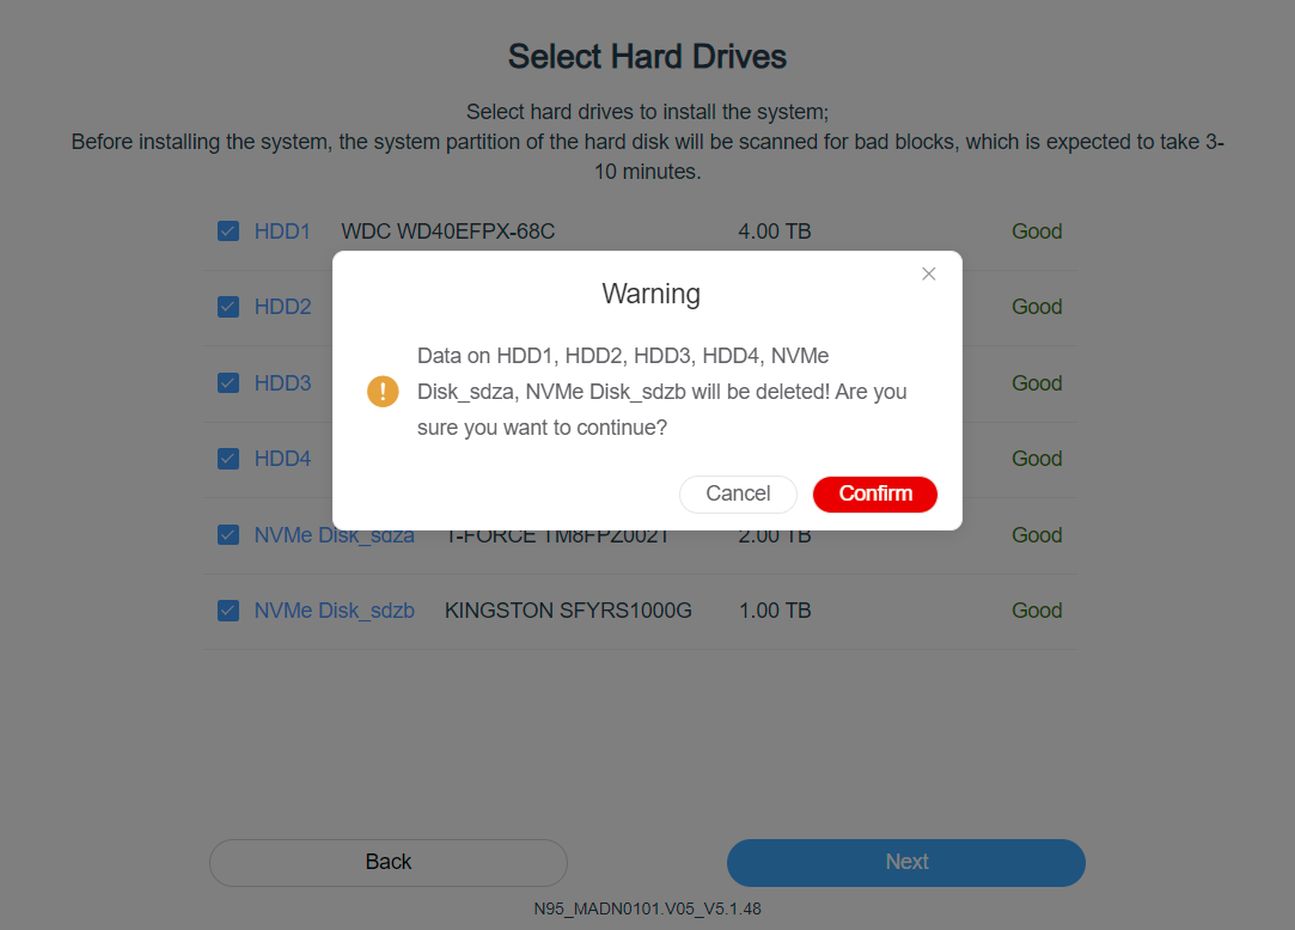
The next step involves choosing the drives you want the NAS to use, we went with the default option, which selected all the drives, including the two SSDs. Normally you wouldn't do this, but since we were given the option, we thought we might as well give it a try. Note that we changed this for most of the testing, but more on that later in the setup process. This took a little while, as the OS checked all the drives for bad blocks before we were allowed to continue the setup process, but as you can see, all drives were deemed to be good. As per all NAS operating systems, we got a warning that all data on the drives would be wiped before we could continue.
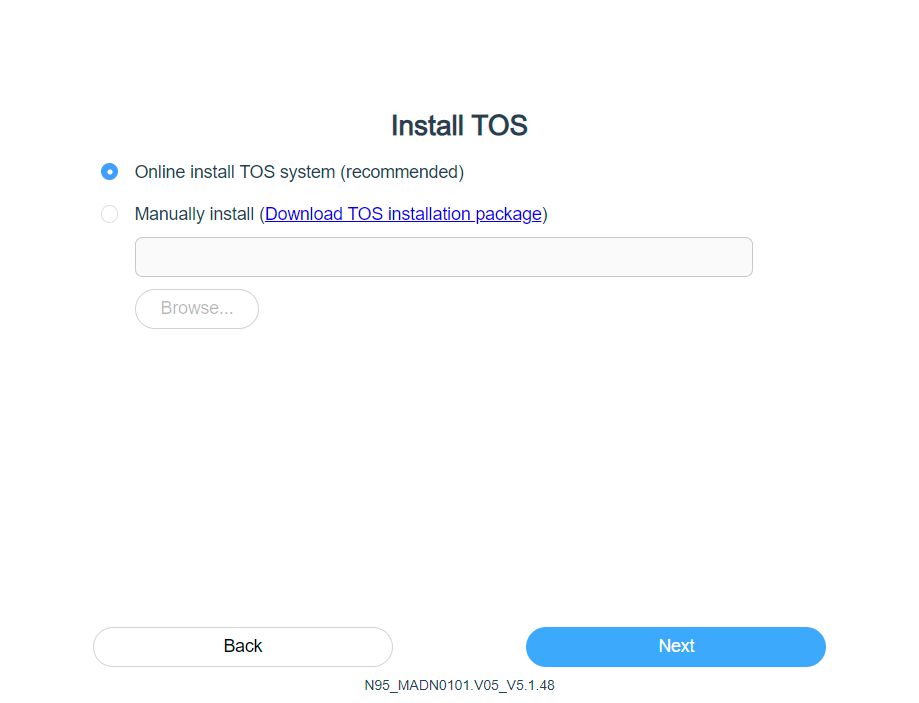
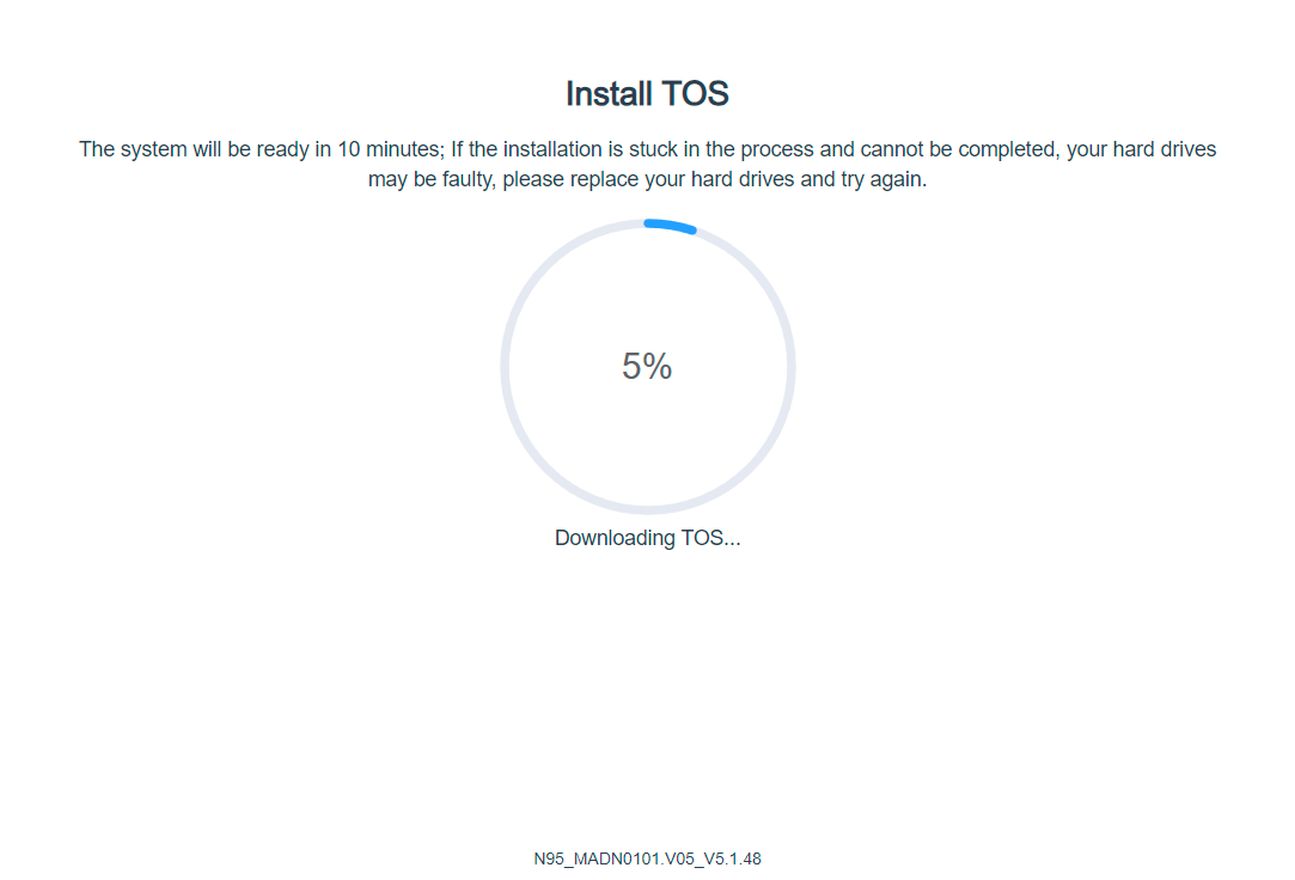
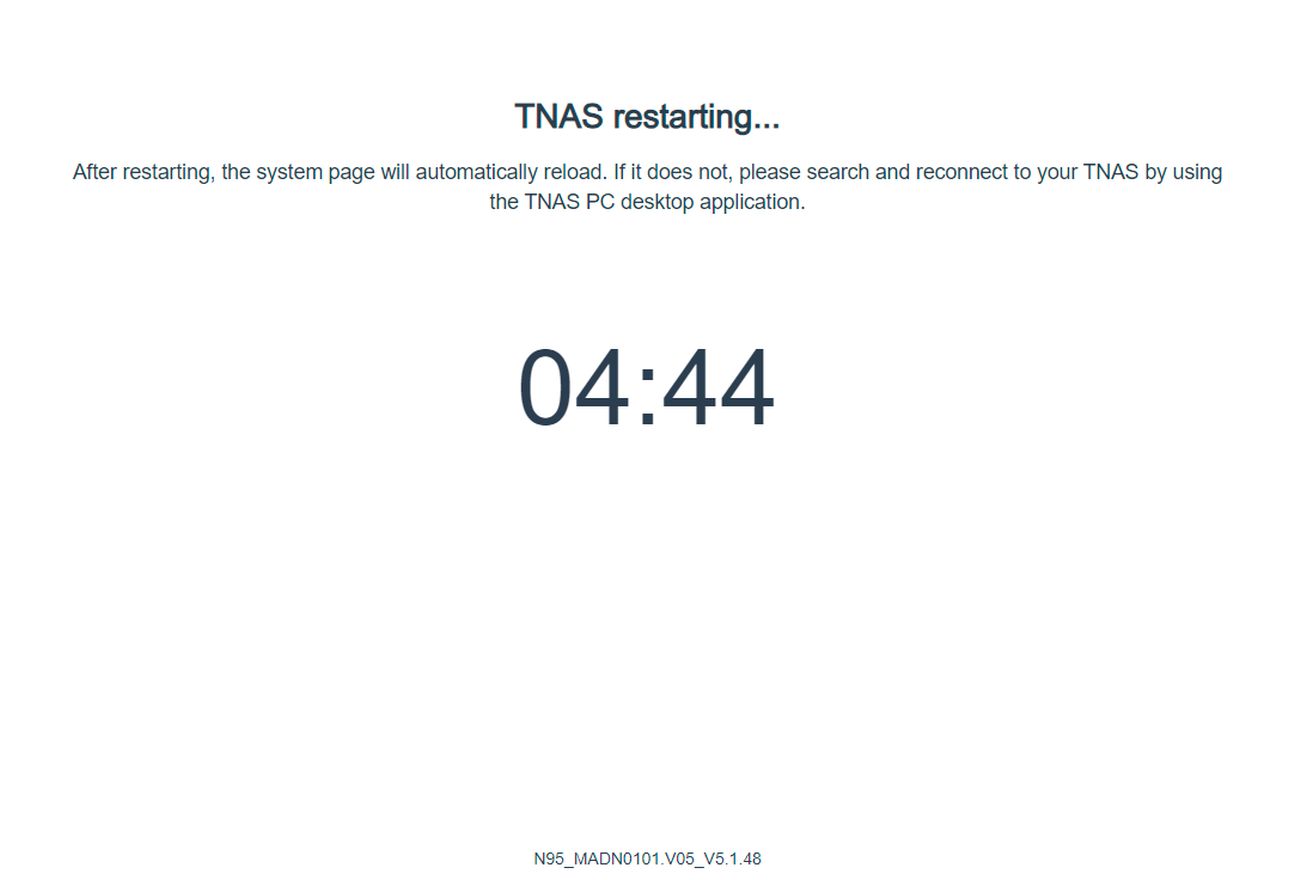
Next is the OS installation and although there is a version of the OS stored on a USB drive that's connected on the motherboard, as we've seen, the default option is still to download and install the latest version from TerraMaster's website. Although the setup process claims that this will take 10 minutes, it'll vary depending on the speed of your internet connection, but in our case it took less than 10 minutes. Once the OS is installed, the NAS will automatically reboot.
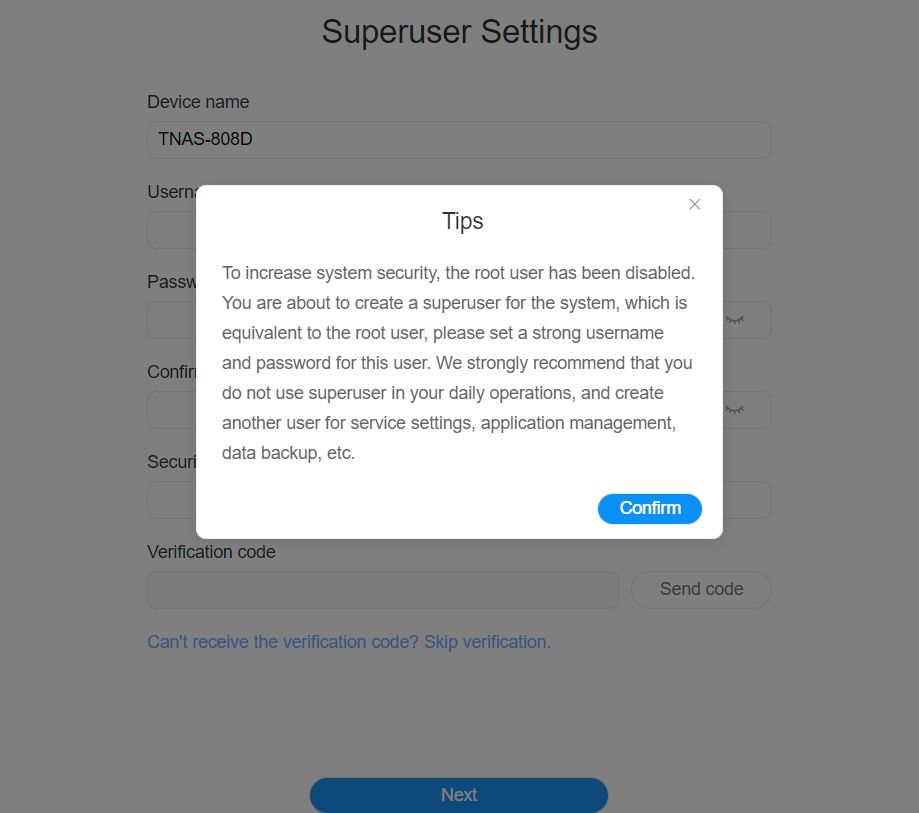
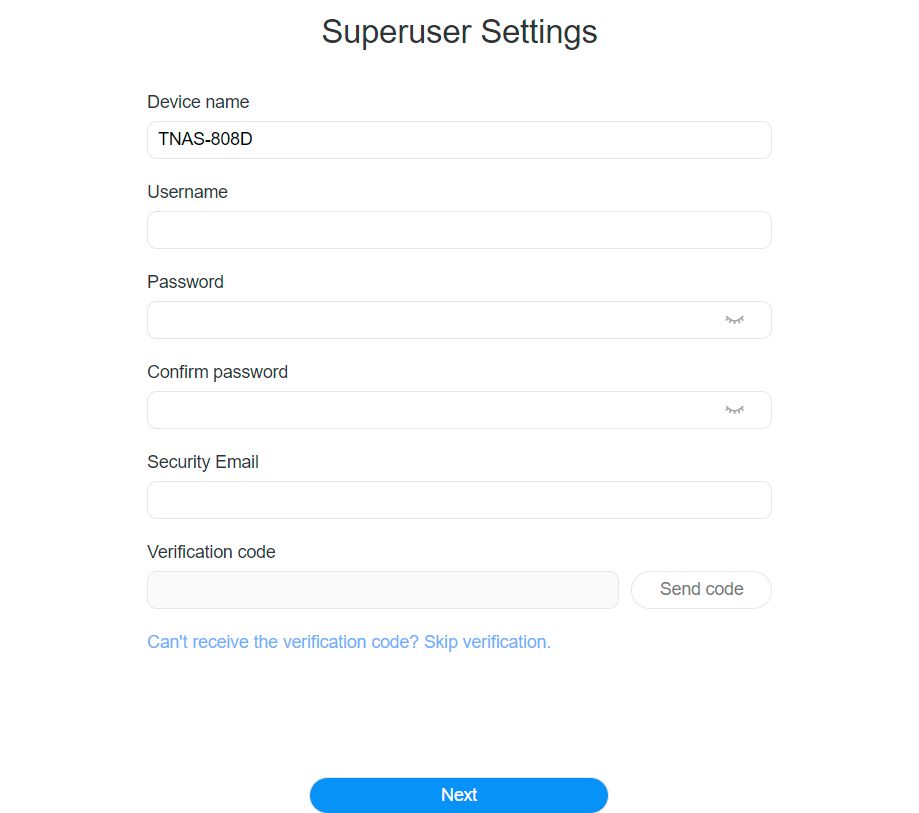
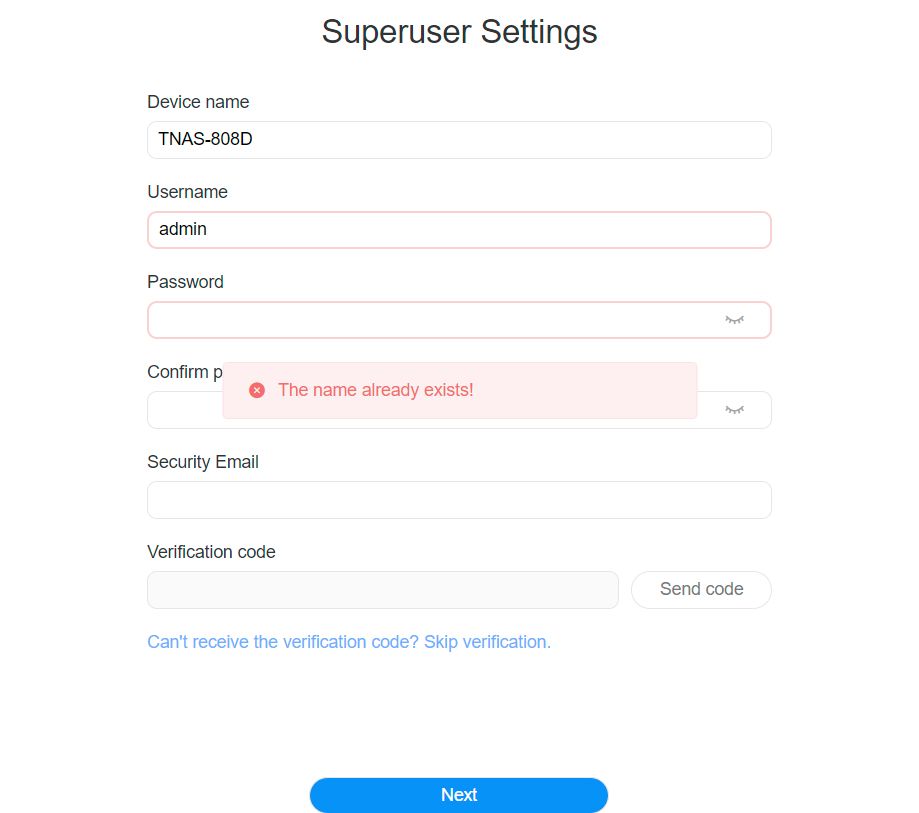
Once it has rebooted, the next step is to set up the admin account and here TerraMaster provides some security tips. At this stage you can also rename your NAS and enter an email address so you can easily recover your password if you were to forget it. Note that you can't call your admin account admin, which is a bit weird, but apparently that account already exists.
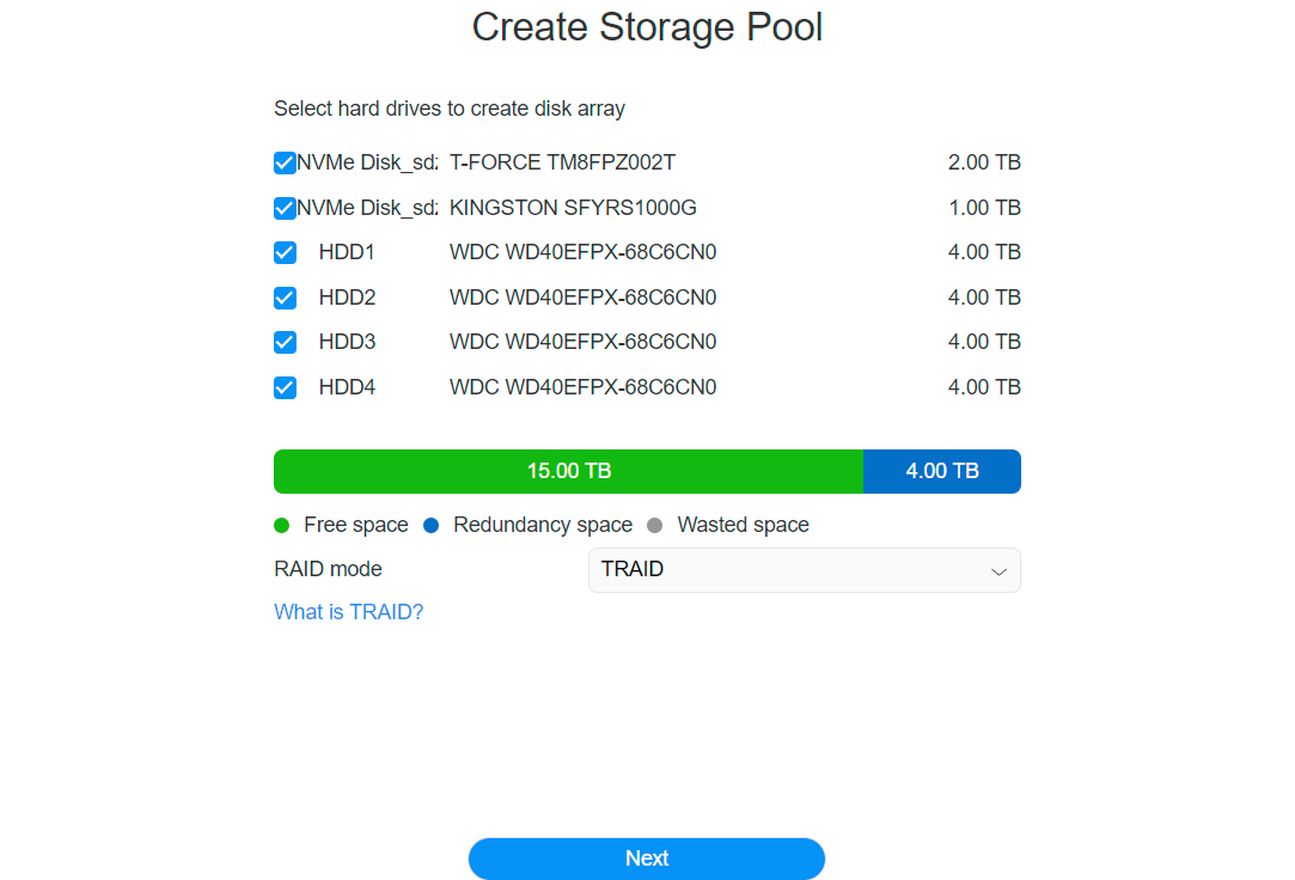
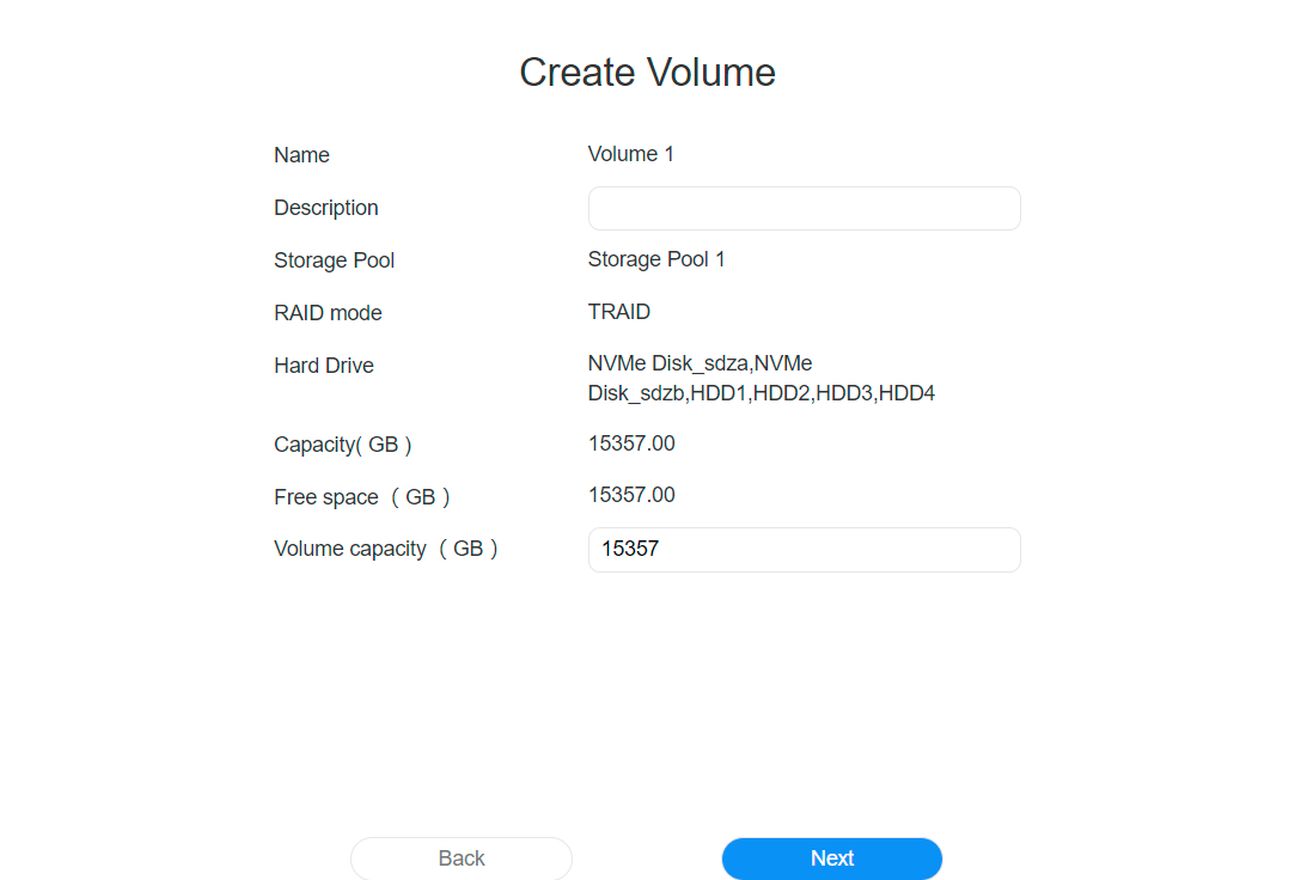
The next step is to create a storage pool and once again we went with the default settings here, which involved all drives and TerraMaster's in-house TRAID, which the company claims is a combination of RAID 5 and RAID 1. It allows for more drive space to be used by the user, while still offering some form of redundancy, but it doesn't appear to be as good as RAID 5 or RAID 1 when it comes to redundancy. However, it gave us 15 TB of usable space with 4 TB set aside for redundancy.
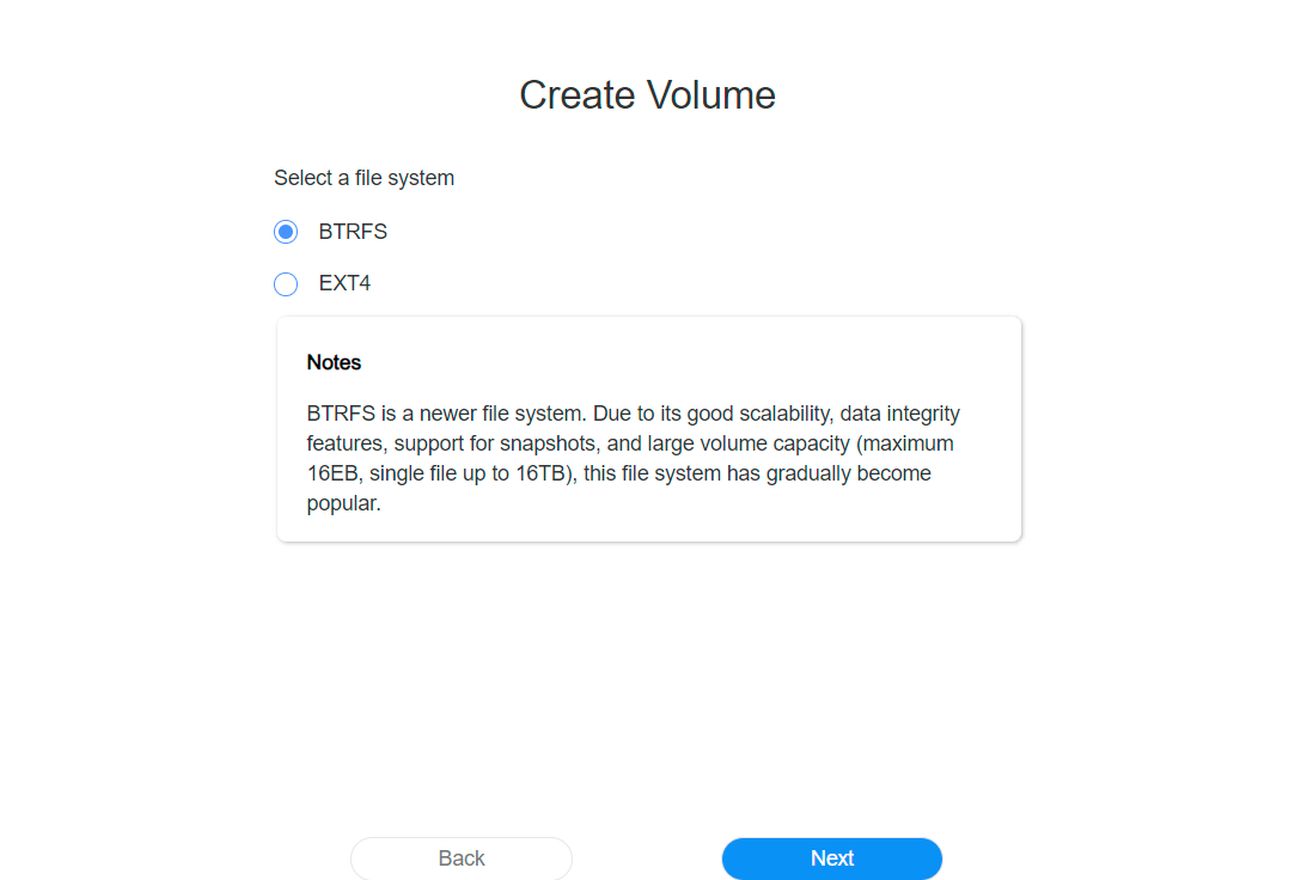

Now that we have a storage pool it's time to select the file system and TerraMaster only gives you the option of BTRFS or EXT4, which is reasonable, but more advanced users might not be happy with the limited options here. We picked BTRFS, as it was the default and recommended option.
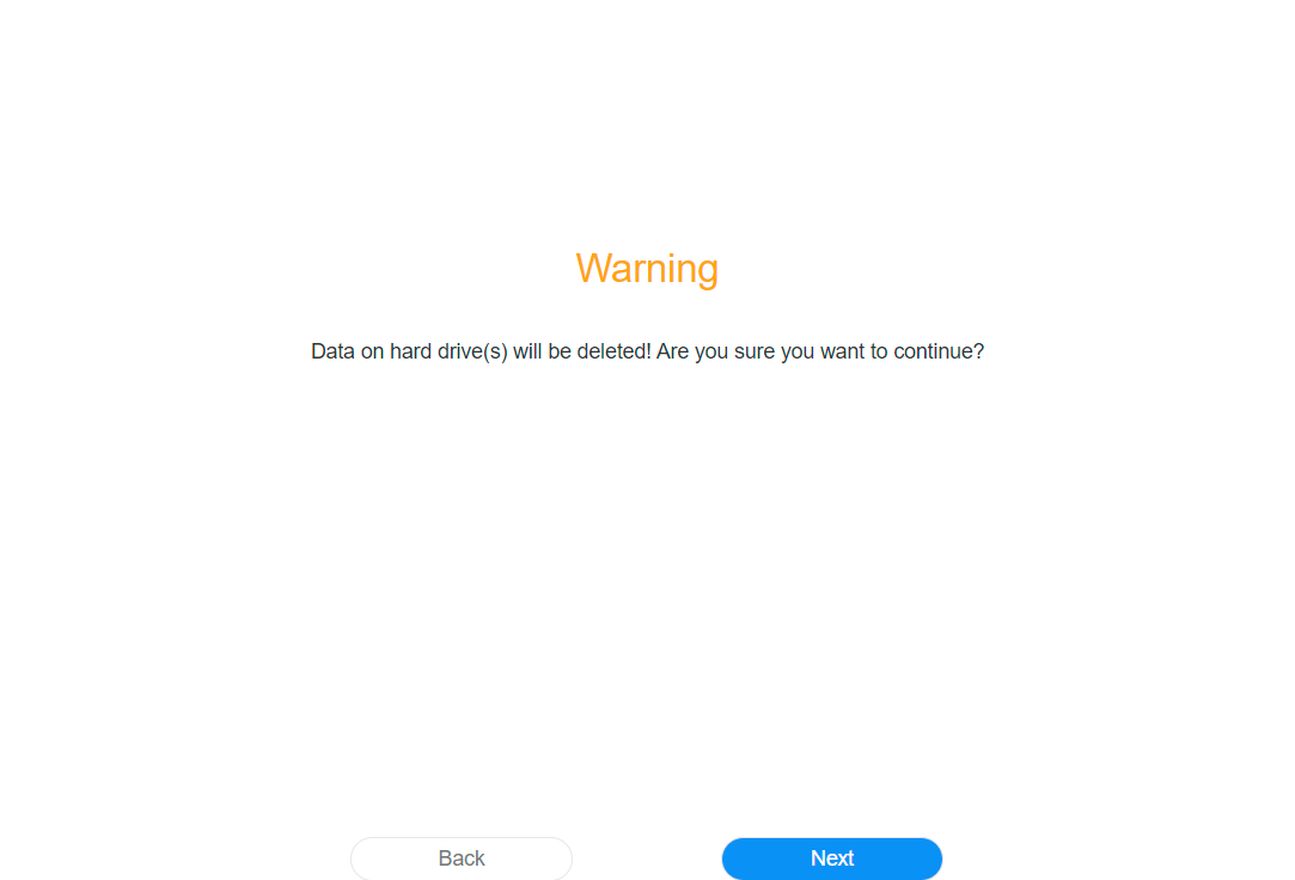
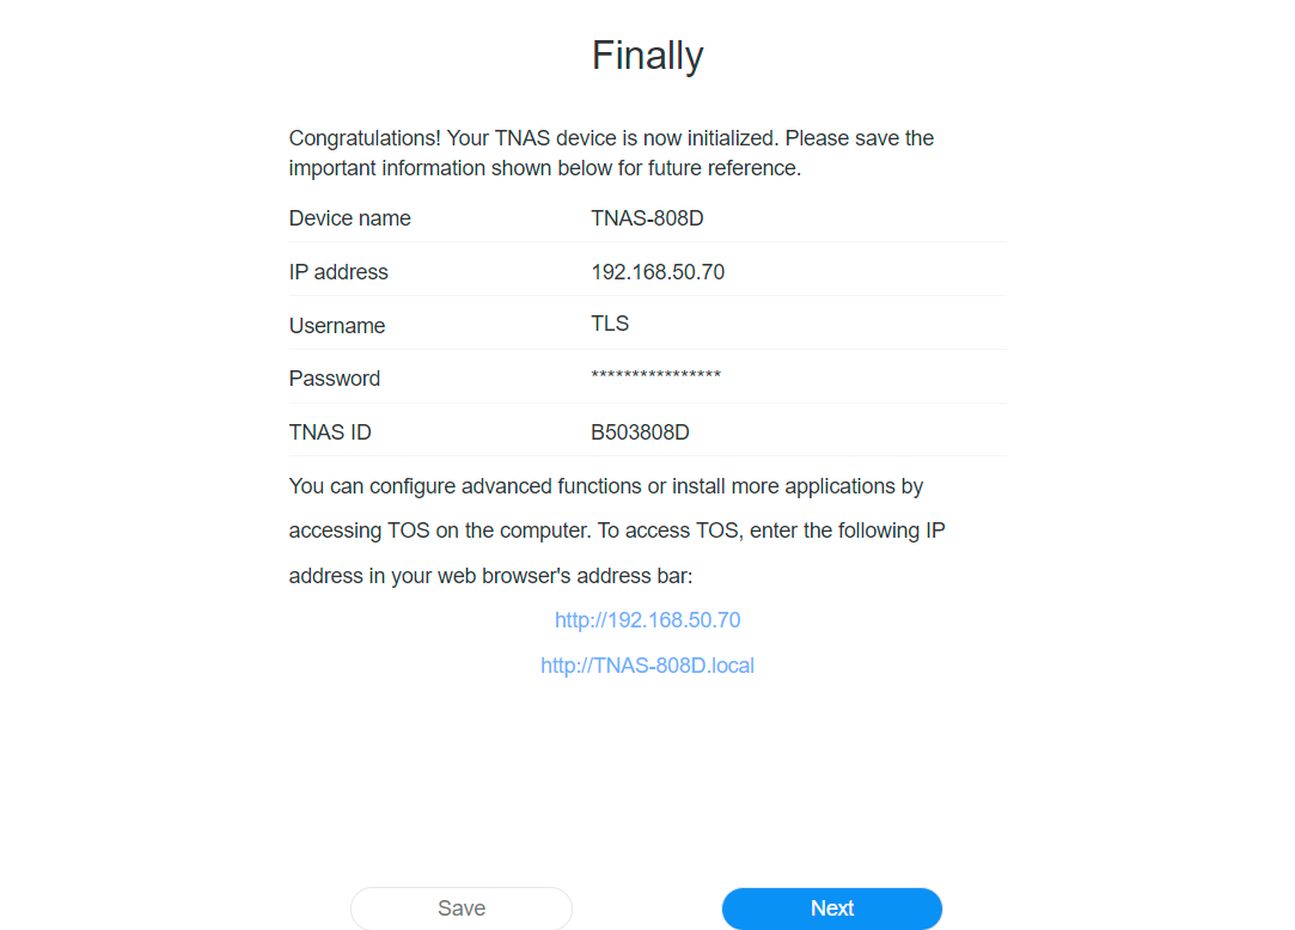
Once again we get a warning that all data on the drives will be wiped and once we pass this hurdle, the setup is complete. The final screen in the setup process shows you the IP address of the NAS, if you for some reason weren't aware of it up to this point.
Disk Configuration
Below is the output from the lsblk command on Linux, which shows the disk configuration. Note that TerraMaster's custom Linux OS doesn't list things the way you'd expect it to be, several basic Linux commands were missing from the OS and there's no way to install any kind of third party additions, as TerraMaster has locked down the OS.NAME MAJ:MIN RM SIZE RO TYPE MOUNTPOINT
loop0 7:0 0 0 loop
loop1 7:1 0 0 loop
loop2 7:2 0 0 loop
loop3 7:3 0 0 loop
loop4 7:4 0 0 loop
loop5 7:5 0 0 loop
loop6 7:6 0 0 loop
loop7 7:7 0 0 loop
sda 8:0 0 3.7T 0 disk
|-sda1 8:1 0 285M 0 part
|-sda2 8:2 0 7.6G 0 part
| `-md9 9:9 0 7.6G 0 raid1 /
|-sda3 8:3 0 1.9G 0 part
| `-md8 9:8 0 1.9G 0 raid1 [SWAP]
`-sda4 8:4 0 3.6T 0 part
`-md0 9:0 0 3.6T 0 raid1
sdb 8:16 0 3.7T 0 disk
|-sdb1 8:17 0 285M 0 part
|-sdb2 8:18 0 7.6G 0 part
| `-md9 9:9 0 7.6G 0 raid1 /
|-sdb3 8:19 0 1.9G 0 part
| `-md8 9:8 0 1.9G 0 raid1 [SWAP]
`-sdb4 8:20 0 3.6T 0 part
`-md0 9:0 0 3.6T 0 raid1
sdc 8:32 0 3.7T 0 disk
|-sdc1 8:33 0 285M 0 part
|-sdc2 8:34 0 7.6G 0 part
| `-md9 9:9 0 7.6G 0 raid1 /
|-sdc3 8:35 0 1.9G 0 part
| `-md8 9:8 0 1.9G 0 raid1 [SWAP]
`-sdc4 8:36 0 3.6T 0 part
`-md0 9:0 0 3.6T 0 raid1
sdd 8:48 0 3.7T 0 disk
|-sdd1 8:49 0 285M 0 part
|-sdd2 8:50 0 7.6G 0 part
| `-md9 9:9 0 7.6G 0 raid1 /
|-sdd3 8:51 0 1.9G 0 part
| `-md8 9:8 0 1.9G 0 raid1 [SWAP]
`-sdd4 8:52 0 3.6T 0 part
`-md0 9:0 0 3.6T 0 raid1
nbd0 43:0 0 0 disk
nbd1 43:32 0 0 disk
nbd2 43:64 0 0 disk
nbd3 43:96 0 0 disk
nbd4 43:128 0 0 disk
nbd5 43:160 0 0 disk
nbd6 43:192 0 0 disk
nbd7 43:224 0 0 disk
sdza 259:0 0 1.8T 0 disk
|-sdza1 259:1 0 285M 0 part
|-sdza2 259:2 0 7.6G 0 part
| `-md9 9:9 0 7.6G 0 raid1 /
|-sdza3 259:3 0 1.9G 0 part
| `-md8 9:8 0 1.9G 0 raid1 [SWAP]
`-sdza4 259:4 0 1.8T 0 part
`-md1 9:1 0 1.8T 0 raid1
`-vg1-lv0 252:0 0 1.8T 0 lvm /Volume1
sdzb 259:5 0 931.5G 0 disk
|-sdzb1 259:6 0 285M 0 part
|-sdzb2 259:7 0 7.6G 0 part
| `-md9 9:9 0 7.6G 0 raid1 /
|-sdzb3 259:8 0 1.9G 0 part
| `-md8 9:8 0 1.9G 0 raid1 [SWAP]
`-sdzb4 259:9 0 921.7G 0 part
nbd8 43:256 0 0 disk
nbd9 43:288 0 0 disk
nbd10 43:320 0 0 disk
nbd11 43:352 0 0 disk
nbd12 43:384 0 0 disk
nbd13 43:416 0 0 disk
nbd14 43:448 0 0 disk
nbd15 43:480 0 0 disk
Jun 30th, 2025 17:52 CDT
change timezone
Latest GPU Drivers
New Forum Posts
- Can you guess Which game it is? (194)
- Help me choose the right PSU , Cooler Master vs Seasonic (53)
- HOW TO ADD NVMe M.2 SSD SUPPORT TO OLD MOTHERBOARDS WITH AWARD-Phoenix LEGACY SUPPORT? (2)
- Whats a fair asking price - MSI 4070 Super (4)
- HTPC Power Consumption Discussion, Upgrade vs Migration (18)
- RX 9000 series GPU Owners Club (1103)
- Will you buy a RTX 5090? (579)
- Rare GPUs / Unreleased GPUs (2111)
- Steam Deck Owners Clubhouse (530)
- Good time in the year to buy a new PC (4)
Popular Reviews
- Sapphire Radeon RX 9070 XT Nitro+ Review - Beating NVIDIA
- ASUS ROG Crosshair X870E Extreme Review
- Sapphire Radeon RX 9060 XT Pulse OC 16 GB Review - Samsung Memory Tested
- Lexar NQ780 4 TB Review
- AVerMedia CamStream 4K Review
- ASRock Phantom Gaming Z890 Riptide Wi-Fi Review
- AMD Ryzen 7 9800X3D Review - The Best Gaming Processor
- Upcoming Hardware Launches 2025 (Updated May 2025)
- Intel Core Ultra 7 265K Review
- NVIDIA GeForce RTX 5060 8 GB Review
TPU on YouTube
Controversial News Posts
- Intel's Core Ultra 7 265K and 265KF CPUs Dip Below $250 (288)
- NVIDIA Grabs Market Share, AMD Loses Ground, and Intel Disappears in Latest dGPU Update (204)
- Some Intel Nova Lake CPUs Rumored to Challenge AMD's 3D V-Cache in Desktop Gaming (140)
- Microsoft Partners with AMD for Next-gen Xbox Hardware (105)
- NVIDIA Launches GeForce RTX 5050 for Desktops and Laptops, Starts at $249 (104)
- Intel "Nova Lake‑S" Series: Seven SKUs, Up to 52 Cores and 150 W TDP (100)
- NVIDIA GeForce RTX 5080 SUPER Could Feature 24 GB Memory, Increased Power Limits (89)
- Reviewers Bemused by Restrictive Sampling of RX 9060 XT 8 GB Cards (88)