 0
0
Thecus N5550 Review
Software, Quick Installation Guide & Initial Setup »A Look Inside
It's time now to strip the NAS down and discover what components it hides inside its casing.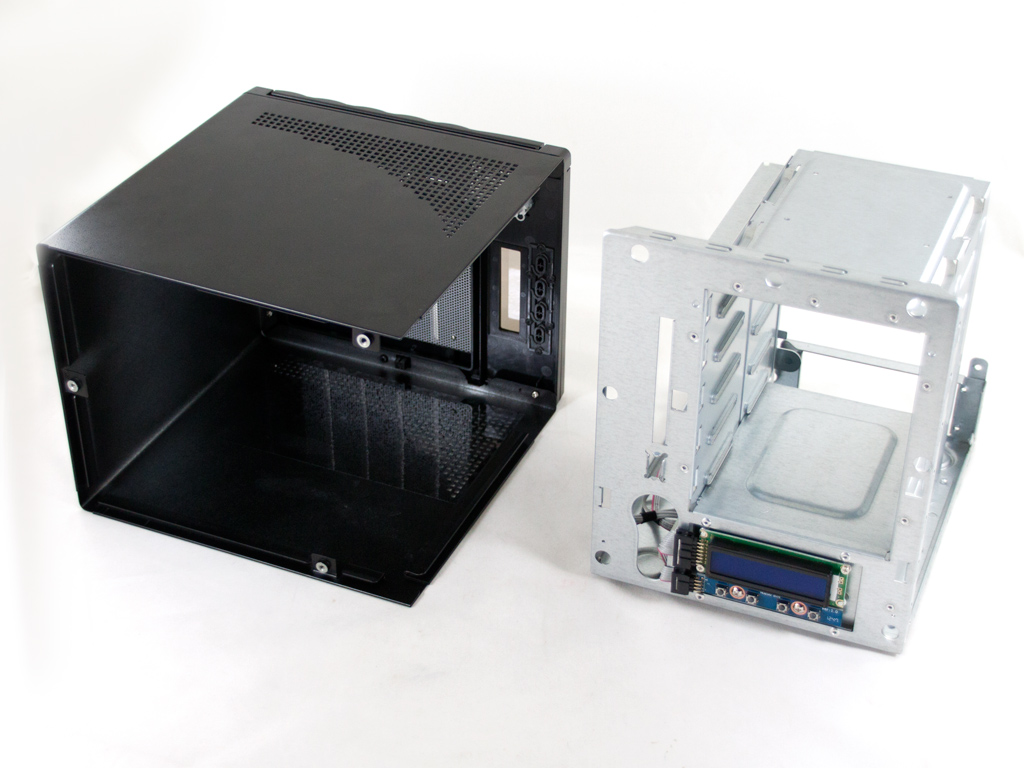
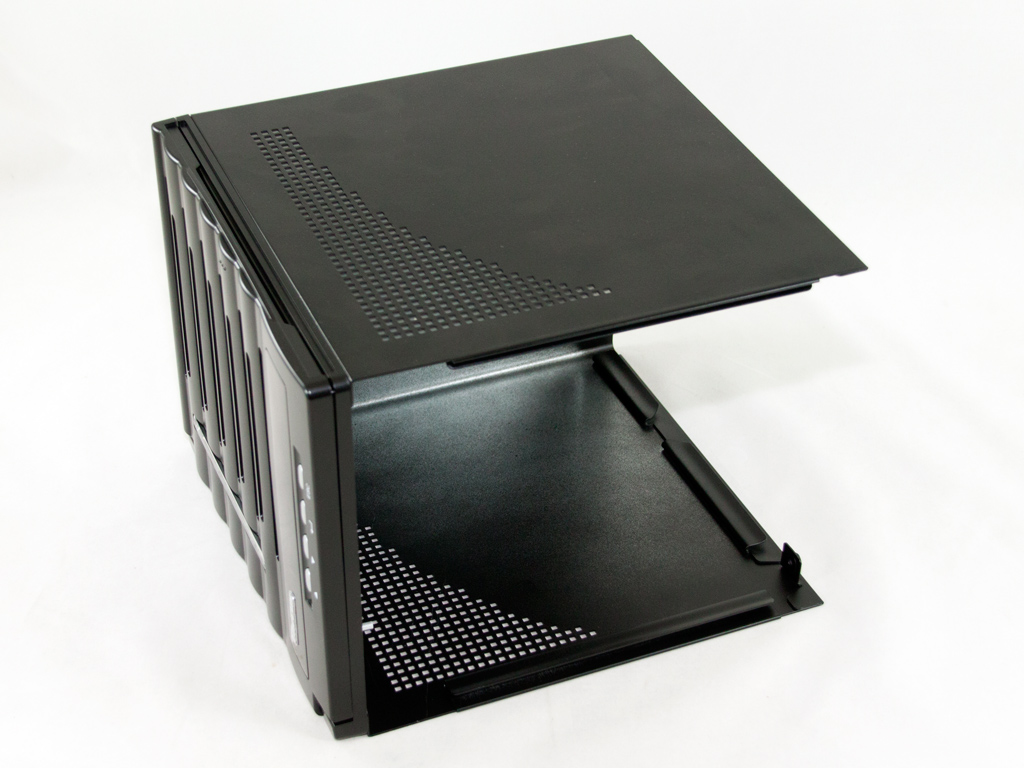
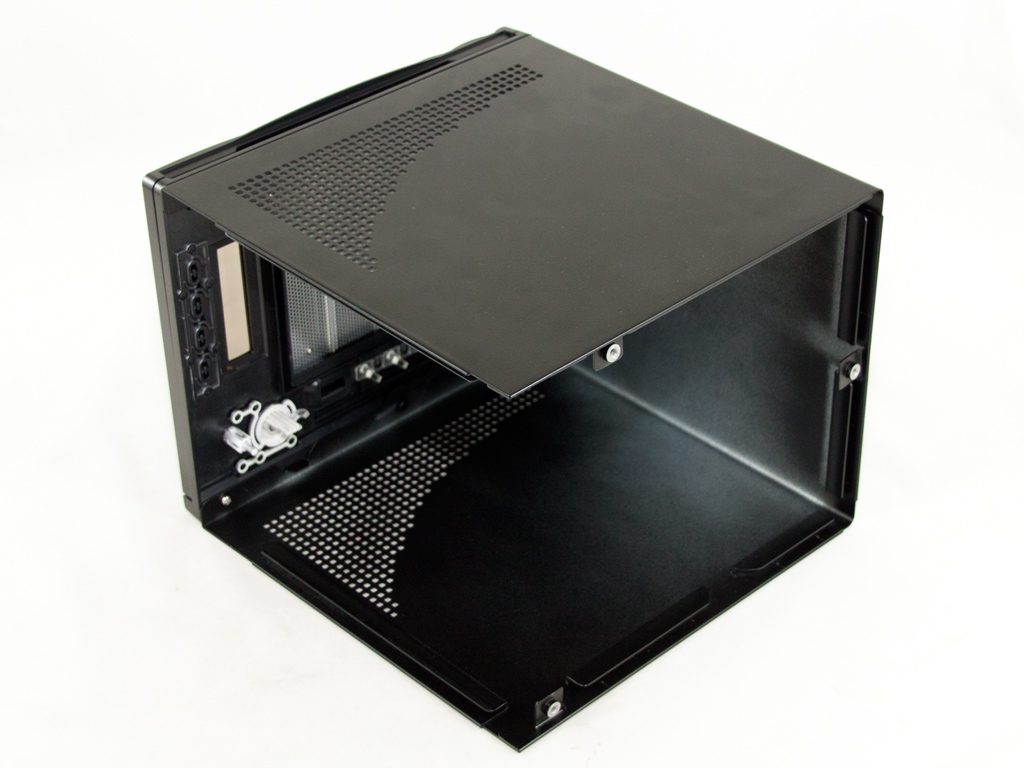
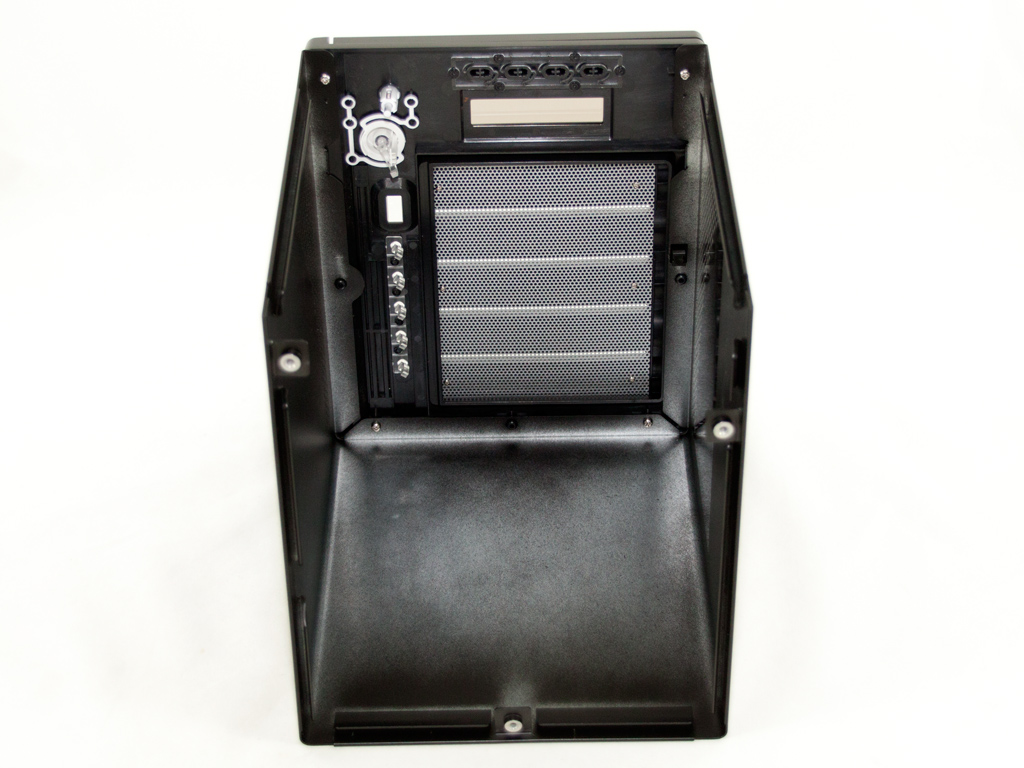

Taking apart the N5550 was easy and went smoothly since we only had to unscrew three screws to remove the heavy metallic cover. Once it was out of the way, the chassis of the N5550 was revealed.
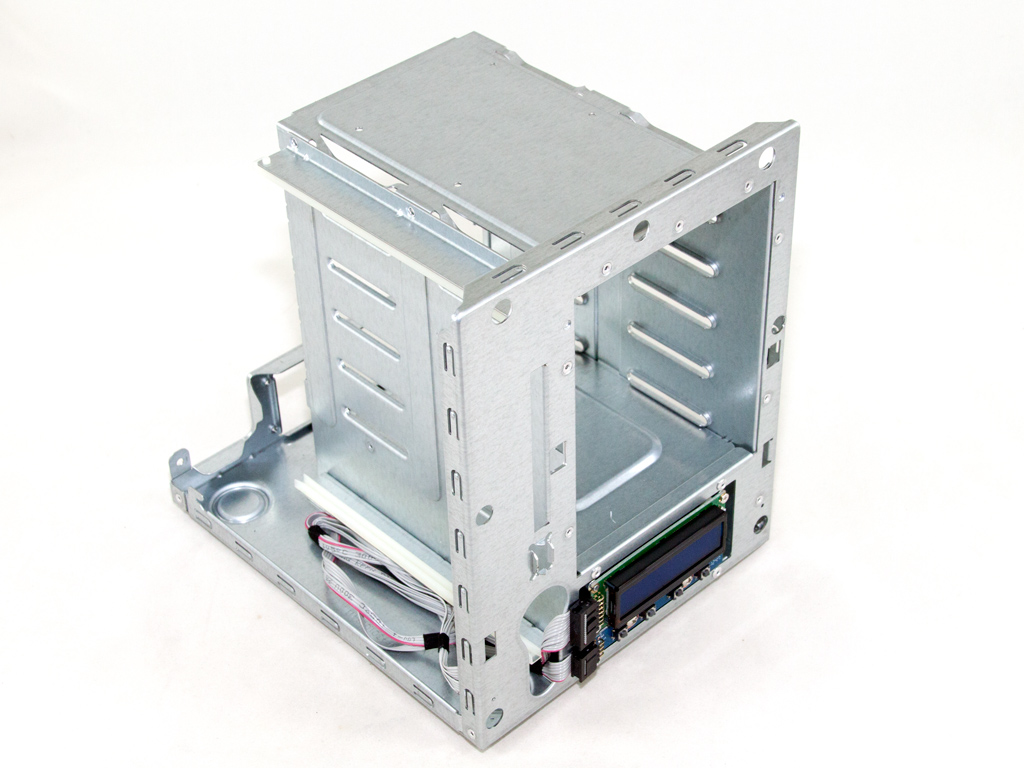
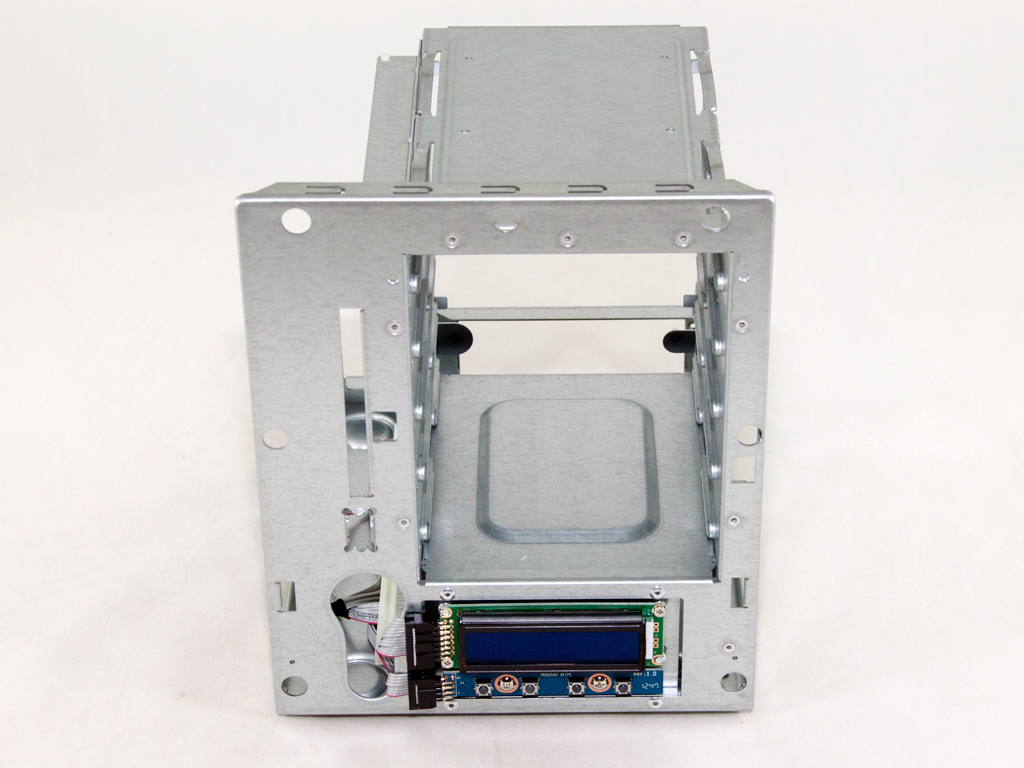

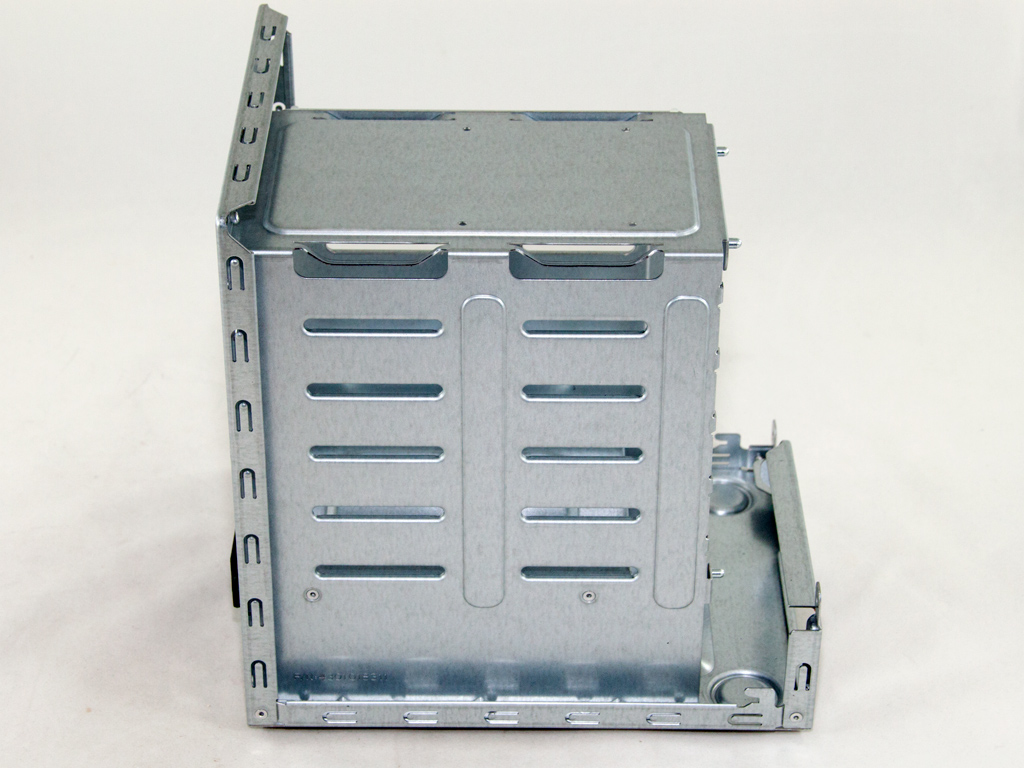
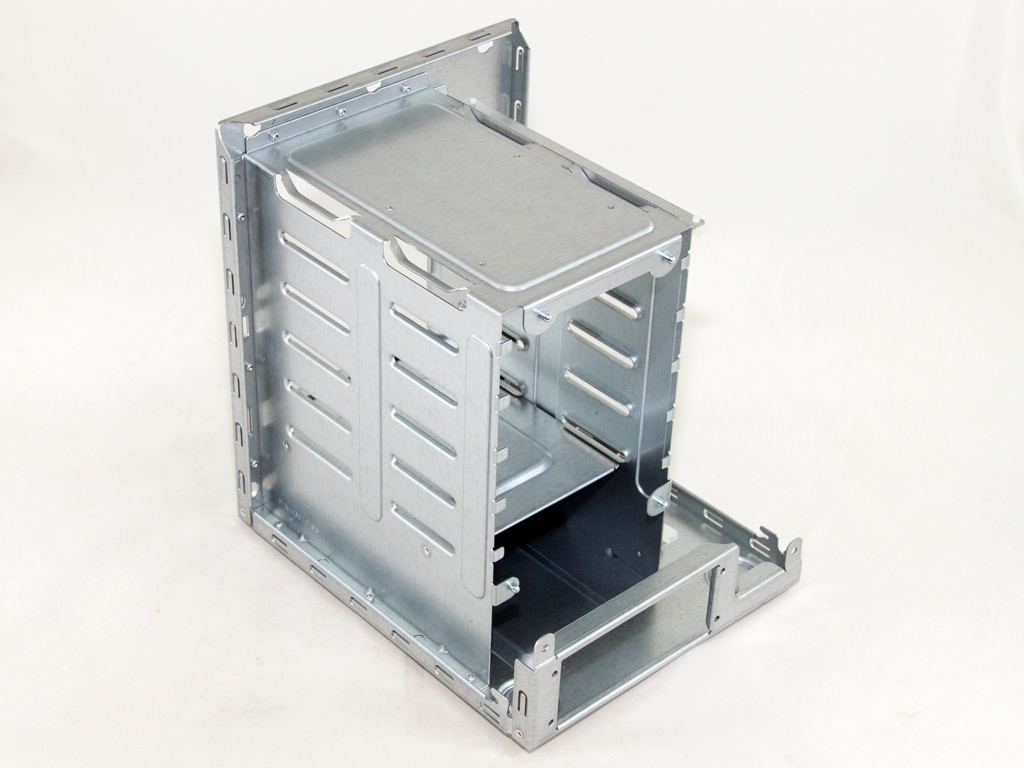
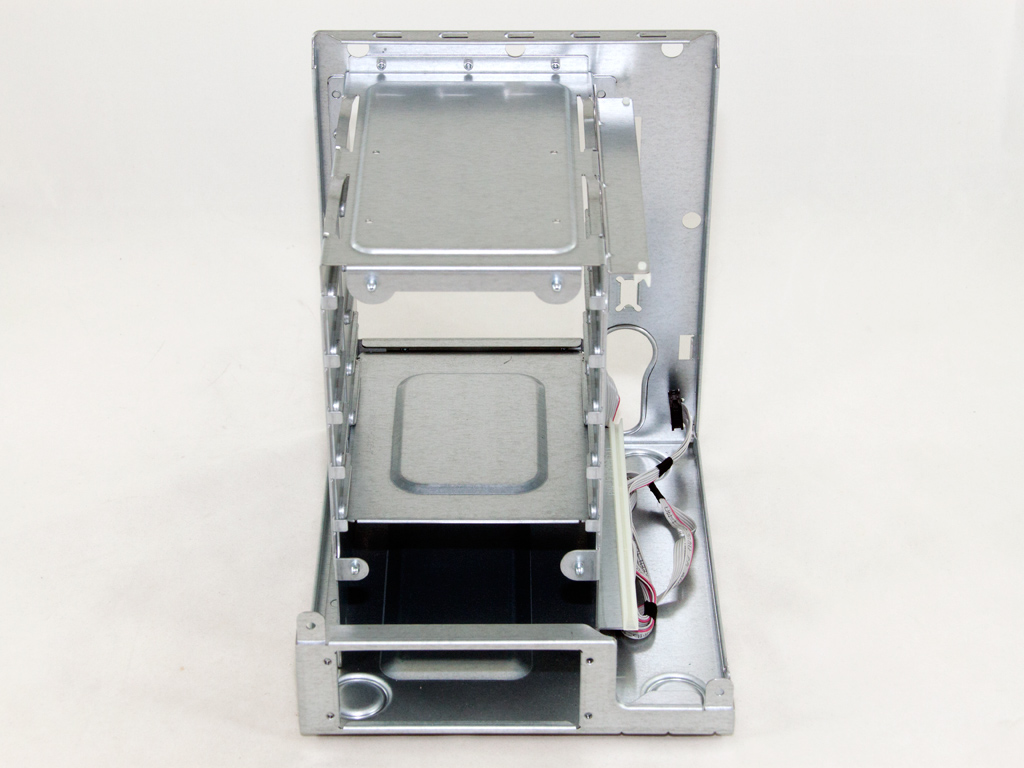

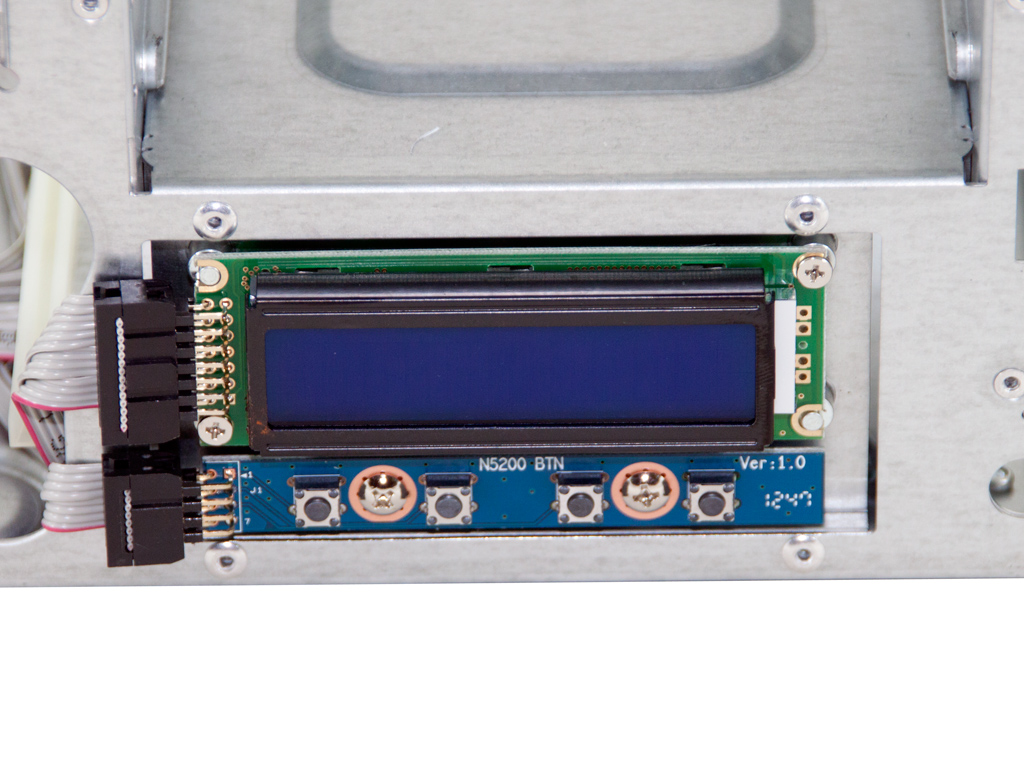
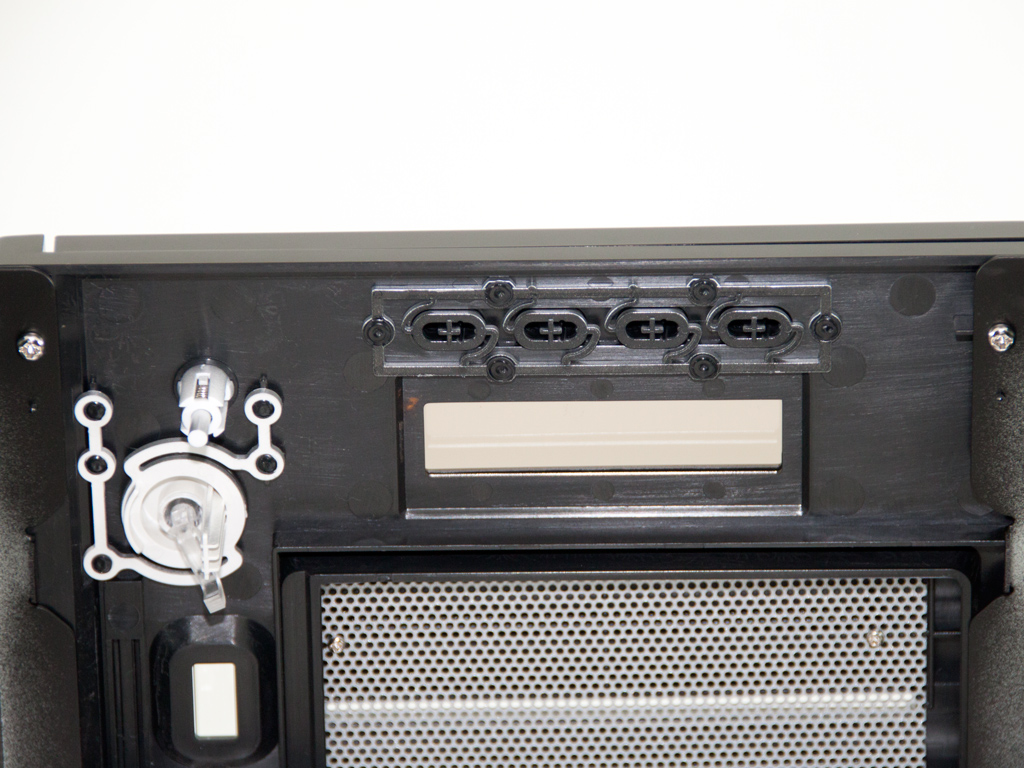
Contrary to the top and side cover, the chassis is very light. The way in which the mainboard is secured made quite an impression. It isn't secured with screws but slides on two rails and stays put because of the rear cover to which it is attached via the two jack screws of the VGA connector. This may look odd, but it does ensure that the mainboard is secured firmly while also making its removal a breeze. The LCD screen is installed on a compartment with three sealed sides, so it is pretty secure there, and rather difficult to remove.
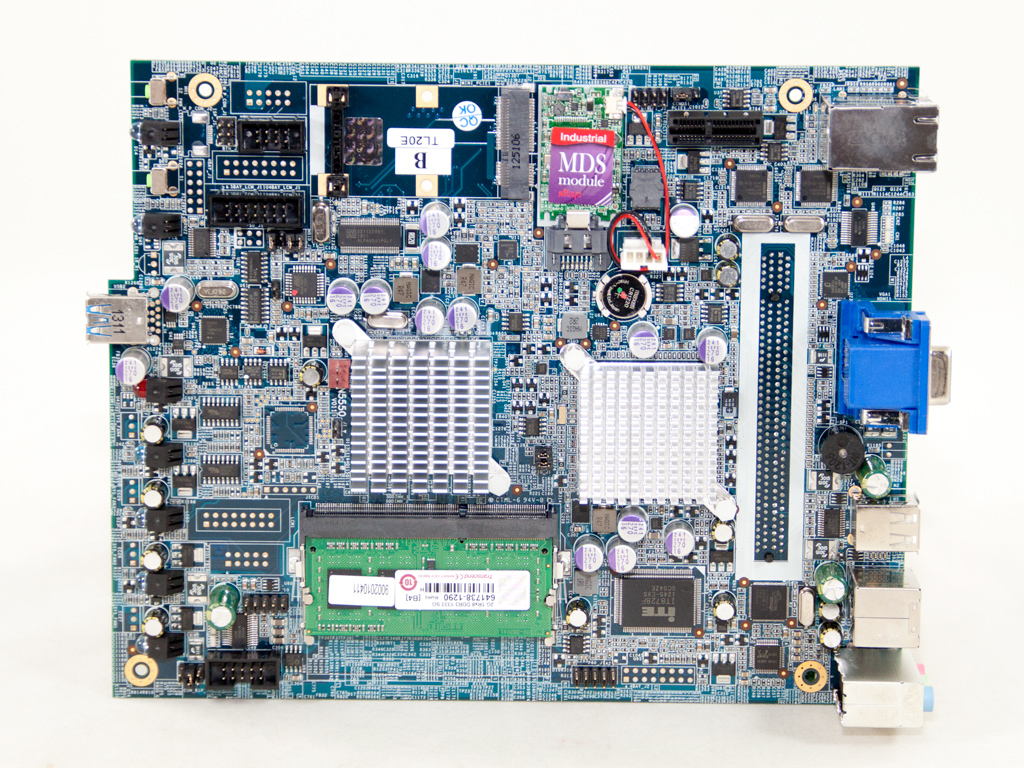
The mainboard is small but has all the necessary components to provide the N5550 with a bunch of features that will let it face off against the tough competition.
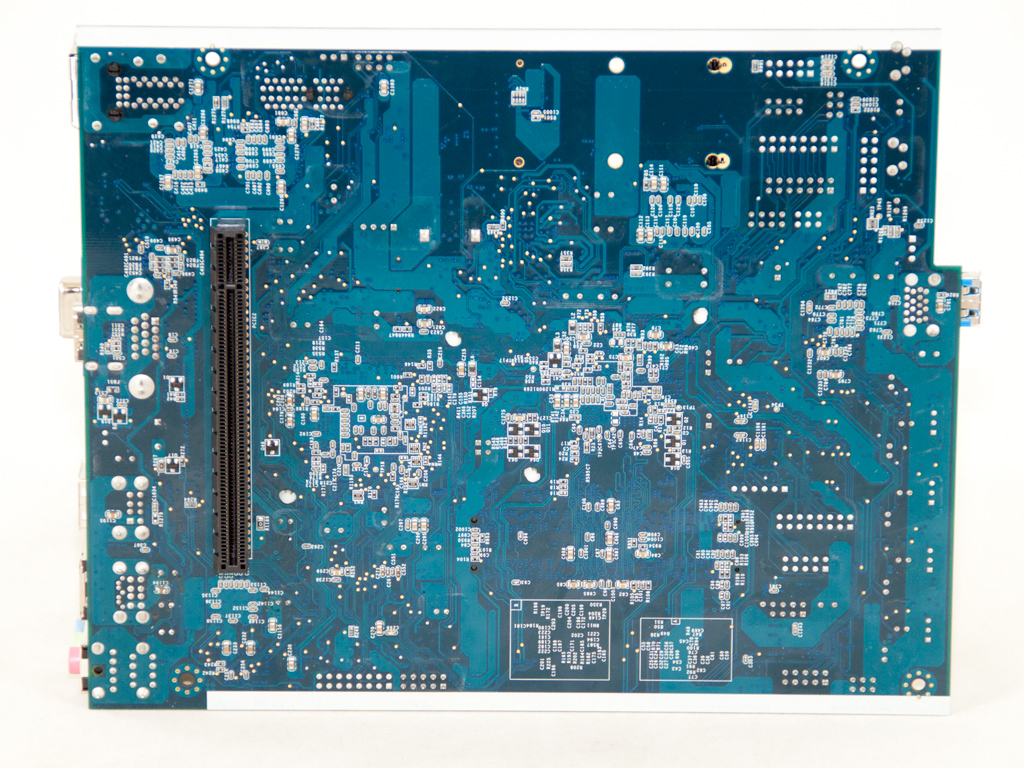
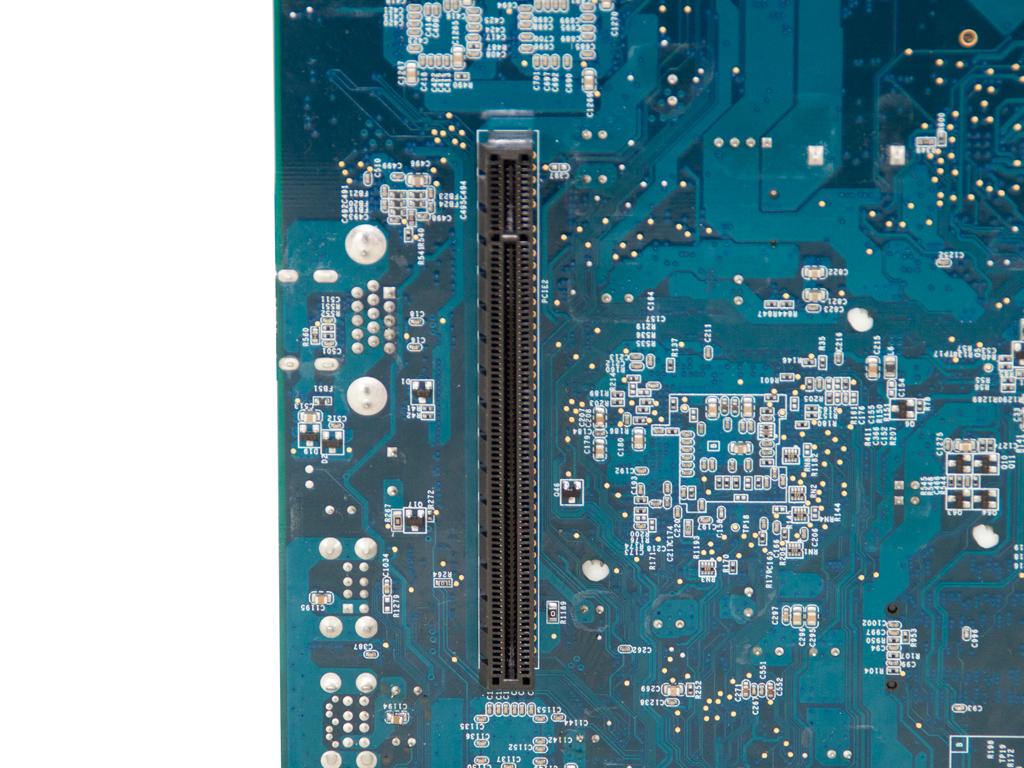
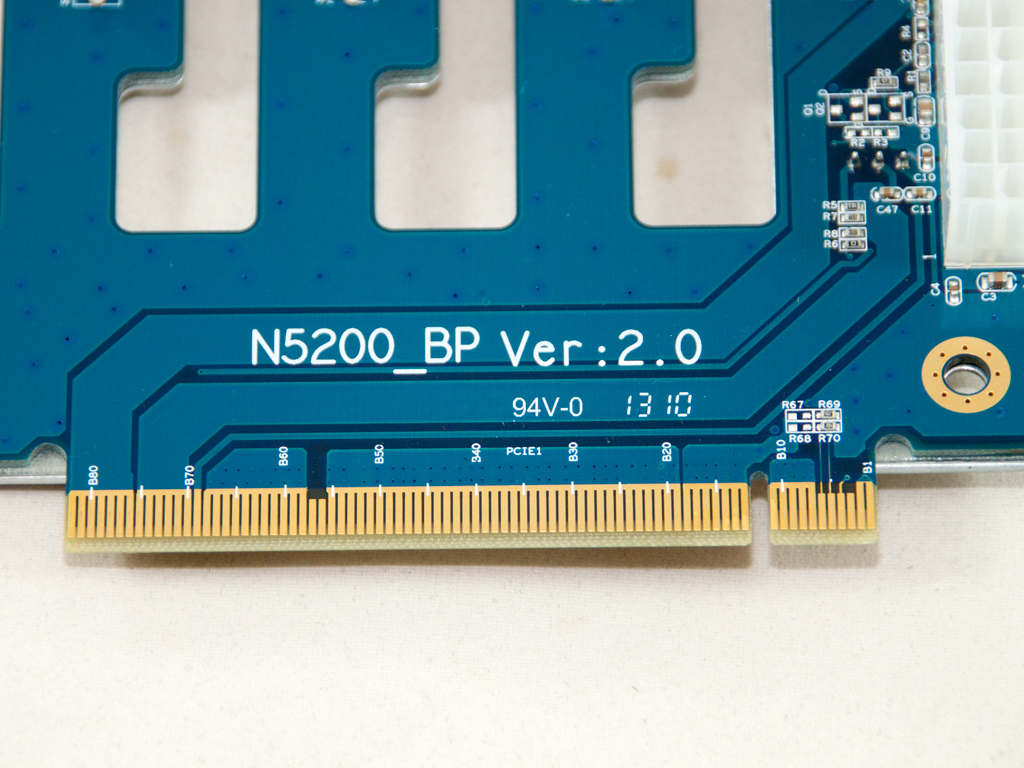
The x16 PCI Express expansion slot that holds the SATA HDD backplane is located on the solder side of the mainboard.
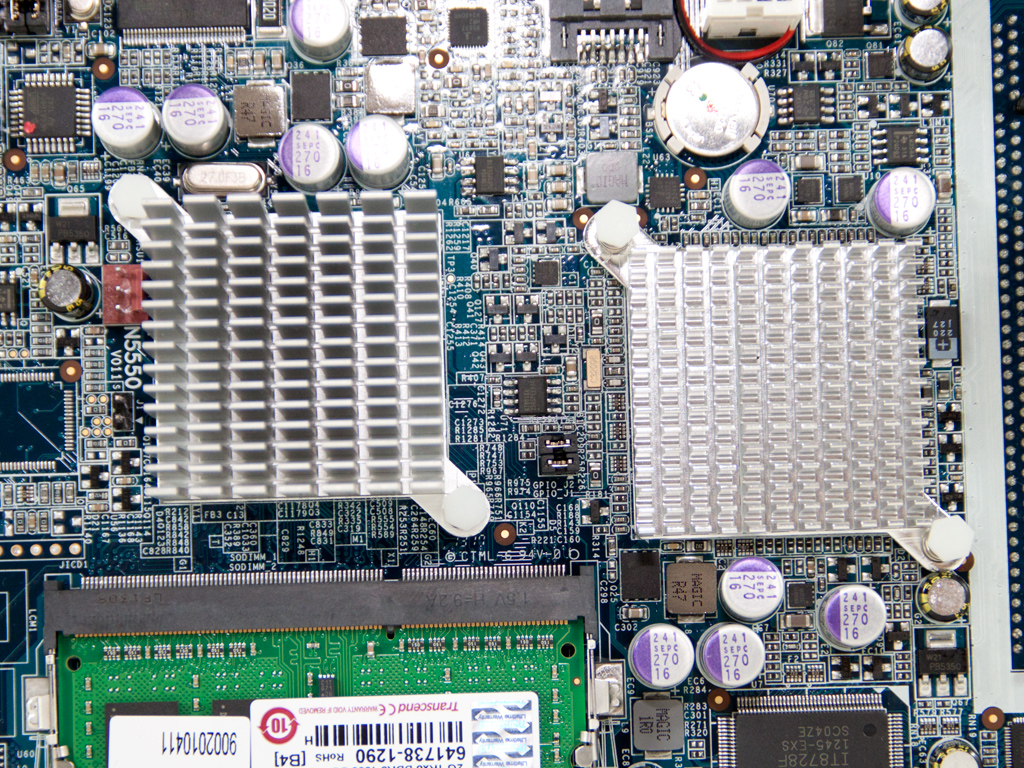
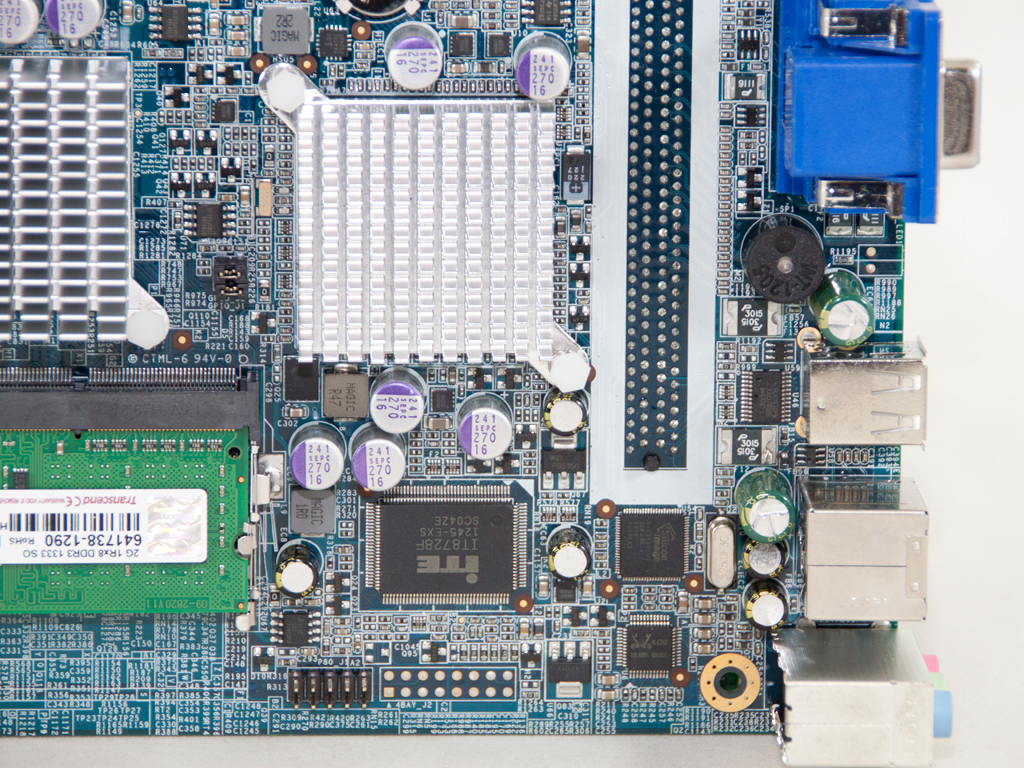
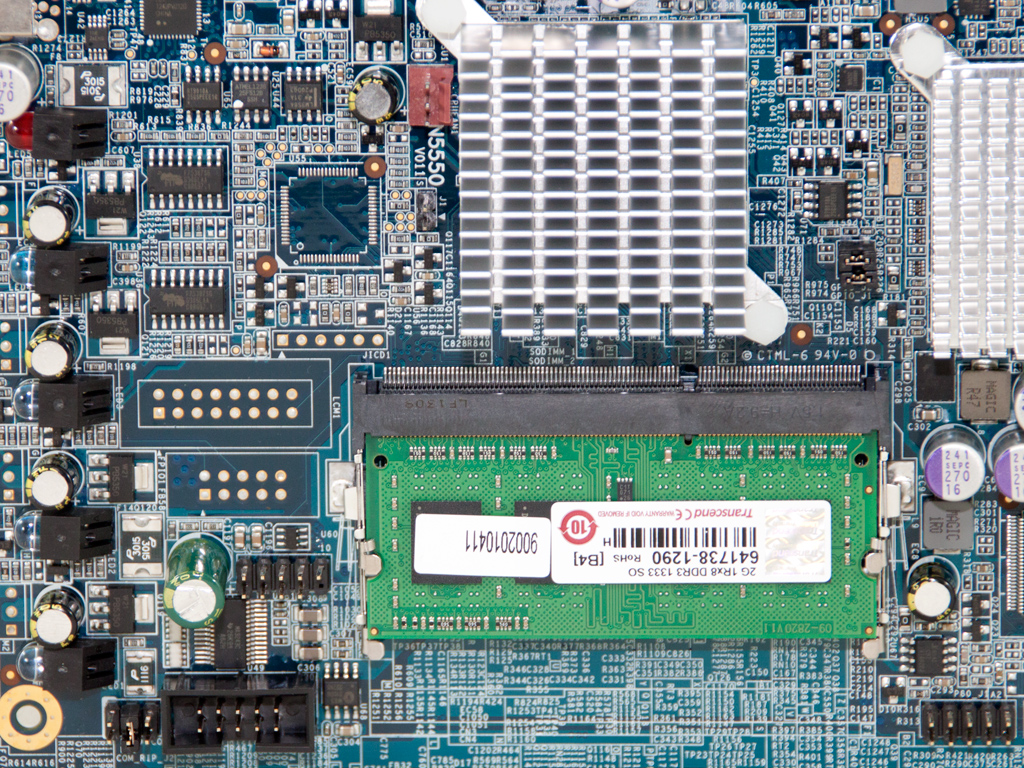
These two passive heatsinks cool down the Intel Chipset. The chipset is most likely a member of the ICH10 family and the Atom processor whose model number is D2550 (1M Cache, 1.86 GHz).
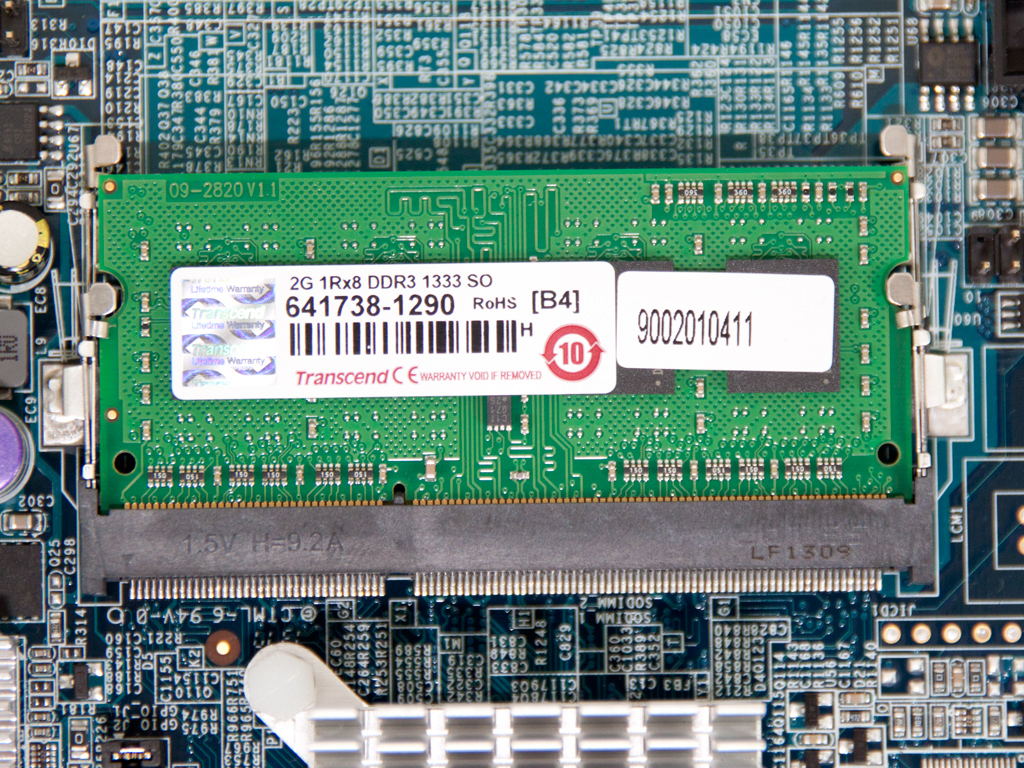
There are two RAM slots, but only one of them is occupied by a 2 GB DDR3 Transcend module with 1333 MHz speed, which will easily allow you to upgrade the memory.
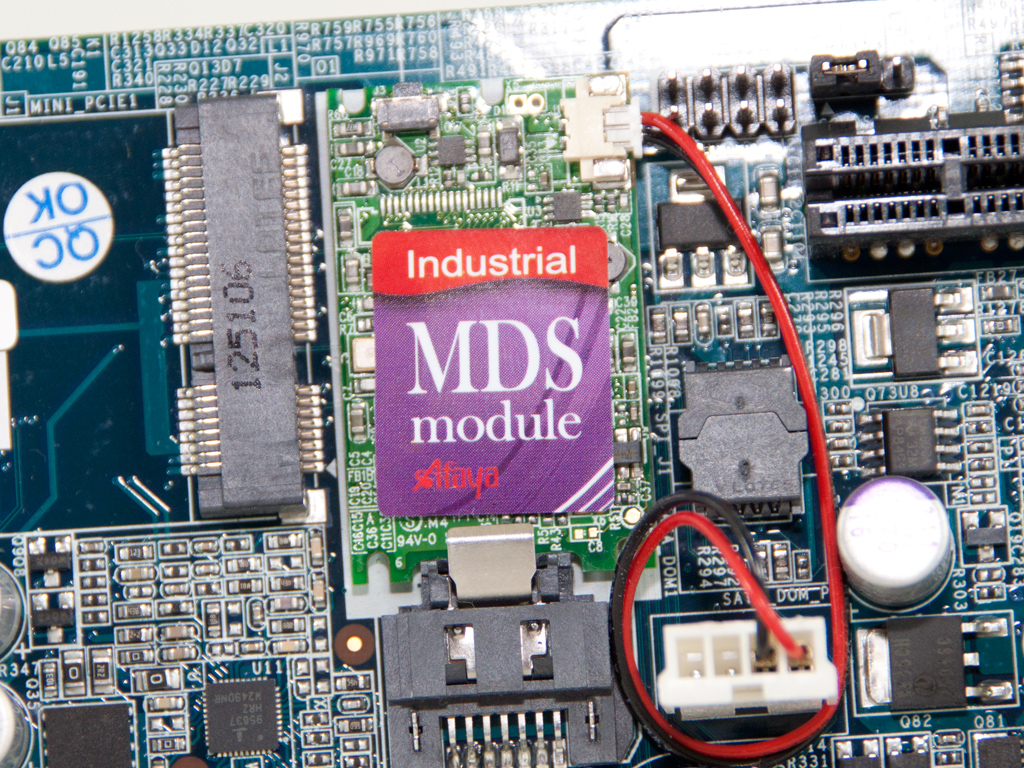
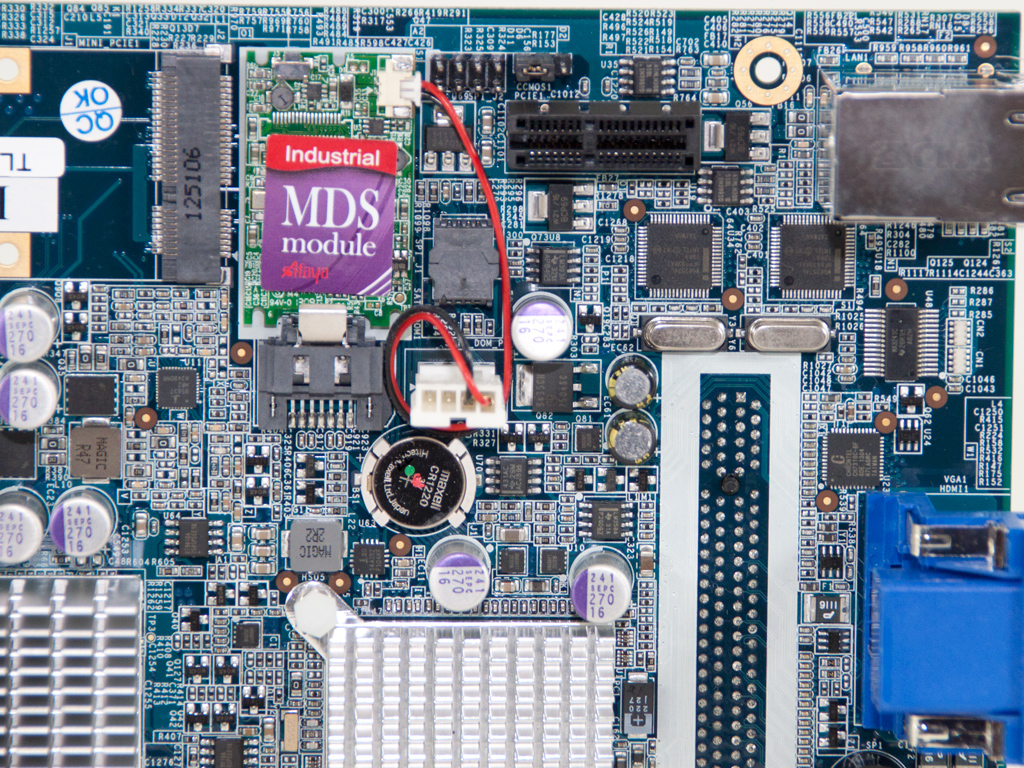
The 1 GB Disk On Module (DOM) that contains the ROM of the NAS.
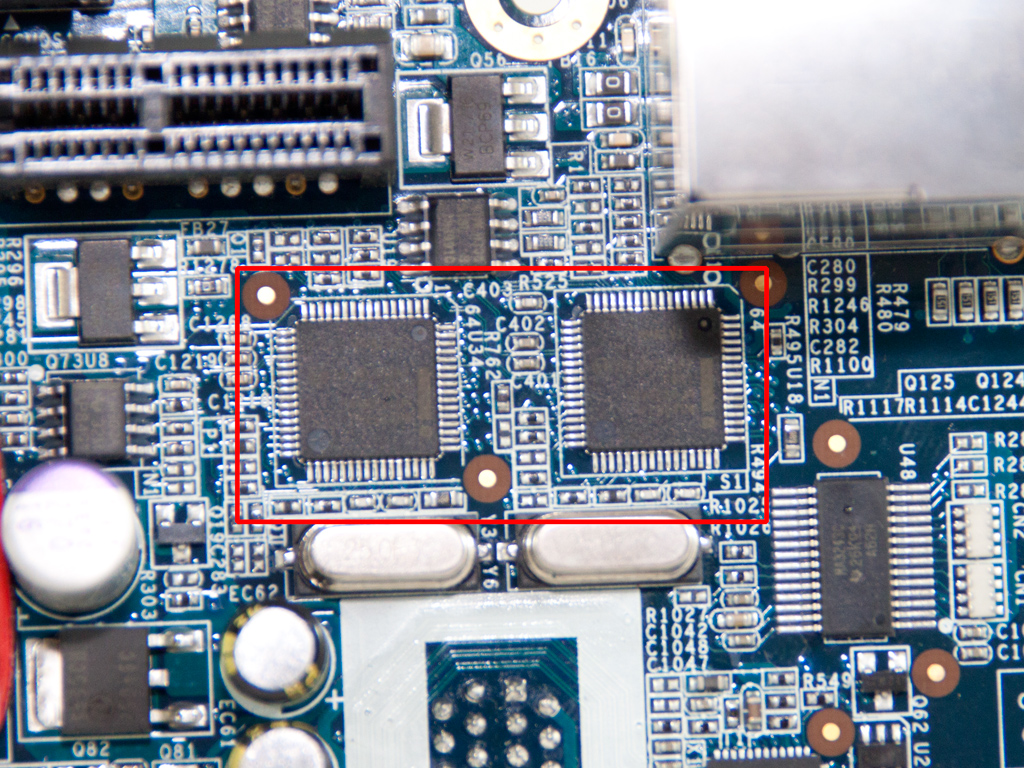
Two Intel WG82574L controllers provide network connectivity and handle both Gigabit Ethernet ports.
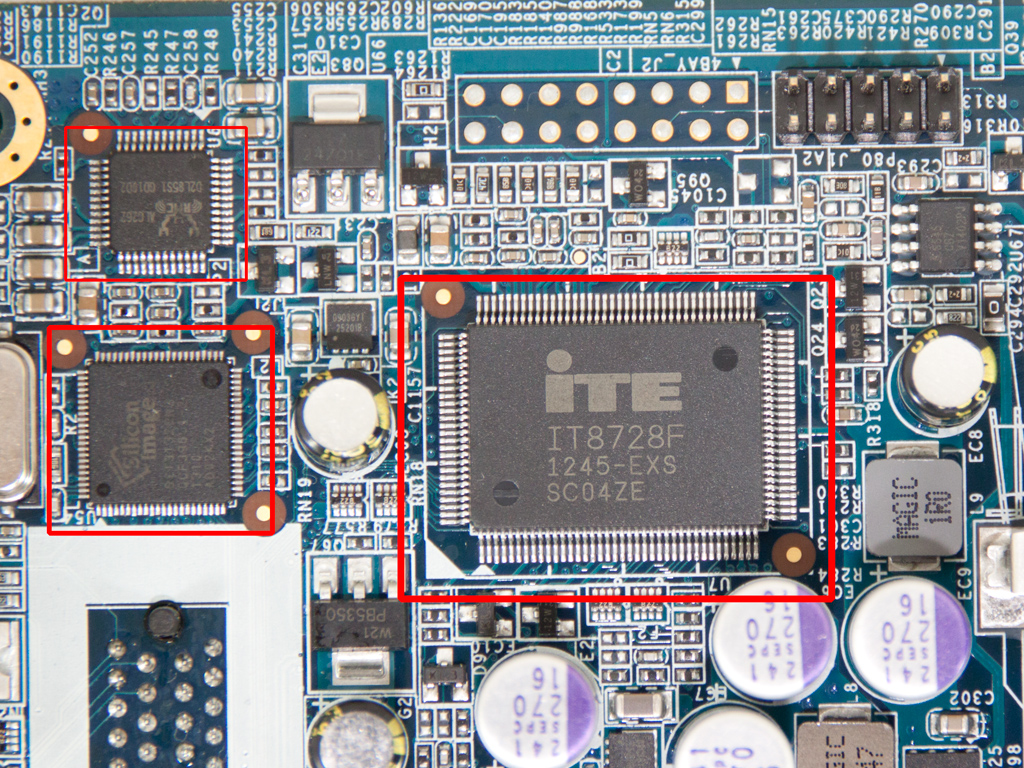
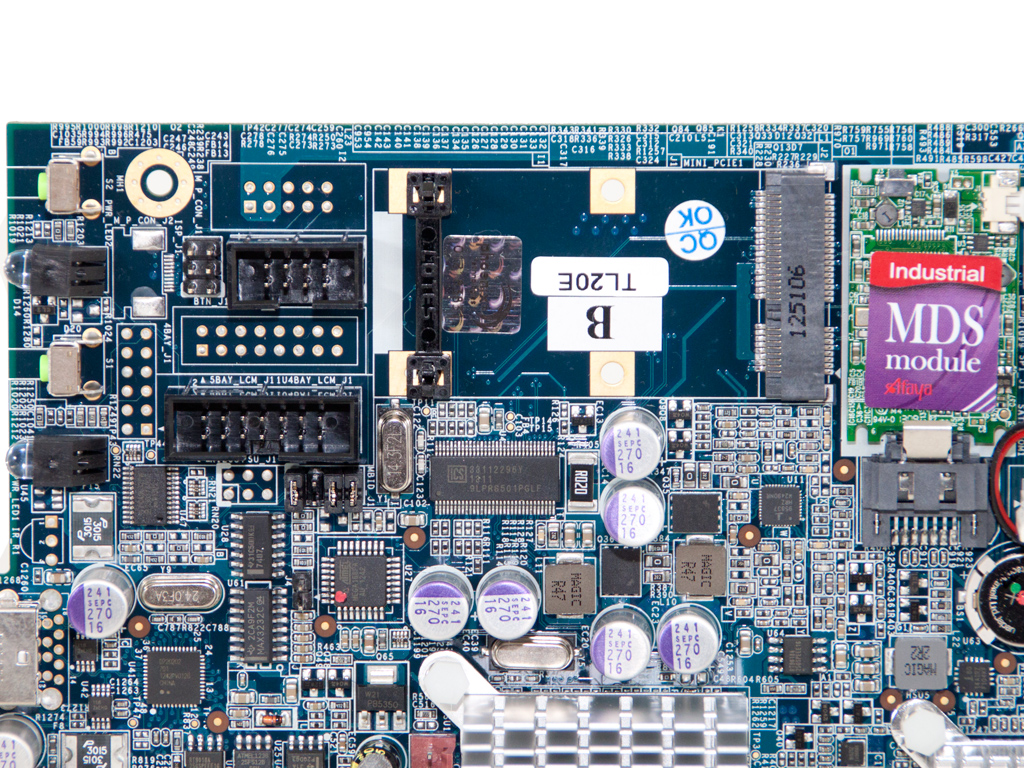
This is an ITE IT8728F I/O controller chip. It monitors the fan speed and temperature of both fans. Next to it are an SiI3132 SATA controller and an ALC262 HD Audio Codec.
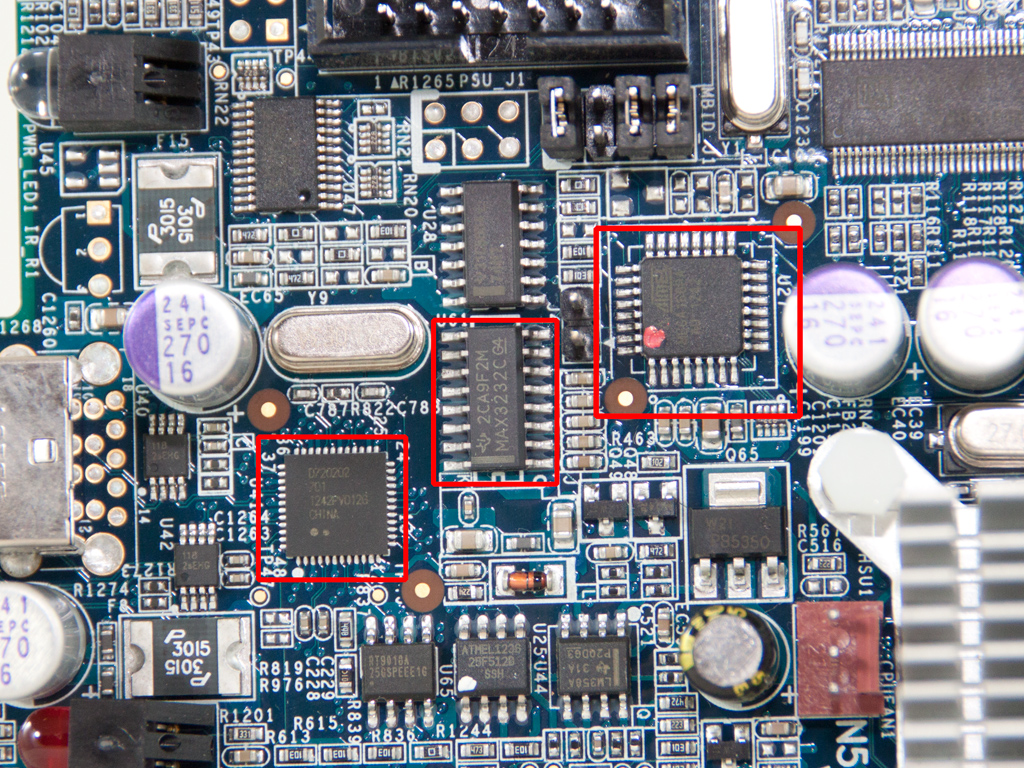
The photo above shows a MAX3232C RS232 Line Driver, an ATmega168PA 8-Bit microcontroller, and a NEC D720200AF that is the USB 3.0 controller.
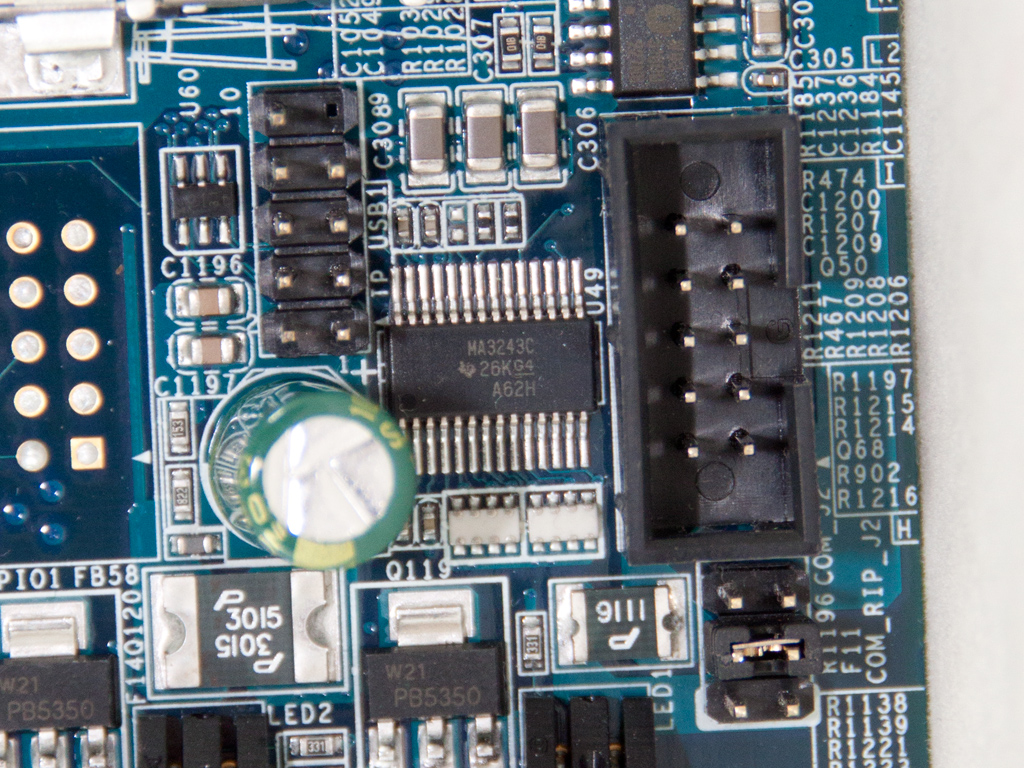
We found another RS232 IC on the board, a MAX3243C IC.
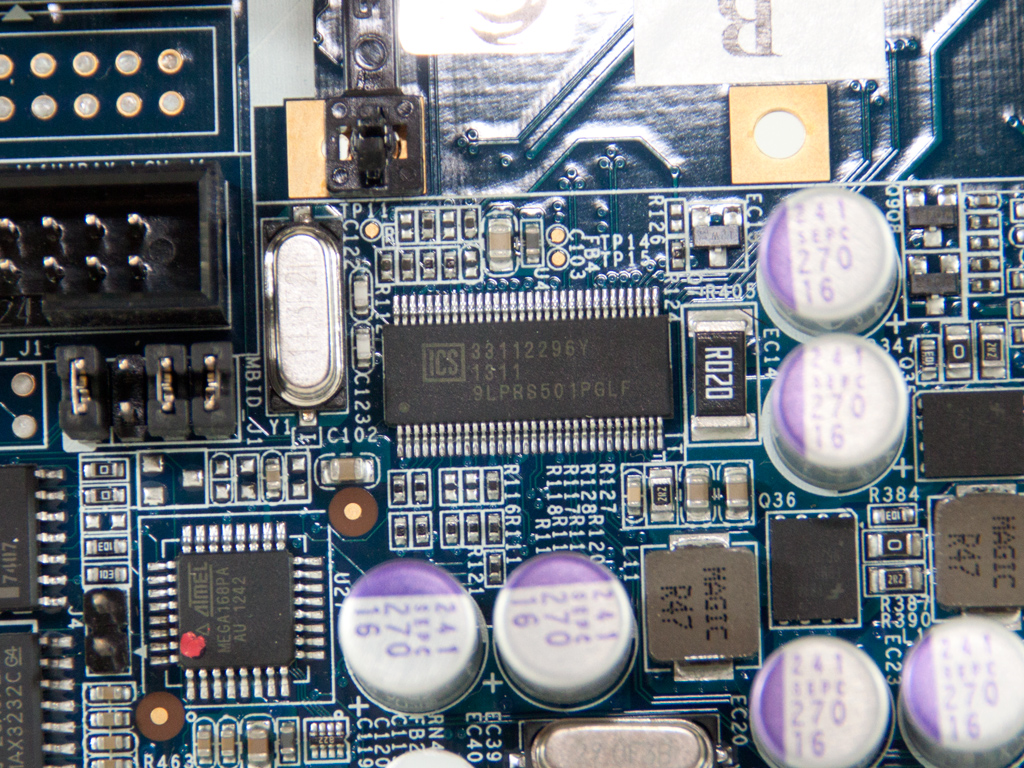
We also noticed a CS-9LPRS50 PLL IC.
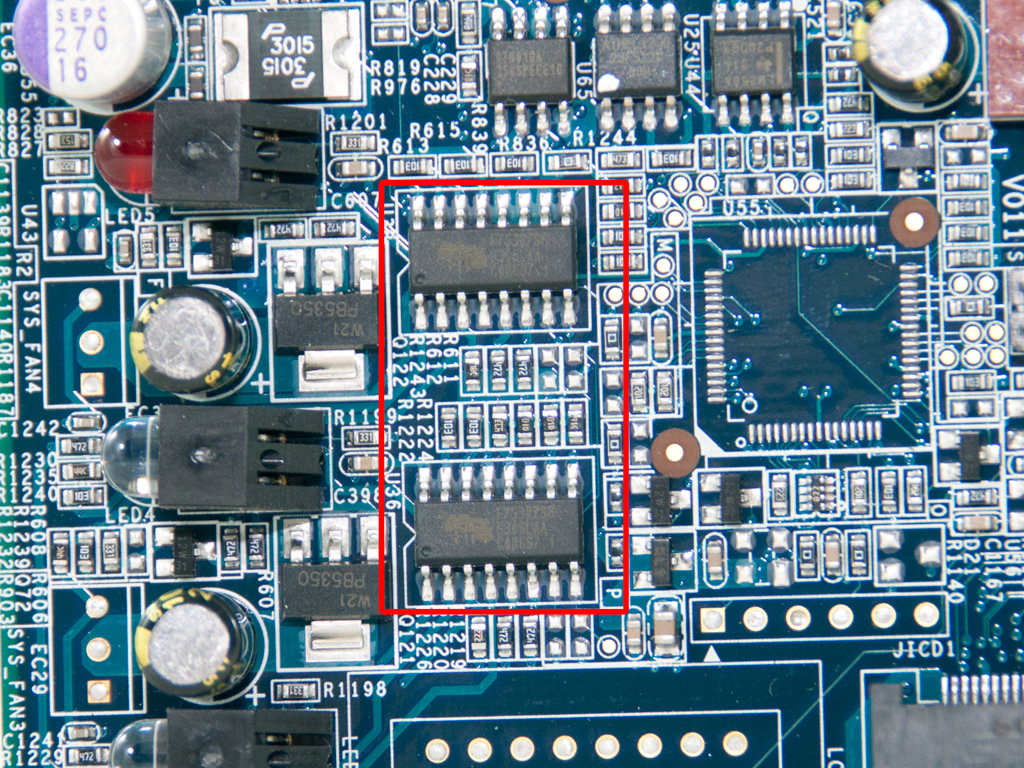
Two Fintek F75387SG ICs provide hardware monitoring and automatic fan-speed control. They apparently assist the ITE IT8728F we mentioned earlier.
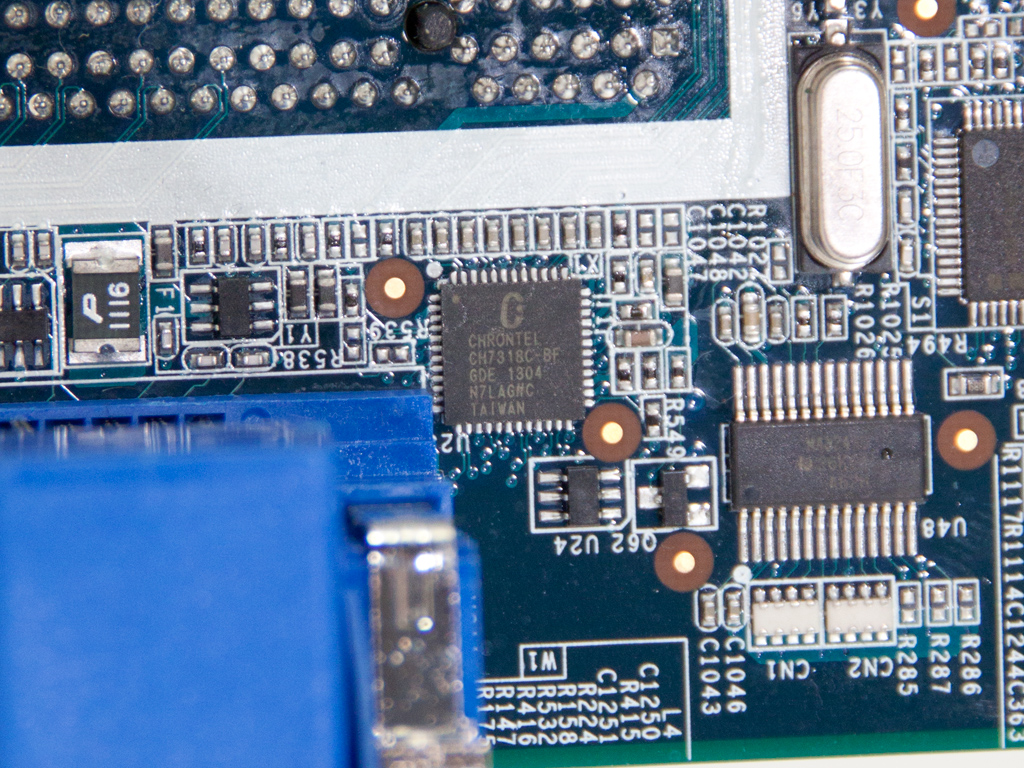
A Chrontel CH7318C is used as an HDMI level shifter.
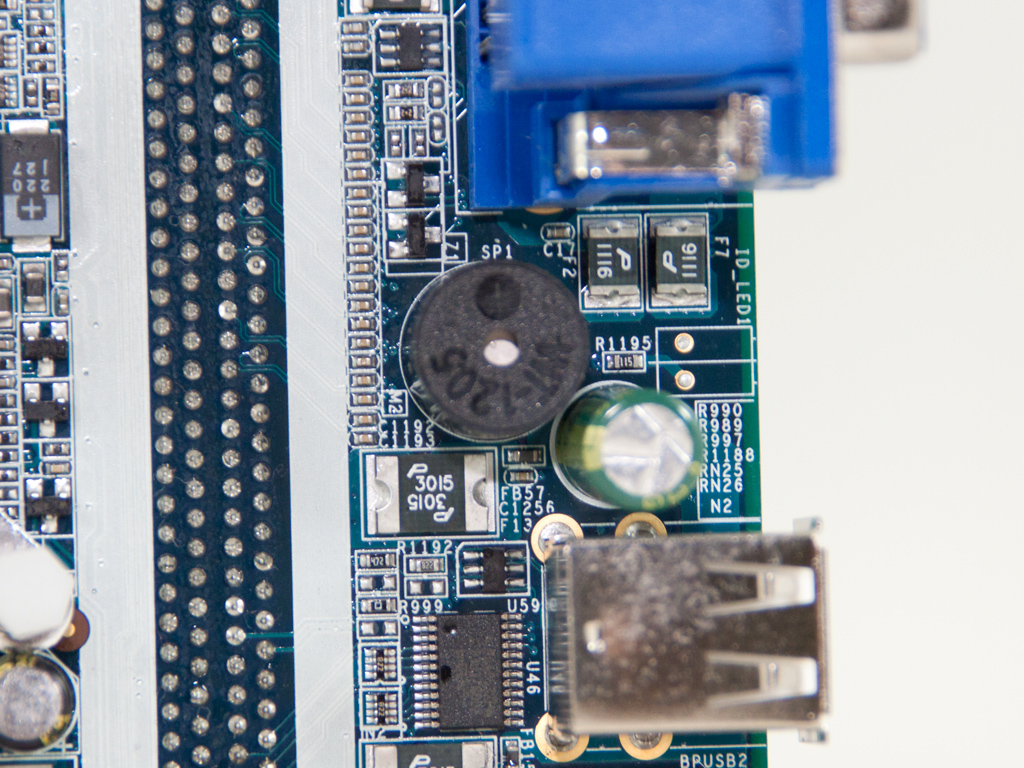
The buzzer of the board. It is quite audible when it buzzes.
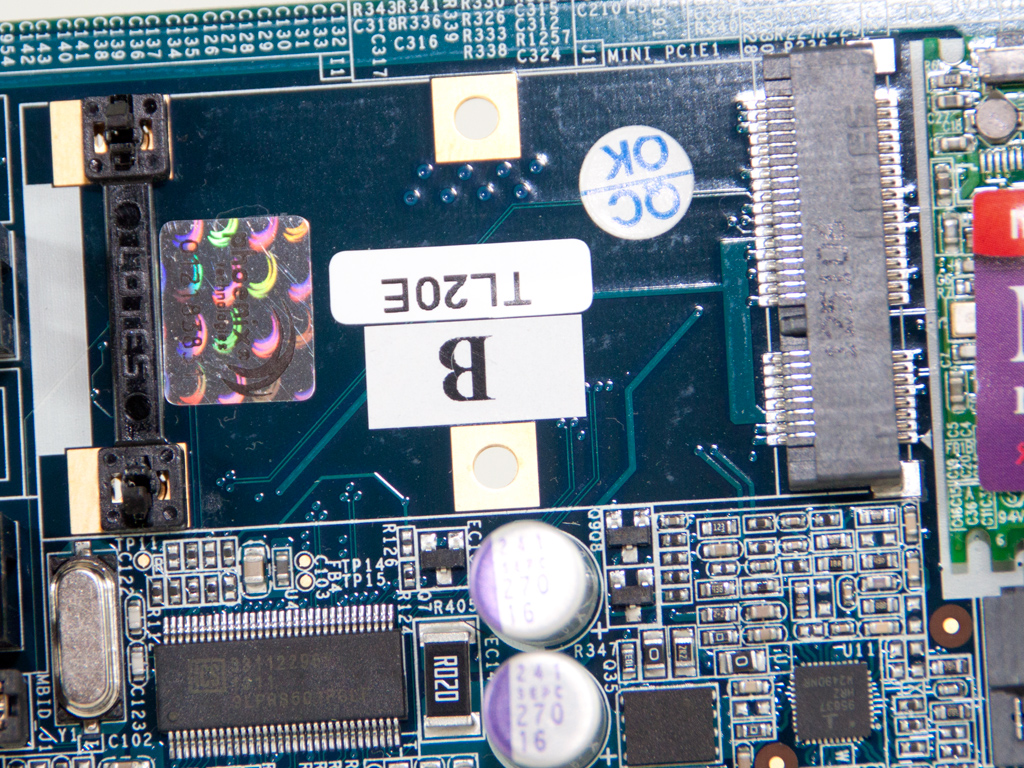
We also found a mSATA port on the board. A highly interesting feature, which, however, is left unexploited and isn't mentioned as a hardware characteristic.
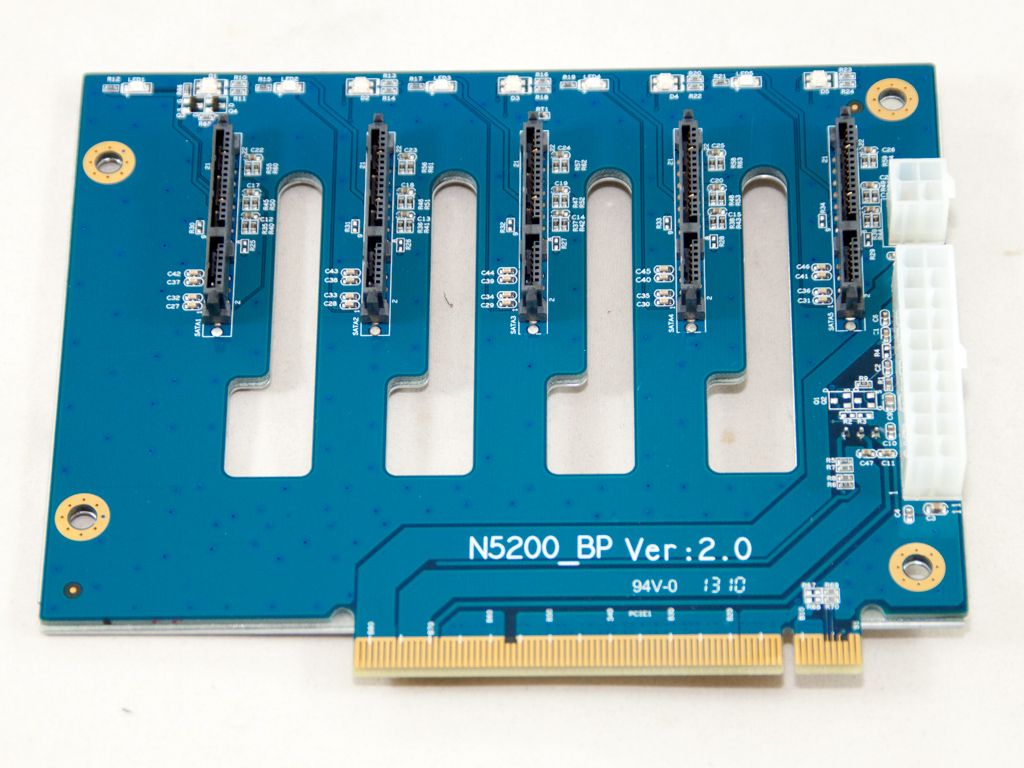
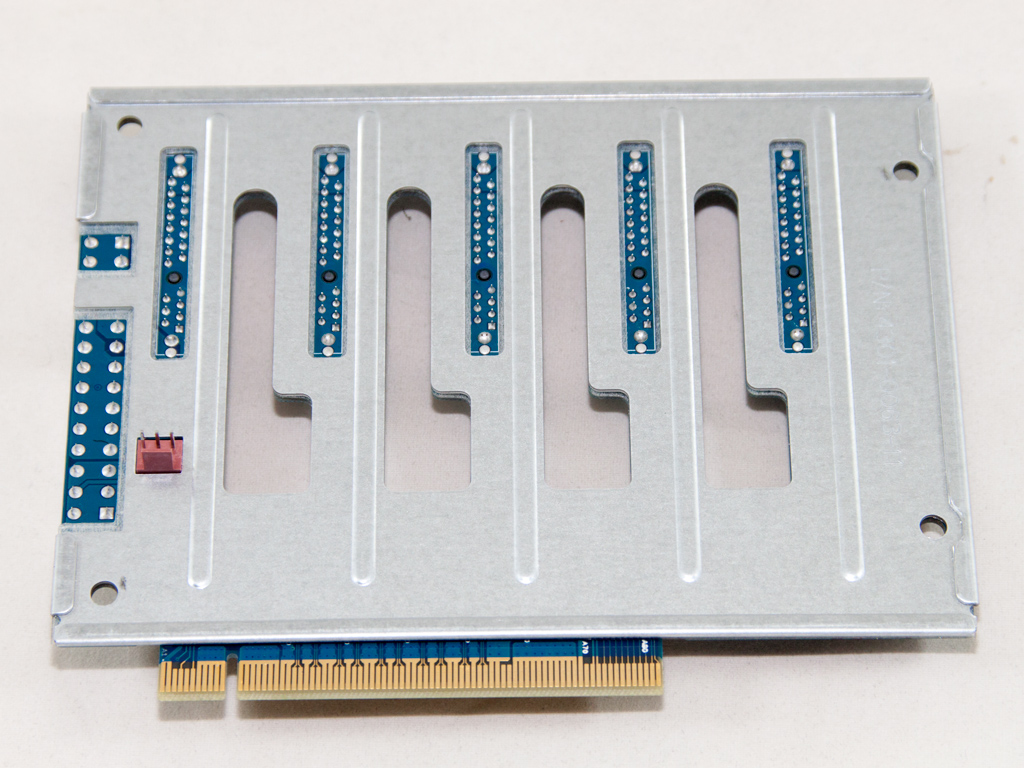
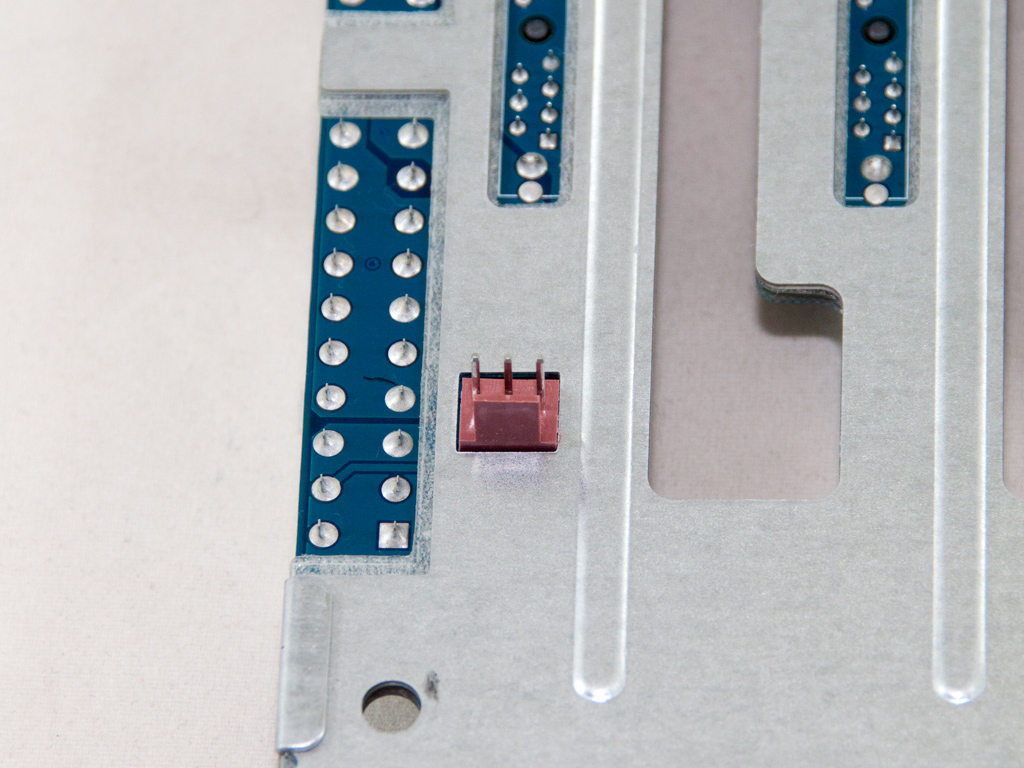
Both power connectors of the PSU are connected to the PCIe card that holds the HDDs. The fan connector is attached to this card as well. The photos above nicely show that the HDD backplane is reinforced with a metal plate on its solder side, which easily allows it to cope with the weight of five mechanical disks.
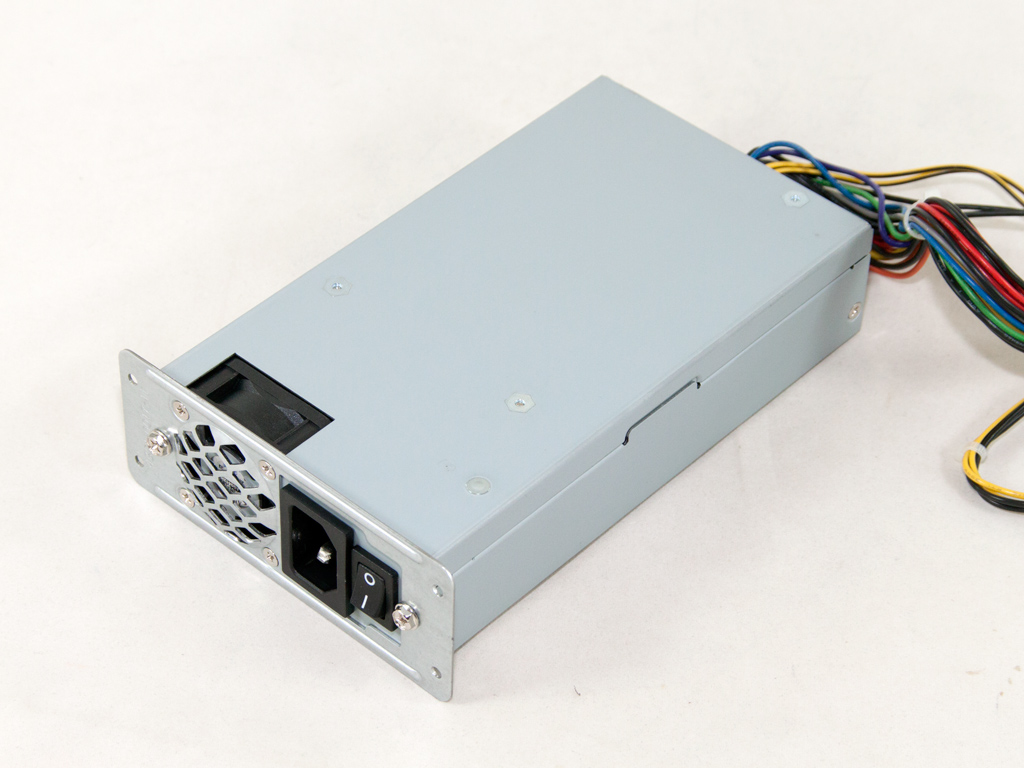
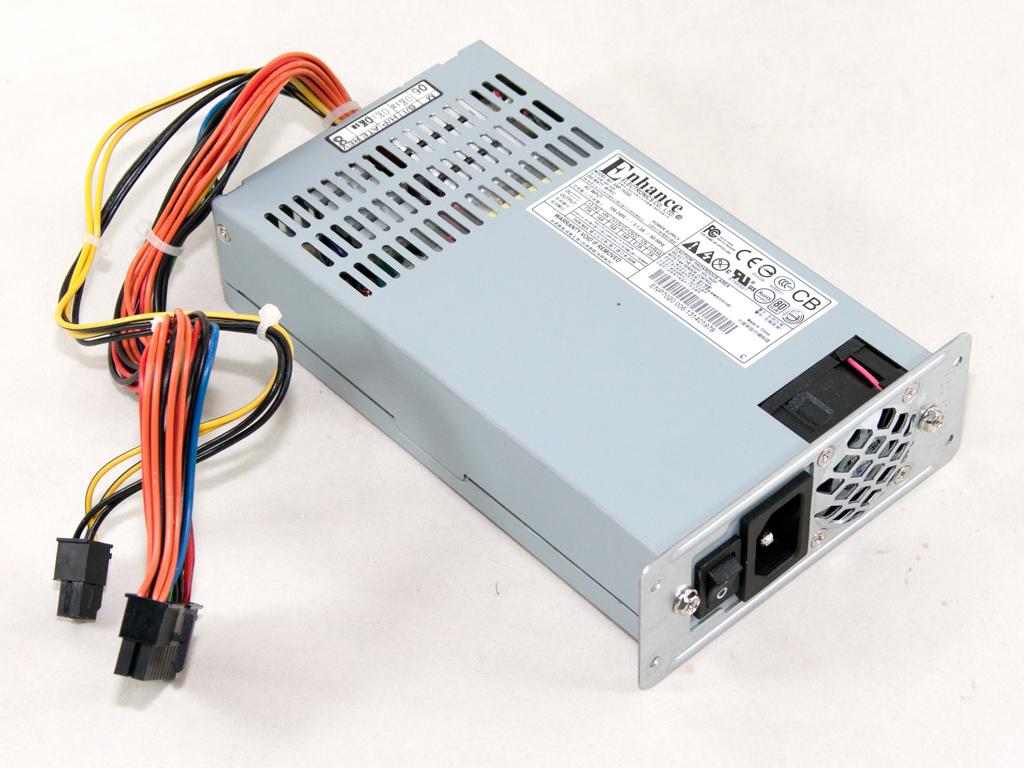

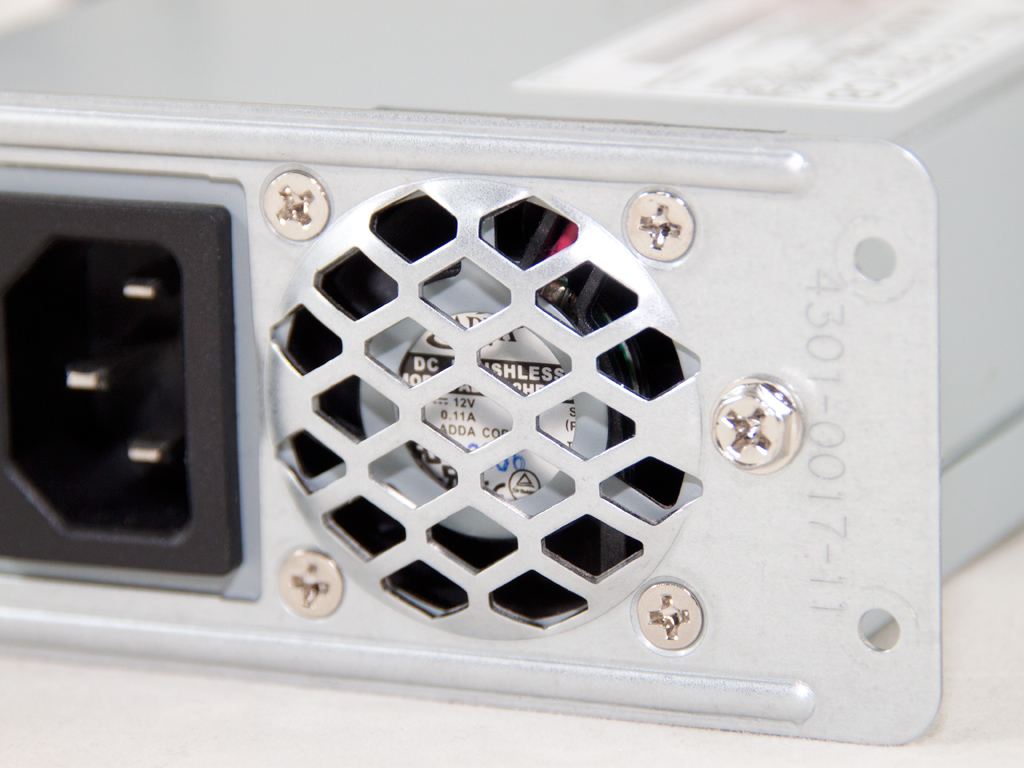

The PSU powering the NAS is built by Enhance, a large OEM with good products. Its model number is ENP-7020D, it is 80 Plus certified, and can deliver up to 200 W, so it is very strong for the needs of this NAS. The ENP-7020D has two +12V rails with 14 A maximum current output, each, and is cooled by a small 40 mm fan whose output noise is completely absorbed by the 92 mm fan cooling the system.
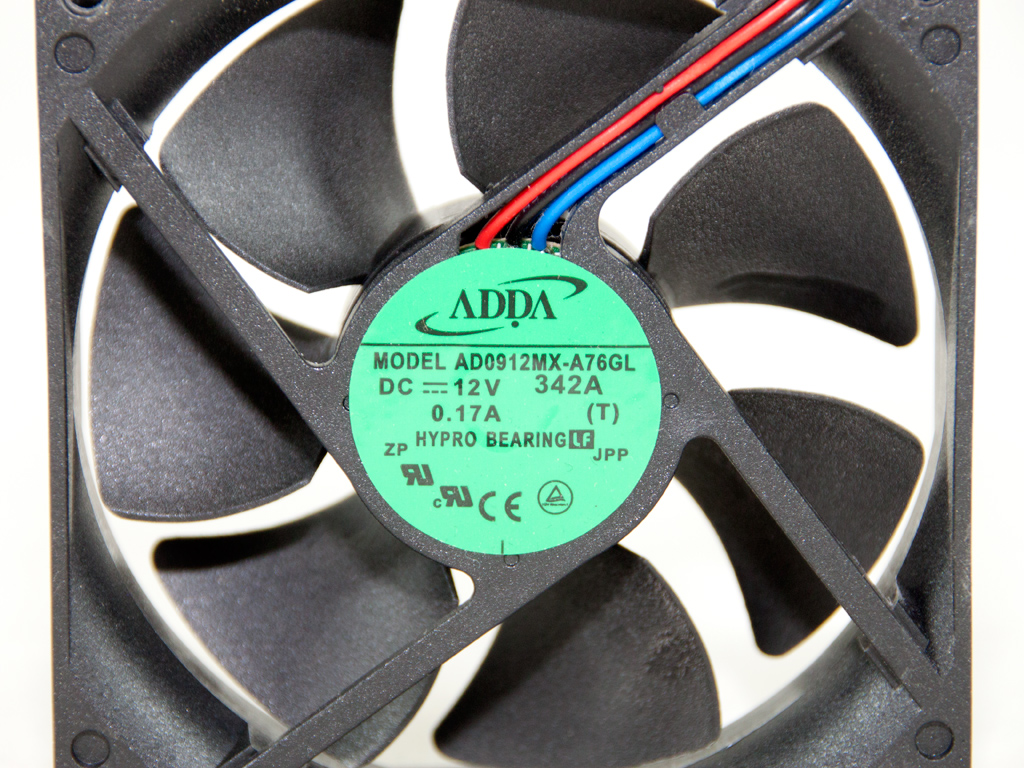
This fan is provided by ADDA, and its model number is AD0912MX-A76GL (12 V, 0.37 A, 2000 RPM, 54.0 m3/h, 23.5 dBA). Thecus likes to use this fan because it is very reliable, but it is unfortunately not very quiet despite its promising specifications.
Jun 30th, 2025 17:50 CDT
change timezone
Latest GPU Drivers
New Forum Posts
- Can you guess Which game it is? (194)
- Help me choose the right PSU , Cooler Master vs Seasonic (53)
- HOW TO ADD NVMe M.2 SSD SUPPORT TO OLD MOTHERBOARDS WITH AWARD-Phoenix LEGACY SUPPORT? (2)
- Whats a fair asking price - MSI 4070 Super (4)
- HTPC Power Consumption Discussion, Upgrade vs Migration (18)
- RX 9000 series GPU Owners Club (1103)
- Will you buy a RTX 5090? (579)
- Rare GPUs / Unreleased GPUs (2111)
- Steam Deck Owners Clubhouse (530)
- Good time in the year to buy a new PC (4)
Popular Reviews
- Sapphire Radeon RX 9070 XT Nitro+ Review - Beating NVIDIA
- ASUS ROG Crosshair X870E Extreme Review
- Sapphire Radeon RX 9060 XT Pulse OC 16 GB Review - Samsung Memory Tested
- Lexar NQ780 4 TB Review
- AVerMedia CamStream 4K Review
- ASRock Phantom Gaming Z890 Riptide Wi-Fi Review
- AMD Ryzen 7 9800X3D Review - The Best Gaming Processor
- Upcoming Hardware Launches 2025 (Updated May 2025)
- Intel Core Ultra 7 265K Review
- NVIDIA GeForce RTX 5060 8 GB Review
TPU on YouTube
Controversial News Posts
- Intel's Core Ultra 7 265K and 265KF CPUs Dip Below $250 (288)
- NVIDIA Grabs Market Share, AMD Loses Ground, and Intel Disappears in Latest dGPU Update (204)
- Some Intel Nova Lake CPUs Rumored to Challenge AMD's 3D V-Cache in Desktop Gaming (140)
- Microsoft Partners with AMD for Next-gen Xbox Hardware (105)
- NVIDIA Launches GeForce RTX 5050 for Desktops and Laptops, Starts at $249 (104)
- Intel "Nova Lake‑S" Series: Seven SKUs, Up to 52 Cores and 150 W TDP (100)
- NVIDIA GeForce RTX 5080 SUPER Could Feature 24 GB Memory, Increased Power Limits (89)
- Reviewers Bemused by Restrictive Sampling of RX 9060 XT 8 GB Cards (88)