 14
14
Thermaltake Core P5 TG V2 Black Edition Review
Value & Conclusion »Test System
| System Parts for Case Reviews | |
|---|---|
| Processor: | Intel Core i7-8600K |
| Motherboards: | ATX: MSI Z370 GAMING PRO CARBON AC MATX: Z370M GAMING PRO CARBON Mini-ITX: MSI Z370i GAMING PRO CARBON Provided by: MSI |
| Graphics Card: | Long: ASUS Radeon RX580 Short: HIS Radeon 5350 HD |
| Memory: | 16 GB XPG Dazzle DDR4 2800 MHz CL17-17-17 1.25 V 32 GB GB XPG SPECTRIX D40 3000 MHz. CL16-18-18 1.35 V 16 GB XPG GAMMIX D10 DDR4 2400 MHz CL16-16-16 1.20 V Provided by: ADATA |
| HDD: | Western Digital 320 GB 7200 RPM |
| SSD: | ADATA XPG SX850 256 GB ADATA Ultimate SU800 3D 256 GB ADATA Ultimate SU700 240 GB Provided by: ADATA |
| Power Supply: | Antec HCG High Current Gamer 650 W 80Plus Gold Antec HCG High Current Gamer 850 W 80Plus Bronze Provided by: Antec |
| Cooling: | Thermaltake Floe 360 Flex Pro Provided by: Thermaltake |
Assembly

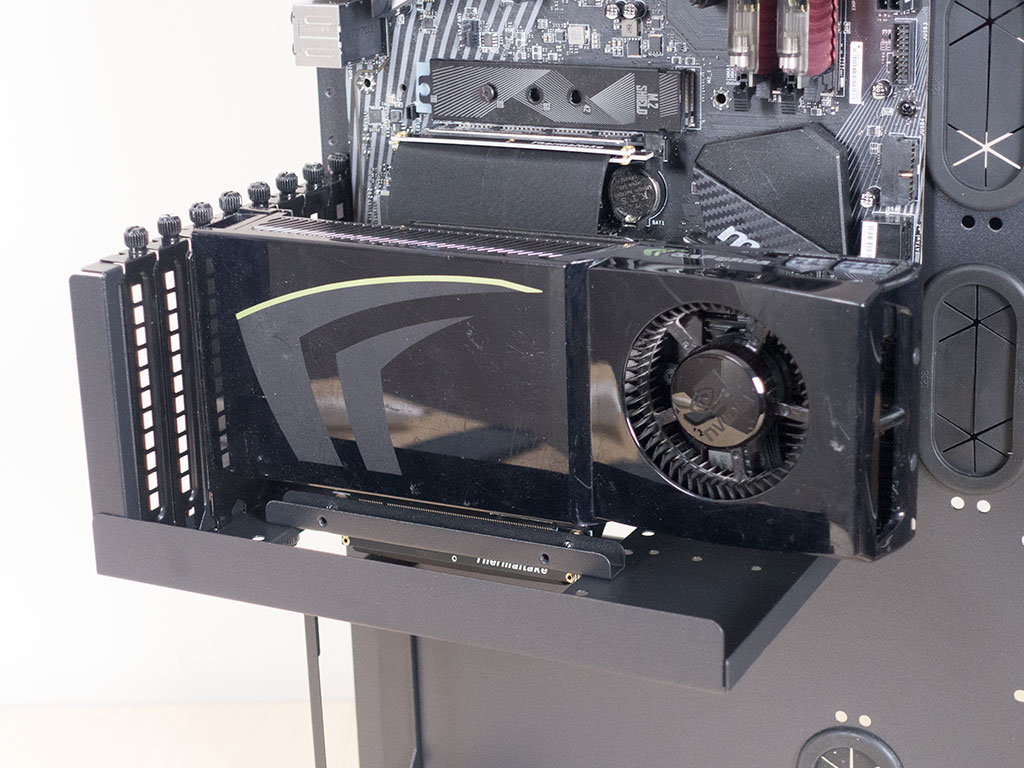
Installing the motherboard is done by traditional means, with the use of spacers and screws. As you can see, the ribbon cable is nicely sized to fit into the top PCIe slot without issue. You could in fact place two GPUs in such a way because of the special Thermaltake frame, but would need to source a second ribbon cable. Your GPU is screwed down with a thumb screw as well.
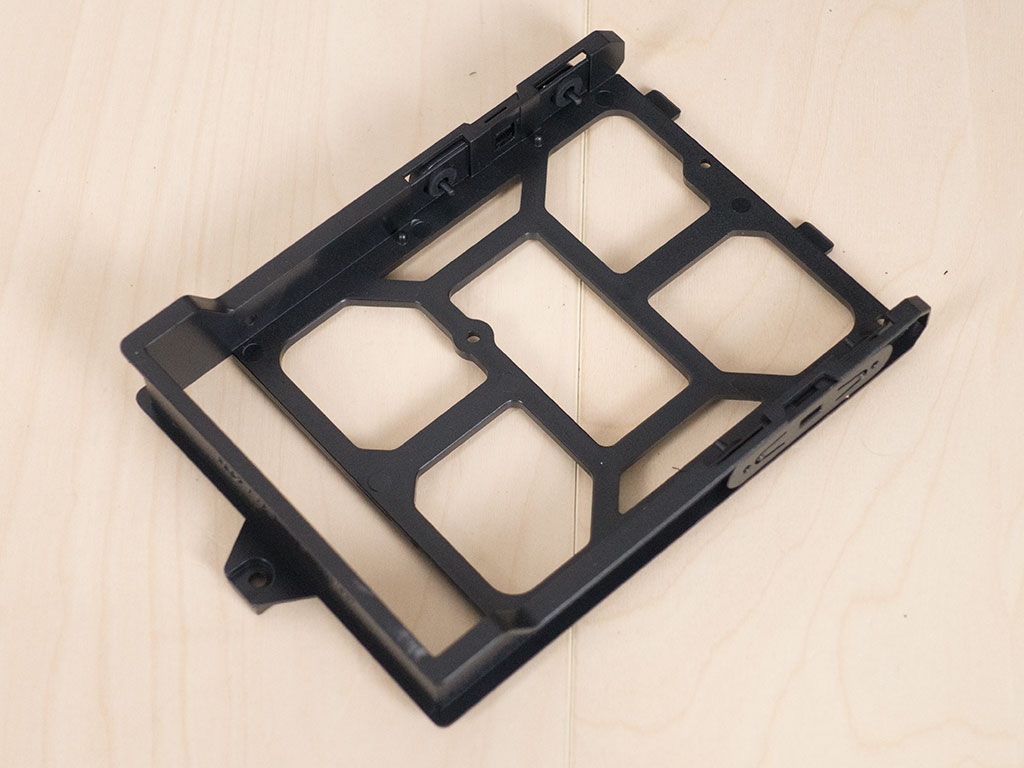


The plastic trays for the hard drive allow for tool-less assembly when it comes to 3.5" drives. Two sets of plastic clips hold the drive in place nicely. For 2.5" units, you have to remove one of the clips and screw the drive down using traditional screws. Once filled, simply pop them back into the Core P5 TG V2 and secure the whole tray with a thumb screw.
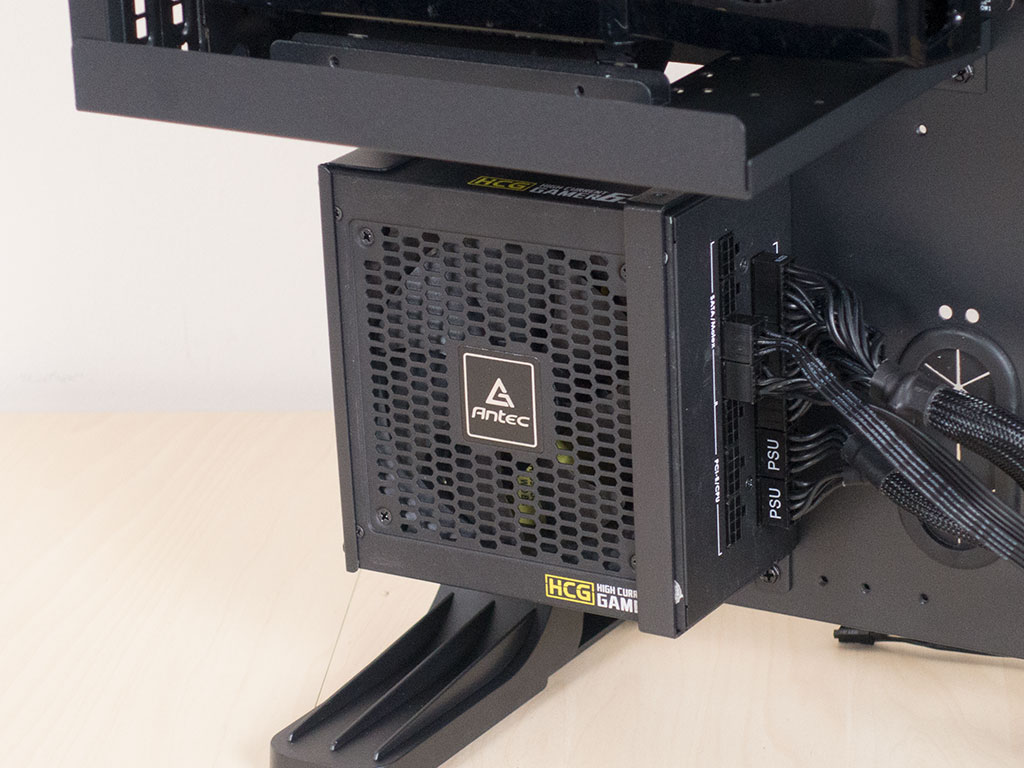
Adding the PSU is essentially a two-step process. First, you simply screw it on to the previously added frame just like you would in a traditional, enclosed chassis. The second element is a support bar that you should screw down to further aid in holding the PSU in place. While I am not too worried with the short 650 W unit I used, those with extra-potent, longer PSUs will find it to be a welcome element. While I mentioned that you may technically install any PSU here, odds are anything too long will start blocking off the cable-management hole.

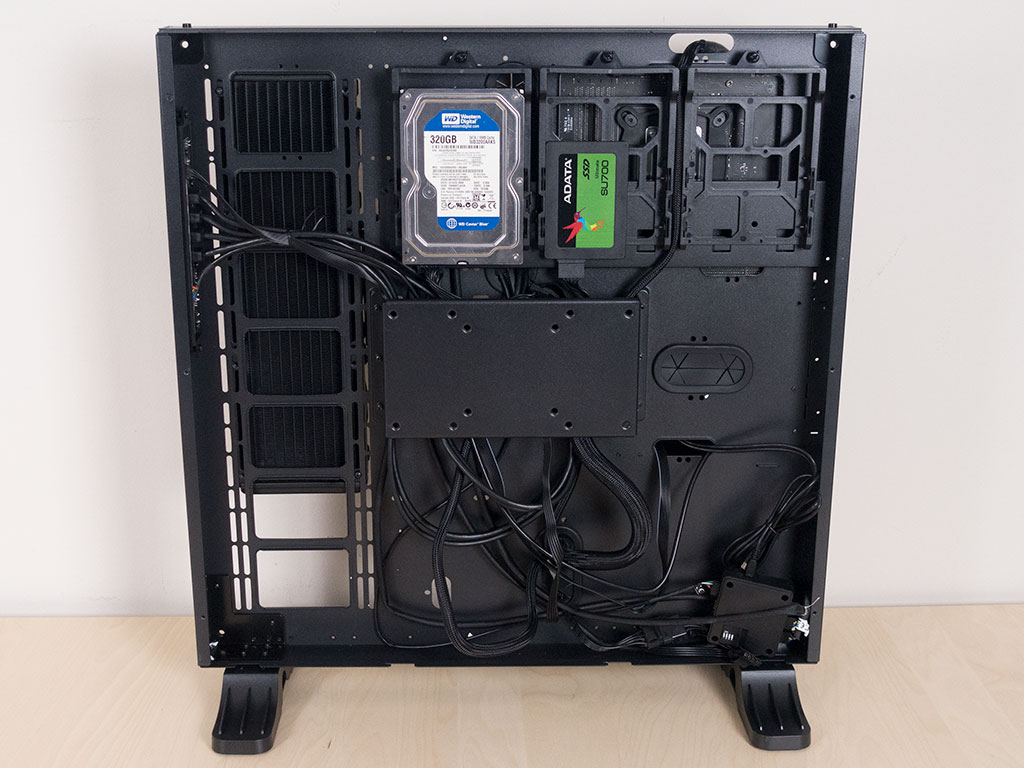
With everything installed, there is very little cable mess, but I am stretching the tubes of the liquid-cooling setup a little bit as there is loads of room between board and mounting area. All the loose cables are hidden nicely in the main compartment, going underneath the VESA mounting plate. There is really no need to keep things clean with so much room, and it will all be hidden anyways. One could even argue that Thermaltake could have easily added three more storage drives without running into any issues.
Once your system is assembled, you need to screw in the four metal rods for the glass panel. They are held in place by big screws through the main compartment of the Core P5 TG. Thermaltake also provides rubber grommets to ensure the glass panel fits snugly and securely.
Finished Looks

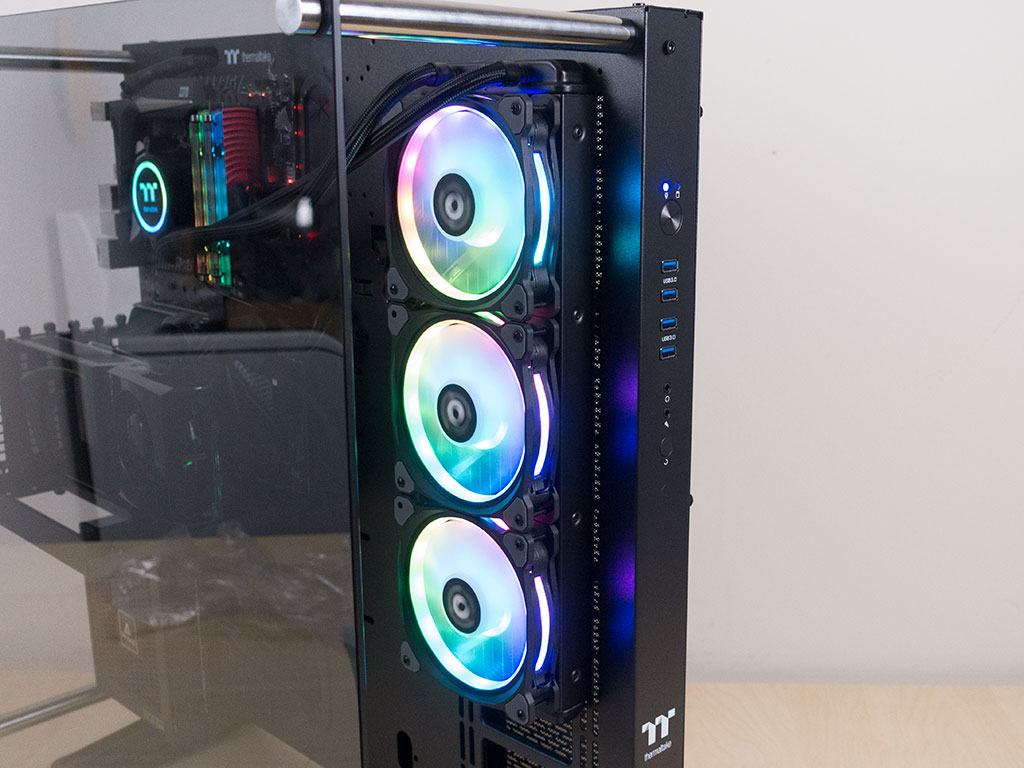
Once turned on, it becomes apparent how important lighting elements are for the Thermaltake Core P5 TG. As an open air case, which is not only beneficial in terms of system temperatures, you also want to have some cool hardware to show off without any obstructions, which it lends itself to well. There is a blue LED that lights up on the side of the Core P5 TG to let you know the system is actually up and running.
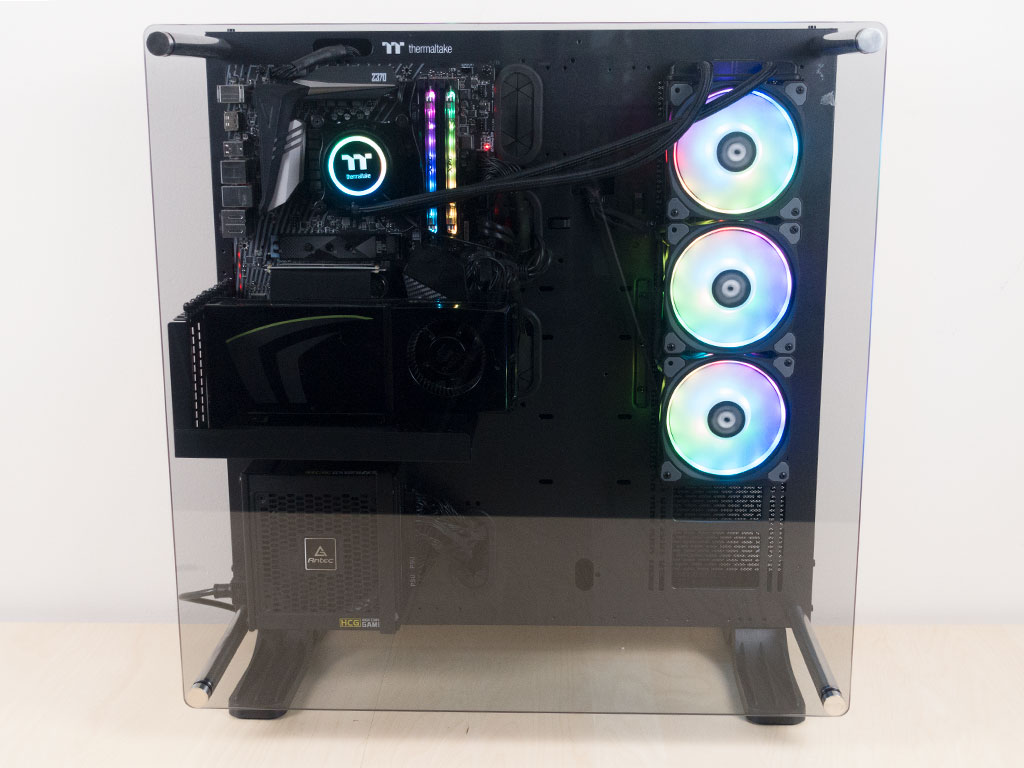
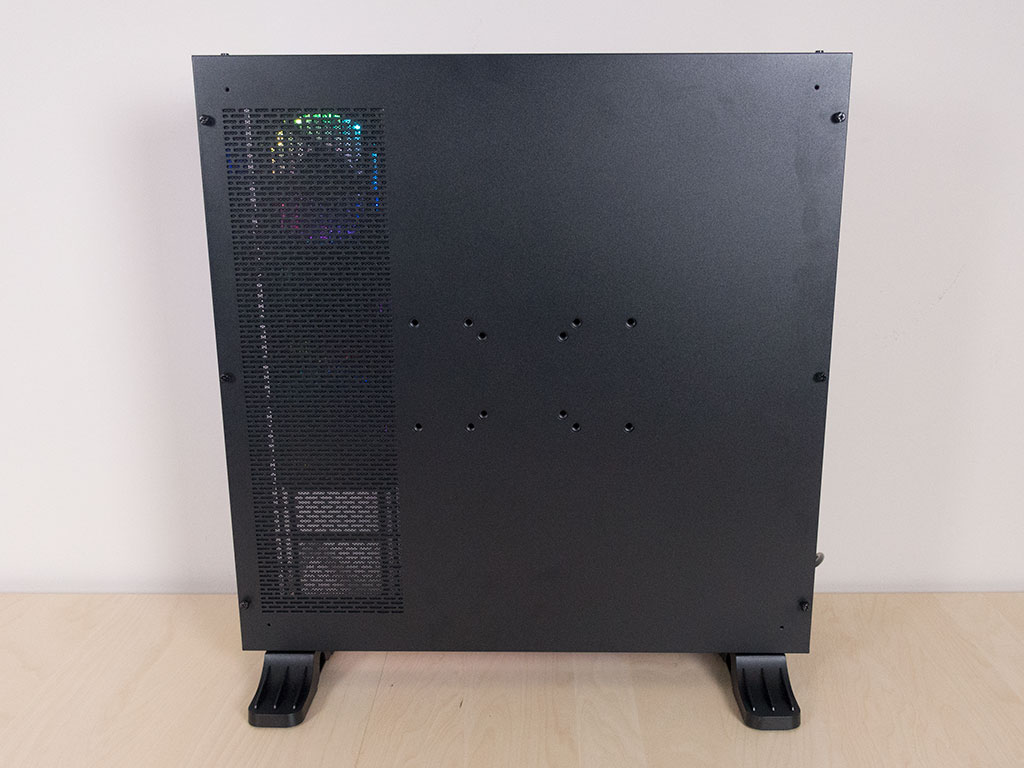
Thanks to a very light tint on the window, you can clearly view all the parts inside the chassis up close and in full detail. I see the appeal of hanging it up on the wall somewhere next to your TV or even your work desk. The space savings alone could totally be worth the investment. Naturally, there is not much to see in the rear with the glow of the RGBs within the fans shining through.
Jul 5th, 2025 13:45 CDT
change timezone
Latest GPU Drivers
New Forum Posts
- Are there others on TPU with a dual system (two pc´s in one case)? (10)
- FINAL FANTASY XIV: Dawntrail Official Benchmark (196)
- Help Watercooling my PC (1)
- TPU's Nostalgic Hardware Club (20484)
- How do you view TPU & the internet in general? (With poll) (71)
- GravityMark v1.89 GPU Benchmark (310)
- Optane performance on AMD vs Intel (57)
- EVGA XC GTX 1660 Ti 8GB ROM (8)
- TPU's Rosetta Milestones and Daily Pie Thread (2374)
- Have you got pie today? (16775)
Popular Reviews
- NVIDIA GeForce RTX 5050 8 GB Review
- Fractal Design Scape Review - Debut Done Right
- Crucial T710 2 TB Review - Record-Breaking Gen 5
- ASUS ROG Crosshair X870E Extreme Review
- PowerColor ALPHYN AM10 Review
- Sapphire Radeon RX 9060 XT Pulse OC 16 GB Review - An Excellent Choice
- Upcoming Hardware Launches 2025 (Updated May 2025)
- AMD Ryzen 7 9800X3D Review - The Best Gaming Processor
- Sapphire Radeon RX 9070 XT Nitro+ Review - Beating NVIDIA
- NVIDIA GeForce RTX 5060 8 GB Review
TPU on YouTube
Controversial News Posts
- Intel's Core Ultra 7 265K and 265KF CPUs Dip Below $250 (288)
- NVIDIA Grabs Market Share, AMD Loses Ground, and Intel Disappears in Latest dGPU Update (212)
- Some Intel Nova Lake CPUs Rumored to Challenge AMD's 3D V-Cache in Desktop Gaming (140)
- NVIDIA GeForce RTX 5080 SUPER Could Feature 24 GB Memory, Increased Power Limits (115)
- NVIDIA Launches GeForce RTX 5050 for Desktops and Laptops, Starts at $249 (105)
- Microsoft Partners with AMD for Next-gen Xbox Hardware (105)
- AMD Radeon RX 9070 XT Gains 9% Performance at 1440p with Latest Driver, Beats RTX 5070 Ti (102)
- Intel "Nova Lake‑S" Series: Seven SKUs, Up to 52 Cores and 150 W TDP (100)