 21
21
Thermaltake Element S Case Review
Installation »Inside the case
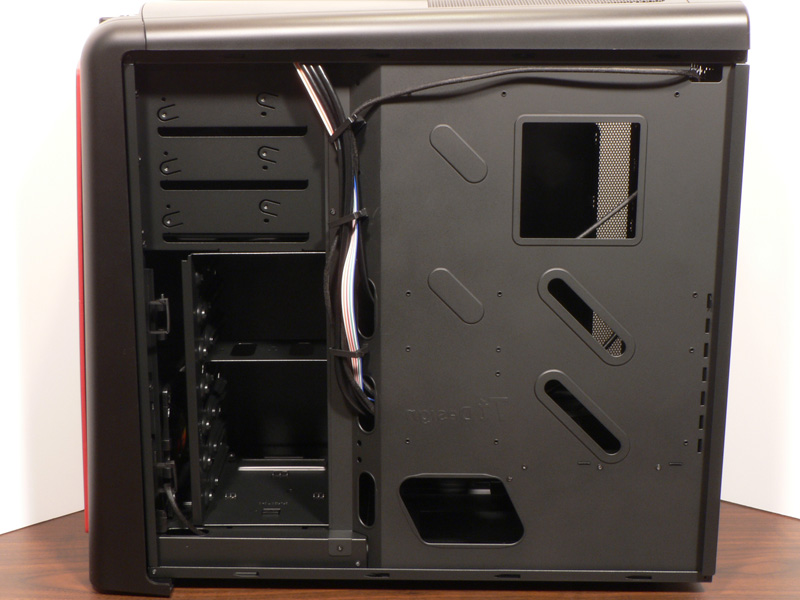
Inside the Thermaltake Element S case is more of the attractive black finish. The motherboard area features several openings that may allow some cables to be managed neatly.
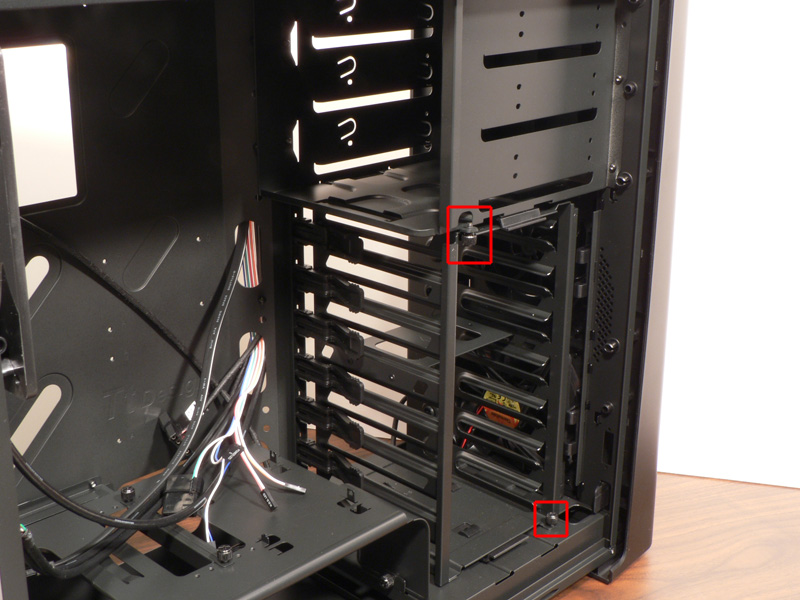
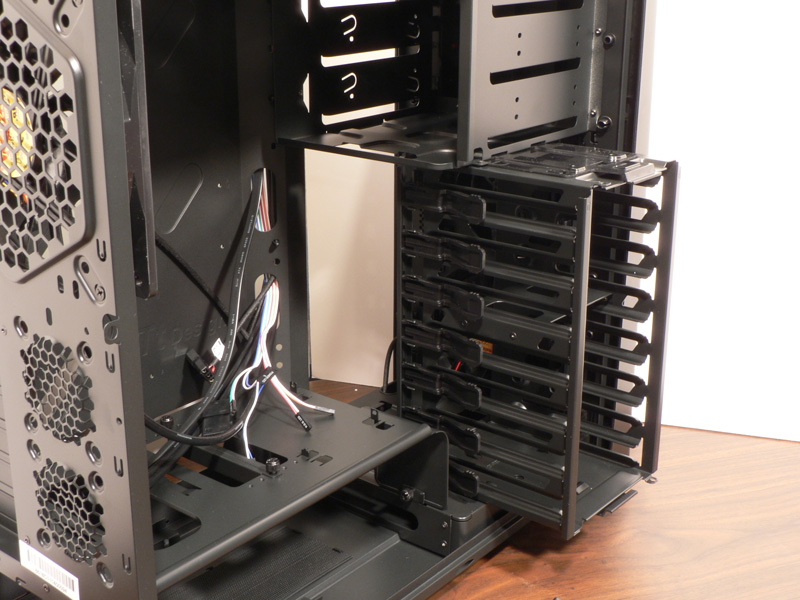
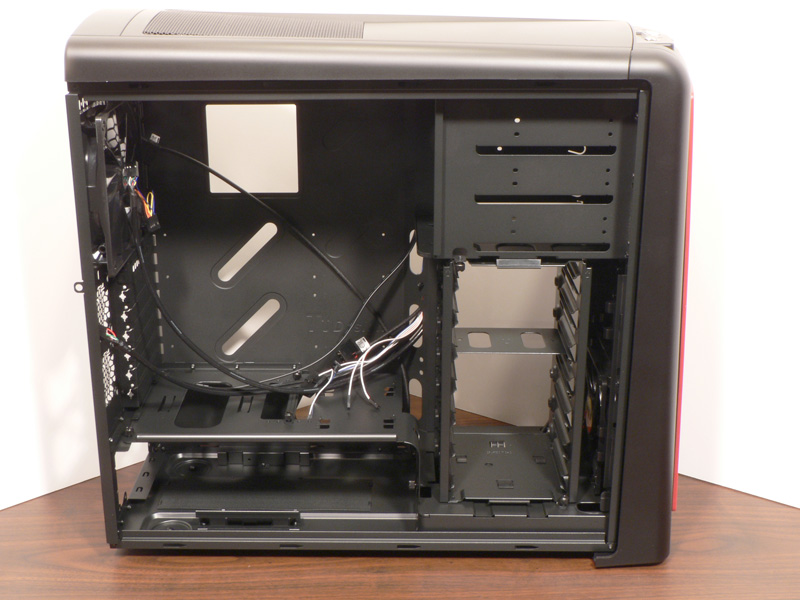
The hard drive cage allows up to seven 3.5" drives to be installed, and the cage can easily be removed. After removing the two thumbscrews that secure it in place, press the plastic clips toward the center of the cage and slide the whole unit out. When removed, it is evident that the cage can also be installed facing the front of the case for those that may prefer it.
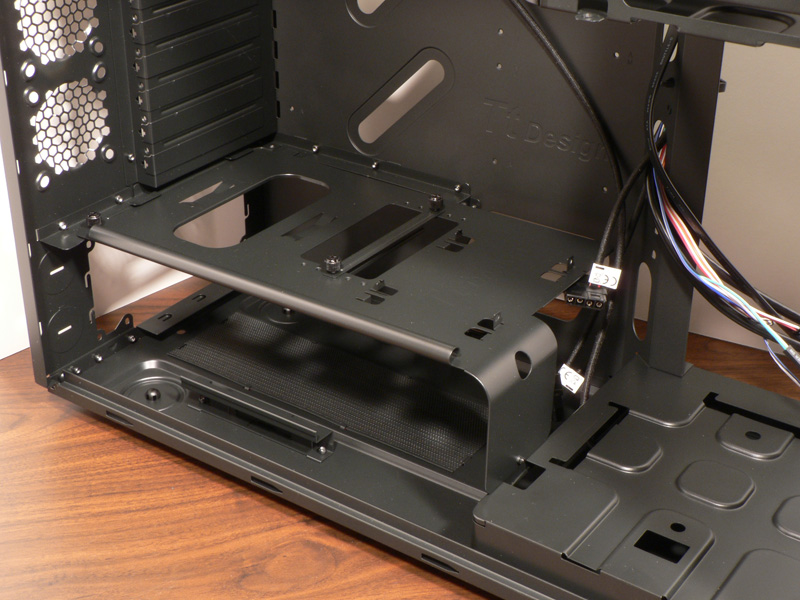
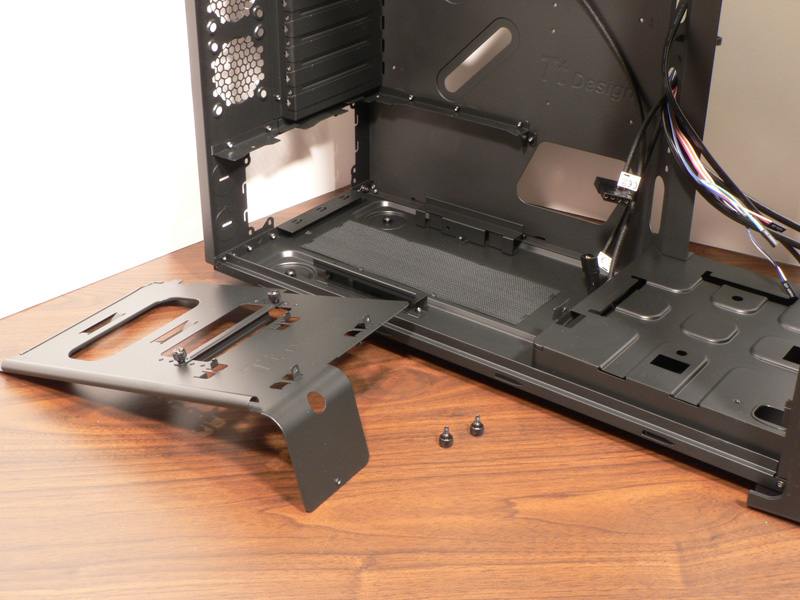
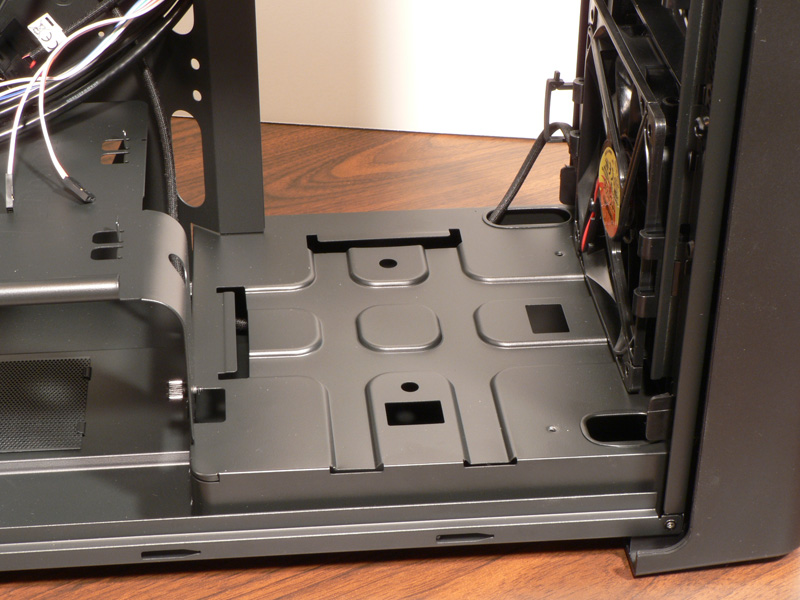
Moving toward the power supply area we can see that the cover is also removable after two thumbscrews are taken out. The interesting thing about this PSU cover is that two 2.5" hard drives can be installed here, which are perfect for SSD drives. One drive goes on top of the panel and the second goes underneath.
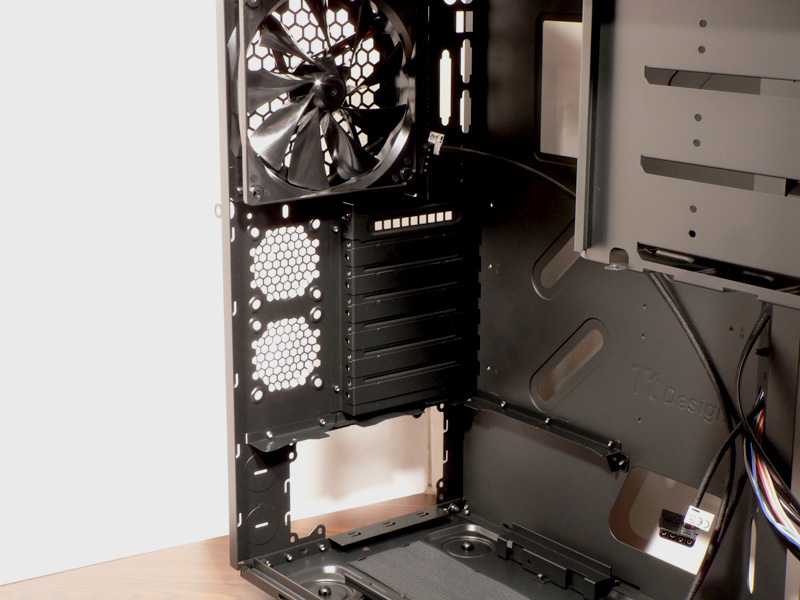
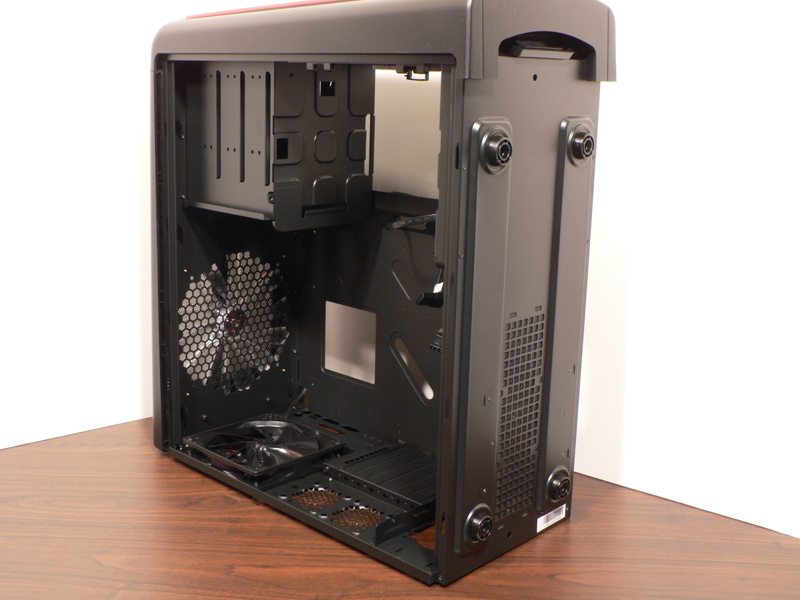
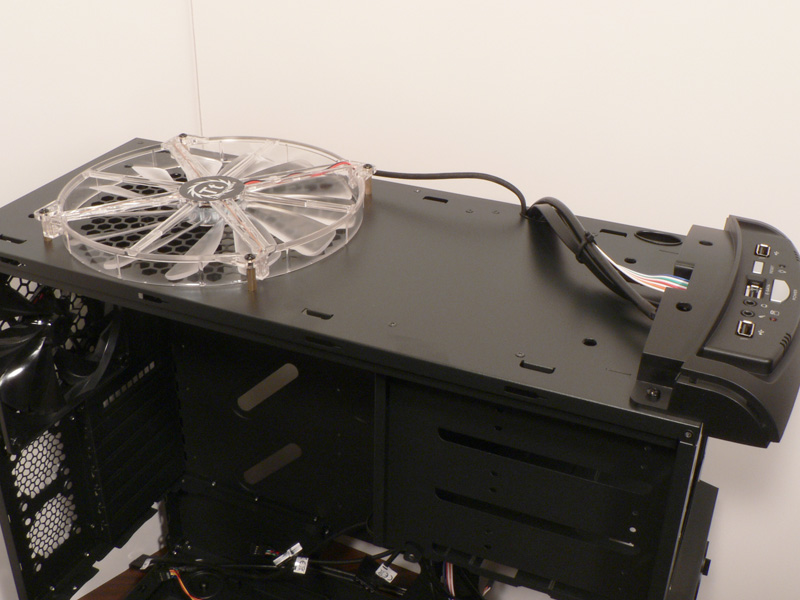
Here is the rear panel from the inside, which shows the black 140mm fan. When turned back on the rear panel, it becomes easier to see the top 230mm fan. Underneath the case are four plastic (not rubber) case feet and a grill below the PSU area. There is also a grip under the case front that assists with removing the front panel.
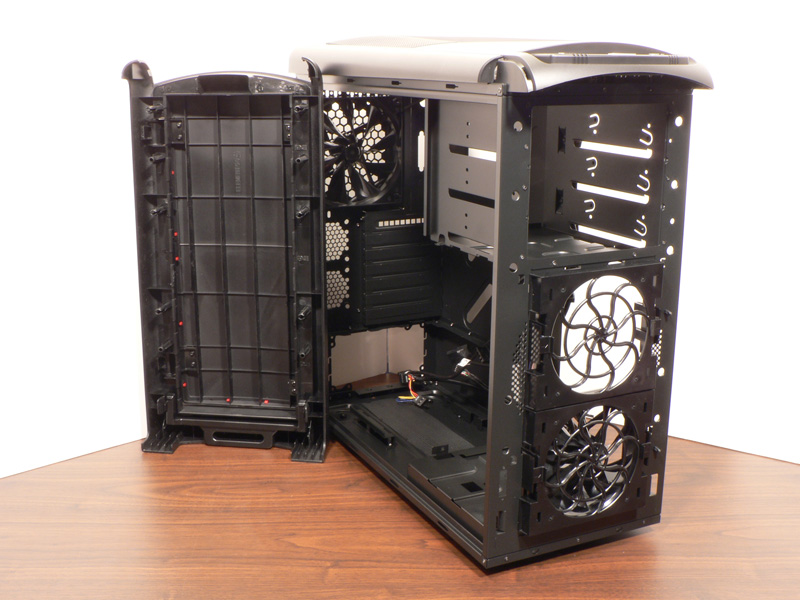
Here we can see the front panel completely removed. The top panel also comes off, but is a little more difficult than the front.
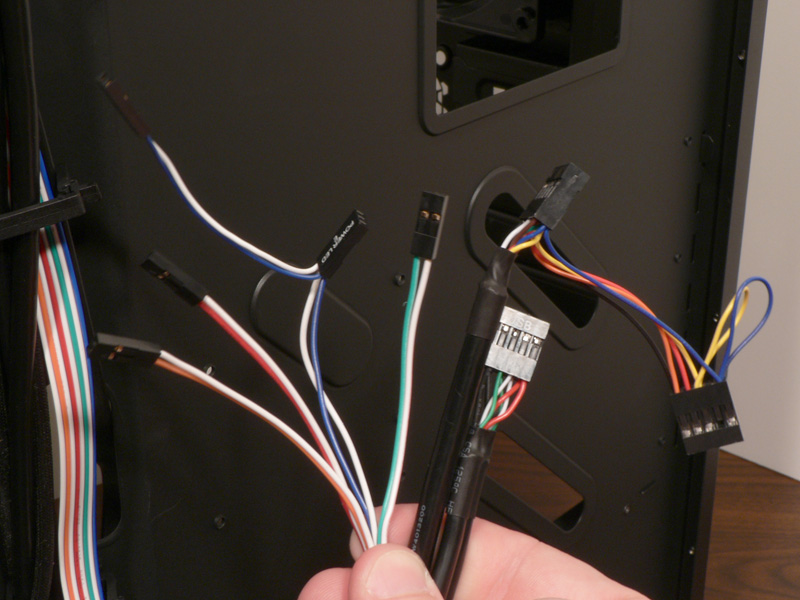
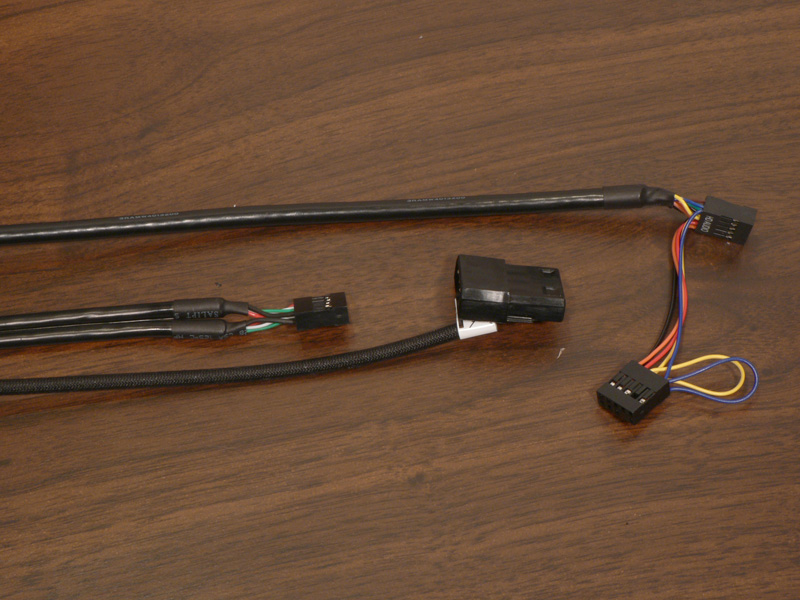
The wires for the motherboard switches and LEDs are made of a flat ribbon cable, while the USB, Audio and all of the case fan cables are sleeved in black mesh or insulation. The Audio connector does have the option for AC97 or HD Audio like most cases today do.
Jul 2nd, 2025 23:22 CDT
change timezone
Latest GPU Drivers
New Forum Posts
- Will you buy a RTX 5090? (588)
- AMD RX 7000 series GPU Owners' Club (1327)
- What's your latest tech purchase? (24189)
- RDNA 4 Fine Wine? (HUB Vid) (41)
- GravityMark v1.89 GPU Benchmark (308)
- Good time in the year to buy a new PC (5)
- The Official Thermal Interface Material thread (1767)
- What Windows is overall the best to you and why? (262)
- Nvidia drivers (6)
- How do you view TPU & the internet in general? (With poll) (54)
Popular Reviews
- ASUS ROG Crosshair X870E Extreme Review
- Crucial T710 2 TB Review - Record-Breaking Gen 5
- Sapphire Radeon RX 9060 XT Pulse OC 16 GB Review - An Excellent Choice
- PowerColor ALPHYN AM10 Review
- Upcoming Hardware Launches 2025 (Updated May 2025)
- AMD Ryzen 7 9800X3D Review - The Best Gaming Processor
- AVerMedia CamStream 4K Review
- Sapphire Radeon RX 9070 XT Nitro+ Review - Beating NVIDIA
- NVIDIA GeForce RTX 5060 8 GB Review
- AMD Ryzen 9 9950X3D Review - Great for Gaming and Productivity
TPU on YouTube
Controversial News Posts
- Intel's Core Ultra 7 265K and 265KF CPUs Dip Below $250 (288)
- NVIDIA Grabs Market Share, AMD Loses Ground, and Intel Disappears in Latest dGPU Update (212)
- Some Intel Nova Lake CPUs Rumored to Challenge AMD's 3D V-Cache in Desktop Gaming (140)
- NVIDIA GeForce RTX 5080 SUPER Could Feature 24 GB Memory, Increased Power Limits (114)
- NVIDIA Launches GeForce RTX 5050 for Desktops and Laptops, Starts at $249 (105)
- Microsoft Partners with AMD for Next-gen Xbox Hardware (105)
- Intel "Nova Lake‑S" Series: Seven SKUs, Up to 52 Cores and 150 W TDP (100)
- NVIDIA DLSS Transformer Cuts VRAM Usage by 20% (96)