 21
21
Thermaltake Element S Case Review
Value & Conclusion »Installation
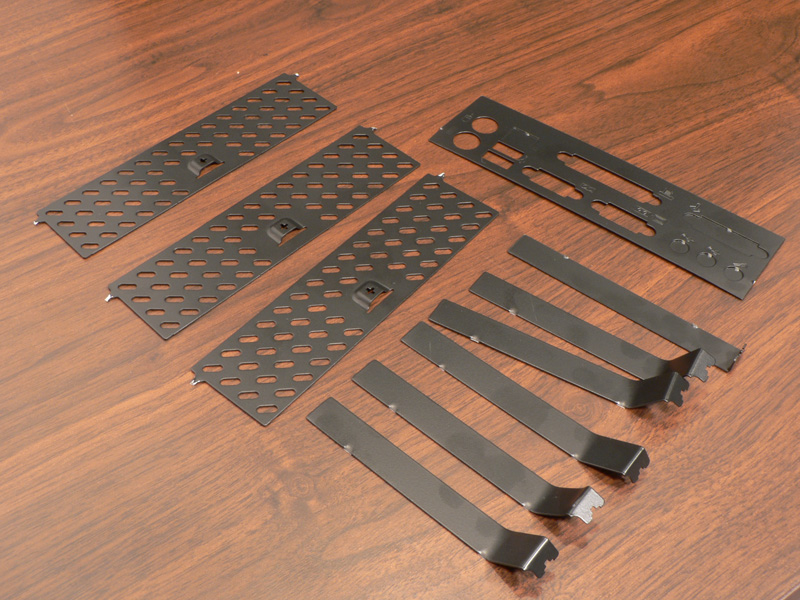
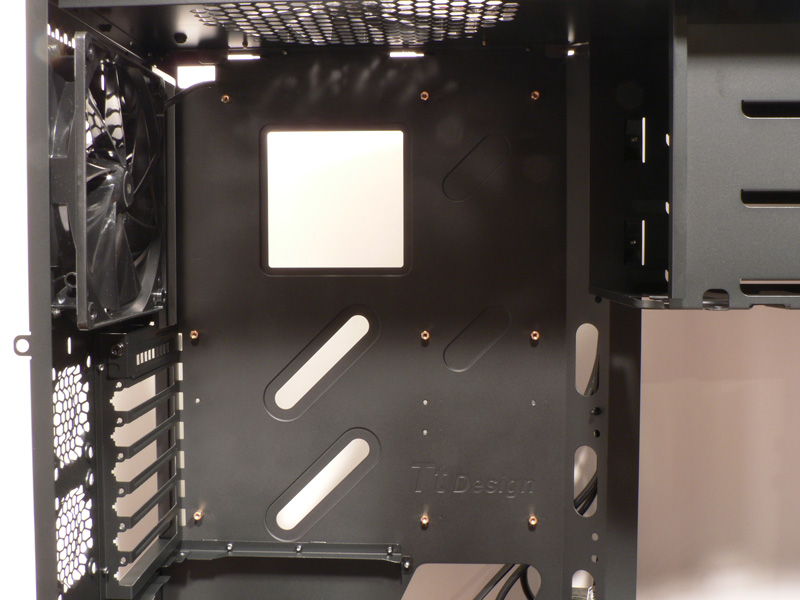
The first step of installing the system into the Thermaltake Element S case is to remove all of those annoying plates that are still attached. Be careful, as the edges may be sharp where they were once attached. Next, I installed the motherboard standoffs in the non-removable motherboard tray.
Even though the tray is not removable, there was plenty of room to work inside the case at this point. As long as you are using a full-size ATX board or smaller (no Extended ATX), the board fits fine.
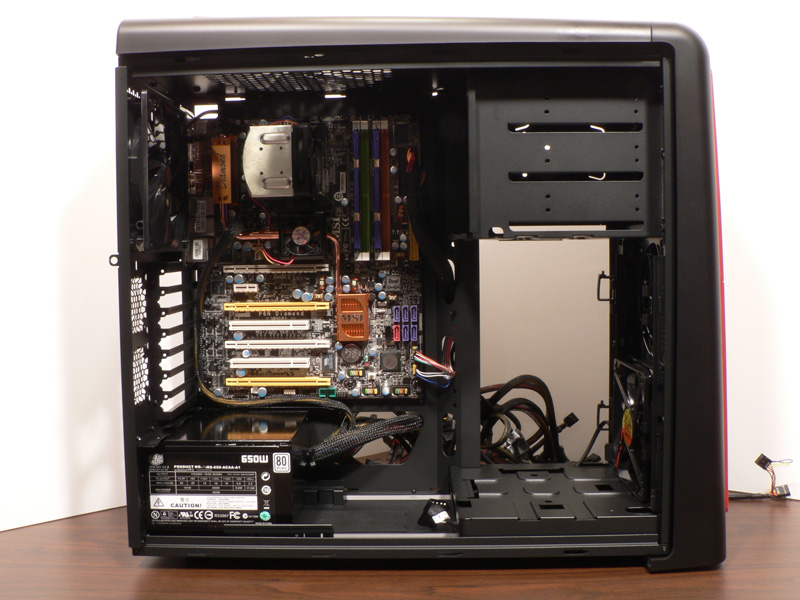
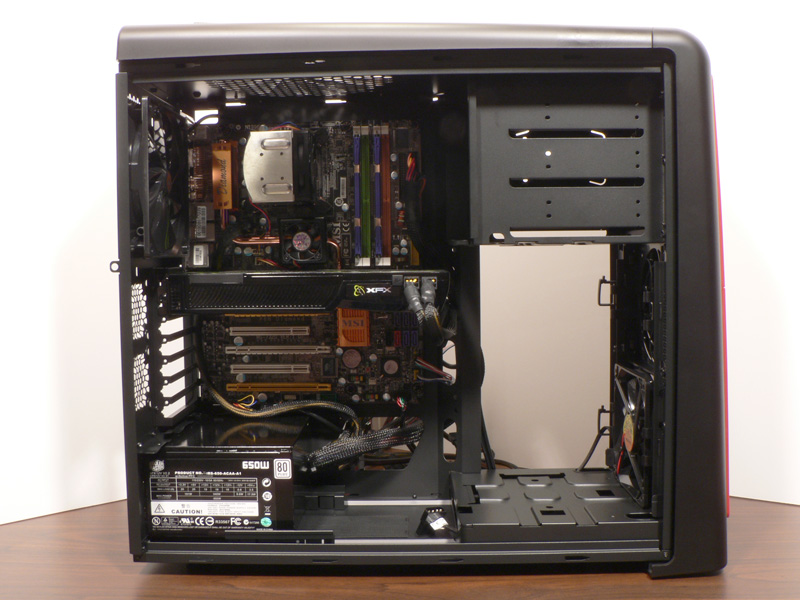
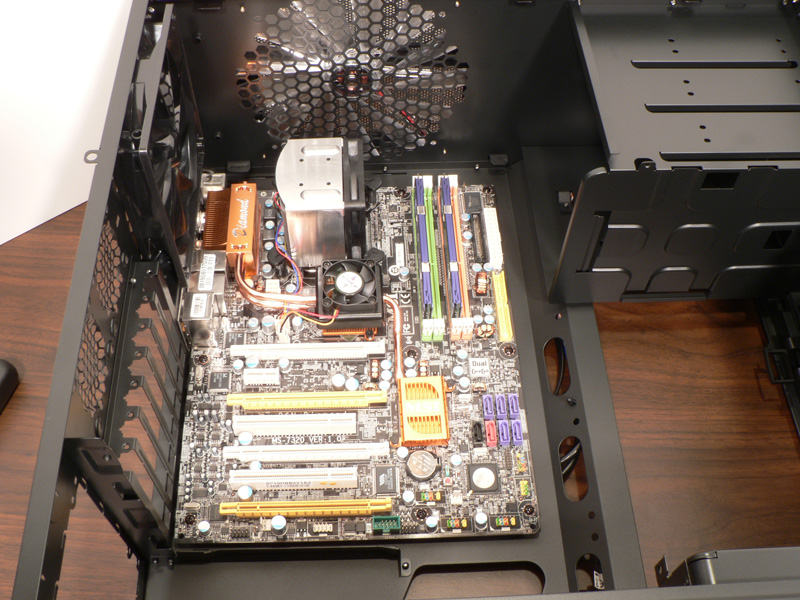
Next I installed the power supply at the bottom of the case. It is possible to orient the PSU with the fan facing up or down: I chose down to pull cold air in from the bottom of the case. I also installed the video card and started running some of the cables.

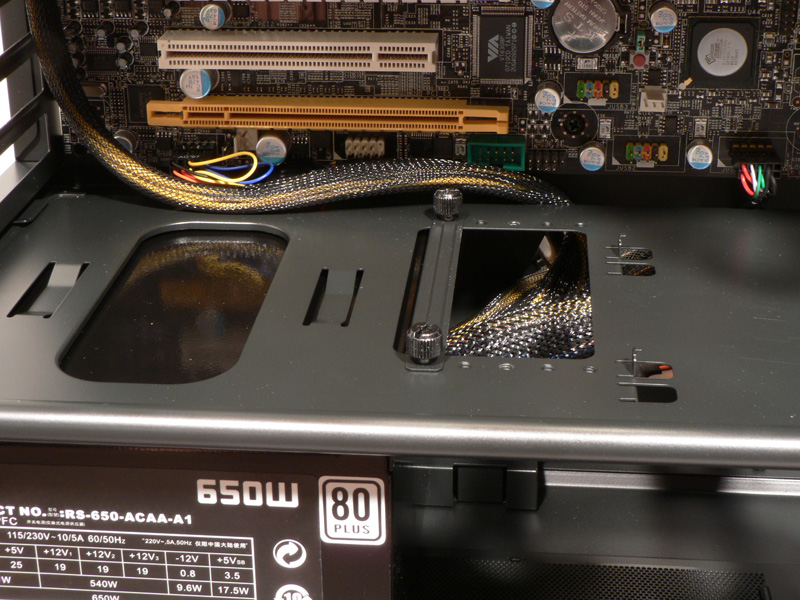
Next I placed the cover over the power supply, fitted the support brace along the front edge and tightened the thumbscrews.
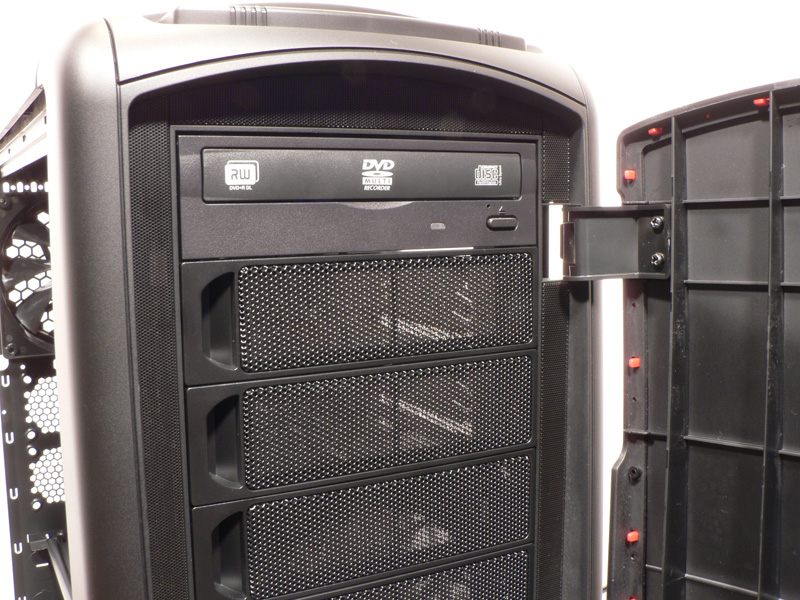
I chose to install one DVD-RW drive in the top 5.25" bay. Unfortunately, there are no tool-free mounting options, and I had to screw the drive in place. If you change hardware out a lot this will be an annoyance for you; if you don't, then it won't be an issue.
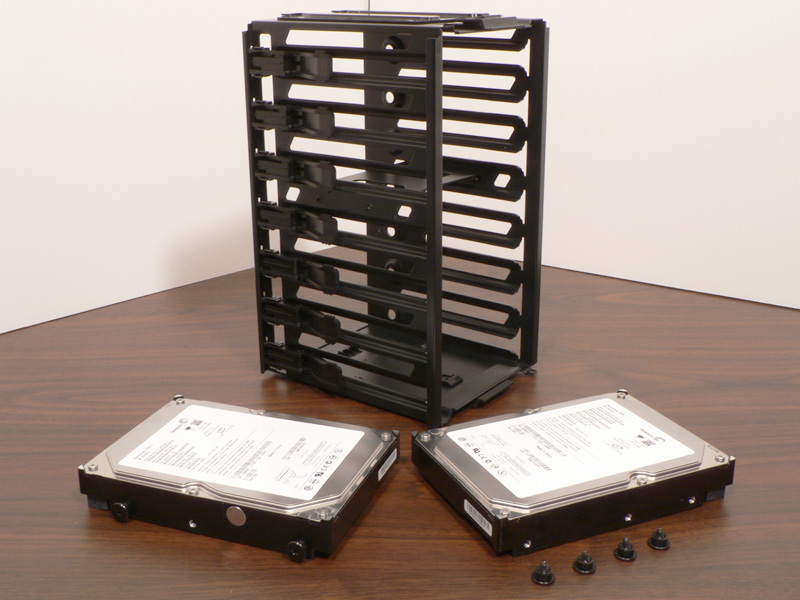

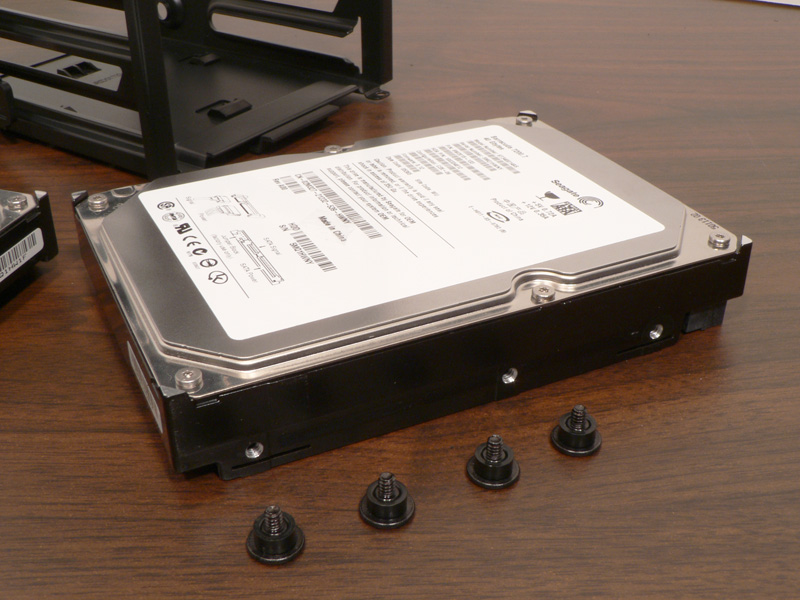
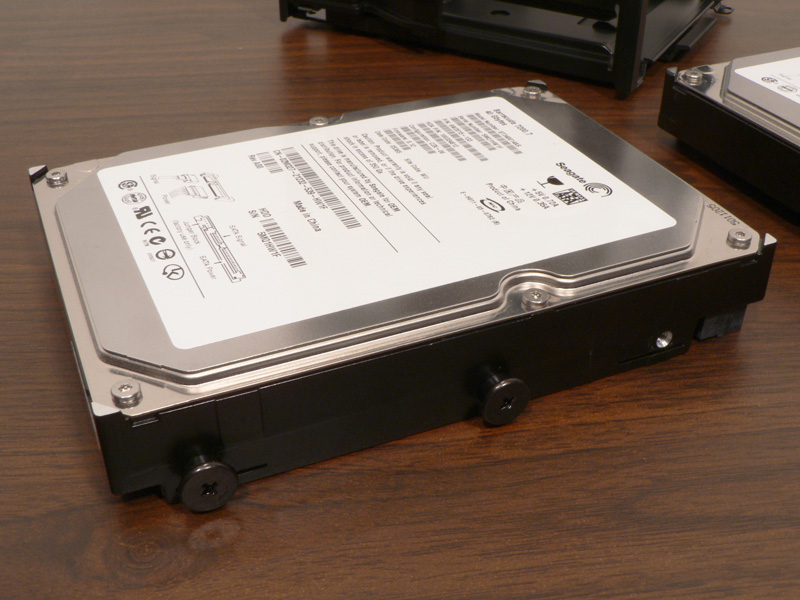
To install the 3.5" hard drives, first the drives must be prepped with four screws each. You will want to make sure not to mount the screws the same on both sides: the right sides will need to have the middle screw hole used instead of the rear one.
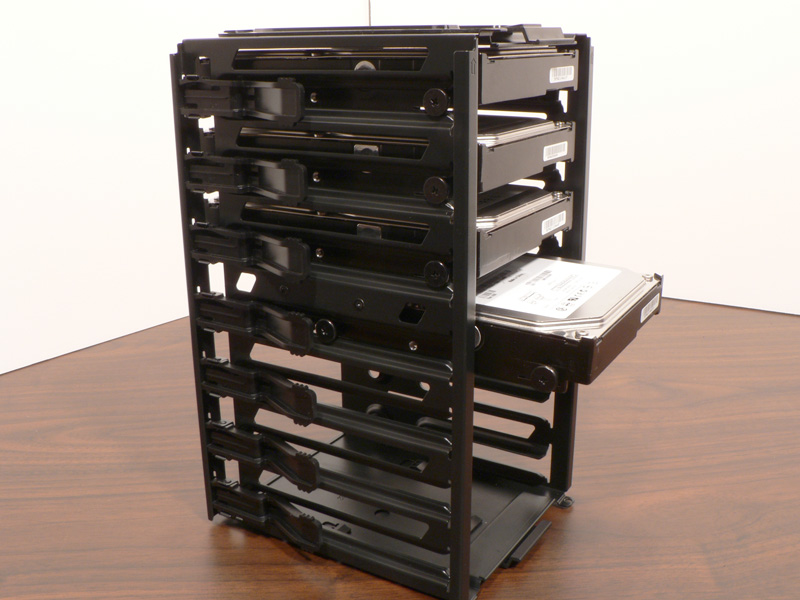
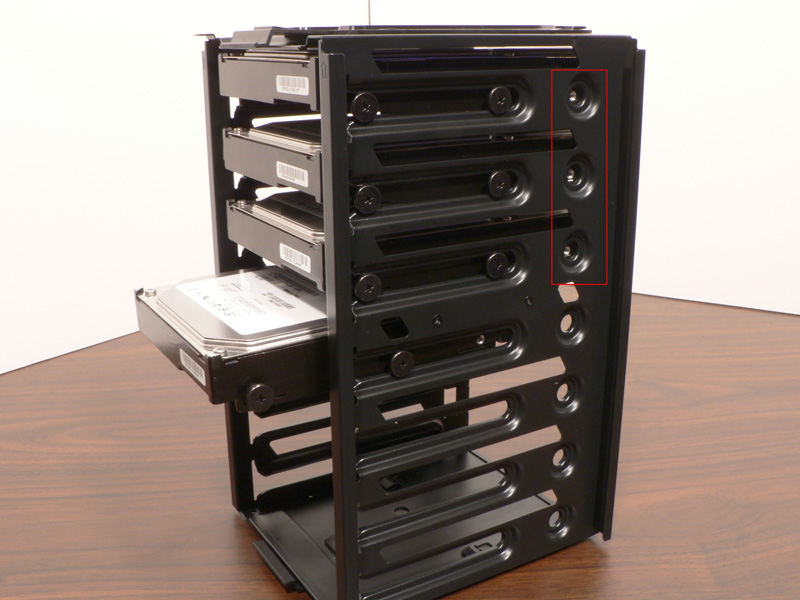
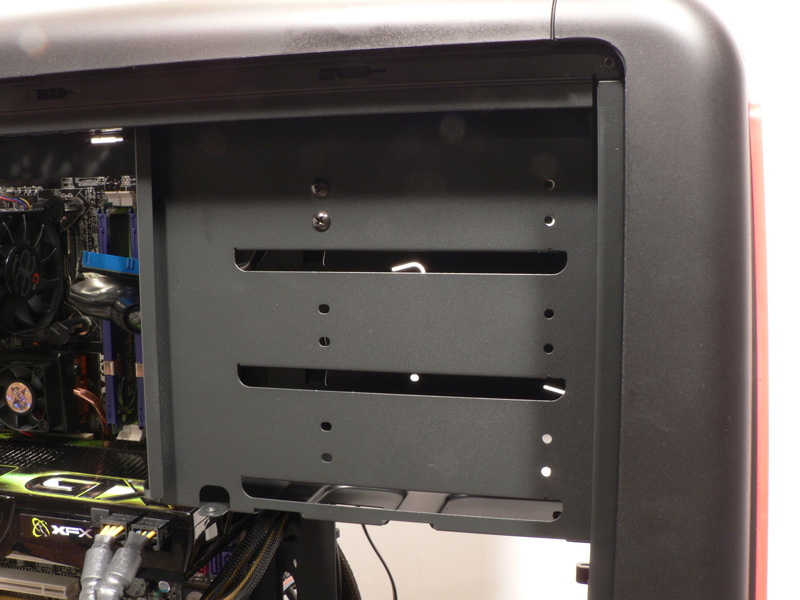
Now the drives will slide into the HDD cage on the screws that were just attached. As you can see on the right side of the cage, the slot does not go all the way to the rear of the cage. This is why the middle screw hole had to be used. Alternatively, if the user wishes to permanently mount the drives, the fourth screw can be placed into the rear holes (shown inside the red box) after the drive is installed.
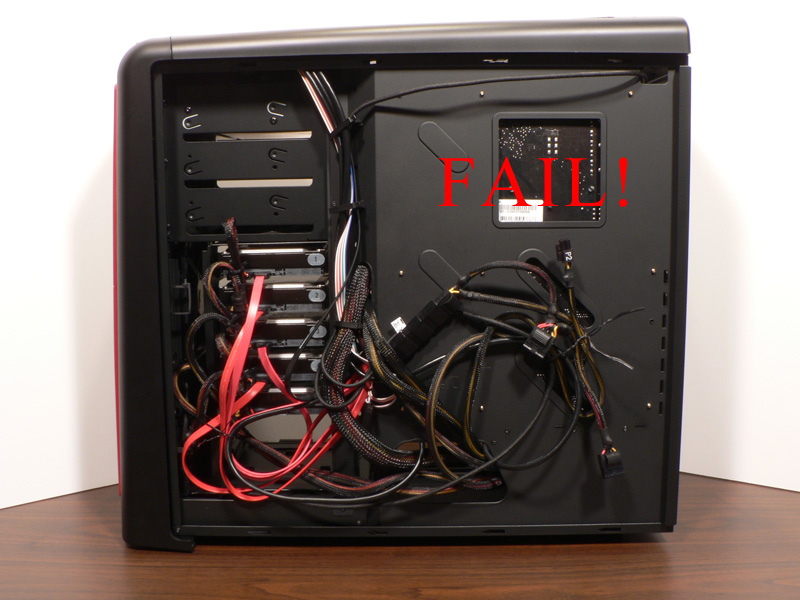

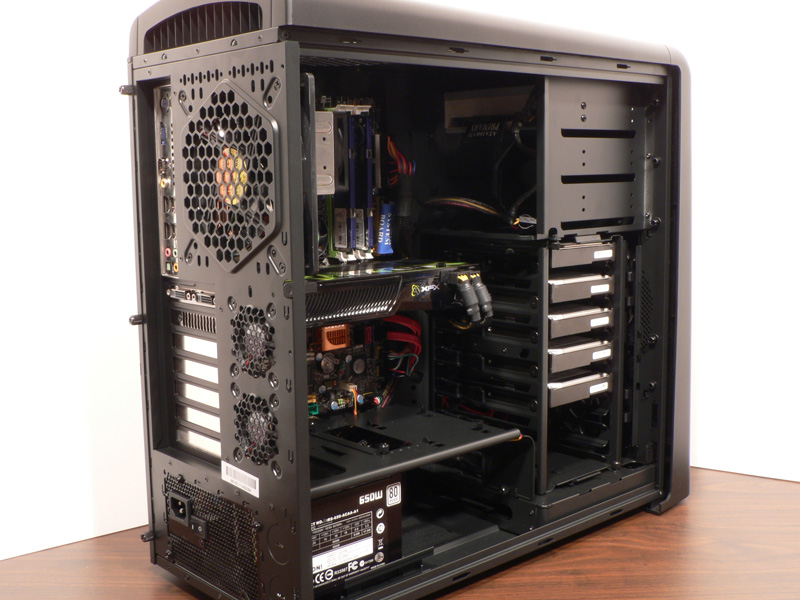
Cable management has become a very popular topic these days. One common practice is to hide many of the cables behind the motherboard tray. Unfortunately, this will not work in the Element S. The way the tray is designed leaves very little room between the tray and side panel, which prevents the panel from going back on. However, there is ample room to hide cables on the side of the drives, and this allows the side panel to still go back on.
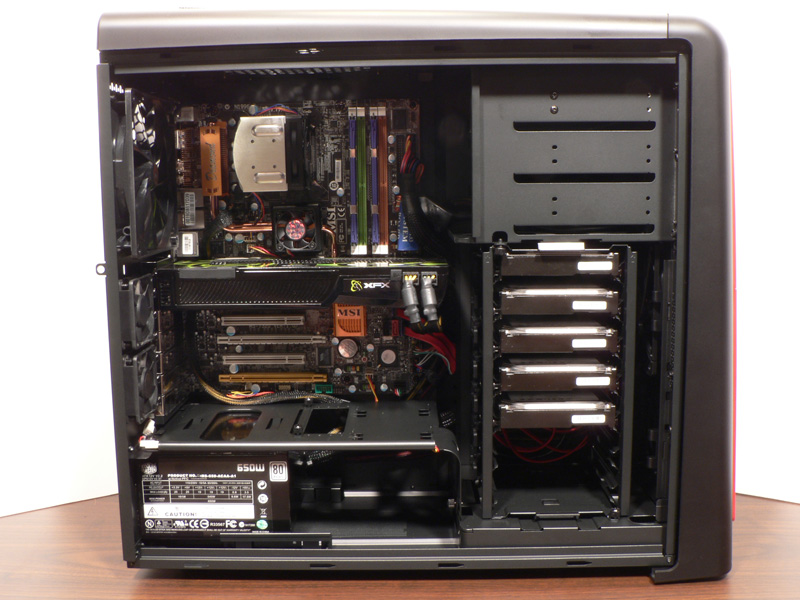
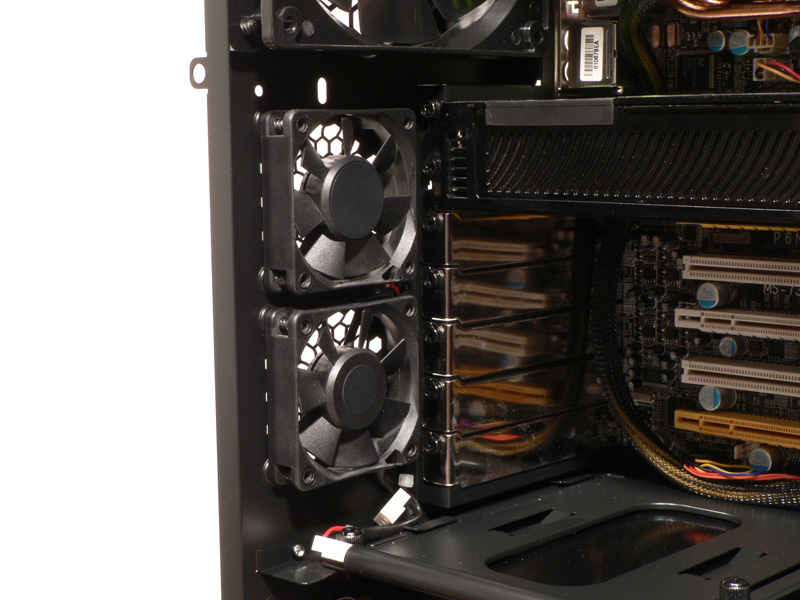
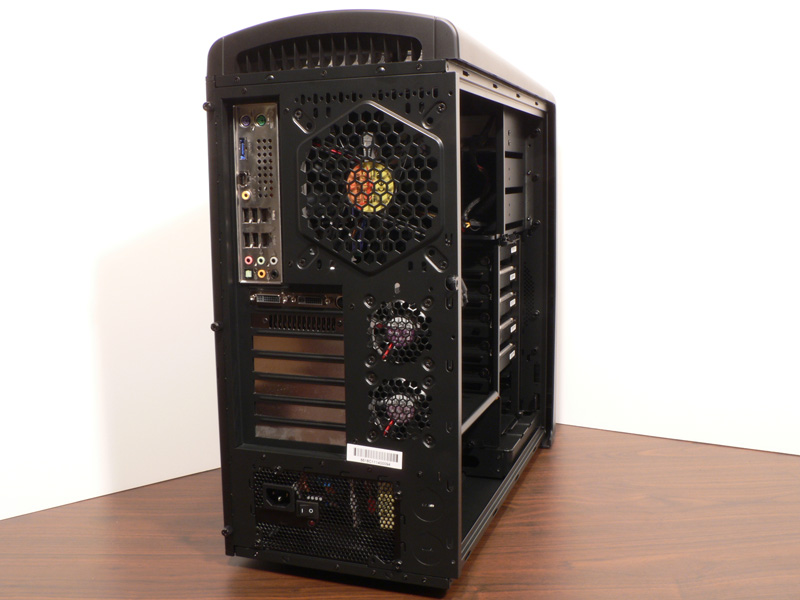
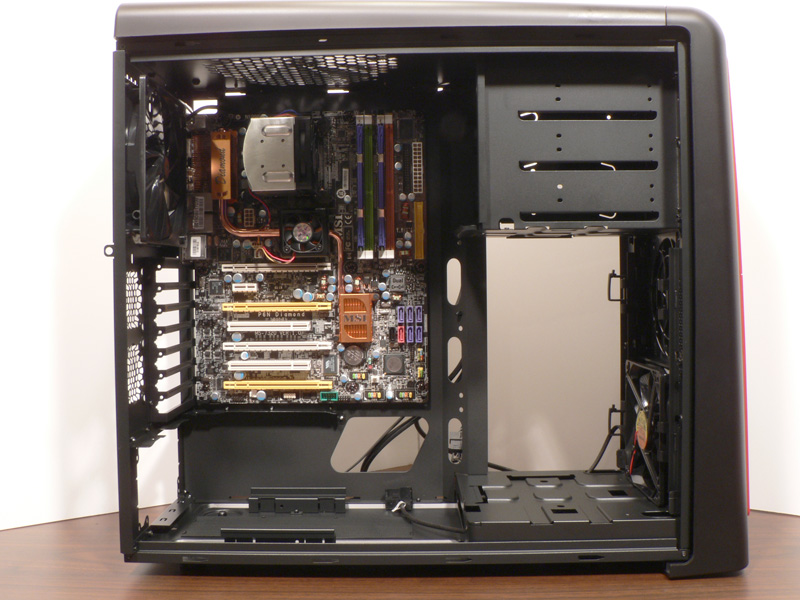
With the components installed in the case, there are few cables showing. I even dug into my spare parts box and installed some extra PCI slot covers and two 60mm fans in the rear panel. The fans seemed like a nice idea until I went to remove the video card, and that is when I found the fans were blocking the screws for the card. Again, this would only be a problem for those that swap hardware often.
Jul 12th, 2025 07:32 CDT
change timezone
Latest GPU Drivers
New Forum Posts
- Gigabyte graphic cards - TIM gel SLIPPAGE problem (147)
- Will you buy a RTX 5090? (647)
- 5070 Ti Variants, do they even matter? (20)
- 'NVIDIA App' not usable offline? (10)
- Chrome has removed uBlock Origin 1.64.0 (remove google search suggestions) (8)
- Gpu overheating after bios flash (2)
- What's your latest tech purchase? (24242)
- 3D Printer Club (540)
- Can you guess Which game it is? (230)
- Is RX 9070 VRAM temperature regular value or hotspot? (401)
Popular Reviews
- Fractal Design Epoch RGB TG Review
- Lexar NM1090 Pro 4 TB Review
- Corsair FRAME 5000D RS Review
- NVIDIA GeForce RTX 5050 8 GB Review
- NZXT N9 X870E Review
- Our Visit to the Hunter Super Computer
- Sapphire Radeon RX 9060 XT Pulse OC 16 GB Review - An Excellent Choice
- AMD Ryzen 7 9800X3D Review - The Best Gaming Processor
- Upcoming Hardware Launches 2025 (Updated May 2025)
- Chieftec Iceberg 360 Review
TPU on YouTube
Controversial News Posts
- Intel's Core Ultra 7 265K and 265KF CPUs Dip Below $250 (288)
- Some Intel Nova Lake CPUs Rumored to Challenge AMD's 3D V-Cache in Desktop Gaming (140)
- AMD Radeon RX 9070 XT Gains 9% Performance at 1440p with Latest Driver, Beats RTX 5070 Ti (131)
- NVIDIA Launches GeForce RTX 5050 for Desktops and Laptops, Starts at $249 (119)
- NVIDIA GeForce RTX 5080 SUPER Could Feature 24 GB Memory, Increased Power Limits (115)
- Microsoft Partners with AMD for Next-gen Xbox Hardware (105)
- Intel "Nova Lake‑S" Series: Seven SKUs, Up to 52 Cores and 150 W TDP (100)
- NVIDIA DLSS Transformer Cuts VRAM Usage by 20% (97)