 8
8
Thermaltake Element V Review
Assembly & Finished Looks »A Closer Look - Inside
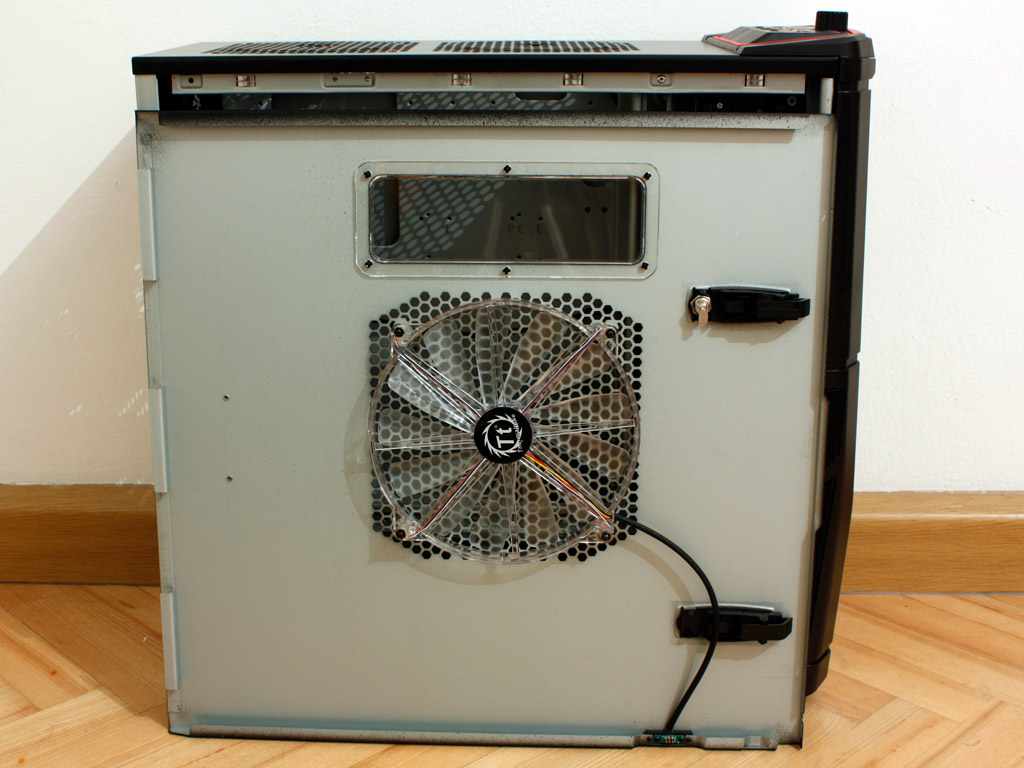
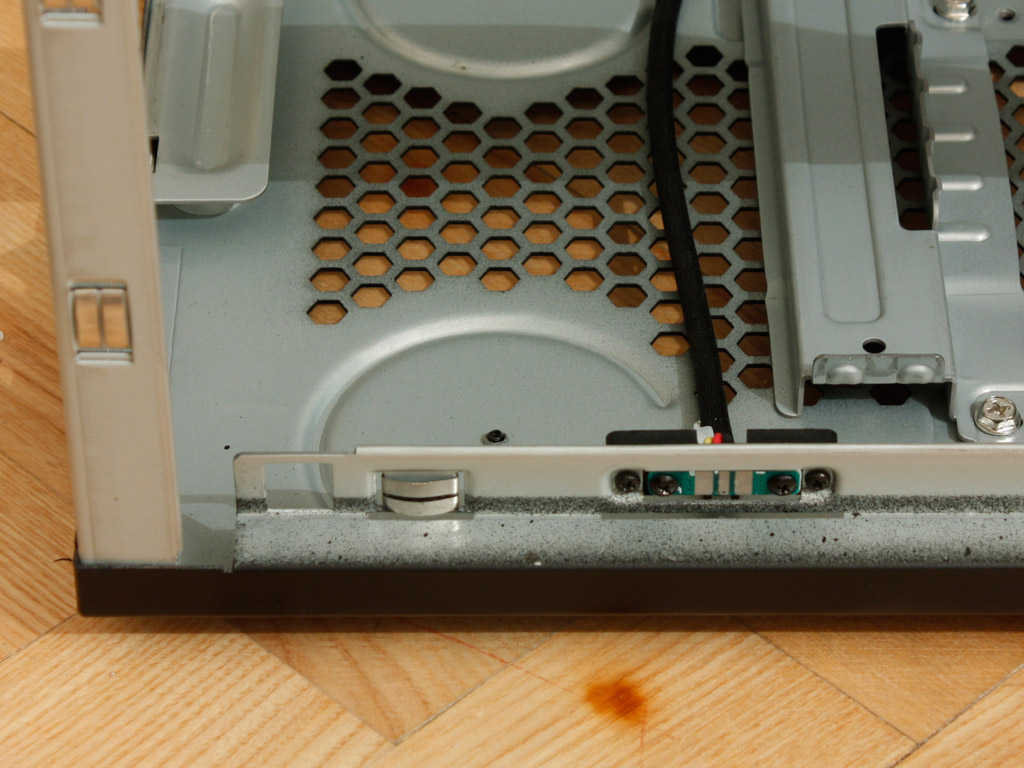
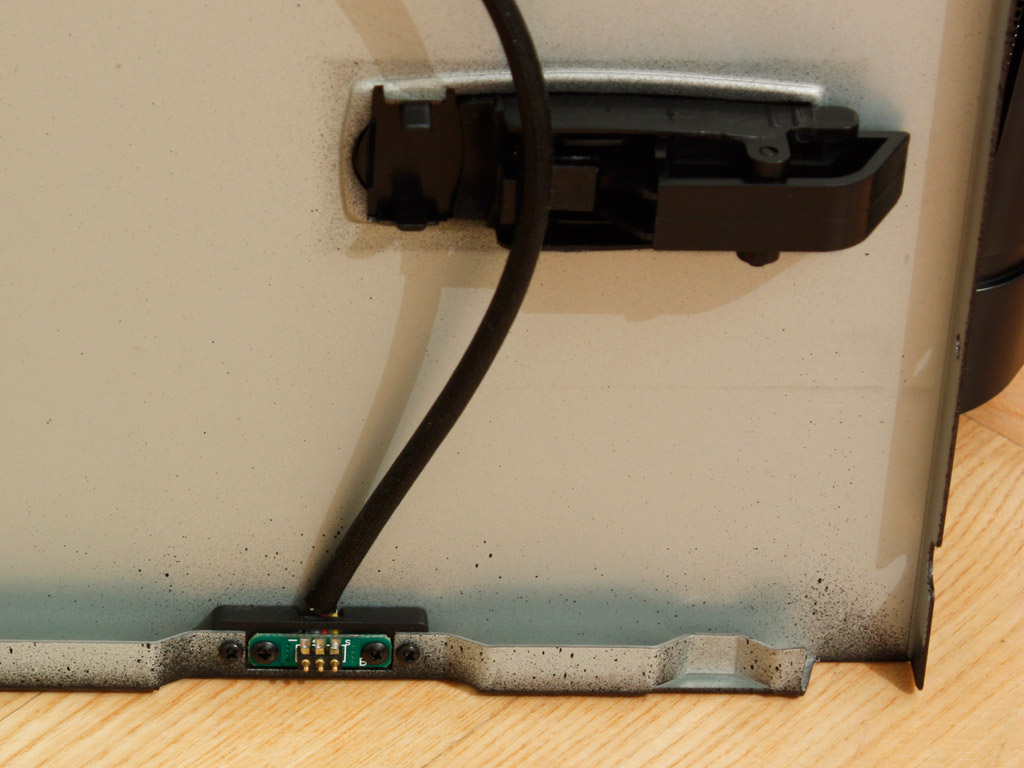
Before diving into the interior, let us take a quick look at the 230 mm fan. The unit is constructed of clear plastic and features a multitude of LEDs in the corners, to achieve the four different lighting modes. Instead of simply running a cable to the interior of the chassis, Thermaltake has built a small PCB into the chassis and another one into the side panel. Upon closing the case, both make contact and power the fan. So you should even be able to open up the case when the PC is running, without having to worry about yanking a cable out. Thermaltake has implemented this in a chassis before and I am glad that they are still doing so.
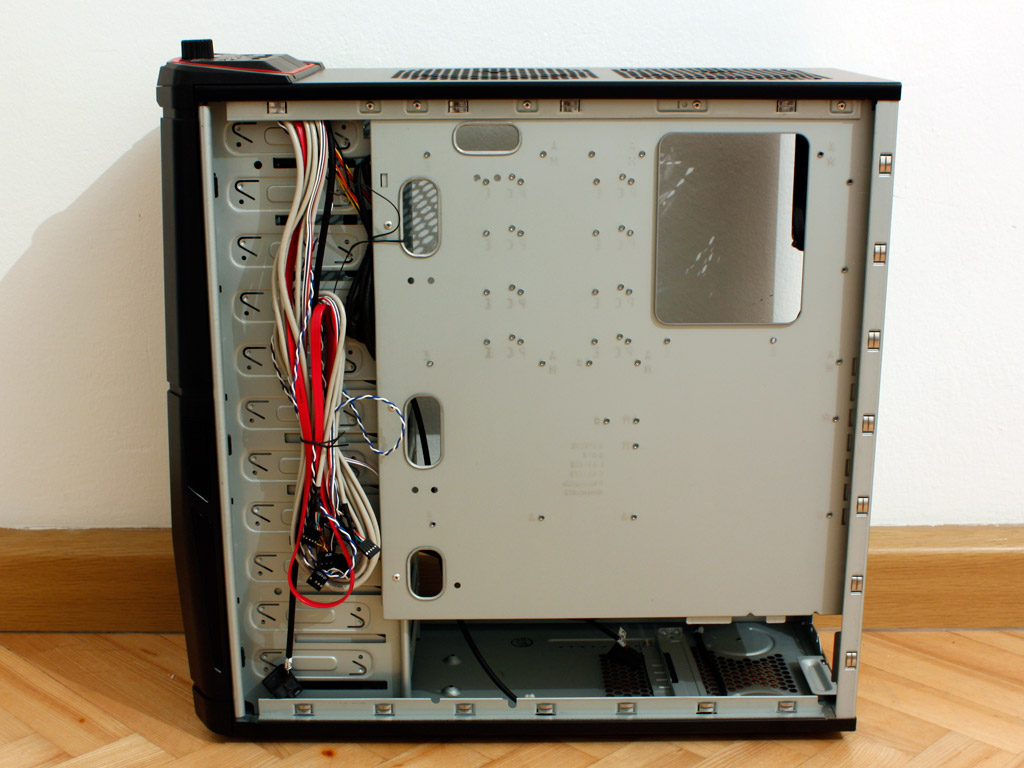
Turning the chassis over, we can clearly see, that the entire front area is taken by the eleven drive bays. The mainboard tray has a crazy amount of screw holes. This is due to the fact that the Element V supports eATX as well as mATX and ATX boards. There are several openings along the edge for some form of cable routing and a large one below the mainboard CPU area to gain access to the CPU backplate without having to remove the board.
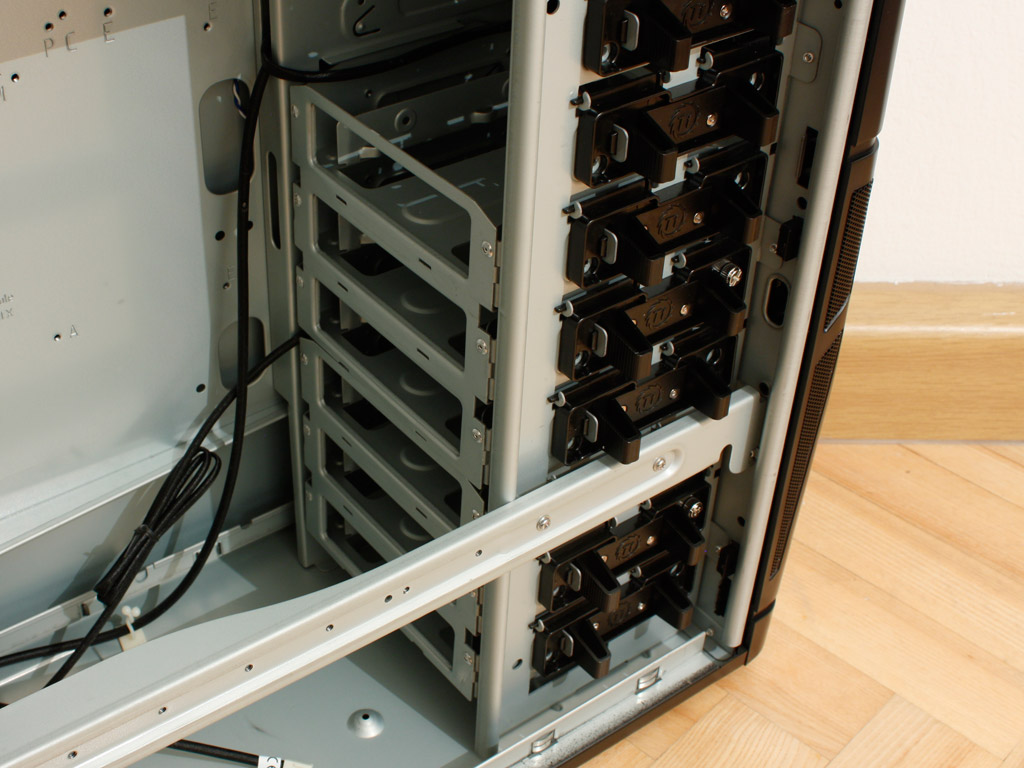

The bottom six bays in the front are taken by the two hard drive cages. Each can hold three drives. Above that are five open 5.25 inch drive bays. Thermaltake has not included an adapter for 3.5 inch devices, which is something many other manufacturers do offer - especially with cases of this price class. Every one of the eleven bays has a screw-less, plastic lock, to hold the drives in place, but the hard drive cages are secured with an additional thumb screw - go figure, so I guess we should not get our hopes up that these locks work well.
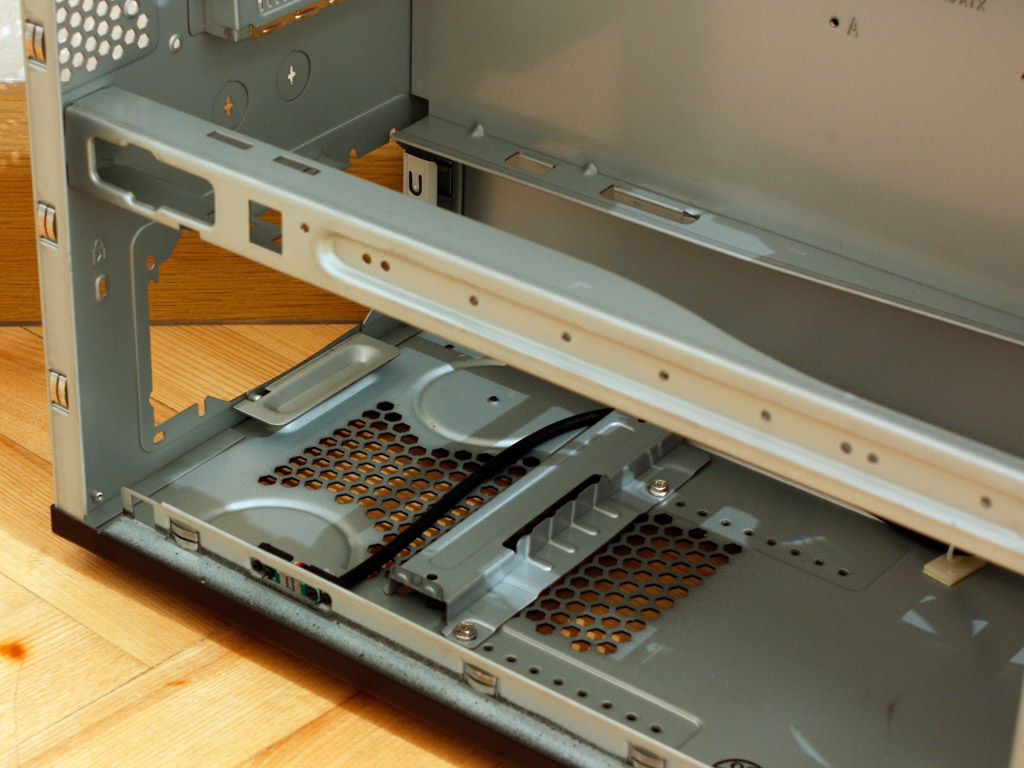
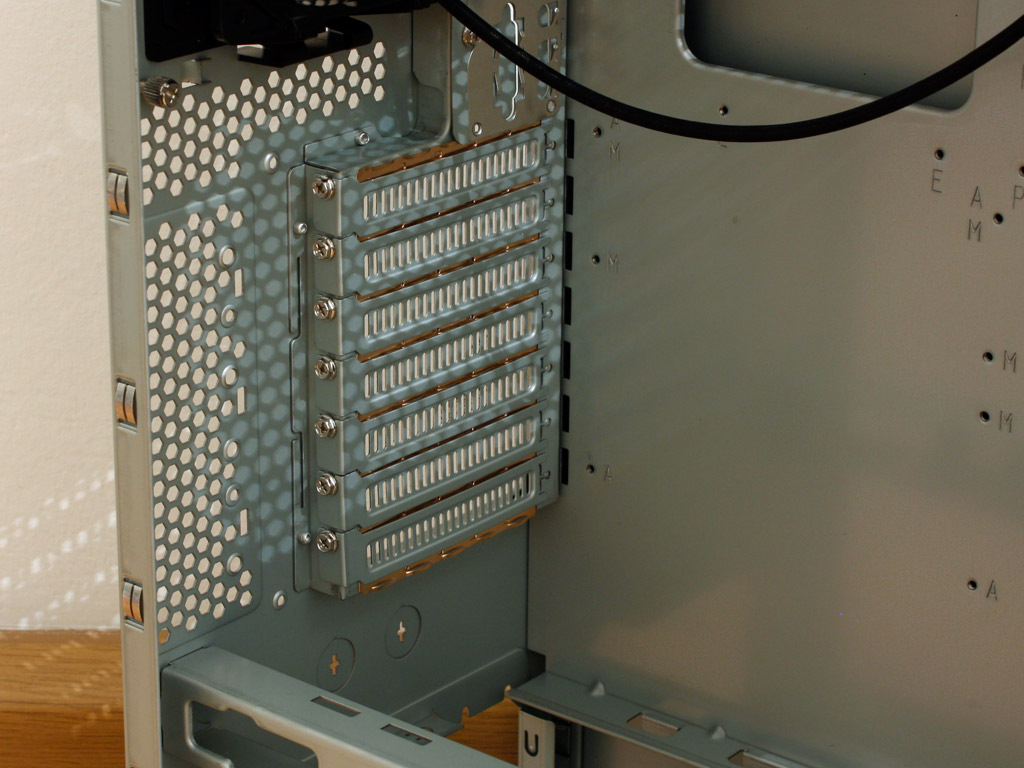
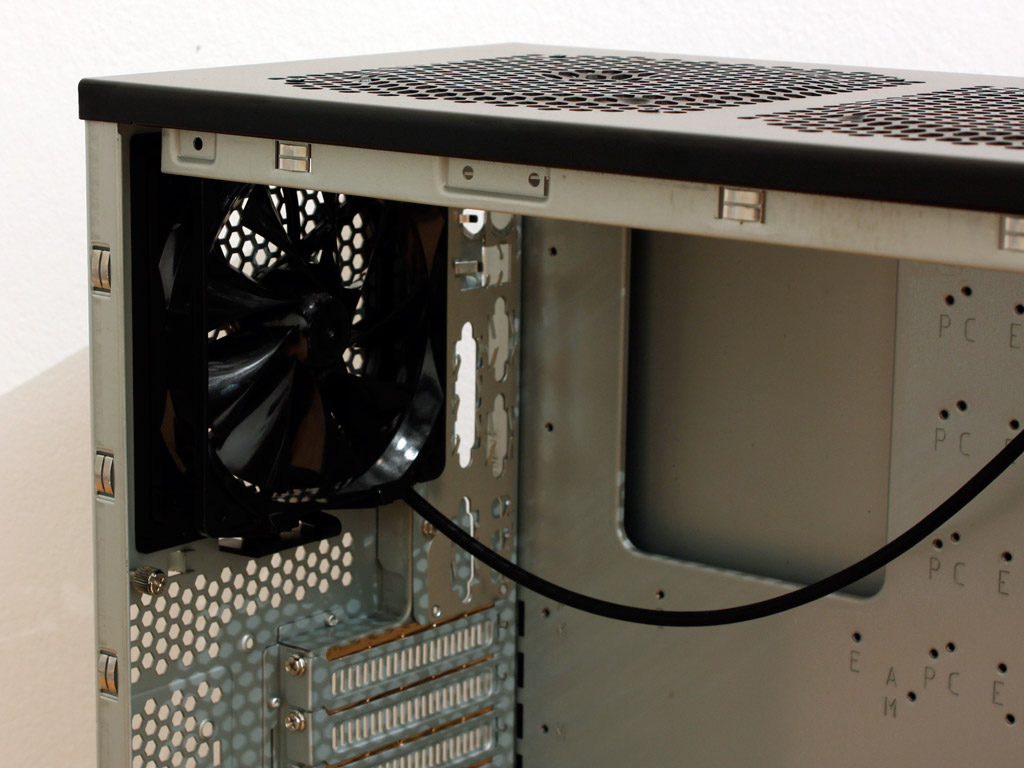
Turning around, let us start with the rear inside. On the bottom is the PSU bay. This bay comes with a very annoying support bar on the floor and the bay is blocked by the cross bar of the chassis. You may wonder why I have chosen to say "annoying", but the ledges on this support make it impossible to install a PSU without removing it first by unscrewing the two screws. The seven expansion slot covers are held in place by normal screws, so you will need the appropriate tool to install any cards. Above that is the 120 mm fan, which pulls air out of the rear of the chassis, out the back. This unit is not lit, but has more blades and a unique shape, which should translate into a lower noise level.


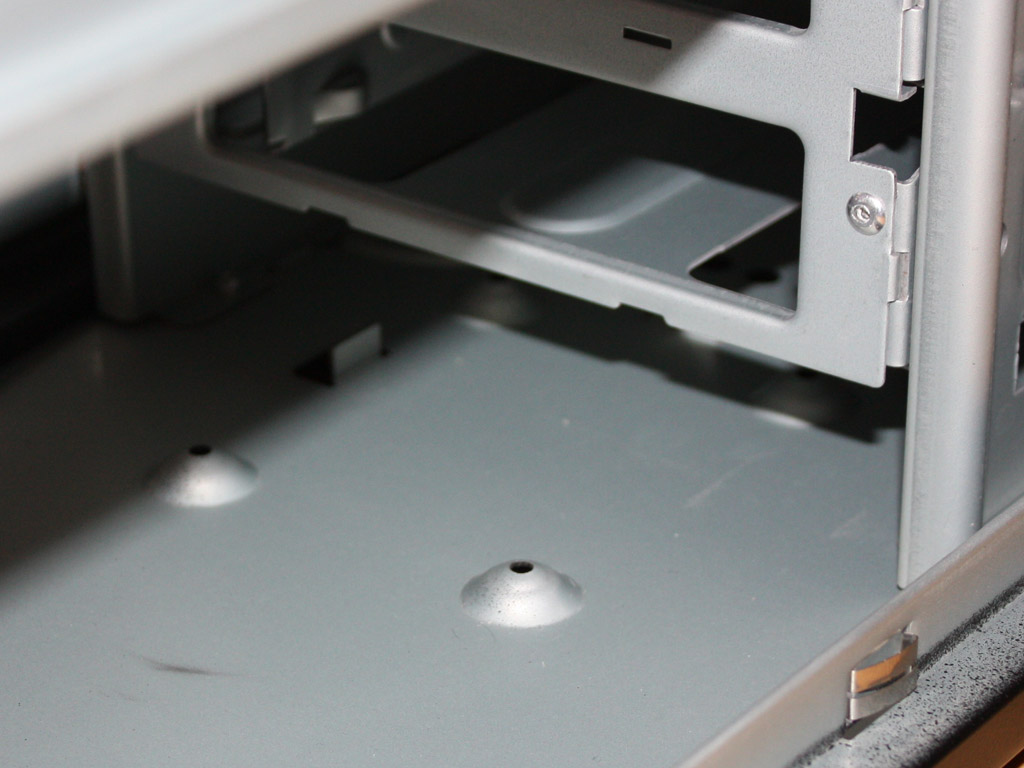
You are able to pull off the entire front with a firm tug. In fact, if you plan to install any optical drives, you have to remove the front to gain access to the drive bay covers. Thermaltake only includes a single multi LED fan in the front, while the other one is of their standard black variety with additional blades. In my humble opinion, the chassis has enough lighting elements already, thus the use of an improved and quieter, but LED-less fan is greatly appreciated. Each drive cage is made of metal and still requires you to use normal screws to secure the hard drives. Four small bumps on the floor of the case allow you to install a 2.5 inch drive as well. Doing so will require you to tip over the Element V to apply the screws. Not the best method, but at least you do have a dedicated spot for the SSD of your choice.
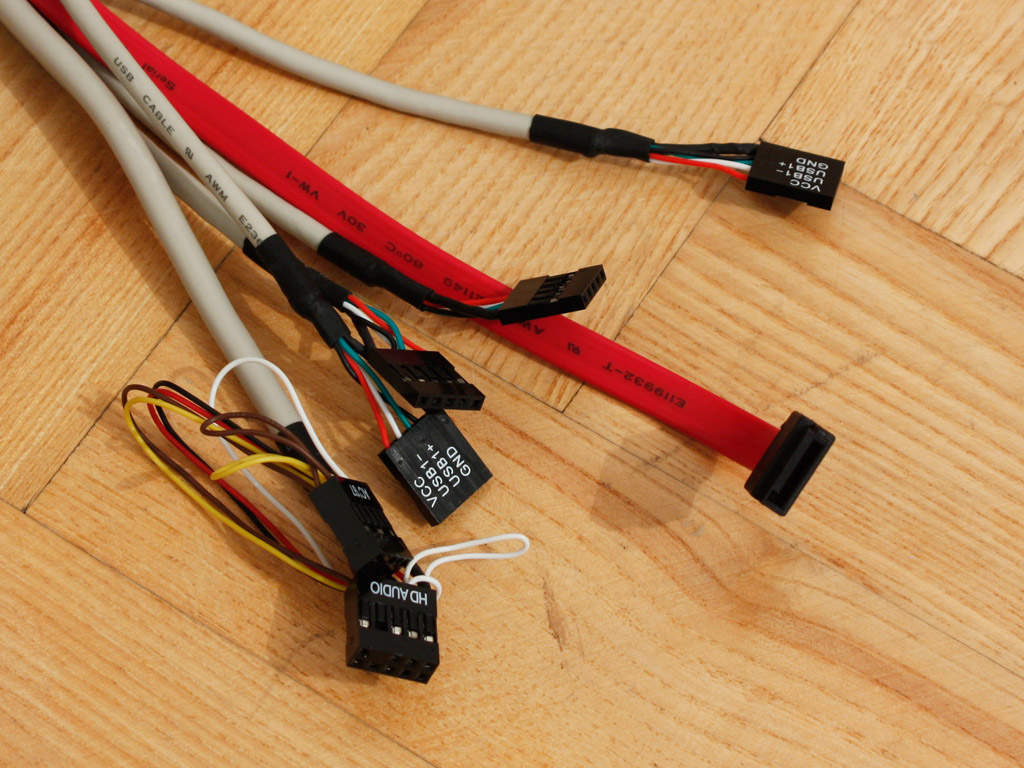
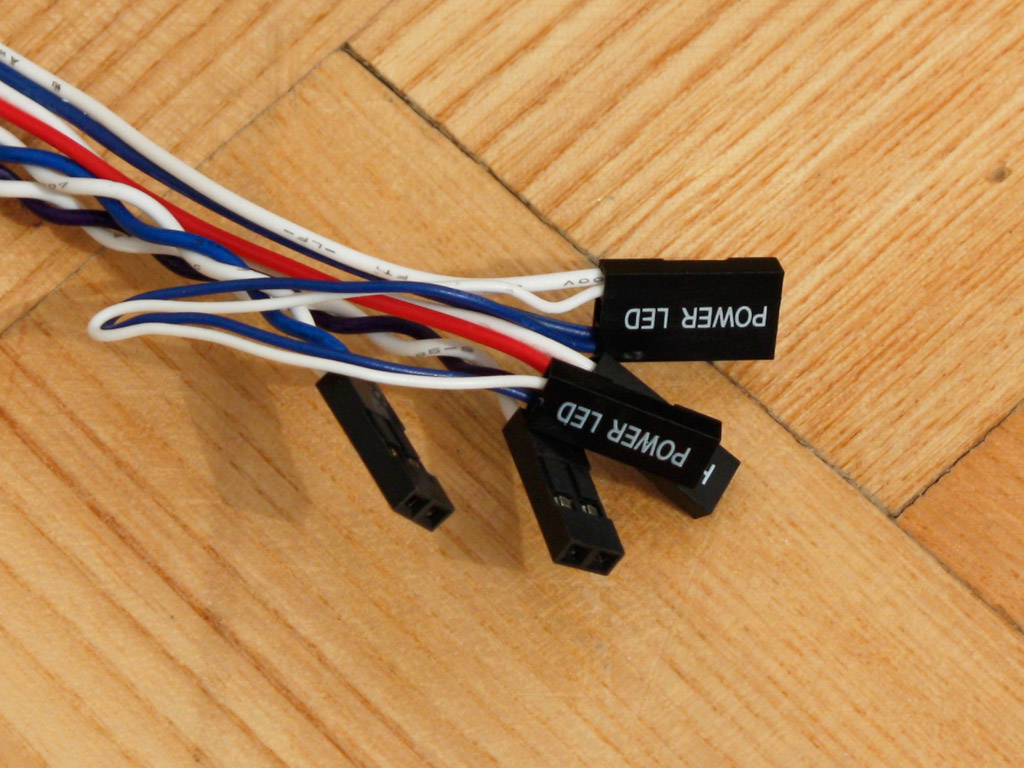
All the cables of the Element V seem to be a bit too long, but luckily one is able to hide them quite nicely as we will see later on. These cables are all of the standard variety with two exceptions. First off each USB plug has their own connector. Most manufacturers pair them up, so that you either have to power that pair or none at all. Splitting them gives you the same level of comfort when connecting the top USB 2.0 ports, but also allows for maximum flexibility which or how many to connect. Secondly the power LED connector comes in a two or three pin variant, so it will fit perfectly, no matter what your board uses. Well done Thermaltake!
Jul 10th, 2025 02:25 CDT
change timezone
Latest GPU Drivers
New Forum Posts
- Screen burn-in (20)
- TPU's Nostalgic Hardware Club (20493)
- 3DMARK "LEGENDARY" (326)
- Post Your TIMESPY, PCMARK10 & FIRESTRIKE SCORES! (2019) (321)
- 5070ti overclock...what are your settings? (47)
- 'NVIDIA App' not usable offline? (1)
- G-Sync Not Working in Borderless / Window Mode - Windows 11 (5)
- [GPU-Z Test Build] New Kernel Driver, Everyone: Please Test (78)
- Friend's monitor randomly loses signal (3)
- What's your latest tech purchase? (24234)
Popular Reviews
- NZXT N9 X870E Review
- NVIDIA GeForce RTX 5050 8 GB Review
- Fractal Design Epoch RGB TG Review
- Corsair FRAME 5000D RS Review
- Fractal Design Scape Review - Debut Done Right
- AMD Ryzen 7 9800X3D Review - The Best Gaming Processor
- Sapphire Radeon RX 9060 XT Pulse OC 16 GB Review - An Excellent Choice
- Upcoming Hardware Launches 2025 (Updated May 2025)
- Sapphire Radeon RX 9070 XT Nitro+ Review - Beating NVIDIA
- PowerColor ALPHYN AM10 Review
TPU on YouTube
Controversial News Posts
- Intel's Core Ultra 7 265K and 265KF CPUs Dip Below $250 (288)
- Some Intel Nova Lake CPUs Rumored to Challenge AMD's 3D V-Cache in Desktop Gaming (140)
- NVIDIA Launches GeForce RTX 5050 for Desktops and Laptops, Starts at $249 (117)
- AMD Radeon RX 9070 XT Gains 9% Performance at 1440p with Latest Driver, Beats RTX 5070 Ti (116)
- NVIDIA GeForce RTX 5080 SUPER Could Feature 24 GB Memory, Increased Power Limits (115)
- Microsoft Partners with AMD for Next-gen Xbox Hardware (105)
- Intel "Nova Lake‑S" Series: Seven SKUs, Up to 52 Cores and 150 W TDP (100)
- NVIDIA DLSS Transformer Cuts VRAM Usage by 20% (97)