 15
15
Viotek GNV34DBE2 Review - An Affordable 34” Ultrawide Gaming Monitor
Picture Quality, Uniformity & Calibration »Controls and OSD
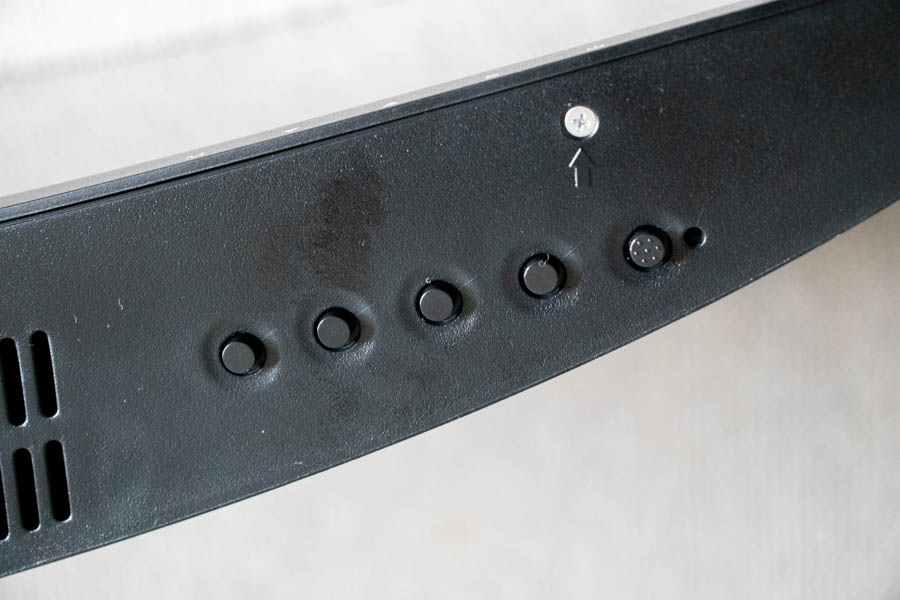
The OSD can be accessed through a set of four buttons located below the bottom-right edge of the panel. The fifth button, found next to these controls, is the power button. The plastic buttons are relatively hard to press; they cause the entire screen to wobble, and the entire layout of the OSD isn't particularly intuitive. While I can't say I've had a great time setting up the Viotek GNV34DBE2, this of course isn't a big issue since it will be a one-time ordeal for most people. Pressing any of the first four buttons opens up a quick menu through which you can then either access the entire OSD or choose between several virtual crosshairs, cycle through the factory-installed picture profiles, and adjust the RGB range, which can be limited (16–235) or full (0–255).
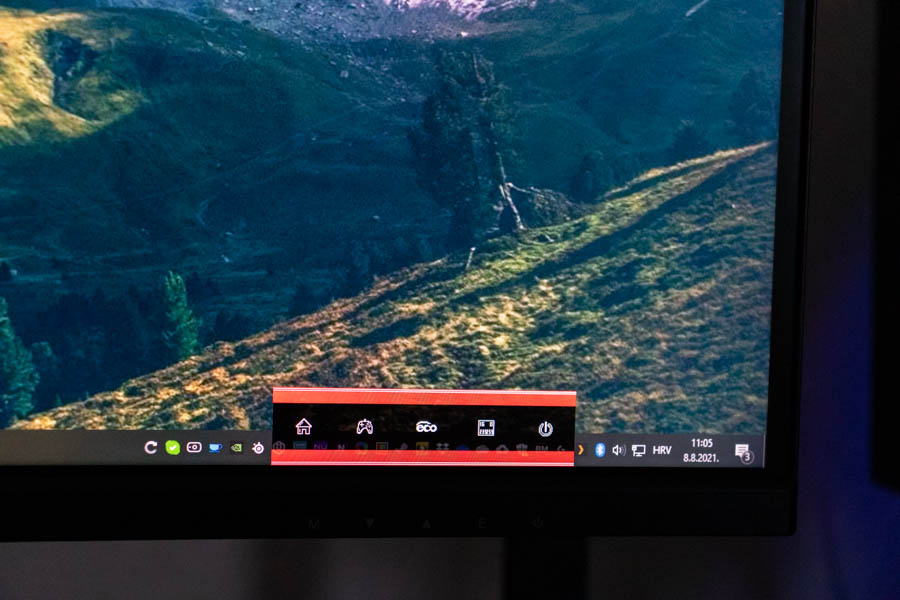
A few things to note before diving into the main part of the OSD will follow. The virtual crosshair feature, marked with a pictogram of a gamepad, makes a red dot appear in the middle of the screen. If you keep pressing the same button, you'll cycle through other available crosshairs: a green dot as well as red and green "+" crosshairs. Pressing any other button immediately deactivates the virtual crosshair feature. Unfortunately, the monitor doesn't remember which crosshair you used last, so you'll have to cycle through them until you reach the desired one every time you want to use this feature.
For reasons unknown to me, the picture profiles are found under the "Eco" quick toggle. All of the usual suspects are here: Standard, Photo, Movie, Game, FPS, and RTS. Stick with the Standard profile, as that's how you'll get the best image quality the Viotek GNV34DBE2 has to offer. The only other profile I'd potentially consider using is FPS since it boosts the brightness and blacks to make enemies lurking in the shadows much easier to spot. Of course, this comes at the expense of contrast and overall picture quality, as you're no longer seeing what the content/game creators intended.
I also cannot comprehend why Viotek decided to default to the limited RGB range (16–235) instead of going with the full RGB range (0–255) as the default, out-of-the-box setting. It's safe to assume most users won't really understand and consequentially touch this setting, which also means they won't be getting the best-possible color reproduction and/or detail retrieval, particularly in very dark and very bright scenes. If you're connecting the Viotek GNV34DBE2 to a PC, you should immediately switch to the full RGB range.
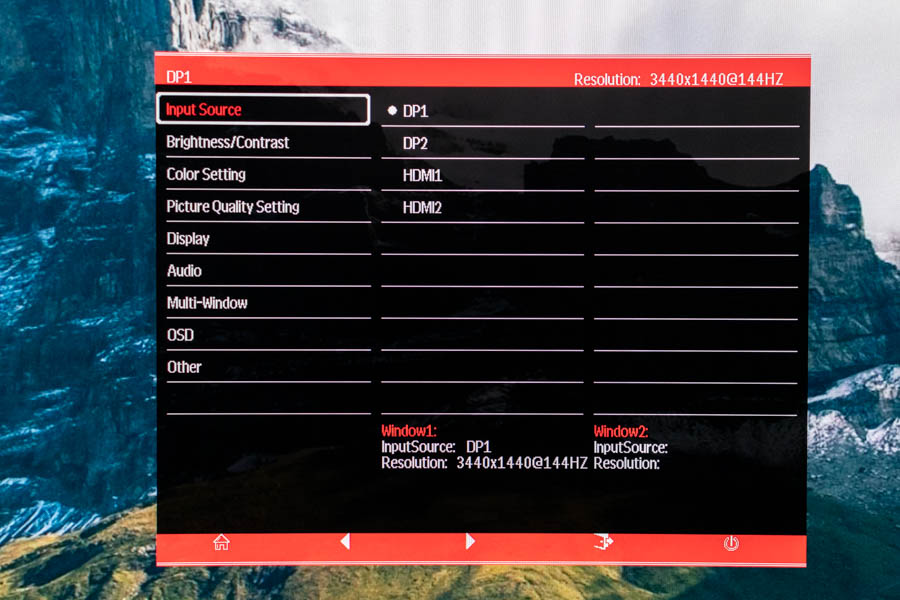
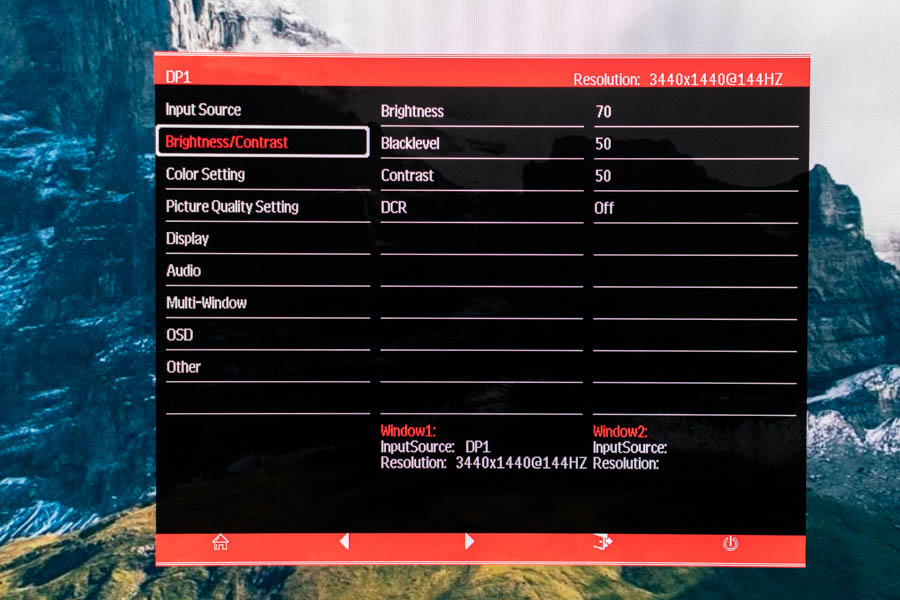
The OSD is organized into various categories, with the current picture source, resolution, and refresh rate shown at its top and some misaligned controls at the bottom. It starts with a standard Input Source submenu, followed by the Brightness/Contrast submenu, where the brightness setting is the only one you should be interested in. Everything else is best left alone.
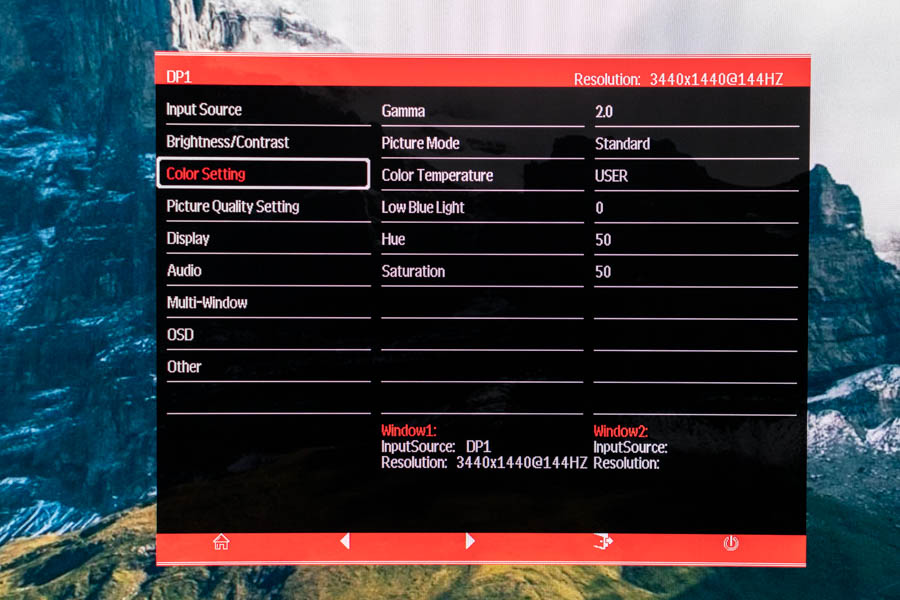
The Color Setting submenu is where you'll have to stop by to adjust the gamma and color temperature. Again, it's best to leave everything else intact. If you suffer from headaches when using the monitor for longer periods, the Low Blue Light feature might interest you as it acts as a blue light filter. Just keep in mind that you're effectively crushing the white balance and color accuracy by using this filter.
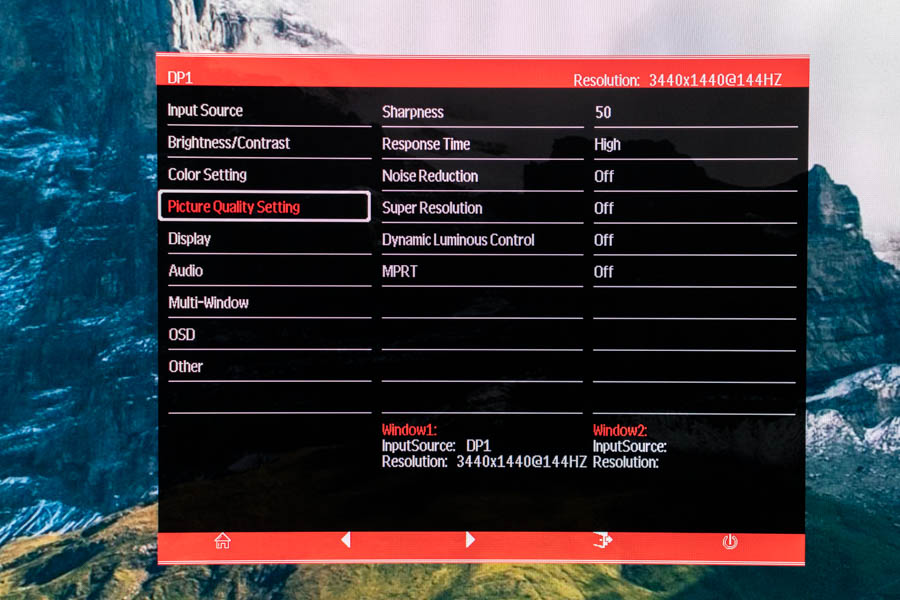
The Picture Quality Setting submenu has one important option: Response Time. This is where you'll adjust the overdrive technology to make pixels transition faster. In this part of the OSD, the Viotek GNV34DBE2 also offers the MPRT (Moving Picture Response Time) toggle. More on that in the gaming performance section of the review.
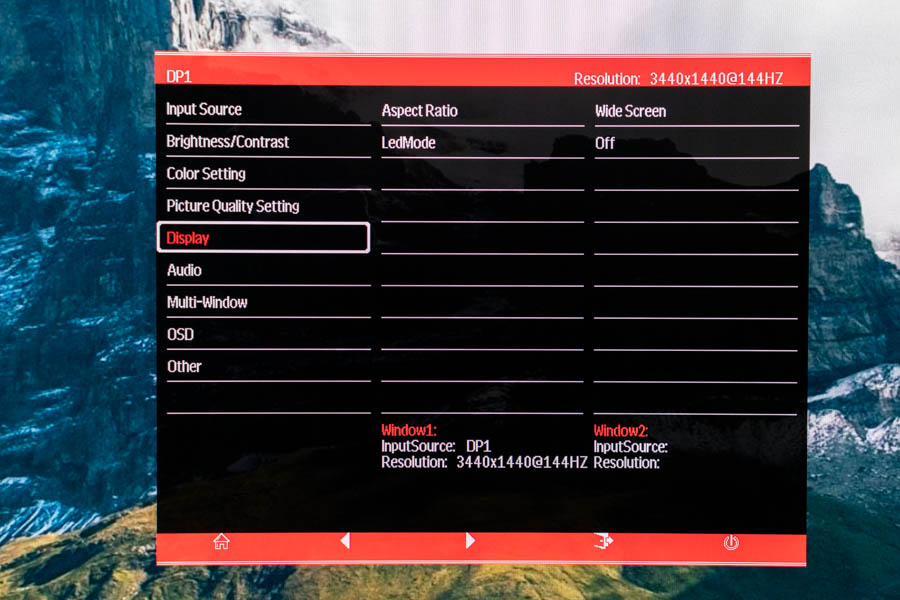
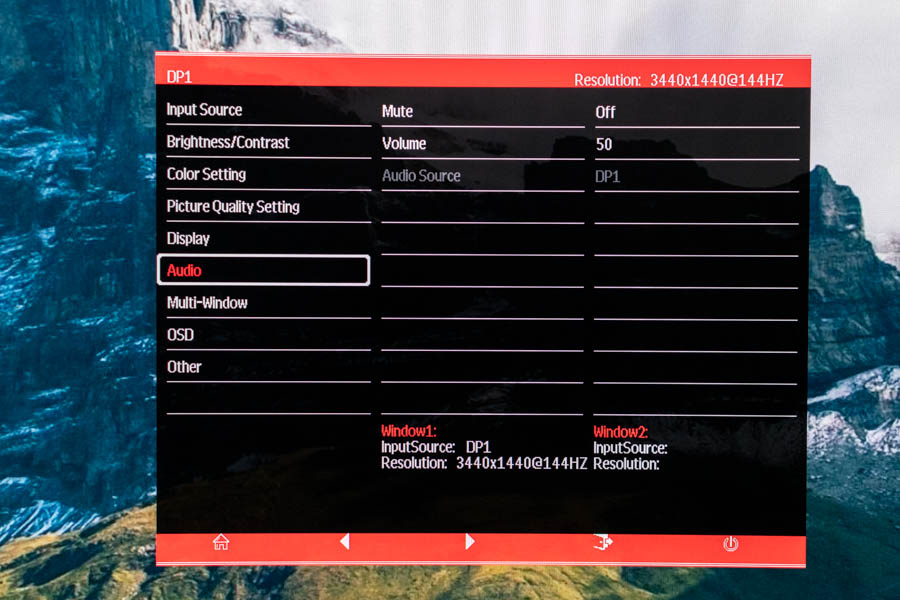
In the Display submenu, you can turn off the useless red LEDs found on the rear side of the monitor, while the Audio section of the OSD will come in handy if you decide to use the built-in 3.5-mm audio output.

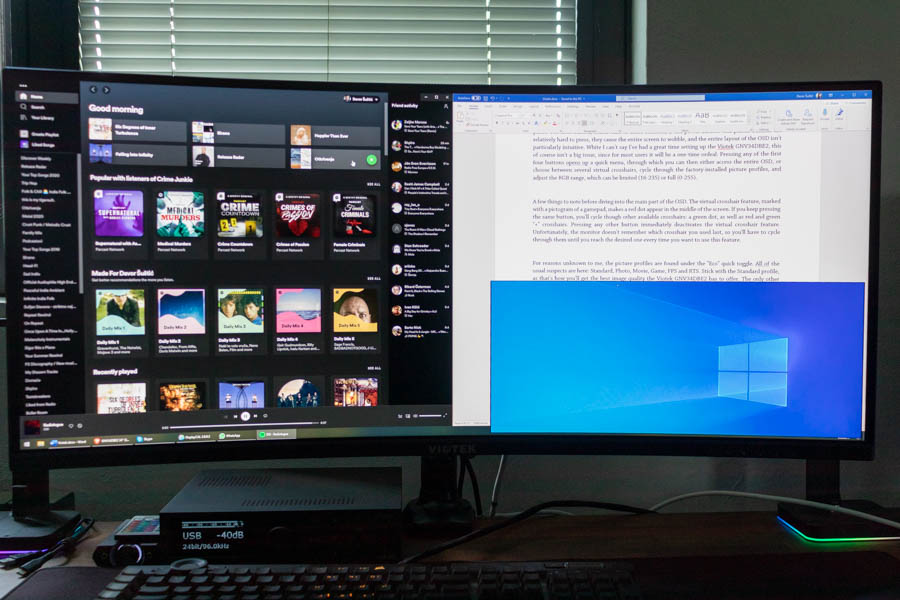
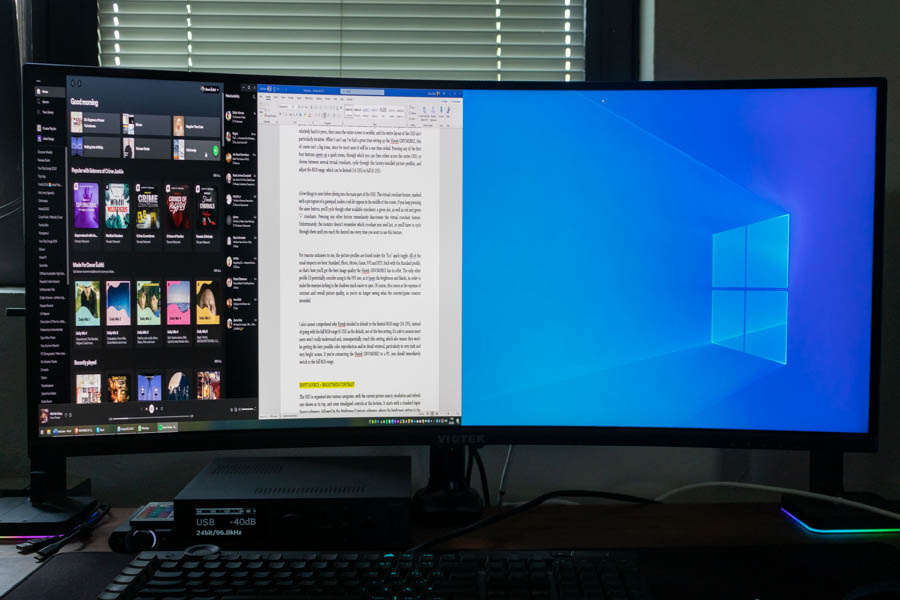
The Multi-Window section of the OSD is where you'll find everything related to its Picture-in-Picture and Picture-by-Picture functionality. Here, you'll select your active inputs (any combination of the two built-in DisplayPort and two HDMI inputs is supported) to then decide if you want to have their signals displayed side-by-side (PbP) or if one will be overlayed on top of the other (PiP). In PiP mode, the picture from the "main" source is displayed across the entire panel, while the size and position of the window in which you'll see the secondary source are adjustable. It can be small, medium, or large (the large one takes up less than a quarter of the screen), and positioned in any of the four corners of the panel. There's also a useful Swap option, which quickly swaps the primary and secondary sources.
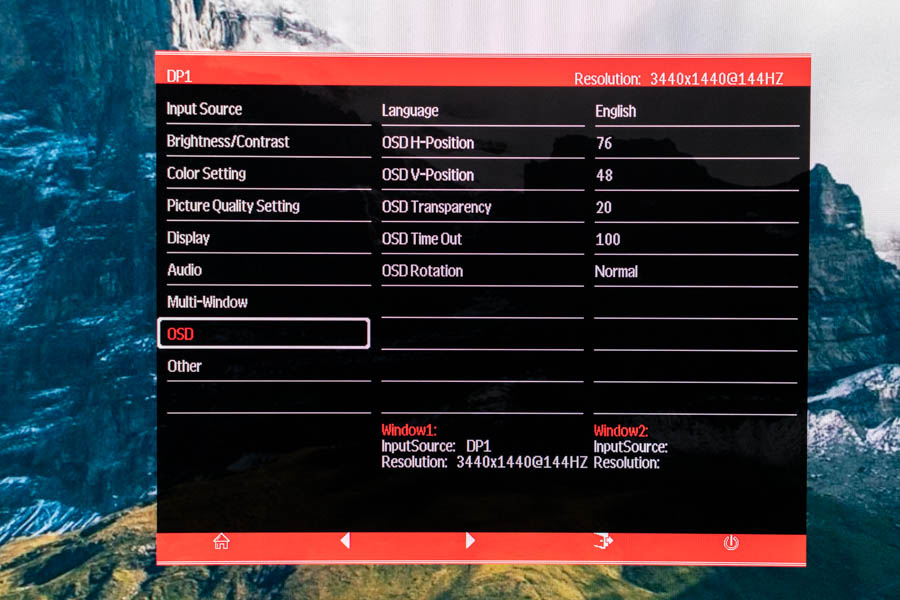
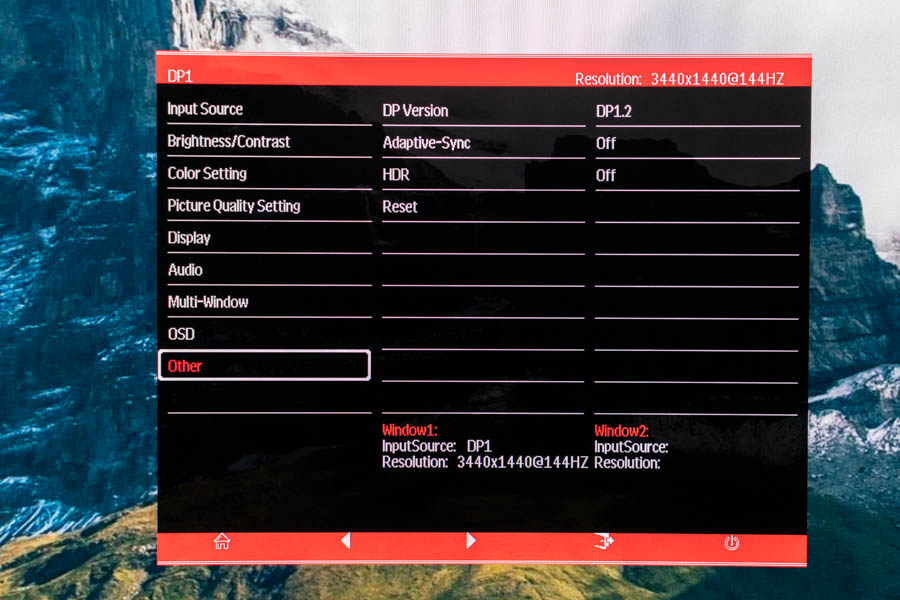
In the OSD submenu, you can change the language, position, rotation, transparency, and timeout of the OSD. The final submenu, called Other, lets you change the DisplayPort version (depending on your source), activate or deactivate Adaptive Sync and HDR (it is also possible to set it to Auto Detect to let the monitor recognize when the operating system is pushing HDR content), and reset the monitor to factory defaults.
Jul 3rd, 2025 21:43 CDT
change timezone
Latest GPU Drivers
New Forum Posts
- What Windows is overall the best to you and why? (267)
- How do you view TPU & the internet in general? (With poll) (58)
- HP Zbook 15 G2 GPU Upgrade (12)
- Will you buy a RTX 5090? (610)
- What phone you use as your daily driver? And, a discussion of them. (1756)
- GPU-Z Display Bug via DP 2.1? (3)
- What would you buy? (51)
- A Final Fantasy IX Reminiscence - My love letter and homage to one of the best stories ever told (90)
- GravityMark v1.89 GPU Benchmark (309)
- RTX 5070 discussion (5)
Popular Reviews
- ASUS ROG Crosshair X870E Extreme Review
- Crucial T710 2 TB Review - Record-Breaking Gen 5
- Fractal Design Scape Review - Debut Done Right
- PowerColor ALPHYN AM10 Review
- Sapphire Radeon RX 9060 XT Pulse OC 16 GB Review - An Excellent Choice
- Upcoming Hardware Launches 2025 (Updated May 2025)
- AMD Ryzen 7 9800X3D Review - The Best Gaming Processor
- Sapphire Radeon RX 9070 XT Nitro+ Review - Beating NVIDIA
- SCHENKER KEY 18 Pro (E25) Review - Top-Tier Contender
- AVerMedia CamStream 4K Review
TPU on YouTube
Controversial News Posts
- Intel's Core Ultra 7 265K and 265KF CPUs Dip Below $250 (288)
- NVIDIA Grabs Market Share, AMD Loses Ground, and Intel Disappears in Latest dGPU Update (212)
- Some Intel Nova Lake CPUs Rumored to Challenge AMD's 3D V-Cache in Desktop Gaming (140)
- NVIDIA GeForce RTX 5080 SUPER Could Feature 24 GB Memory, Increased Power Limits (115)
- Microsoft Partners with AMD for Next-gen Xbox Hardware (105)
- NVIDIA Launches GeForce RTX 5050 for Desktops and Laptops, Starts at $249 (105)
- Intel "Nova Lake‑S" Series: Seven SKUs, Up to 52 Cores and 150 W TDP (100)
- NVIDIA DLSS Transformer Cuts VRAM Usage by 20% (97)