 0
0
XPG Starker Air Review
Assembly & Finished Looks »A Closer Look - Inside
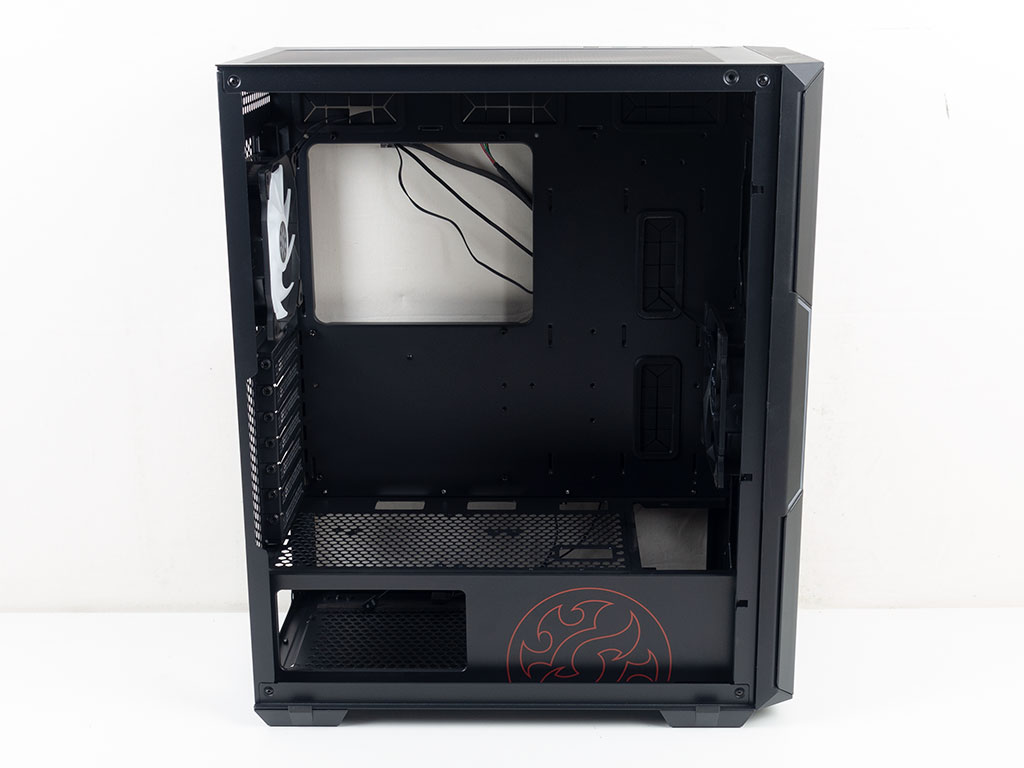
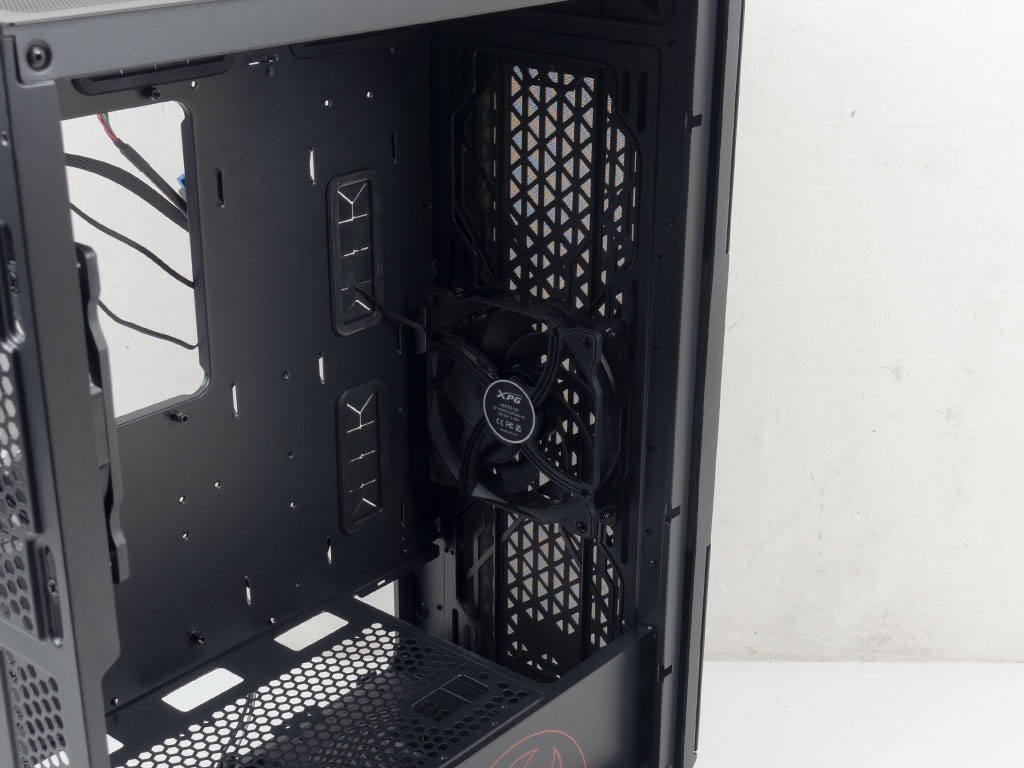
To access the interior, simply loosen the thumb screws of each side panel and pull them off. There is a metal shroud with the XPG logo on it. It comes with a honeycomb vent and may hold two 120 mm fans. Looking closely, we can see the holes to mount the spacer for vertical GPU placement, which lines up with the two vertical expansion slots close to the glass panel, so with a bit of creative PCIe ribbon placement, you should be able to use the two closest to your motherboard for other expansion cards as well.

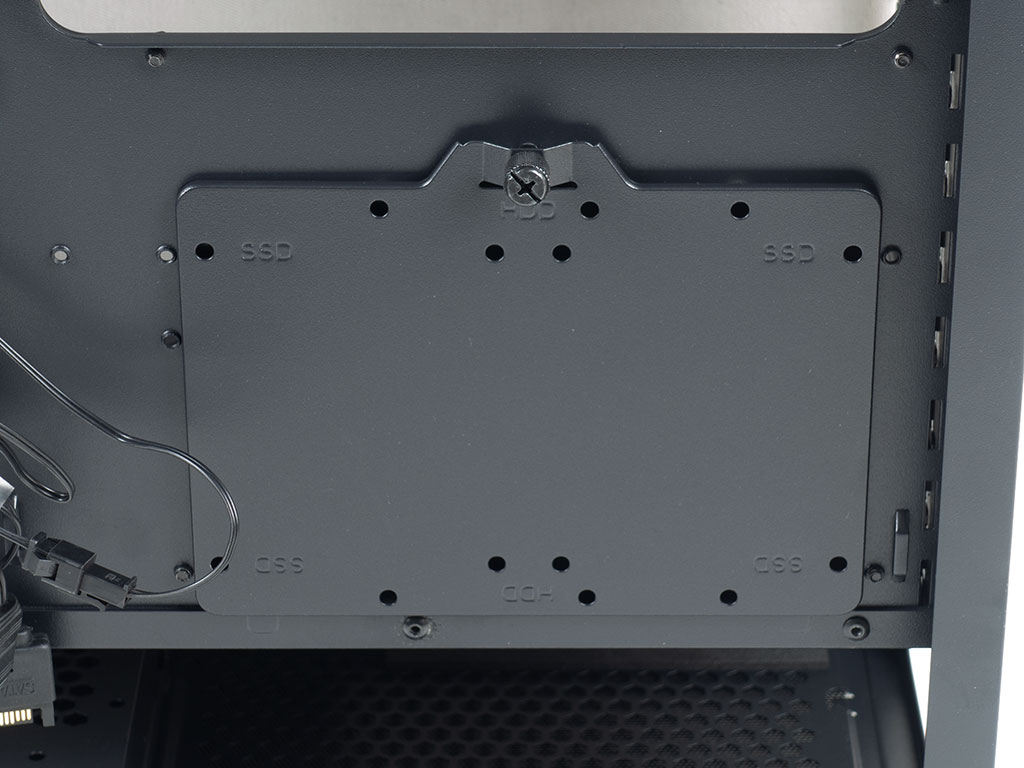
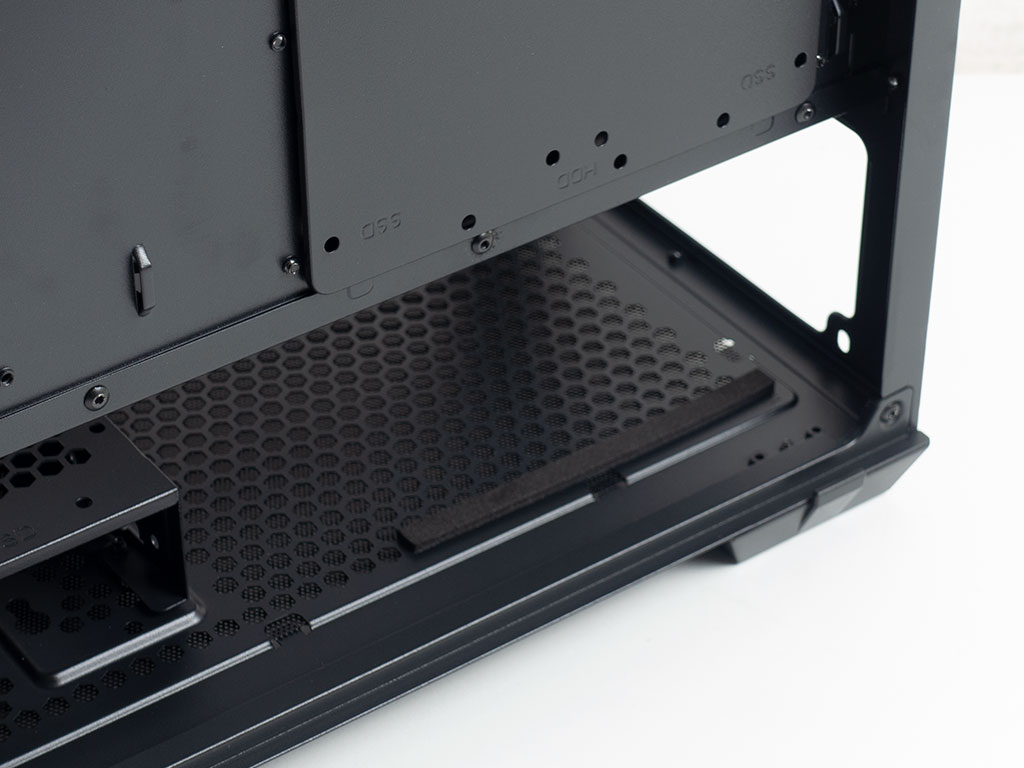
Looking at the backside of the motherboard tray, the I/O cables line up, so you won't need to worry about the cable mess being visible. On top of that, XPG equipped all cable-routing holes with grommets, which is a nice touch and actually quite uncommon for a case of this price range. There is a plate you may easily remove to attach either two 2.5" drives or a single 3.5" unit, giving you a bit of added flexibility over two separate 2.5" trays. While the XPG Starker Air does come with that built-in ARGB controller, XPG opted out of a centralized PCB. As such, you will have quite the cable mess to deal with even with just the two included fans.
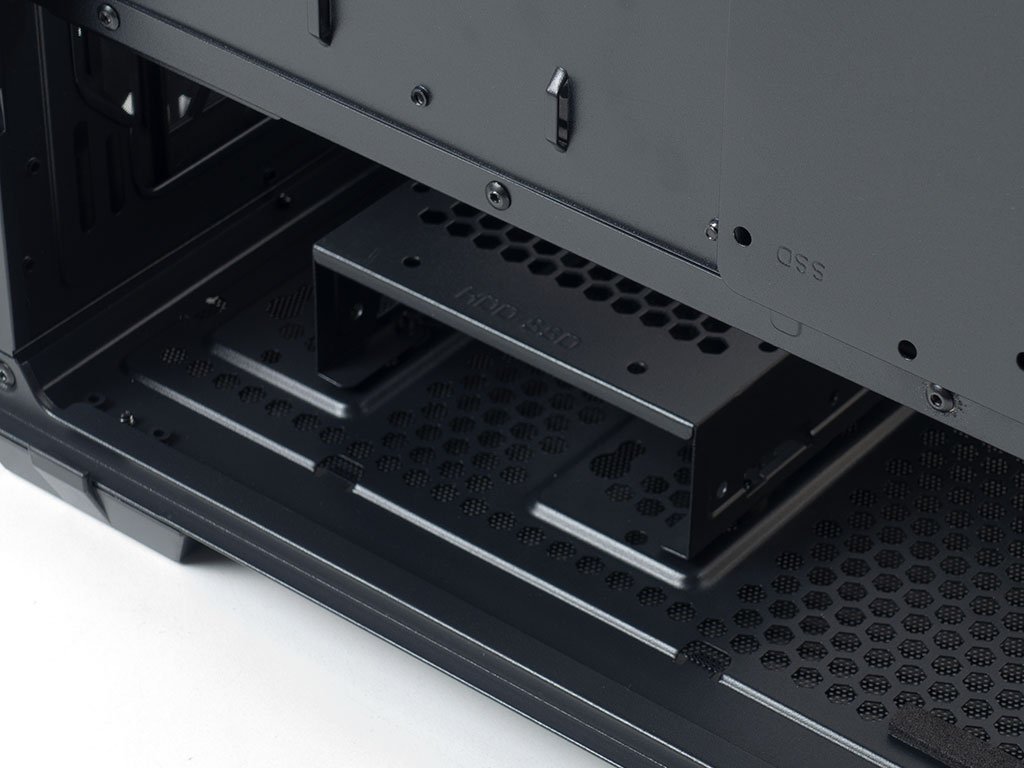
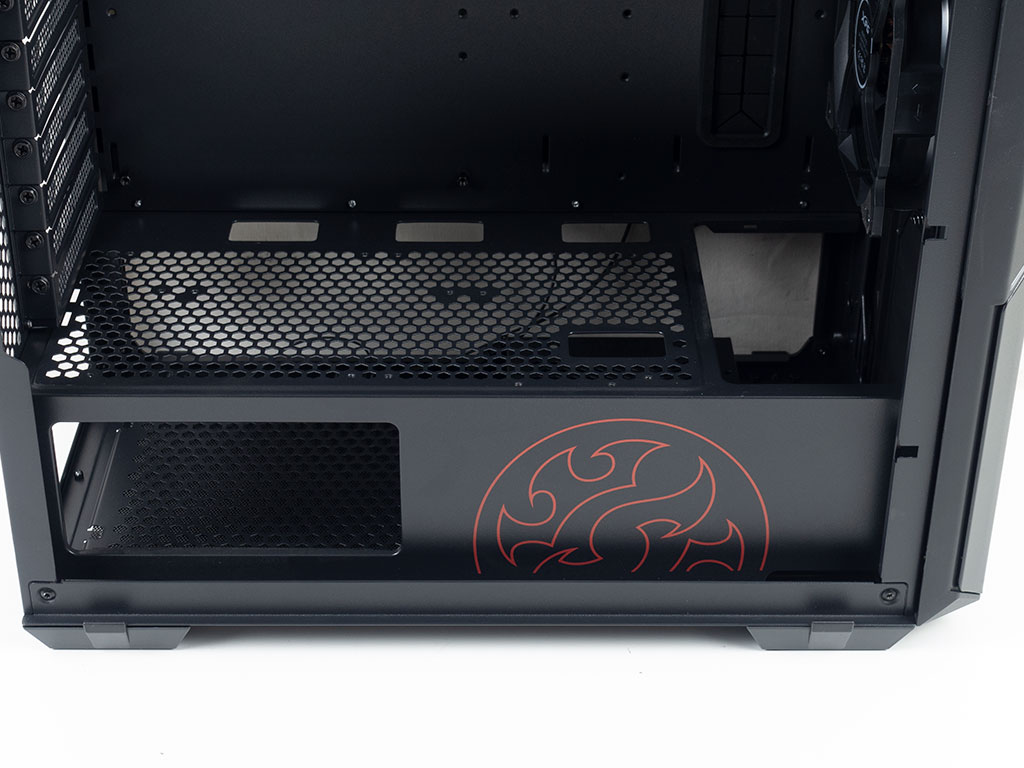
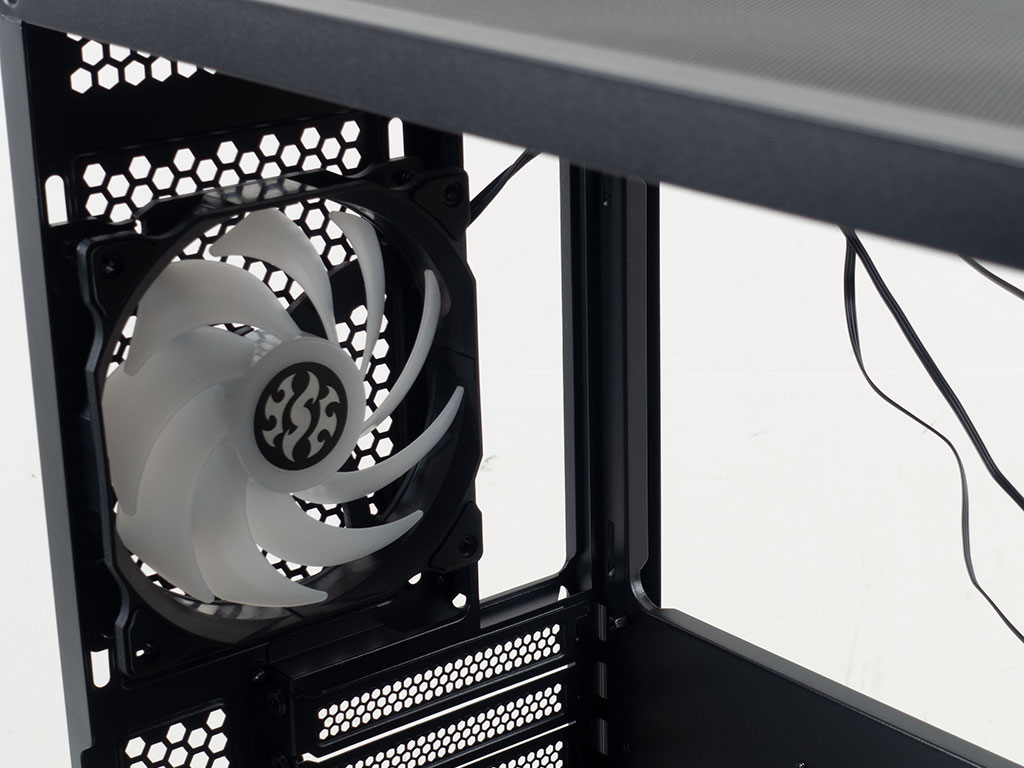
In the front, underneath the shroud, is an HDD cage you may pull out to add either two 3.5" or a 2.5 and a 3.5 " drive. Above that is the front meant to hold either fans or liquid cooling. XPG includes a single 120 mm fan without any LEDs here. While the latter is not a big deal considering the front comes with its own lighting, many mid-tower cases in this price range come with four or even five fans these days, so it would have been nice to see more fans out of the box.
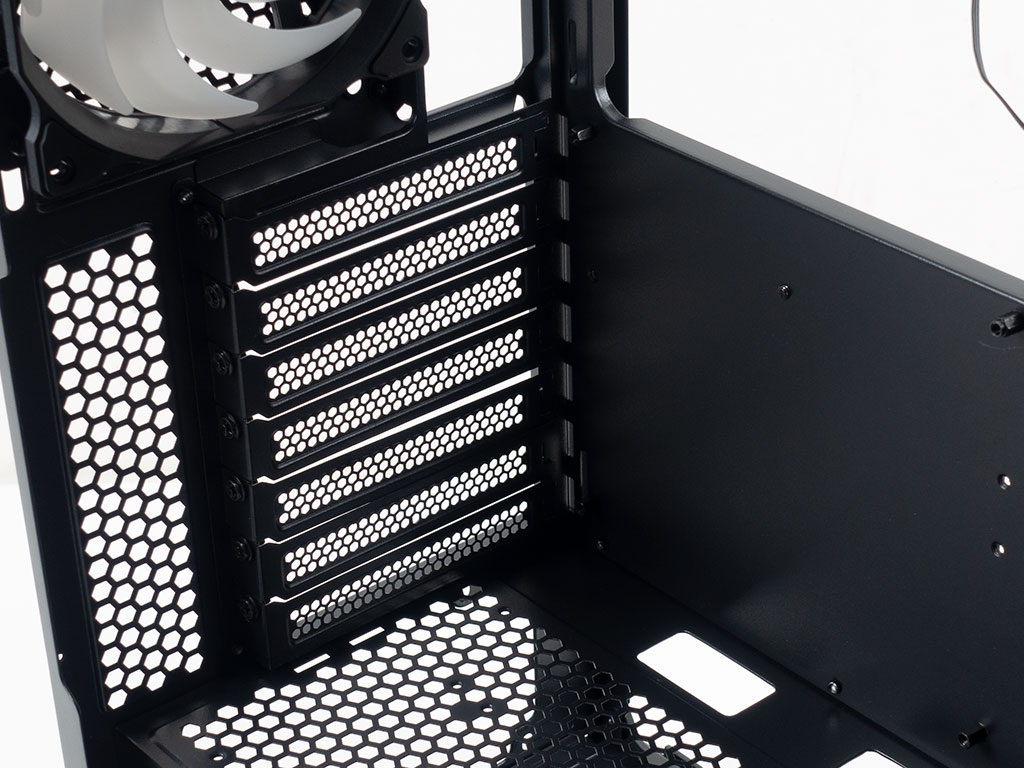
In the rear, the PSU bay comes with two functional foam spacers on which the PSU will sit. Above that are the seven expansion slots and a 120 mm ARGB fan set to push hot air out the back of the XPG Starker Air.
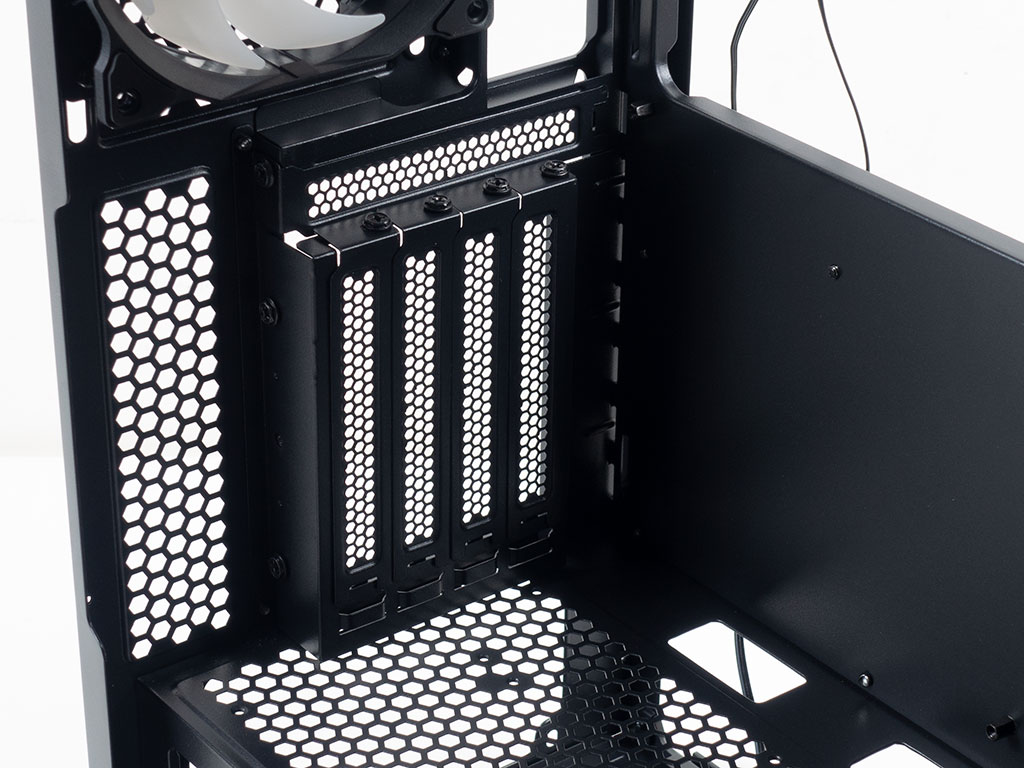
While we will not be installing our GPU vertically, you may insert the included expansion-slot bracket by taking out the bottom six covers and then placing the frame in their place. The covers themselves may be re-purposed to close the gaps of the vertical setup. While this is not as flexible as having two dedicated slots, you still have one horizontal slot in this configuration.
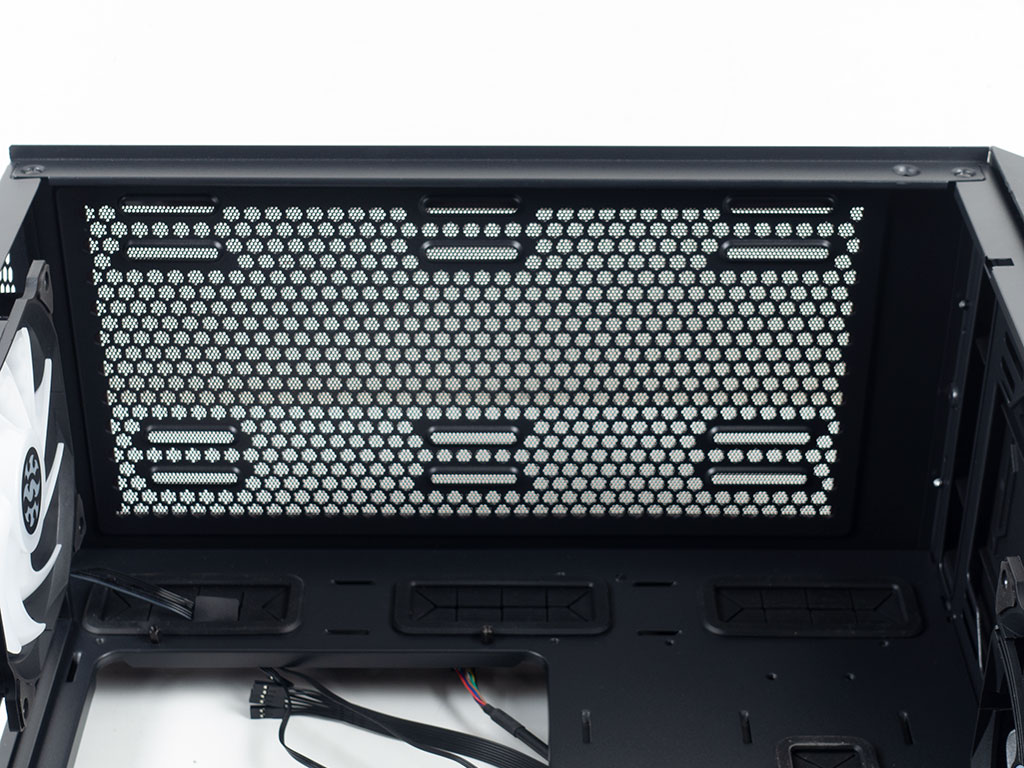
In the ceiling, you can clearly see where you may mount liquid cooling, and all the space you have to do so.

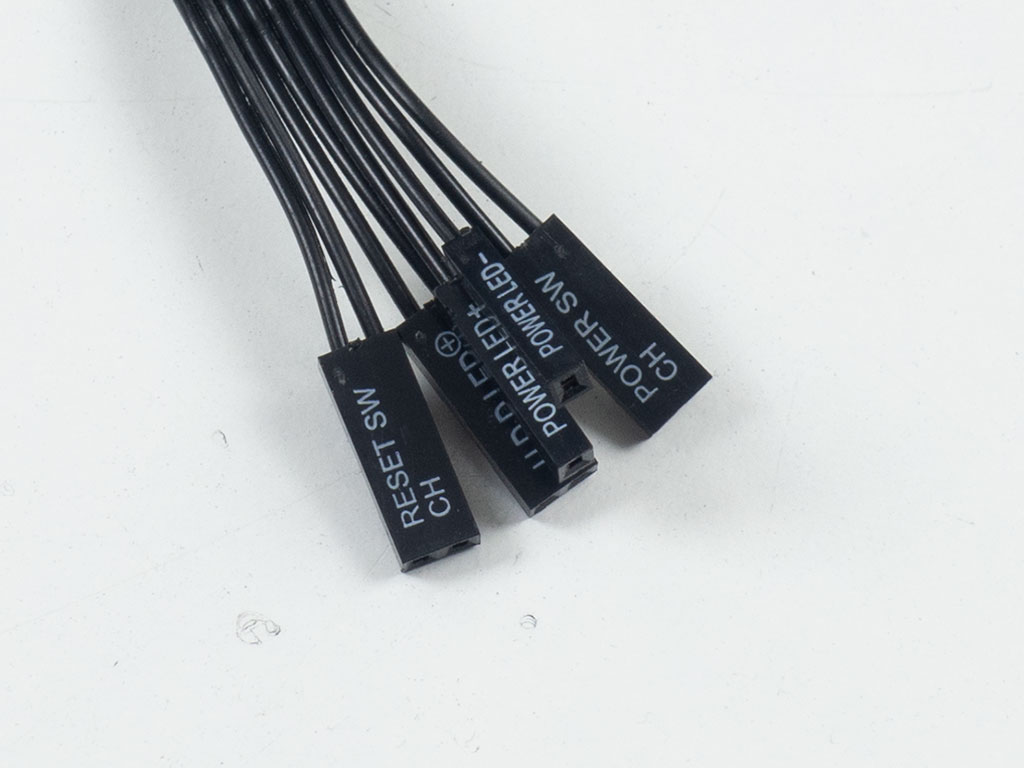
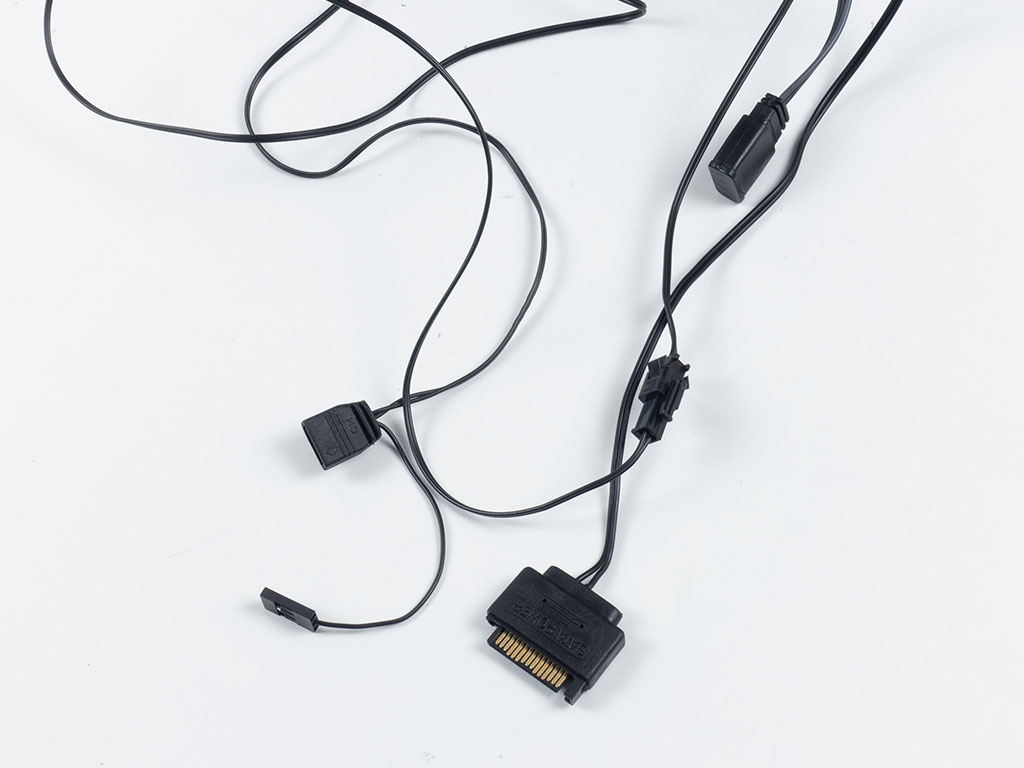
All the leads within the XPG Starker Air are sleeved black and exactly what you would expect. As mentioned, the chassis does not come with an ARGB PCB, but you may expand your lightning elements with brand agnostic parts, which is great. These may also be controlled by the motherboard owing to the leads which plug into any major motherboard brand implementation.
Mar 10th, 2025 16:10 EDT
change timezone
Latest GPU Drivers
New Forum Posts
- Please I need help with the poor performance that my PC is giving me (28)
- Company of Heroes 3 (5)
- The TPU Darkroom - Digital SLR and Photography Club (4071)
- Maxsun RX580 graphics card crashes (24)
- A Final Fantasy IX Reminiscence - My love letter and homage to one of the best stories ever told (72)
- Gaming PC instabiliity (20)
- Msi 5090 DOA? (27)
- 3D Printer Club (447)
- Microprose: Falcon 5.0 - Well under development- yeay (1)
- €2000 Austrian gaming build (4)
Popular Reviews
- Sapphire Radeon RX 9070 XT Nitro+ Review - Beating NVIDIA
- XFX Radeon RX 9070 XT Mercury OC Magnetic Air Review
- ASUS Radeon RX 9070 TUF OC Review
- MSI MAG B850 Tomahawk Max Wi-Fi Review
- NVIDIA GeForce RTX 5080 Founders Edition Review
- NVIDIA GeForce RTX 5070 Founders Edition Review
- Corsair Vengeance RGB CUDIMM DDR5-8800 48 GB CL42 Review
- AMD Ryzen 7 9800X3D Review - The Best Gaming Processor
- ASUS GeForce RTX 5070 Ti TUF OC Review
- MSI GeForce RTX 5070 Ti Gaming Trio OC+ Review
Controversial News Posts
- NVIDIA GeForce RTX 50 Cards Spotted with Missing ROPs, NVIDIA Confirms the Issue, Multiple Vendors Affected (513)
- AMD Plans Aggressive Price Competition with Radeon RX 9000 Series (277)
- AMD Radeon RX 9070 and 9070 XT Listed On Amazon - One Buyer Snags a Unit (261)
- AMD RDNA 4 and Radeon RX 9070 Series Unveiled: $549 & $599 (260)
- AMD Mentions Sub-$700 Pricing for Radeon RX 9070 GPU Series, Looks Like NV Minus $50 Again (248)
- NVIDIA Investigates GeForce RTX 50 Series "Blackwell" Black Screen and BSOD Issues (244)
- AMD Radeon RX 9070 and 9070 XT Official Performance Metrics Leaked, +42% 4K Performance Over Radeon RX 7900 GRE (195)
- AMD Radeon RX 9070-series Pricing Leaks Courtesy of MicroCenter (158)