 0
0
XPG Invader Review
A Closer Look - Inside »A Closer Look - Outside
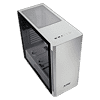
Out of the box, the XPG Invader instantly passes the first hurdle where many others failed: material mix. The Invader is extremely solid all around. There is very little plastic on the exterior, the glass panel is thick, and the paint job is excellent. On top of that XPG did not try to push the overall design boundaries, which is a good choice.
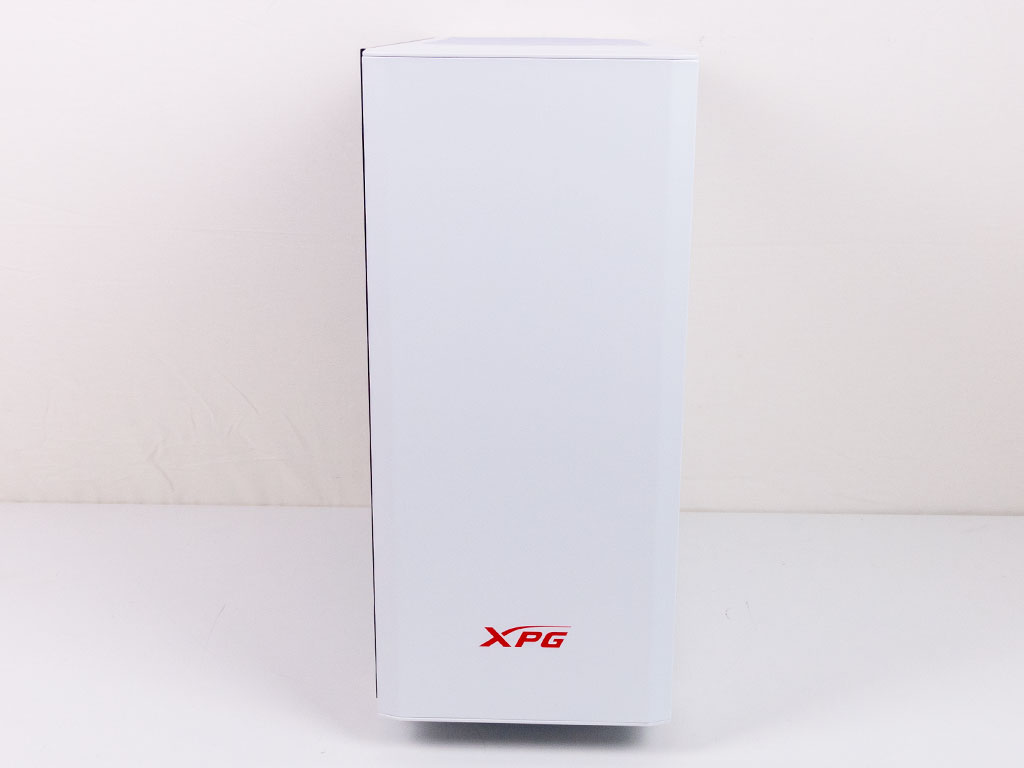
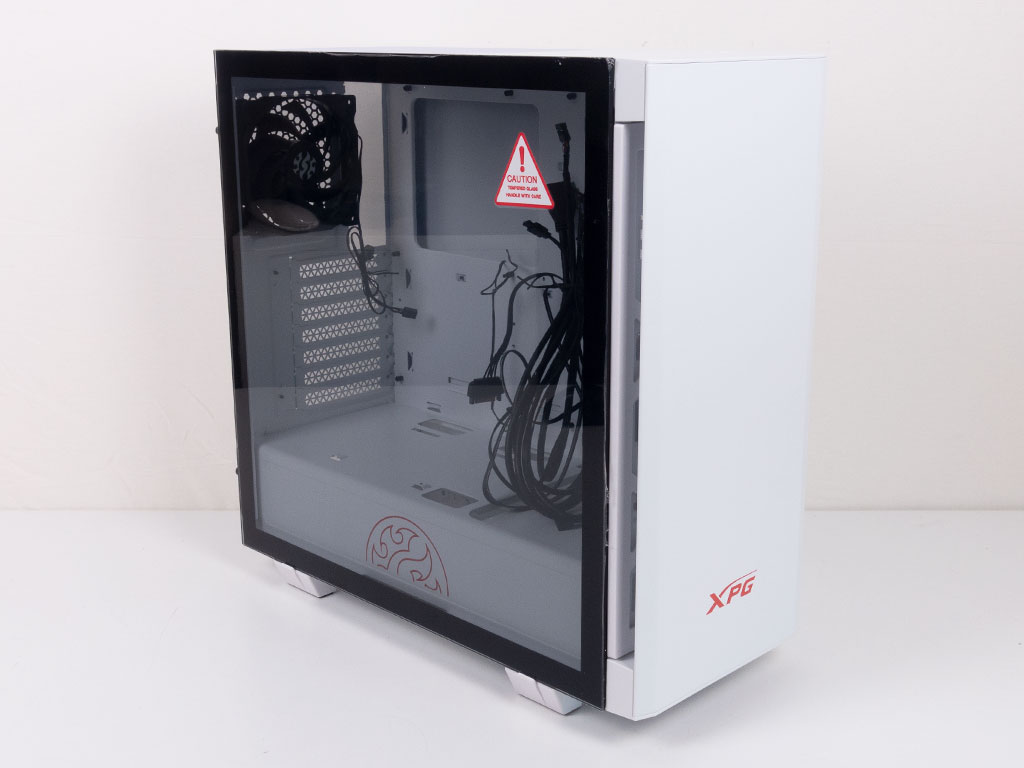
In the front is a solid metal plate with a red XPG logo on the bottom. Taking a peek at the rear, the layout looks pretty traditional by today's standards with a bottom-mounted PSU.

The front of the chassis is actually very well engineered, as you may simply pull off the magnetically attached solid steel cover to reveal a white dust filter that covers the entire opening in this area and is held in place with magnets as well. Behind it is a single pre-installed 120 mm intake fan. You may install up to three such units or opt for two 140 mm variants instead. There is also plenty of space for a 280 or 360 mm radiator.
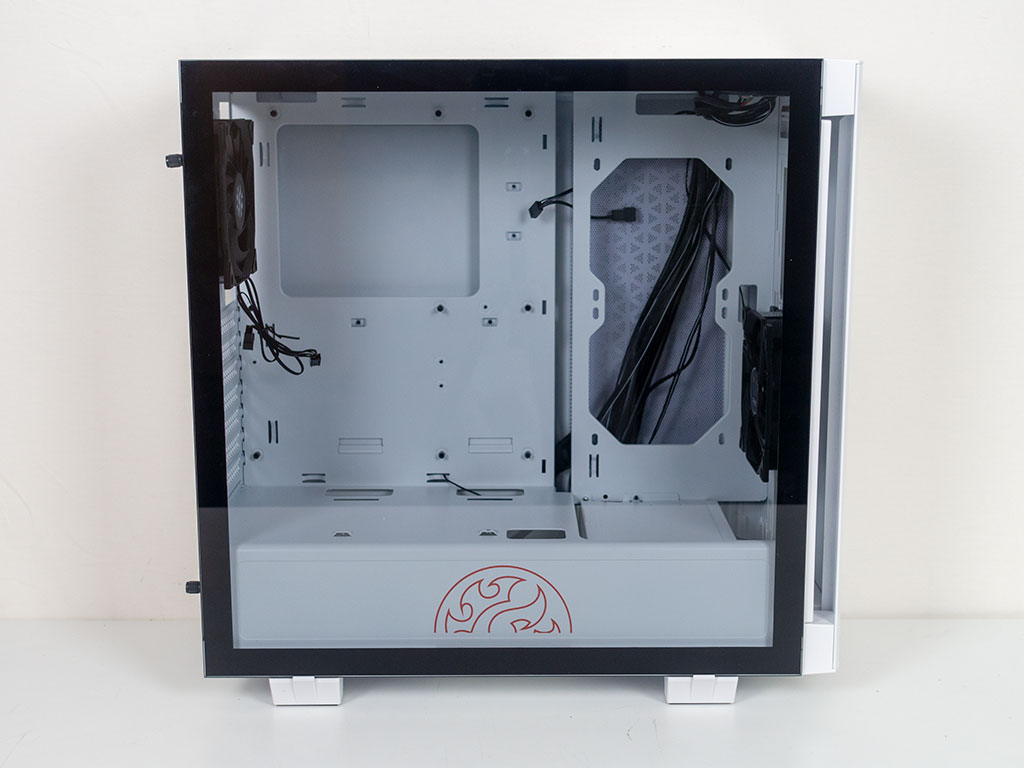
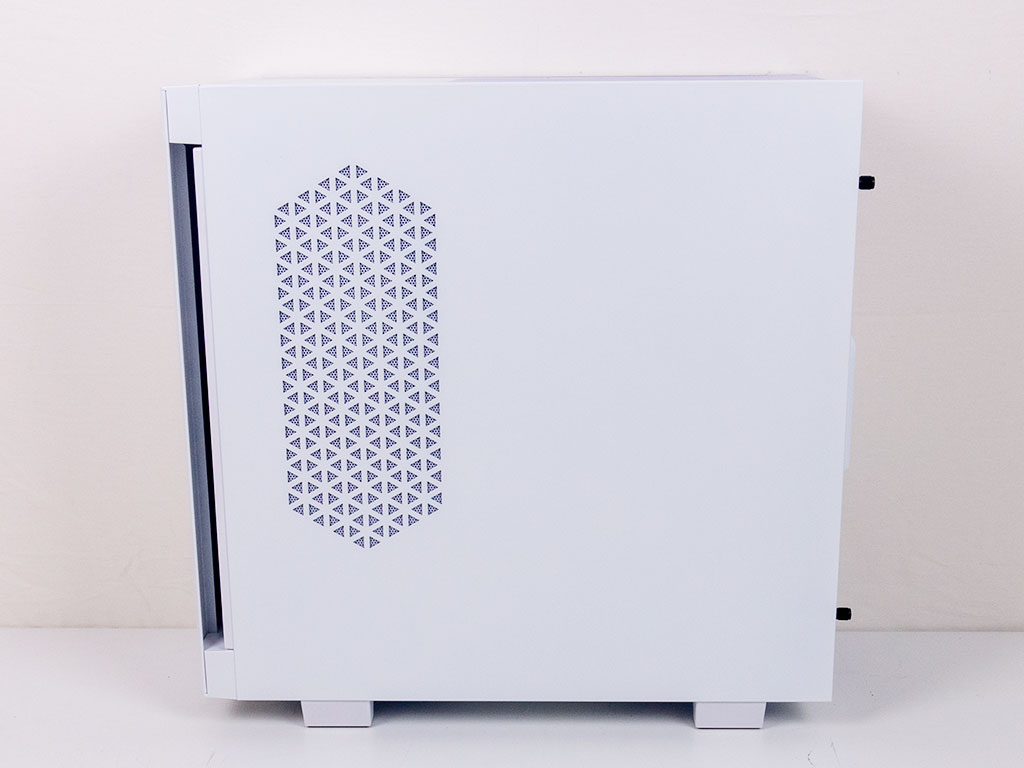
The main side panel consists of a glass panel with very little tint, so you may show off your system nicely. XPG has also included another little print element on the metal shroud, which does look pretty cool. As you can see, there are no mounting screws on the side panel from this angle, which further underlines the attention to detail. On the opposite side, you will find a solid metal cover with an air vent in the front third of the chassis. The area is also equipped with a magnetic dust filter on the inside of the panel.
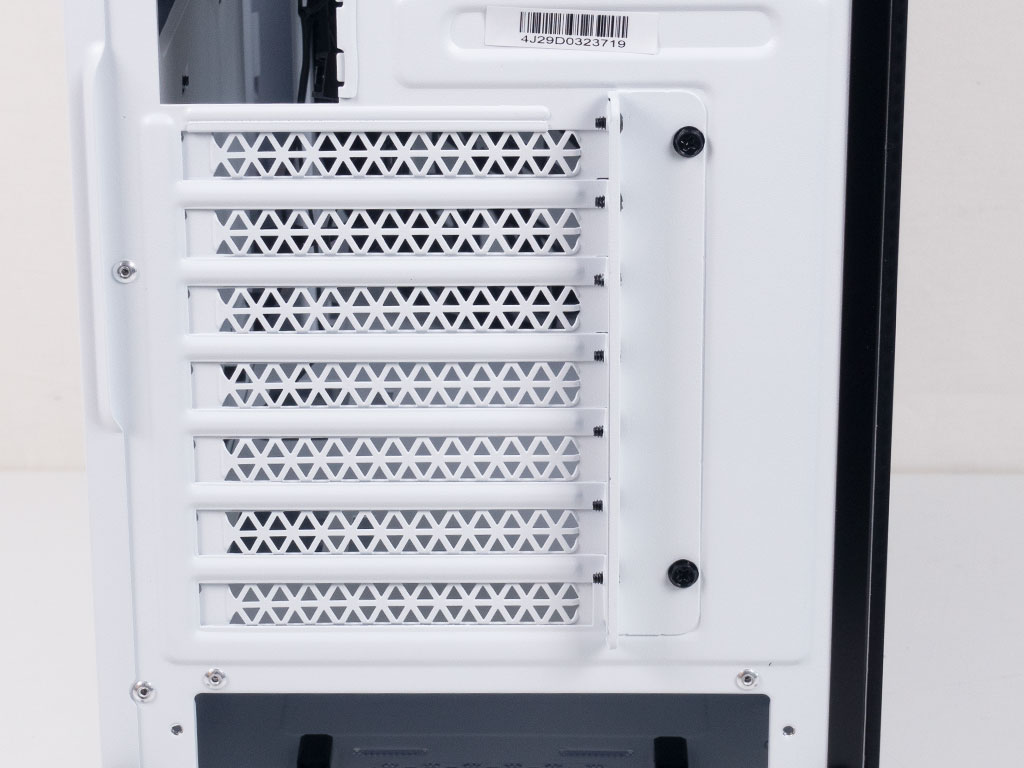
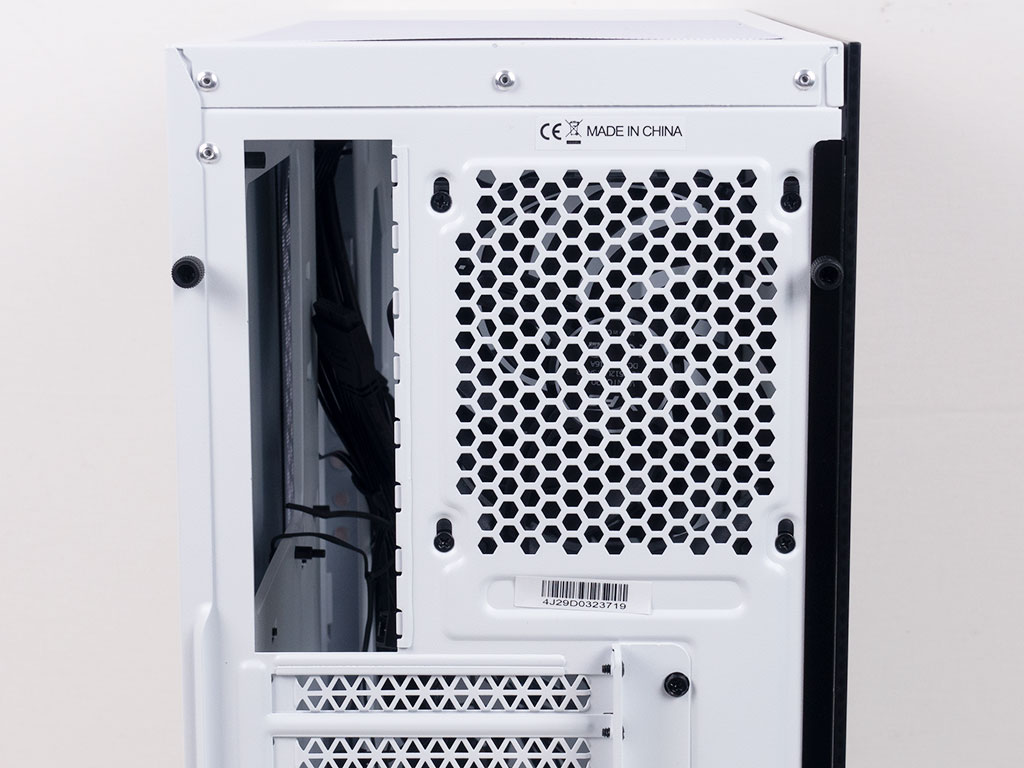
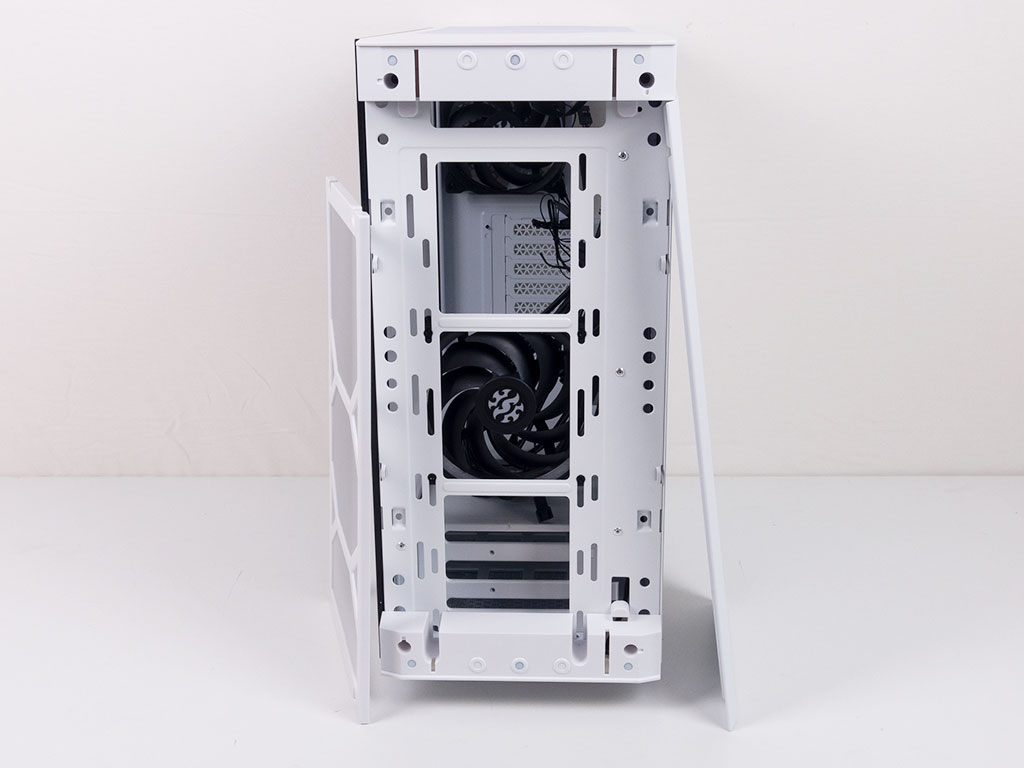
Taking a closer look at the rear, the bottom is an open square, as you need to slide your PSU in through this side and secure it with the supplied frame. Above that are the seven expansion slots, each protected by a reusable white cover with a cool vent pattern. These are held in place by traditional screws that are in turn accessible through the exterior of the case. In the very top is a pre-installed fan set to push hot air out the back of the enclosure.
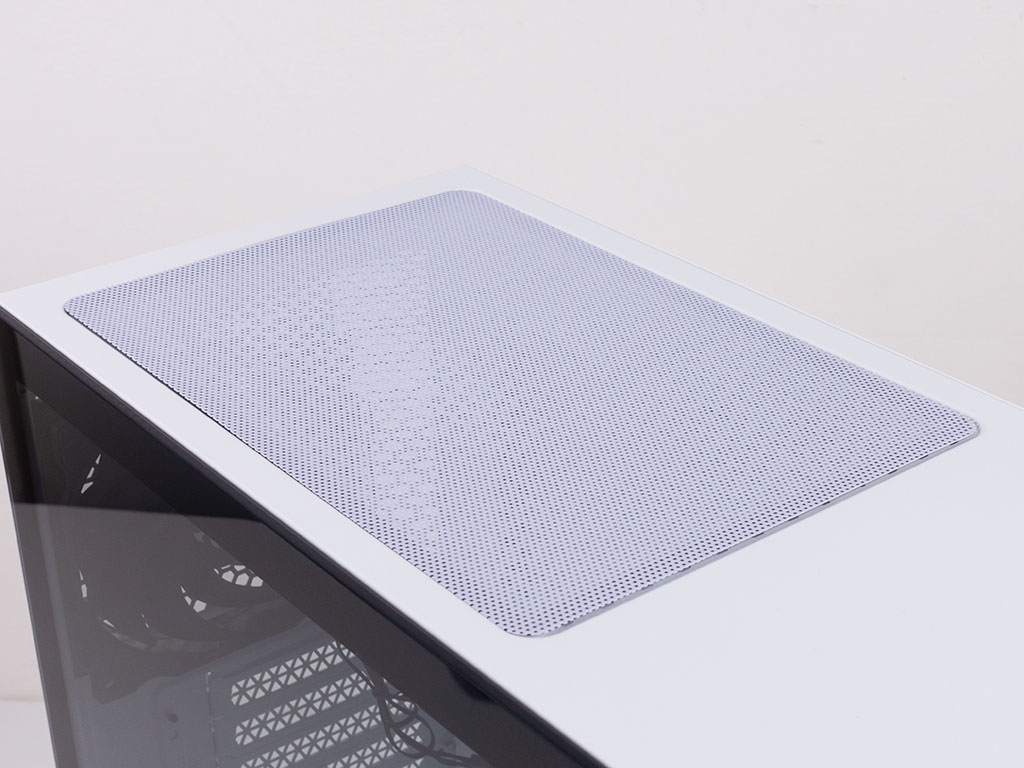
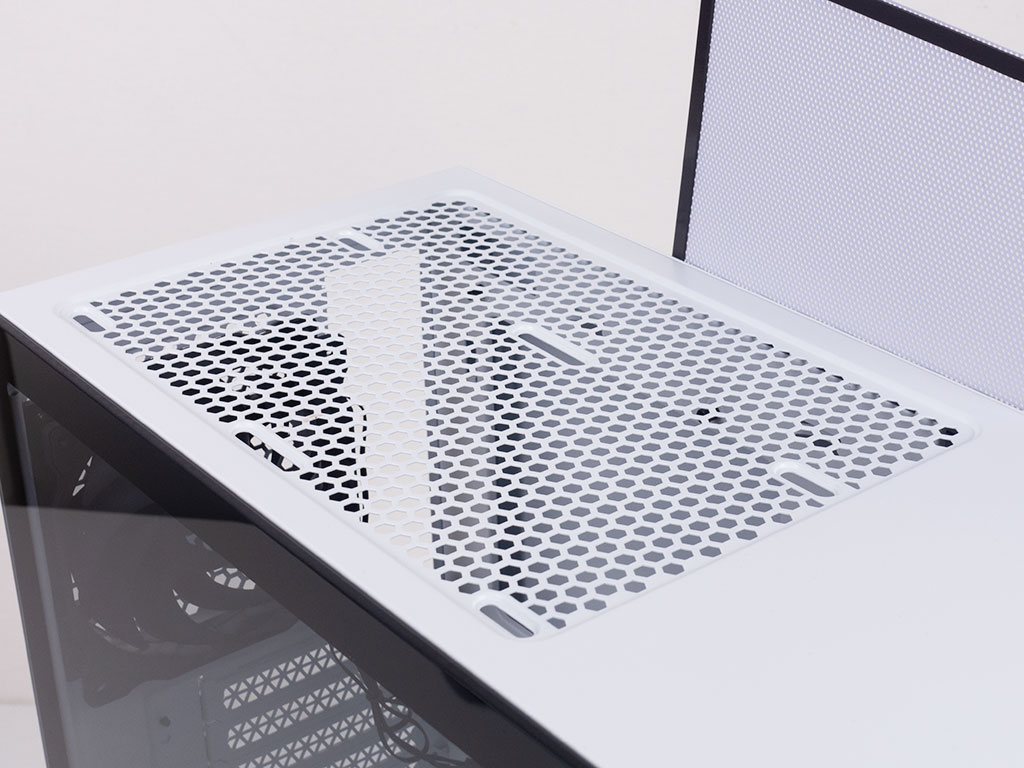
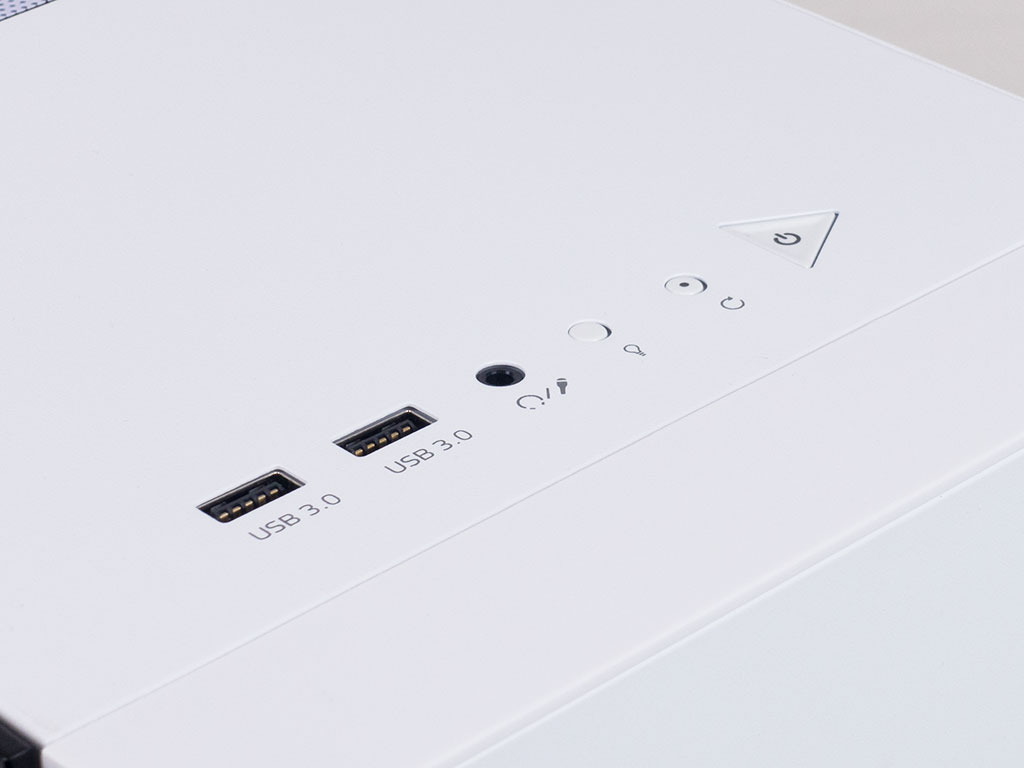
In the top is another magnetic dust filter on top of the two 120 mm fan placement possibilities. Thanks to the offset mounting holes, you should have no issue with your motherboard getting in the way of any extravagant cooling hardware, like a thick 240 mm radiator. XPG opted for a pretty standard, modern I/O consisting of two USB 3.0 ports alongside audio plugs. You will also find the power and reset buttons with a third for controlling the embedded RGB elements.
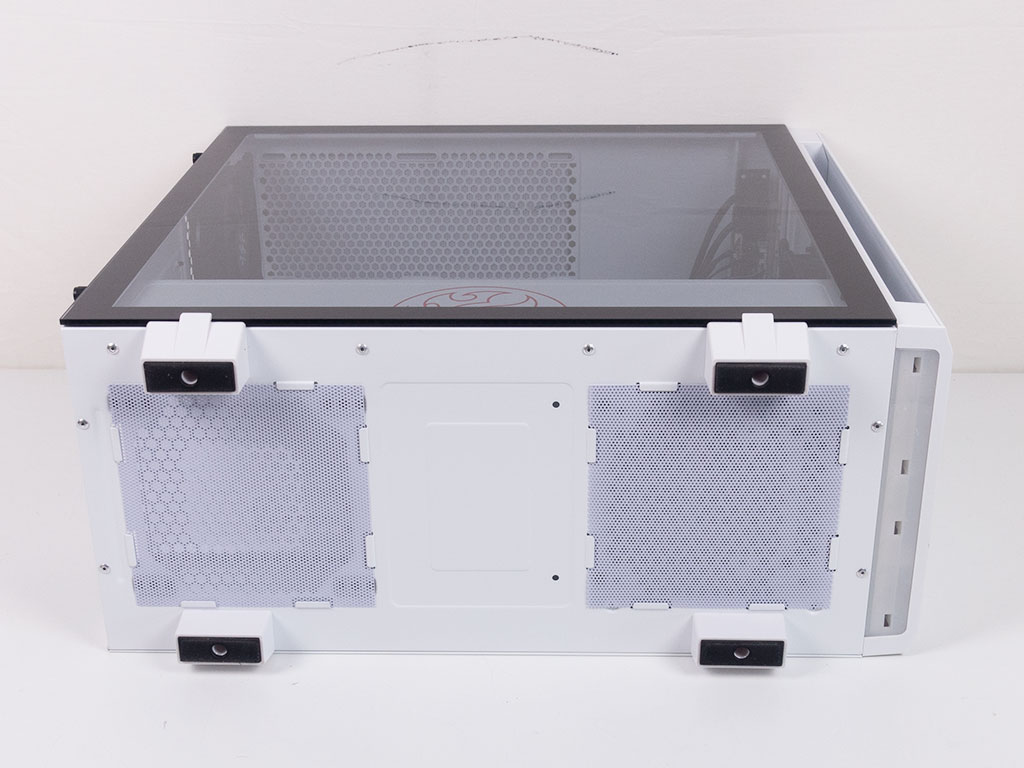
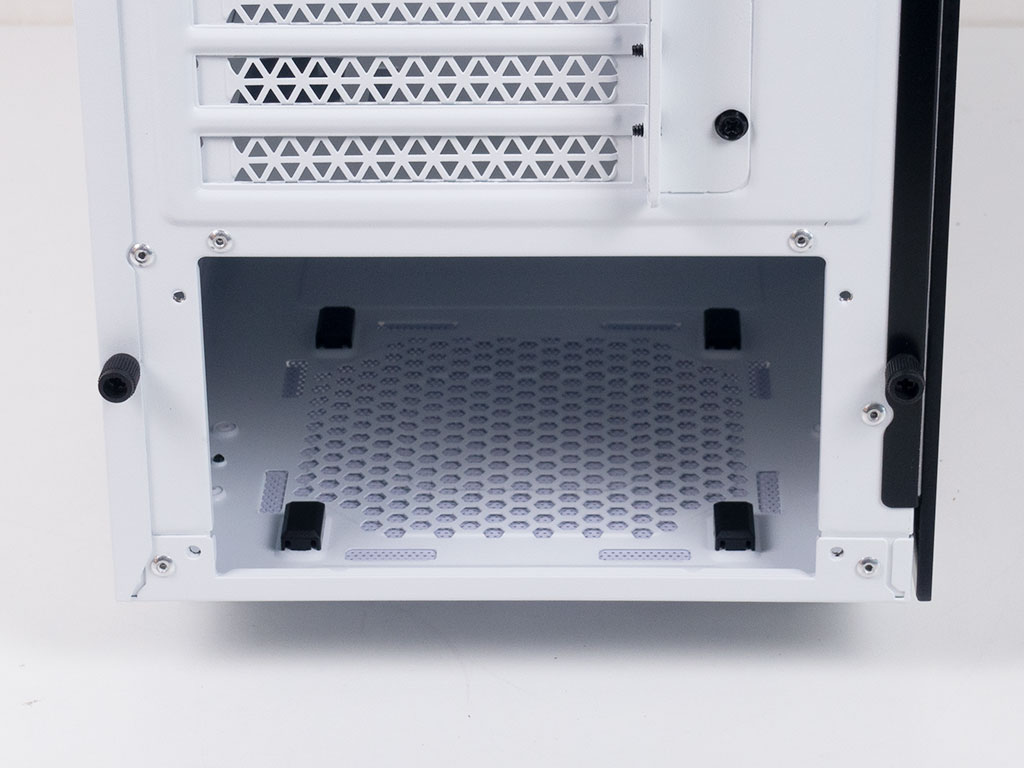
Tipping the chassis over, you will find two basic metal-mesh covers protecting the opening for the PSU, as well as one underneath the HDD cages. While the first is welcome, the second is a bit useless. I would have also loved to see a filter setup that is easily removable without having to tip over the chassis.
Jan 4th, 2025 15:38 EST
change timezone
Latest GPU Drivers
New Forum Posts
- Next Gen GPU's will be even more expensive (953)
- GPU usage 99% idle (41)
- V/F points shows constant values (1)
- TPU's Nostalgic Hardware Club (19728)
- Bios Rtx 3080 ti Zotac amp holo help (16)
- TECHPOWERUP HWBOT Contest with Cash Prizes (40)
- Replaying all Bioshock games after many years and finding about Minerva's Den only in 2024! (0)
- GPC PCB beding badly or not (1)
- Attempting to enable Resizable BAR with RTX 3070 (25)
- Questions about 9900x performance for purely gaming and the dual-CCD (42)
Popular Reviews
- DDR5 Thermal Testing & Analysis
- INTUAURA Lakeview In-Ear Monitors Review - The Power of DSP!
- SCYROX V8 Review
- ASUS ROG Falchion Ace HFX Hall Effect Keyboard Review
- HIFIMAN Arya Unveiled Headphones Review - The Next Best?
- AMD Ryzen 7 9800X3D Review - The Best Gaming Processor
- SilverStone SETA H2M Review
- GPU Test System Update for 2025
- Klevv Genuine G560 2 TB Review
- Intel Arc B580 Review - Excellent Value
Controversial News Posts
- AMD Radeon RX 9070 XT Alleged Benchmark Leaks, Underwhelming Performance (204)
- 32 GB NVIDIA RTX 5090 To Lead the Charge As 5060 Ti Gets 16 GB Upgrade and 5060 Still Stuck With Last-Gen VRAM Spec (173)
- Potential RTX 5090 and RTX 5080 Pricing in China Leaks (173)
- AMD Radeon RX 9070 XT Boosts up to 3.10 GHz, Board Power Can Reach up to 330W (167)
- NVIDIA GeForce RTX 5070 Ti Leak Tips More VRAM, Cores, and Power Draw (161)
- NVIDIA GeForce RTX 5090 Features 575 W TDP, RTX 5080 Carries 360 W TDP (159)
- NVIDIA GeForce RTX 5070 and RTX 5070 Ti Final Specifications Seemingly Confirmed (152)
- AMD Radeon "RDNA 4" RX 9000 Series Will Feature Regular 6/8-Pin PCI Express Power Connectors (133)