 0
0
XPG Invader Review
Assembly & Finished Looks »A Closer Look - Inside
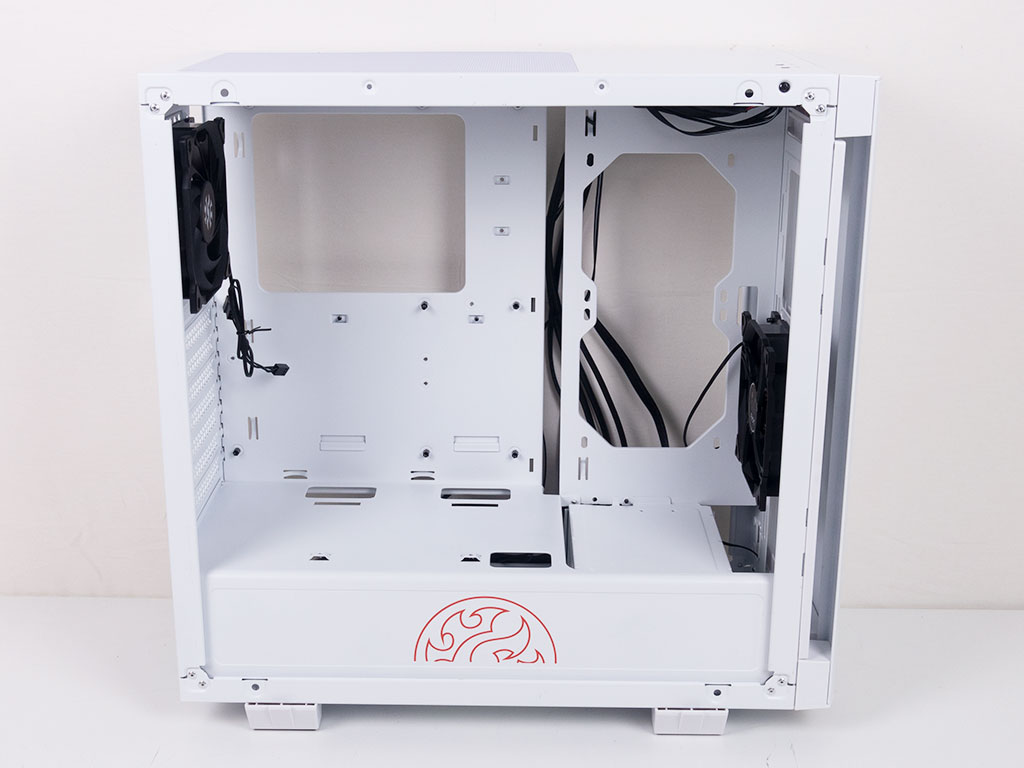
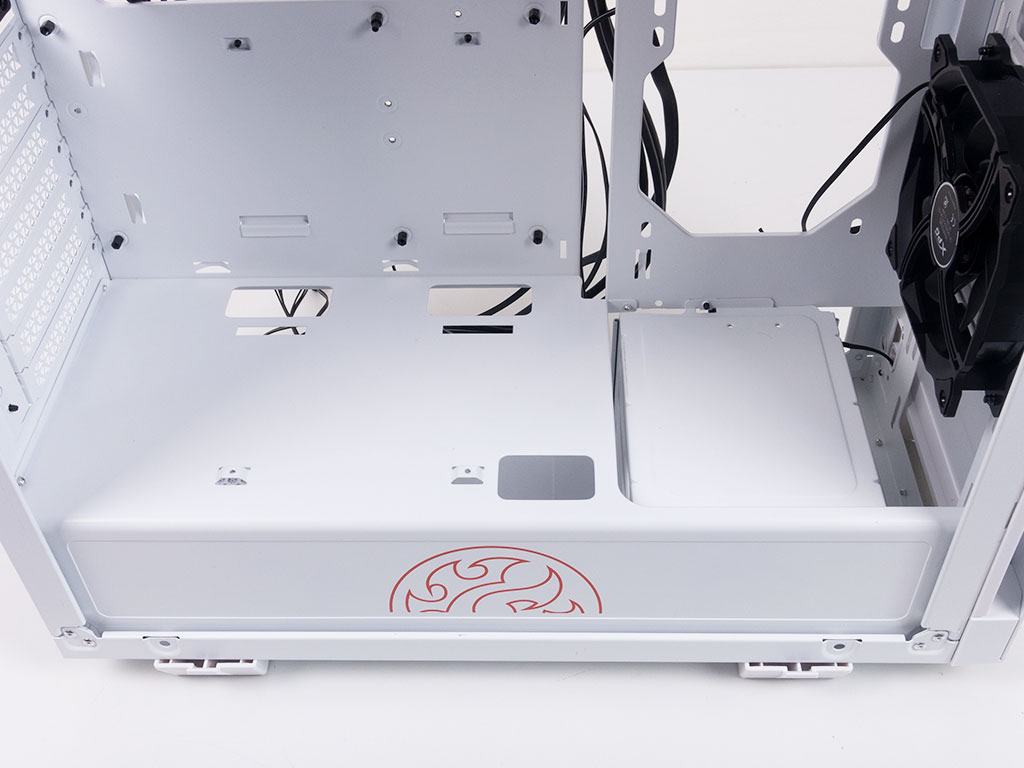
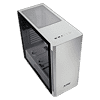
To access the interior, simply remove the thumb screws holding each panel in place. While the general layout inside the chassis is pretty normal, XPG has included a shroud with subtle tooling changes I have not seen before. The opening where the HDD cage sits is pretty large—much bigger than what you would ever need in reality, but I am happy to see two SSD mounting possibilities here to show off your storage drives. Looking at the backside of the motherboard tray, it is actually pretty simple due to the openings for cooling, as it basically boils down to two sturdy metal plates that are offset to provide a cable-routing gap.
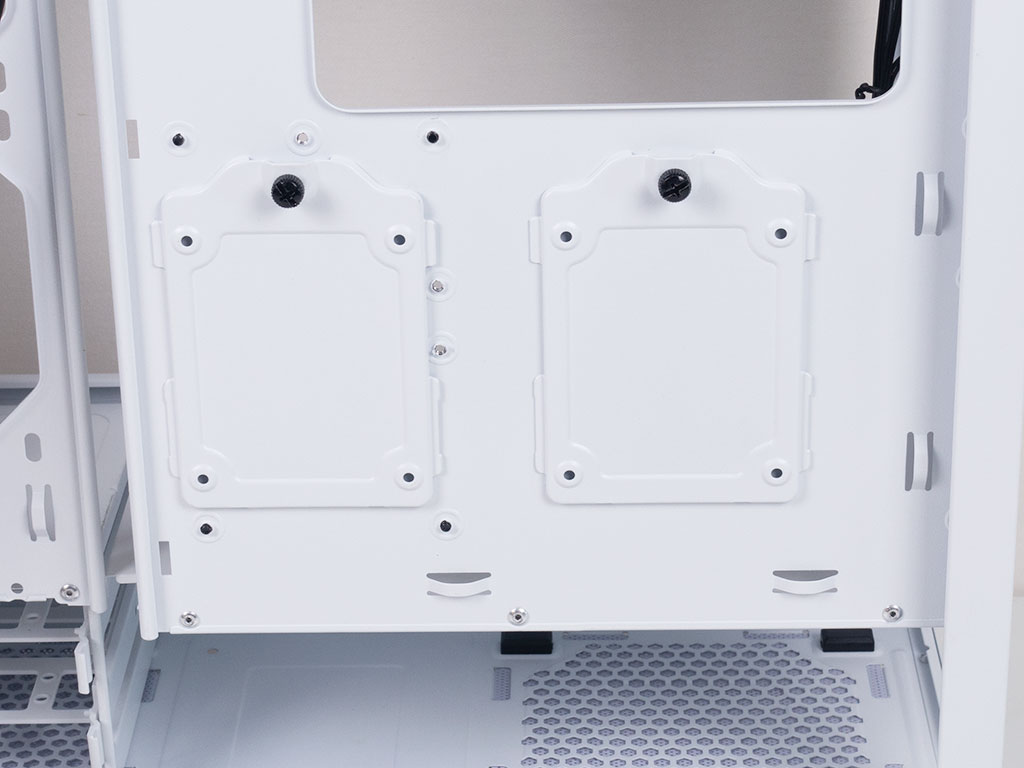

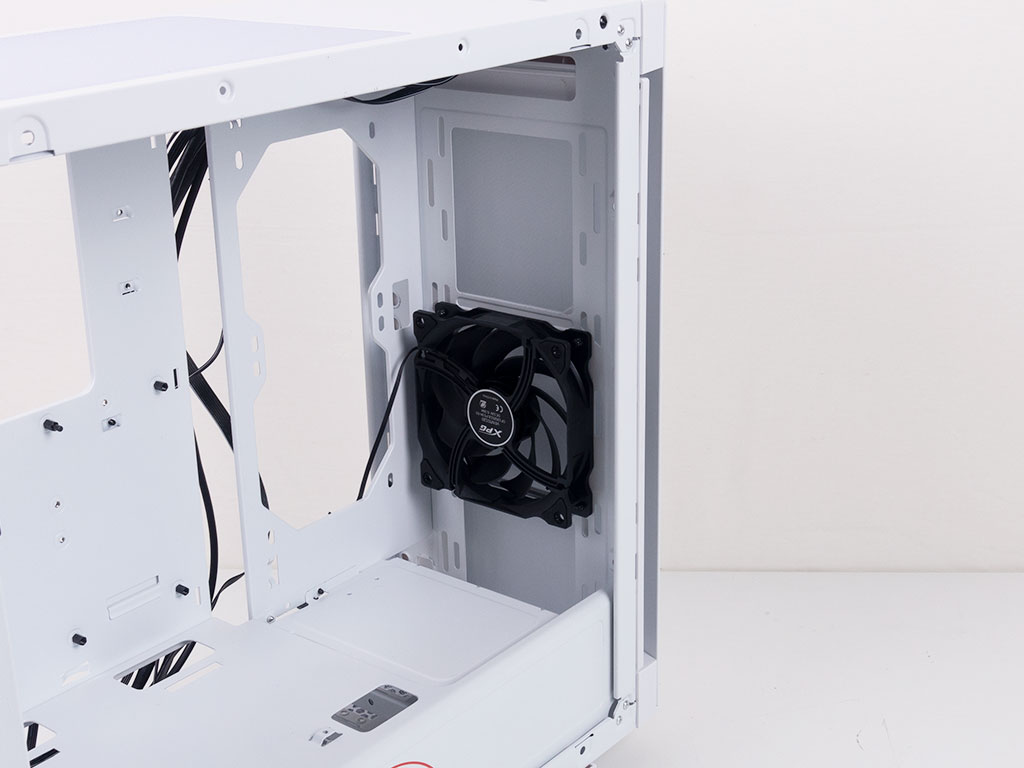
We have seen the two SSD mounting plates many times before. They are made out of steel and held in place by thumb screws, and tend to work quite well. XPG is not trying to re-invent the wheel here, which is perfectly fine. The somewhat unique facet for a chassis of this design is the possibility to mount two 120 mm fans or a 240 mm radiator setup on the side. While this should look pretty cool when actually utilized, it does make cable management a bit trickier as you want to route and hide as much as possible.
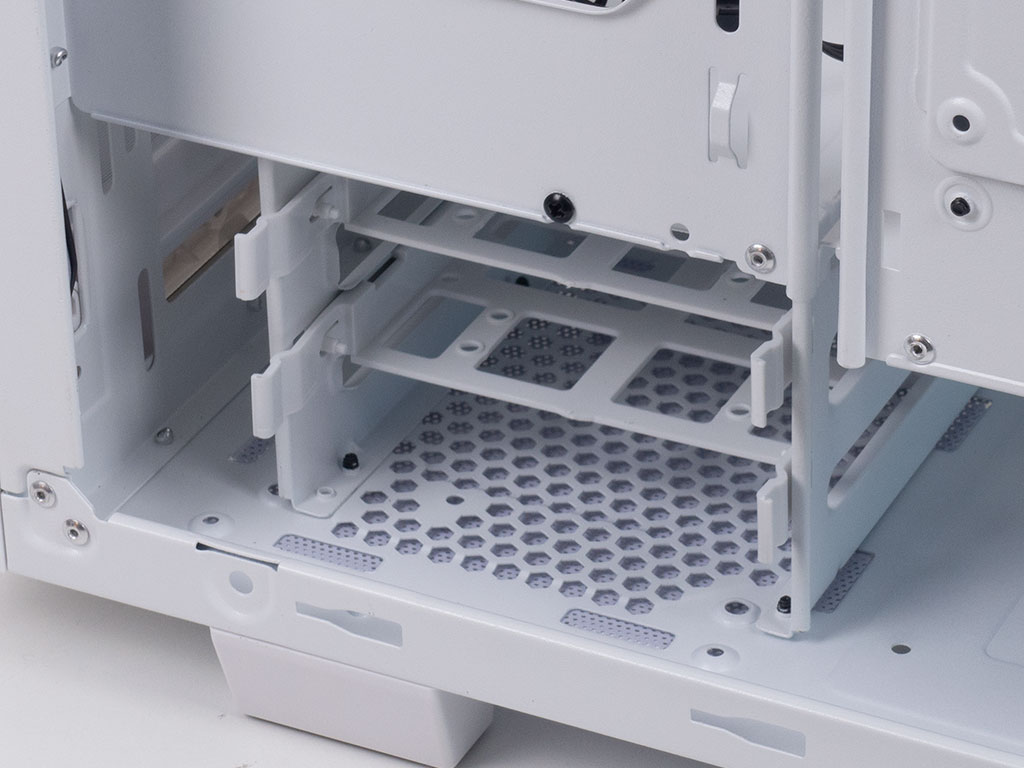
In the front, underneath the shroud, is a metal HDD cage with two white plastic trays for 3.5" or 2.5" drives. This brings the total to a solid four storage units which will fit inside the XPG Invader out of the box. That having been said, we would have given away brownie points if there would have been two additional SSD trays on the shroud for a total of six possible drives. The rest of the front is utilized purely for cooling, as we have seen when taking the front cover off.
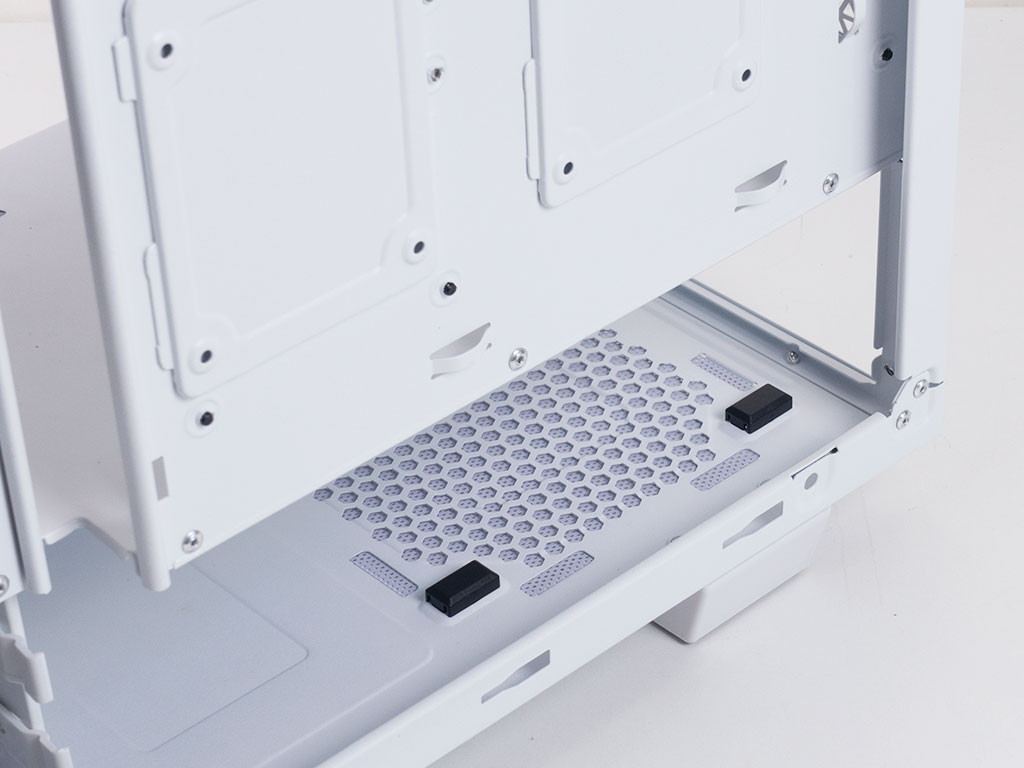
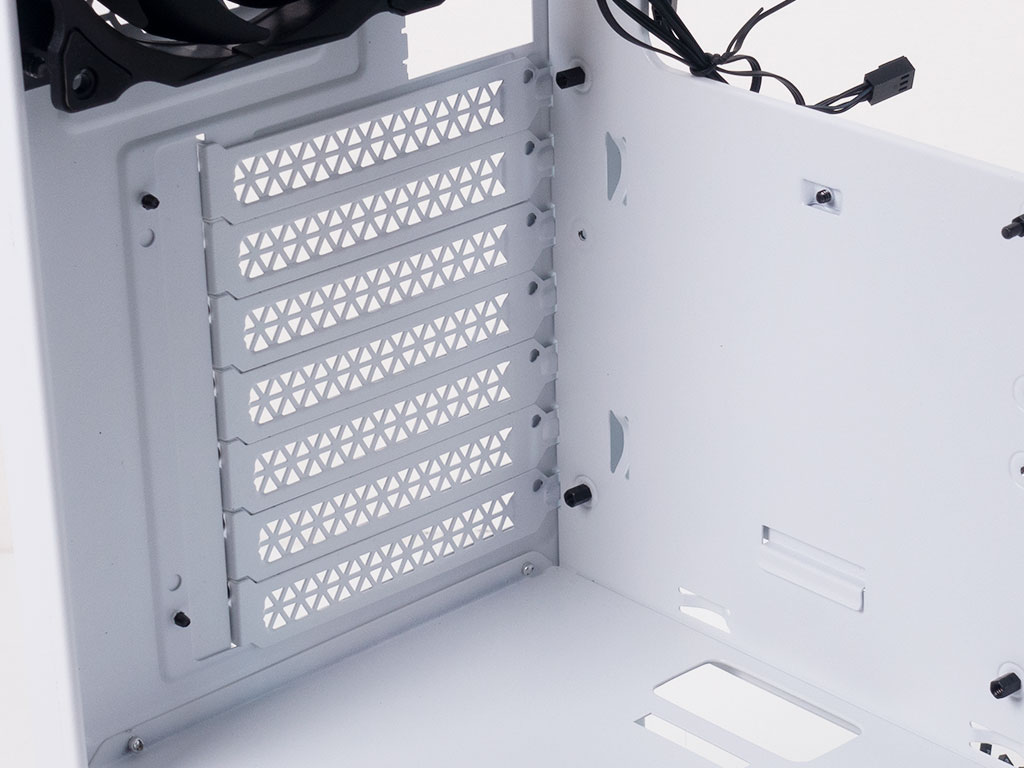
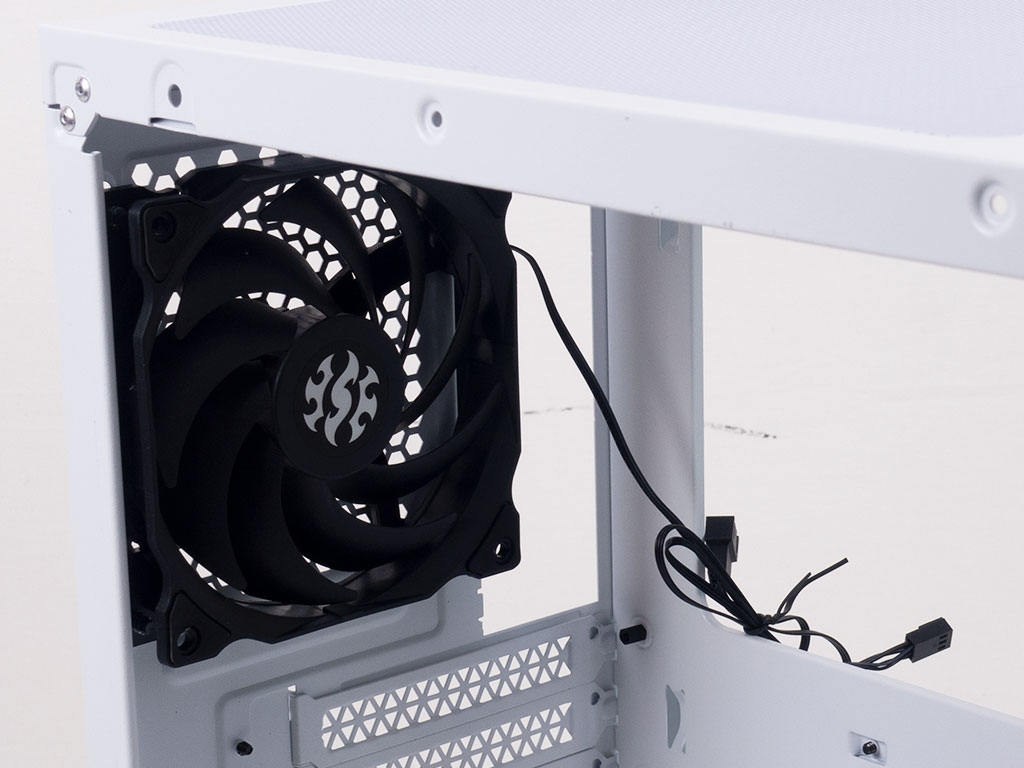
In the rear, the PSU comes with four black plastic stand-offs. Above that are the expansion slots with the seven covers and the aforementioned fan. A nice touch is the 3-pin cable with a second plug allowing you to daisy chain fans from a single header on the motherboard.
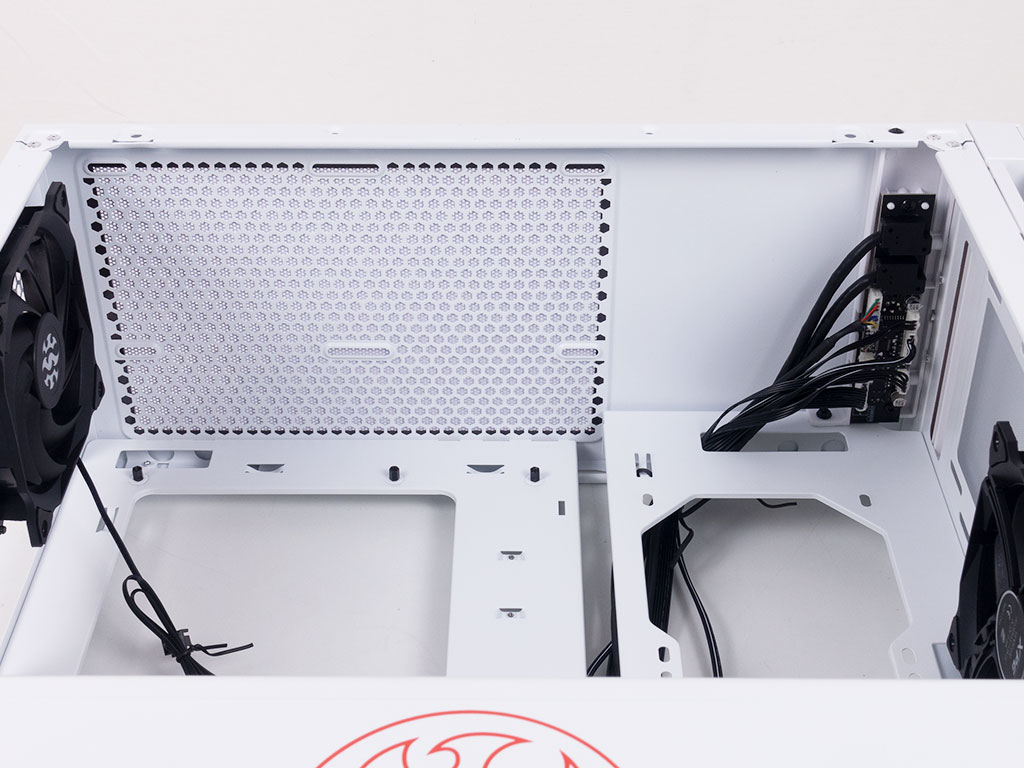
In the ceiling, you can clearly see the mounting holes for fans or radiators. I like the fact that the front area of the ceiling is completely solid for a change.
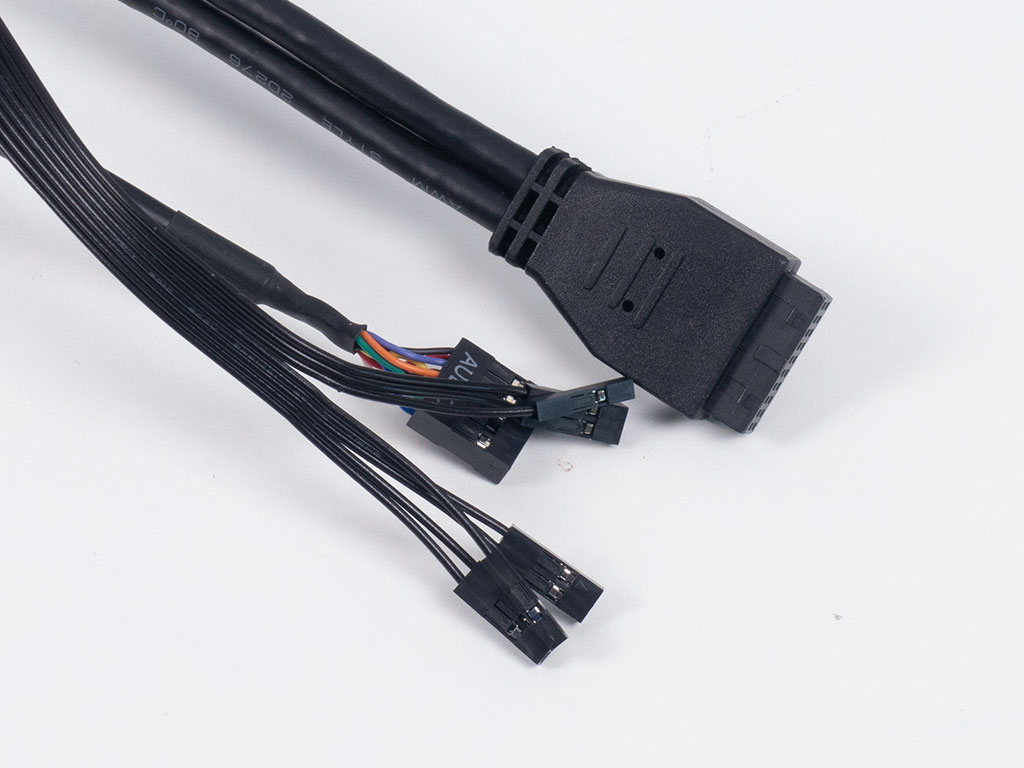
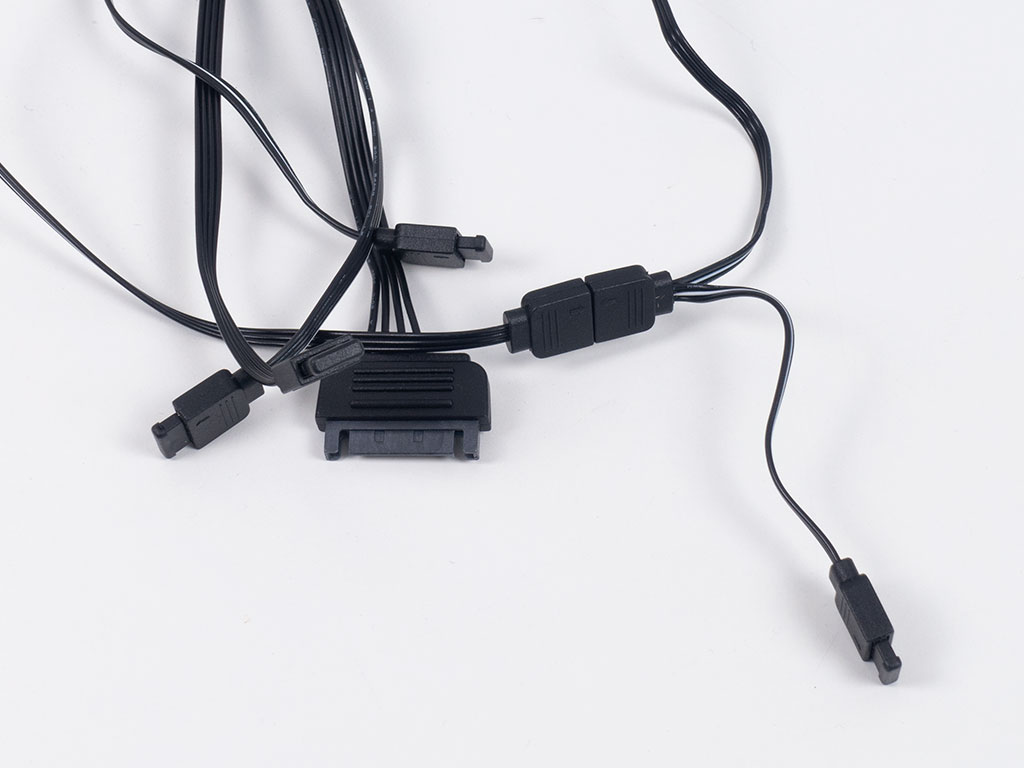
All the leads within the XPG Invader are black and come with the usual plugs, so you should have no issues connecting everything. On top of that, you will find a SATA power connector to provide juice to the RGB lights along with plenty of expandability, so you may easily deck out your finished system with RGB LED components.
Jul 12th, 2025 11:10 CDT
change timezone
Latest GPU Drivers
New Forum Posts
- Best motherboards for XP gaming (104)
- Swapping existing router w/ a replacement; any issues? (15)
- No offense, here are some things that bother me about your understanding of fans. (46)
- Stupid buggy POS Realtek WiFi RTL8852BE (13)
- 6.15.6 MITIGATION_TSA // Intel CPU Users can skip this topic (0)
- 14700t vs 14600k for gaming system (2)
- New build airflow question (6)
- Tired of consumer grade networking hardware, need suggestions… (2)
- ASUS Intel ROG Maximus Z890 Hero & ASUS Intel ROG Maximus Z890 Extreme. Cooling. (33)
- What you guys think I should do in terms of upgrades? (10)
Popular Reviews
- Fractal Design Epoch RGB TG Review
- Lexar NM1090 Pro 4 TB Review
- Corsair FRAME 5000D RS Review
- NVIDIA GeForce RTX 5050 8 GB Review
- NZXT N9 X870E Review
- Our Visit to the Hunter Super Computer
- Sapphire Radeon RX 9060 XT Pulse OC 16 GB Review - An Excellent Choice
- AMD Ryzen 7 9800X3D Review - The Best Gaming Processor
- Upcoming Hardware Launches 2025 (Updated May 2025)
- Chieftec Iceberg 360 Review
TPU on YouTube
Controversial News Posts
- Intel's Core Ultra 7 265K and 265KF CPUs Dip Below $250 (288)
- Some Intel Nova Lake CPUs Rumored to Challenge AMD's 3D V-Cache in Desktop Gaming (140)
- AMD Radeon RX 9070 XT Gains 9% Performance at 1440p with Latest Driver, Beats RTX 5070 Ti (131)
- NVIDIA Launches GeForce RTX 5050 for Desktops and Laptops, Starts at $249 (119)
- NVIDIA GeForce RTX 5080 SUPER Could Feature 24 GB Memory, Increased Power Limits (115)
- Microsoft Partners with AMD for Next-gen Xbox Hardware (105)
- Intel "Nova Lake‑S" Series: Seven SKUs, Up to 52 Cores and 150 W TDP (100)
- NVIDIA DLSS Transformer Cuts VRAM Usage by 20% (97)