 12
12
Aerocool Aero One Eclipse Review - Style and Function for the Masses
Assembly & Finished Looks »A Closer Look - Inside


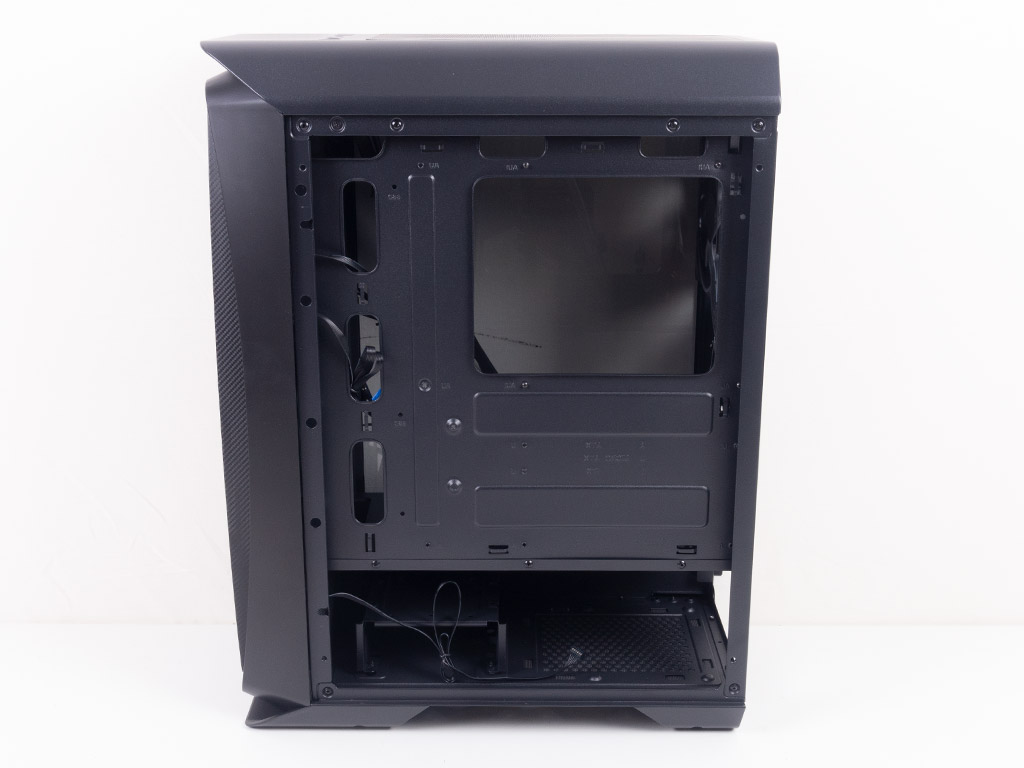
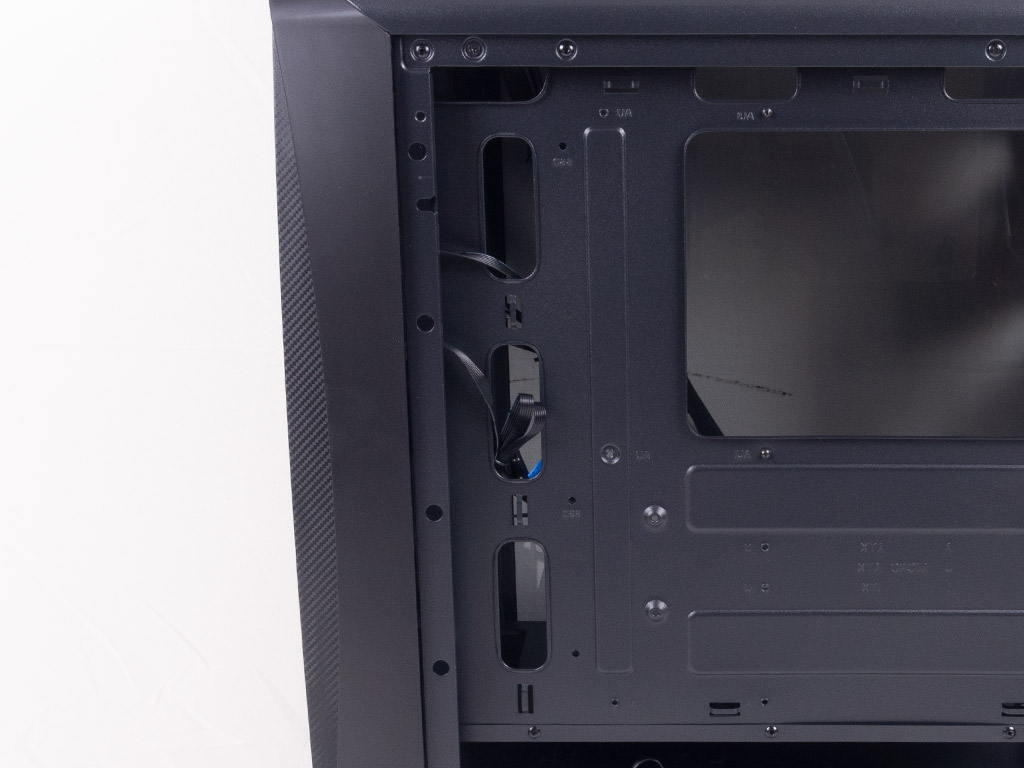
To access the interior, simply remove the thumb screws holding each panel in place. Aerocool opted for a pretty standard internal frame, so don't expect too much here. For the price, some may want a bit more innovation, though. The Aero One Eclipse advertises the possibility of installing two 120 mm fans on top of it, but I would advise against it as it will block access to the connectors on the bottom edge of an ATX board. You can see that the frame on the other side of the Aero One Eclipse is of the simpler OEM variant without any special internal tooling but for the well-formed top cover. There are the usual openings along the front and top of the motherboard but no grommets, which would have further set the chassis apart from the competition.
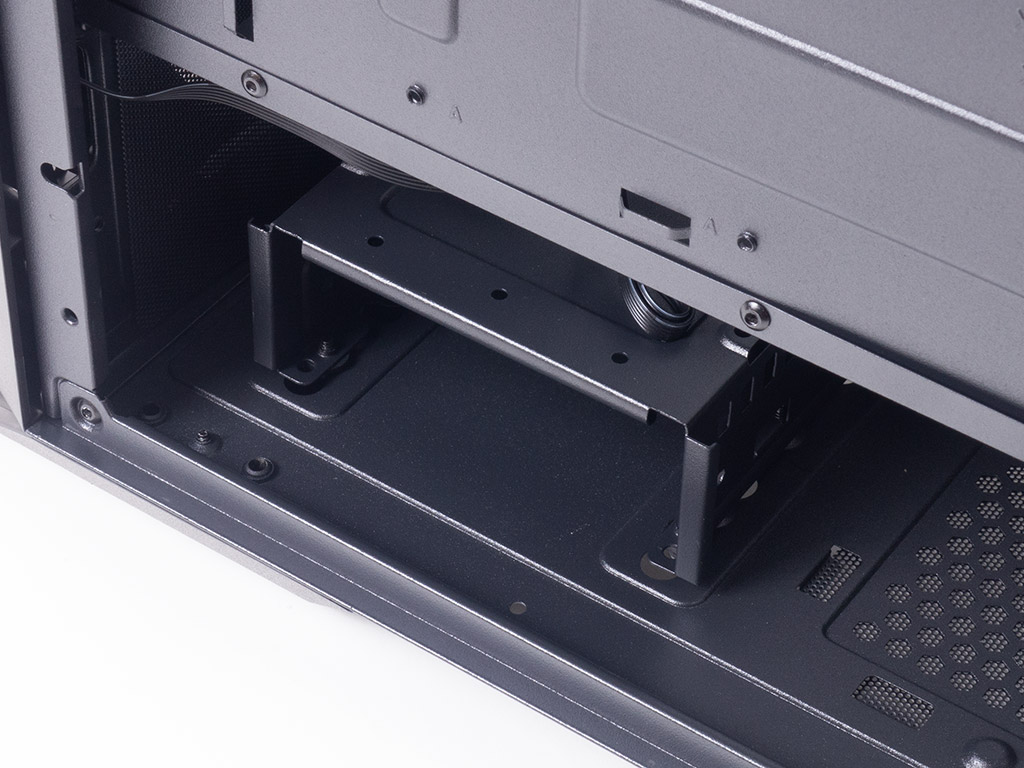
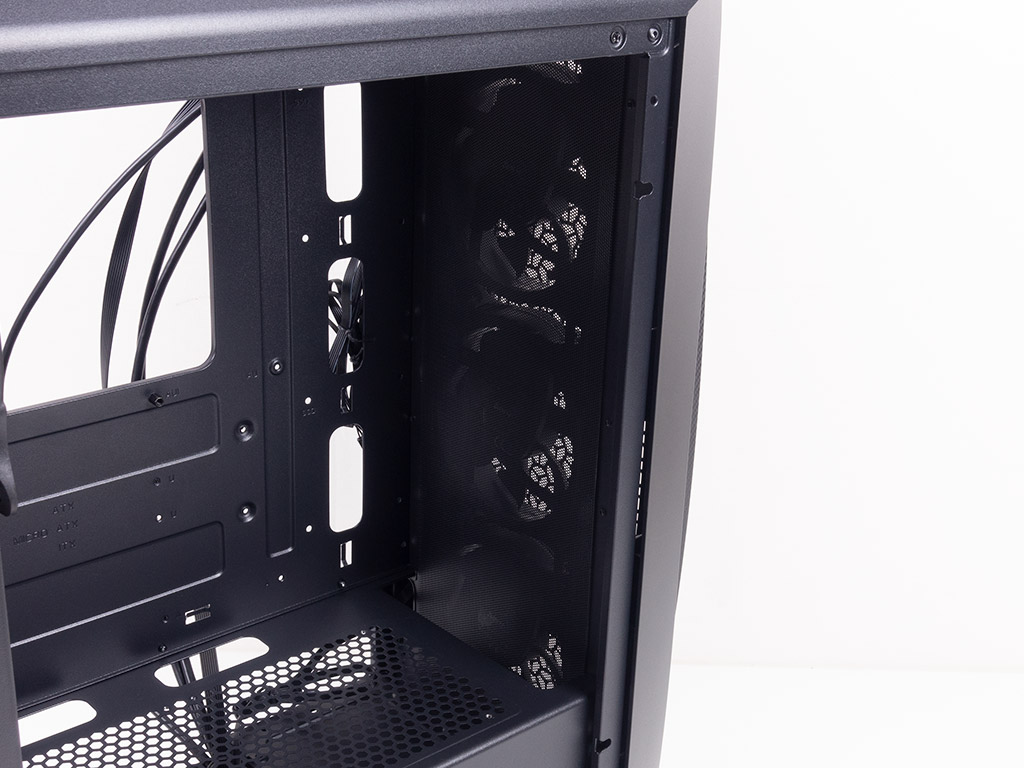
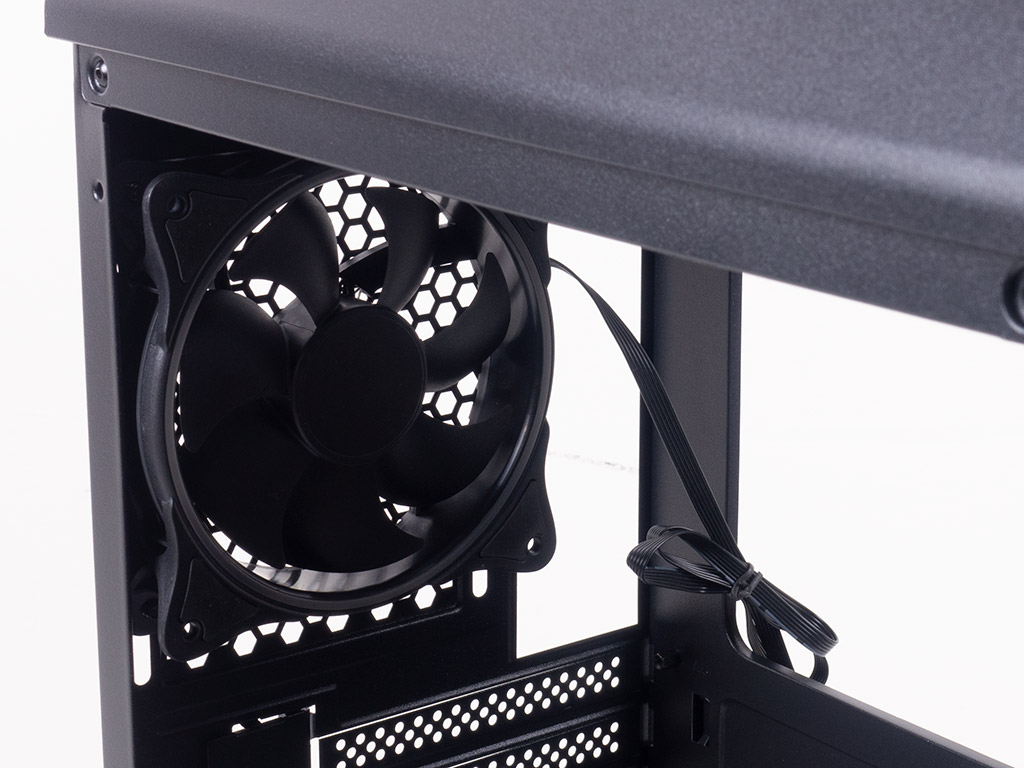
Underneath the shroud, the HDD cage can hold a single 3.5" drive with the possibility of screwing down a second 2.5" or 3.5" drive on top of it. Regardless of your setup, you have to pull the cage out by removing a single screw from the underside of the chassis. You may install up to two 2.5" drive directly onto the motherboard tray, but that will also block off two of the three cable-routing openings. On the opposite side, inside the chassis, are the three fans with another simple but effective magnetic dust filter to keep dirt out of the chassis. The out-of-the-box setup allows for thin radiators of up to 360 mm to be installed as well, but that means removing the filter in the process.
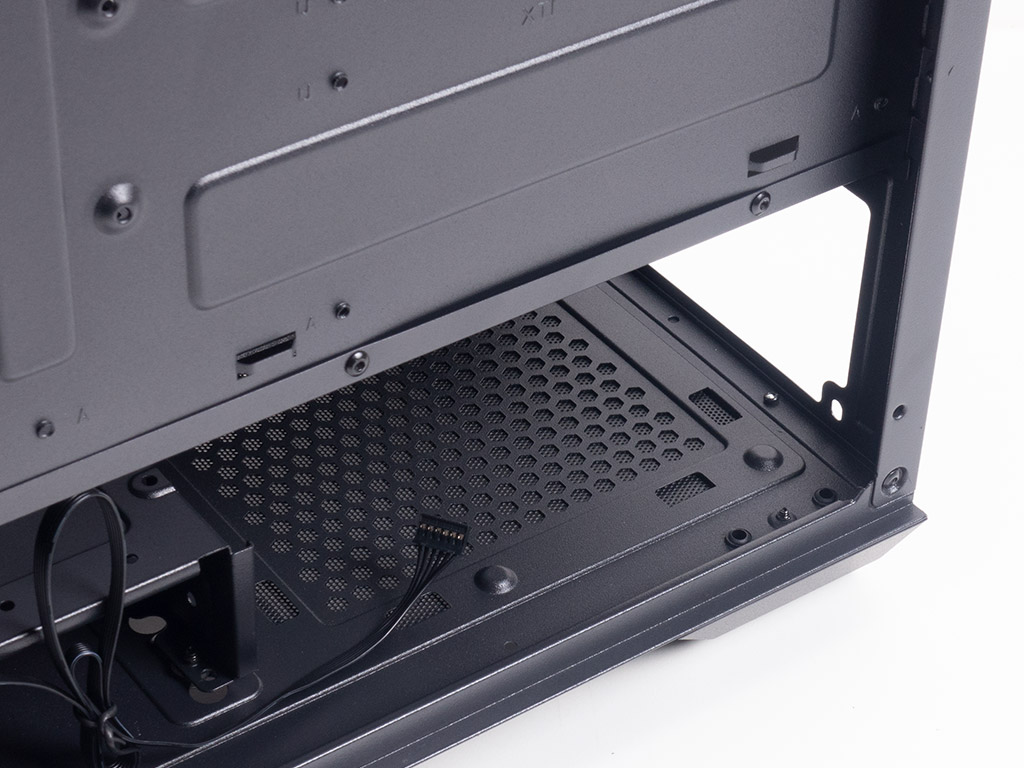
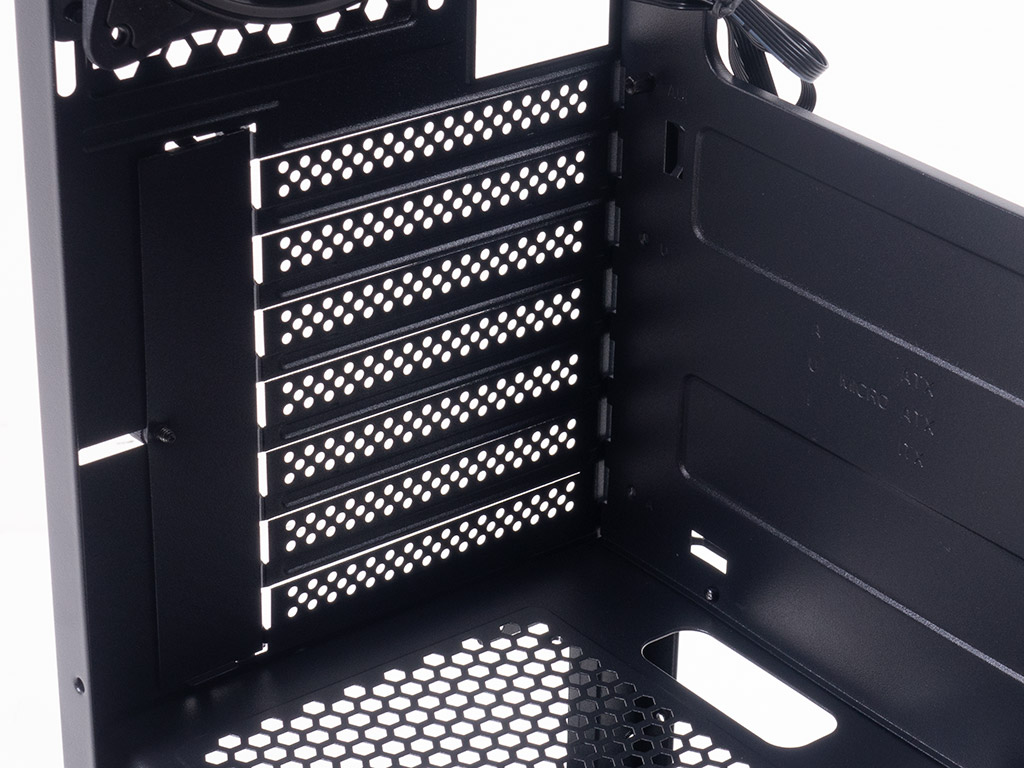
In the rear, starting underneath the shroud again, the PSU bay is pretty basic but should do the trick. Aerocool doesn't mention what the maximum length of the PSU could be, but you should have no issues installing pretty a potent one alongside the HDD cage. Above that are the seven expansion slots and the aforementioned fourth ARGB fan, which is set to push hot air out the back of the chassis.
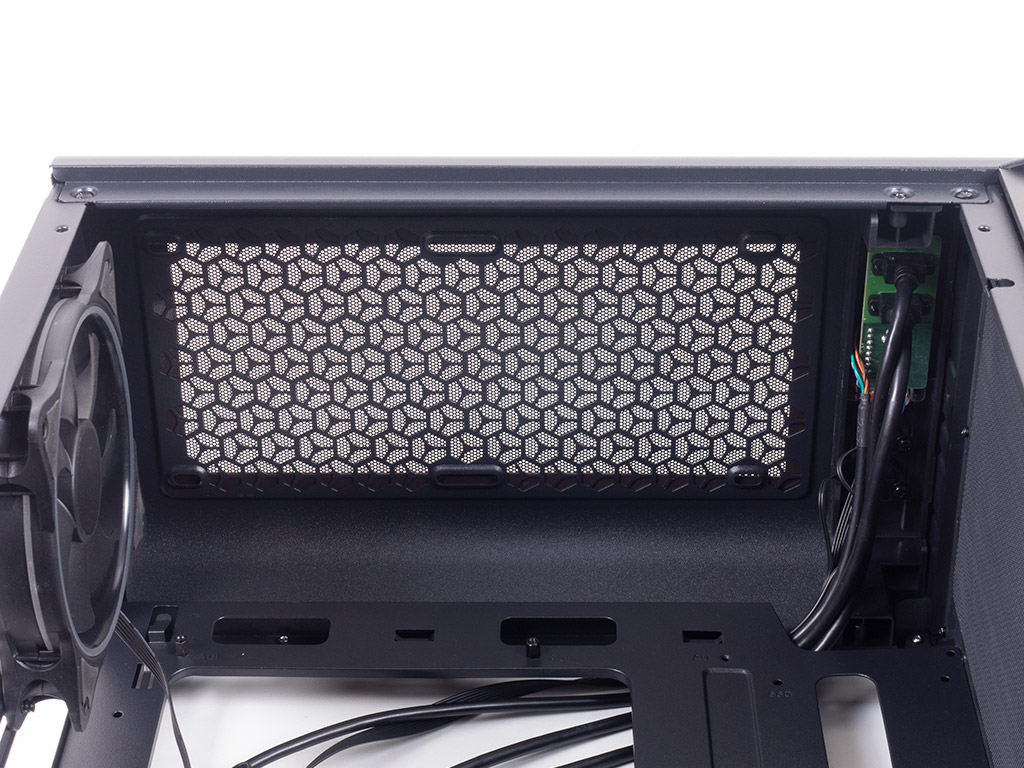
Looking at the top, the mounting holes offer the ability to install two 120 mm fans or a thin 240 mm radiator setup without having it interfere with any motherboard elements, which is a really nice touch. The choice to opt for a higher, metal top cover is turning out to be a really good decision for the Aero One Eclipse.
Jul 12th, 2025 07:27 CDT
change timezone
Latest GPU Drivers
New Forum Posts
- Will you buy a RTX 5090? (647)
- 5070 Ti Variants, do they even matter? (20)
- 'NVIDIA App' not usable offline? (10)
- Chrome has removed uBlock Origin 1.64.0 (remove google search suggestions) (8)
- Gpu overheating after bios flash (2)
- What's your latest tech purchase? (24242)
- 3D Printer Club (540)
- Can you guess Which game it is? (230)
- Is RX 9070 VRAM temperature regular value or hotspot? (401)
- AAF Optimus Modded Driver For Windows 10 & Windows 11 - Only for Realtek HDAUDIO Chips (575)
Popular Reviews
- Fractal Design Epoch RGB TG Review
- Lexar NM1090 Pro 4 TB Review
- Corsair FRAME 5000D RS Review
- NVIDIA GeForce RTX 5050 8 GB Review
- NZXT N9 X870E Review
- Our Visit to the Hunter Super Computer
- Sapphire Radeon RX 9060 XT Pulse OC 16 GB Review - An Excellent Choice
- AMD Ryzen 7 9800X3D Review - The Best Gaming Processor
- Upcoming Hardware Launches 2025 (Updated May 2025)
- Chieftec Iceberg 360 Review
TPU on YouTube
Controversial News Posts
- Intel's Core Ultra 7 265K and 265KF CPUs Dip Below $250 (288)
- Some Intel Nova Lake CPUs Rumored to Challenge AMD's 3D V-Cache in Desktop Gaming (140)
- AMD Radeon RX 9070 XT Gains 9% Performance at 1440p with Latest Driver, Beats RTX 5070 Ti (131)
- NVIDIA Launches GeForce RTX 5050 for Desktops and Laptops, Starts at $249 (119)
- NVIDIA GeForce RTX 5080 SUPER Could Feature 24 GB Memory, Increased Power Limits (115)
- Microsoft Partners with AMD for Next-gen Xbox Hardware (105)
- Intel "Nova Lake‑S" Series: Seven SKUs, Up to 52 Cores and 150 W TDP (100)
- NVIDIA DLSS Transformer Cuts VRAM Usage by 20% (97)