 4
4
Aerocool NightHawk Duo ARGB Review
Assembly & Finished Looks »A Closer Look - Inside
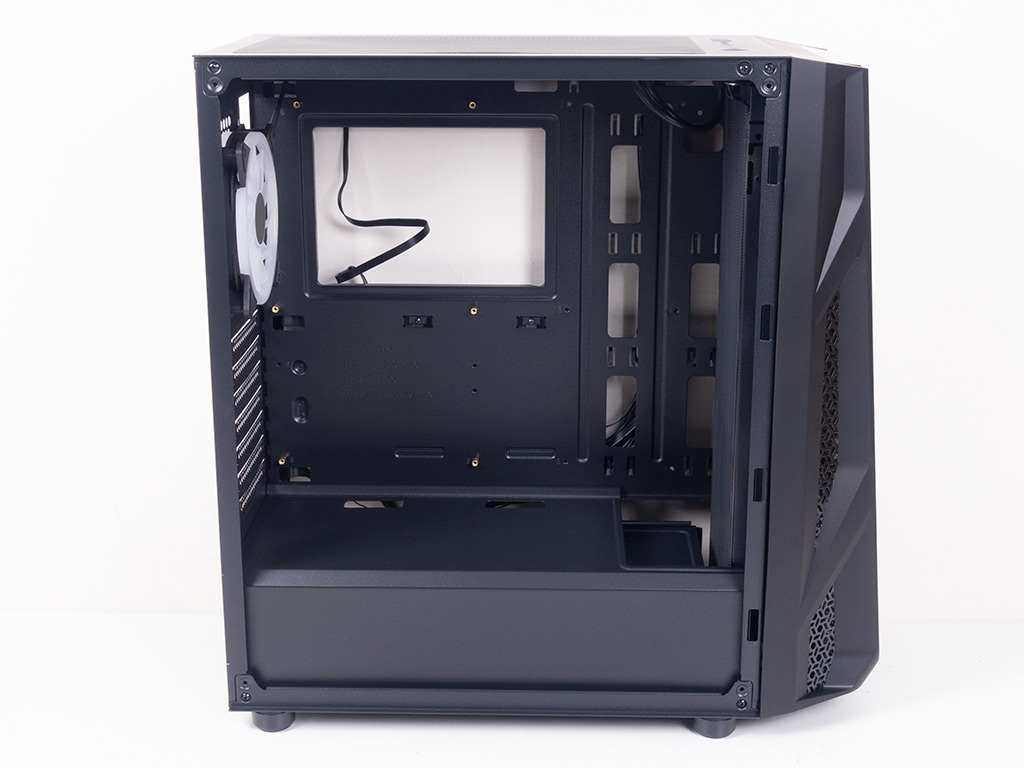
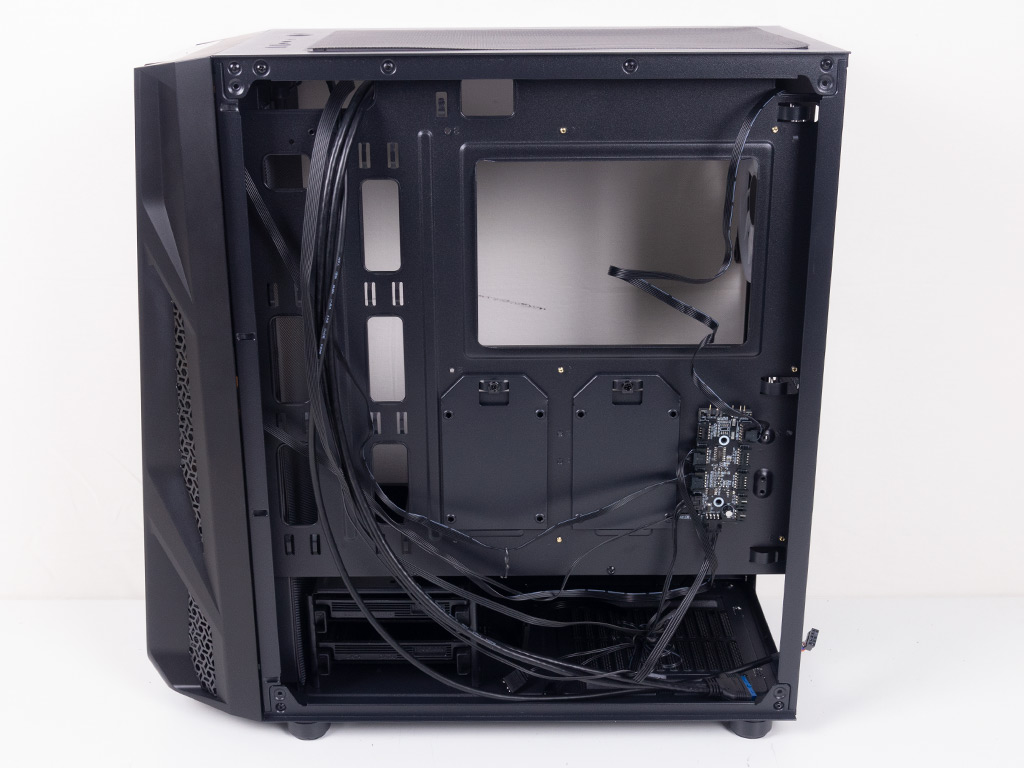
To access the interior, simply remove the thumb screws holding each panel in place. The first noteworthy facet is the choice of frame: It is a much better choice than in the Klaw/Tor. That having been said, don't expect any unique engineering elements within the NightHawk as Aerocool essentially sticks to the tooling the factory provides. The metal shroud comes with two small openings for cable routing and a larger opening towards the front of the enclosure that will prove handy if you choose to install a thick radiator there. On the backside, you can clearly see the two rows of openings next to the motherboard area and plenty of hooks to affix cables for easy cable management.
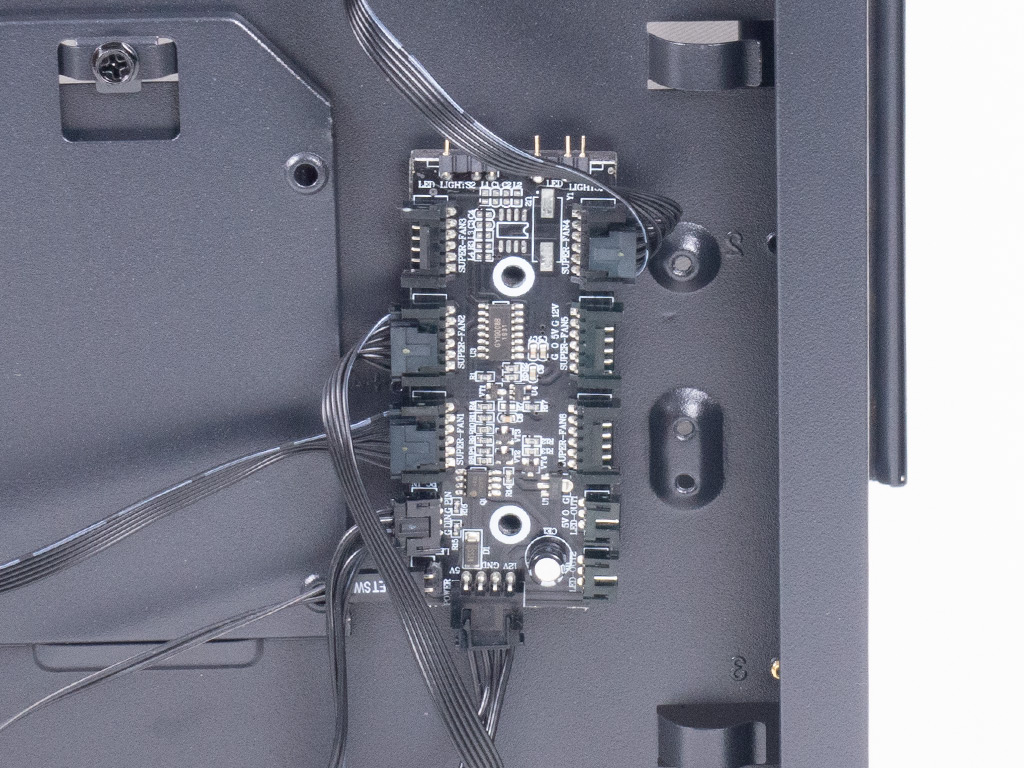
Aerocool also includes a PCB to which all the fans are connected. It is distinctively different from what the Klaw and Tor provide, but still uses the 5-pin connectors we have seen various other brands use. This connector type houses the fan power and three leads required for RGB. The PCB also allows you to expand your lighting with generic elements through two 3-pin connectors at the top edge. Fun fact: each fan connector is labeled "Super-Fan" on the PCB.
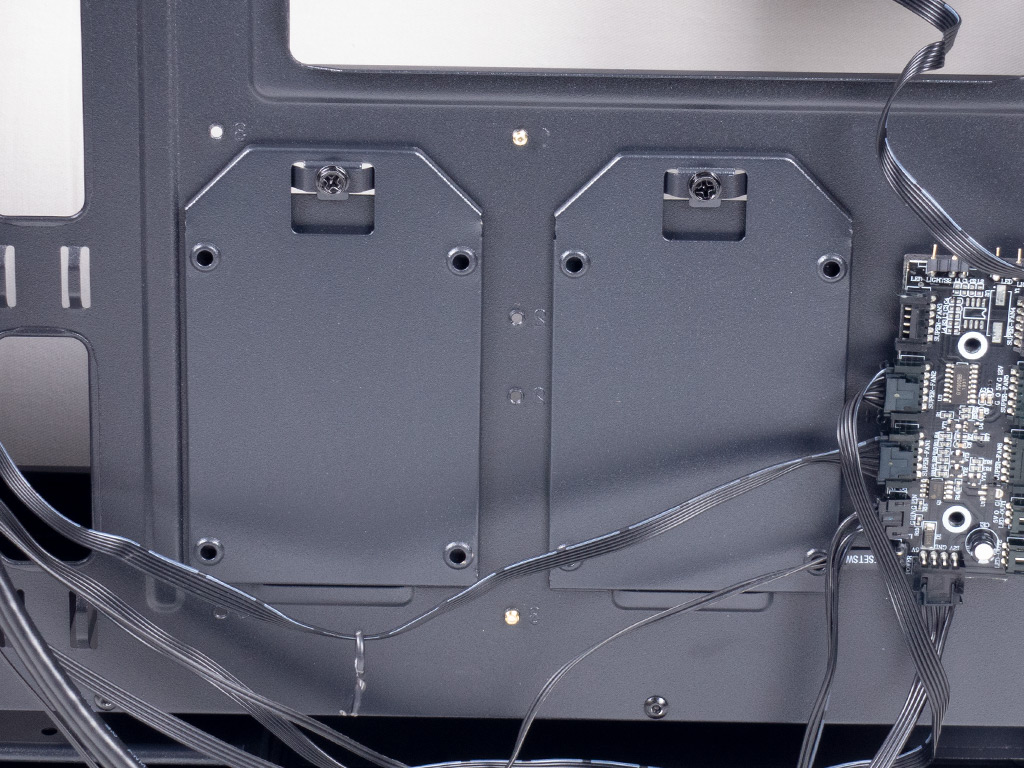
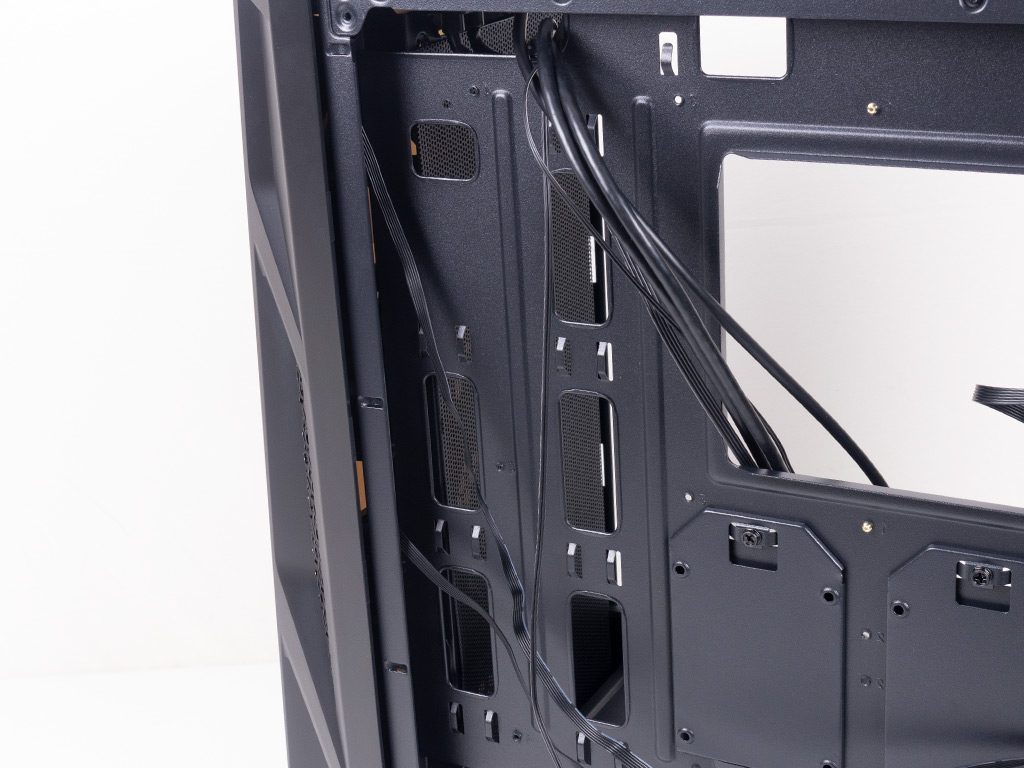
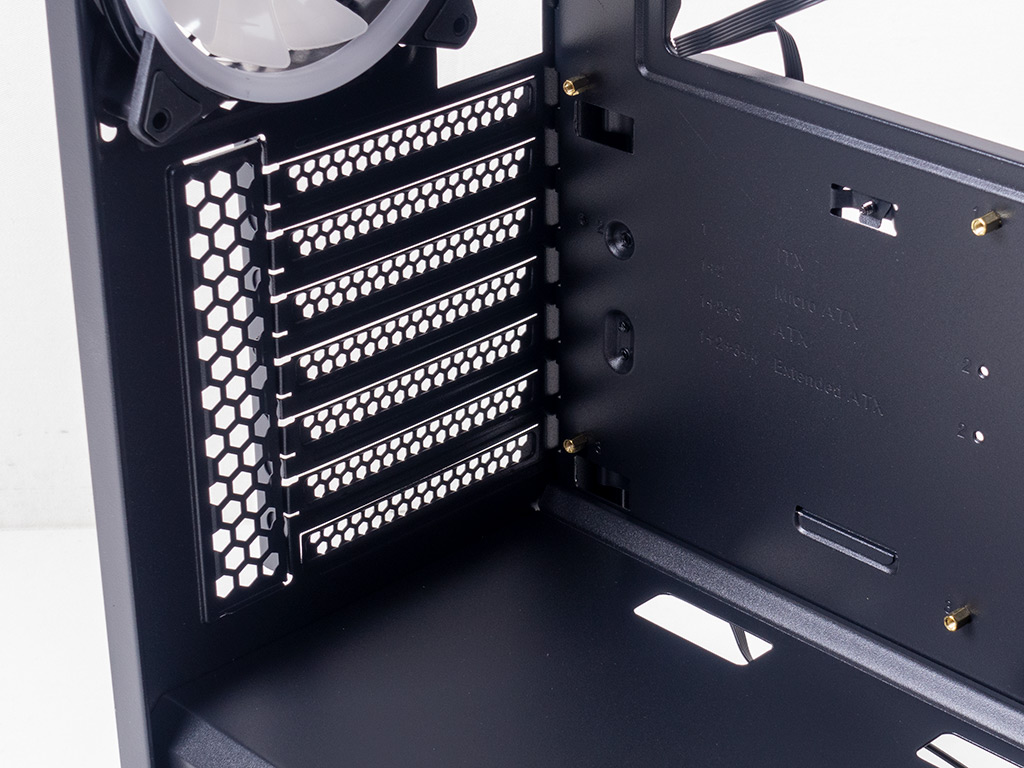
You will also find two metal SSD plates which are held in place by classic screws, just underneath the large CPU cooler opening. Speaking of openings, it is nice to see a total of six cutouts with plenty of cable hooks to run cables through. However, as there are no grommets, the cable hooks will make it difficult to keep leads completely out of sight unless they are completely run past an opening. The hooks could have also been run along the solid parts of the case—say between the two rows of openings, or Aerocool could have just used grommets to resolve that visual issue altogether.
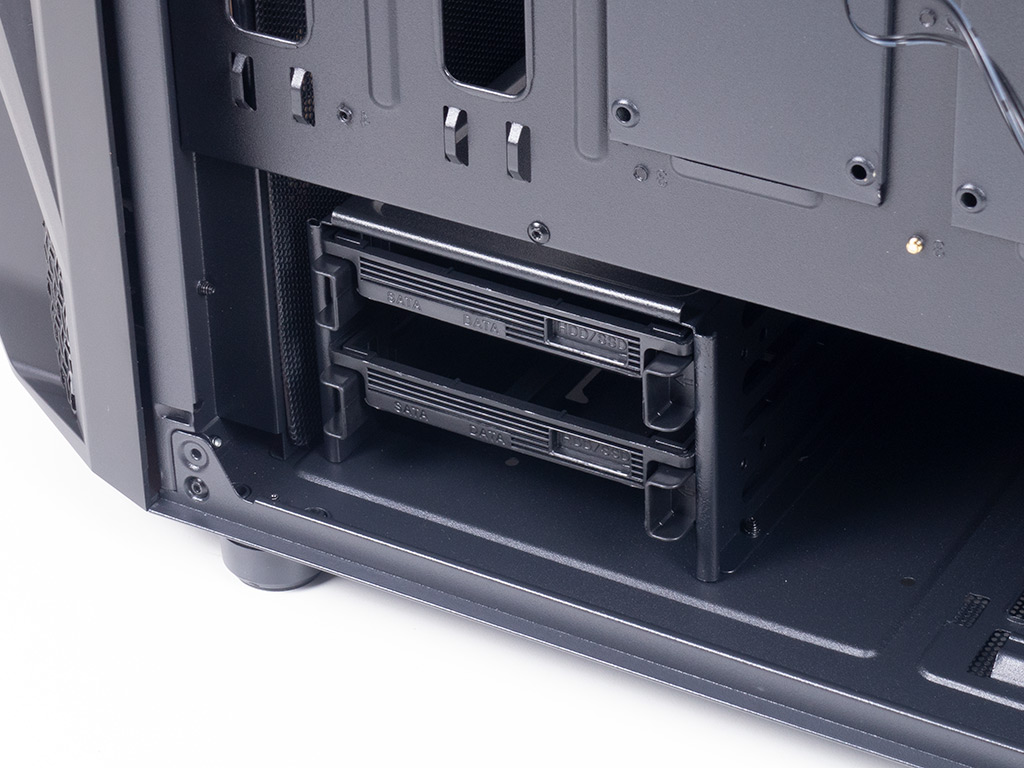
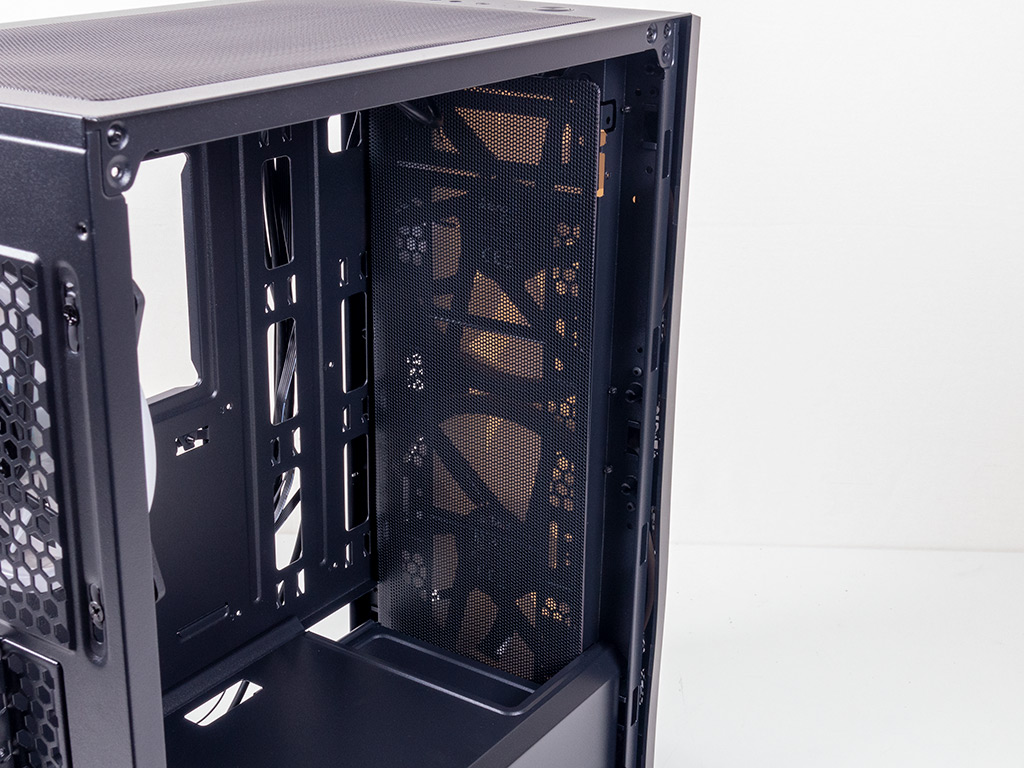
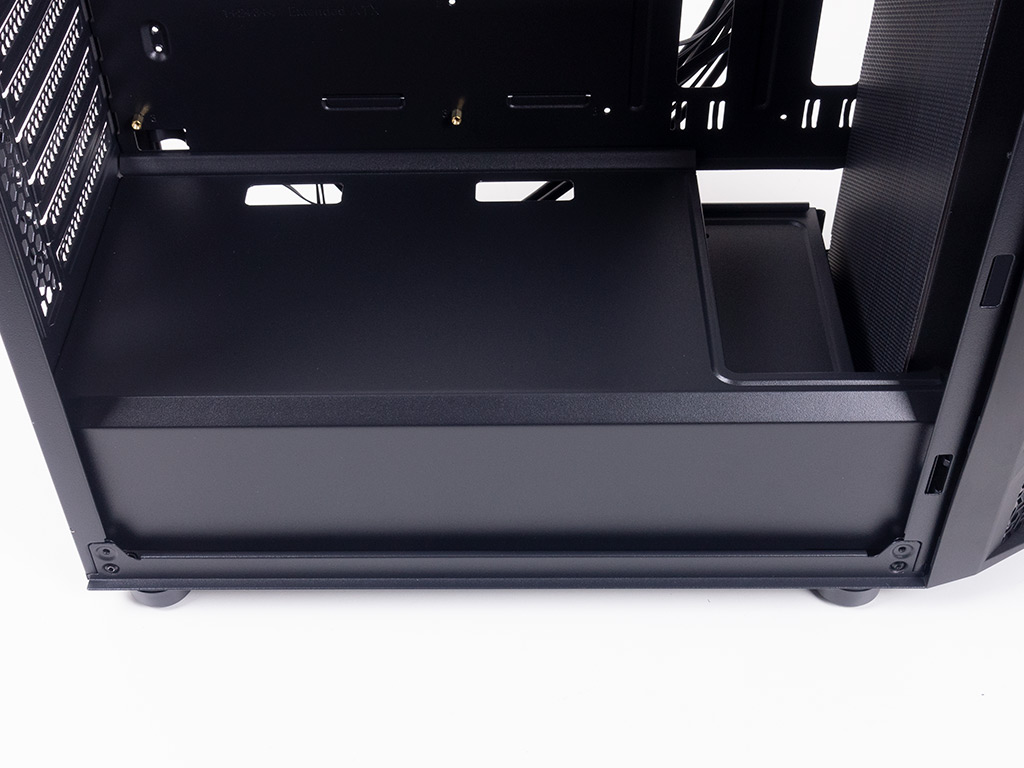
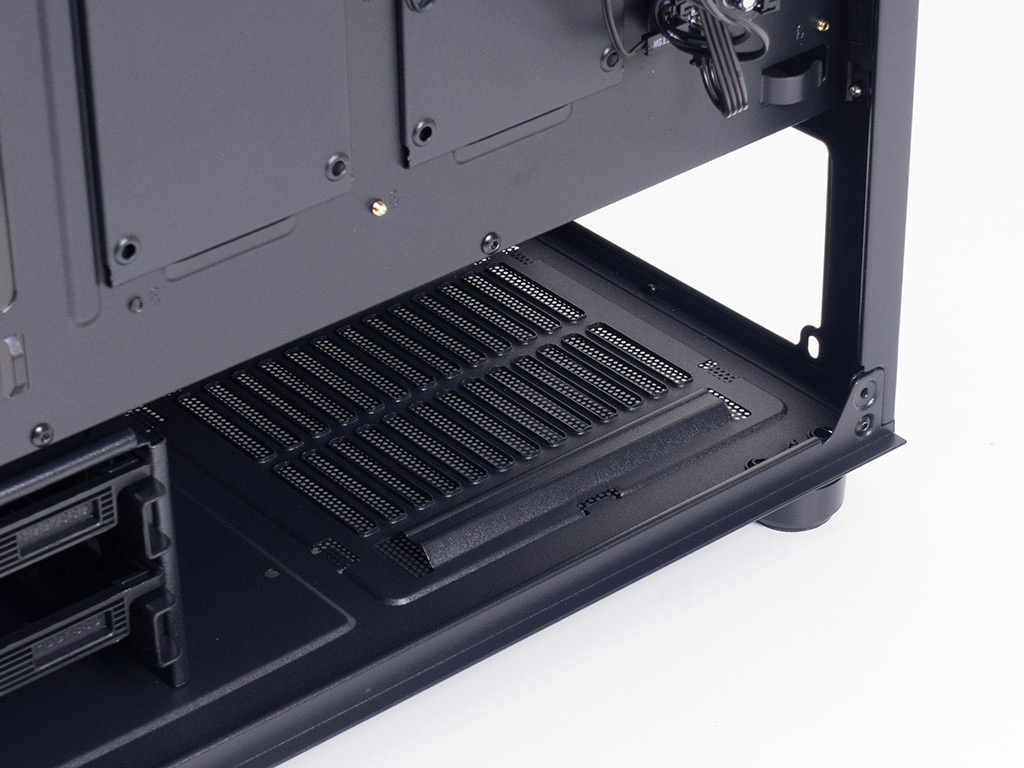
Underneath the shroud, you will find two plastic trays for 3.5" drives that may also hold 2.5" units. The latches you squeeze together on each side are completely smooth, so the whole squeeze and pull motion will result in your fingers slipping most of the time, especially once the tray is full. I am surprised to see this type of cage as there are loads of other variants out there that are a bit easier to handle. Above that, you will find a magnetic dust filter which has been placed on the inside of the chassis to keep dirt out of the interior. It is easy to remove and extends far enough down to cover the entire vent. You may move the HDD cage for thick radiators if you like.

The PSU bay in the rear, underneath the shroud, is pretty basic as it has no rubber or foam elements, but two sturdy rails on which the unit will sit.
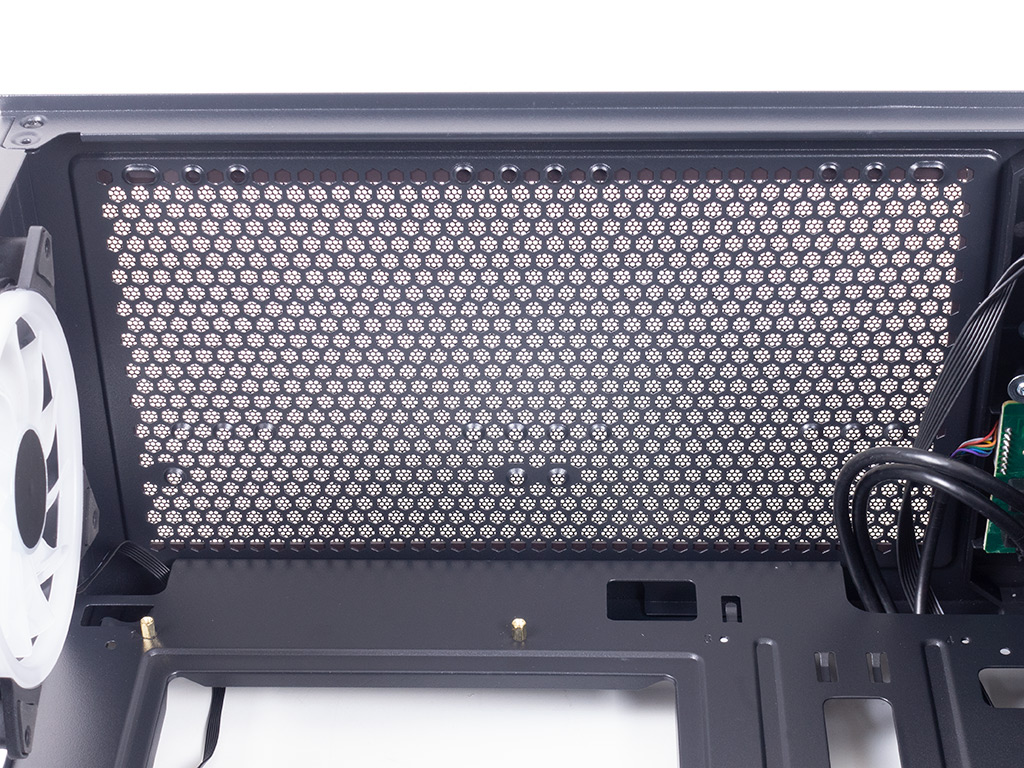
Looking at the ceiling, you have the classic honeycomb vents with the aforementioned dust filter on top. As you can see, the dual-fan setup takes up all the space, with the rest of the top covering the I/O wiring.
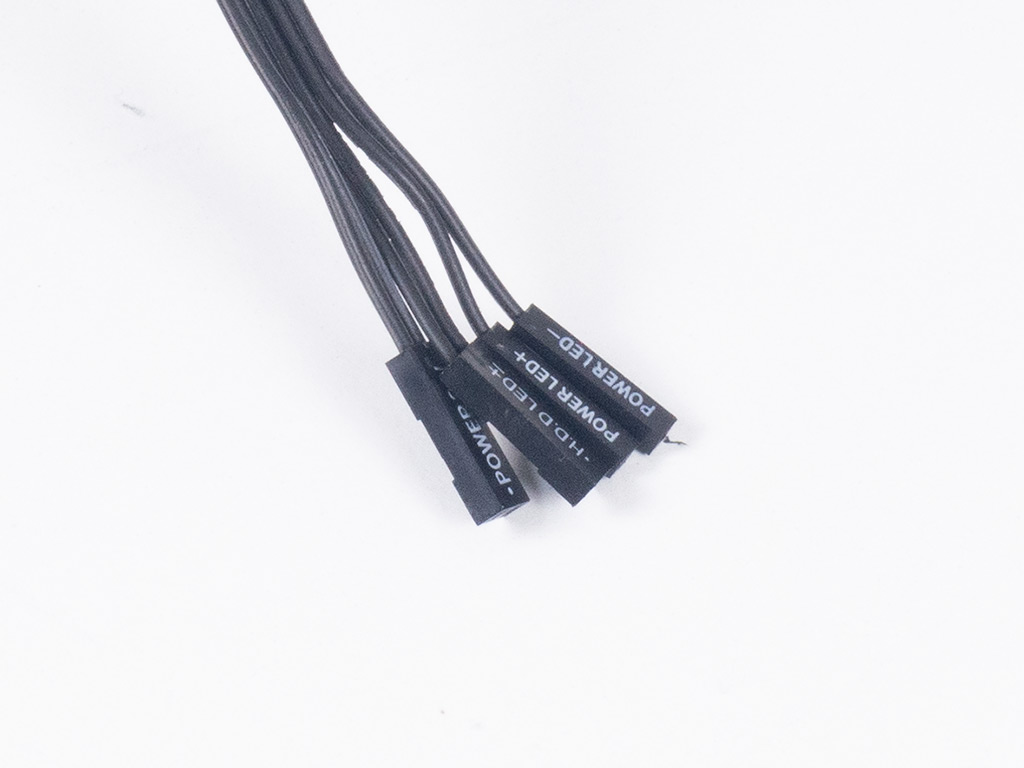
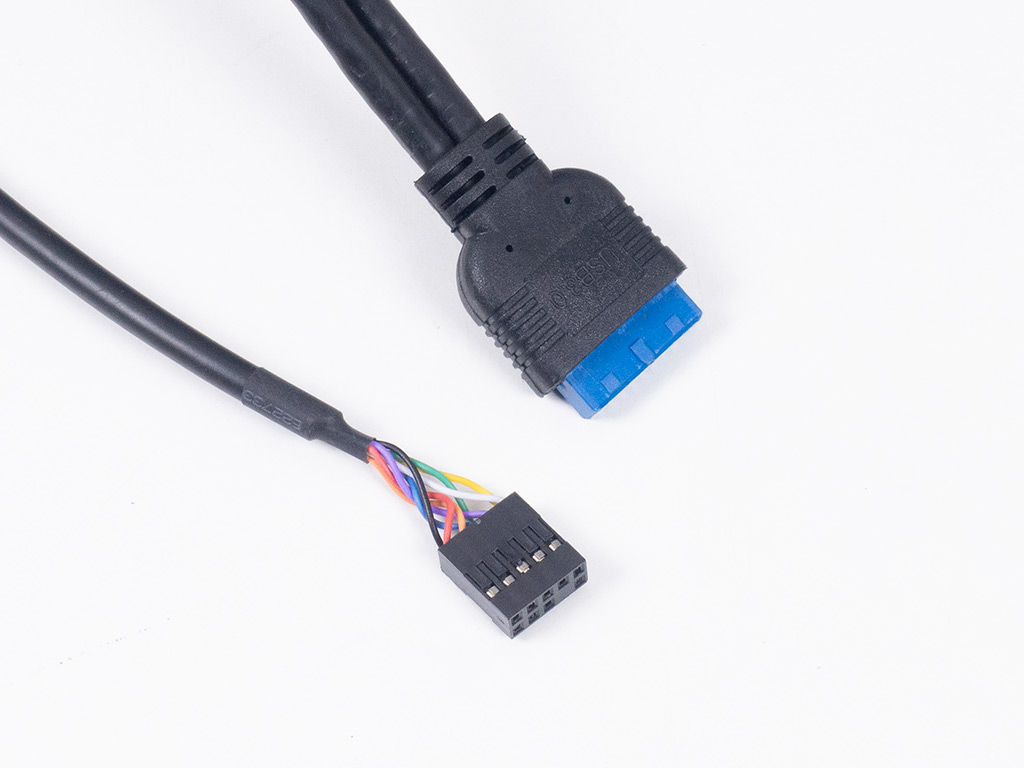
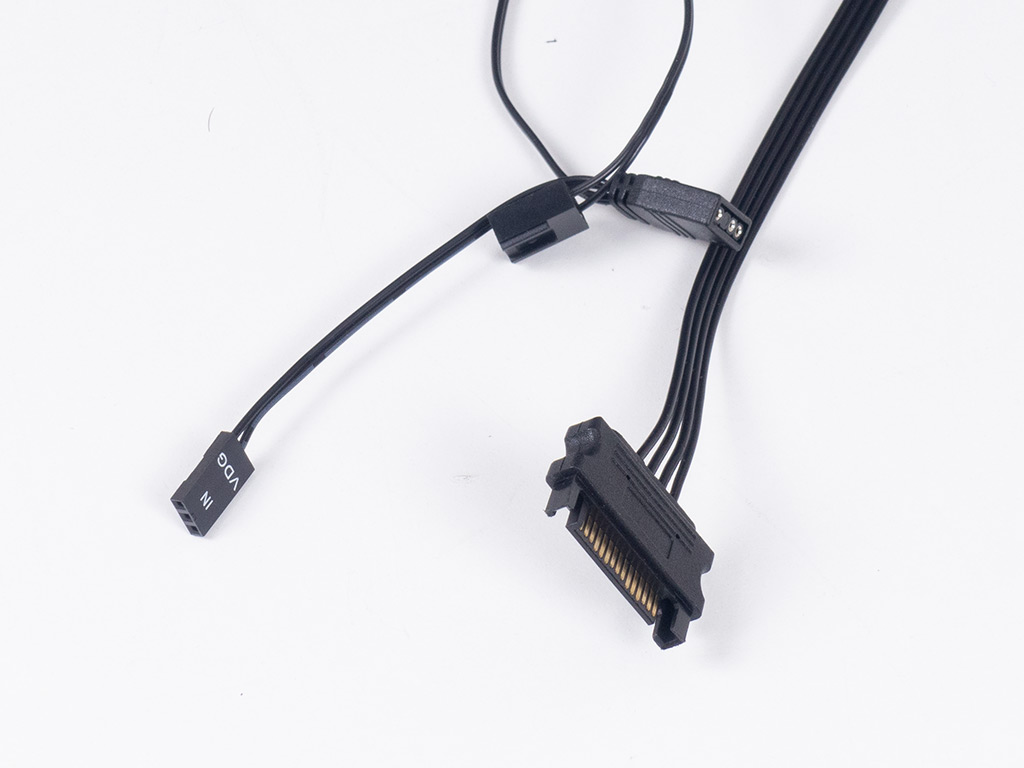
All the cables within the Aerocool NightHawk Duo ARGB are of the default variety with the exception of the reset wire, which is connected straight to the ARGB PCB. You will also receive a lead to attach it to all kinds of motherboard headers and a 3-pin fan connector for your motherboard to control the fans' RGB speed while a SATA cable is utilized to provide power to the whole setup.
Jul 12th, 2025 01:02 CDT
change timezone
Latest GPU Drivers
New Forum Posts
- Can you guess Which game it is? (222)
- 'NVIDIA App' not usable offline? (7)
- What are you playing? (23920)
- RX 9070 XT freezing/locking up only on desktop, anyone else? (43)
- NVIDIA RTX PRO 6000 Workstation Runs Much Hotter Than 5090 FE (22)
- Quick charging your USB devicesUSB 3.2 Gen 2x2 Type-C® front-panel. (1)
- GTX 1050 GPU Owners Club (12)
- ASUS ProArt GeForce RTX 4060 Ti OC Edition 16GB GDDR6 Gaming - nvflash64 VBIOS mismatch (2)
- Will you buy a RTX 5090? (640)
- No offense, here are some things that bother me about your understanding of fans. (33)
Popular Reviews
- Fractal Design Epoch RGB TG Review
- Corsair FRAME 5000D RS Review
- Lexar NM1090 Pro 4 TB Review
- NVIDIA GeForce RTX 5050 8 GB Review
- NZXT N9 X870E Review
- Sapphire Radeon RX 9060 XT Pulse OC 16 GB Review - An Excellent Choice
- AMD Ryzen 7 9800X3D Review - The Best Gaming Processor
- Upcoming Hardware Launches 2025 (Updated May 2025)
- Our Visit to the Hunter Super Computer
- Chieftec Iceberg 360 Review
TPU on YouTube
Controversial News Posts
- Intel's Core Ultra 7 265K and 265KF CPUs Dip Below $250 (288)
- Some Intel Nova Lake CPUs Rumored to Challenge AMD's 3D V-Cache in Desktop Gaming (140)
- AMD Radeon RX 9070 XT Gains 9% Performance at 1440p with Latest Driver, Beats RTX 5070 Ti (131)
- NVIDIA Launches GeForce RTX 5050 for Desktops and Laptops, Starts at $249 (119)
- NVIDIA GeForce RTX 5080 SUPER Could Feature 24 GB Memory, Increased Power Limits (115)
- Microsoft Partners with AMD for Next-gen Xbox Hardware (105)
- Intel "Nova Lake‑S" Series: Seven SKUs, Up to 52 Cores and 150 W TDP (100)
- NVIDIA DLSS Transformer Cuts VRAM Usage by 20% (97)