 18
18
Antec P82 Flow Review - A Compact, Fan-Packed Mid-Tower Case
Temperature & Noise Testing »Test System
| System Parts for Case Reviews | |
|---|---|
| Processor: | Intel Core i5-9600K |
| Motherboards: | ATX: MSI Z390 GAMING EDGE AC MATX: Z370M GAMING EDGE AC Mini-ITX: MSI Z370I GAMING EDGE AC Provided by: MSI |
| Graphics Card: | ATX/mATX: Palit GeForce RTX 2080 Gaming Pro OC ITX: EVGA GTX 1650 SC Ultra Black 4 GB |
| Memory: | 16 GB XPG GAMMIX D30 DDR4 2666 MHz CL16-18-18 1.20 V 16 GB XPG SPECTRIX D60G DDR4 3000 MHz CL16-18-18 1.35 V Provided by: ADATA |
| HDD: | Western Digital 320 GB 7200 RPM |
| SSD: | ITX: ADATA SX6000 Pro M.2 256 GB mATX: ADATA GAMMIX S11 Pro M.2 256 GB ATX: ADATA SPECTRIX S40G M.2 256 GB ADATA XPG SX850 256 GB ADATA Ultimate SU630 240 GB ADATA Ultimate SU750 256 GB Provided by: ADATA |
| Power Supply: | Fractal Design ION+ 750W 80 Plus Platinum |
| Cooling: | be quiet! Dark Rock 4 be quiet! Dark Rock Slim be quiet! Shadow Rock LP Provided by: be quiet! |
Assembly
Installing the motherboard inside the Antec P82 Flow is done by screwing it onto spacers. There is not really any room on the top and bottom of the board, which definitely has the openings come in handy for cable routing. As there is a little lip on the right side of the board where the cable management goes through, you also don't have loads of space to work with there.
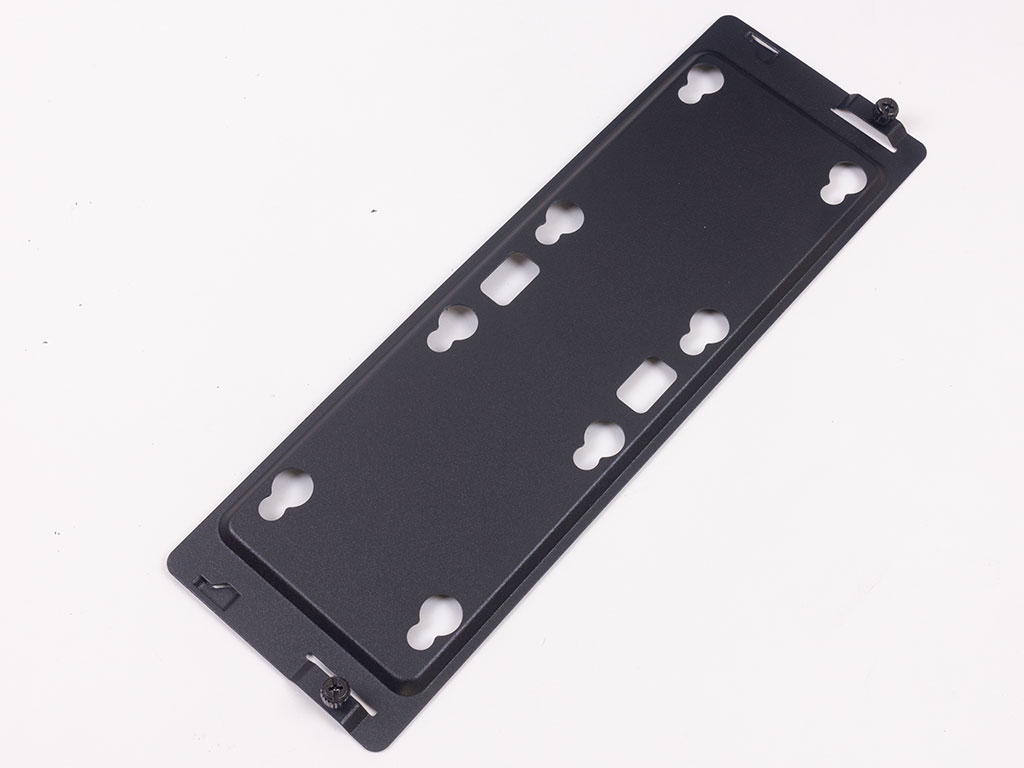
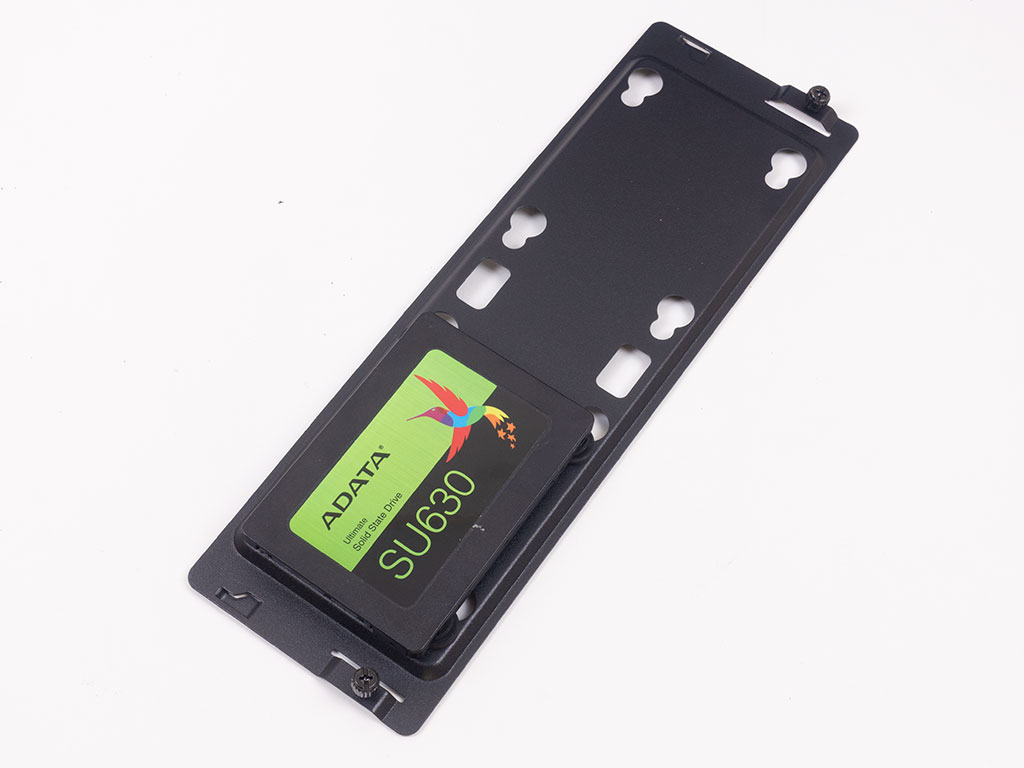
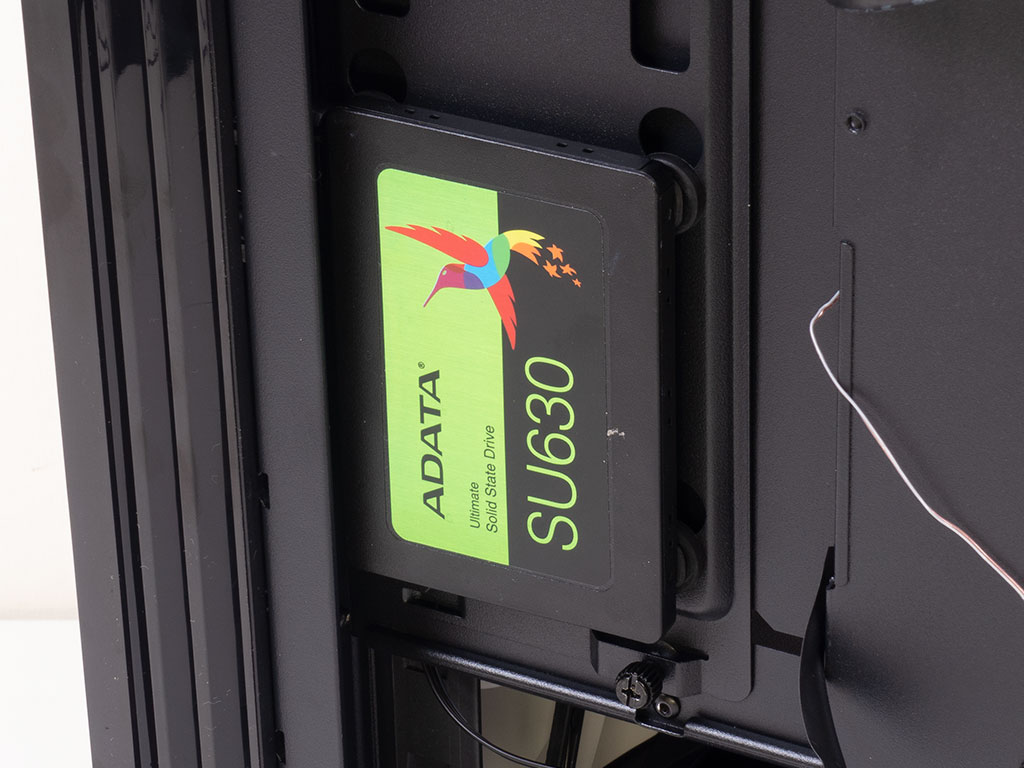
Installing an SSD can be done outside the confines of the chassis by detaching the metal mounting plate. This piece can hold two drives which are secured onto it with rubber-ring-equipped screws. As you can see, there is around 25–30 mm between the drive and the lip with the openings that lead to the motherboard.
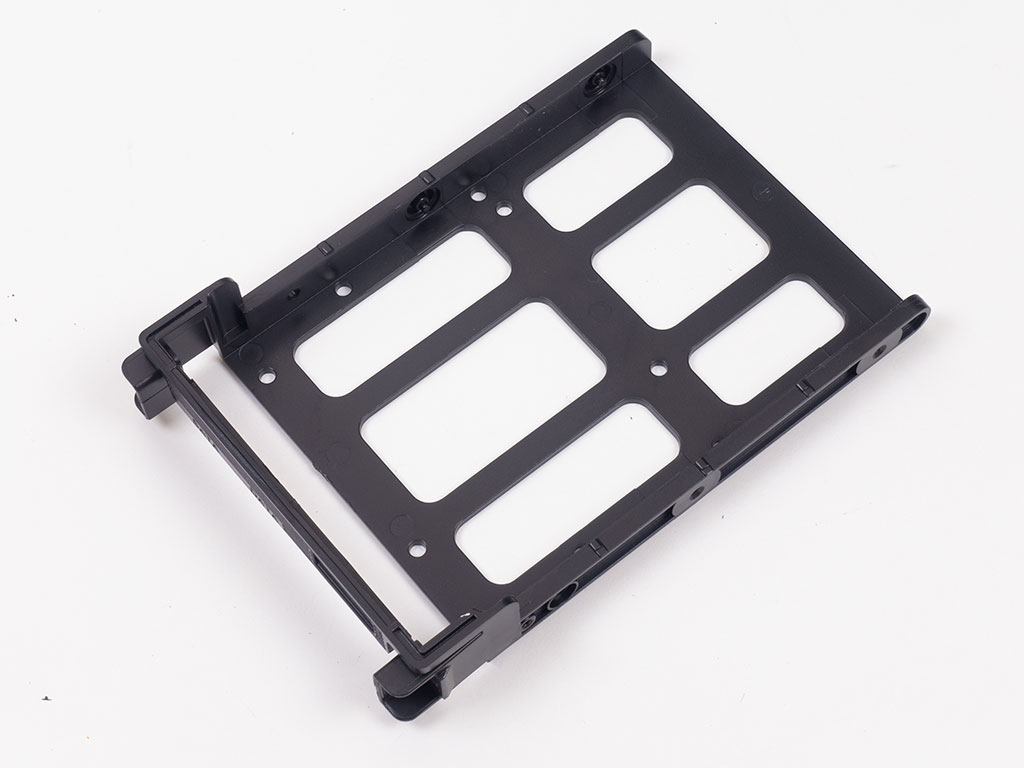
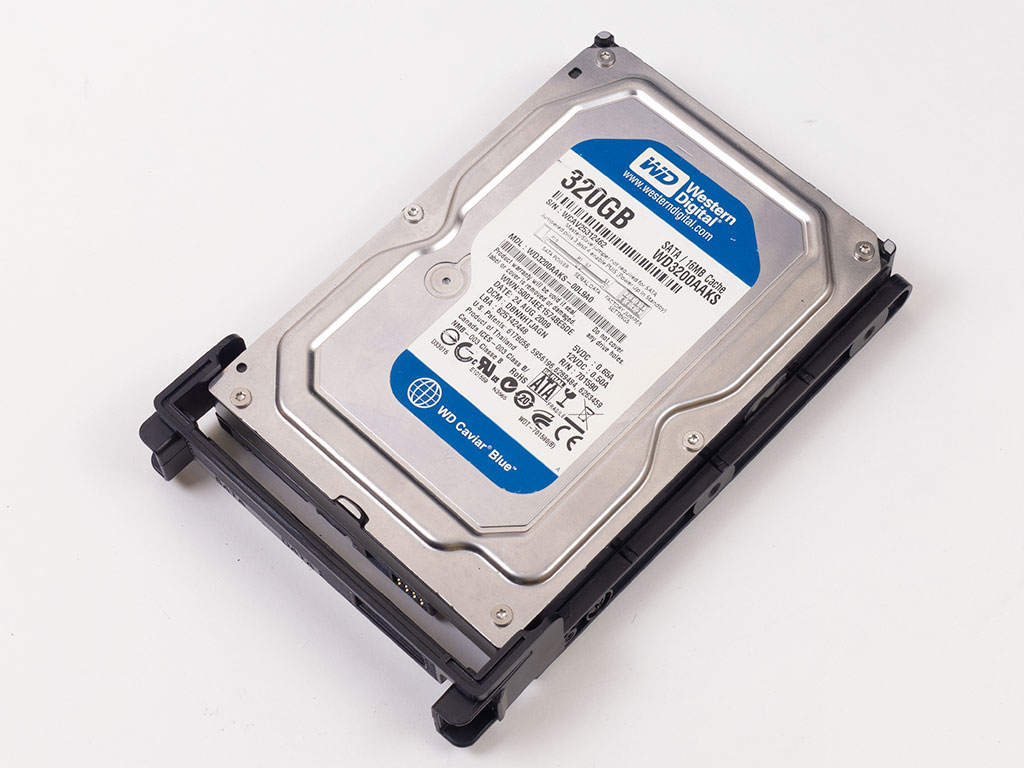
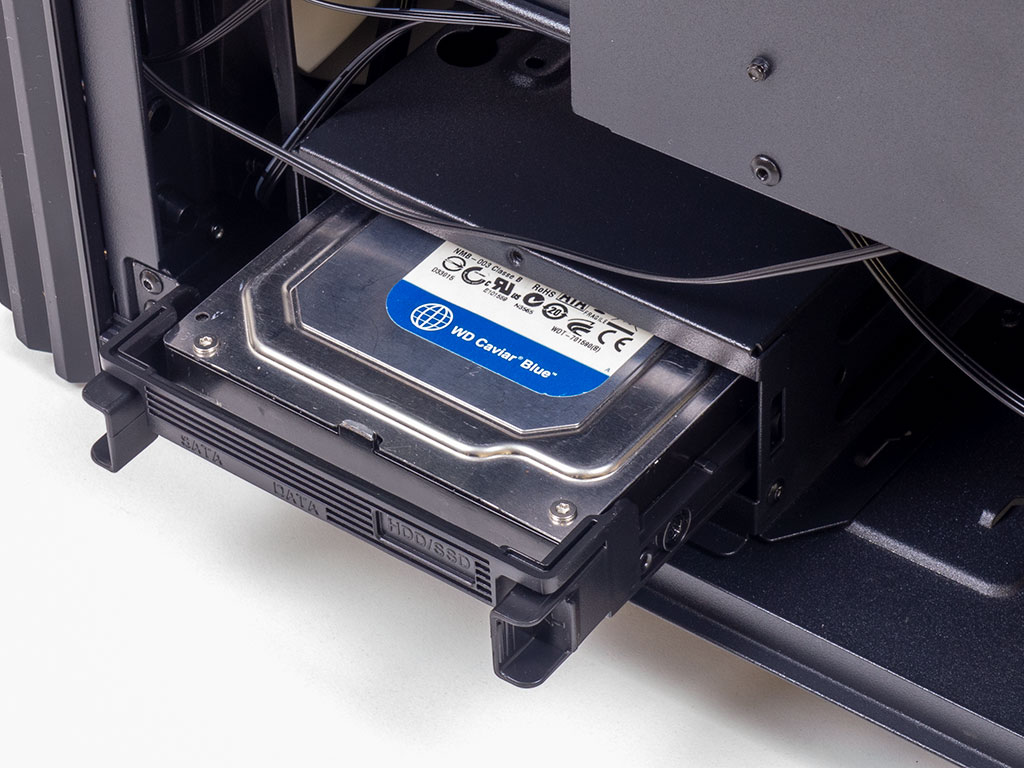

Installing a 3.5" drive usually requires no tools as you just bend the tray apart and snap it down on the drive. However, with four pins, two on each side, and some 8+TB drives these days forgoing that middle mounting hole on either side, some light modding may be necessary to make things work—slice off that extra pin on each side of the tray and use screws to hold such a drive in place properly. Sliding the tray back in is easy, but pulling it out is harder because of the design, as your fingers won't be able to grip it well.
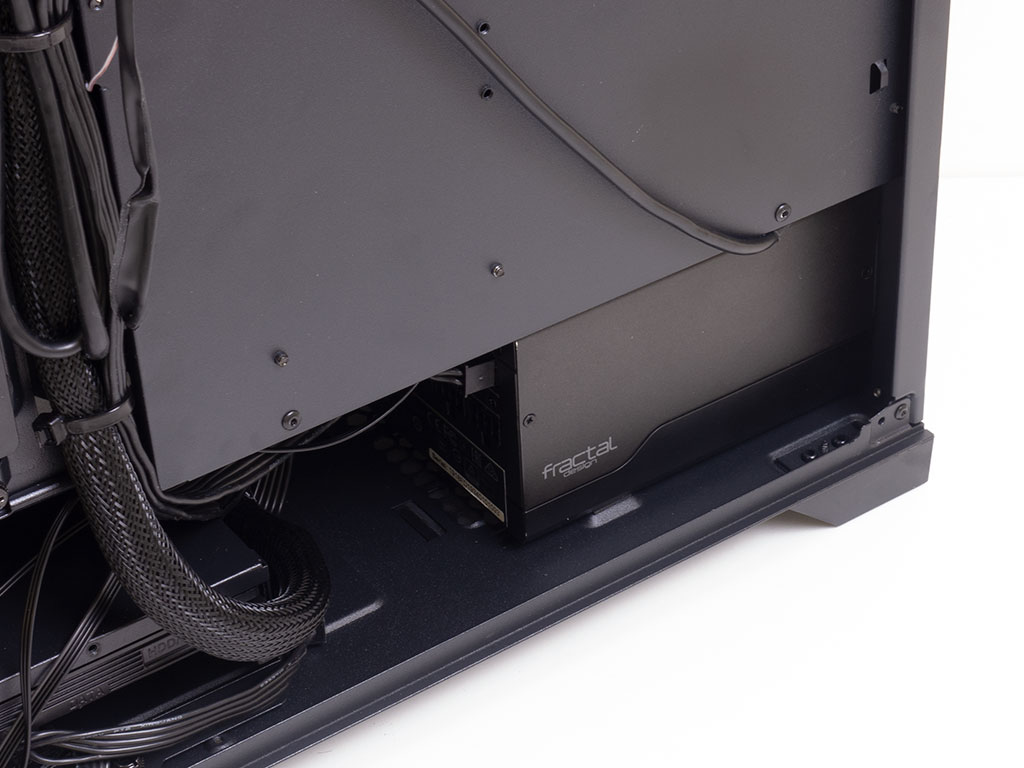
Installing a PSU is straightforward, and you should be able to find a potent high-quality unit to easily fit in the space provided.
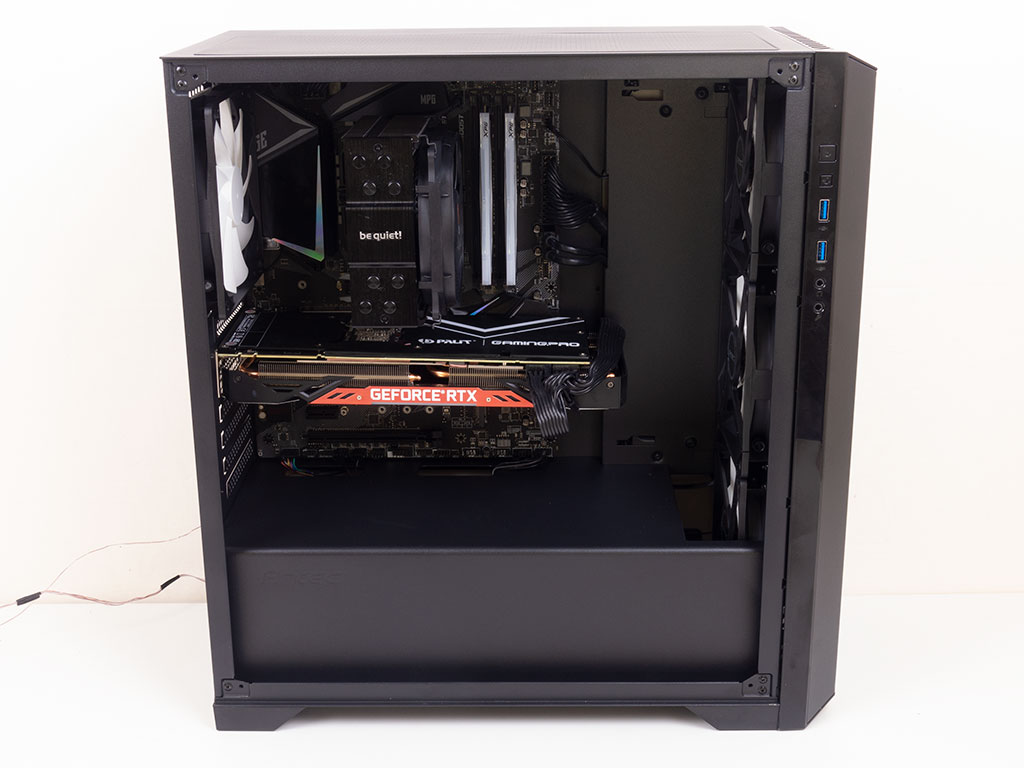

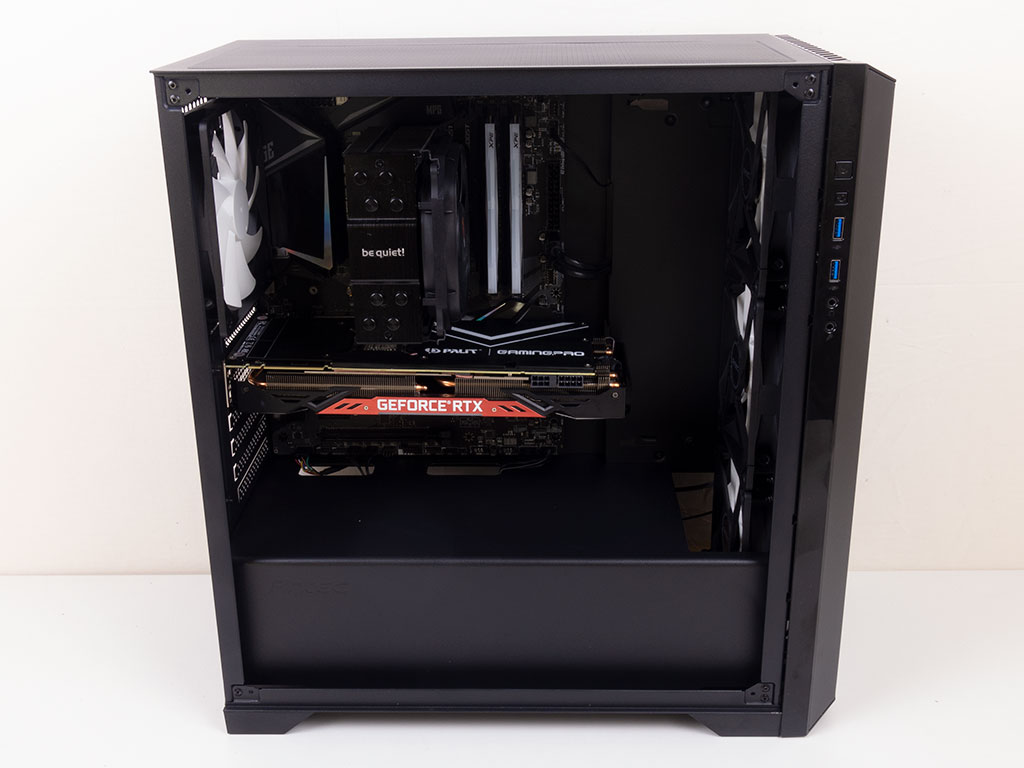
With everything installed, the interior of the Antec P82 Flow actually looks really clean because of that lip through which all the cables are routed. On the backside, all the leads essentially run along that lip with lots of zip ties to keep them away from the 2.5" drives for access at a later point should you want to switch things around or upgrade. Only the audio cable was quite short and didn't fit, so I had to run it across the backside of the motherboard tray instead.
Finished Looks
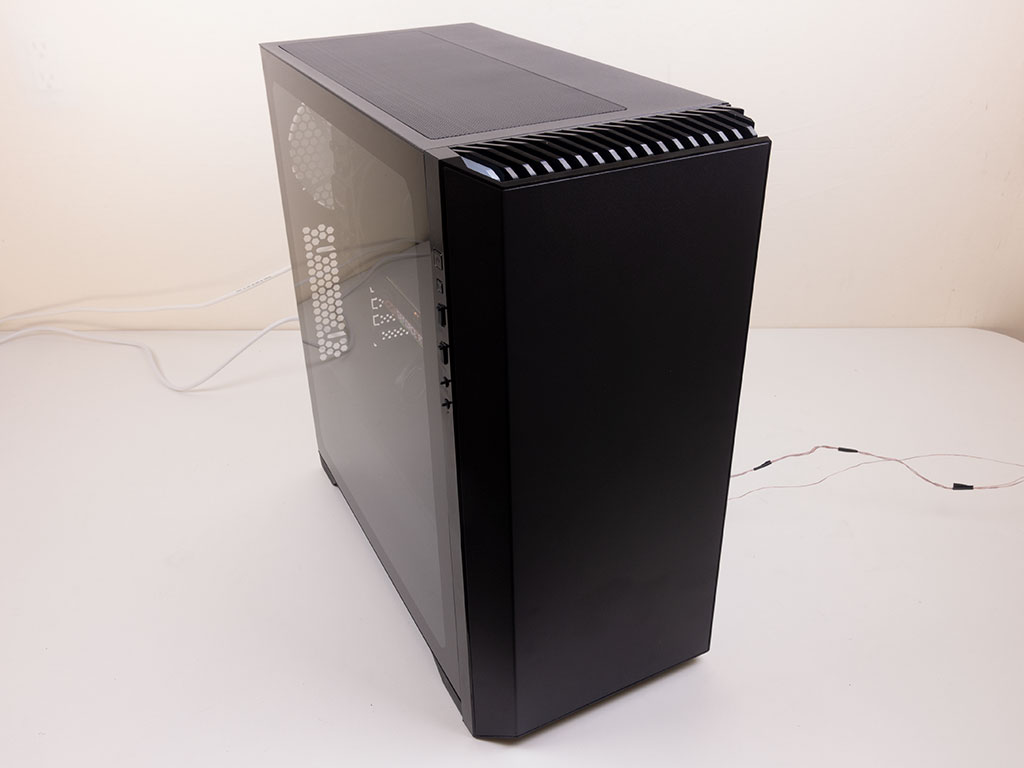

Once turned on, the Antec P82 Flow makes a beautiful exterior impression. I am always a fan of clean and understated looks, and this case manages it well. One of the grills on top lights up white to let you know the system is turned on as well.
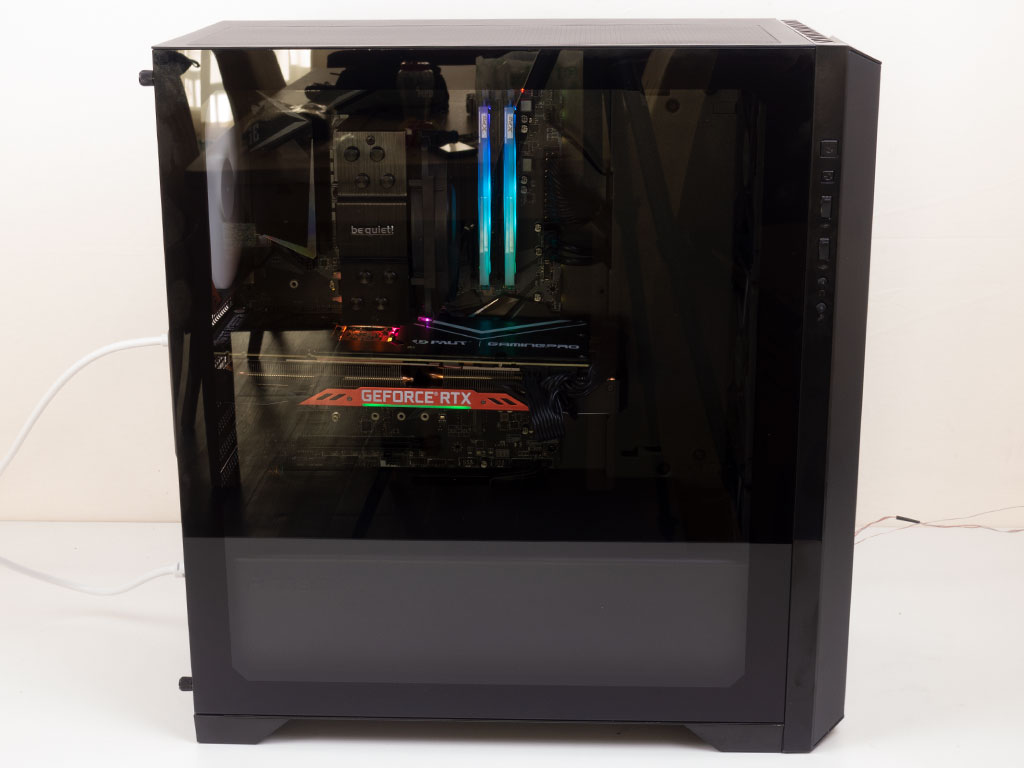
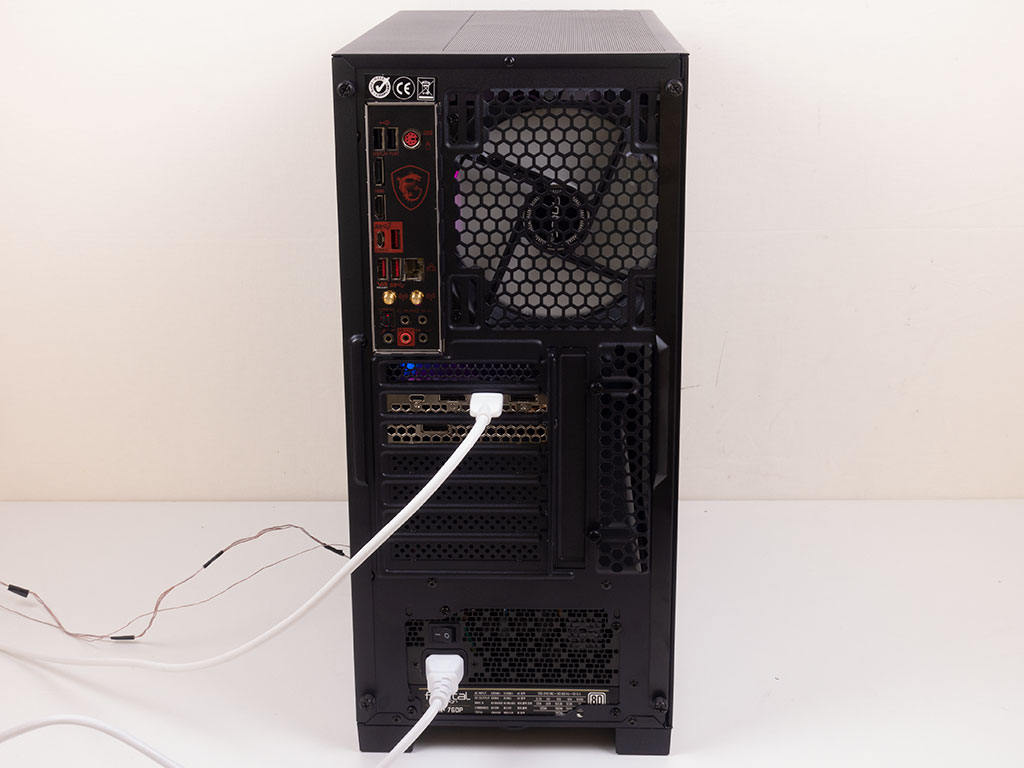
Thanks to the clear side window, all the components are clearly visible, even without much interior lighting. In the rear, there is nothing out of the ordinary either, with everything connectable where it should be.
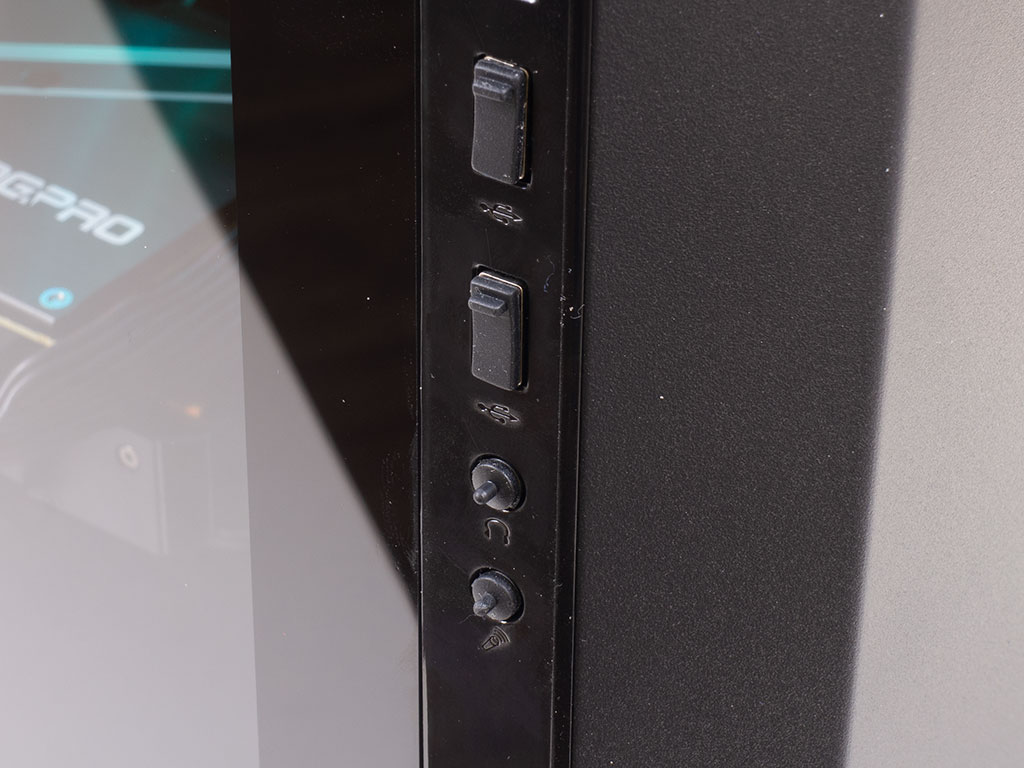
Last but certainly not least, I installed the rubber covers on the I/O ports Antec had also provided as a cherry on top.
Dec 25th, 2024 14:06 EST
change timezone
Latest GPU Drivers
New Forum Posts
- Where I can buy the Samsung 35E 18650 3500mAh 8A -Protected Button Top Batteries. (55)
- whats the difference between 8+2 vs 5+3 power/ what is a com debug port (3)
- Z390 Fiasco to Freeasco! (23)
- Flashing VBIOS on Sapphire RX 470 8gb Mining Edition(Nitro) (23)
- NVIDIA GeForce RTX 5000 Series “Blackwell” TDPs Leaked, Entire Lineup Unified with 12+4 Pin Power Connector (118)
- Games that refuse to work on W11 24H2 (20)
- Power supply radio noise (25)
- Star Wars Outlaws (30)
- Super Resolution RSR option not present in Adrenaline app. (0)
- Game of the year 2024 (11)
Popular Reviews
- Arrow Lake Retested with Latest 24H2 Updates and 0x114 Microcode
- GPU Test System Update for 2025
- EIZO FlexScan EV3240X Review - It Means Business
- Team Group T-FORCE Dark AirFlow I SSD Cooler Review
- HyperX Alloy Origins Keyboard Review
- Intel Arc B580 Review - Excellent Value
- AMD Ryzen 7 9800X3D Review - The Best Gaming Processor
- ASRock Arc B580 Steel Legend Review
- Upcoming Hardware Launches 2024 (Updated Nov 2024)
- Montech MKey PRO Wireless Mechanical Keyboard Review
Controversial News Posts
- Intel CEO Pat Gelsinger Retires, Company Appoints two Interim co-CEOs (217)
- AMD Radeon RX 8800 XT RDNA 4 Enters Mass-production This Month: Rumor (215)
- 32 GB NVIDIA RTX 5090 To Lead the Charge As 5060 Ti Gets 16 GB Upgrade and 5060 Still Stuck With Last-Gen VRAM Spec (172)
- NVIDIA GeForce RTX 5070 Ti Leak Tips More VRAM, Cores, and Power Draw (160)
- AMD Radeon RX 9070 XT Alleged Benchmark Leaks, Underwhelming Performance (131)
- AMD Radeon RX 8800 XT Reportedly Features 220 W TDP, RDNA 4 Efficiency (123)
- AMD Radeon "RX 8800 XT" is Actually the RX 9070 XT? (109)
- Intel 18A Process Node Clocks an Abysmal 10% Yield: Report (90)