 21
21
AOC AGON AG271QG 144-165 Hz Review
Connectivity & Power Consumption »Design & Ergonomics


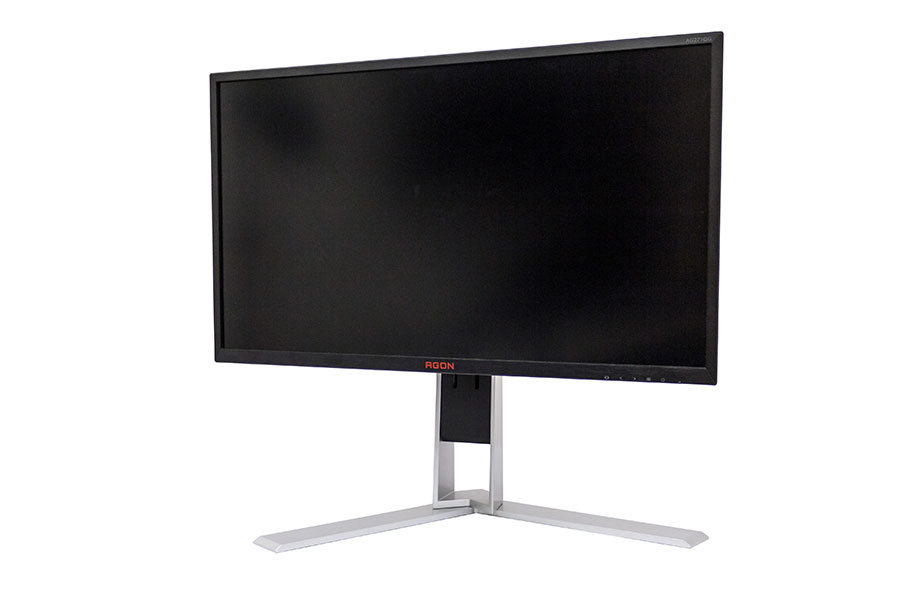
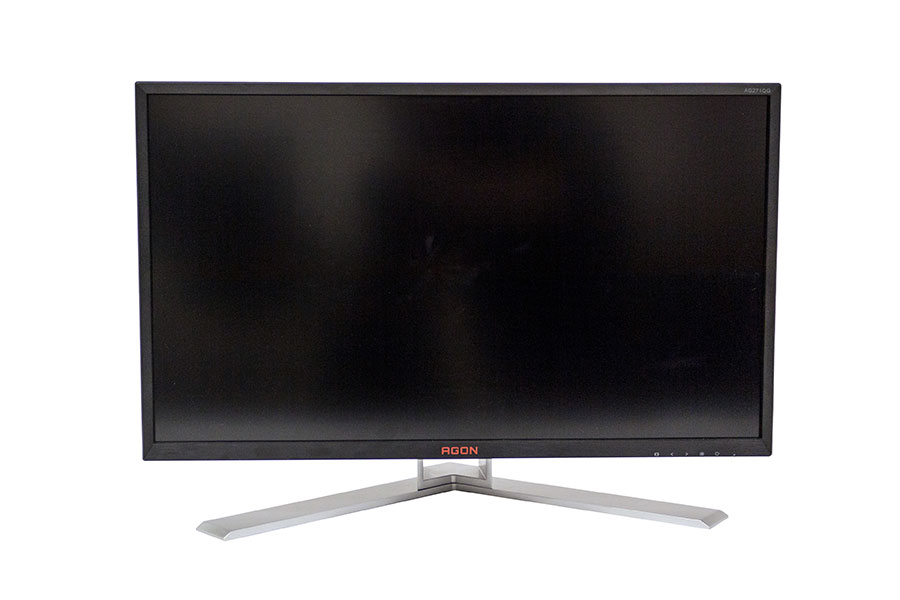
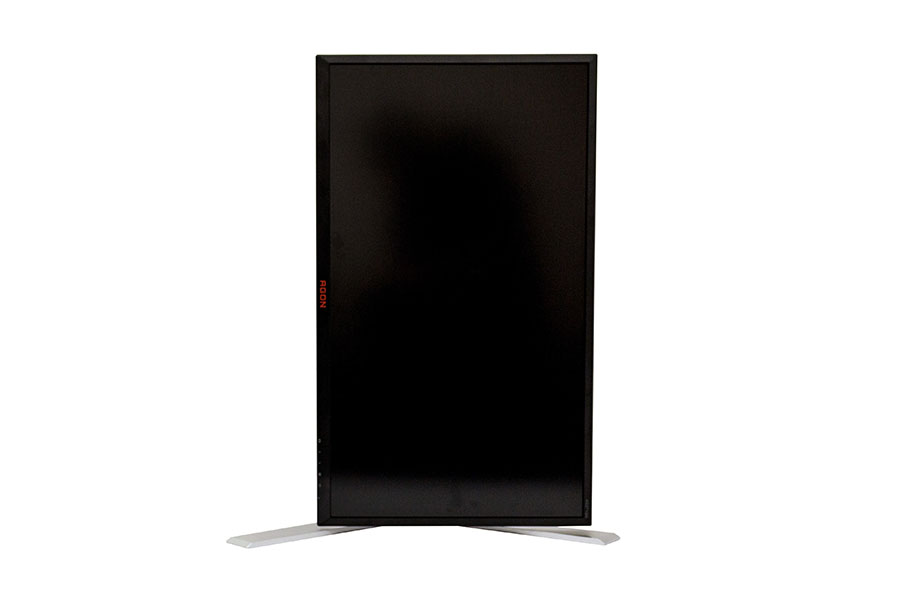
Considering this is a hardcore, high-end gaming monitor, the aesthetics of the AOC AGON AG271QG strike me as surprisingly neutral (I'm trying not to use the word "normal"). The 27" panel is surrounded by a bezel that can't really be called thick, but it's significantly wider than that on the Acer Predator XB271HU. It measures 11 millimeters on both sides and along the upper part of the screen and 18 millimeters along the bottom of the panel. The rear of the screen sports a red plastic shroud, but is otherwise mostly silver and black. Overall, it's a nice-looking monitor you won't be embarrassed to put into your living room or even your office, which could have definitely been the case had AOC gone overboard with its "gaming" details instead.
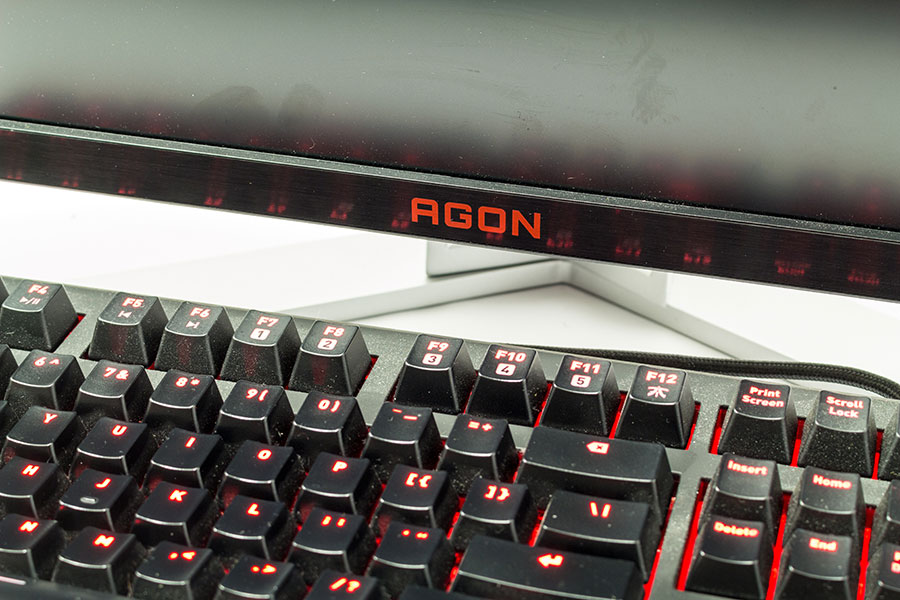
The bottom bezel is slightly reflective, which I found somewhat annoying while using my PC at night because it kept reflecting the red LEDs of my keyboard. The problem wasn't the very presence of a slight reflection but, rather, the fact that it kept disappearing and reappearing as I was hitting different keys. As you can imagine, that can be a bit distracting.
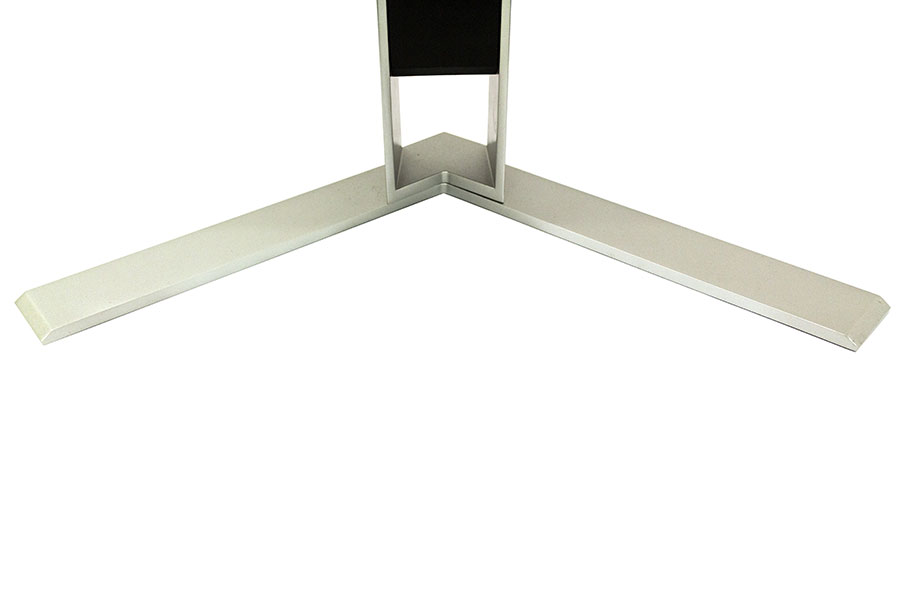
The silver base of the monitor is made of metal, and it's wide and very stable. It spans 52 centimeters in width and about 25 centimeters in depth, so you had better make sure your table has enough room to hold it.

The screen can be swiveled to the left and right by 20° to each side. That's a bit less than the usual 60° offered by some competitors.
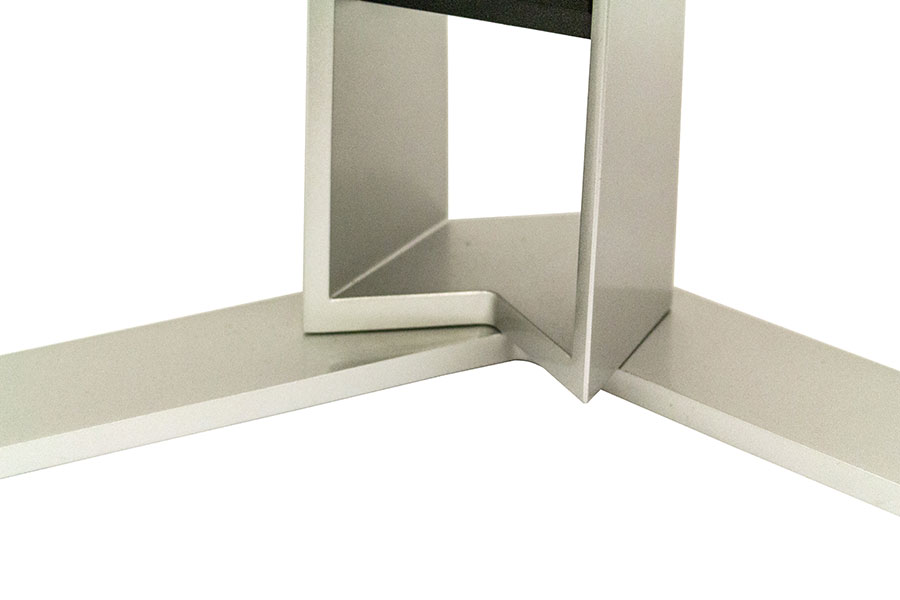
Thanks to the way the connection between the base and stand is made, it's very easy to know when the screen is perfectly centered.
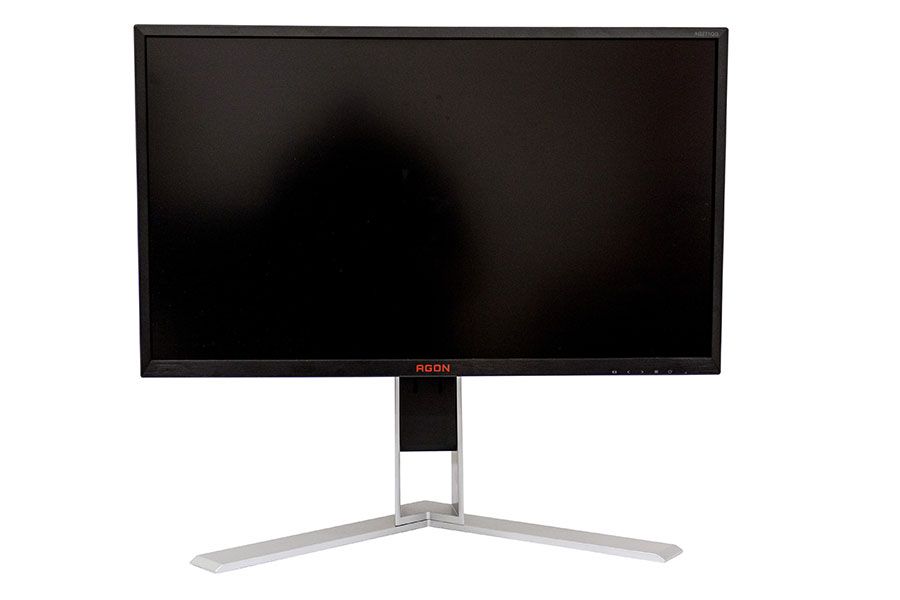
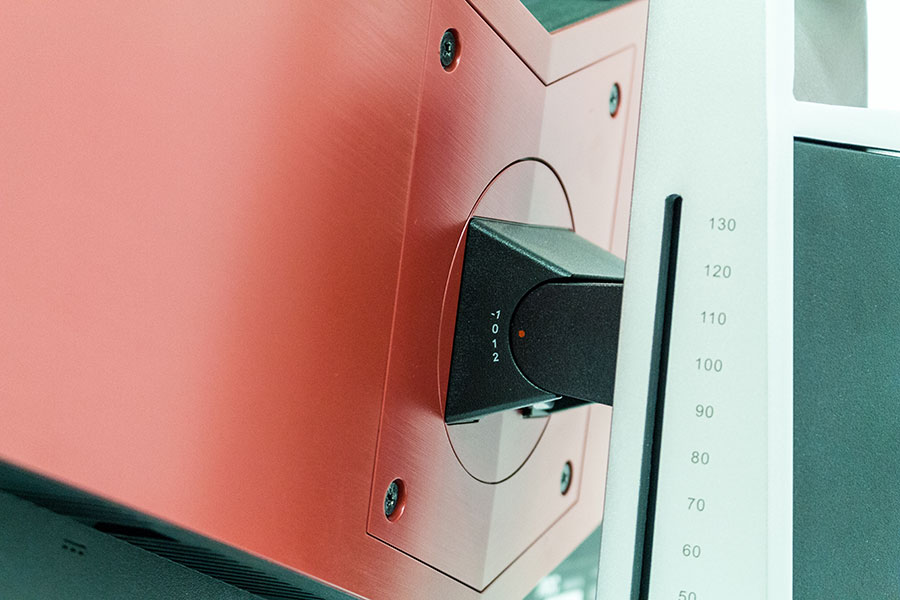
As with any high-end screen, the AOC AGON AG271QG can be adjusted in height too. When pushed all the way down, the distance between the screen's bottom edge and the table's surface is 6.8 centimeters. If you pull it all the way up, which is easily done with one hand, said distance goes up to 19.8 centimeters. That's a nice range of vertical movement, one that will certainly make it easier for the monitor to fit into a variety of different workspaces.
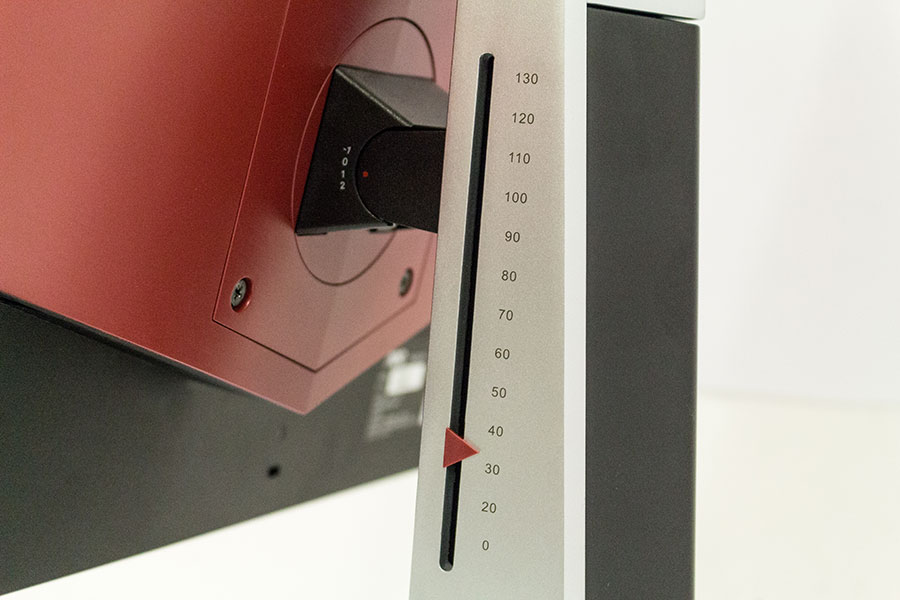
Once you find your preferred height for the screen, you can mark it by moving the red arrow slider to the corresponding position. That way, if someone else sits in front of your PC and changes the screen's position, you can easily adjust it to where it was before.
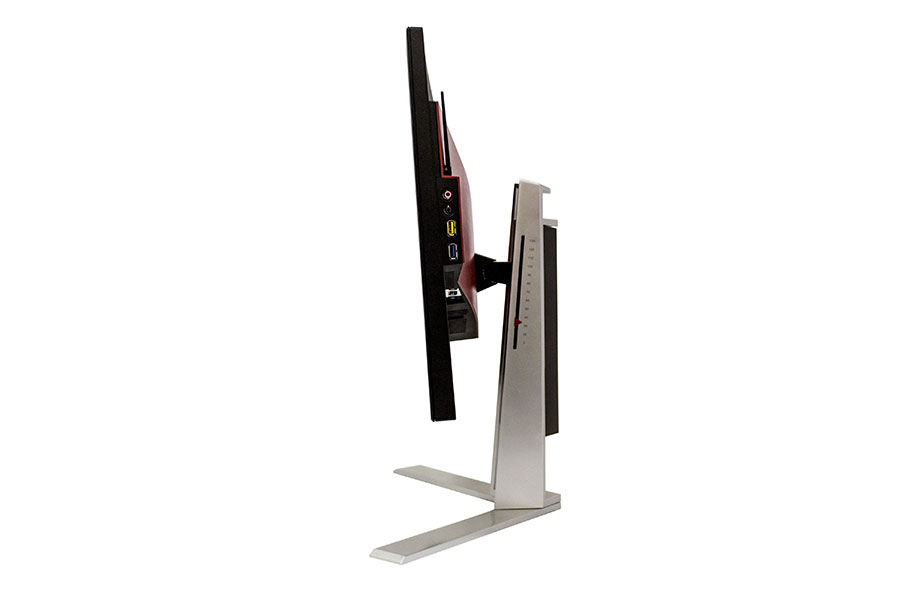

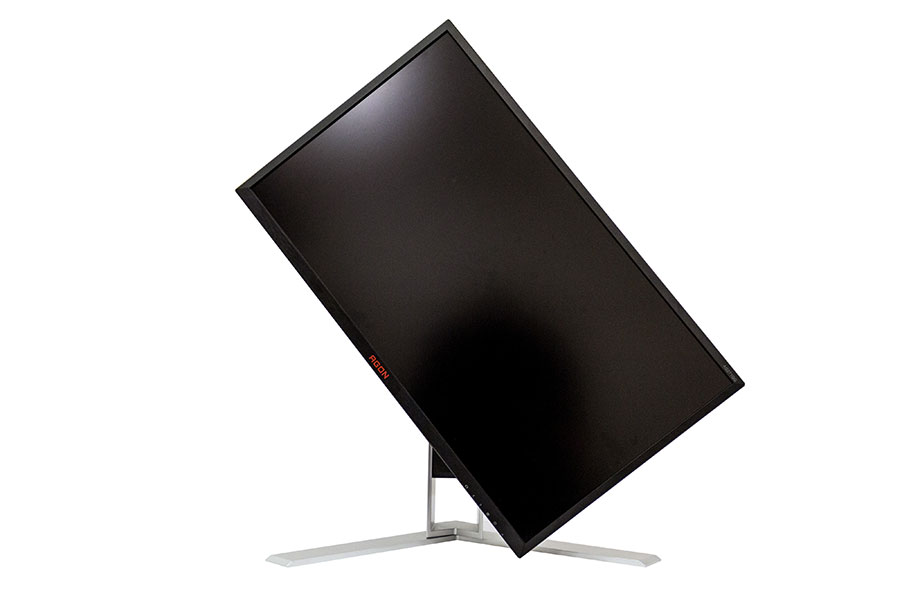
The angle the screen can be tilted in ranges from -3.5° to 21.5°, which is again a bit less than the usual (we're used to seeing -5° to +35°). However, this didn't cause me any problems in its everyday use. The available tilting range was decent enough for me to find an optimal position.
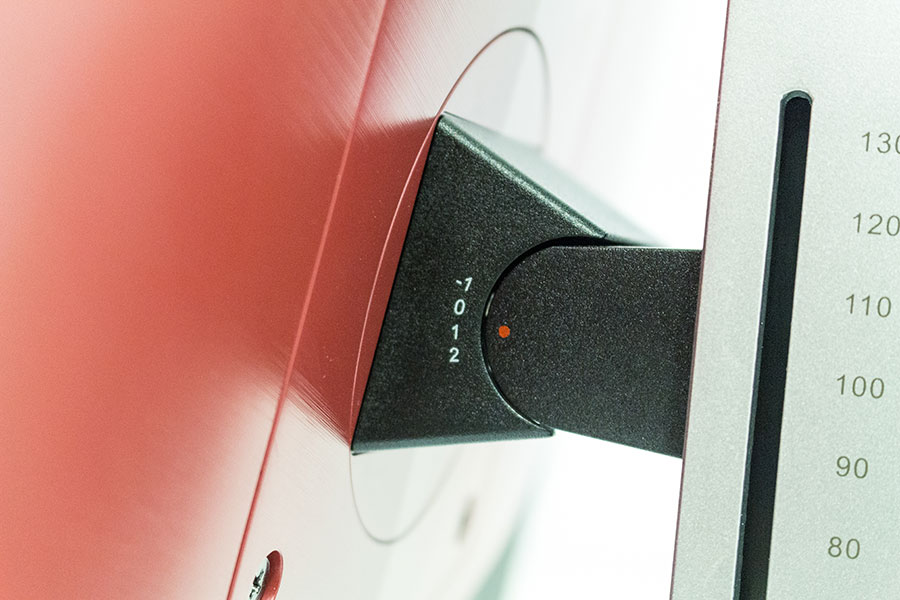
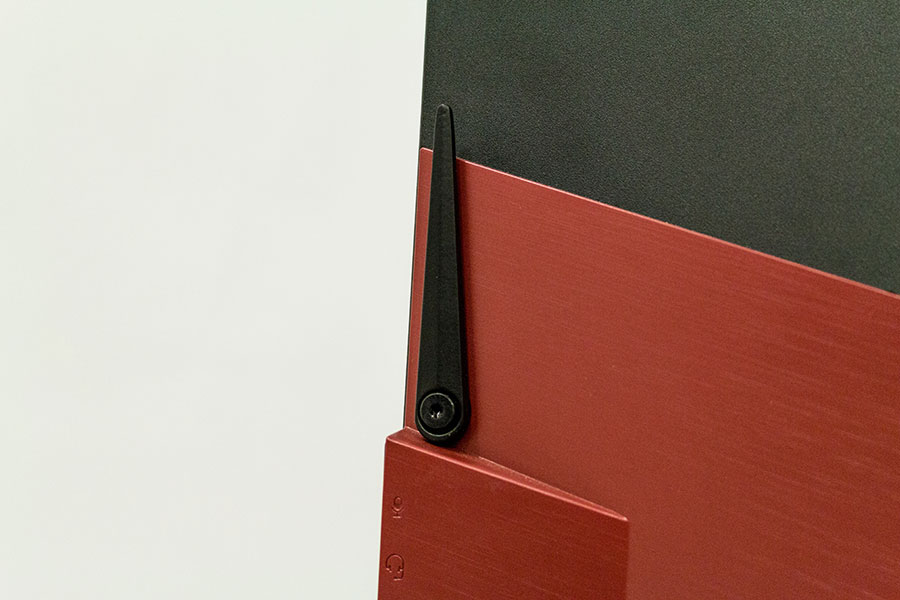
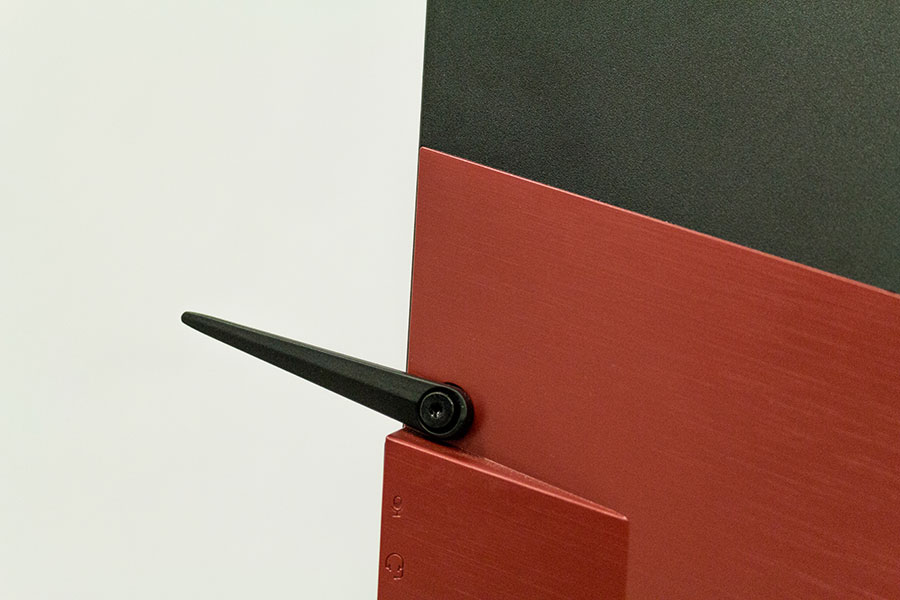
The joint that connects the screen to the stand is marked with a couple of numbers (-1 to 2) and a red dot. You're probably already guessing - the purpose of this is to also make it easier to return the screen to your preferred position should someone move it when you're not around.
Like any great stand, the one made for this monitor also enables us to pivot the screen by 90°. I love the fact that AOC placed a pair of USB 3.0 ports on the right side of the screen. Thanks to that, they remain fully usable even when the screen is pivoted, as they then simply end up on the "bottom" of the screen. For some reason, the screen isn't fully centered with the base of the monitor when it's fully pivoted. A strange omission that.
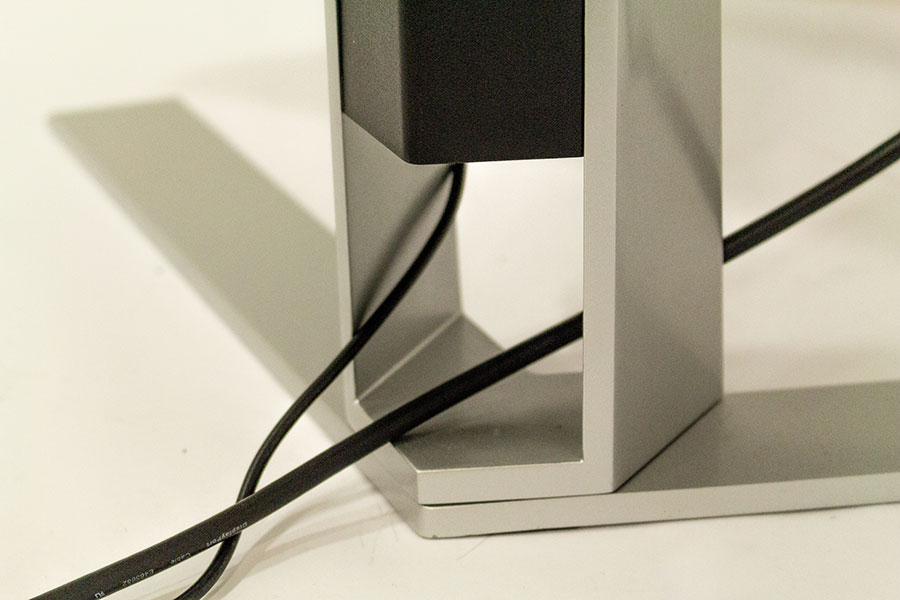

In terms of built-in cable management, you essentially have two options. One is to lead the cables through the hole near the bottom of the stand. If you take that route, they will remain visible unless the monitor is pushed all the way down to where the screen basically covers the hole. You can also guide the cables through the hole on top of the stand and use something like a couple of zip-ties to attach them to the rear of the stand. However, if you're looking for a way to completely hide the cables, there's really not much you can do because of the way the stand has been designed.
If you want to mount the monitor on a VESA mount instead of using the provided base and stand, you can do so by removing the screws, detaching the stand, and affixing the provided metal bracket to where the stand used to be. After that, the monitor can be placed on any standard VESA 100x100 mount.
On the right side of the monitor is a plastic hook that can be tilted downward and used as a headphone or headset hanger.


If you don't already own a headset stand and can never decide where to put it when you're not using it, this hook could prove to be very useful. It doesn't feel particularly sturdy, but had no trouble holding any of my headsets or headphones, even the bigger ones, such as the Philips Fidelio X2.
Jul 3rd, 2025 22:02 CDT
change timezone
Latest GPU Drivers
New Forum Posts
- GPU-Z Display Bug via DP 2.1? (5)
- [GPU-Z Test Build] New Kernel Driver, Everyone: Please Test (35)
- What Windows is overall the best to you and why? (269)
- How do you view TPU & the internet in general? (With poll) (58)
- HP Zbook 15 G2 GPU Upgrade (12)
- Will you buy a RTX 5090? (610)
- What phone you use as your daily driver? And, a discussion of them. (1756)
- What would you buy? (51)
- A Final Fantasy IX Reminiscence - My love letter and homage to one of the best stories ever told (90)
- GravityMark v1.89 GPU Benchmark (309)
Popular Reviews
- ASUS ROG Crosshair X870E Extreme Review
- Crucial T710 2 TB Review - Record-Breaking Gen 5
- Fractal Design Scape Review - Debut Done Right
- PowerColor ALPHYN AM10 Review
- Sapphire Radeon RX 9060 XT Pulse OC 16 GB Review - An Excellent Choice
- Upcoming Hardware Launches 2025 (Updated May 2025)
- AMD Ryzen 7 9800X3D Review - The Best Gaming Processor
- Sapphire Radeon RX 9070 XT Nitro+ Review - Beating NVIDIA
- SCHENKER KEY 18 Pro (E25) Review - Top-Tier Contender
- AVerMedia CamStream 4K Review
TPU on YouTube
Controversial News Posts
- Intel's Core Ultra 7 265K and 265KF CPUs Dip Below $250 (288)
- NVIDIA Grabs Market Share, AMD Loses Ground, and Intel Disappears in Latest dGPU Update (212)
- Some Intel Nova Lake CPUs Rumored to Challenge AMD's 3D V-Cache in Desktop Gaming (140)
- NVIDIA GeForce RTX 5080 SUPER Could Feature 24 GB Memory, Increased Power Limits (115)
- Microsoft Partners with AMD for Next-gen Xbox Hardware (105)
- NVIDIA Launches GeForce RTX 5050 for Desktops and Laptops, Starts at $249 (105)
- Intel "Nova Lake‑S" Series: Seven SKUs, Up to 52 Cores and 150 W TDP (100)
- NVIDIA DLSS Transformer Cuts VRAM Usage by 20% (97)