 6
6
Aqirys Sargas Review
Assembly & Finished Looks »A Closer Look - Inside
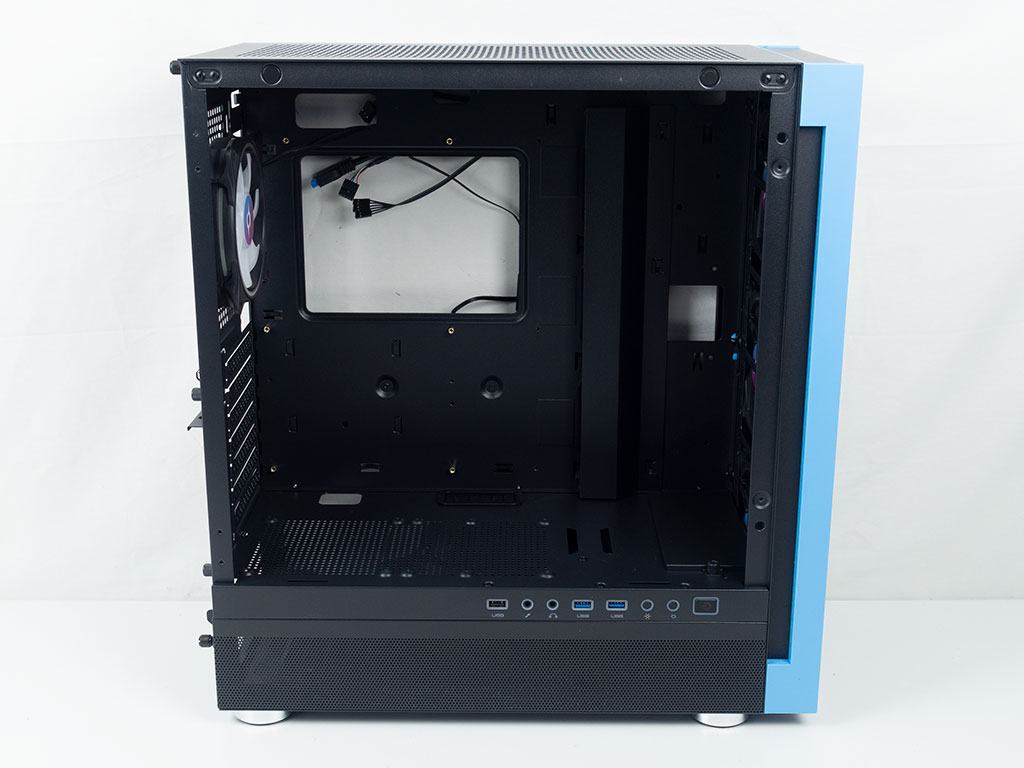
The interior of the Aqirys Sargas is laid out pretty traditionally. The chassis features a cable cover to the right of the motherboard tray as well as on the shroud to keep things as clean as possible. The shroud can hold up to two additional intake fans, which would make use of the perforated side below the glass to draw in air.
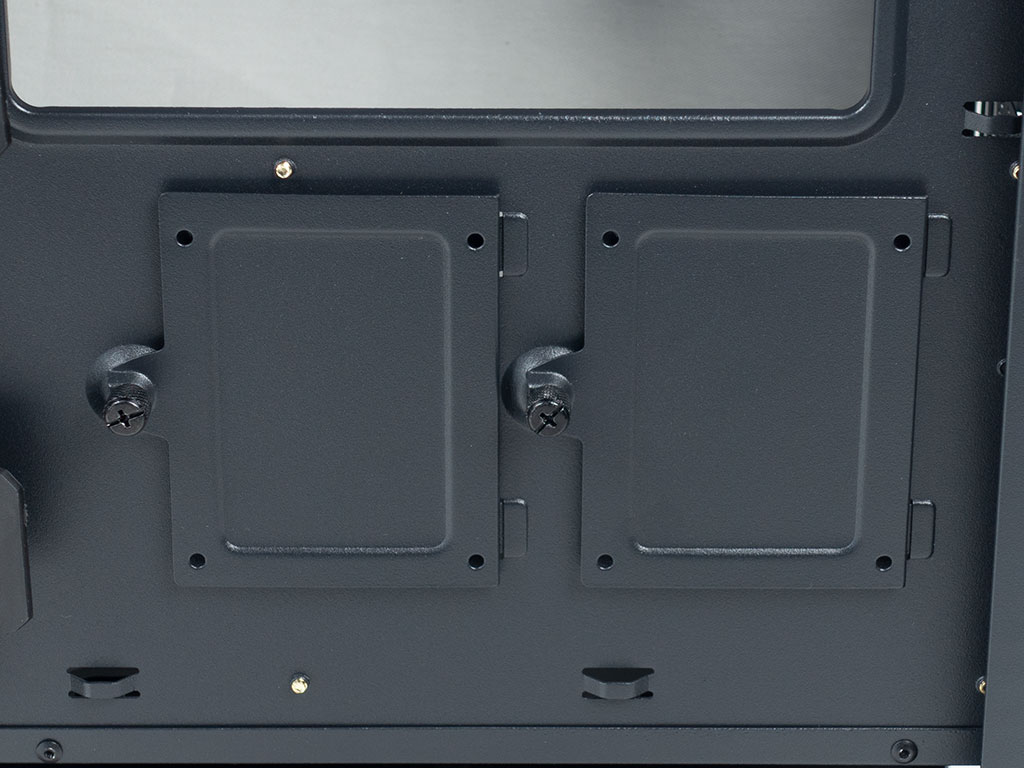
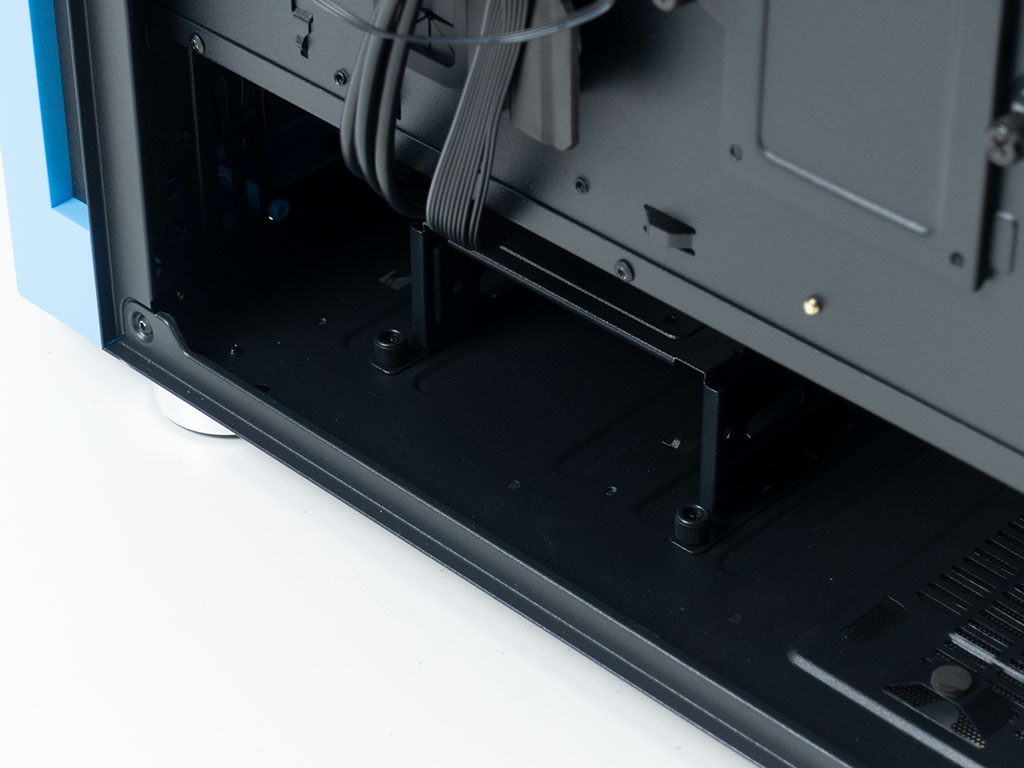
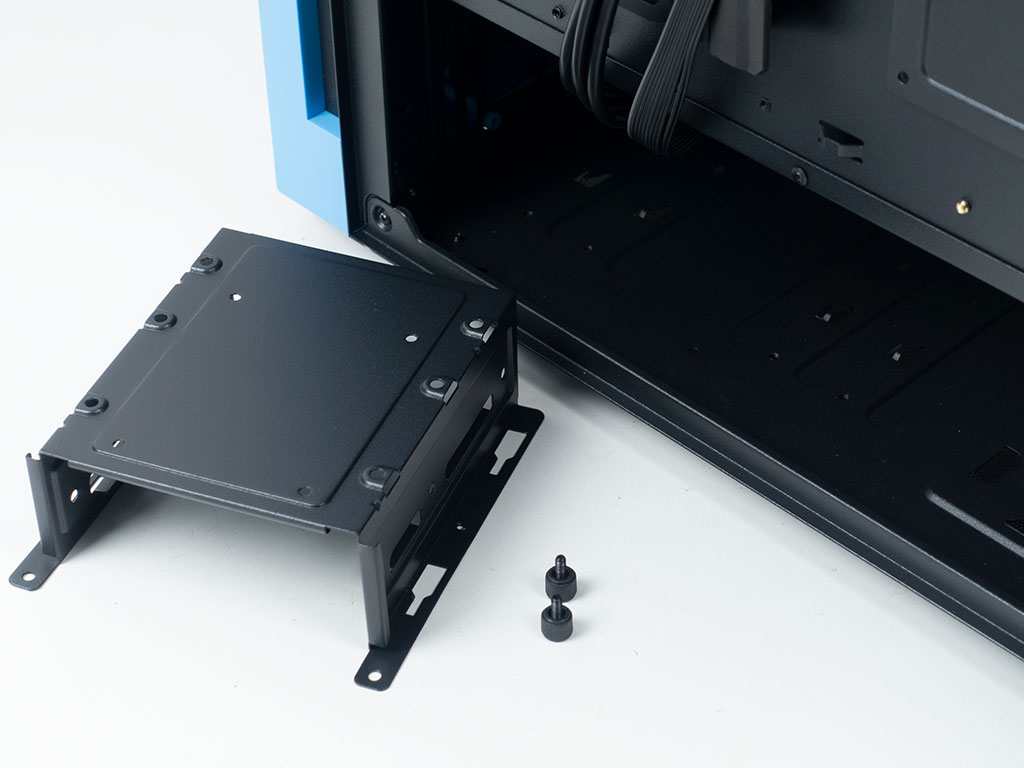
Behind the cable cover for the motherboard, you can see that there are grommets as well, so even if you choose to remove the metal bracket, your build should still look nice and clean. To the left of this, there are two mounting possibilities for 2.5" drives which would then be visible to any onlookers. These feature a square cable routing opening. However, that cutout does not have a grommet unfortunately.
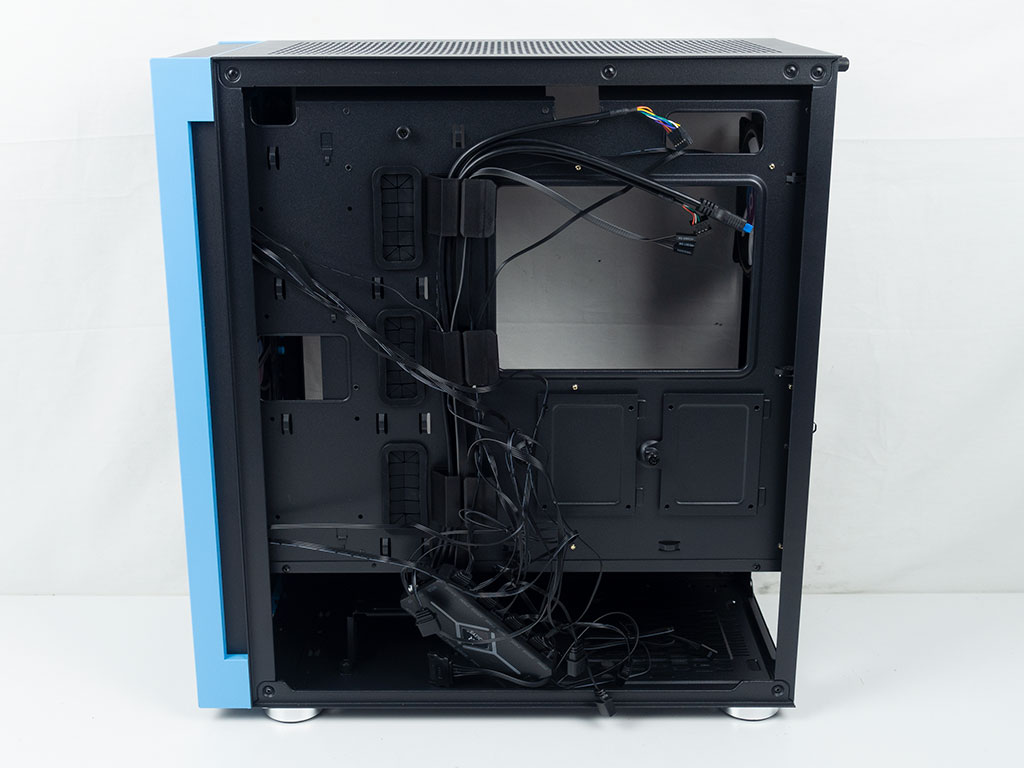
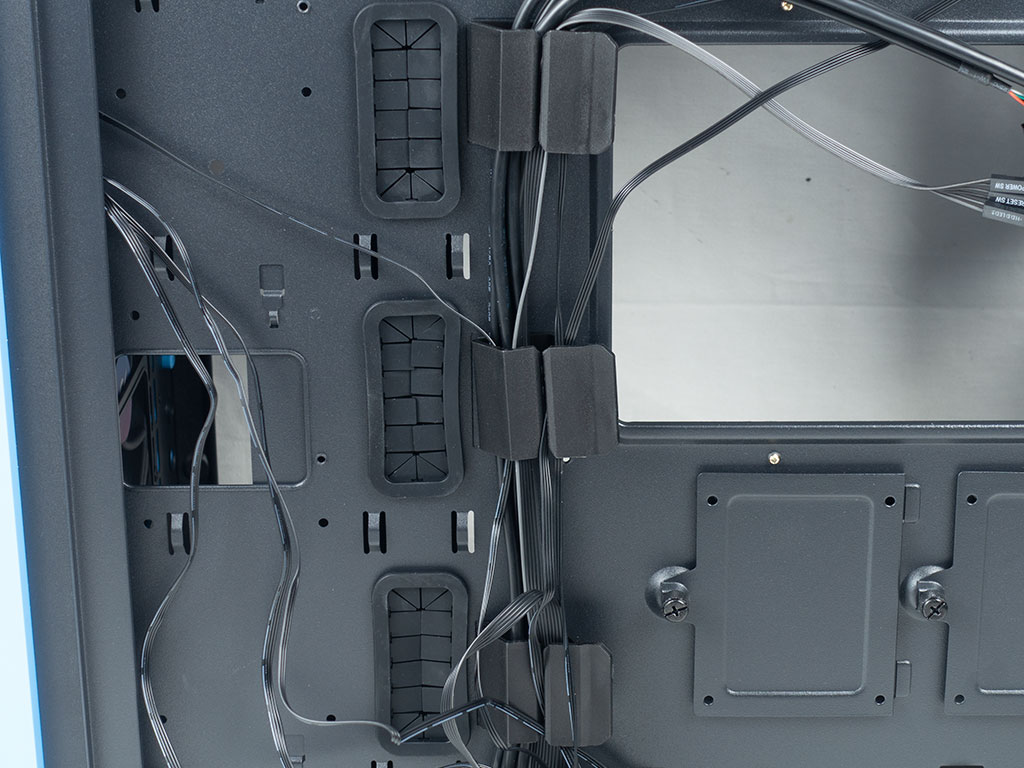
On the backside, we were presented with quite the cable mess as every fan has its own dedicated ARGB and PWM lead. Thus, it will take a bit of time to clean it up, which is certainly possible. There are two additional 2.5" mounting plates underneath the CPU cooler cutout, which bring up the total possible such drives to four. Aqirys also includes several plastic cable routing clips, which are all using strong adhesive to hold in place. It does work well, but it could be a pretty distinct reality that these could detach if you apply too much force. Regardless, it is nice to have these and as the Sargas also has plenty of hooks for cable management you have plenty of options on how to route things.
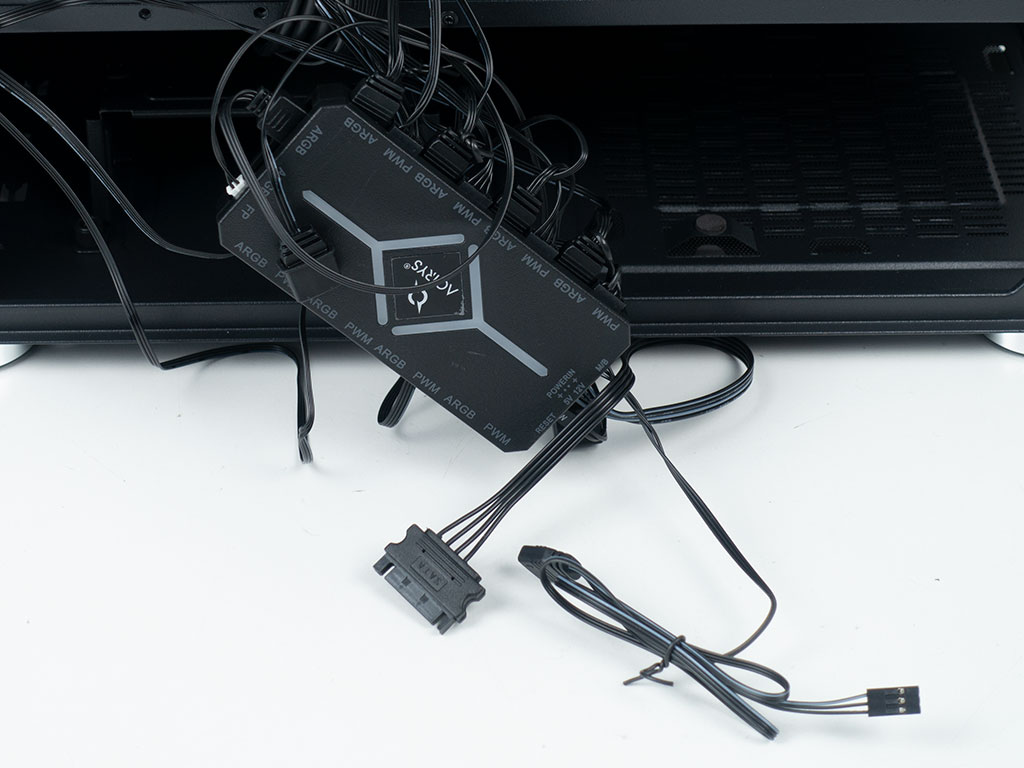
That aforementioned ARGB controller is the focal point of all your fans and ARGB lighting elements. It acts as a PWM hub so you can use a single motherboard header to control the speed on all the connected cooling units. It has a magnetic backside and also features its own built-in ARGB components that will light up as well.
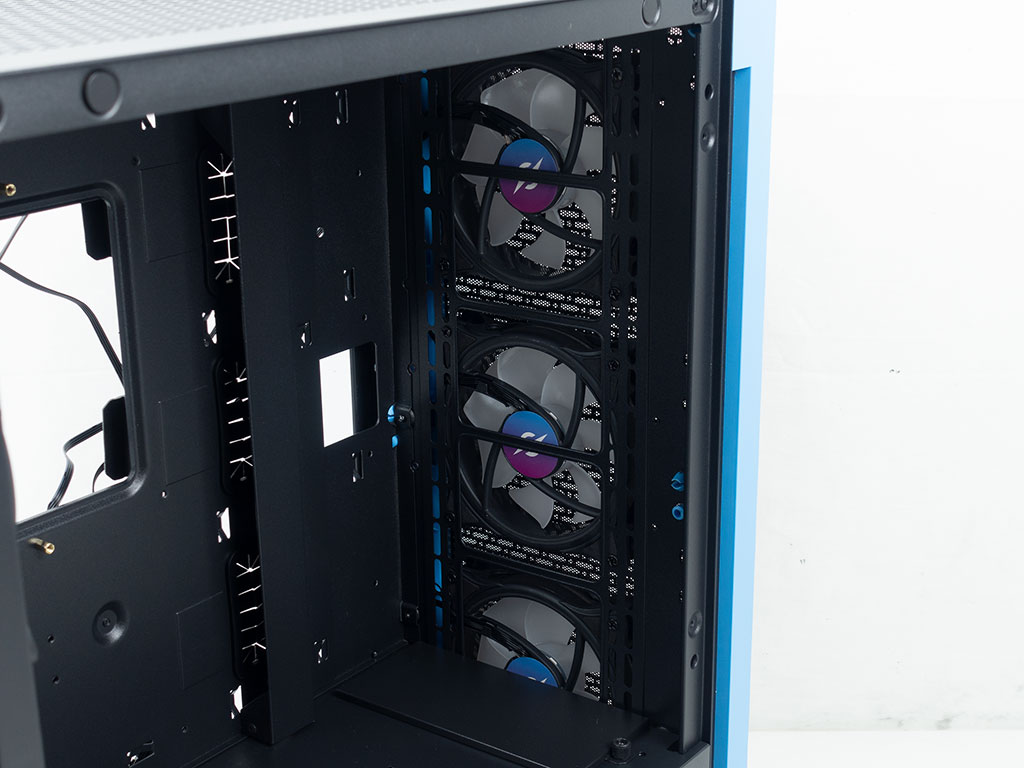
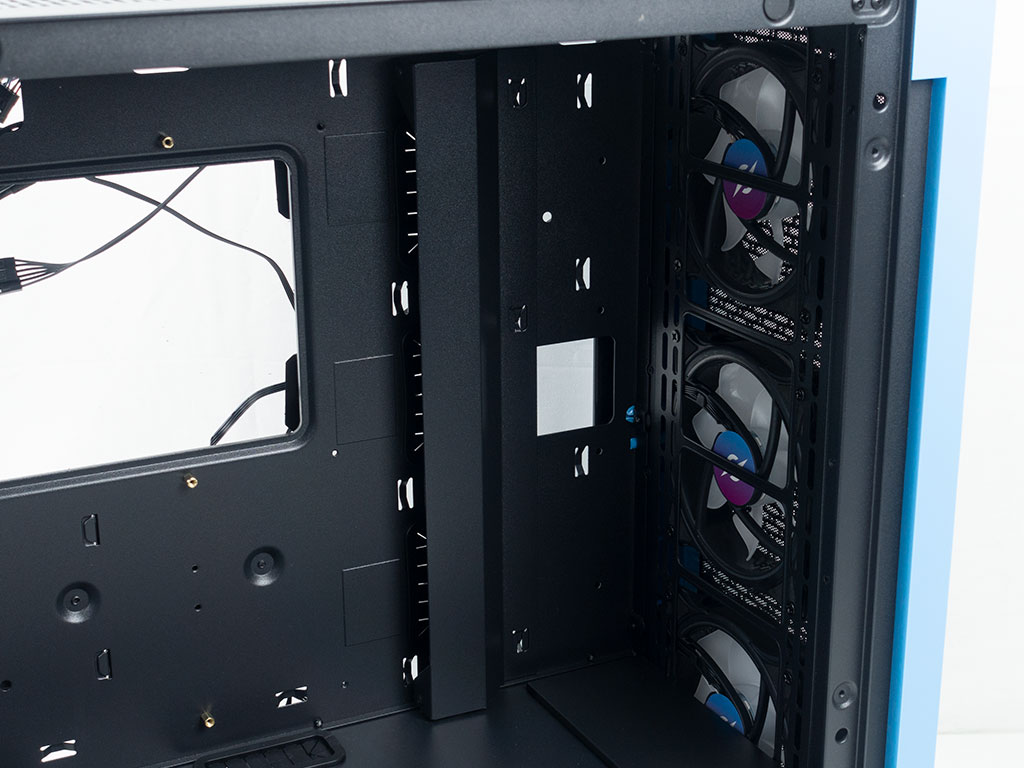
In the front underneath the shroud, you will find the 3.5" HDD cage which may fit two such drives, with one of them sitting on top. While Aqirys doesn't explicitly mention it in their spec table, the top storage unit could also be a 2.5" variant. Above that you can see the three intake fans sitting on the exterior of the frame, so that you should be able to do a push-pull AIO configuration if you want to reach for the most performance.
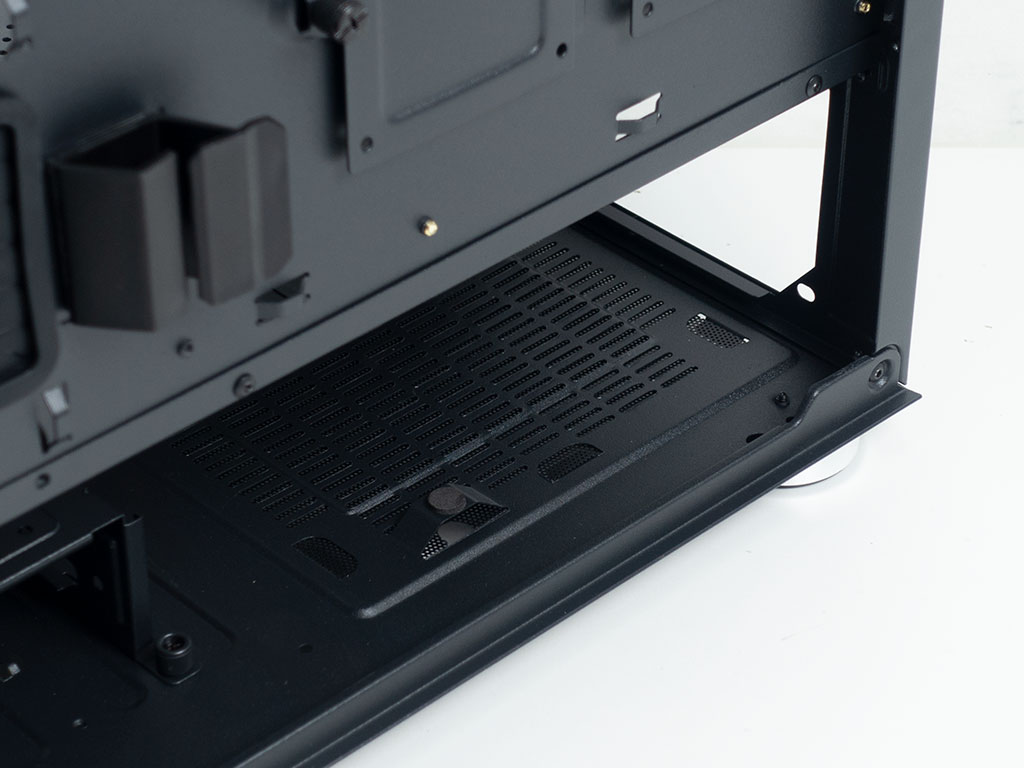
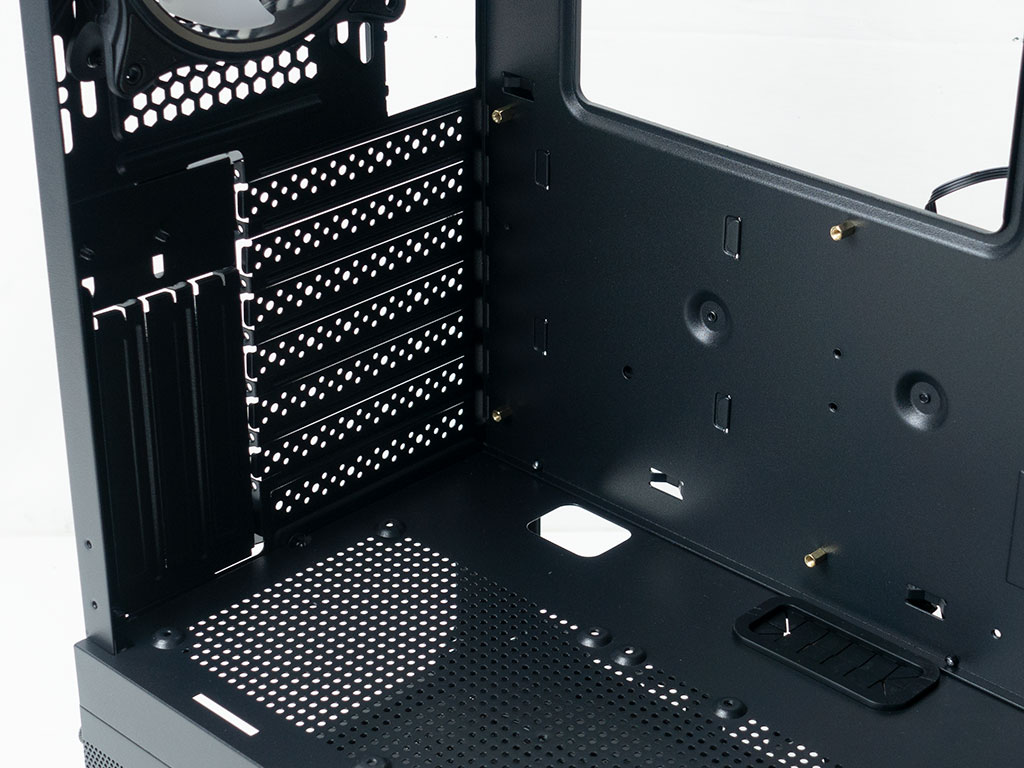
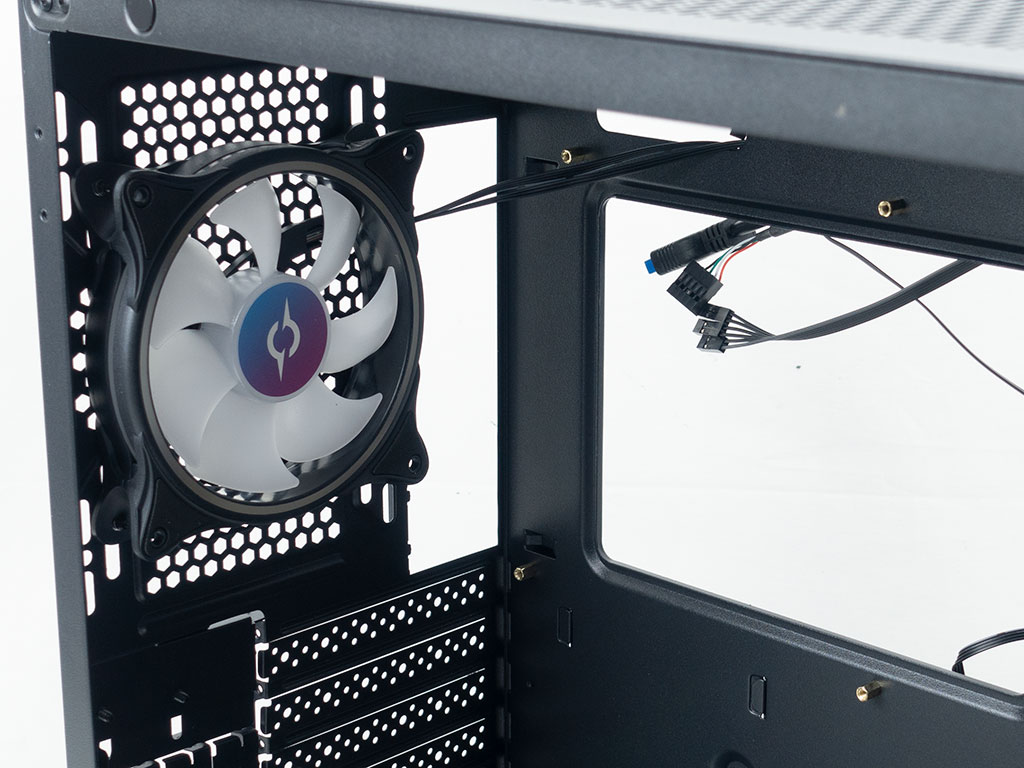
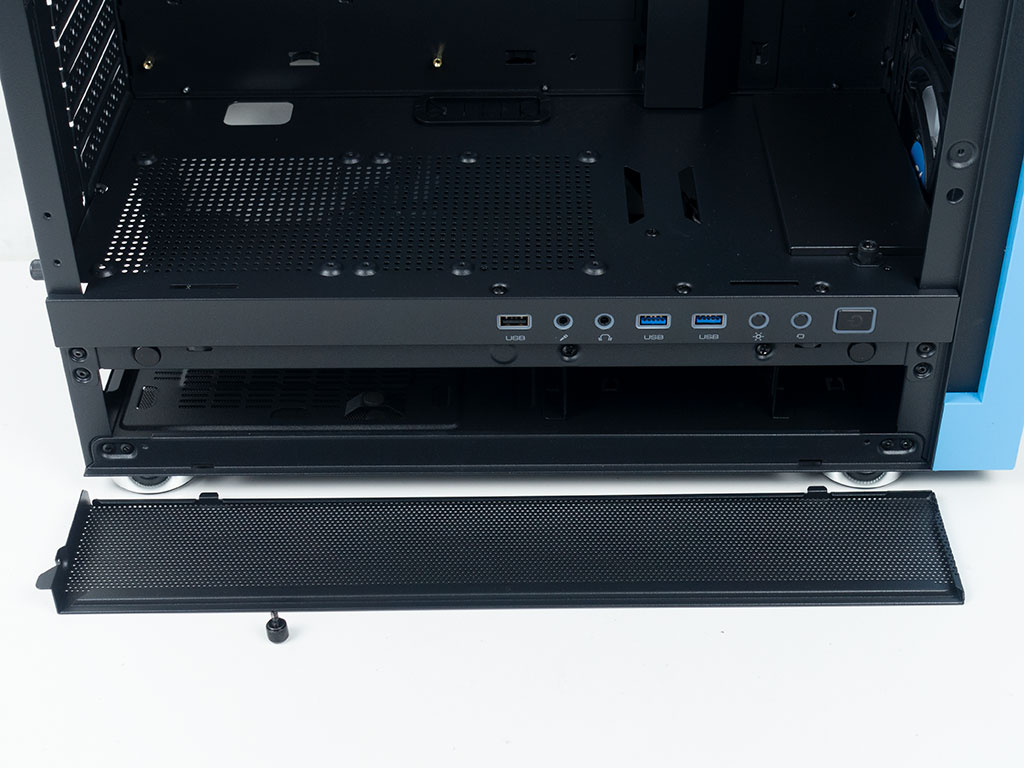
In the rear, the PSU bay sports little pads for the PSU to sit on. With 175 mm room, there should be no issue installing a wide range of mainstream units that could easily power everything you would install inside the Aqirys Sargas. Above that, you can clearly see the 7+3 expansion slot configuration. Unfortunately all of these are of the breakout kind, which means if you change your system configuration over time, odds are pretty high that you will be left with open expansion slots. Aqirys should really included reusable ones instead. In the very top of the rear, there is that fourth fan which is identical to the three in the front of the Sargas.
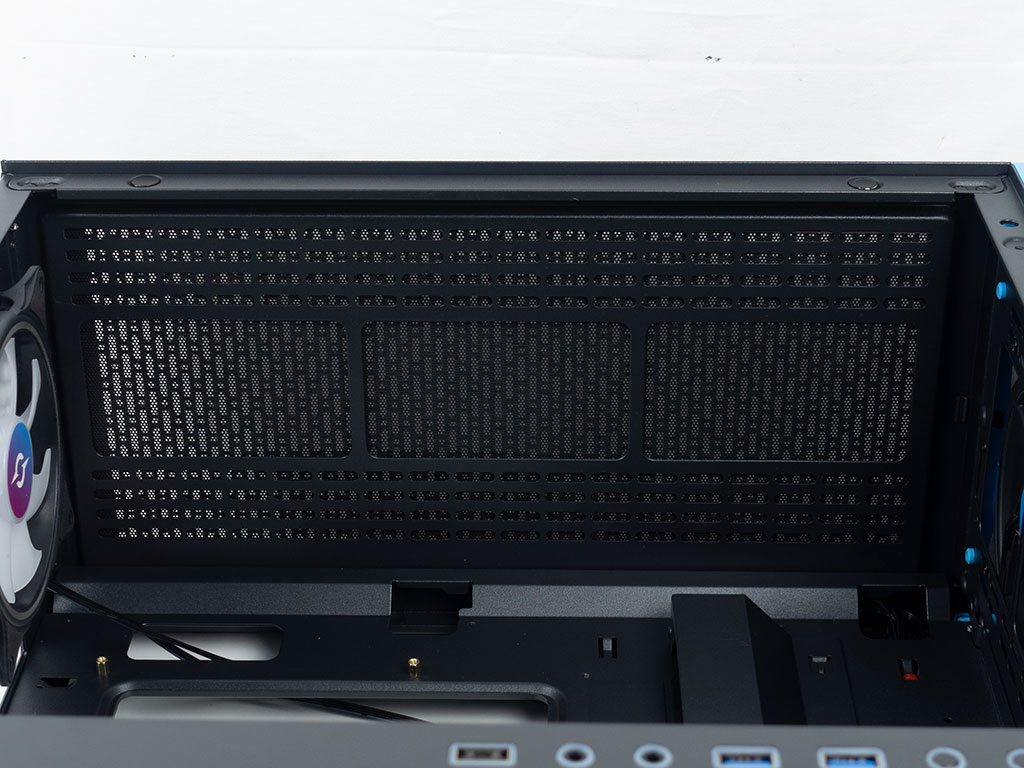
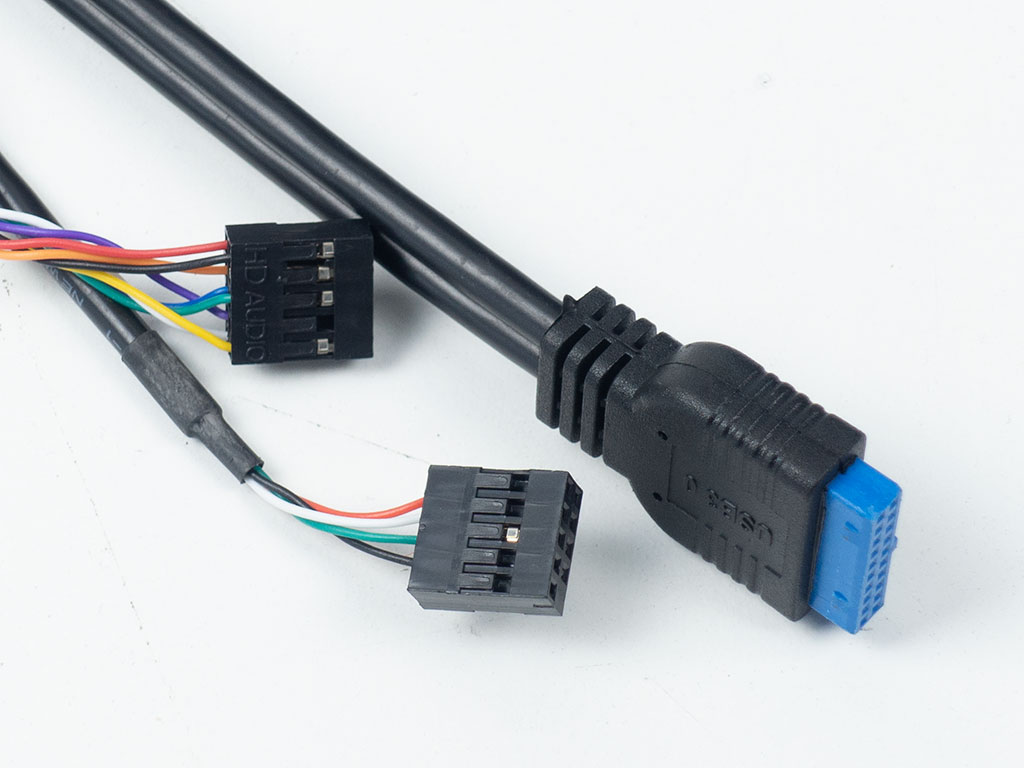
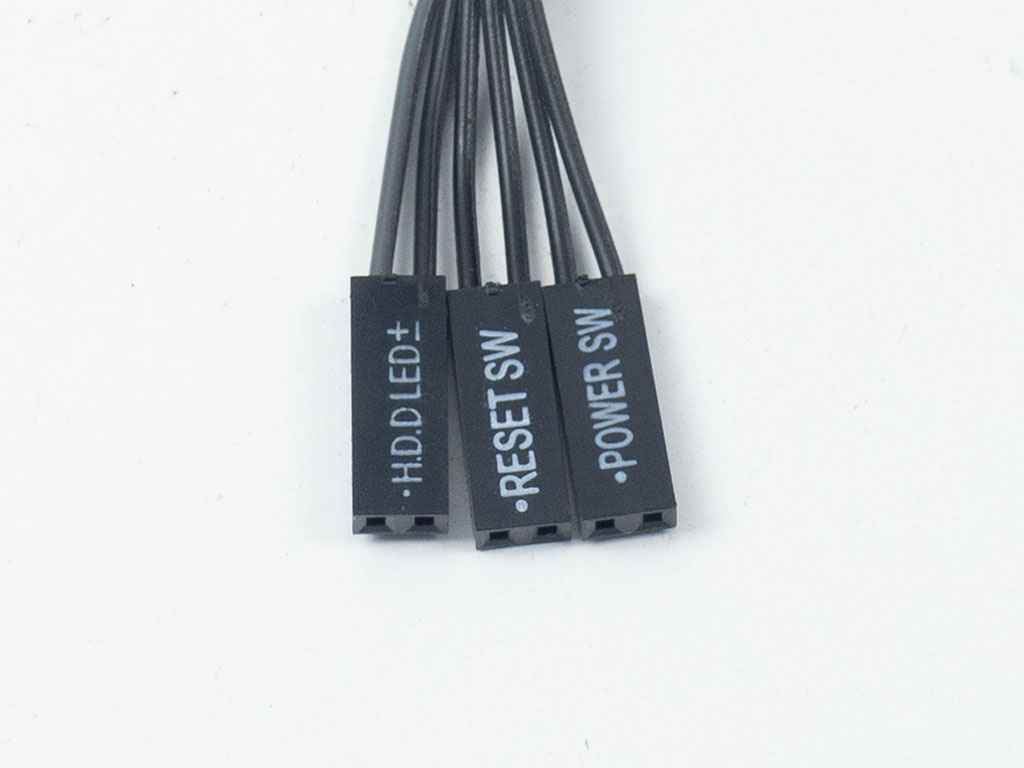
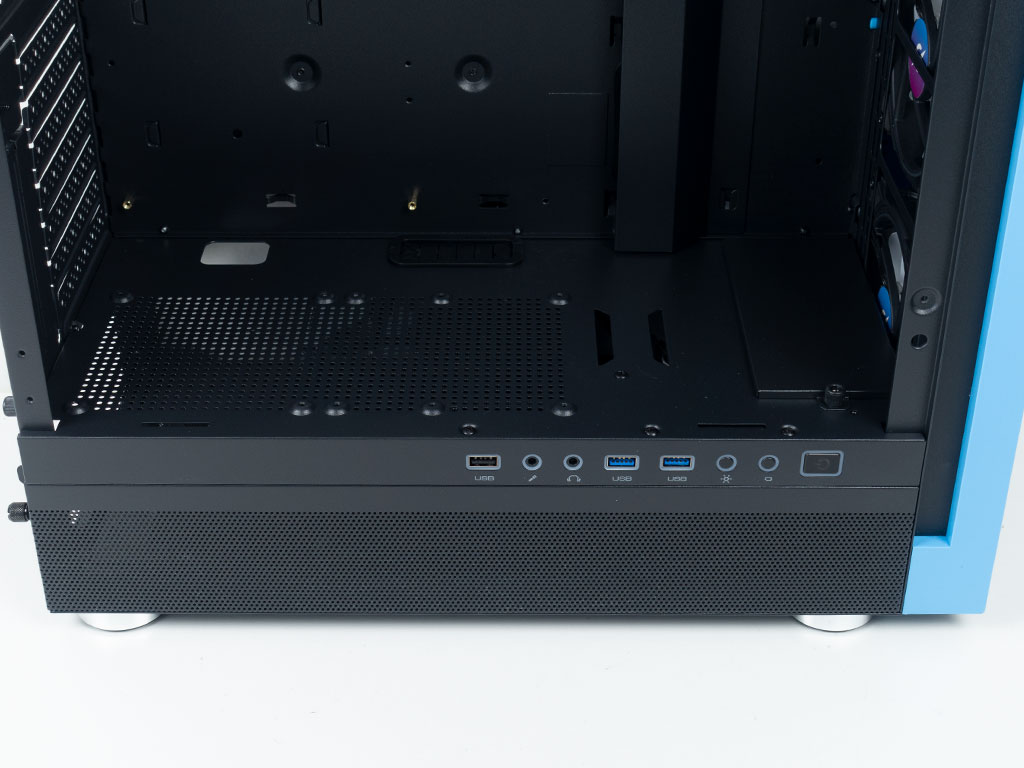
Taking a quick look at the ceiling the whole length is dedicated to cooling and thanks to the fact that all I/O is located on the side of the chassis, you get the room needed to easily install a 360 mm radiator while also benefiting from a short chassis body. All the wiring within the Aqirys Sargas is of the default variety with black sleeving. As there is no dedicated power LED or reset button, you only get three connectors to plug into the FP header on your motherboard.
Mar 10th, 2025 16:21 EDT
change timezone
Latest GPU Drivers
New Forum Posts
- Fix for Vram always at maximum (0)
- Maxsun RX580 graphics card crashes (25)
- DLSS as antialiasing? (19)
- Please I need help with the poor performance that my PC is giving me (28)
- Company of Heroes 3 (5)
- The TPU Darkroom - Digital SLR and Photography Club (4071)
- A Final Fantasy IX Reminiscence - My love letter and homage to one of the best stories ever told (72)
- Gaming PC instabiliity (20)
- Msi 5090 DOA? (27)
- 3D Printer Club (447)
Popular Reviews
- Sapphire Radeon RX 9070 XT Nitro+ Review - Beating NVIDIA
- XFX Radeon RX 9070 XT Mercury OC Magnetic Air Review
- ASUS Radeon RX 9070 TUF OC Review
- MSI MAG B850 Tomahawk Max Wi-Fi Review
- NVIDIA GeForce RTX 5080 Founders Edition Review
- NVIDIA GeForce RTX 5070 Founders Edition Review
- Corsair Vengeance RGB CUDIMM DDR5-8800 48 GB CL42 Review
- AMD Ryzen 7 9800X3D Review - The Best Gaming Processor
- ASUS GeForce RTX 5070 Ti TUF OC Review
- MSI GeForce RTX 5070 Ti Gaming Trio OC+ Review
Controversial News Posts
- NVIDIA GeForce RTX 50 Cards Spotted with Missing ROPs, NVIDIA Confirms the Issue, Multiple Vendors Affected (513)
- AMD Plans Aggressive Price Competition with Radeon RX 9000 Series (277)
- AMD Radeon RX 9070 and 9070 XT Listed On Amazon - One Buyer Snags a Unit (261)
- AMD RDNA 4 and Radeon RX 9070 Series Unveiled: $549 & $599 (260)
- AMD Mentions Sub-$700 Pricing for Radeon RX 9070 GPU Series, Looks Like NV Minus $50 Again (248)
- NVIDIA Investigates GeForce RTX 50 Series "Blackwell" Black Screen and BSOD Issues (244)
- AMD Radeon RX 9070 and 9070 XT Official Performance Metrics Leaked, +42% 4K Performance Over Radeon RX 7900 GRE (195)
- AMD Radeon RX 9070-series Pricing Leaks Courtesy of MicroCenter (158)