 9
9
ASRock 939Dual-SATA2 Review
Performance: Test systems »Chipset Configuration
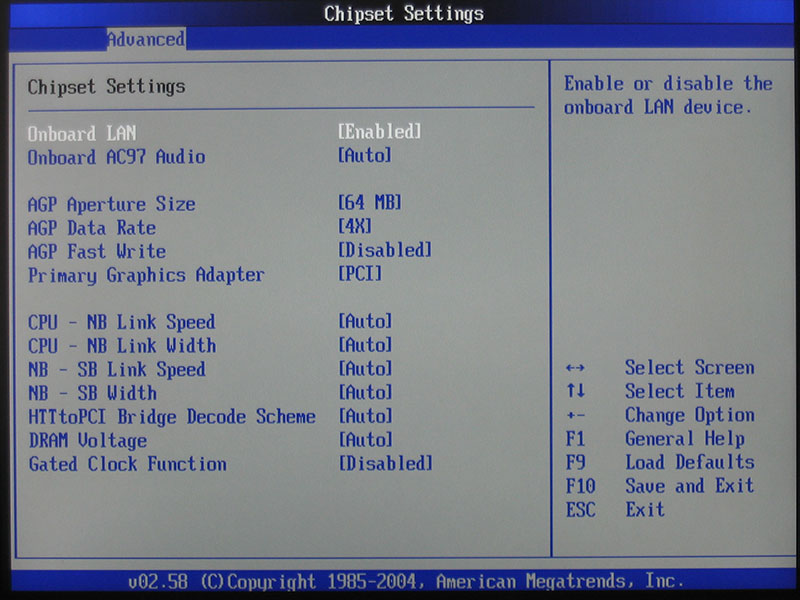
On the Chipset Configuration page you can enable/disable the on-board Ethernet port and the on-board audio.
The AGP port can also be tweaked here. For overclockers an important option is CPU-NB link speed which controls the HTT multiplier. When running high FSB speeds, the HTT bus between CPU and chipset tends to go out of spec and limit your overclock. It is best to have it running around 1000 MHz. The options here are labeled with absolute MHz values. For example the 1000 MHz setting is multiplier 5 (200 MHz x 5 = 1000). Now, if you overclock to 300 MHz HTT, the option will still be labeled 1000 MHz but it would actually set 1500 MHz (300 x 5 = 1500). Consider this when overclocking.
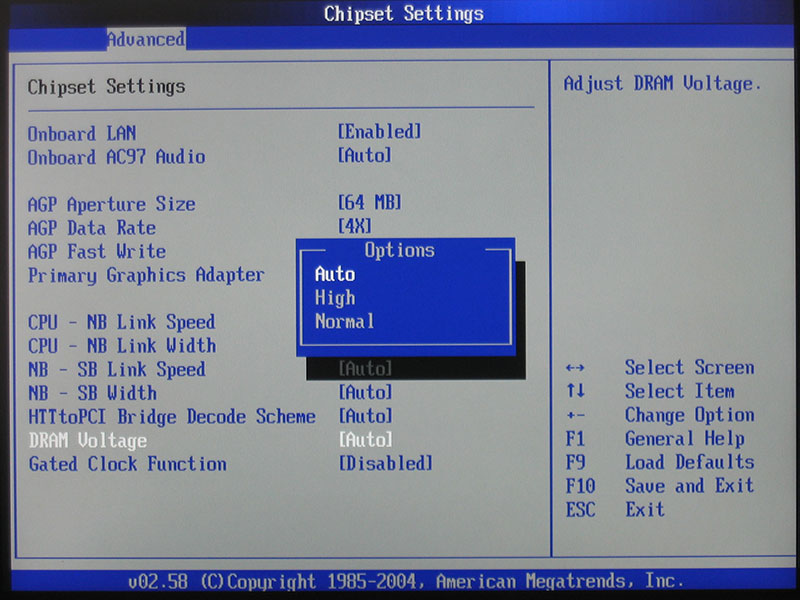
You can set your memory voltage to "Auto", which is the same as "Normal" which results in 2.6V and "High" which isn't so high with 2.7V. This list of options is really a shame. I couldn't get my Winbond BH5 memory to run 2-2-2-5 stable, so all benchmarks are run at 2-2-3-5 which has almost no performance impact. It's still annoying. A mod to increase memory voltage is described here.
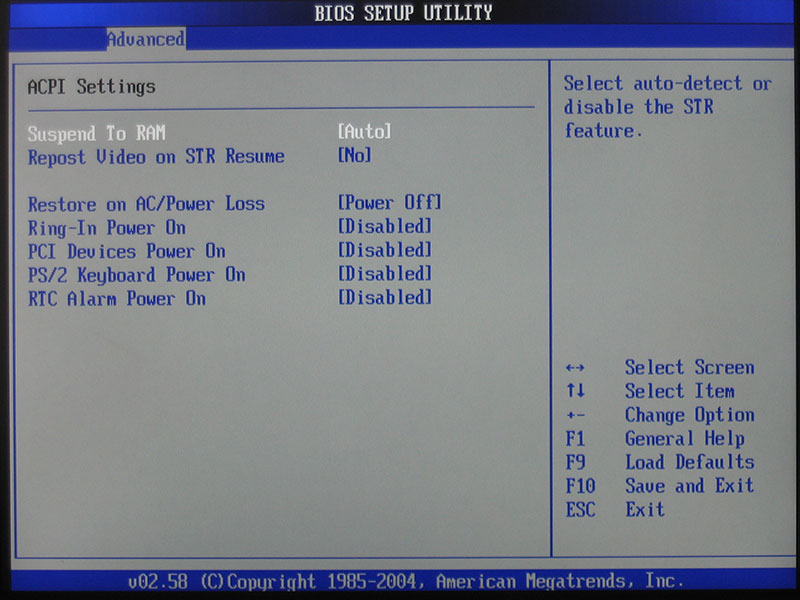
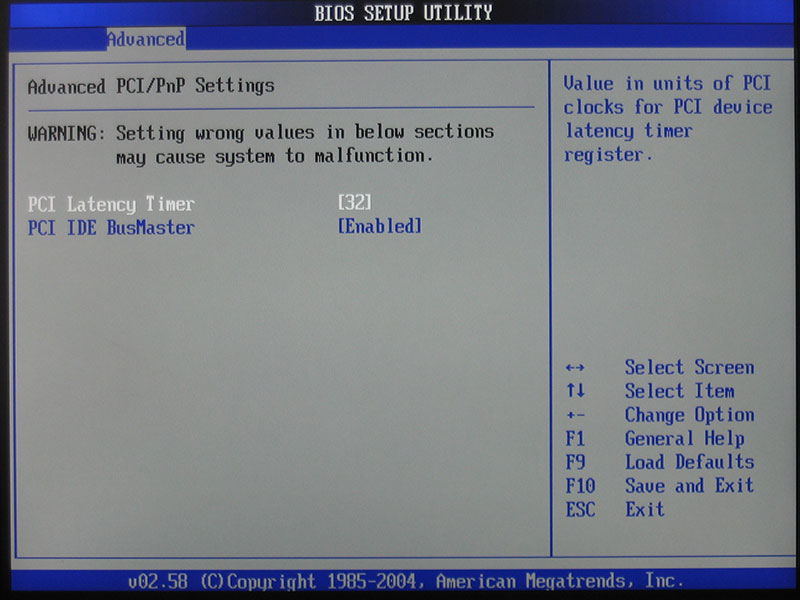
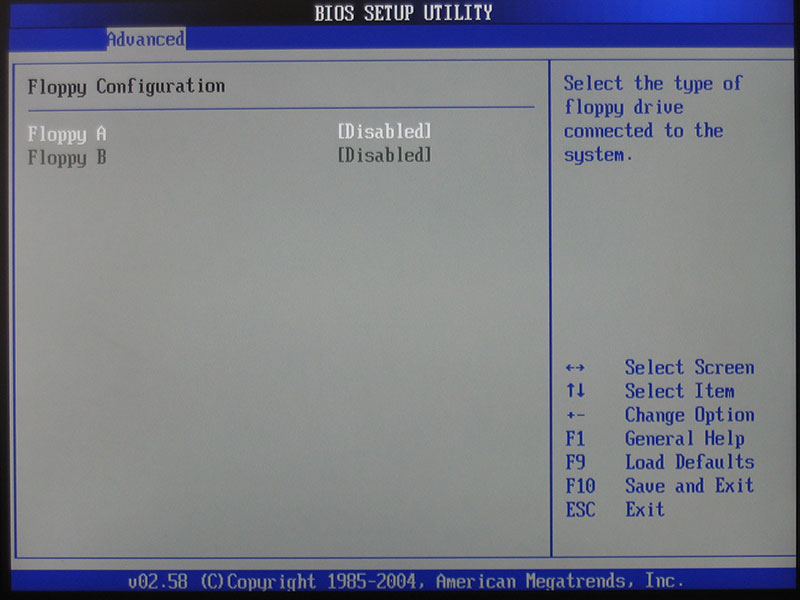

There are no interesting options on the pages ACPI, PCI PnP, Floppy Configuration and USB Configuration.

The IDE Configuration page has the usual options that control how your IDE and SATA ports are handled. If you do not run RAID you should change the SATA Operation Mode setting to "Non-RAID" this will short your boot time, because the RAID BIOS does not have to be loaded.
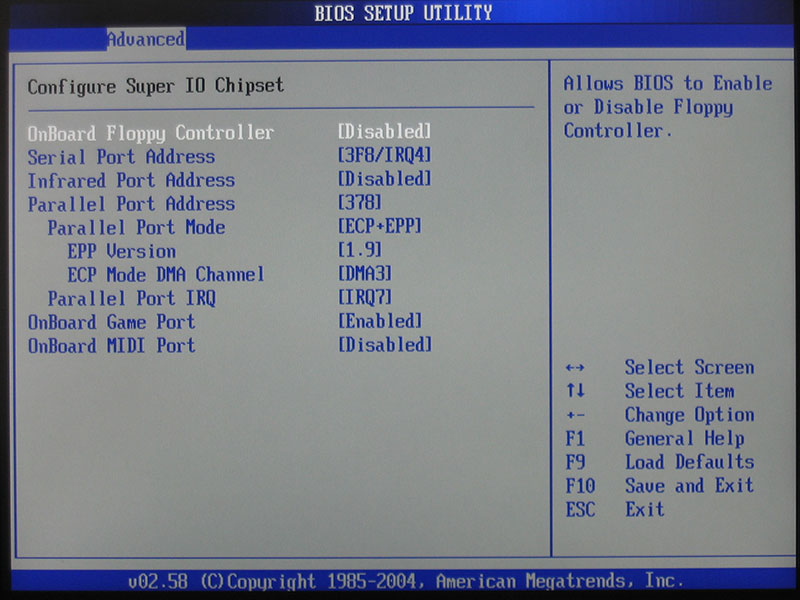
I always disable the floppy controller in the BIOS, you can do it here and also change some settings of the serial and parallel ports.
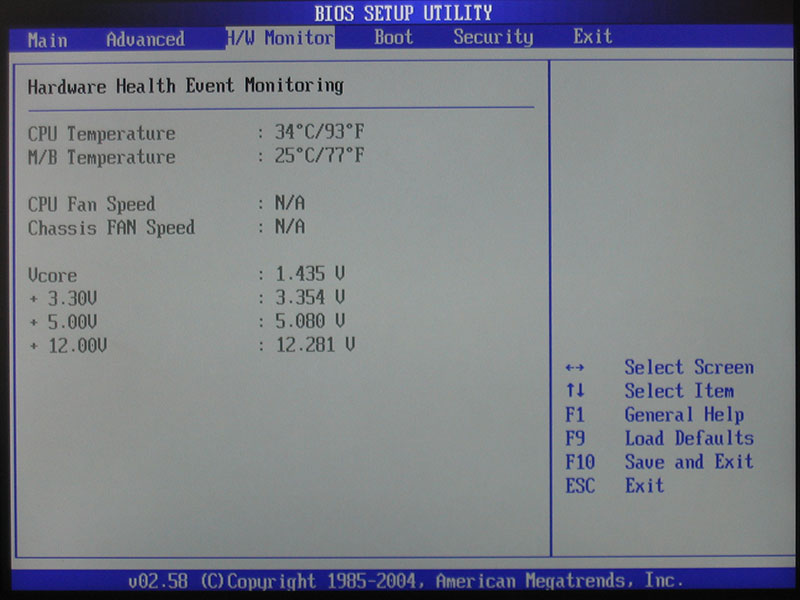
On the Hardware Monitoring page you will find the bare minimum temperatures, fan speeds and the monitored voltages. Options to dynamically change fan speeds based on temperature are not available.
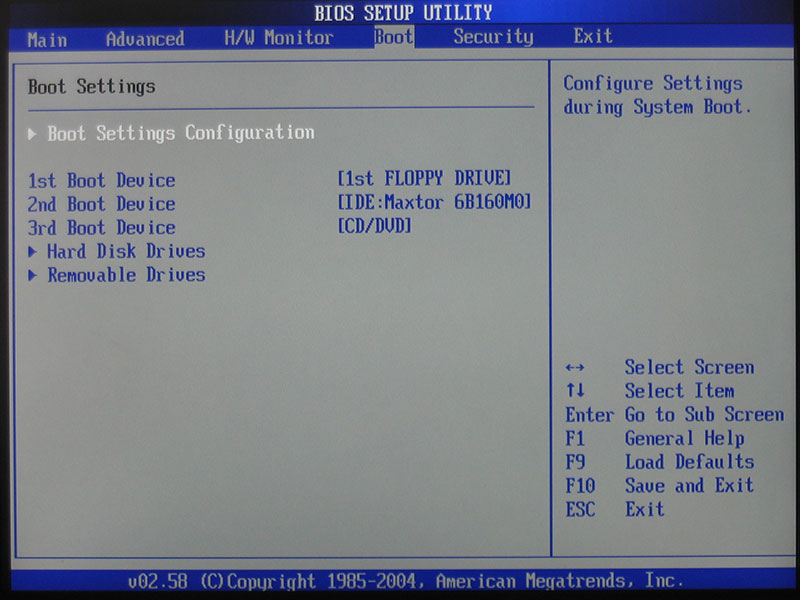
The order in which boot devices are tried during startup is configured here. You can also disable certain startup devices. A nice feature of this BIOS is that after pressing F11 on the POST screen you get a list of detected devices and can chose from which to boot.
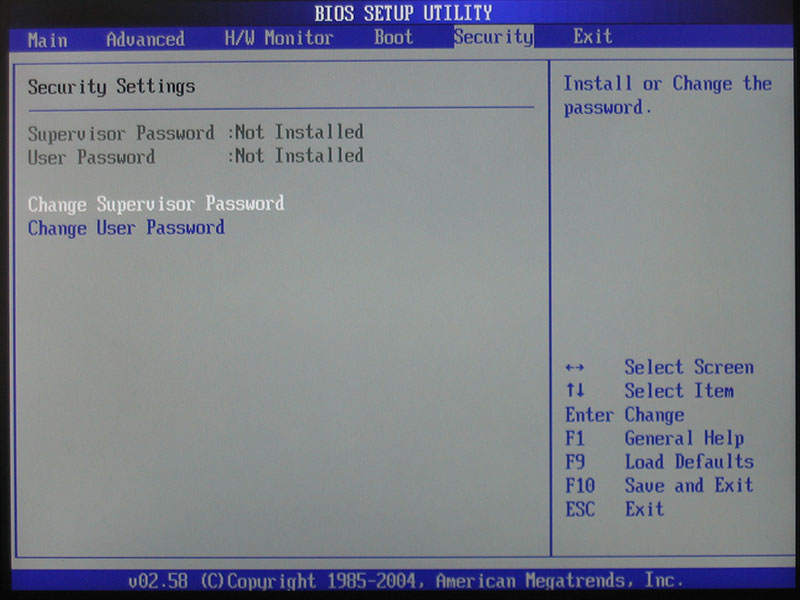
On the security page you can enter passwords to protect your system bootup or your CMOS setup from being entered.
Jul 12th, 2025 09:28 CDT
change timezone
Latest GPU Drivers
New Forum Posts
- No offense, here are some things that bother me about your understanding of fans. (36)
- Stupid buggy POS Realtek WiFi RTL8852BE (11)
- Swapping existing router w/ a replacement; any issues? (14)
- 'NVIDIA App' not usable offline? (13)
- Chrome has removed uBlock Origin 1.64.0 (remove google search suggestions) (12)
- Share your AIDA 64 cache and memory benchmark here (3097)
- The Official Linux/Unix Desktop Screenshots Megathread (778)
- [GPU-Z Test Build] New Kernel Driver, Everyone: Please Test (90)
- Gigabyte graphic cards - TIM gel SLIPPAGE problem (150)
- NVIDIA App (55)
Popular Reviews
- Fractal Design Epoch RGB TG Review
- Lexar NM1090 Pro 4 TB Review
- Corsair FRAME 5000D RS Review
- NVIDIA GeForce RTX 5050 8 GB Review
- NZXT N9 X870E Review
- Our Visit to the Hunter Super Computer
- Sapphire Radeon RX 9060 XT Pulse OC 16 GB Review - An Excellent Choice
- AMD Ryzen 7 9800X3D Review - The Best Gaming Processor
- Upcoming Hardware Launches 2025 (Updated May 2025)
- Chieftec Iceberg 360 Review
TPU on YouTube
Controversial News Posts
- Intel's Core Ultra 7 265K and 265KF CPUs Dip Below $250 (288)
- Some Intel Nova Lake CPUs Rumored to Challenge AMD's 3D V-Cache in Desktop Gaming (140)
- AMD Radeon RX 9070 XT Gains 9% Performance at 1440p with Latest Driver, Beats RTX 5070 Ti (131)
- NVIDIA Launches GeForce RTX 5050 for Desktops and Laptops, Starts at $249 (119)
- NVIDIA GeForce RTX 5080 SUPER Could Feature 24 GB Memory, Increased Power Limits (115)
- Microsoft Partners with AMD for Next-gen Xbox Hardware (105)
- Intel "Nova Lake‑S" Series: Seven SKUs, Up to 52 Cores and 150 W TDP (100)
- NVIDIA DLSS Transformer Cuts VRAM Usage by 20% (97)