 0
0
ASRock Beebox Mini PC Review
The Board »Additional Drive Installation And Casing
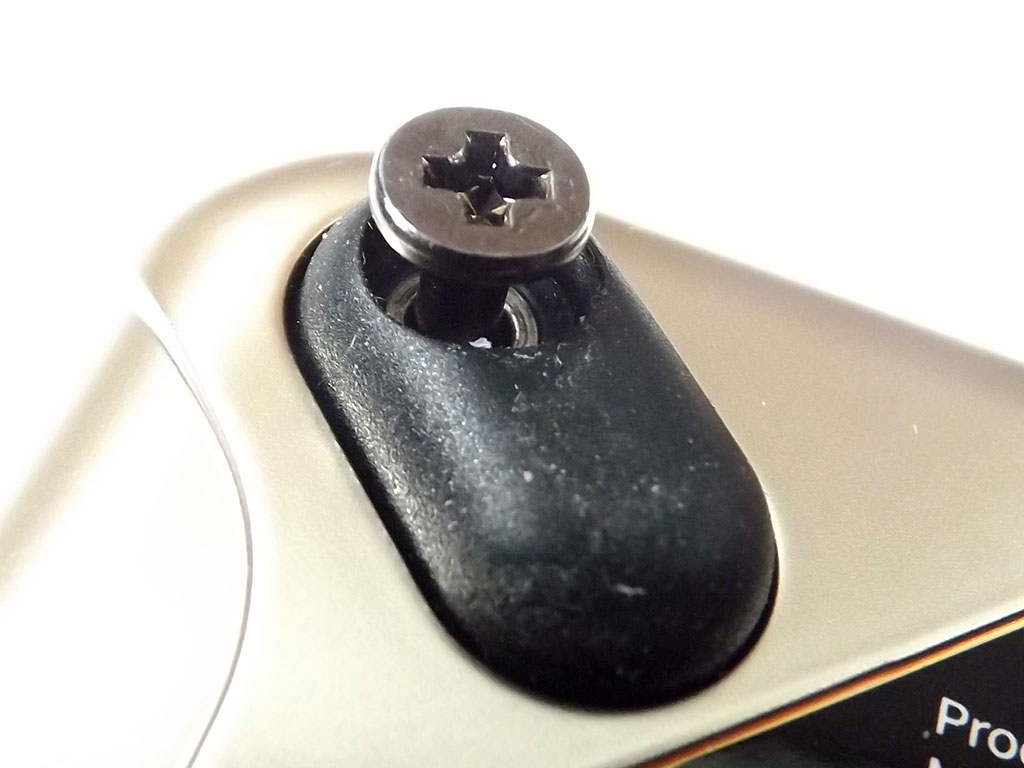
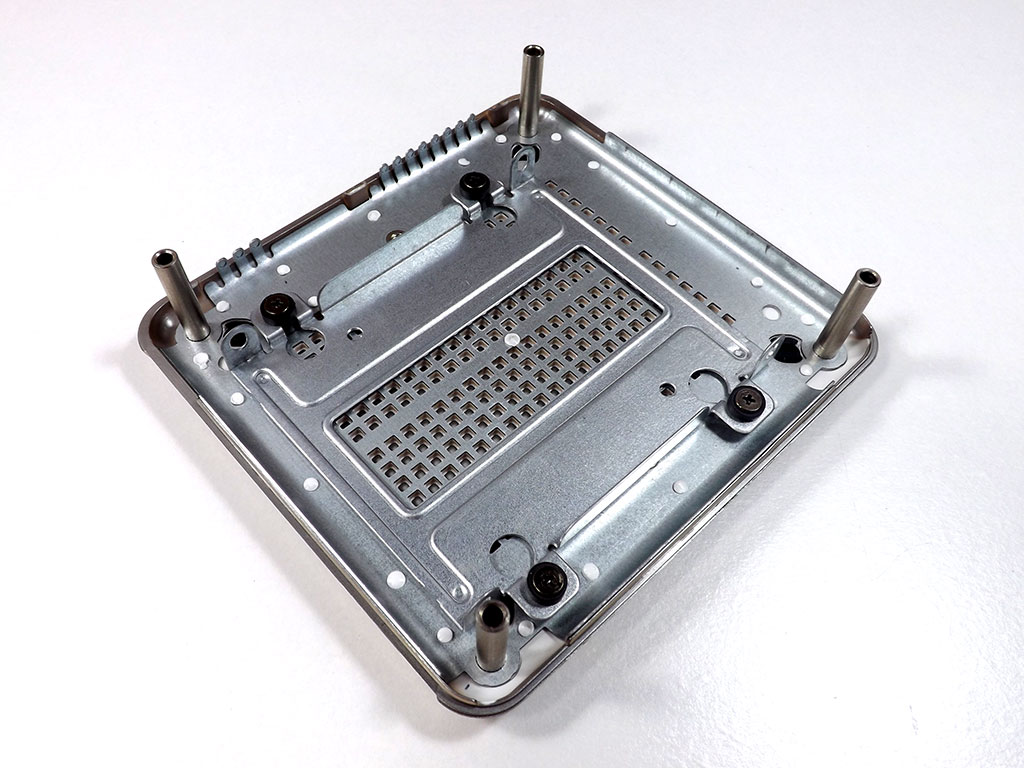
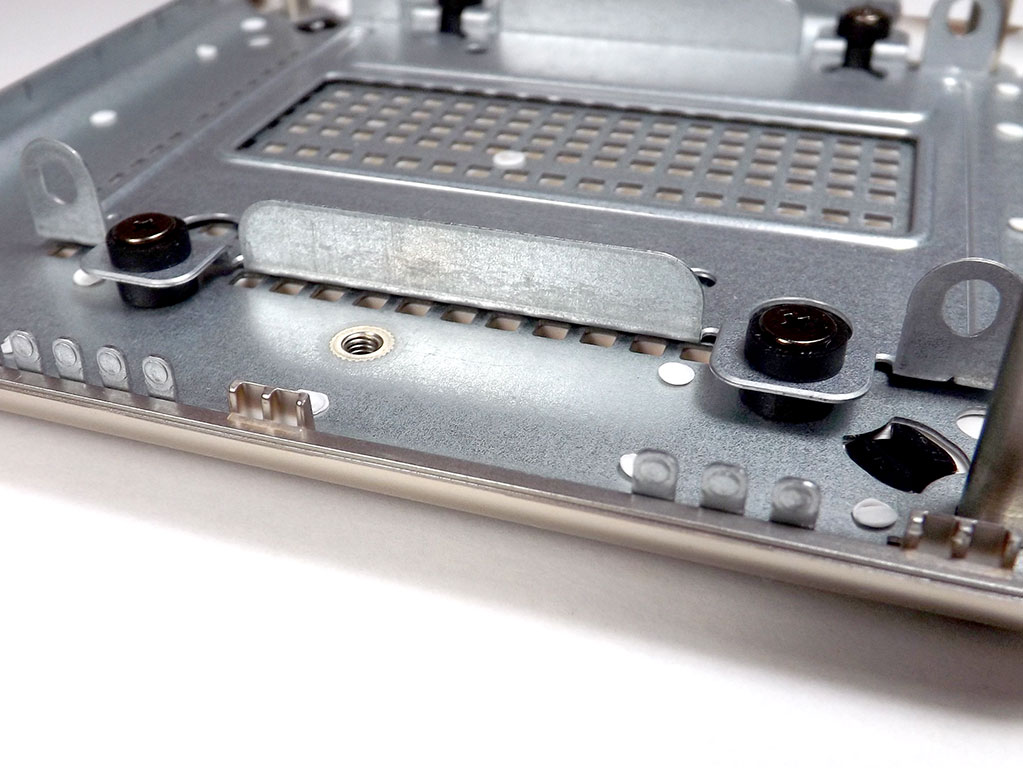
If you want to add that additional storage, you'll have to remove a couple screws from the bottom, or well, all four if you plan to get inside. Once all four are removed, you can pull the top off fairly easily, and you'll find that additional drive mount once you turn it over. The mount attaches to the shell of the case via rubber anti-vibration mounts in order to minimize noise, though you can avoid that specific problem altogether by using an SSD instead of a mechanical drive.
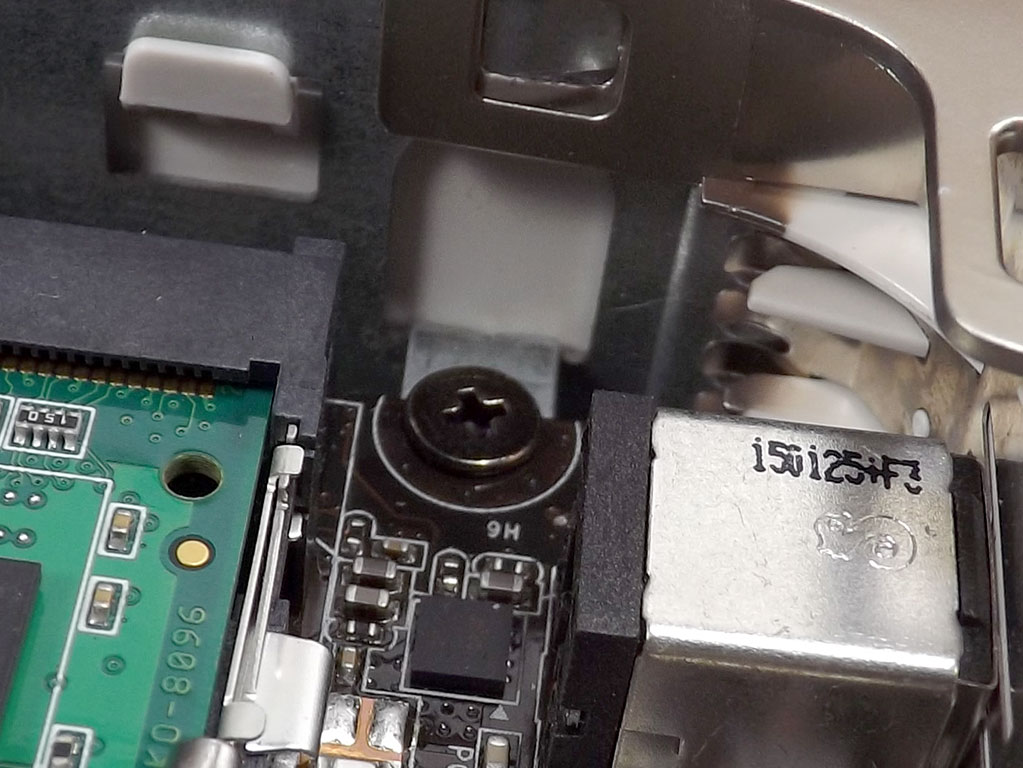
All is accessible with just the bottom removed, so taking everything out of the casing and removing the back panel is not required. You'll have to remove two screws to get the board itself out, though.
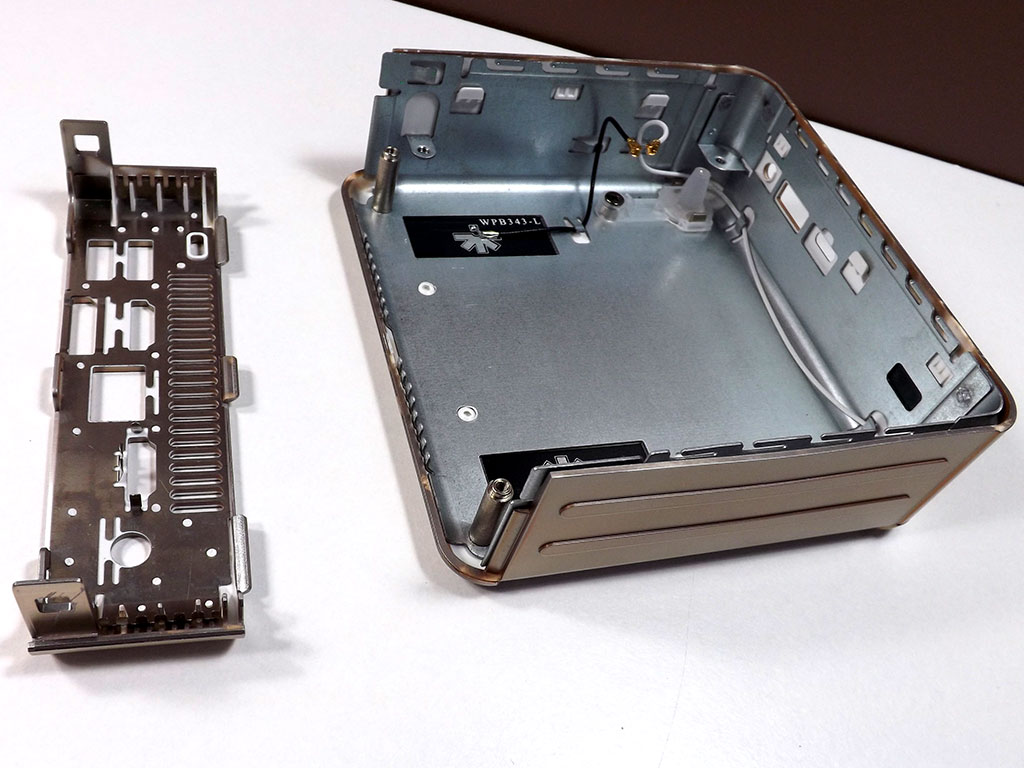
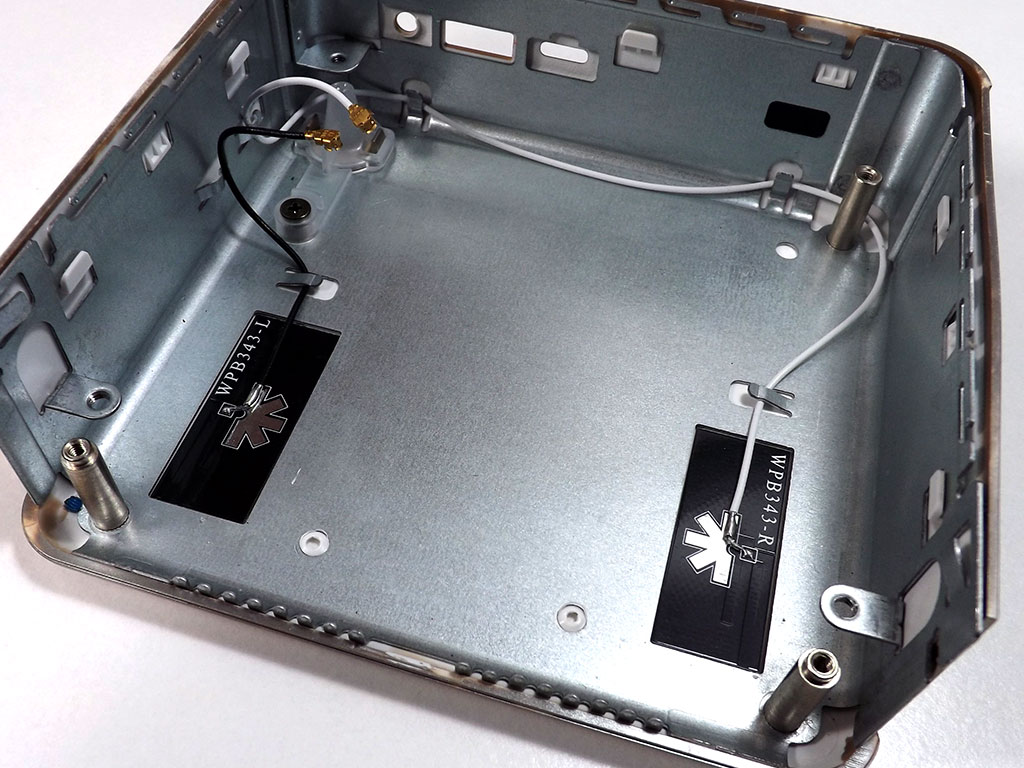
The back panel of the Beebox is plastic and clips off without much effort. Make sure to remove the cables from the Wi-Fi card as they attach to the top of the BeeBox so as to get the best reception possible. The top also acts as the unit's primary way to rid itself of heat.
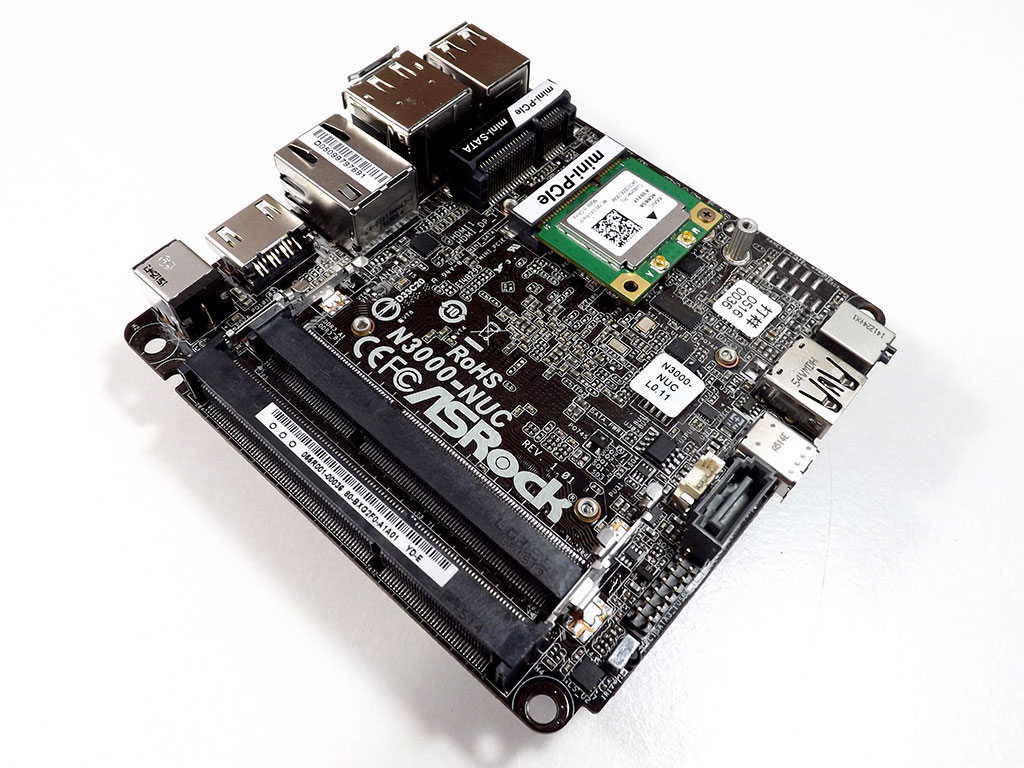
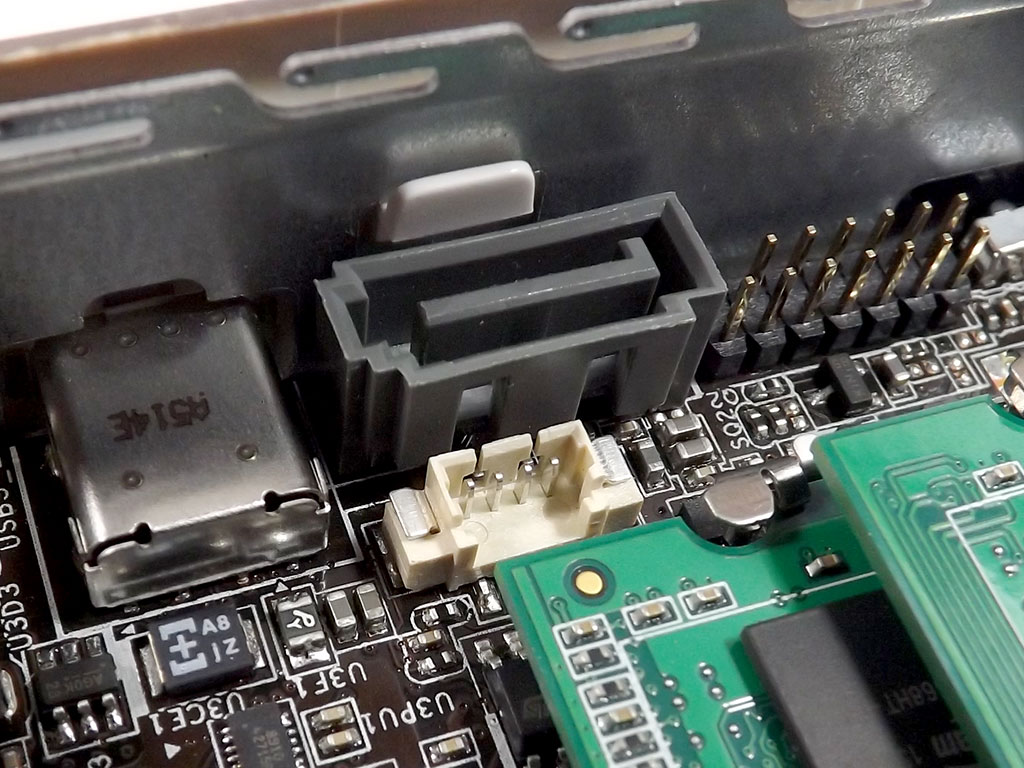
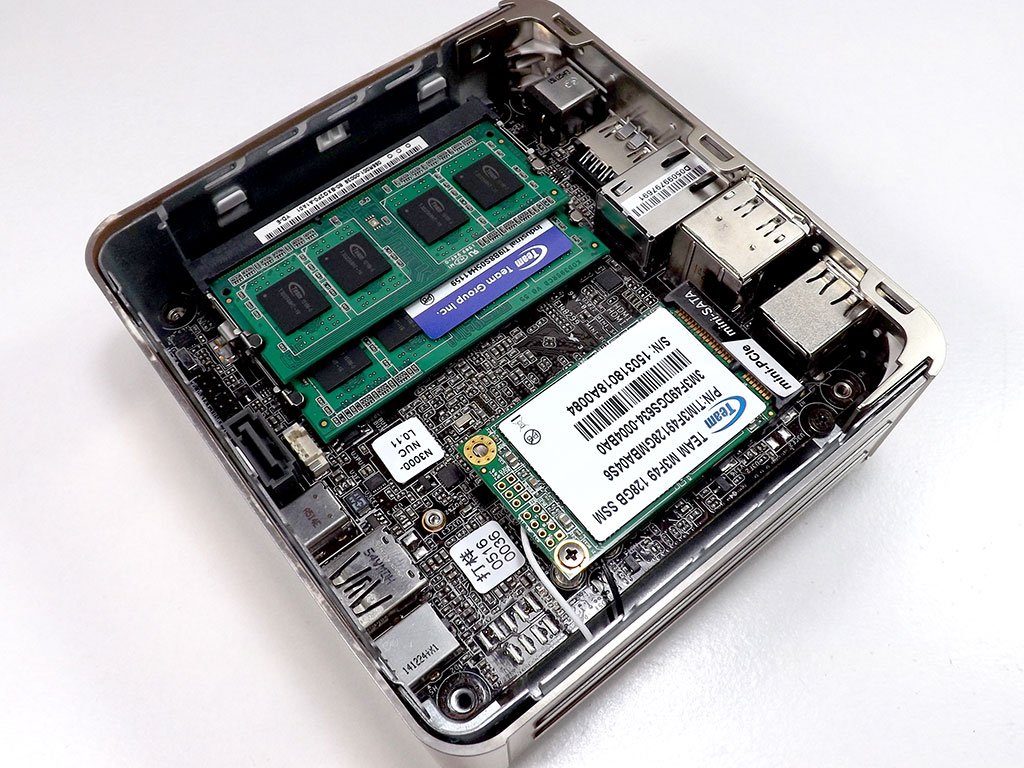
The board itself is pretty simple, SO-DIMMs and mSATA drive removed in the picture above. The added drive connector plugs in near the SO-DIMM slots.
Jul 18th, 2025 19:07 CDT
change timezone
Latest GPU Drivers
New Forum Posts
- What's your latest tech purchase? (24305)
- lower score 5070Ti after replacing the PSU (0)
- AI Job Losses: let's count the losses up, total losses to AI so far 94,000 and counting (34)
- TPU's Nostalgic Hardware Club (20539)
- 3DMARK "LEGENDARY" (329)
- Hatsune Miku x ASUS TUF Gaming Build (67)
- Anime Nation (13051)
- Ferrari themed mod cont. 4070s repaste (7)
- Stalker 2 is looking great. (213)
- Share your CPU-X Benchmarks! (6)
Popular Reviews
- Razer Blade 16 (2025) Review - Thin, Light, Punchy, and Efficient
- SilverStone SETA H2 Review
- Thermal Grizzly WireView Pro Review
- Pulsar X2 Crazylight Review
- MSI GeForce RTX 5060 Gaming OC Review
- Our Visit to the Hunter Super Computer
- NVIDIA GeForce RTX 5080 Founders Edition Review
- NVIDIA GeForce RTX 5050 8 GB Review
- Sapphire Radeon RX 9060 XT Pulse OC 16 GB Review - An Excellent Choice
- Upcoming Hardware Launches 2025 (Updated May 2025)
TPU on YouTube
Controversial News Posts
- Intel's Core Ultra 7 265K and 265KF CPUs Dip Below $250 (288)
- Some Intel Nova Lake CPUs Rumored to Challenge AMD's 3D V-Cache in Desktop Gaming (140)
- AMD Radeon RX 9070 XT Gains 9% Performance at 1440p with Latest Driver, Beats RTX 5070 Ti (131)
- NVIDIA Launches GeForce RTX 5050 for Desktops and Laptops, Starts at $249 (124)
- NVIDIA GeForce RTX 5080 SUPER Could Feature 24 GB Memory, Increased Power Limits (115)
- Microsoft Partners with AMD for Next-gen Xbox Hardware (105)
- NVIDIA DLSS Transformer Cuts VRAM Usage by 20% (99)
- AMD Sampling Next-Gen Ryzen Desktop "Medusa Ridge," Sees Incremental IPC Upgrade, New cIOD (97)