 12
12
ASRock DeskMini GTX1060 (Z370) Review
A Look Inside »Physical Teardown

Overall, the ASRock DeskMini GTX 1060 exudes class and functionality, keeping a sleek, humble appearance, but hiding some serious horsepower. The ASRock DeskMini GTX 1060 is what enthusiasts might call a "sleeper", a businesslike exterior that masks serious compute power.
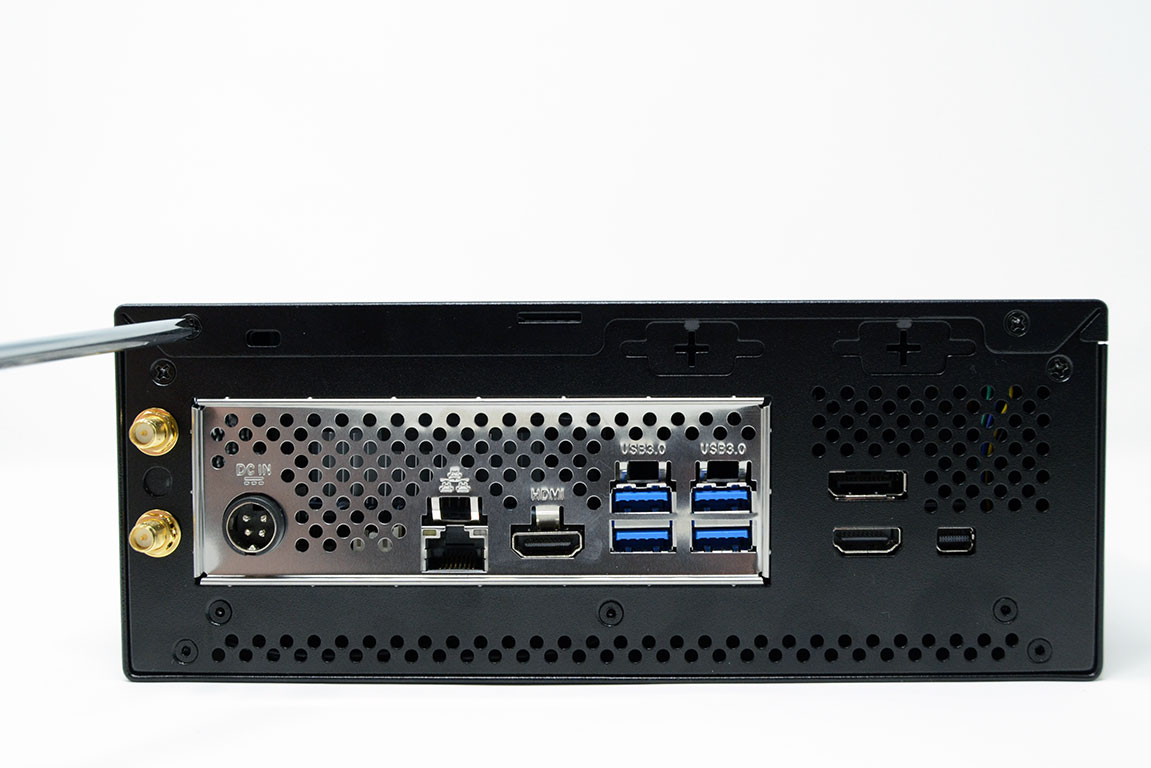

Disassembling the ASRock DeskMini GTX 1060 is as simple as you would expect from such a functional minimalist design. Opening the top cover requires only the two top screws to be removed; however, for full access, all four screws should be removed.
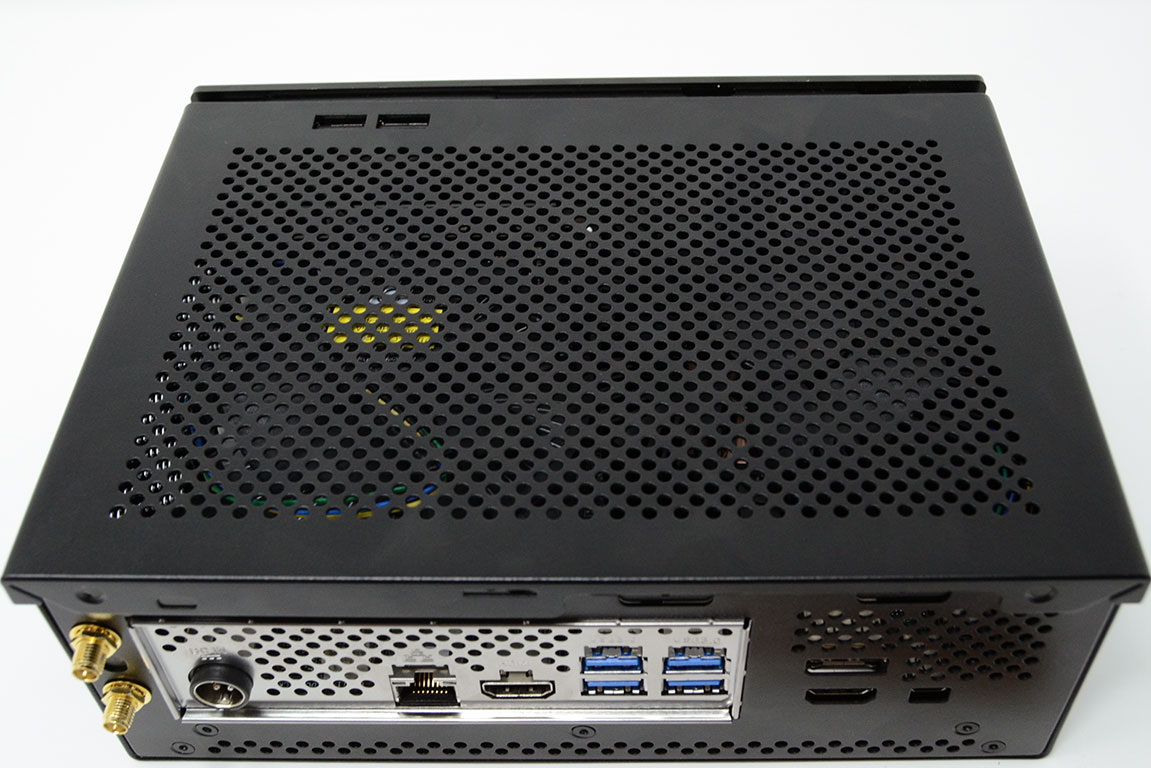

After the four rear screws have been removed, the top cover can be slid back about half an inch and then lifted off. Once the top cover is removed, the compact efficiency of the ASRock DeskMini GTX 1060 becomes truly apparent.
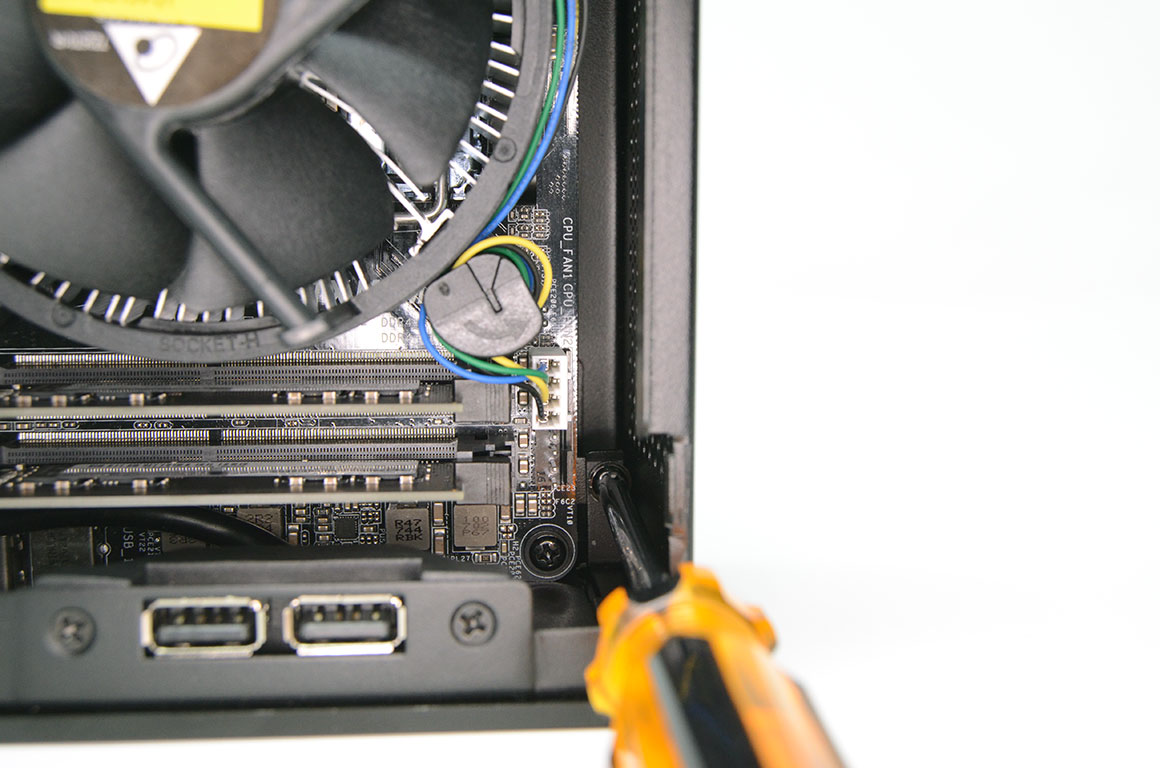

To continue with disassembly, there are two more screws at the front of the case that must be removed. These screws hold the motherboard tray in place, and while they are easy to remove, replacing them upon re-assembly can be tricky. I advise using either a screwdriver with a strong magnet or some sharp, angled tweezers to hold the screws in place until they are threaded in.


Once the motherboard tray screws have been removed, the whole rear of the ASRock DeskMini GTX 1060 will slide back out of the case. Remember to remove the two front I/O headers before pulling the tray out completely.
Jul 5th, 2025 18:30 CDT
change timezone
Latest GPU Drivers
New Forum Posts
- [GPU-Z Test Build] New Kernel Driver, Everyone: Please Test (69)
- How do you view TPU & the internet in general? (With poll) (80)
- EVGA XC GTX 1660 Ti 8GB ROM (11)
- Rx580 subsystem id (0)
- What are you playing? (23893)
- Do you use Linux? (677)
- Optane performance on AMD vs Intel (58)
- Frametime spikes and stuttering after switching to AMD CPU? (521)
- Stalker 2 is looking great. (187)
- b550m aorus elite not posting with new ram (7)
Popular Reviews
- NVIDIA GeForce RTX 5050 8 GB Review
- Fractal Design Scape Review - Debut Done Right
- Crucial T710 2 TB Review - Record-Breaking Gen 5
- ASUS ROG Crosshair X870E Extreme Review
- PowerColor ALPHYN AM10 Review
- Sapphire Radeon RX 9060 XT Pulse OC 16 GB Review - An Excellent Choice
- Upcoming Hardware Launches 2025 (Updated May 2025)
- AMD Ryzen 7 9800X3D Review - The Best Gaming Processor
- Sapphire Radeon RX 9070 XT Nitro+ Review - Beating NVIDIA
- NVIDIA GeForce RTX 5060 8 GB Review
TPU on YouTube
Controversial News Posts
- Intel's Core Ultra 7 265K and 265KF CPUs Dip Below $250 (288)
- NVIDIA Grabs Market Share, AMD Loses Ground, and Intel Disappears in Latest dGPU Update (212)
- Some Intel Nova Lake CPUs Rumored to Challenge AMD's 3D V-Cache in Desktop Gaming (140)
- NVIDIA GeForce RTX 5080 SUPER Could Feature 24 GB Memory, Increased Power Limits (115)
- Microsoft Partners with AMD for Next-gen Xbox Hardware (105)
- NVIDIA Launches GeForce RTX 5050 for Desktops and Laptops, Starts at $249 (105)
- AMD Radeon RX 9070 XT Gains 9% Performance at 1440p with Latest Driver, Beats RTX 5070 Ti (102)
- Intel "Nova Lake‑S" Series: Seven SKUs, Up to 52 Cores and 150 W TDP (100)