 15
15
ASRock X99 OC FORMULA/3.1 (Intel LGA 2011-3) Review
BIOS Walkthrough »Power Consumption
We measure CPU power consumption since one of our first tasks is to truly verify system stability. I isolate the power coming through the 8-pin ATX connector using an in-line meter that provides voltage and current readings, and total wattage passed through. While this may not prove to isolate the CPU power draw in all instances, it does serve as a good indicator of board efficiency and effective VRM design. Total system power consumption is no longer reported as this figure can change depending on what VGA is installed. The sole board-only power measurements possible without physically modifying a motherboard are those taken via the 8-pin CPU connector, making it the only figure of value worth reporting. I use wPrime with eight threads selected in its options since it provides a consistently high workload throughout the full length of the test and runs long enough for the VRM and CPU to produce a fair bit of heat. Most average workloads will draw far less than that, although distributed computing applications are quite similar. This is not supposed to test stability since I use several other applications to do so, but merely serves to provide repeatable power draw numbers anyone can replicate. The meter used is an off-the-shelf Zalman unit that has been on the market for some time. In my test environment, it provides results similar to a FLUKE 337 clamp meter.| Load Condition | CPU Voltage | Ring voltage | Idle Power | Load Power |
|---|---|---|---|---|
| Stock Clocks | 0.920 V | 0.896 V | 11W | 90W |
The ASRock X99 OC FORMULA/3.1 does provide quite excellent power consumption figures under stock clocks. You get a base experience right out of the box, but if you want more, it's at your fingertips.
Fan Control
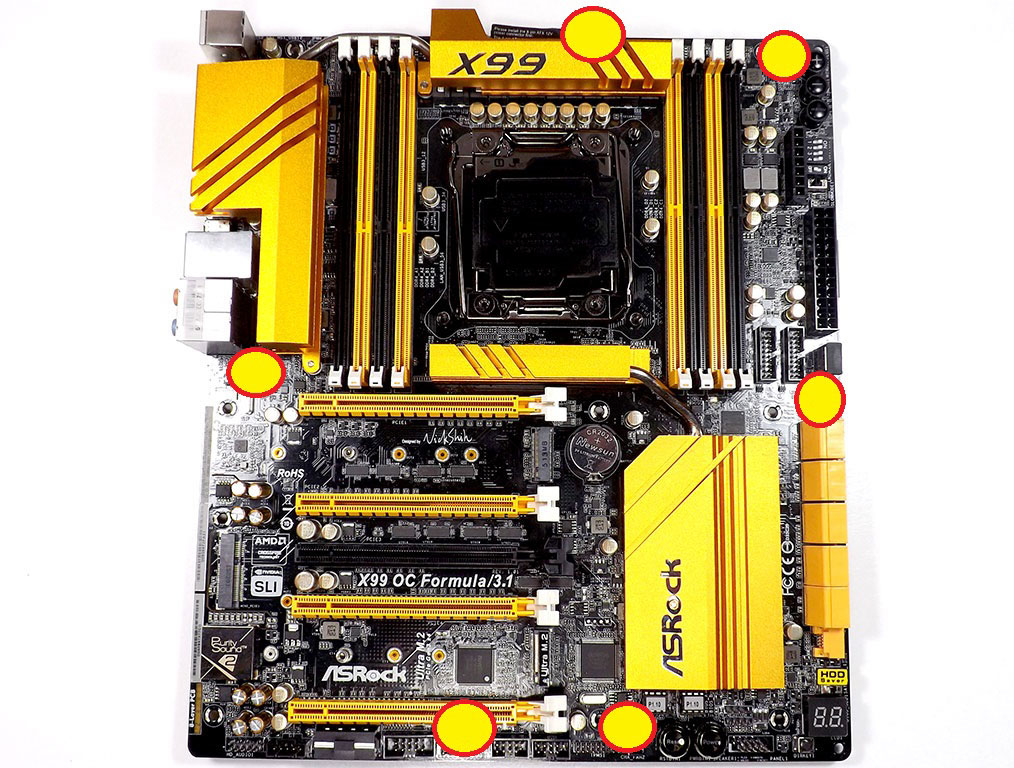
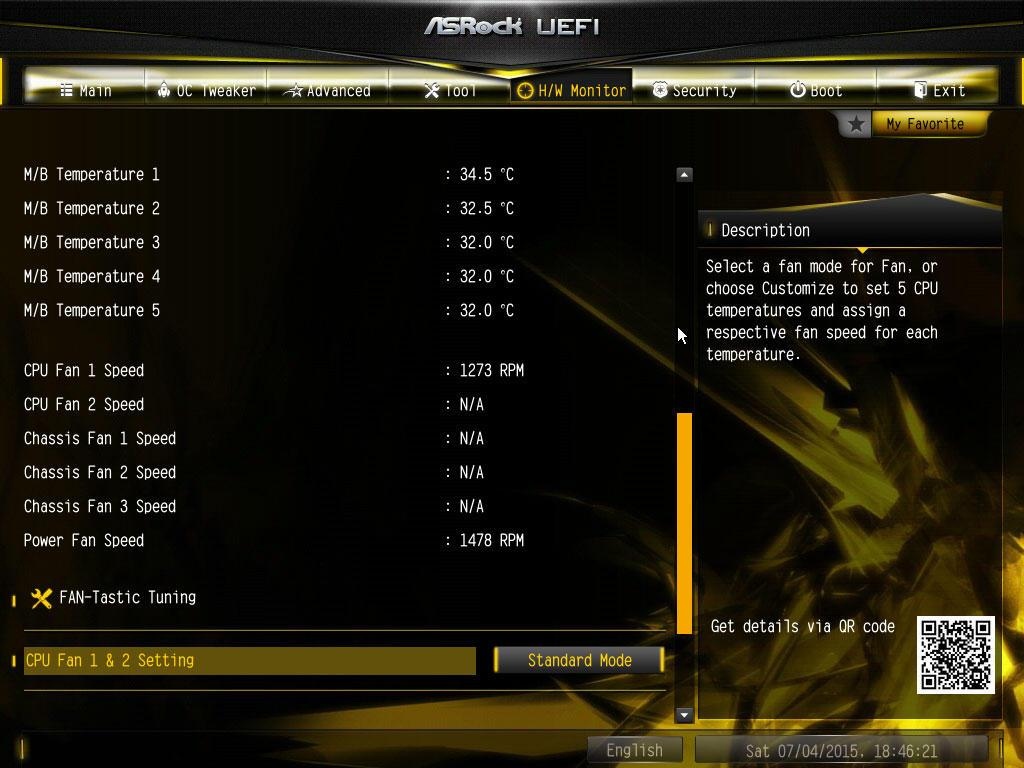
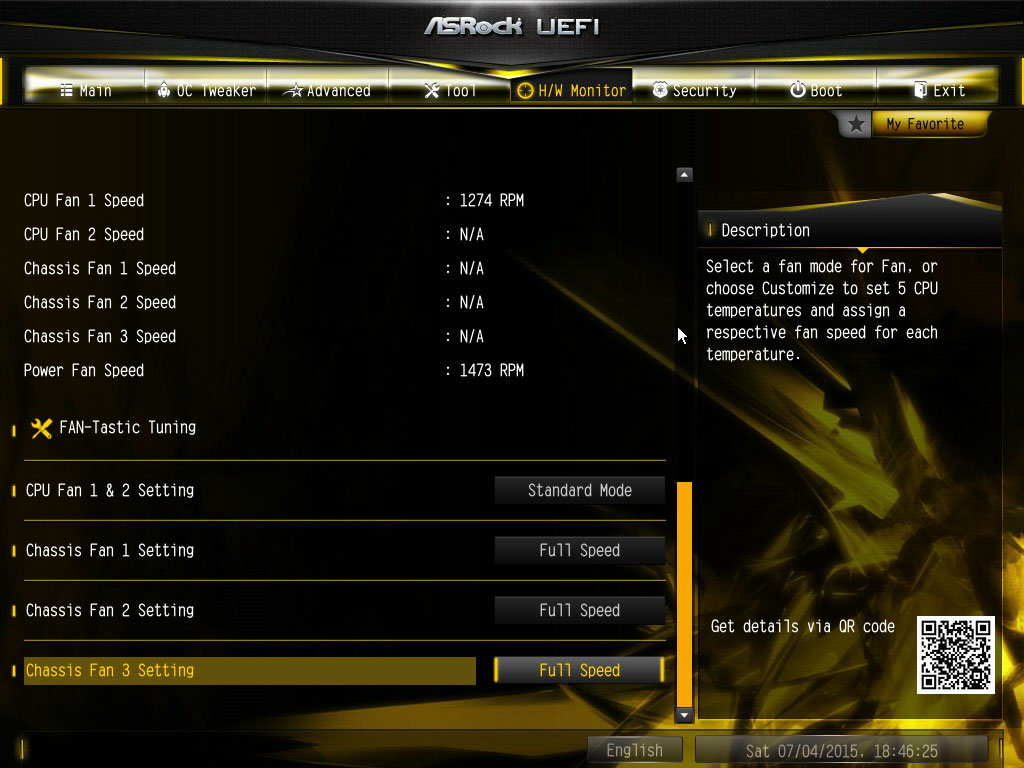
With a total of six fan ports, the ASRock X99 OC FORMULA/3.1 might seem decently equipped, and I suppose in regards to their functionality and placement, I have no problems either, but I was not happy about the fact that only two of these were 4-pin headers, with one 4-pin at the bottom of the board to control a system fan while the other is used to control the main CPU header. This means the auxiliary CPU fan header is a simple 3-pin type; they should both be the same in my opinion.
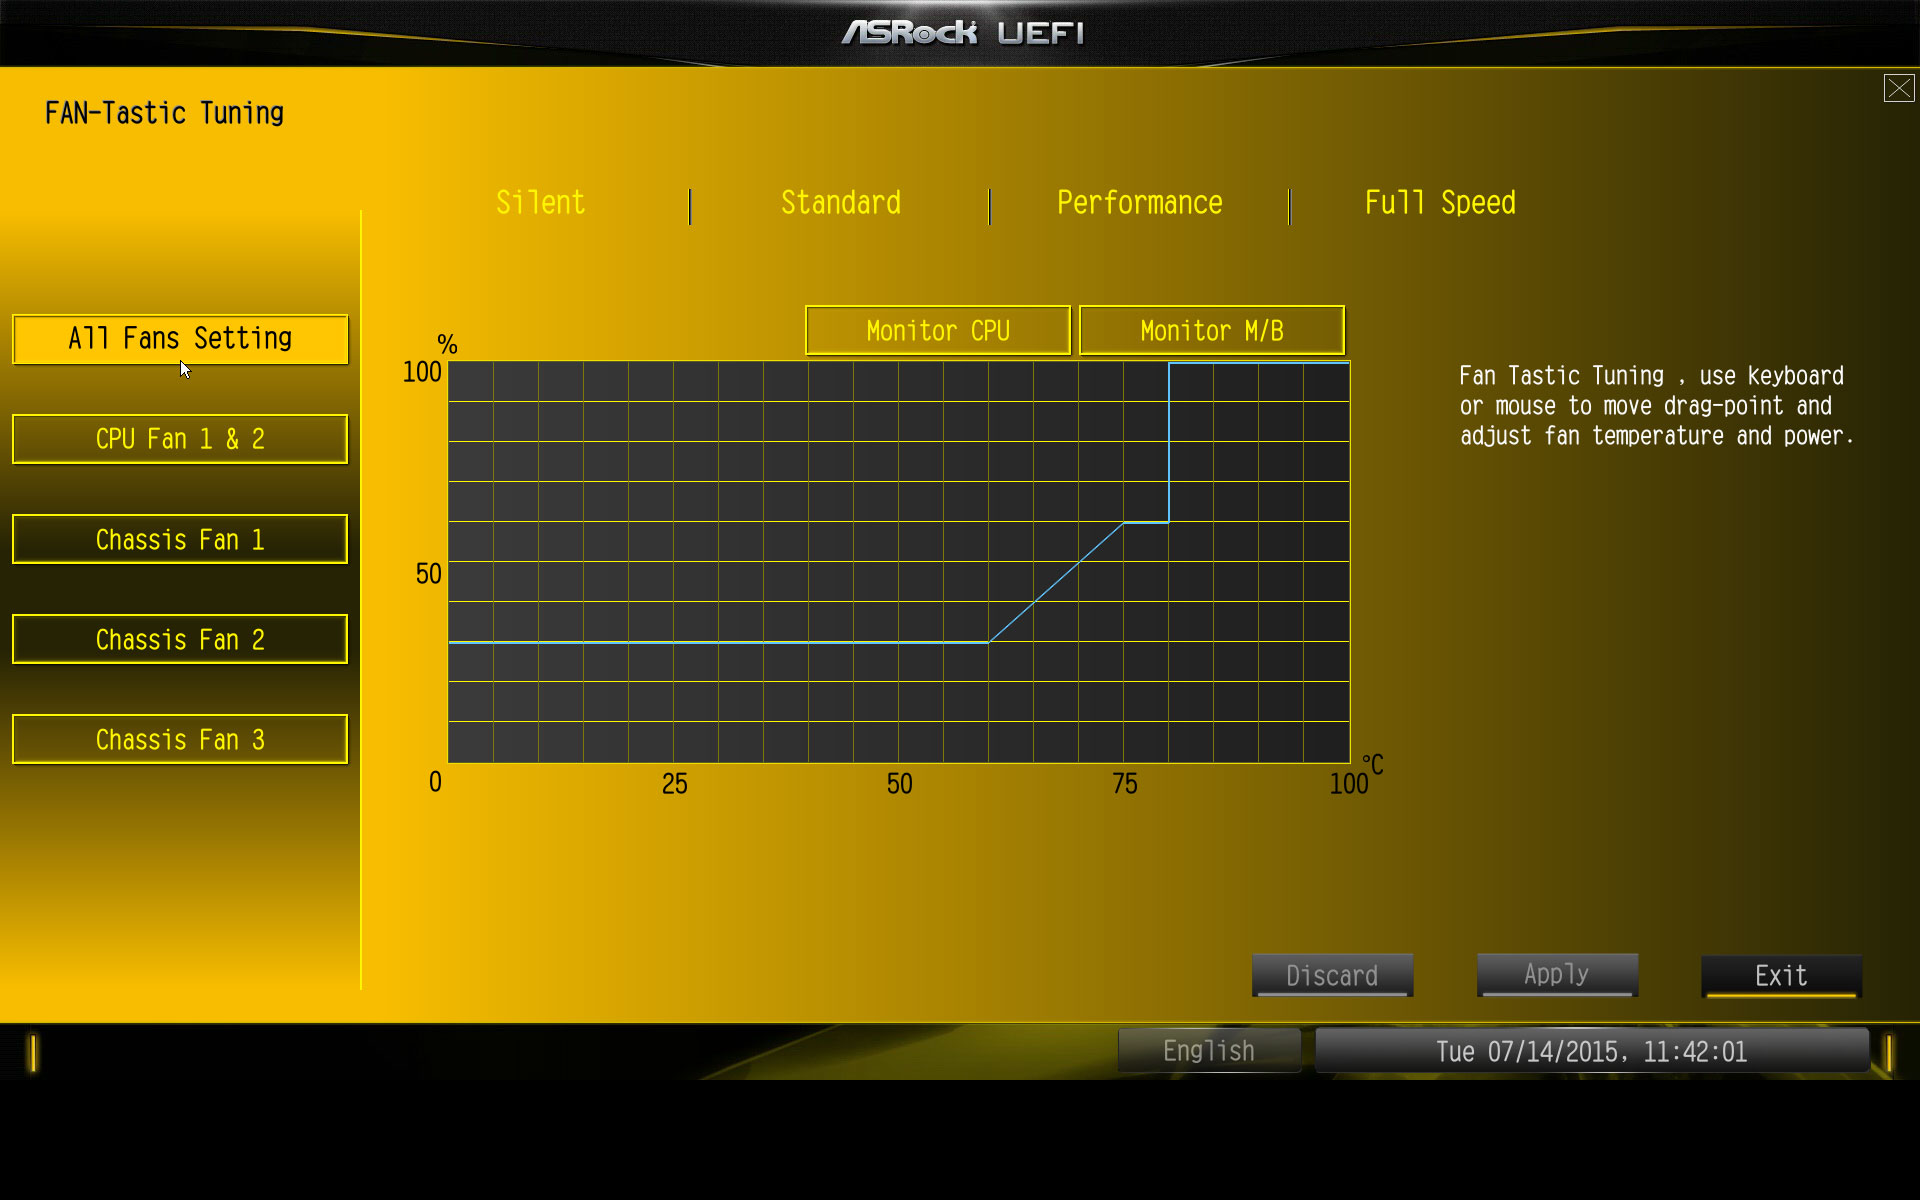

Be that as it may, once in the BIOS, easy-to-use, simple options are available, with a secondary "Fan-Tastic Tuning" utility should you want to graphically plot fan curves for the CPU fan; you can at least force the CPU fan to 0%. The other fans have sensor-based options for their speed adjustments.
Jul 15th, 2025 16:03 CDT
change timezone
Latest GPU Drivers
New Forum Posts
- Solidigm NVMe Custom Modded Driver for All NVMe Brands SSDs & Any NVMe SSDs (229)
- Stupid things one has done with hardware (64)
- No offense, here are some things that bother me about your understanding of fans. (143)
- Recommend me a decent budget card :) (33)
- What's your latest tech purchase? (24278)
- TOS 6 on Ugreen NAS (0)
- Folding Pie and Milestones!! (9620)
- TPU's F@H Team (20436)
- Is there a WIFI chip I should get? (4)
- TPU's Nostalgic Hardware Club (20513)
Popular Reviews
- MSI GeForce RTX 5060 Gaming OC Review
- Our Visit to the Hunter Super Computer
- Lexar NM1090 Pro 4 TB Review
- SilverStone SETA H2 Review
- NVIDIA GeForce RTX 5050 8 GB Review
- Fractal Design Epoch RGB TG Review
- Sapphire Radeon RX 9060 XT Pulse OC 16 GB Review - An Excellent Choice
- AMD Ryzen 7 9800X3D Review - The Best Gaming Processor
- Upcoming Hardware Launches 2025 (Updated May 2025)
- Corsair FRAME 5000D RS Review
TPU on YouTube
Controversial News Posts
- Intel's Core Ultra 7 265K and 265KF CPUs Dip Below $250 (288)
- Some Intel Nova Lake CPUs Rumored to Challenge AMD's 3D V-Cache in Desktop Gaming (140)
- AMD Radeon RX 9070 XT Gains 9% Performance at 1440p with Latest Driver, Beats RTX 5070 Ti (131)
- NVIDIA Launches GeForce RTX 5050 for Desktops and Laptops, Starts at $249 (122)
- NVIDIA GeForce RTX 5080 SUPER Could Feature 24 GB Memory, Increased Power Limits (115)
- Microsoft Partners with AMD for Next-gen Xbox Hardware (105)
- Intel "Nova Lake‑S" Series: Seven SKUs, Up to 52 Cores and 150 W TDP (100)
- NVIDIA DLSS Transformer Cuts VRAM Usage by 20% (99)