 65
65
Asus Prime AP201 Review
Assembly & Finished Looks »A Closer Look - Inside
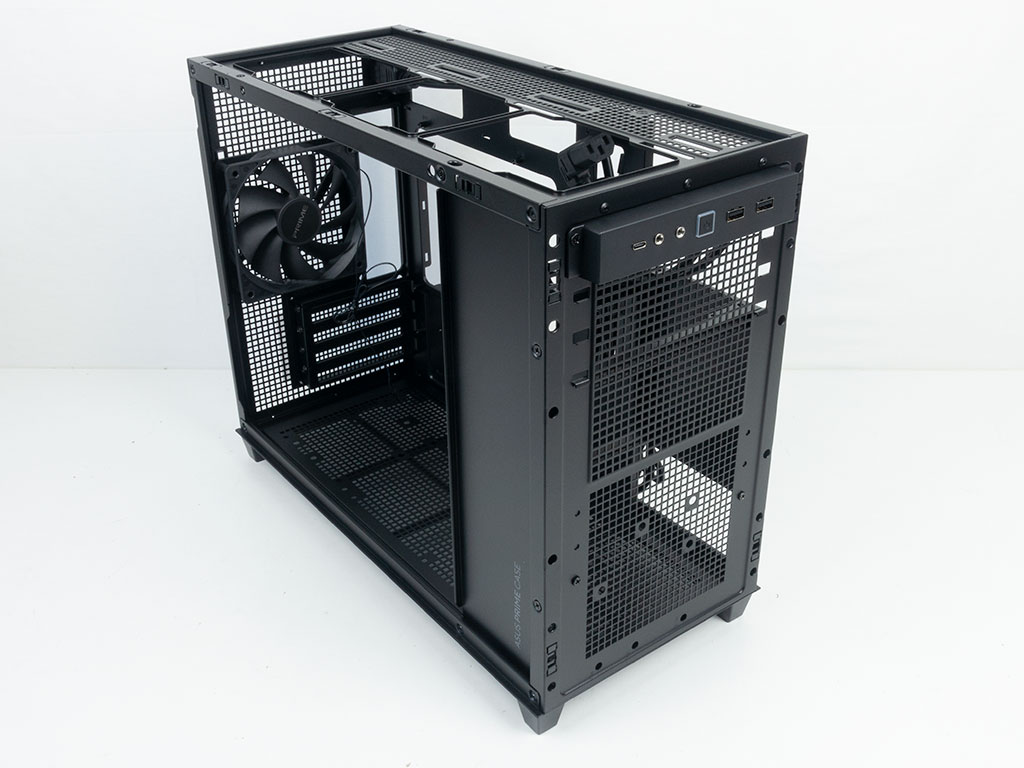
As you are easily able to remove the sides, top and front panels of the AP201, there's plenty of access for a hassle free build.

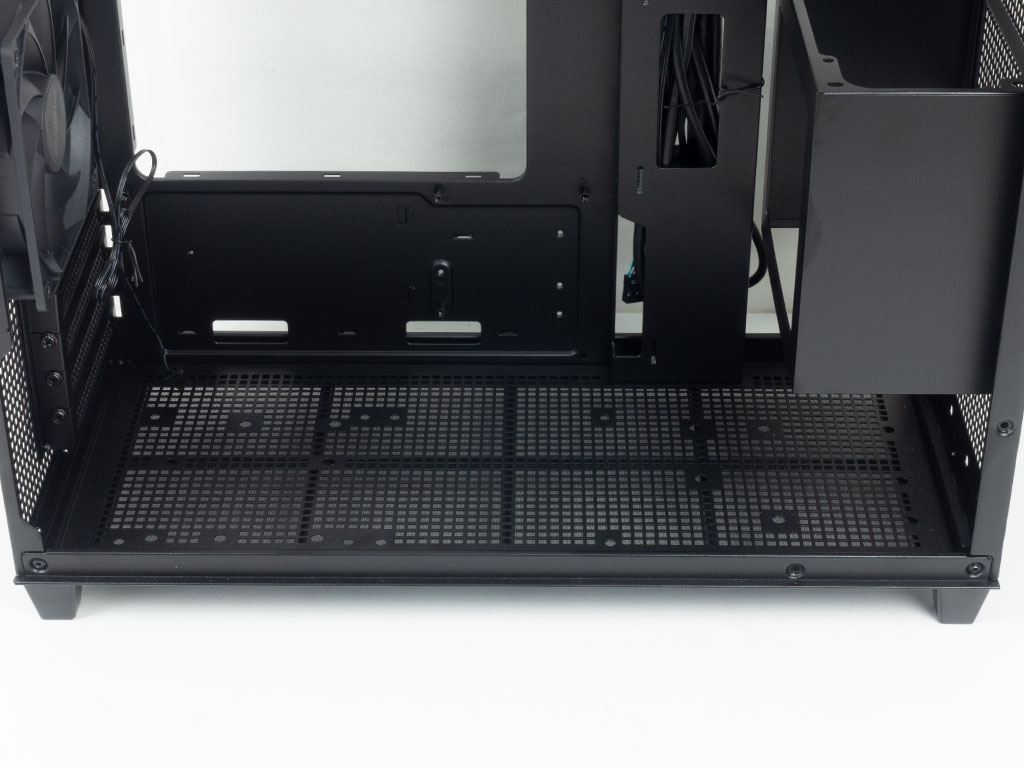
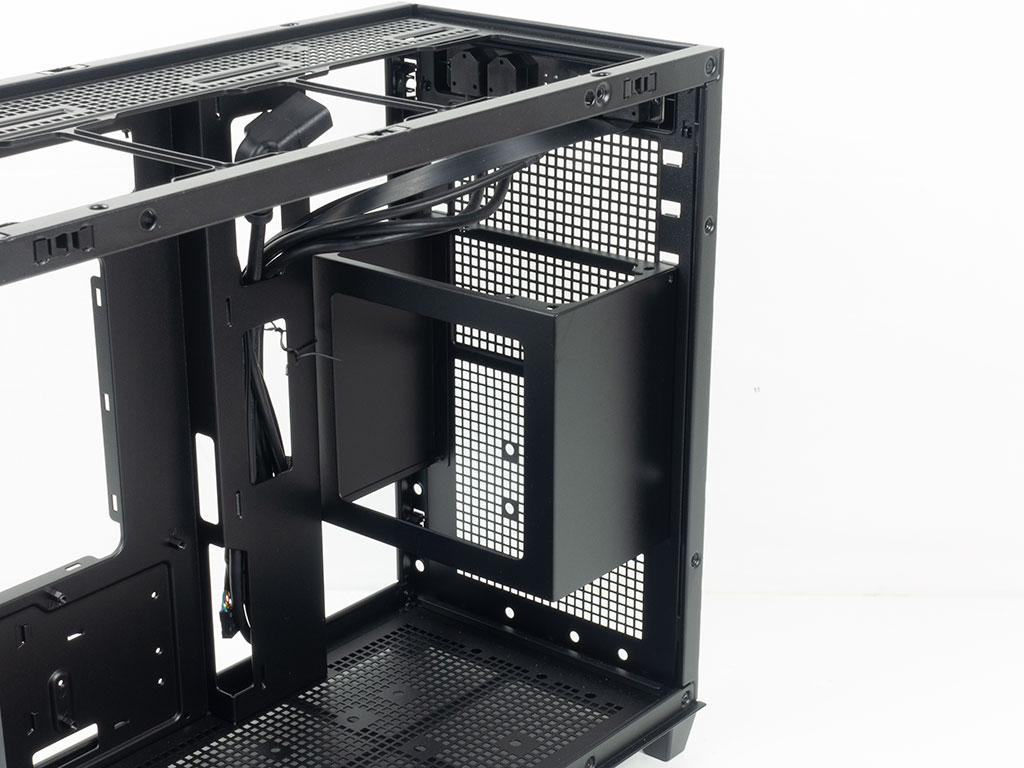
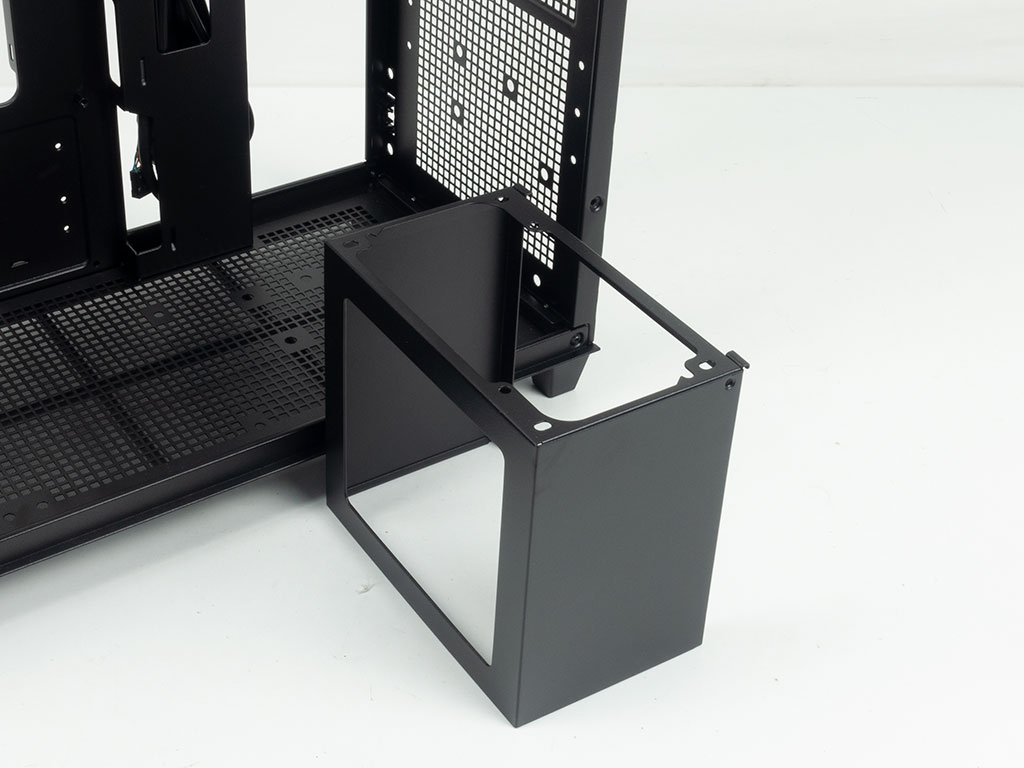
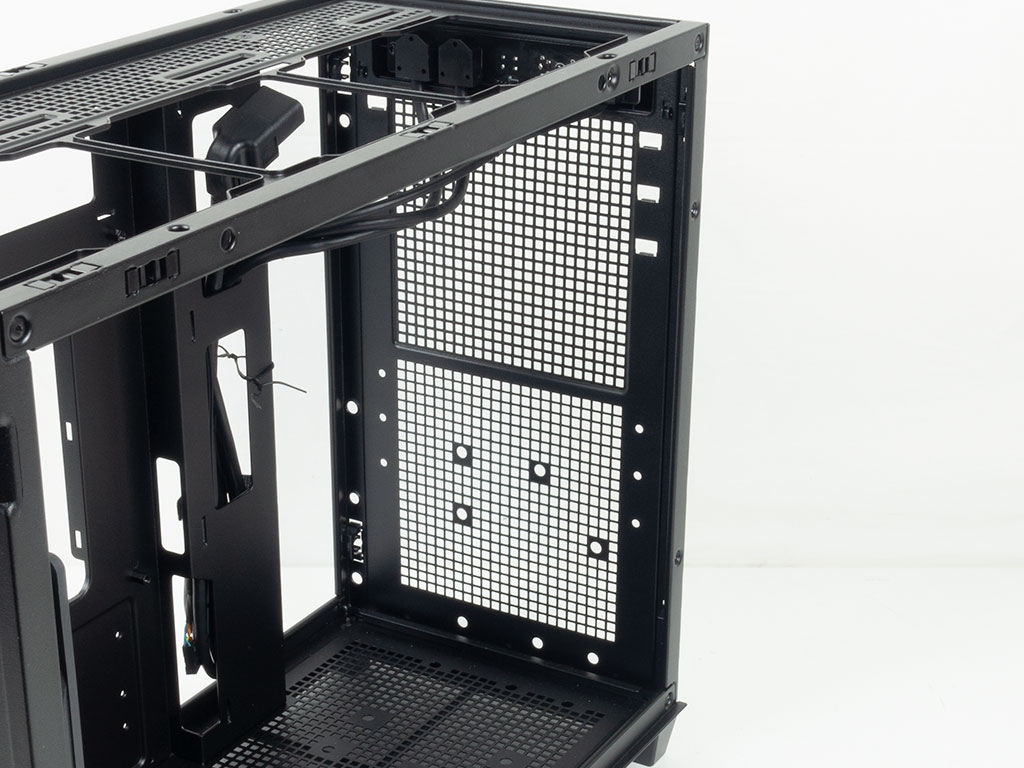
The main side of the chassis provides direct access to an upright motherboard in the rear. Towards the front, there is a cosmetic cover plate with branding, which you would only see when opening the chassis. Considering the AP201 doesn't have a window side panel, the cover plate feels redundant, even if it is nice to have. Perhaps Asus considered a variant of the chassis with glass? Behind the cover plate lies the ATX PSU bracket. On the floor of the enclosure, you may install two 2.5/3.5" drives. Alternatively, there are mounting holes for two 120 mm fans.

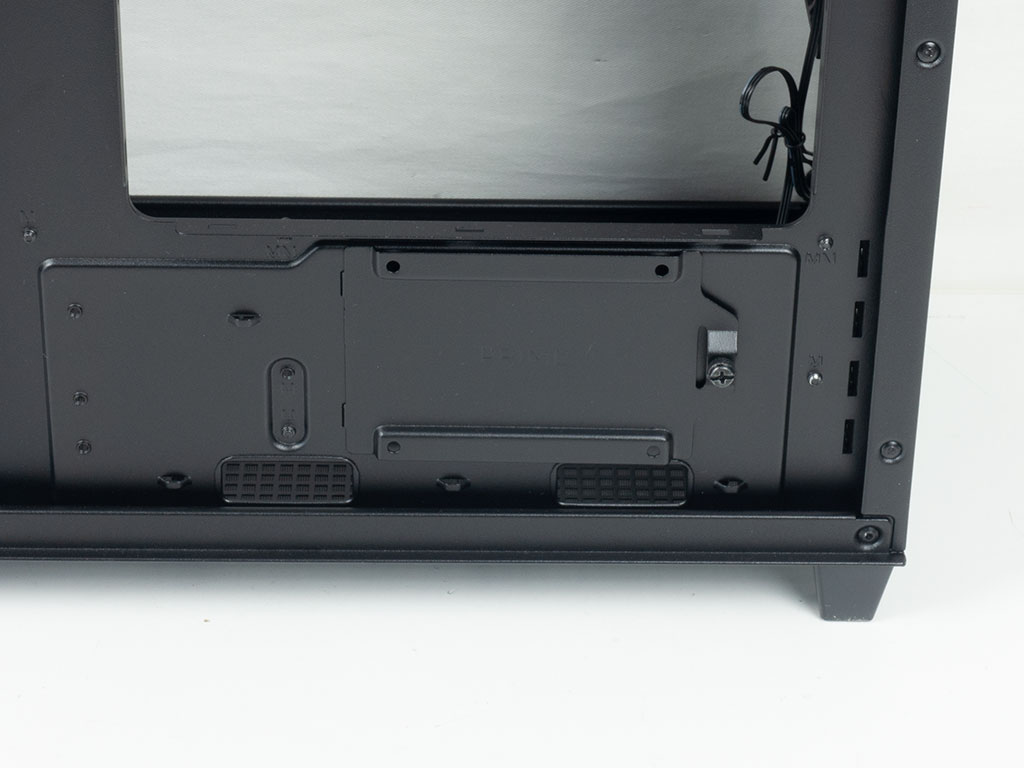
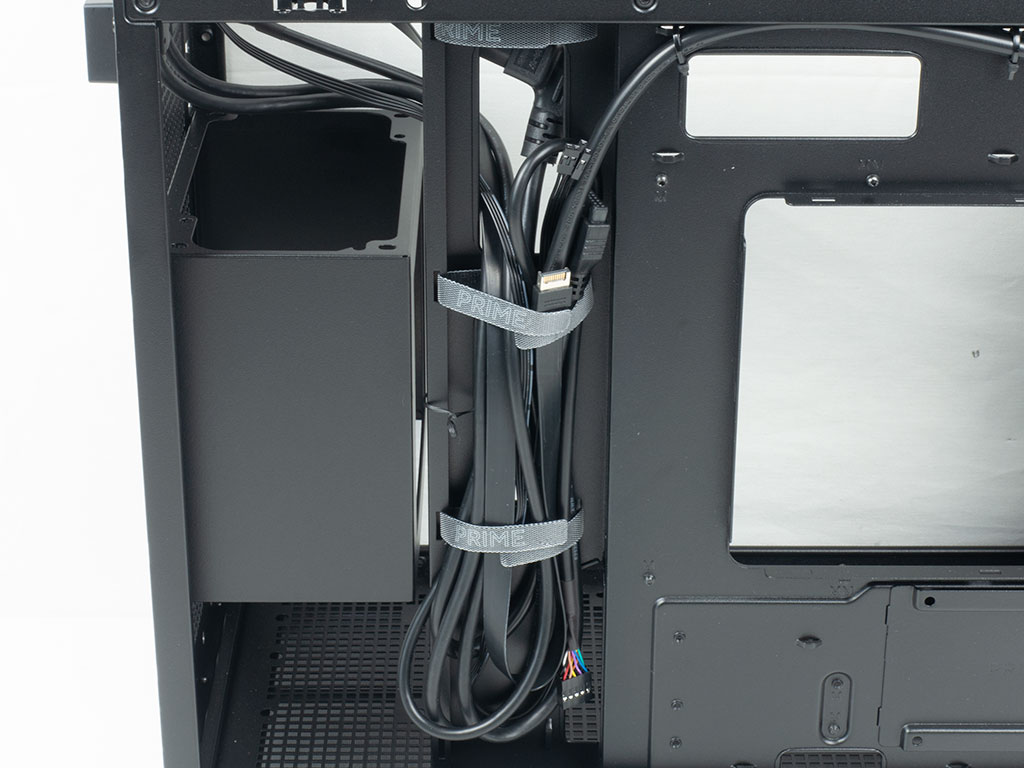
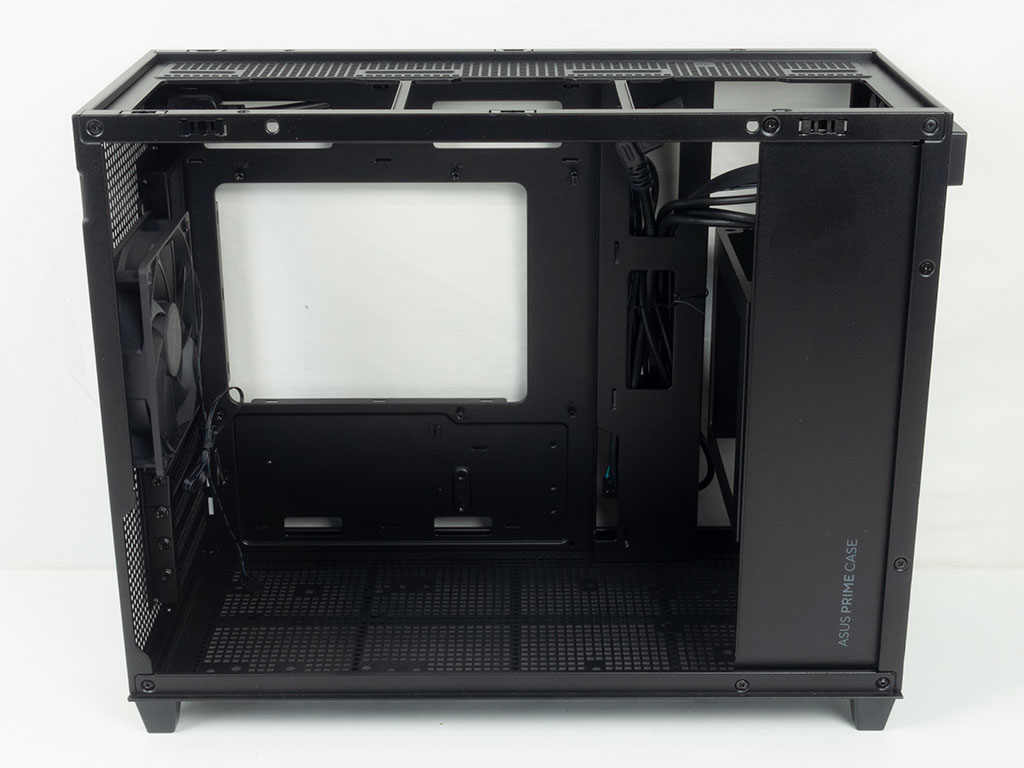
Turning the case around, you will find the power cable pre-routed behind the motherboard tray. Underneath the large CPU cooler opening, there is a single 2.5" tray. Asus also includes three branded Velcro strips in the cable channel towards the front of the chassis, which should come in handy during the assembly process. The only gripe here is that the top-most placement is not useful at all, and the fact that the Velcro strips should be longer.
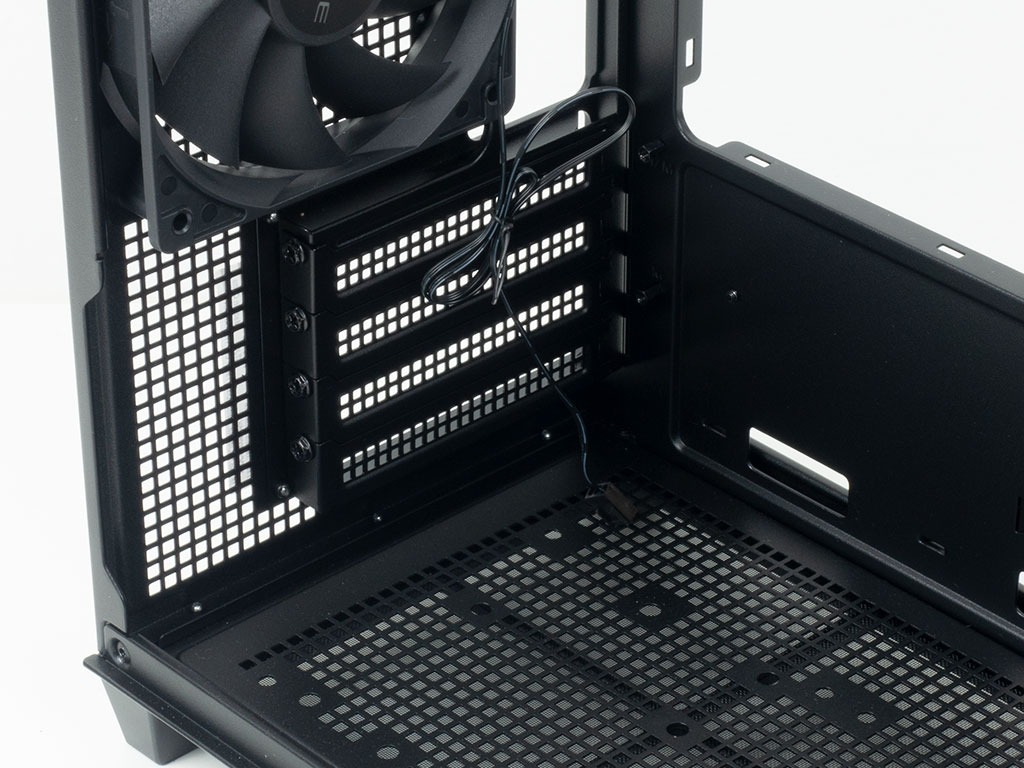
In the front, there are three possible PSU placement options, if you have a longer PSU, you may raise it up accordingly. But, even if you have a compact power supply, you will gain access to another 2.5/3.5" slot in the front of the chassis if you mount the power supply high enough. If ASUS would have designed the AP201 to allow for a drive to be mounted in the exterior of the front, with a cable routing hole, then users would have even more choices on how to configure things here. However, to enable that, ASUS would also have to ensure the removable front cover is deep enough to accommodate 3.5" drives for example.
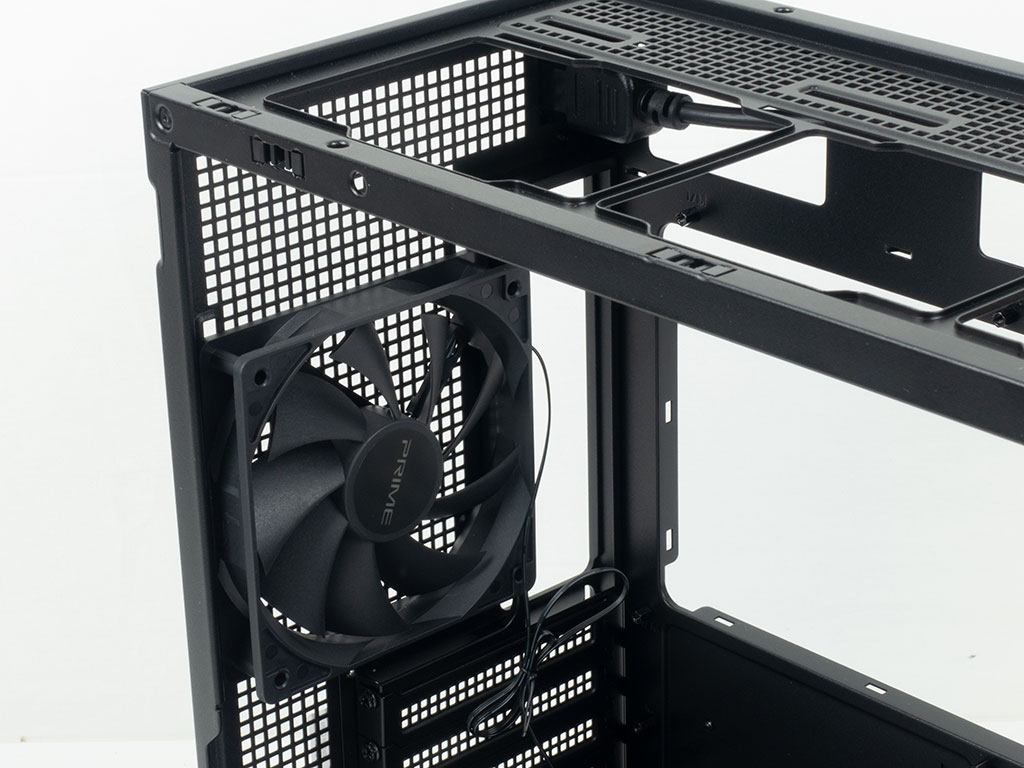
In the rear, the four expansion slots are protected by removable & reusable covers, held in place by classic screws. Above that, the black, branded 120 mm fan is configured to exhaust hot air. You can once again, see the sizable amount of room above the fan/motherboard area for large, ceiling mounted AIO.
Speaking of which, here you may place a radiator assembly of up to 360 mm size without issue.
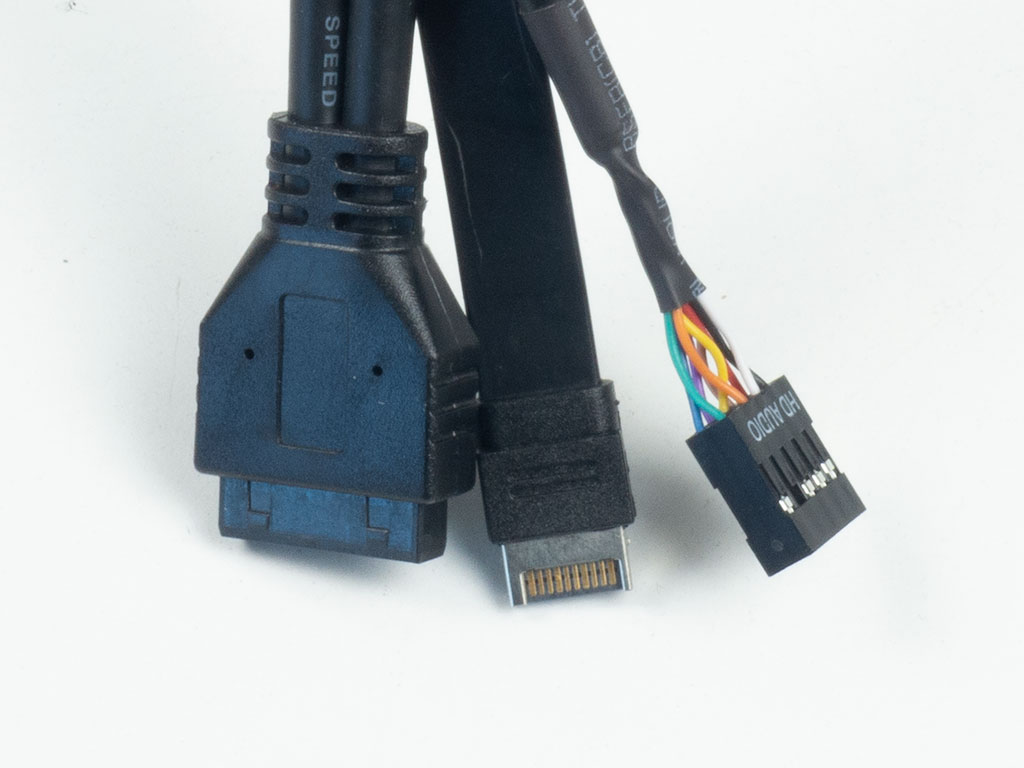
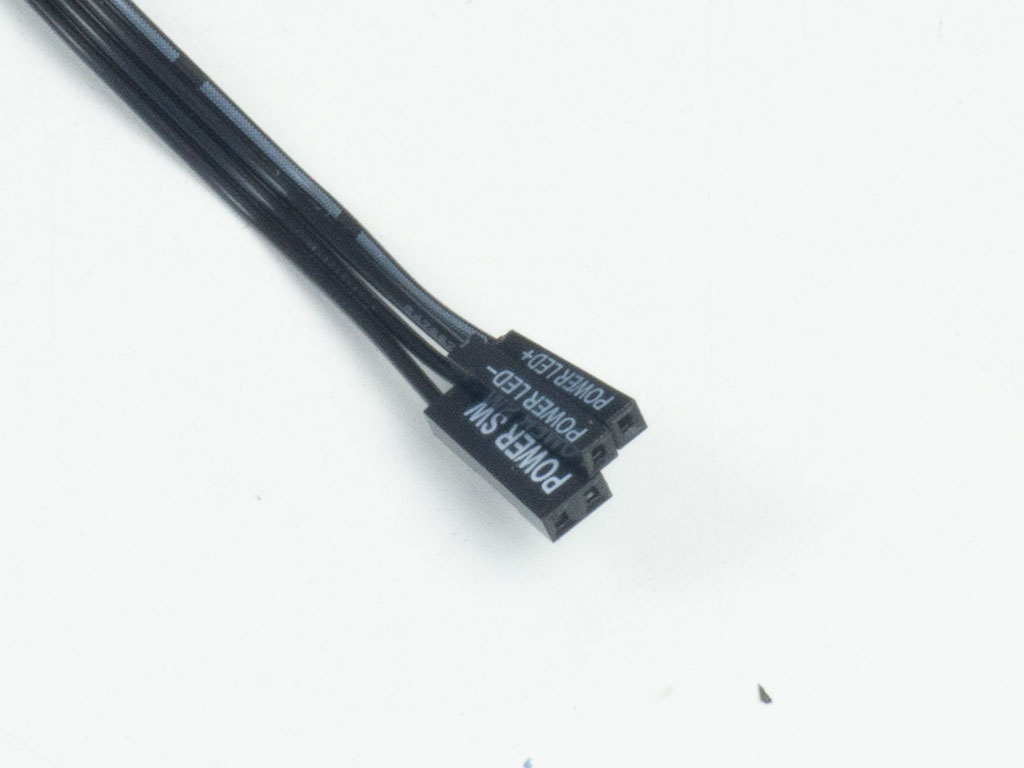
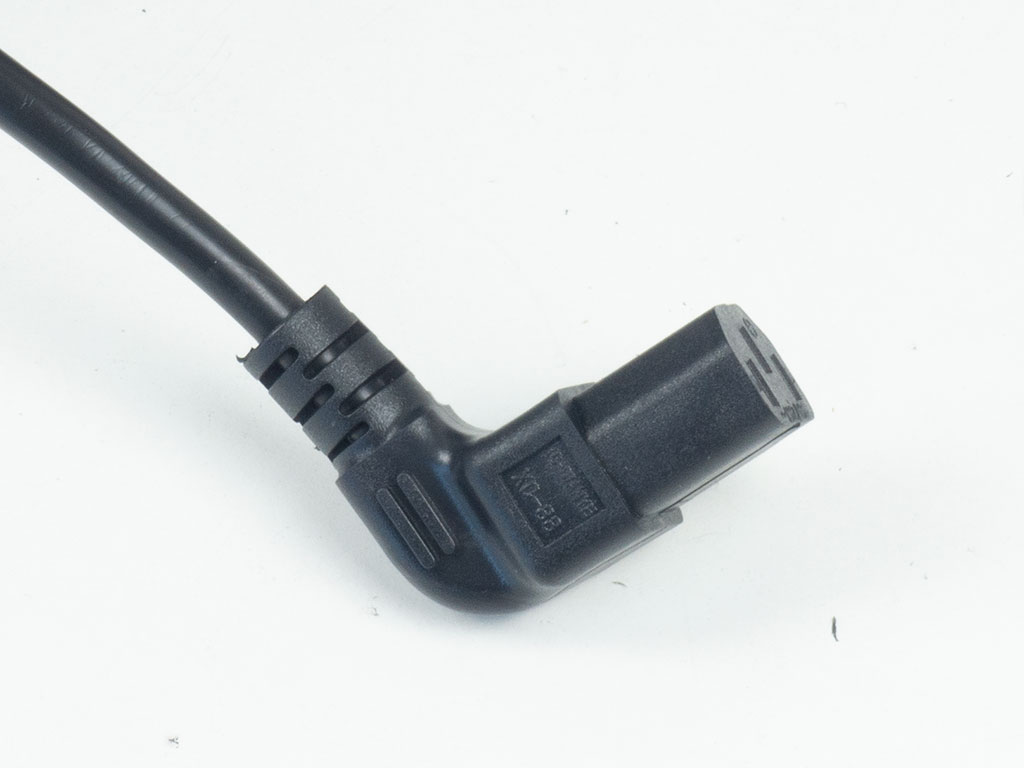
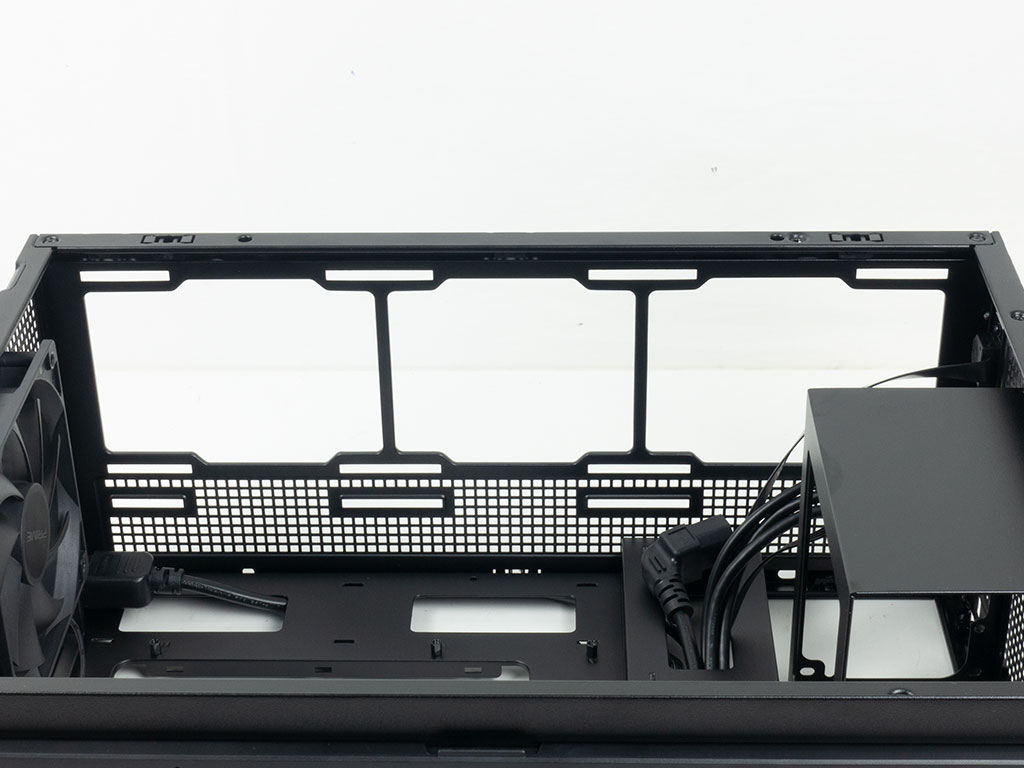
All the leads within the AP201 are of the default, black variety. The power plug comes angled at 90°, keeping the height of it to a bare minimum, giving you as much flexibility when using ceiling mounted cooling elements as possible.
Mar 31st, 2025 14:26 EDT
change timezone
Latest GPU Drivers
New Forum Posts
- can i yust connect 4 pin cpu coler to 5 pin ? (3)
- TPU's Rosetta Milestones and Daily Pie Thread (2264)
- Help me pick a UPS (8)
- What do you do for a living? (462)
- Upgrade from a AMD AM3+ to AM4 or AM5 chipset MB running W10? (77)
- Help with System Recommendations (0)
- What's your latest tech purchase? (23435)
- Is the futureproof gaming solution a four drive system? (27)
- Bios Mod for an old pc (0)
- Hotspot 110° (19)
Popular Reviews
- Sapphire Radeon RX 9070 XT Pulse Review
- ASRock Phantom Gaming B850 Riptide Wi-Fi Review - Amazing Price/Performance
- Samsung 9100 Pro 2 TB Review - The Best Gen 5 SSD
- Palit GeForce RTX 5070 GamingPro OC Review
- Sapphire Radeon RX 9070 XT Nitro+ Review - Beating NVIDIA
- Assassin's Creed Shadows Performance Benchmark Review - 30 GPUs Compared
- Enermax REVOLUTION D.F. 12 850 W Review
- AMD Ryzen 7 9800X3D Review - The Best Gaming Processor
- ASRock Radeon RX 9070 XT Taichi OC Review - Excellent Cooling
- AMD Ryzen 9 9950X3D Review - Great for Gaming and Productivity
Controversial News Posts
- MSI Doesn't Plan Radeon RX 9000 Series GPUs, Skips AMD RDNA 4 Generation Entirely (142)
- Microsoft Introduces Copilot for Gaming (124)
- AMD Radeon RX 9070 XT Reportedly Outperforms RTX 5080 Through Undervolting (119)
- NVIDIA Reportedly Prepares GeForce RTX 5060 and RTX 5060 Ti Unveil Tomorrow (115)
- Over 200,000 Sold Radeon RX 9070 and RX 9070 XT GPUs? AMD Says No Number was Given (100)
- NVIDIA GeForce RTX 5050, RTX 5060, and RTX 5060 Ti Specifications Leak (96)
- Retailers Anticipate Increased Radeon RX 9070 Series Prices, After Initial Shipments of "MSRP" Models (90)
- China Develops Domestic EUV Tool, ASML Monopoly in Trouble (88)