 9
9
be quiet! Pure Rock 2 Review - Silent with Good Performance
Finished Looks »Installation


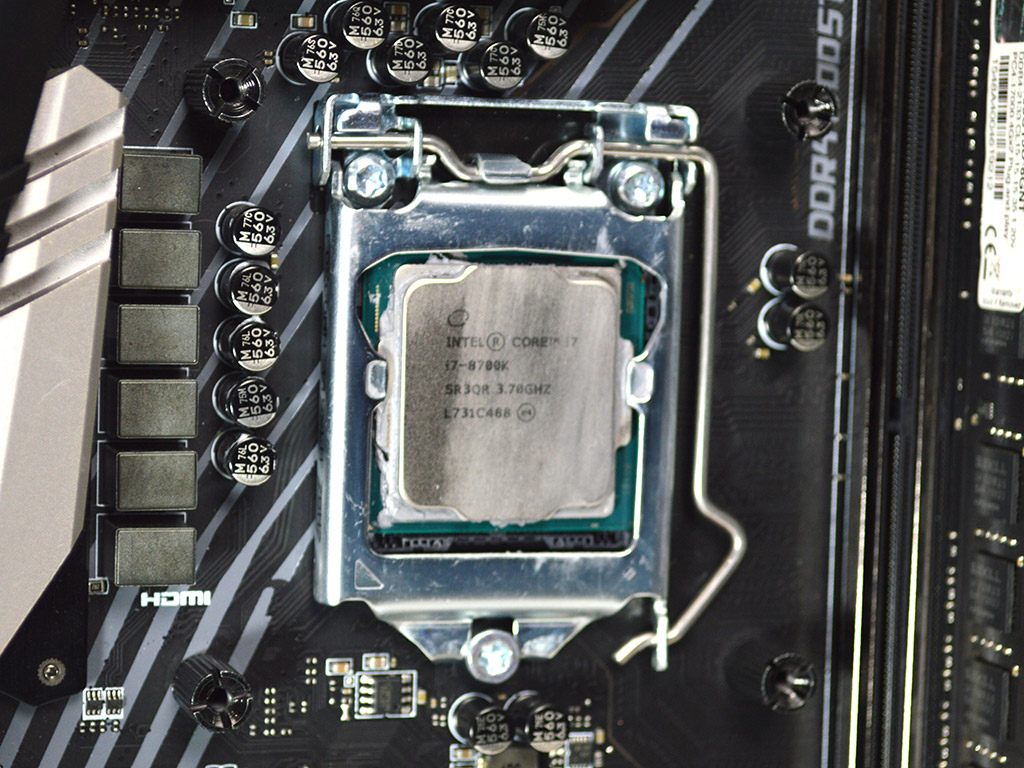
Installing the Pure Rock 2 is fairly easy. Start by preparing the backplate—slide the backplate bolts into place and use the rubber O-rings to secure them. With that done, position the backplate on the motherboard and secure it with the screw pillars.
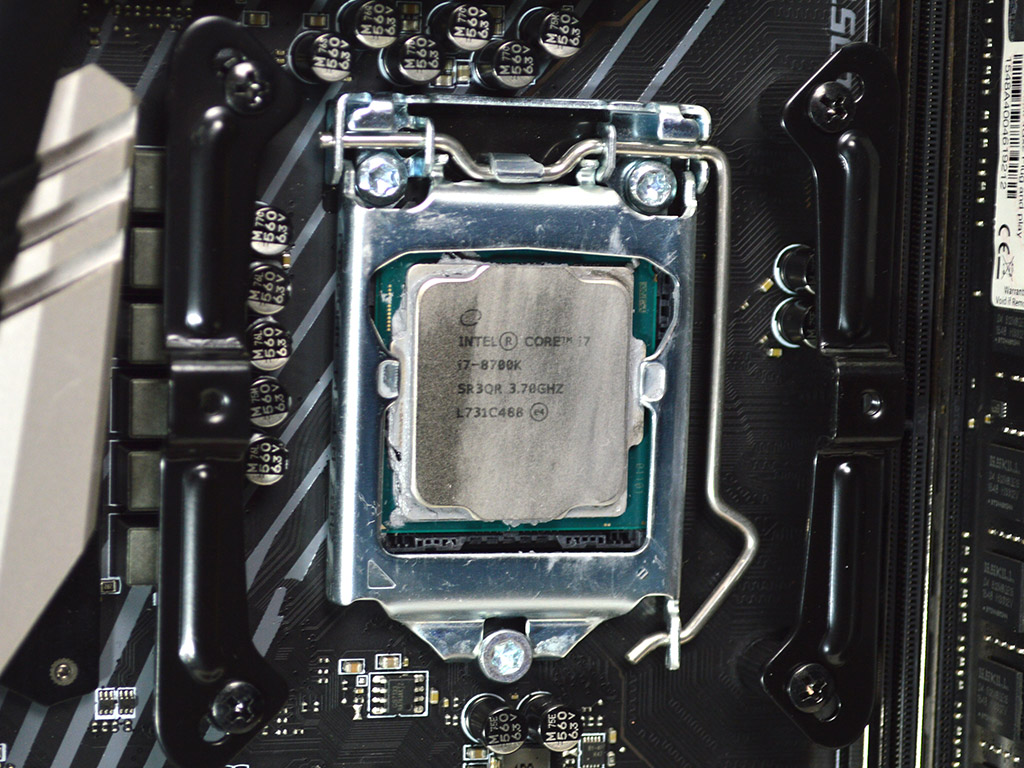
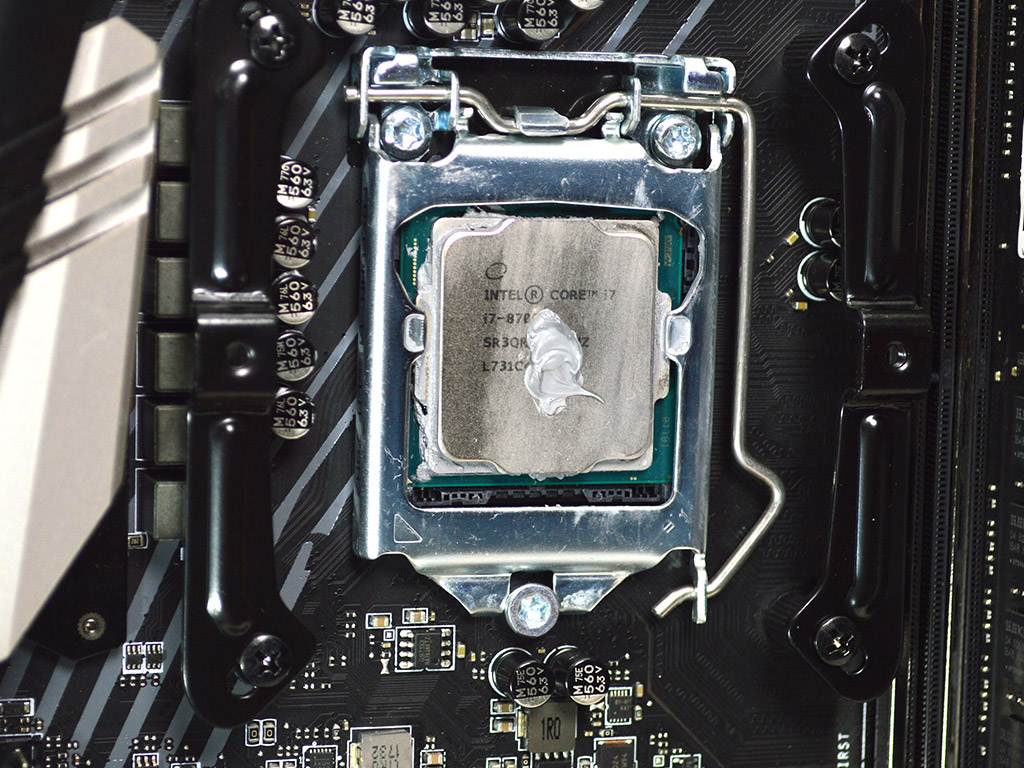
Now, secure the mounting arms to the screw pillars and apply the thermal paste before attaching the cooler to the motherboard. Depending on your case or orientation, this will be the tricky part as the crossbar or mounting bar may move around a bit. However, once in place, use the two screws to secure it, alternating between them for more even pressure.

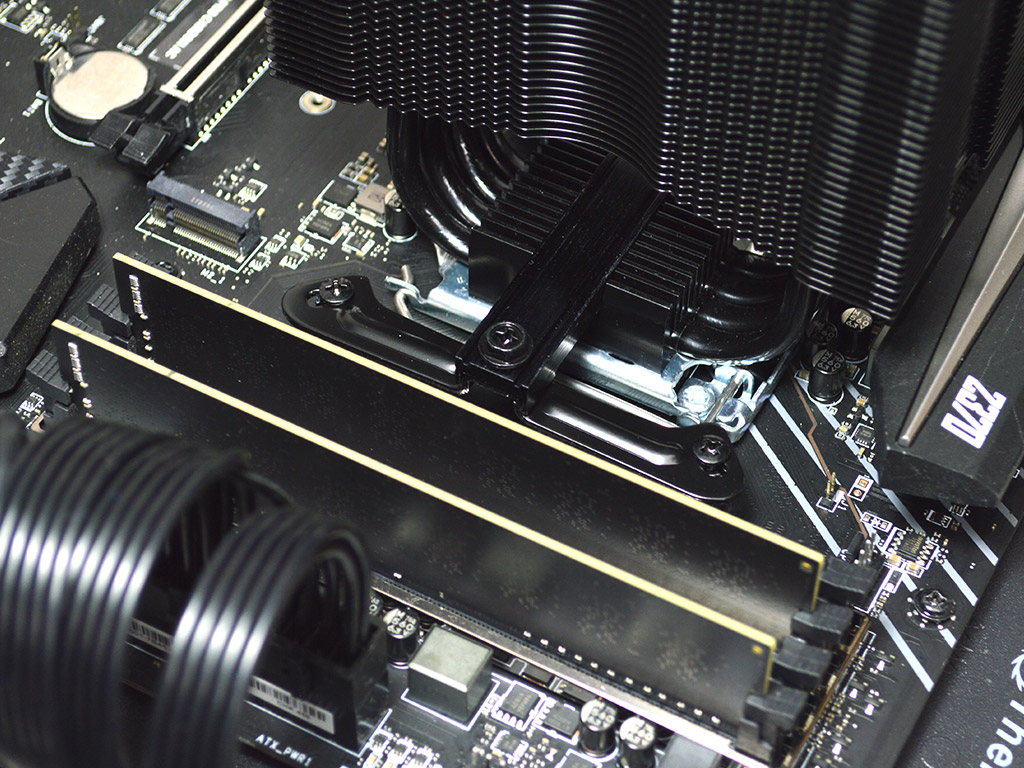
It is now time to attach the fan with the included fan clips and plug it into the CPU fan header on the motherboard. With the lack of ARGB lighting, there is no extra wiring to deal with.
Overall, installation was relatively easy, and I would rate it a 9 on a scale of 1 (hardest) to 10 (easiest). While it is not difficult, the crossbar can be a bit finicky depending on how much space you have to work with. However, the smaller size of the Pure Rock 2 compared to the Shadow Rock 3 made installation of the former a tad easier.
Jul 15th, 2025 19:41 CDT
change timezone
Latest GPU Drivers
New Forum Posts
- TPU's Nostalgic Hardware Club (20514)
- What's your latest tech purchase? (24279)
- No offense, here are some things that bother me about your understanding of fans. (147)
- Is this dual channel or async? (0)
- Stupid things one has done with hardware (68)
- Game Informer magazine is back! (5)
- monitor stand became loose after making changes to setup (0)
- What is the latest game you finished or 100% (53)
- How about AMD instead of Intel? (43)
- Adding distilled water to ups batteries really work ? (15)
Popular Reviews
- MSI GeForce RTX 5060 Gaming OC Review
- Our Visit to the Hunter Super Computer
- SilverStone SETA H2 Review
- Lexar NM1090 Pro 4 TB Review
- NVIDIA GeForce RTX 5050 8 GB Review
- Fractal Design Epoch RGB TG Review
- Sapphire Radeon RX 9060 XT Pulse OC 16 GB Review - An Excellent Choice
- AMD Ryzen 7 9800X3D Review - The Best Gaming Processor
- Upcoming Hardware Launches 2025 (Updated May 2025)
- Corsair FRAME 5000D RS Review
TPU on YouTube
Controversial News Posts
- Intel's Core Ultra 7 265K and 265KF CPUs Dip Below $250 (288)
- Some Intel Nova Lake CPUs Rumored to Challenge AMD's 3D V-Cache in Desktop Gaming (140)
- AMD Radeon RX 9070 XT Gains 9% Performance at 1440p with Latest Driver, Beats RTX 5070 Ti (131)
- NVIDIA Launches GeForce RTX 5050 for Desktops and Laptops, Starts at $249 (122)
- NVIDIA GeForce RTX 5080 SUPER Could Feature 24 GB Memory, Increased Power Limits (115)
- Microsoft Partners with AMD for Next-gen Xbox Hardware (105)
- Intel "Nova Lake‑S" Series: Seven SKUs, Up to 52 Cores and 150 W TDP (100)
- NVIDIA DLSS Transformer Cuts VRAM Usage by 20% (99)