 27
27
Biostar TZ68A+ LGA1155 Review
Board Software »BIOS Walkthrough
| BIOS Options | ||
|---|---|---|
| Clocks | Range | Step Size |
| CPU BCLK: | 100 MHz ... 300 MHz | 1.0 MHz |
| PCI-E Frequency: | 100 MHz ... 300 MHz | 1.0 MHz |
| Memory Dividers: | x6 (800 MHz), x8 (1066 MHz), x10 (1333 MHz), x12 (1600 MHz), x14(1866), x16(2133) | |
| Voltages | Range | Step Size |
| CPU Vcore: | 1.00 V ... 1.79 V | 0.01 V |
| DRAM Voltage: | 1.30 V ... 2.20 V | 0.012 V |
| IMC Voltage: | 1.050 V ... 1.70 V | 0.012 V |
| System Agent Voltage: | 0.90 V ... 1.605 V | 0.012 V |
| PCH Voltage: | 1.05 V ... 1.20 V | 0.05 V |

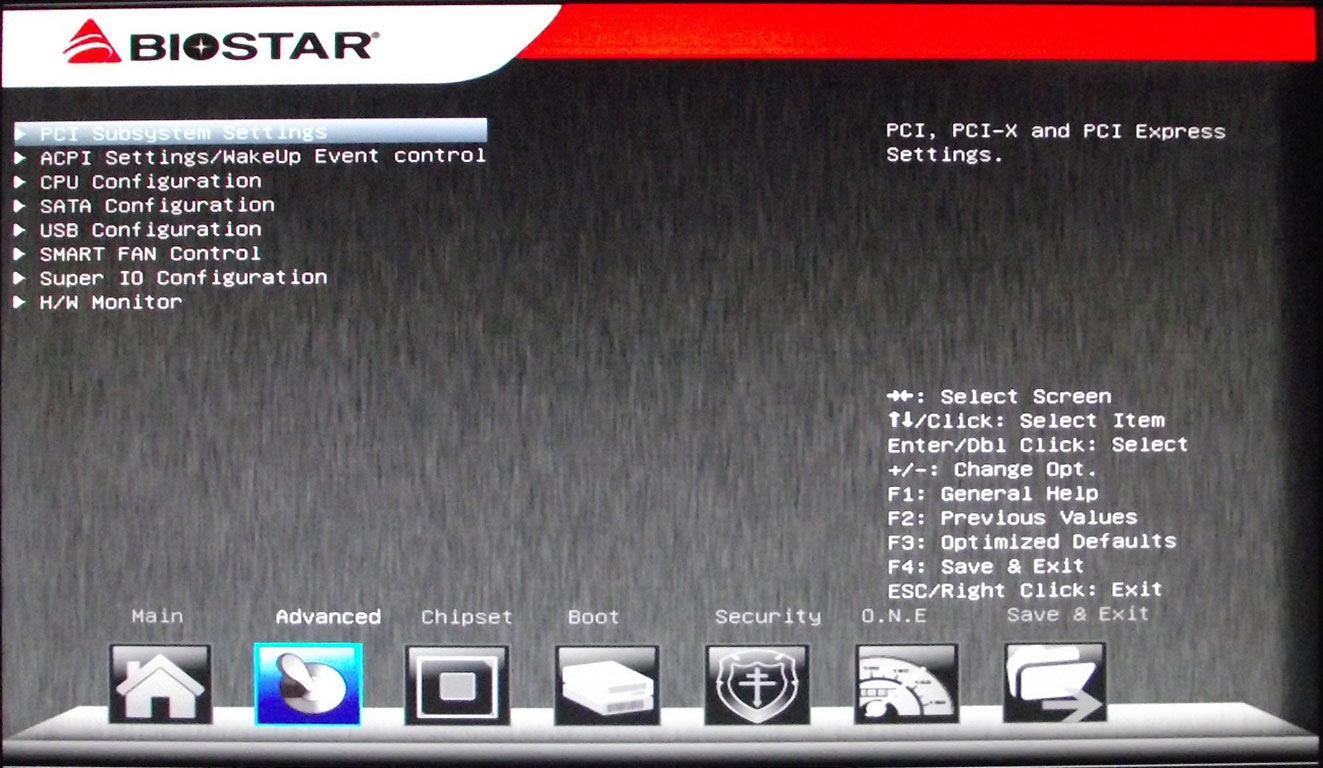
Using the Biostar UEFI BIOS proved quite simple, and almost as complete as some of the other solutions we have looked at thus far. Upon first boot, the BIOS opens up on the main page, shown above, but once in BIOS, you can chose which “page” you’d like to pop up first on the next boot; a nice time-saving feature when overclocking. The standard "main" page is filled with the usual info, including date and time, as well as a brief listing of the board and what CPU and memory are installed. The next page, the “Advanced” page, leads into several items normally found here, including customization of onboard components like LAN and audio. It’s also worth noting that mouse support within the Biostar UEFI BIOS works quite well, allowing some ease of use not seen on other products.
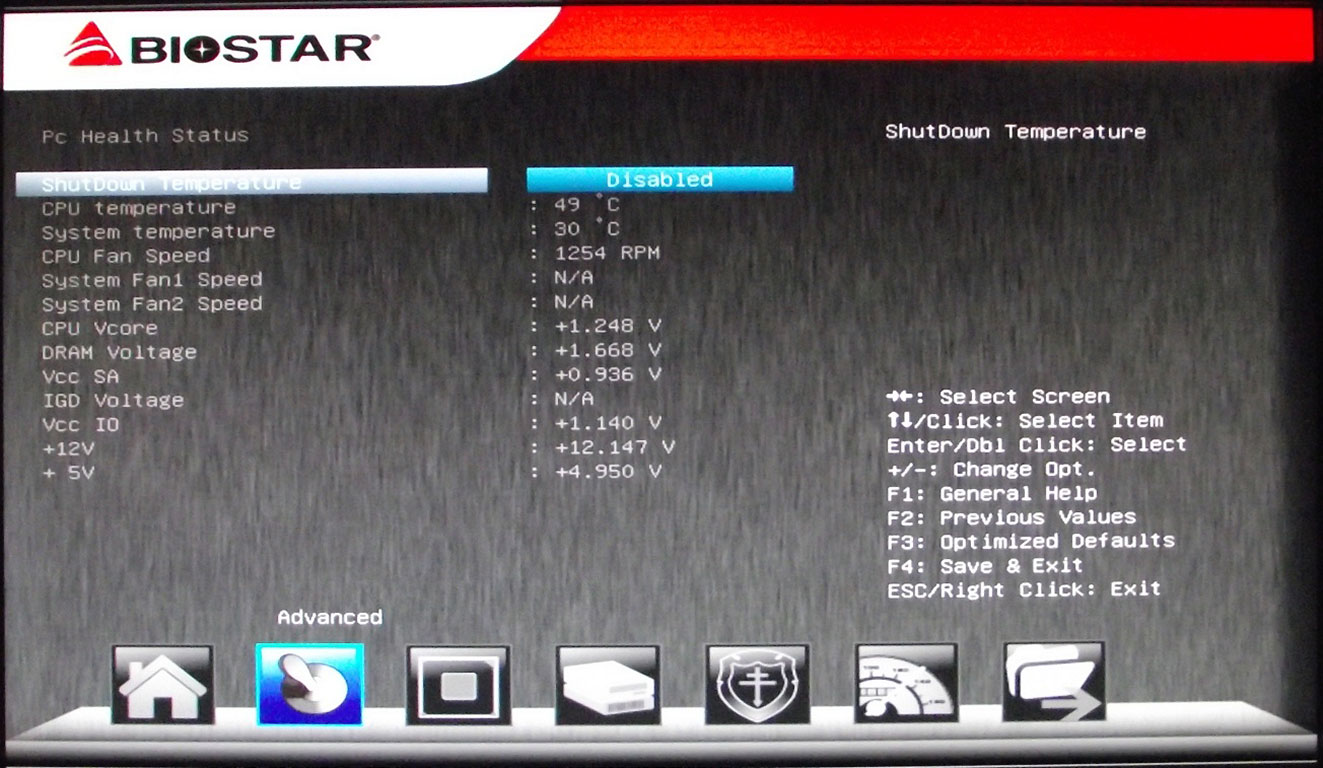
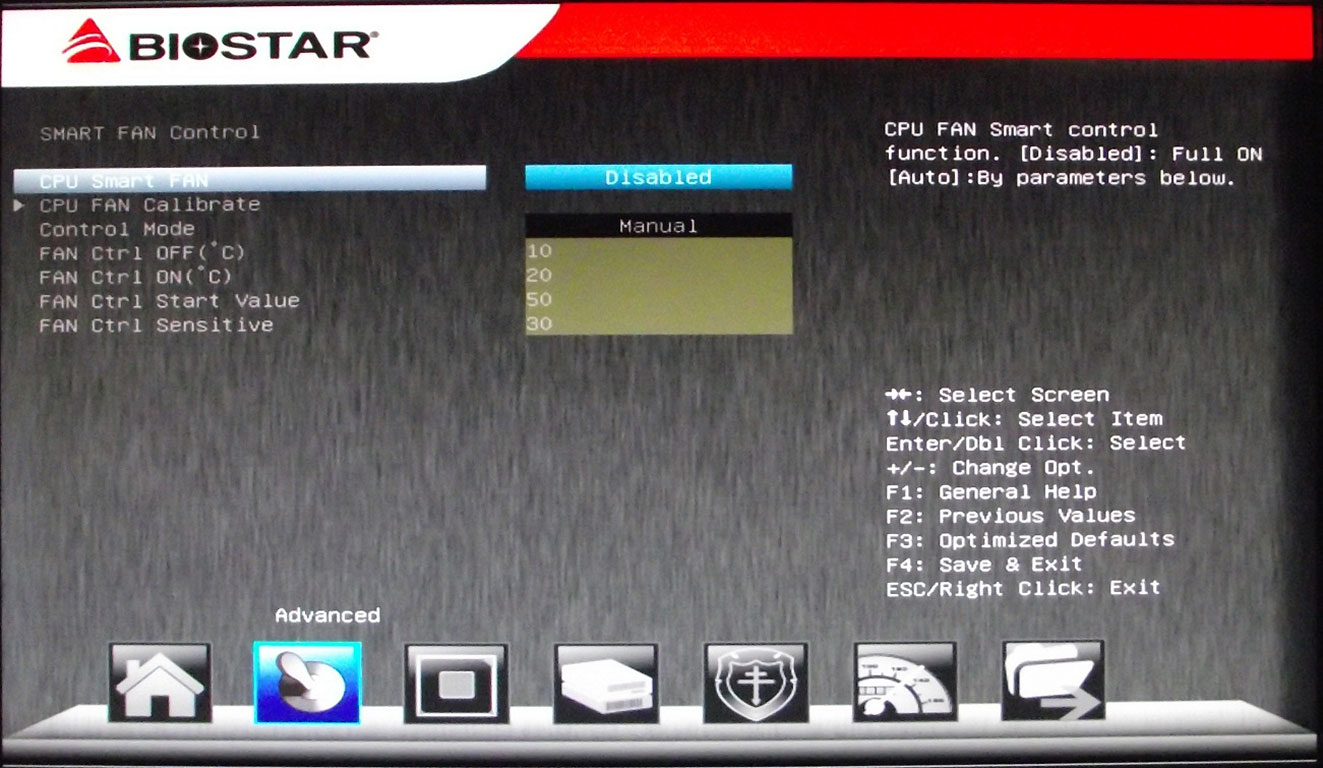
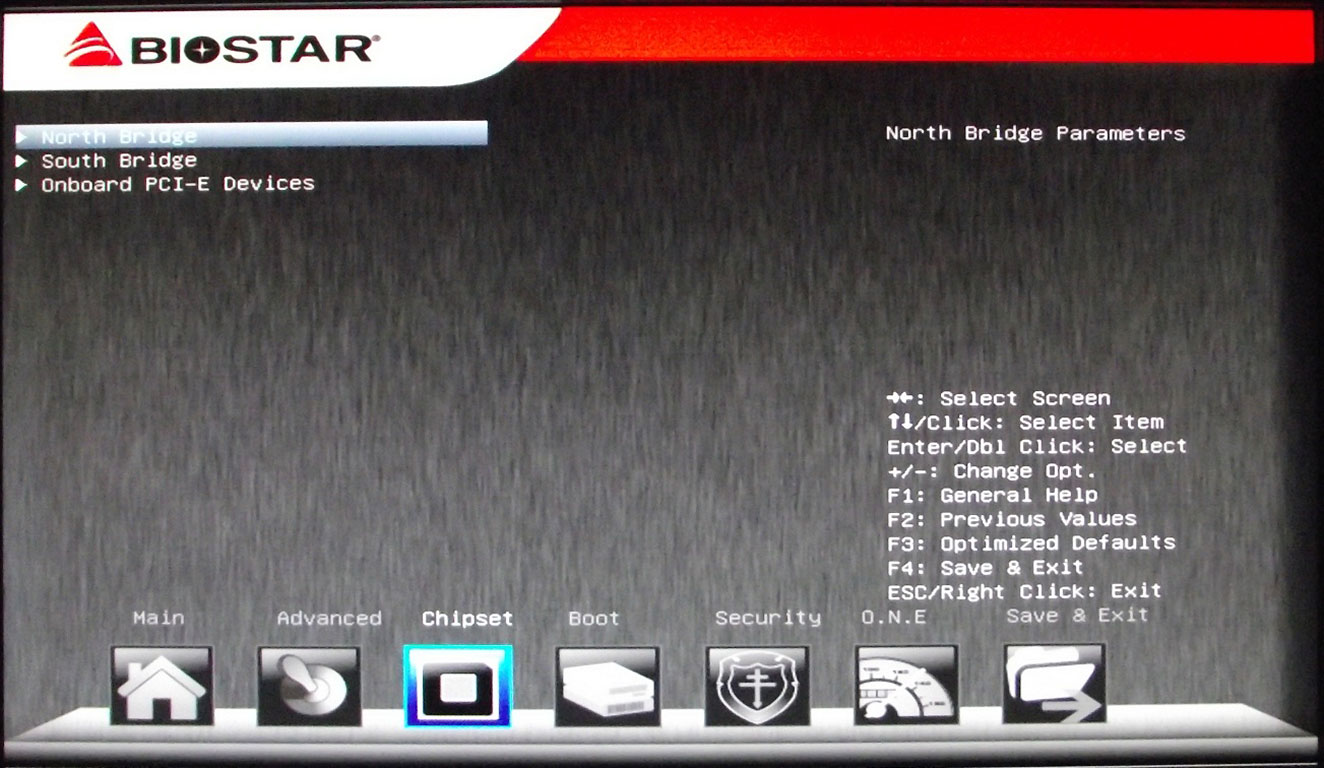
The “PC Health Status” item on the “Advanced” page leads into a simple monitoring interface, which then leads into SmartFan adjustments, which are only applied to the CPU_FAN PWM header, and allowing custom fan profiles as well as several standardized modes seen on other products as seen in the second image above. The third image shows the “Chipset” page, offering settings for both southbridge options, as well as some CPU-specific items not found elsewhere.
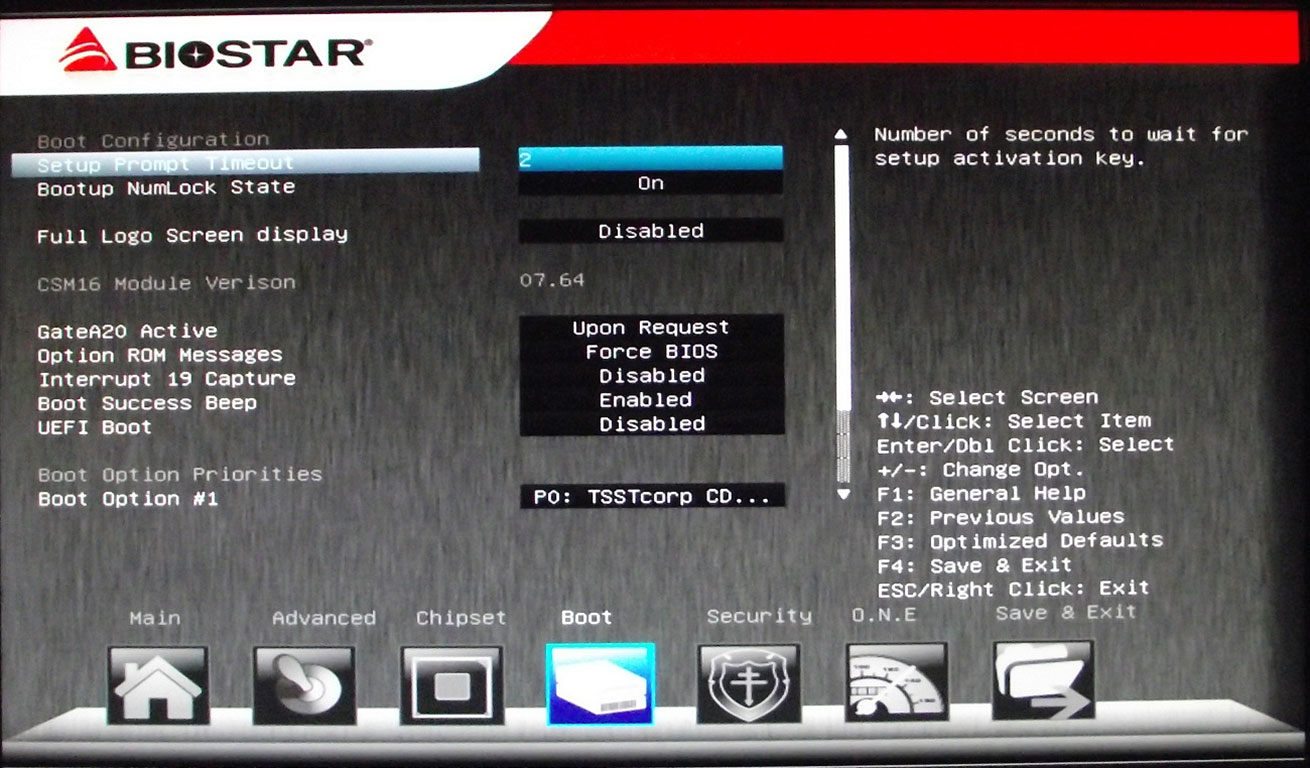

The next page is “Boot”, whose options you can see above in both images. Fairly standard offerings are found here, yet nothing needed has been overlooked, either.
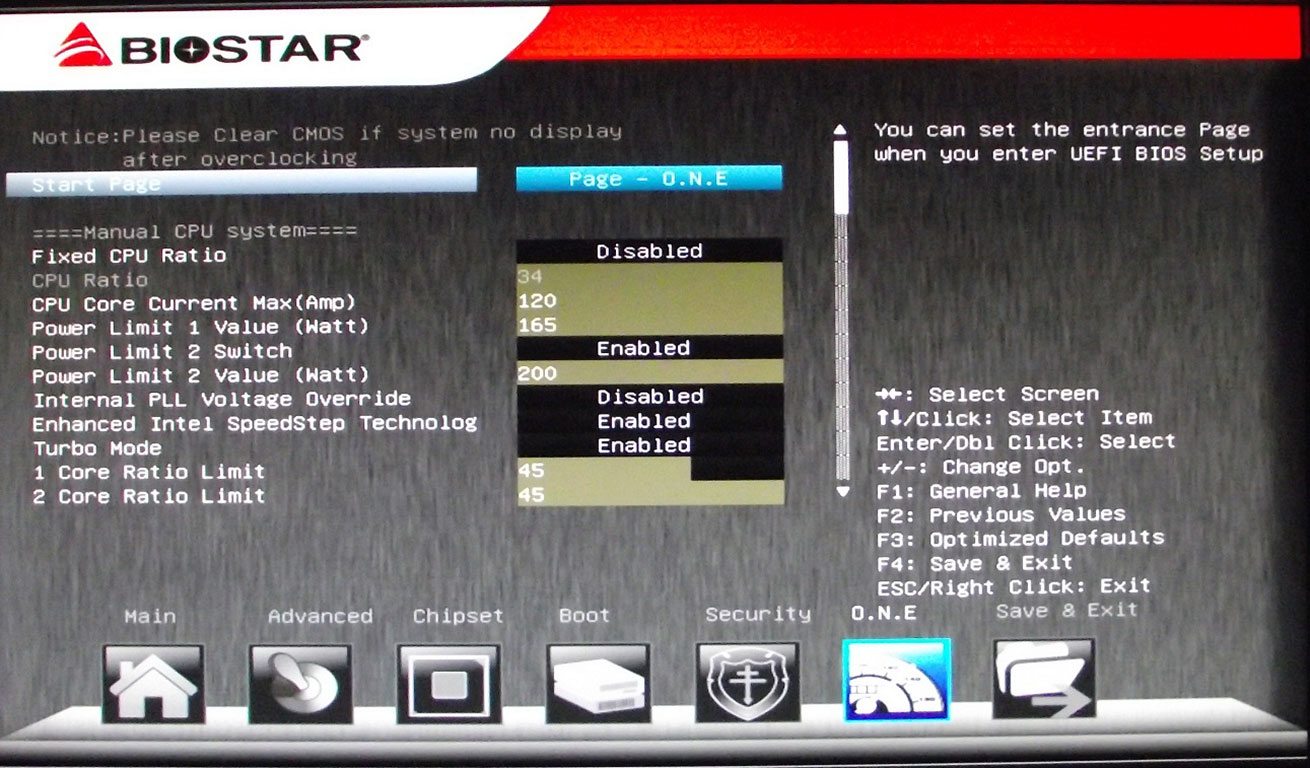
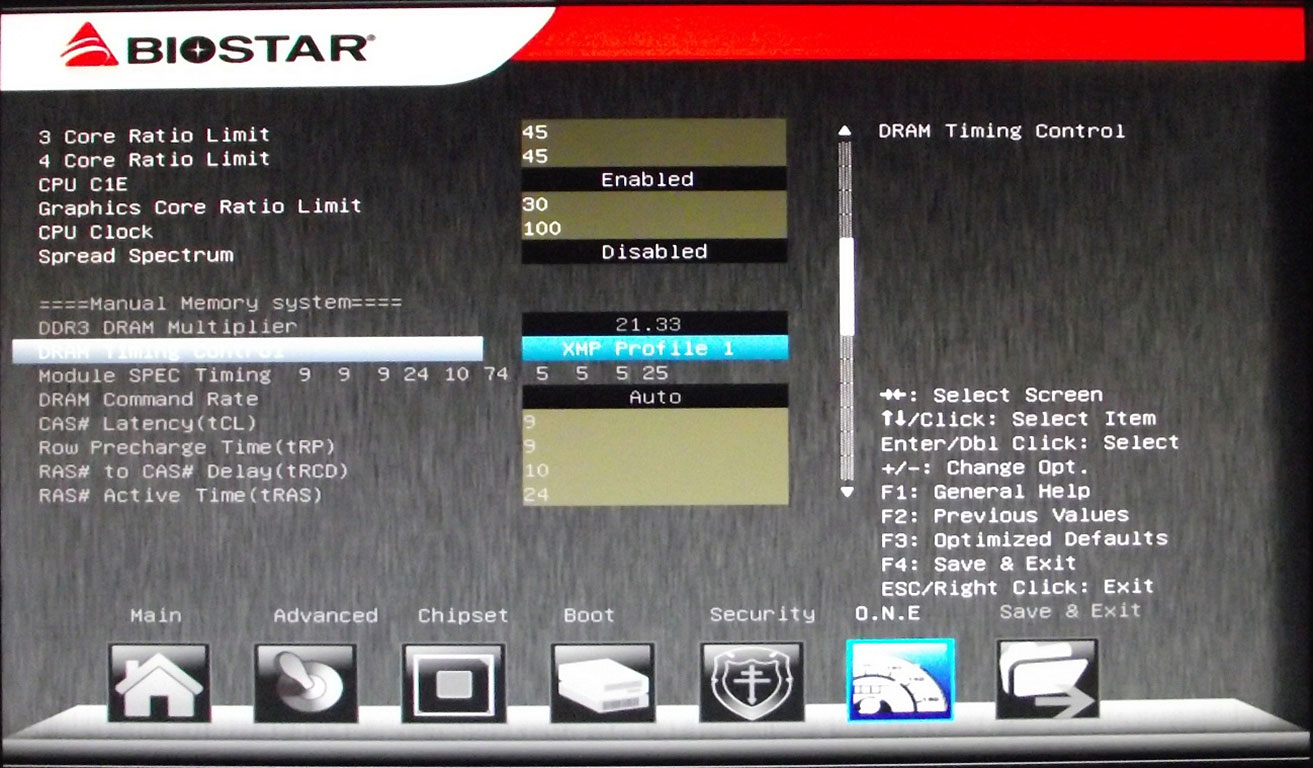
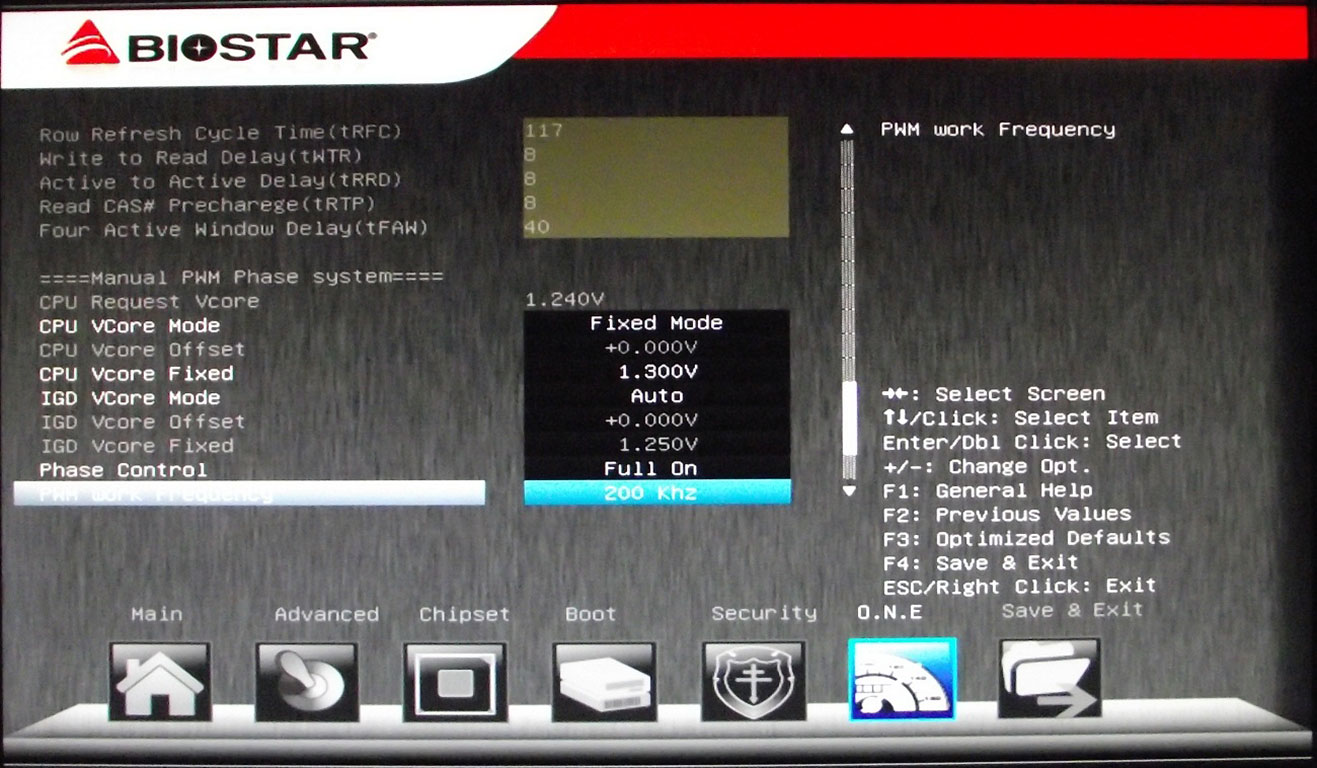
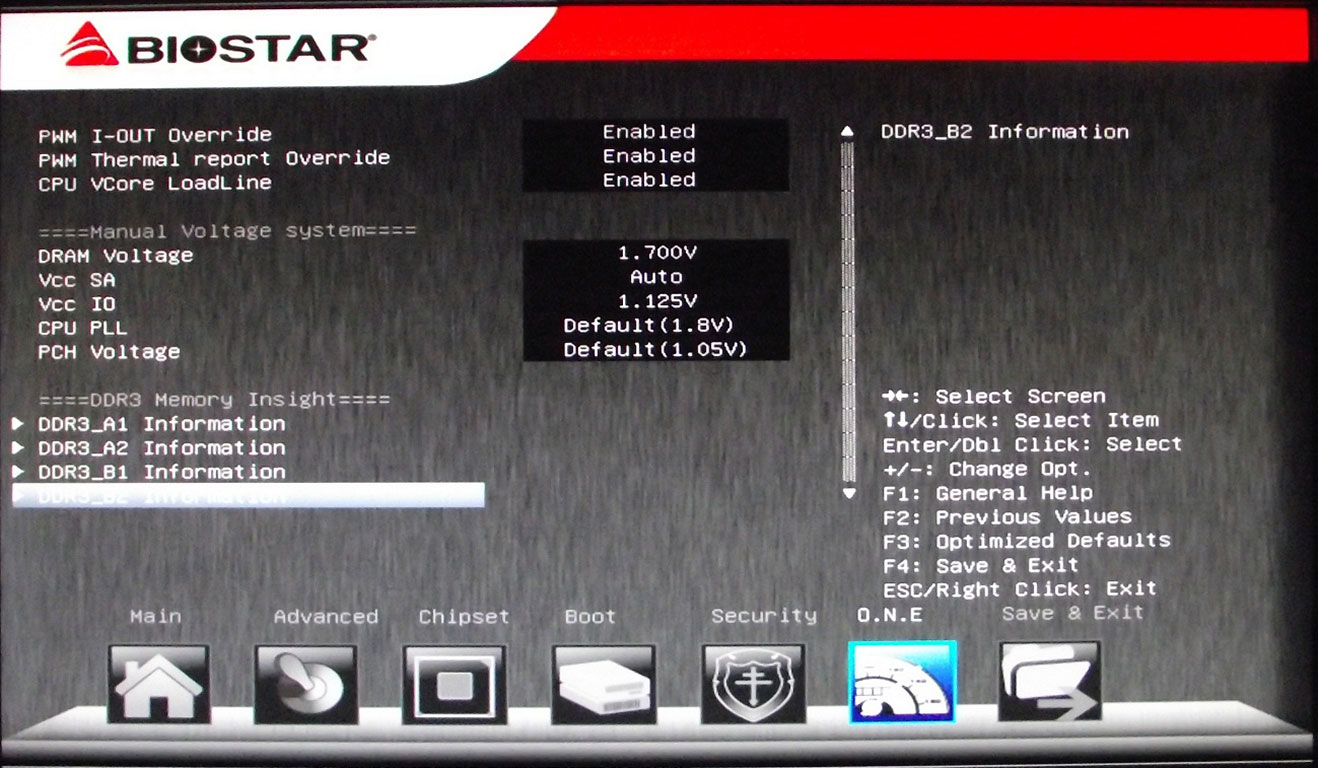
Up next is the security page, but as it only offers password settings, we’ve chosen to skip over it quickly, and move on to the important part of the BIOS, the “O.N.E.” page, or “Overclocking Navigator Engine”. As you can see by the four screenshots above, there’s a lot of options to be found here, from CPU-specific settings, to memory timing adjustment, board voltages, and at the very end, we find a really handy feature, a listing of the DIMMs installed, and access via the listings to default timings as listed in the DIMM's SPD table, for quick and easy reference. We have one specific item to point out here; contrary to other products, some of the options and their settings are the exact opposite from what we were used to, most notable of which is “CPU VCore Loadline”, which, on other products, setting to enabled would lead to more consistent load voltages, whereas on the TZ68A+, enabled actually refers to the default loadline mode as dictated by Intel; something to keep in mind when it comes to overclocking, for sure.
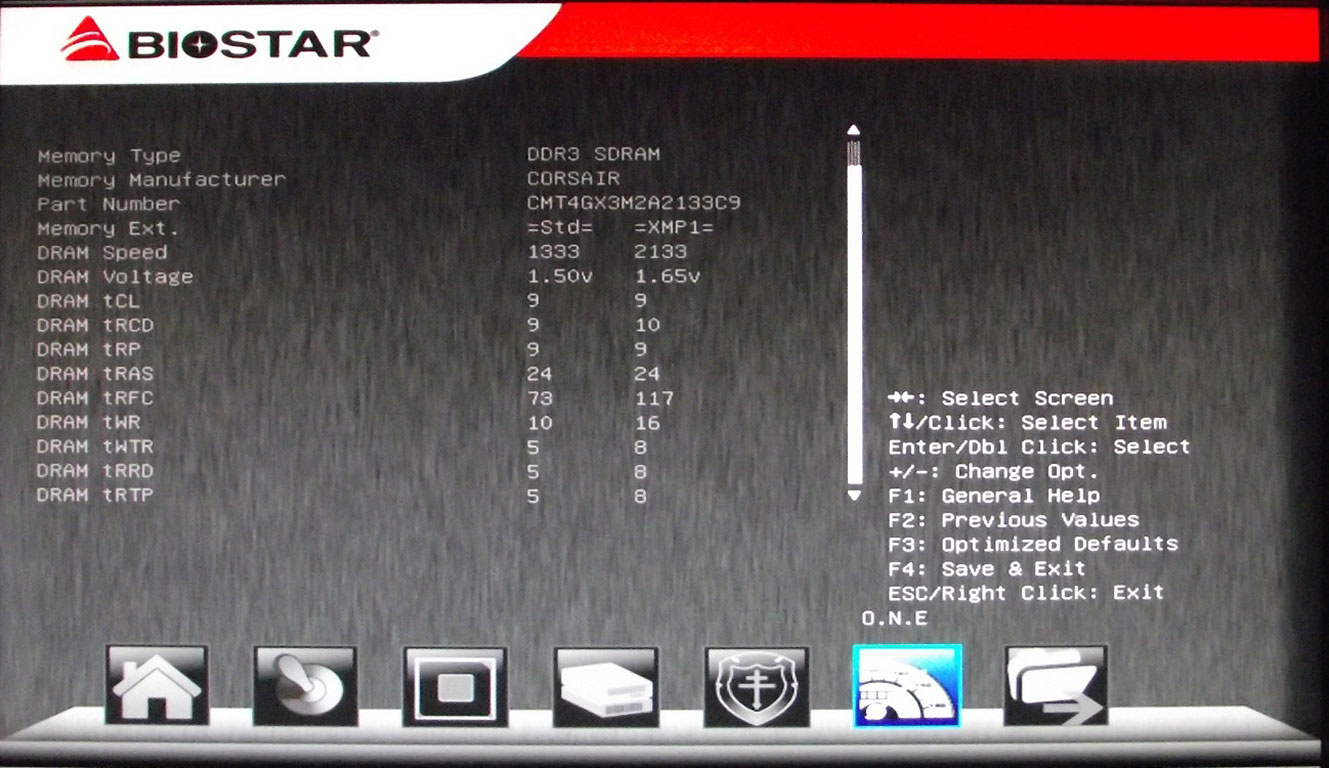
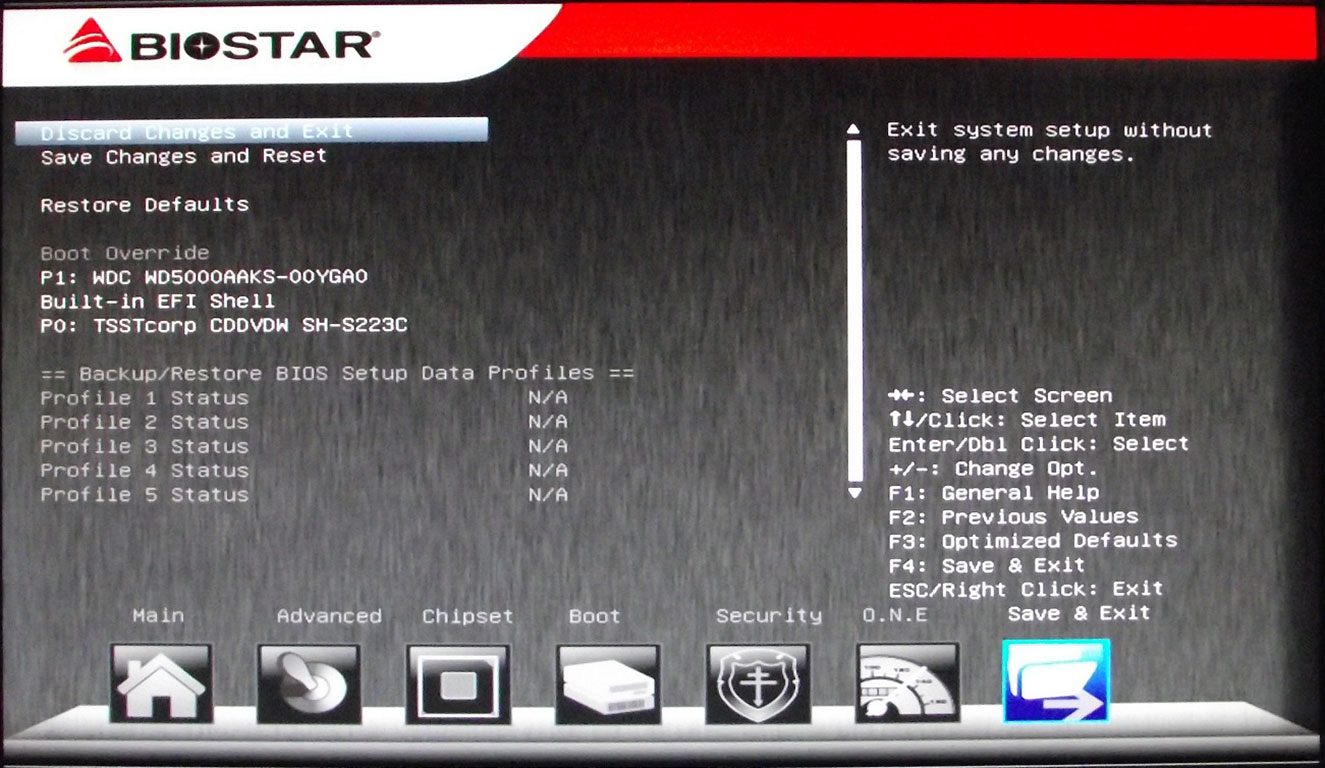
The final two images here are the already mentioned memory timing listings, as well as the last page, the “Exit” page, which also offers access to boot device overrides, as well as offering users an area to save several BIOS setting profiles for quick switching between stock settings and overclocked profiles, or whatever else might be required, something that we employed fairly often during our usage testing.
Jul 12th, 2025 00:54 CDT
change timezone
Latest GPU Drivers
New Forum Posts
- Can you guess Which game it is? (222)
- 'NVIDIA App' not usable offline? (7)
- What are you playing? (23920)
- RX 9070 XT freezing/locking up only on desktop, anyone else? (43)
- NVIDIA RTX PRO 6000 Workstation Runs Much Hotter Than 5090 FE (22)
- Quick charging your USB devicesUSB 3.2 Gen 2x2 Type-C® front-panel. (1)
- GTX 1050 GPU Owners Club (12)
- ASUS ProArt GeForce RTX 4060 Ti OC Edition 16GB GDDR6 Gaming - nvflash64 VBIOS mismatch (2)
- Will you buy a RTX 5090? (640)
- No offense, here are some things that bother me about your understanding of fans. (33)
Popular Reviews
- Fractal Design Epoch RGB TG Review
- Corsair FRAME 5000D RS Review
- Lexar NM1090 Pro 4 TB Review
- NVIDIA GeForce RTX 5050 8 GB Review
- NZXT N9 X870E Review
- Sapphire Radeon RX 9060 XT Pulse OC 16 GB Review - An Excellent Choice
- AMD Ryzen 7 9800X3D Review - The Best Gaming Processor
- Upcoming Hardware Launches 2025 (Updated May 2025)
- Our Visit to the Hunter Super Computer
- Chieftec Iceberg 360 Review
TPU on YouTube
Controversial News Posts
- Intel's Core Ultra 7 265K and 265KF CPUs Dip Below $250 (288)
- Some Intel Nova Lake CPUs Rumored to Challenge AMD's 3D V-Cache in Desktop Gaming (140)
- AMD Radeon RX 9070 XT Gains 9% Performance at 1440p with Latest Driver, Beats RTX 5070 Ti (131)
- NVIDIA Launches GeForce RTX 5050 for Desktops and Laptops, Starts at $249 (119)
- NVIDIA GeForce RTX 5080 SUPER Could Feature 24 GB Memory, Increased Power Limits (115)
- Microsoft Partners with AMD for Next-gen Xbox Hardware (105)
- Intel "Nova Lake‑S" Series: Seven SKUs, Up to 52 Cores and 150 W TDP (100)
- NVIDIA DLSS Transformer Cuts VRAM Usage by 20% (97)